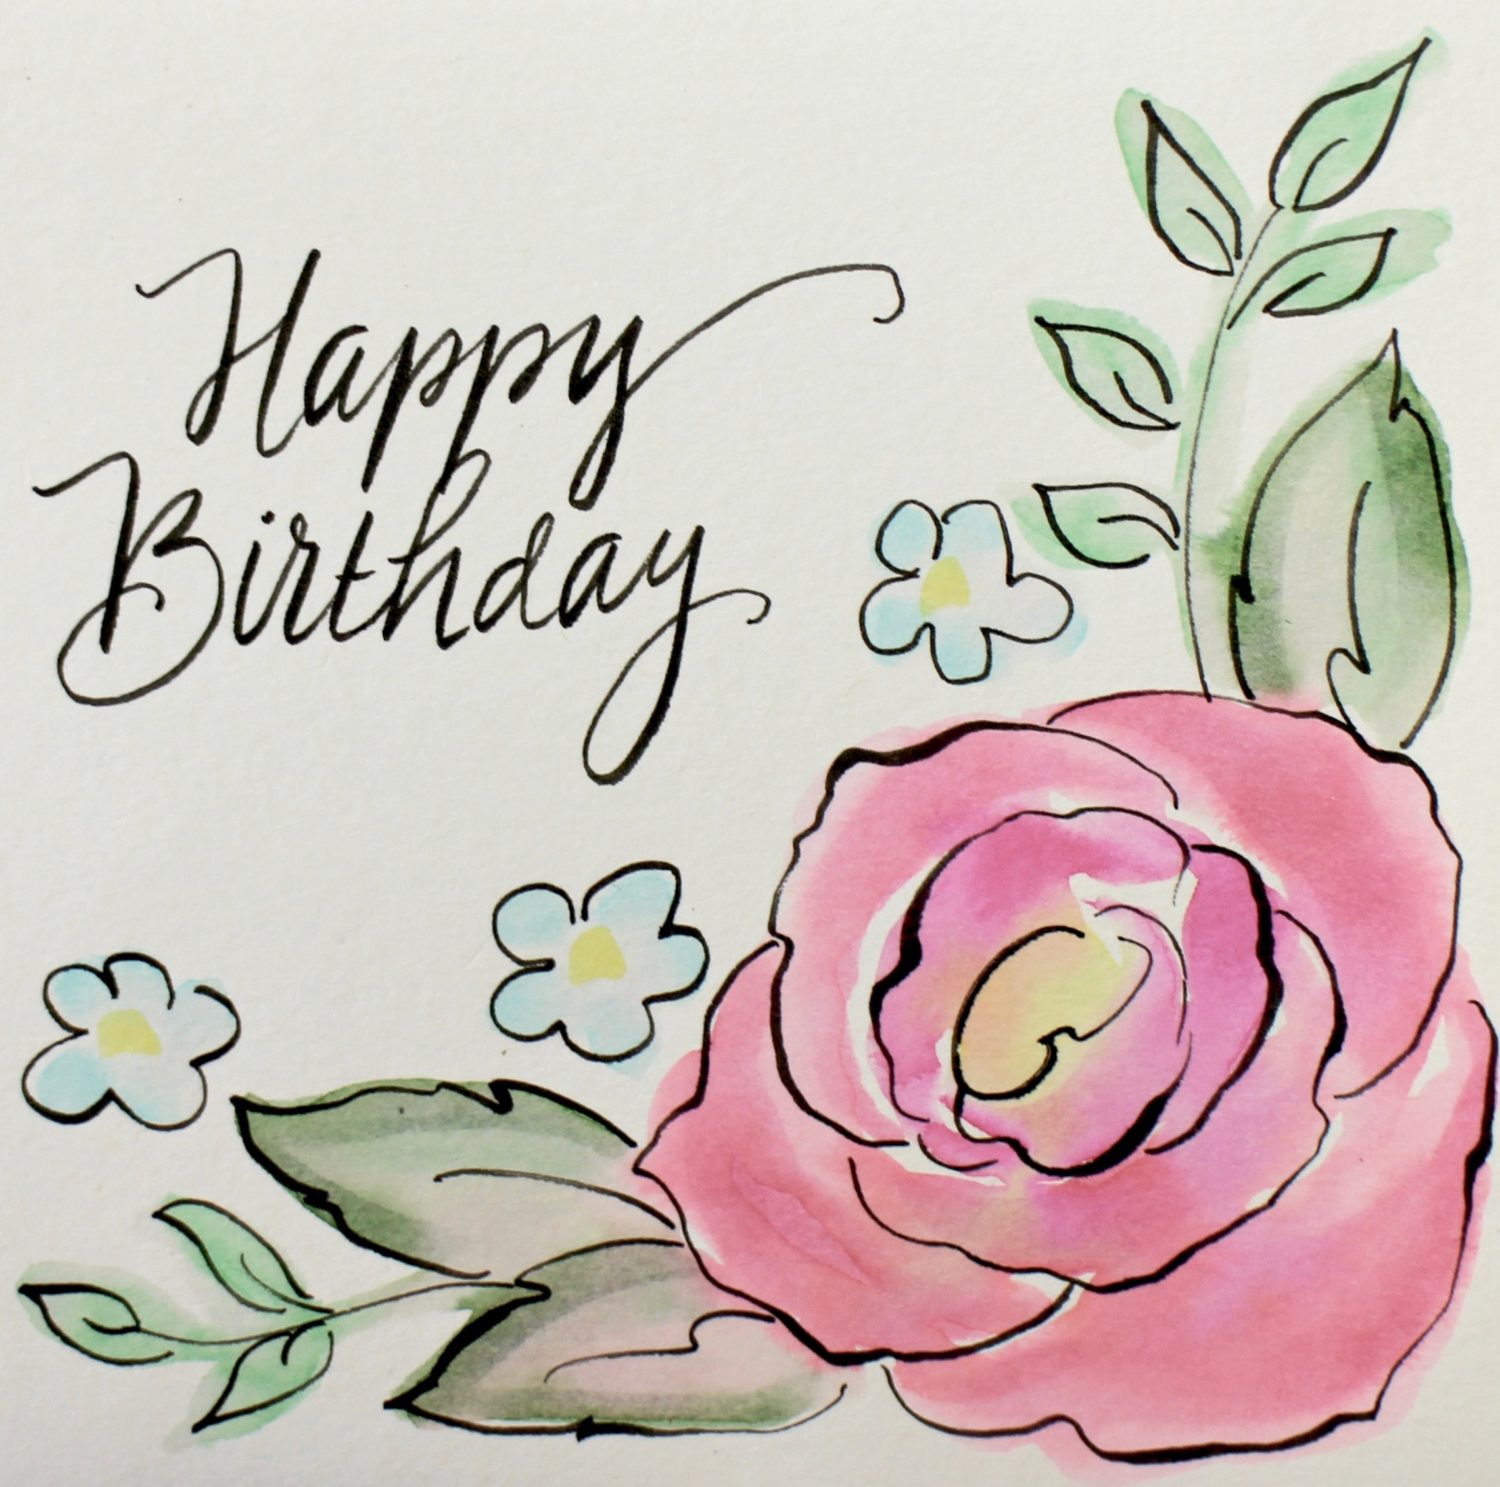
Want to learn how to create a beautiful Watercolor Rose Birthday Card? Just in time to celebrate Tombow’s 105th Anniversary! Tombow was founded as a company on February 11, 1913 in Tokyo, Japan as a pencil manufacturer. Happy Birthday Tombow!
Materials:
- Dual Brush Pens: 755, 703, 985, 195, 177, 346, and 443 (or colors from the Bright 10 Pack Set)
- MONO Twin Permanent Black Marker
- Fudenosuke Brush Pen
- 140 lb, cold press watercolor paper (Sample used 5″ square pieces)
- Brush and water
- MONO J Pencil, 2H
- Tombow Xtreme Adhesive
This is a Bright Rose palette – keep scrolling to the end where I show a Pastel Rose for an alternative look and feel to the watercolor rose card.
Step 1
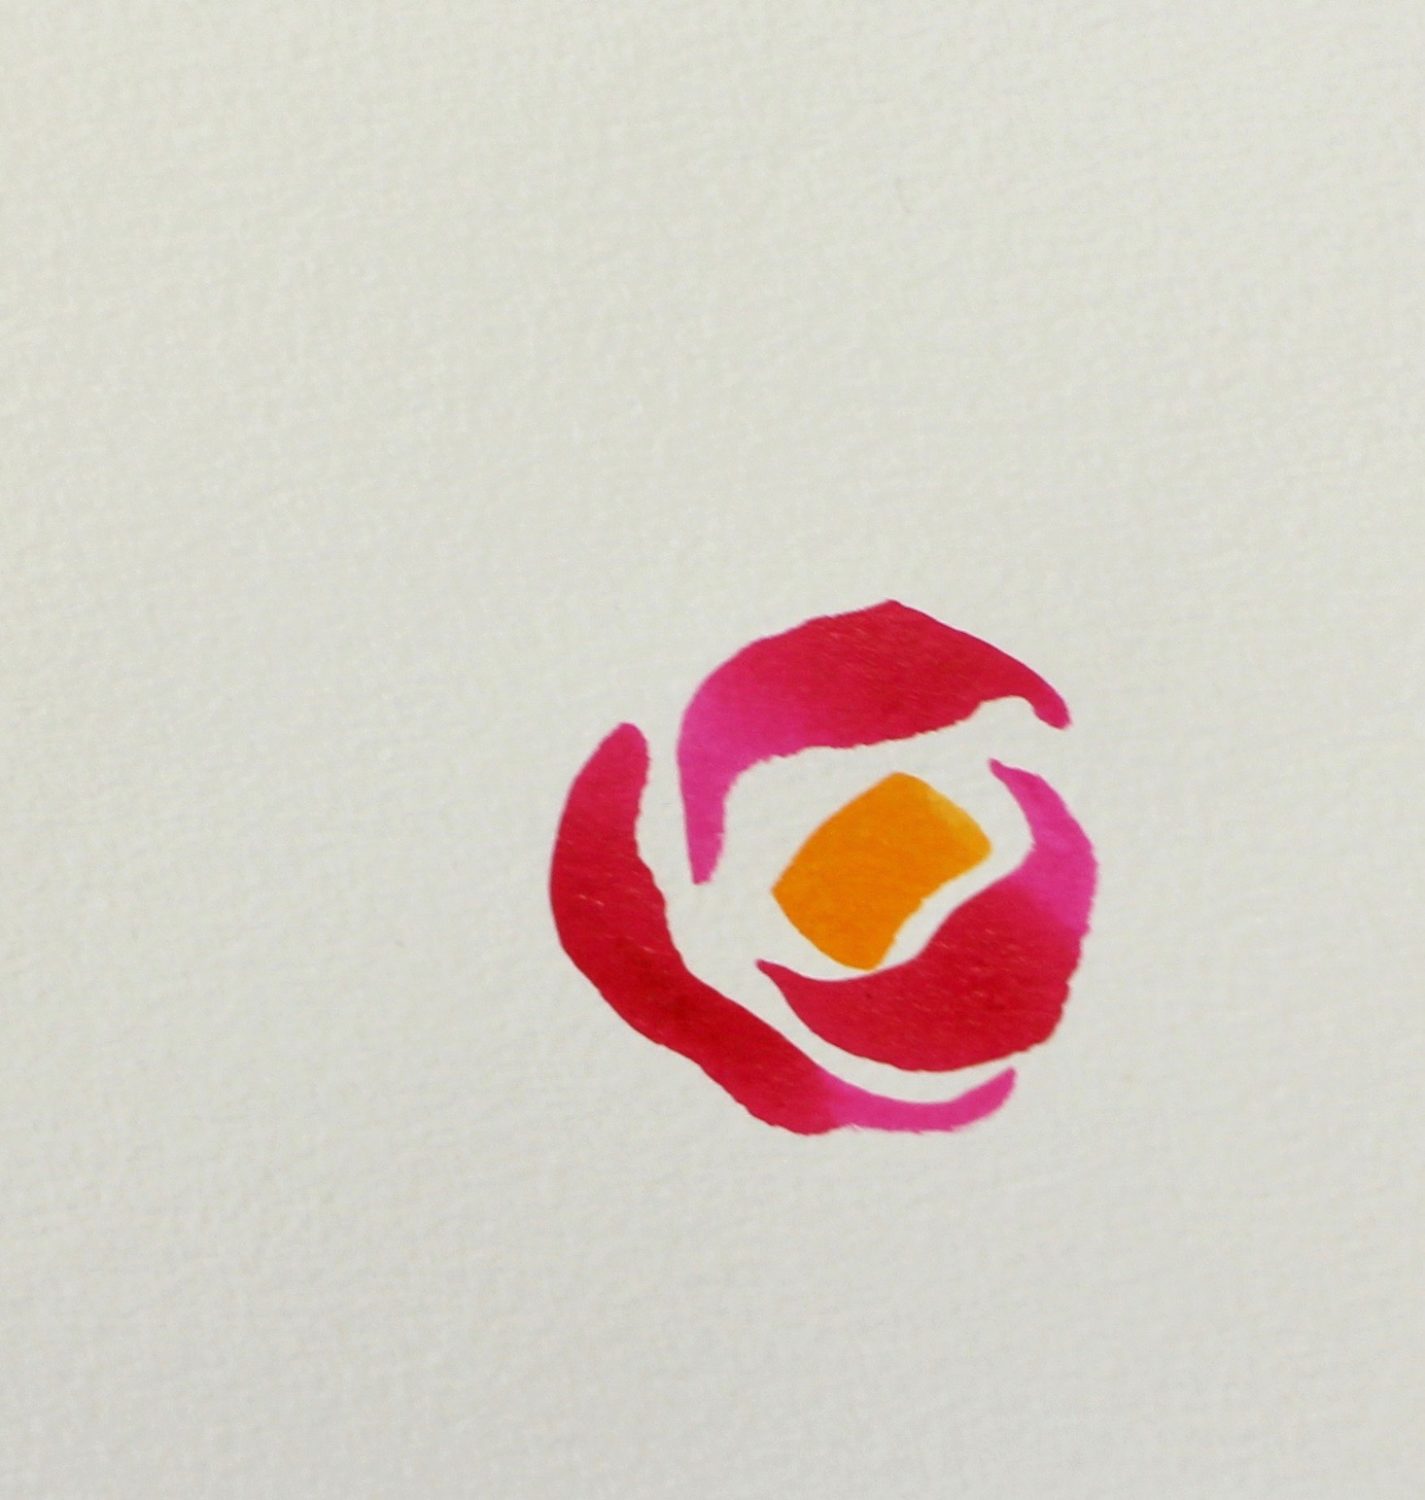
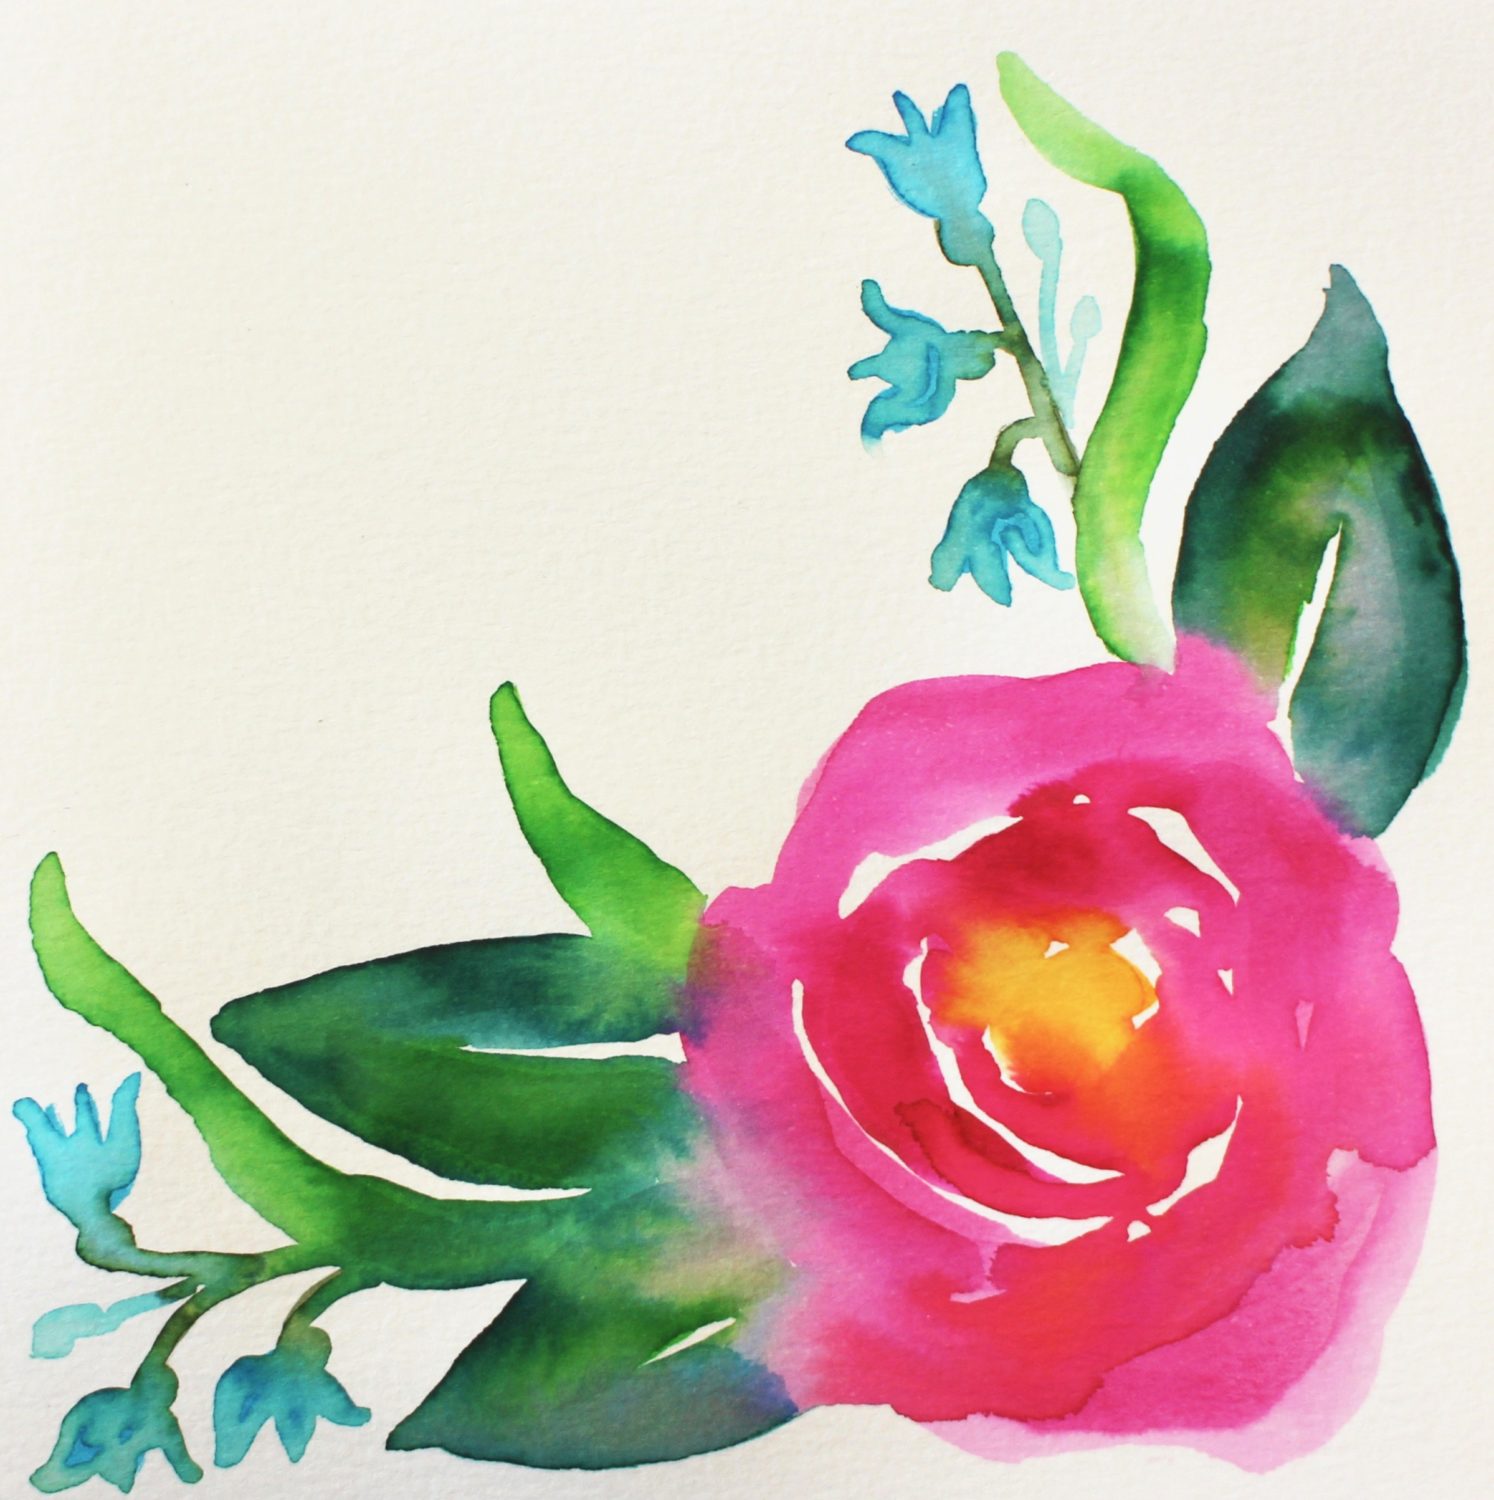
With the 985-Chrome Yellow Dual Brush Pen, draw the center for the rose. With the 755-Rubine Red Dual Brush Pen, make petal shapes around the center mark. Make at least three petal shapes.
Step 2
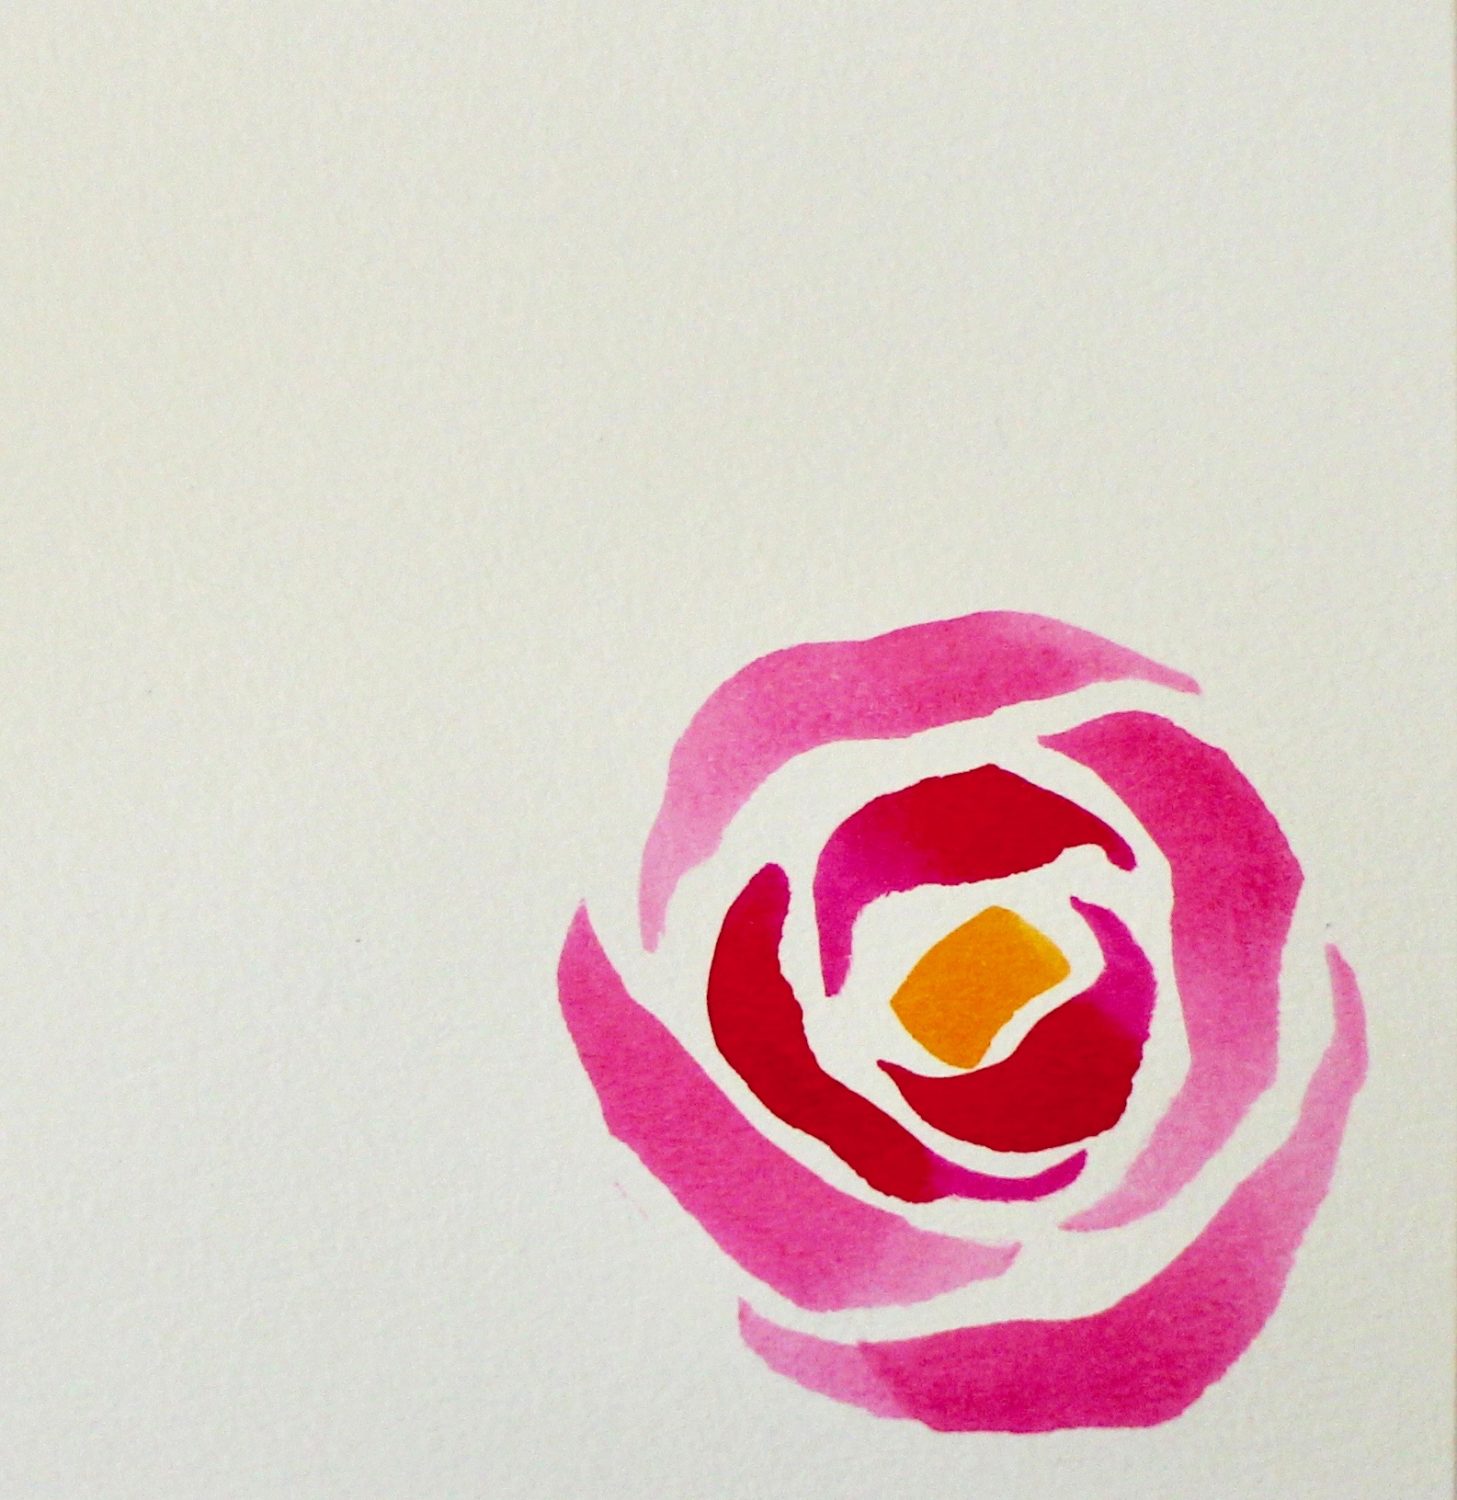
With the 703-Pink Rose Dual Brush Pen, continue to add more petals. You can make these marks with one stroke by starting with a light pressure, then heavy pressure for the wide part of the petal, finishing to a point with light pressure. Or, you can simply draw the petal shape and color it in.
Step 3
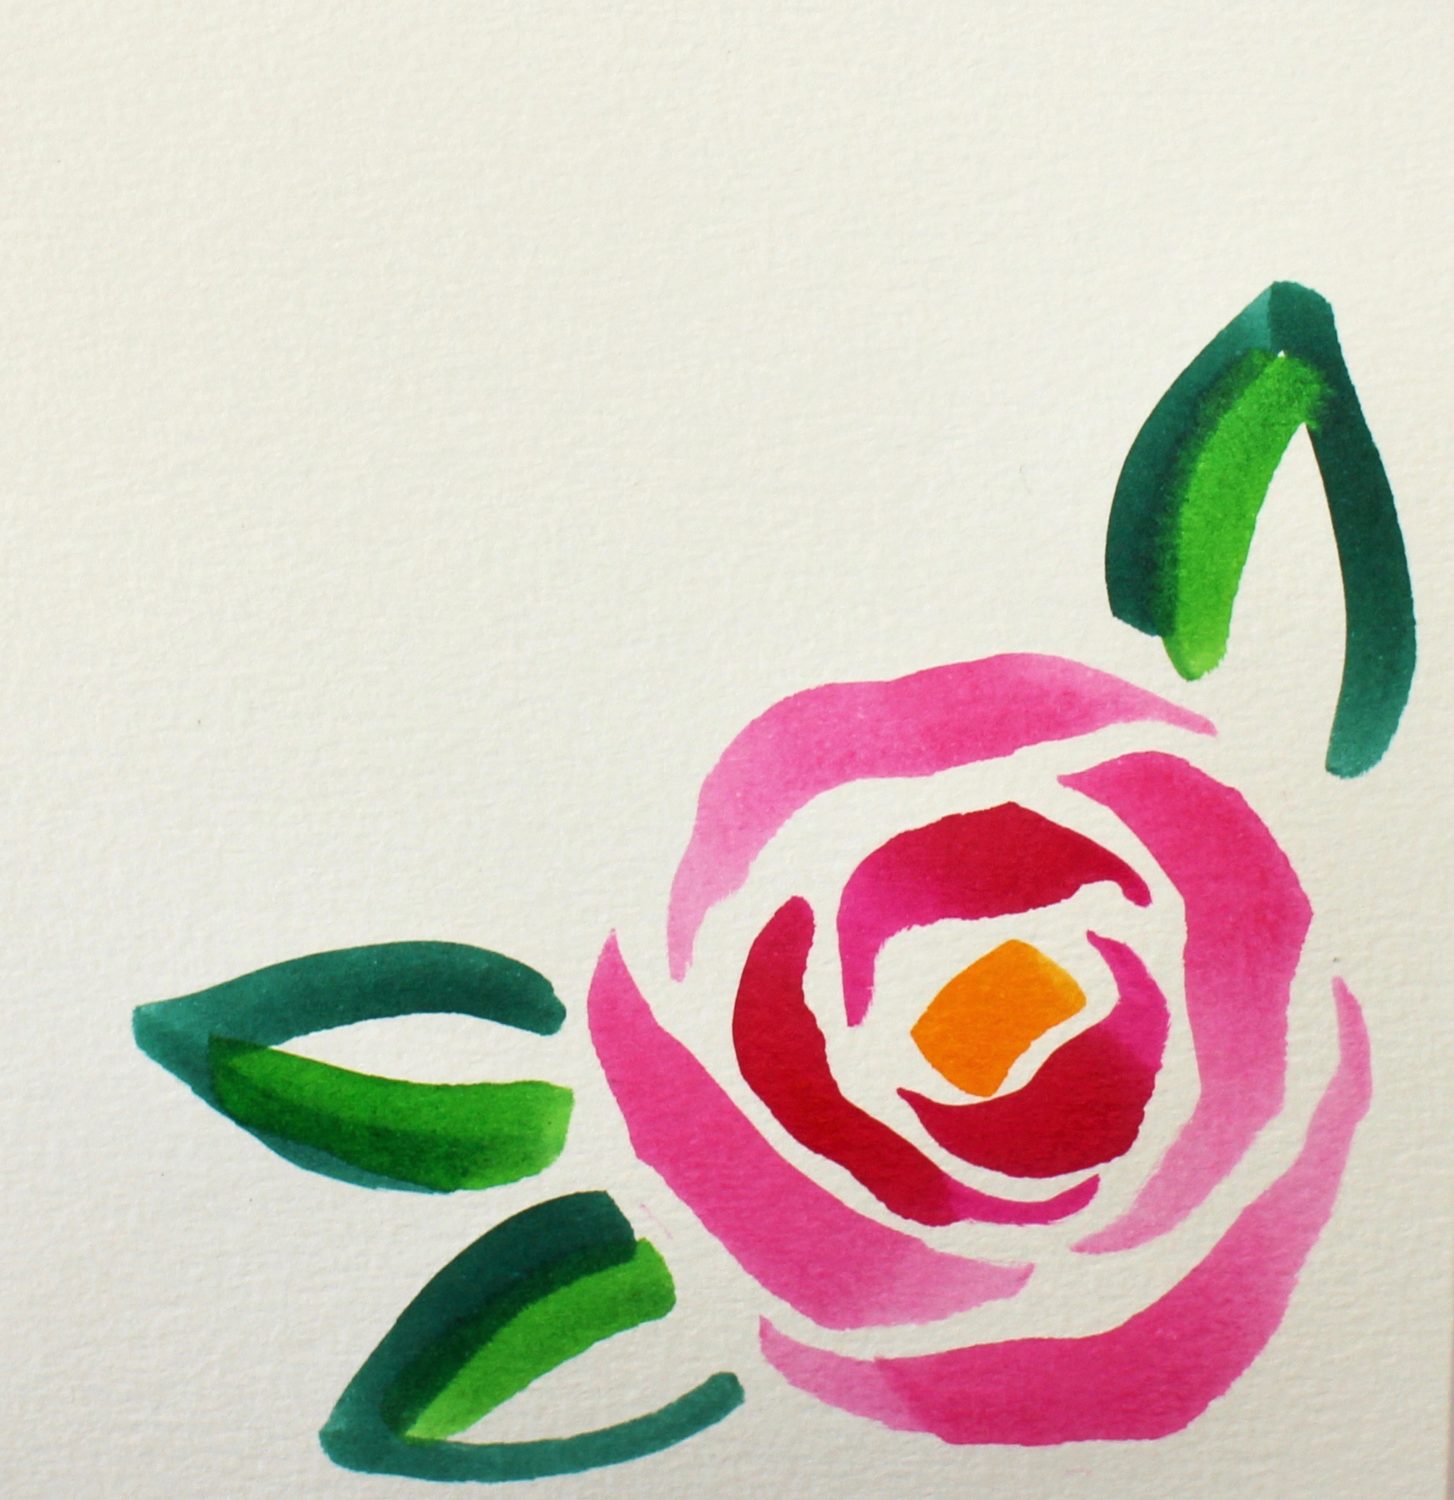
With the 195-Light Green and 346-Sea Green Dual Brush Pens, add the leaves.
Step 4
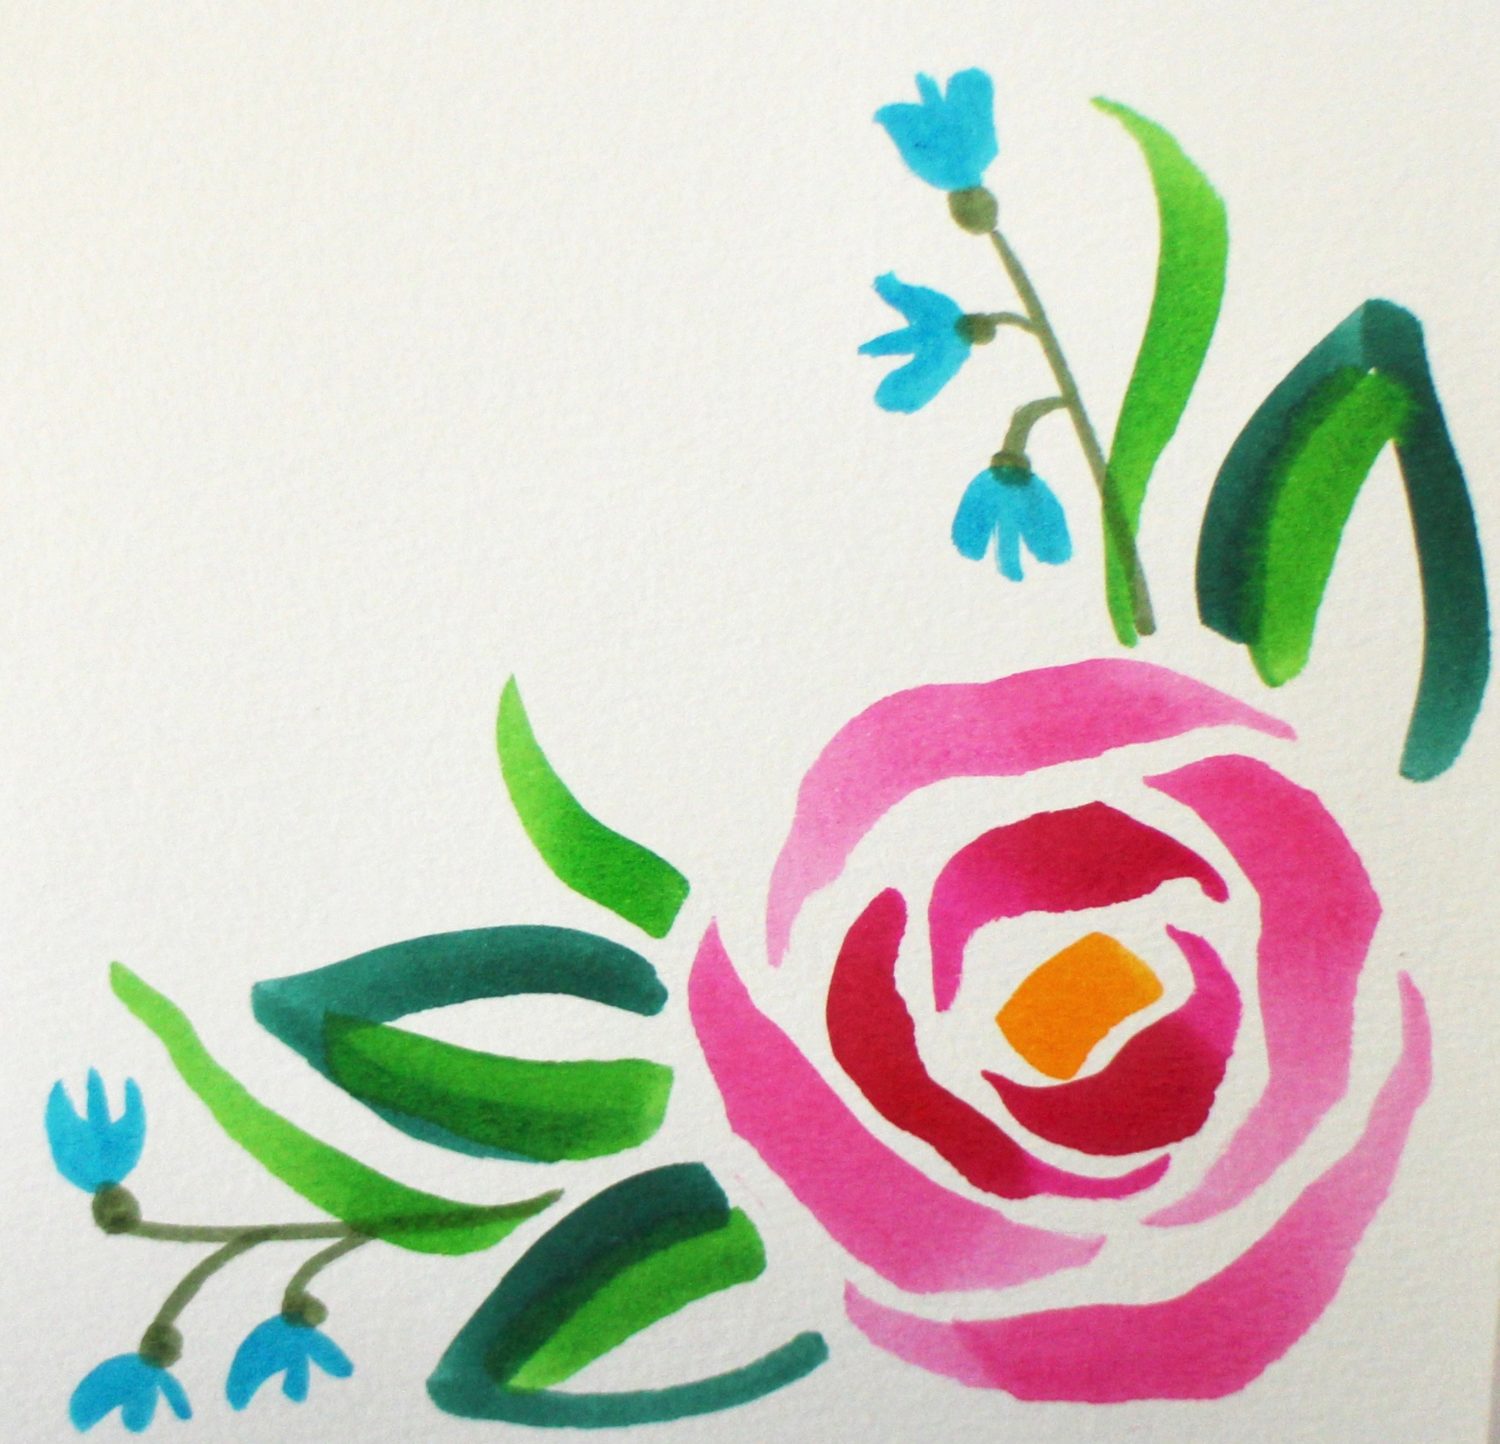
Add accent blossoms and leaves with the 443-Turquoise, 177-Dark Jade and 195-Light Green Dual Brush Pens.
Step 5
With brush and water, wash over the marks to give them a watercolor appearance and blend the colors. Start in the center of the rose and continue to the edge of the rose without touching the green leaves. Leave white spaces and use lots of water. Repeat with the green rose leaves, this time touching into the rose petal colors. This makes the pink blend into the leaves, rather than the green into the pink rose. Water brush the accent flowers and leaves. Let dry completely before going to the next step.
Step 6
At this point, you can leave your watercolor rose as is. I like to give it a whimsical black outline. With the broad tip of the MONO Twin Permanent Marker, outline the rose, leaves and accent flowers with quick, not-so-perfect lines. Draw light pencil guidelines with the MONO J Drawing Pencil in 2H and add your sentiment with the Fudenosuke Brush Pen. I did a variety of lettering styles on the cards using the Fudenosuke Pen!
Watercolor Rose with Pastel Color Palette
I love the bright rose palette, but softer colors are also gorgeous! Use the colors from the Pastel Dual Brush Pen 10-pack to create this lovely color combination. Look closely at the black outline on this sample; the line varies from thin to thick. These lines were created using the Fudenosuke Brush Pen.
Finishing the Card
I mounted the finished watercolor rose panel onto a black card blank using the Tombow Xtreme Adhesive. I choose this adhesive as the watercolor paper is heavy and needs an extra-strong adhesive to hold! Remember when using this adhesive runner to swipe to the side when you have finished applying the adhesive.
Are you going to try this watercolor rose technique? I would love to see it! Make sure to tag me on Instagram, @mariebcreates, along with @tombowusa. Don’t forget to wish Tombow a Happy Birthday! They sure look good for 105 years old!

Pingback: Watercolor Roses Tutorial - Tombow USA Blog