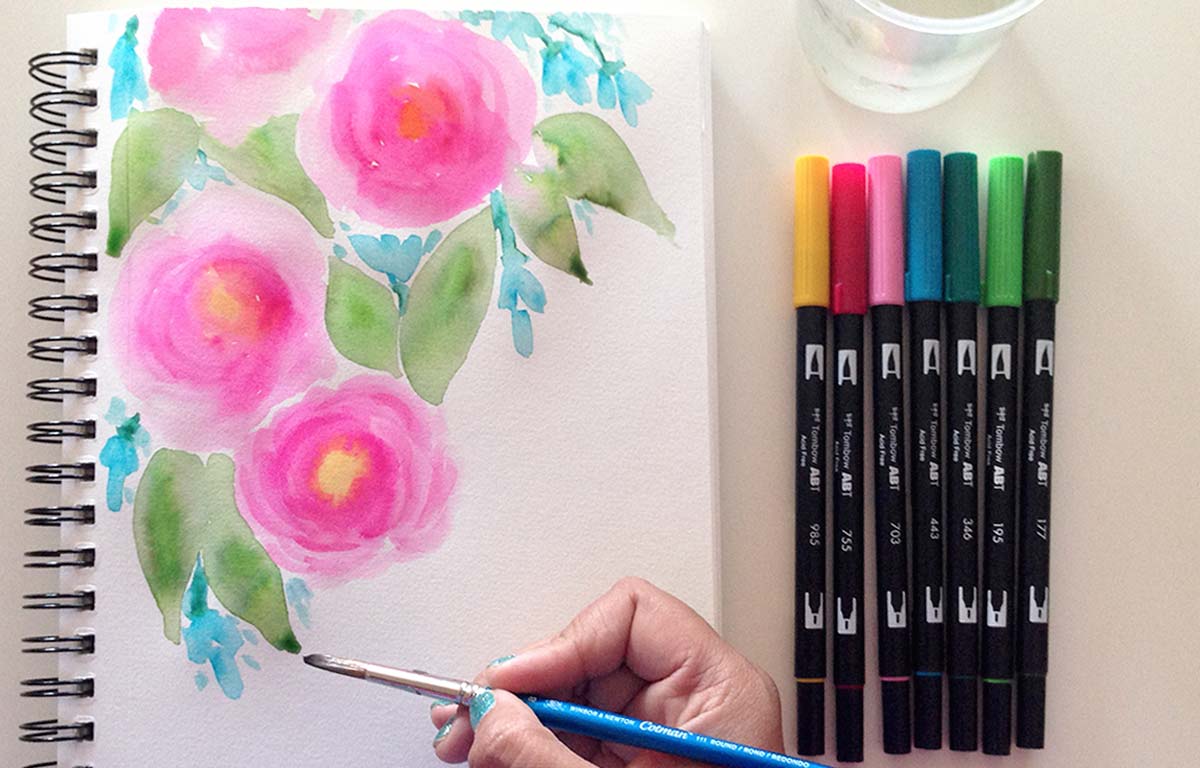
Hello friends! I’m Smitha and today we’ll be painting watercolor roses inspired by Marie Browning!
This is an easy watercoloring technique and oh so fun! Using Tombows Dual Brush Pens to do your watercoloring is a great way to create these watercolor roses.
Material list:
- Dual Brush Pens
- Paint Brush
- Sketchbook, mixed media or any wet media quality
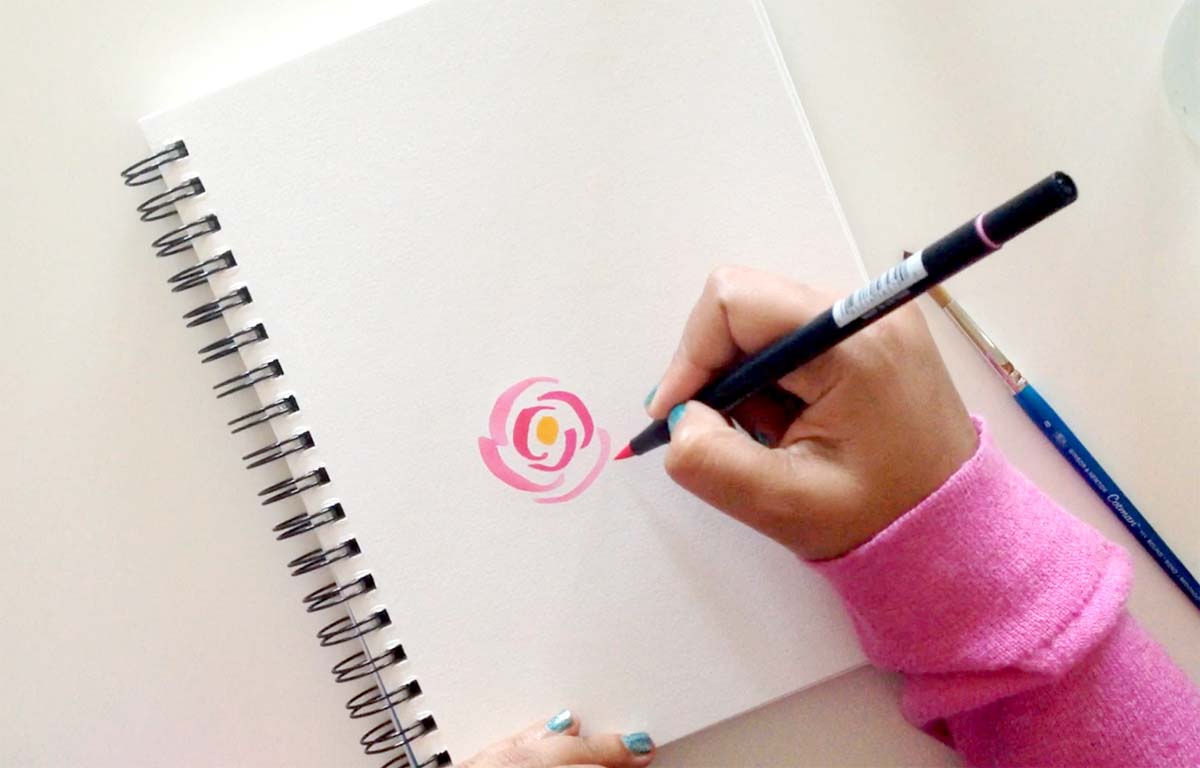
Step 1:
First we add color onto the page. Using the brush tip of the Dual Brush Pen, draw overlapping semi circles. I used three colors here – a darker pink for the inside petals, a lighter pink for the outer petals and a yellow for the center.
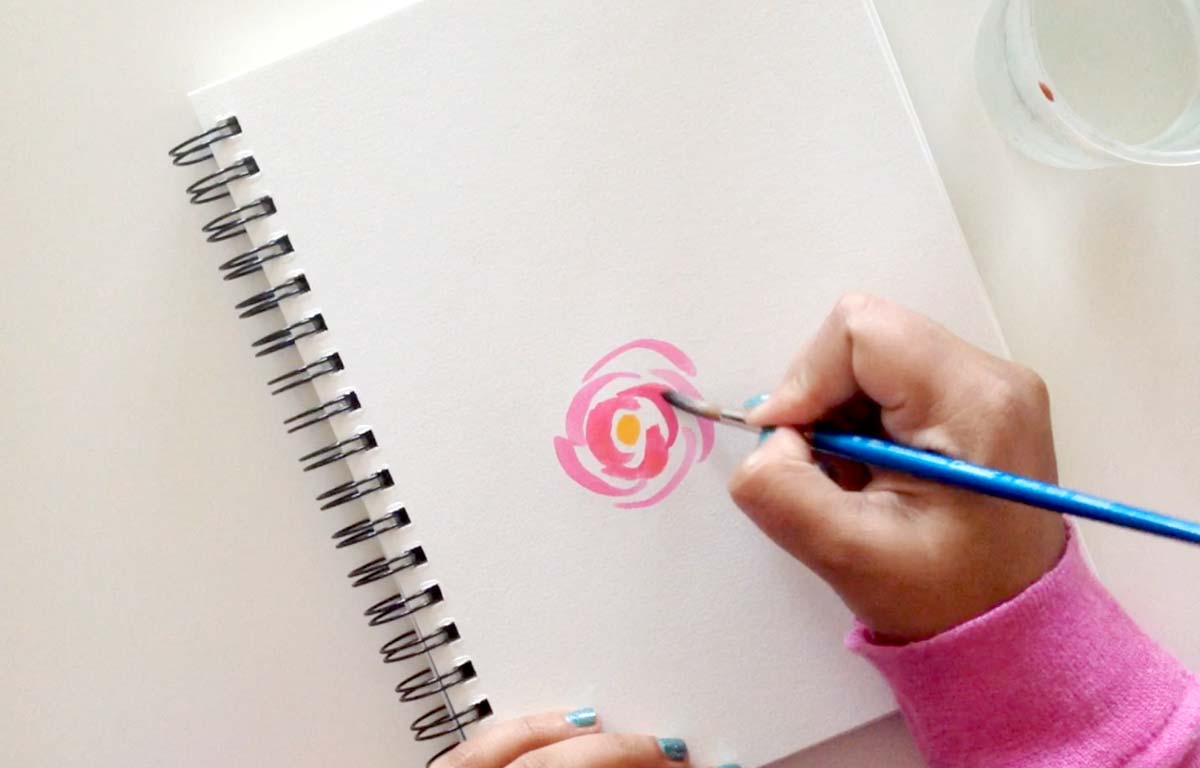
Step 2:
Next we paint with water. Dip your paintbrush in water and then paint over your petals slowly, dragging the water with the tip of your brush. It really THIS simple. The water moves the color beautifully and does all the work for you. Try leaving a little white space between the petals to prevent all the colors bleeding into one another.
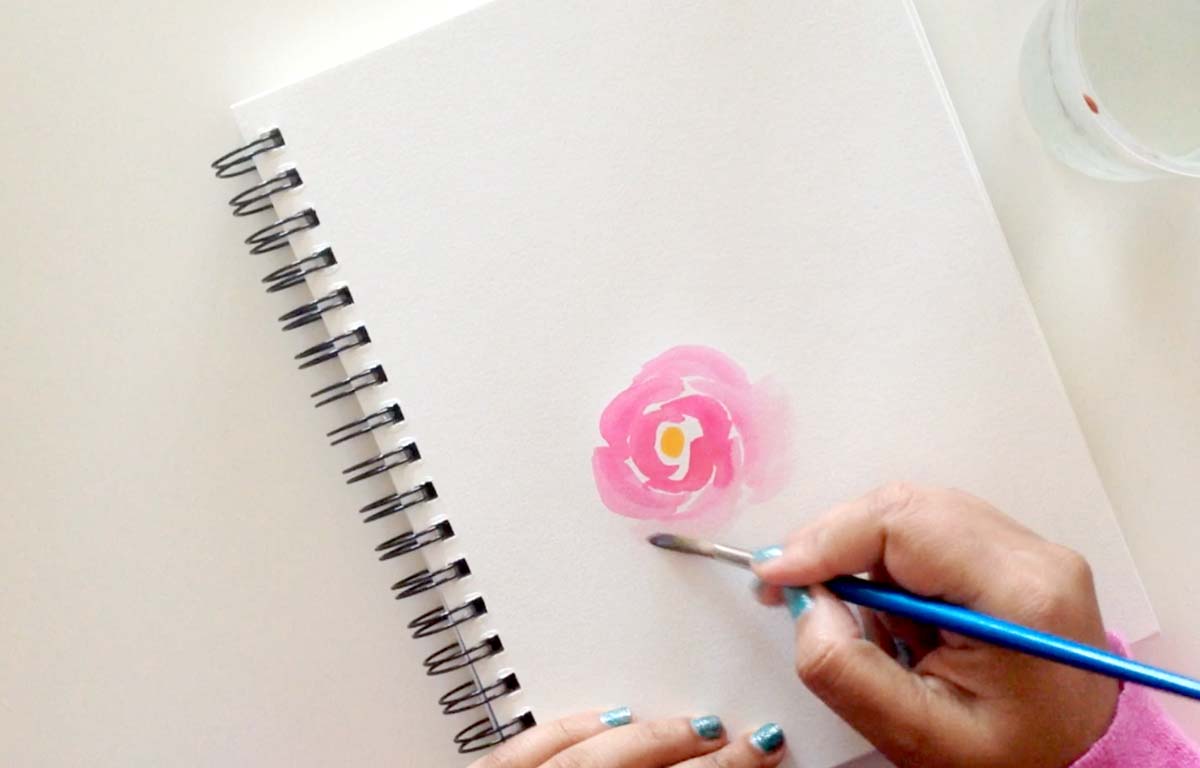
Step 3:
Towards the outside of the flower, using a barely damp paint brush, drag the lightest pink color to create softer airy petals. I love this look and how dreamy the flowers look with this.
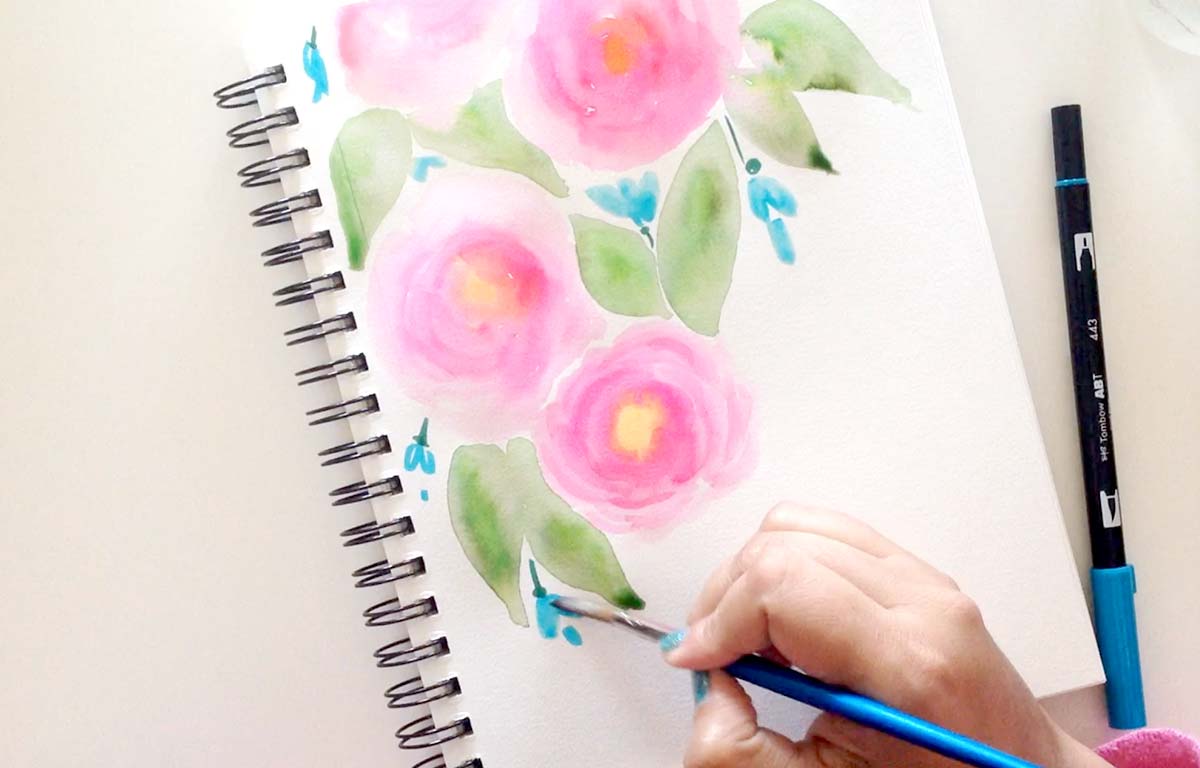
Step 4:
Once you have the first flower in place the rest is fun! Repeat these steps to create three or four more flowers. And then add leaves. I love adding pops of green, they contrast against the pink flowers. I also added a few fillers flowers to complete this watercolor roses composition.
I love how beautiful these flowers turned out. I tried to follow Marie’s step by step tutorial, but I still think her flowers look better than mine! Make sure you check out Marie’s original Tutorial out here
Happy Crafting!
Smitha
WOW !!! I didn’t know u could do that w/them, how totally cool !!!
Pingback: Painting with Tombow Markers - Tombow USA Blog
I just discovered your site. and enjoyed creating roses.
Pingback: How To Watercolor Tropical Flowers With Tombow Dual Brush Pens - Tombow USA Blog
Awesome blog! Do you have any tips for aspiring writers?
I’m hoping to start my own blog soon but I’m a little lost
on everything. Would you suggest starting with a free platform like WordPress or go for a paid option? There are so many options out there that I’m totally overwhelmed ..
Any ideas? Many thanks!
Pingback: Whimsical Moths With the Watercolor Set - Tombow USA Blog
Do a person have a spaqm problem on this website; My partner and i also am a doodlekit,
and I planned to recognize your situation; many involving us are suffesring fro some good methods, and are looking in order tto teade methods with somke others,
why not shoot me personally an e-mail if serious.
The mechanism is typically designed to be user-friendly, allowing you to effortlessly lift and lower the bed platform. This is particularly beneficial for individuals with physical limitations or those who prefer to avoid bending and straining their backs while making the bed or accessing stored items.