
Let’s decoupage a boring old photo box! It’s Renee here with @thediyday and I’m having a blast from the past moment. Back in the day, I’d take a roll of film to a developer and a week later I would pick-up my pictures. Nowadays, I rarely print pictures, it’s much easier (and cheaper) to share photos via smart phone. But, let me be honest – I miss those days of holding an actual photograph in my hand. So much so that I’m starting to print pictures again. I’ve decided, if the picture isn’t put into a frame it’s going into a photo box. Not a plain photo box, but one that has a decoupage decor with the timeless quality of black and white photos…of my dog!
Supplies
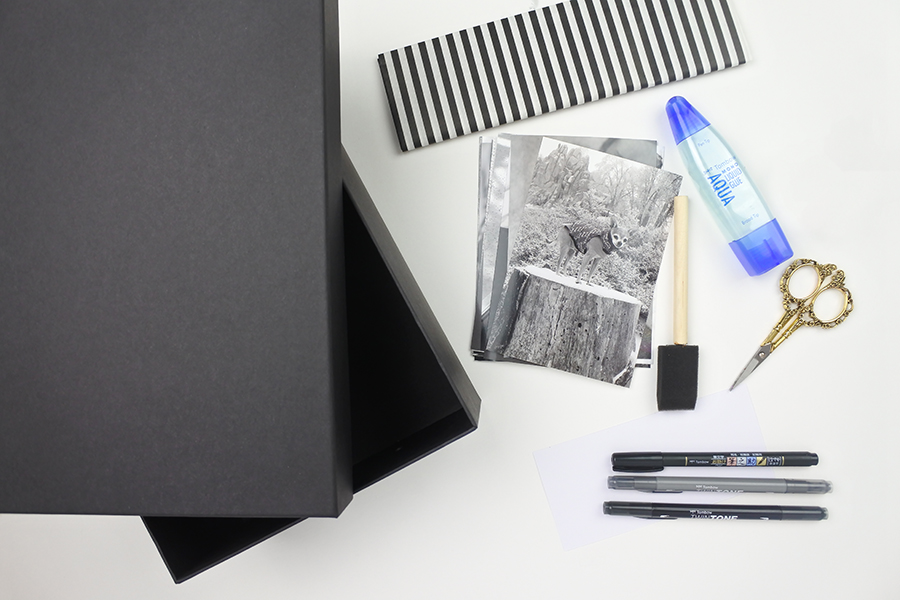
- Photo Box (or shoe box)
- Pictures (10-15)
- Tombow MONO Aqua Liquid Glue
- Thick Decorative Tissue Paper
- Foam Brush
- White Cardstock (1 sheet)
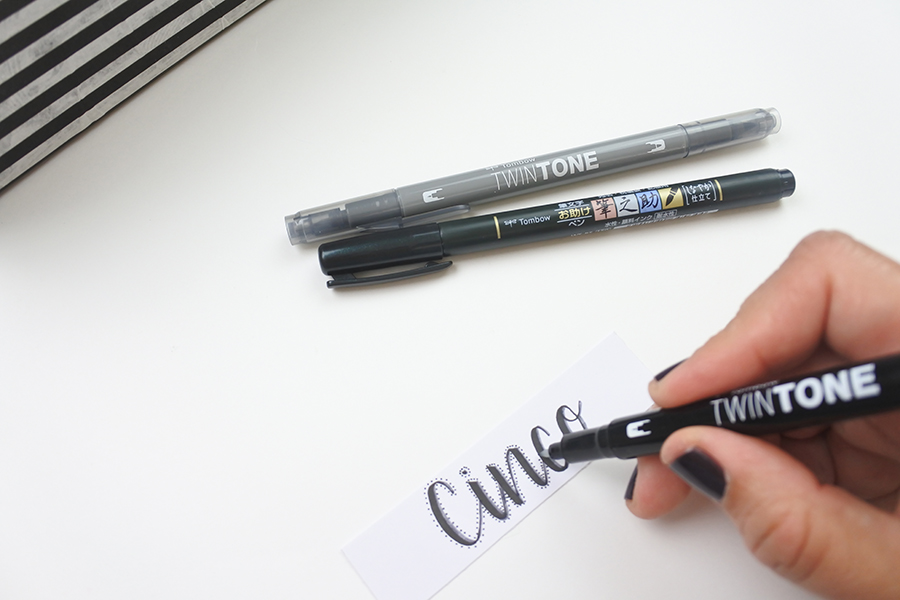
- Tombow TwinTone Markers (grey and black)
- Tombow Fudenosuke Brush Pen
- Scissors
Step One
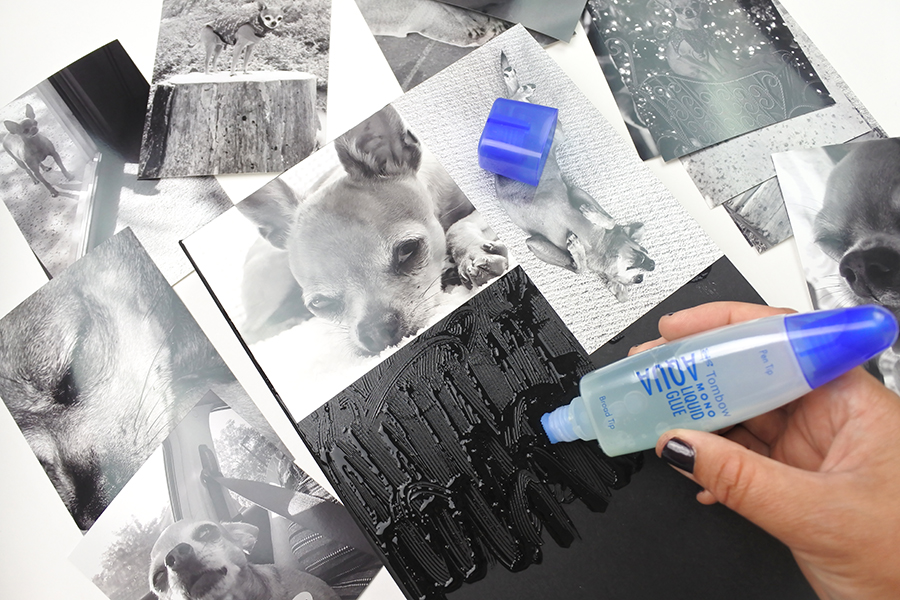
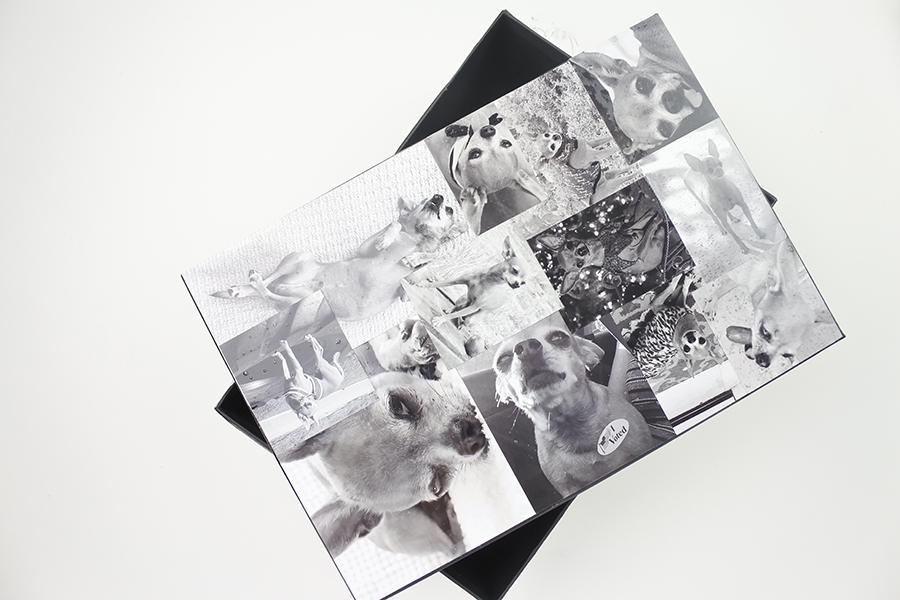
Decoupage dates back hundreds of years and is defined as gluing cutouts onto a box or small item and sealing it with a varnish. I haven’t done the decoupage technique in years and was ecstatic to do so with this project. Let’s begin. With the broad tip of the Tombow MONO Aqua Liquid Glue, apply small portions of the glue to the lid of the box and place a picture right on top of the adhesive. Because I was going for a collage effect, I had to trim many of the pictures once the layout started taking shape.
Step Two
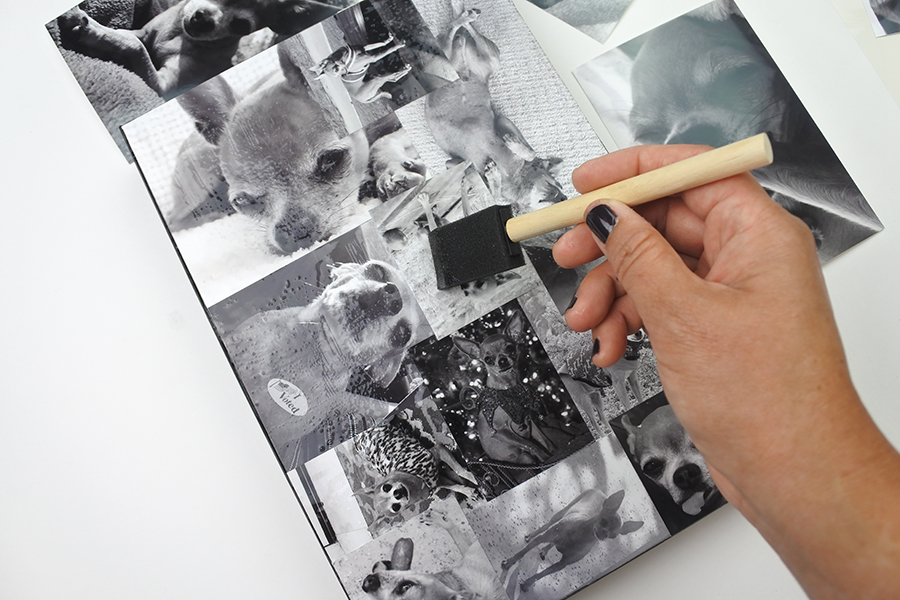
After all of the pictures were set to the lid of the box, seal it by squeezing generous amounts of Aqua Glue. The glue can be spread with the broad tip side of the glue bottle, but spreading it with a foam brush helps remove some of the air bubbles.
Step Three
Next, remove the metal identification plate on the front of the box by gently pulling it off (I did not use the plate in this project).
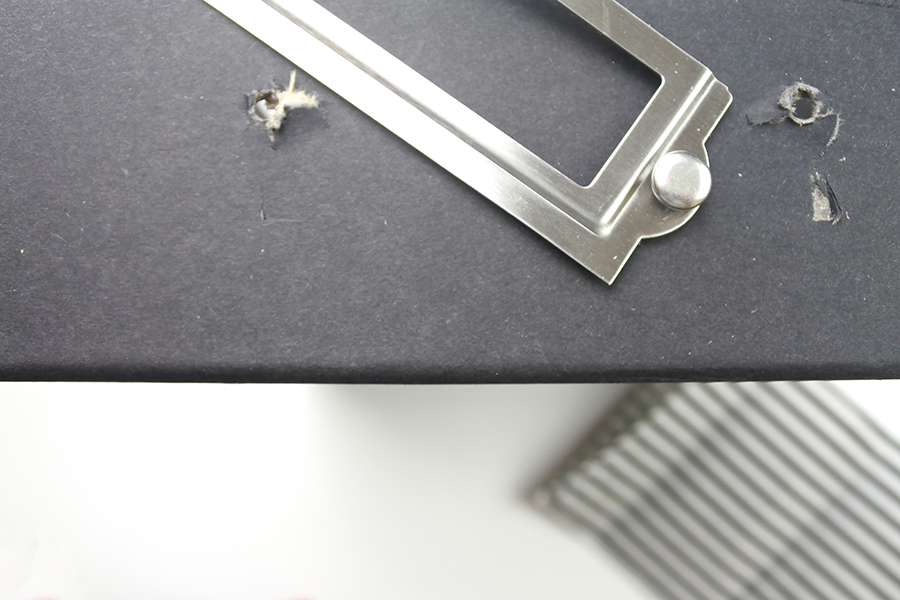
To take its place, I made my own identification tag for the box using a piece of white cardstock, Fudenosuke Brush Pen, and TwinTone Markers in grey and black.
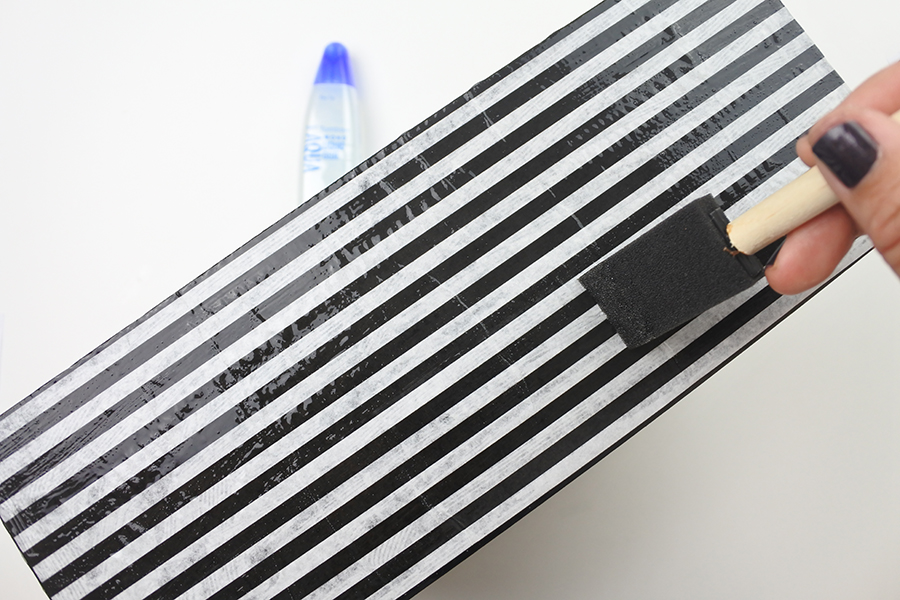
Step Four
Then I cut the tissue paper to fit the 4 sides of the box. I applied the tissue paper using the same Aqua Glue and the same method I did in step one. After gluing all four pieces to the sides of the box, I did the same with identification tag, placing it where the metal plate once was. Last, I sealed the tissue paper and tag just like I did in step two. Allow the box to fully dry before using it. Dry times vary depending on the amount of glue used.
Thank you so much for joining me on this blast to the past decoupage project. I am so glad I’m printing photos again. I forgot how fun it was to share a tangible item rather than swiping left and right on a cell phone.
Renee Day