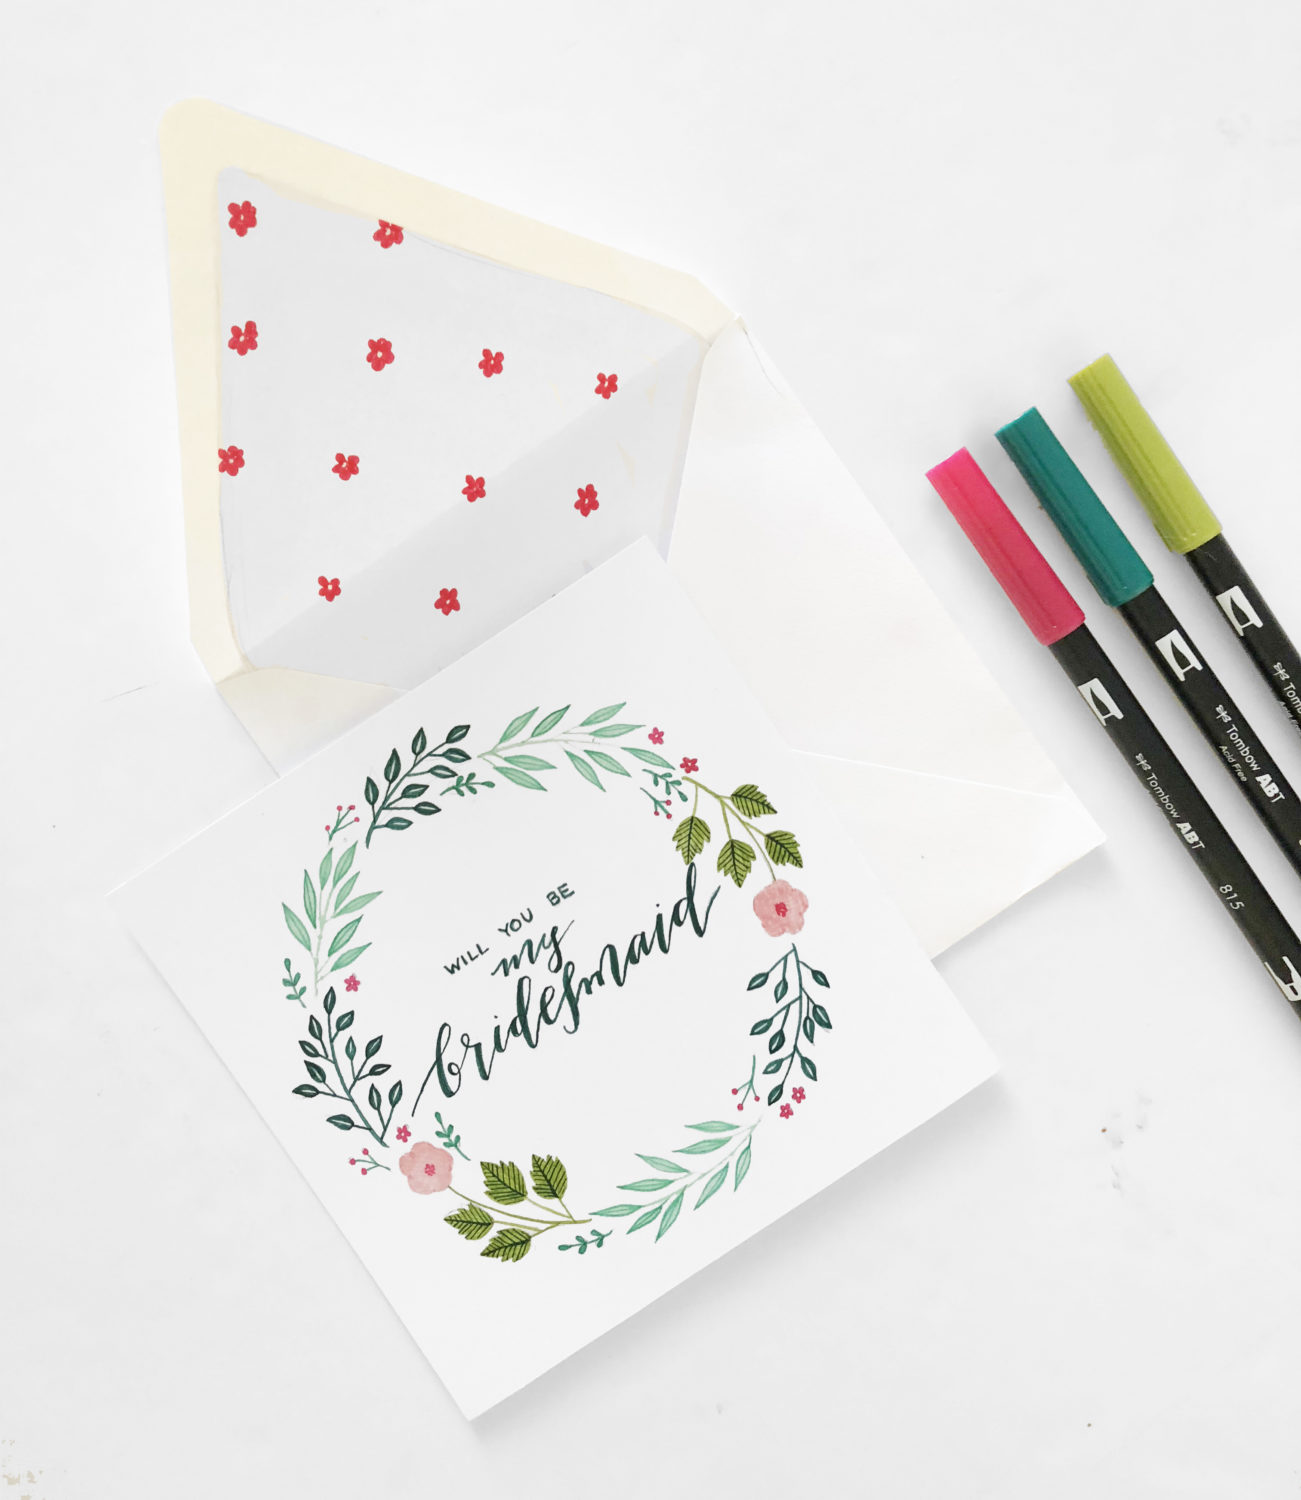
Hi! It’s Bonnie from Archer and Olive here today taking over Tombow‘s blog to show you how to create this cute little bridesmaid card and lined envelope. It’s officially wedding season! You may know a bride-to-be, or you may be one yourself (if so, congrats!). This great little tutorial will show you how to create a cute card to ask your best girls to stand by your side on your special day.
To start, you will need:
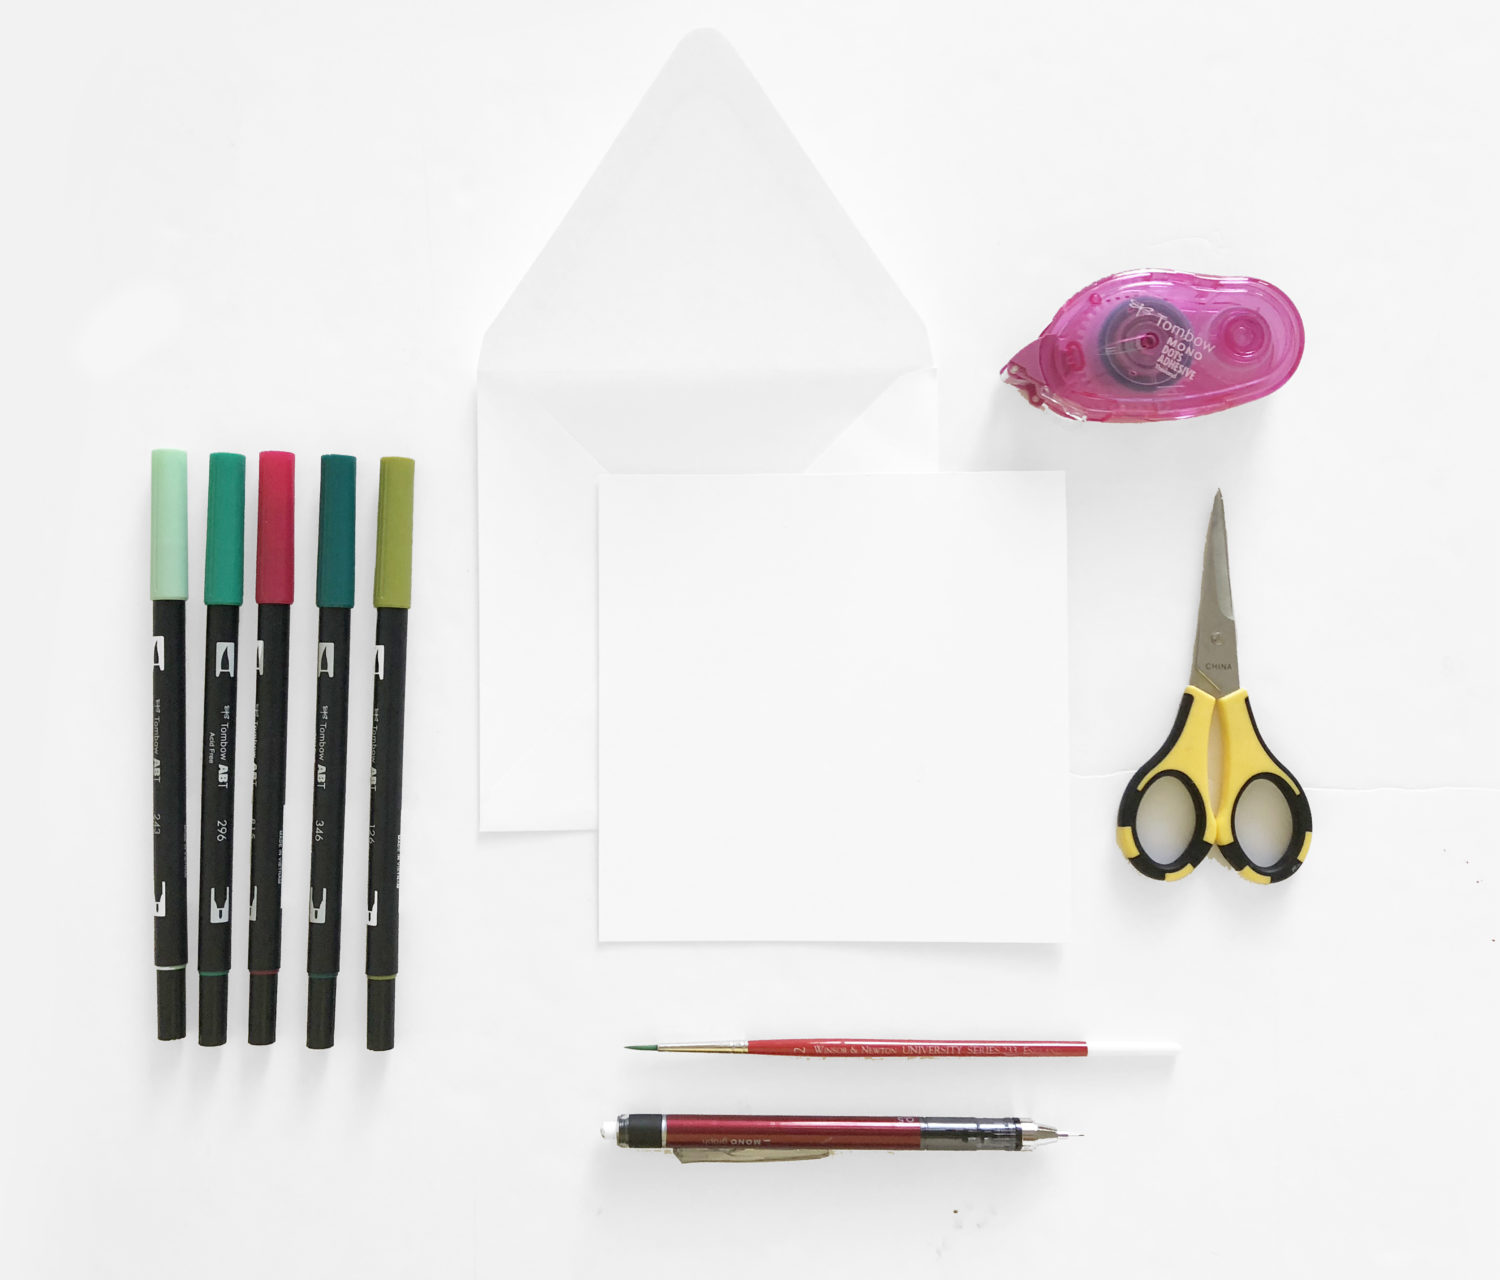
- 5.5″x5.5″ piece of cardstock
- 1 sheet of computer paper
- Envelope (6″x6″)
- Your favorite Tombow Dual Brush Pens
- Tombow Blending Palette
- Paintbrush
- Tombow MONO Dots Adhesive
- Tombow Mechanical Pencil
- Scissors
Step 1:
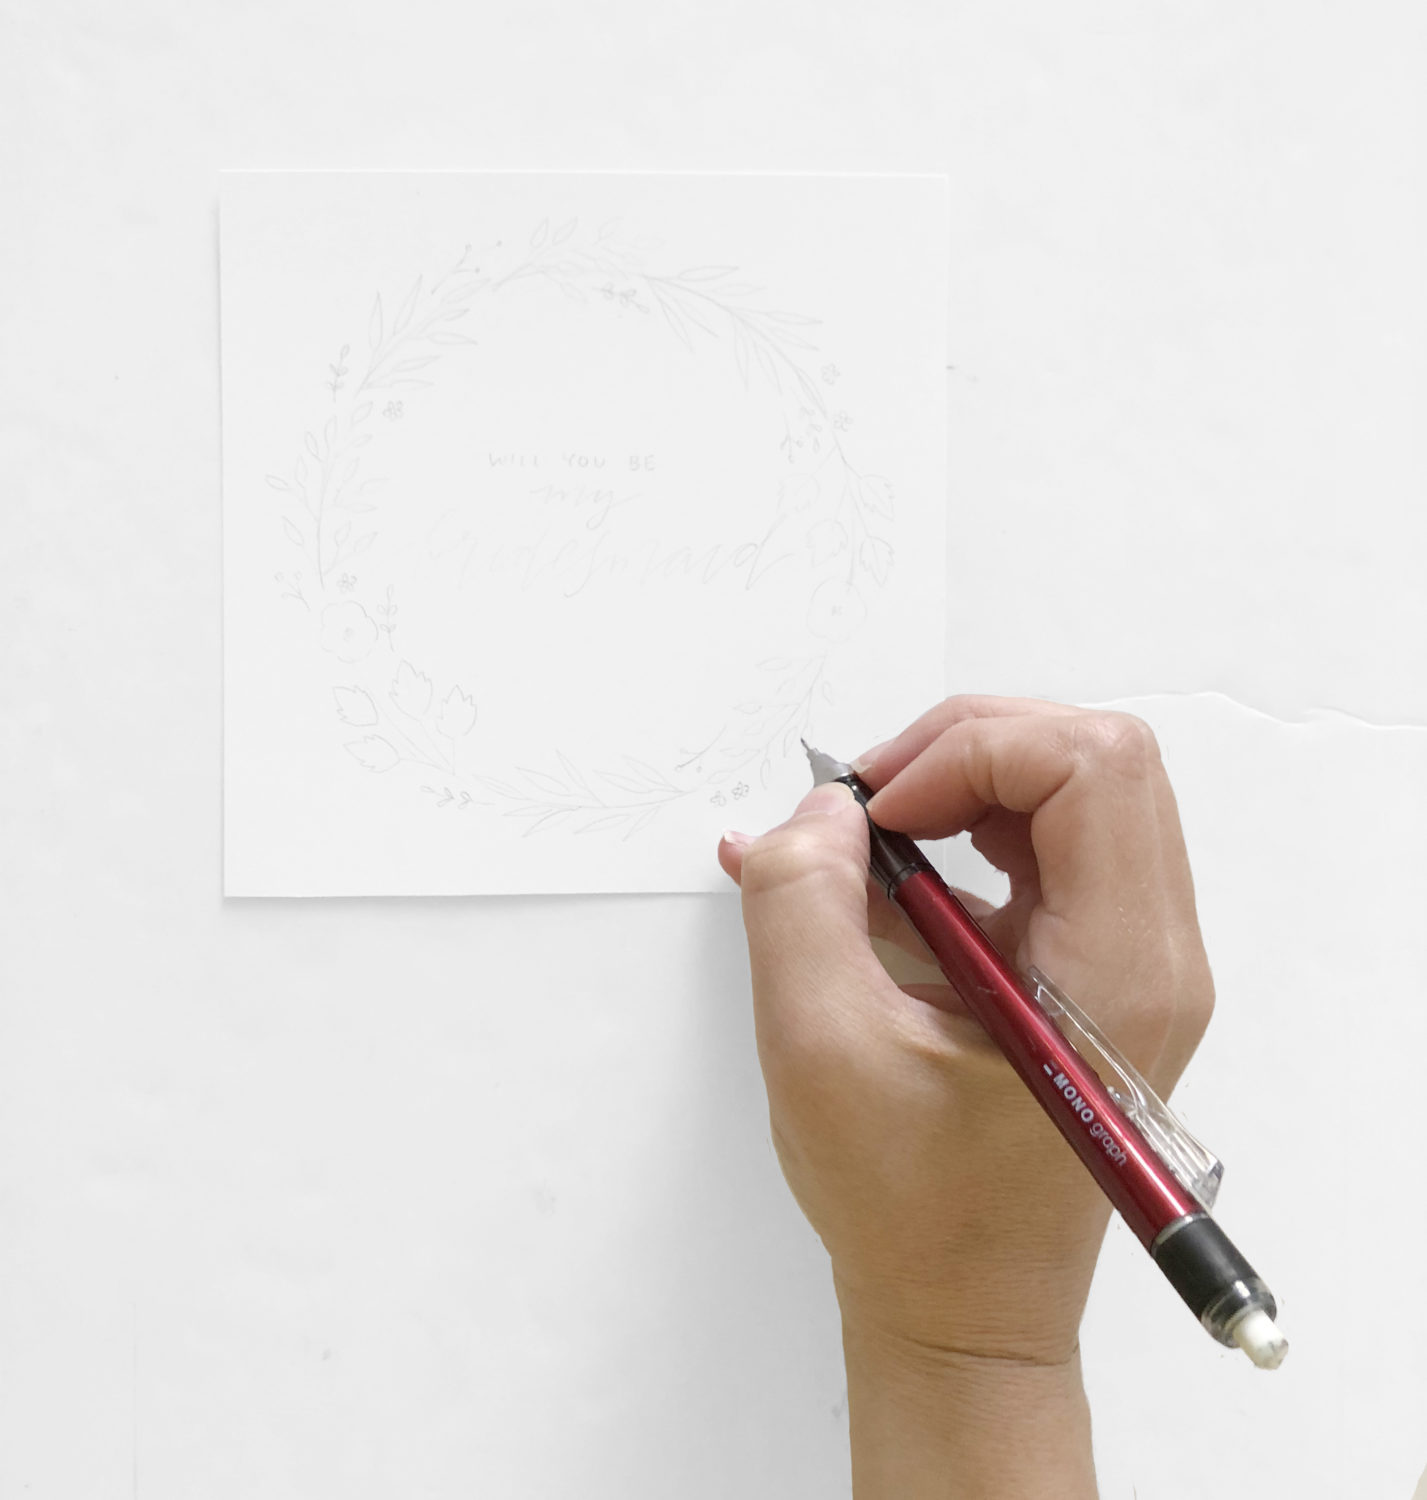
On the cardstock, draw the design you want with your Tombow Mechanical Pencil.
Step 2:
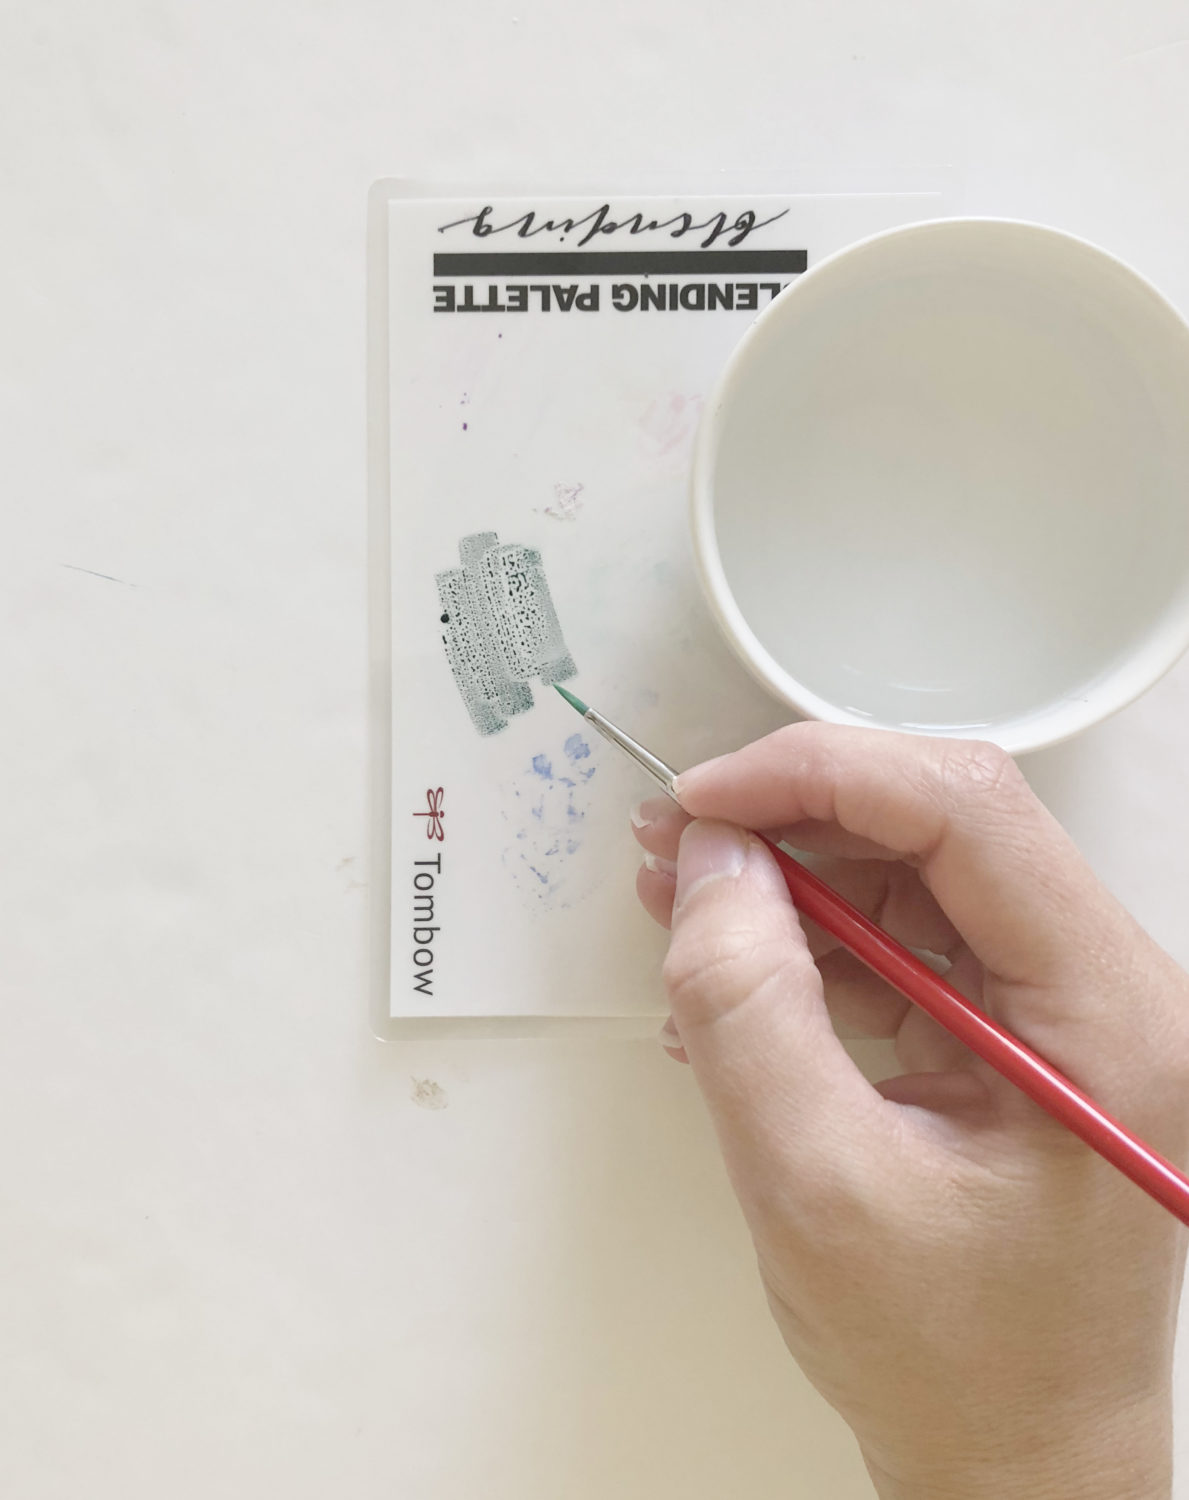
Use your Dual Brush Pens like watercolor! Simply apply some ink to the Blending Palette, and you can use the ink just like watercolor. A small amount of water goes a long way!
Step 3:
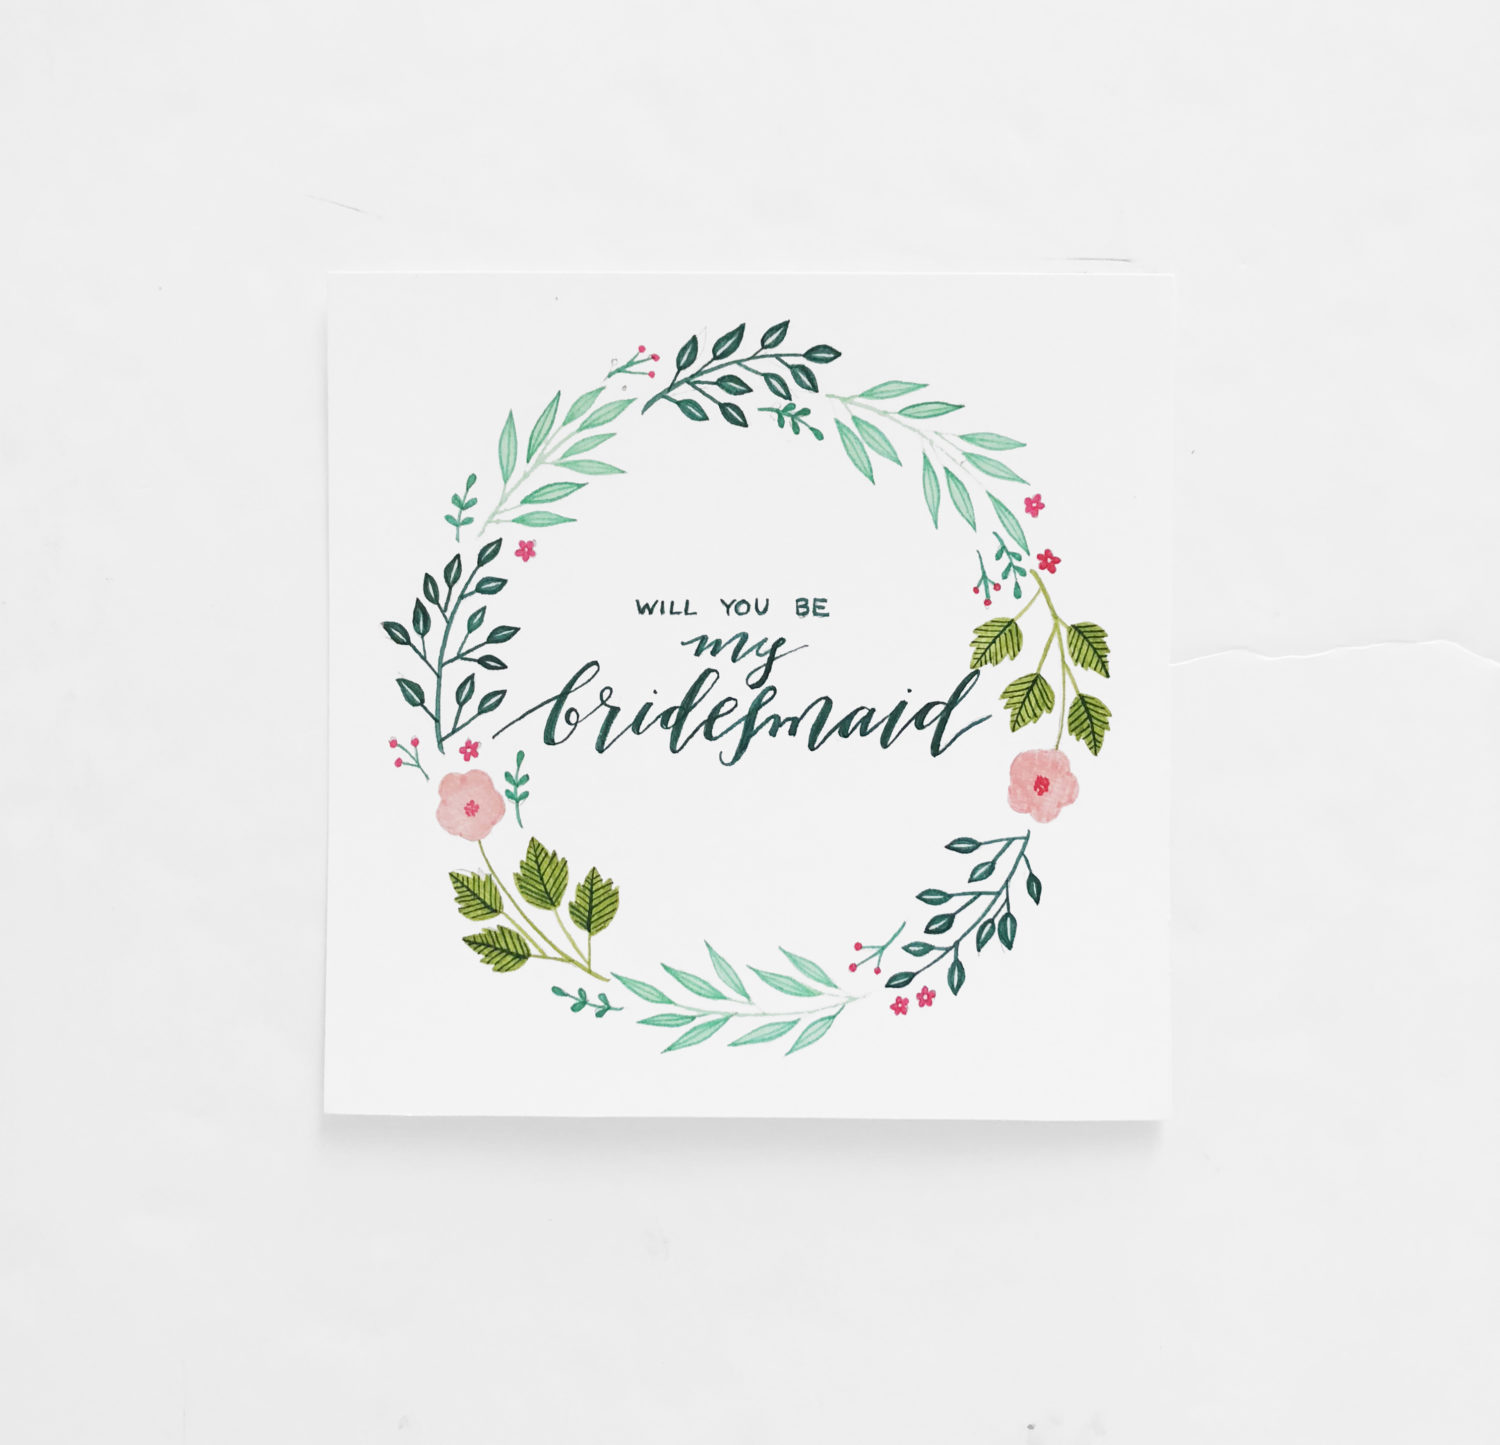
Use your paintbrush, and fill in the design you just drew.
Step 4:
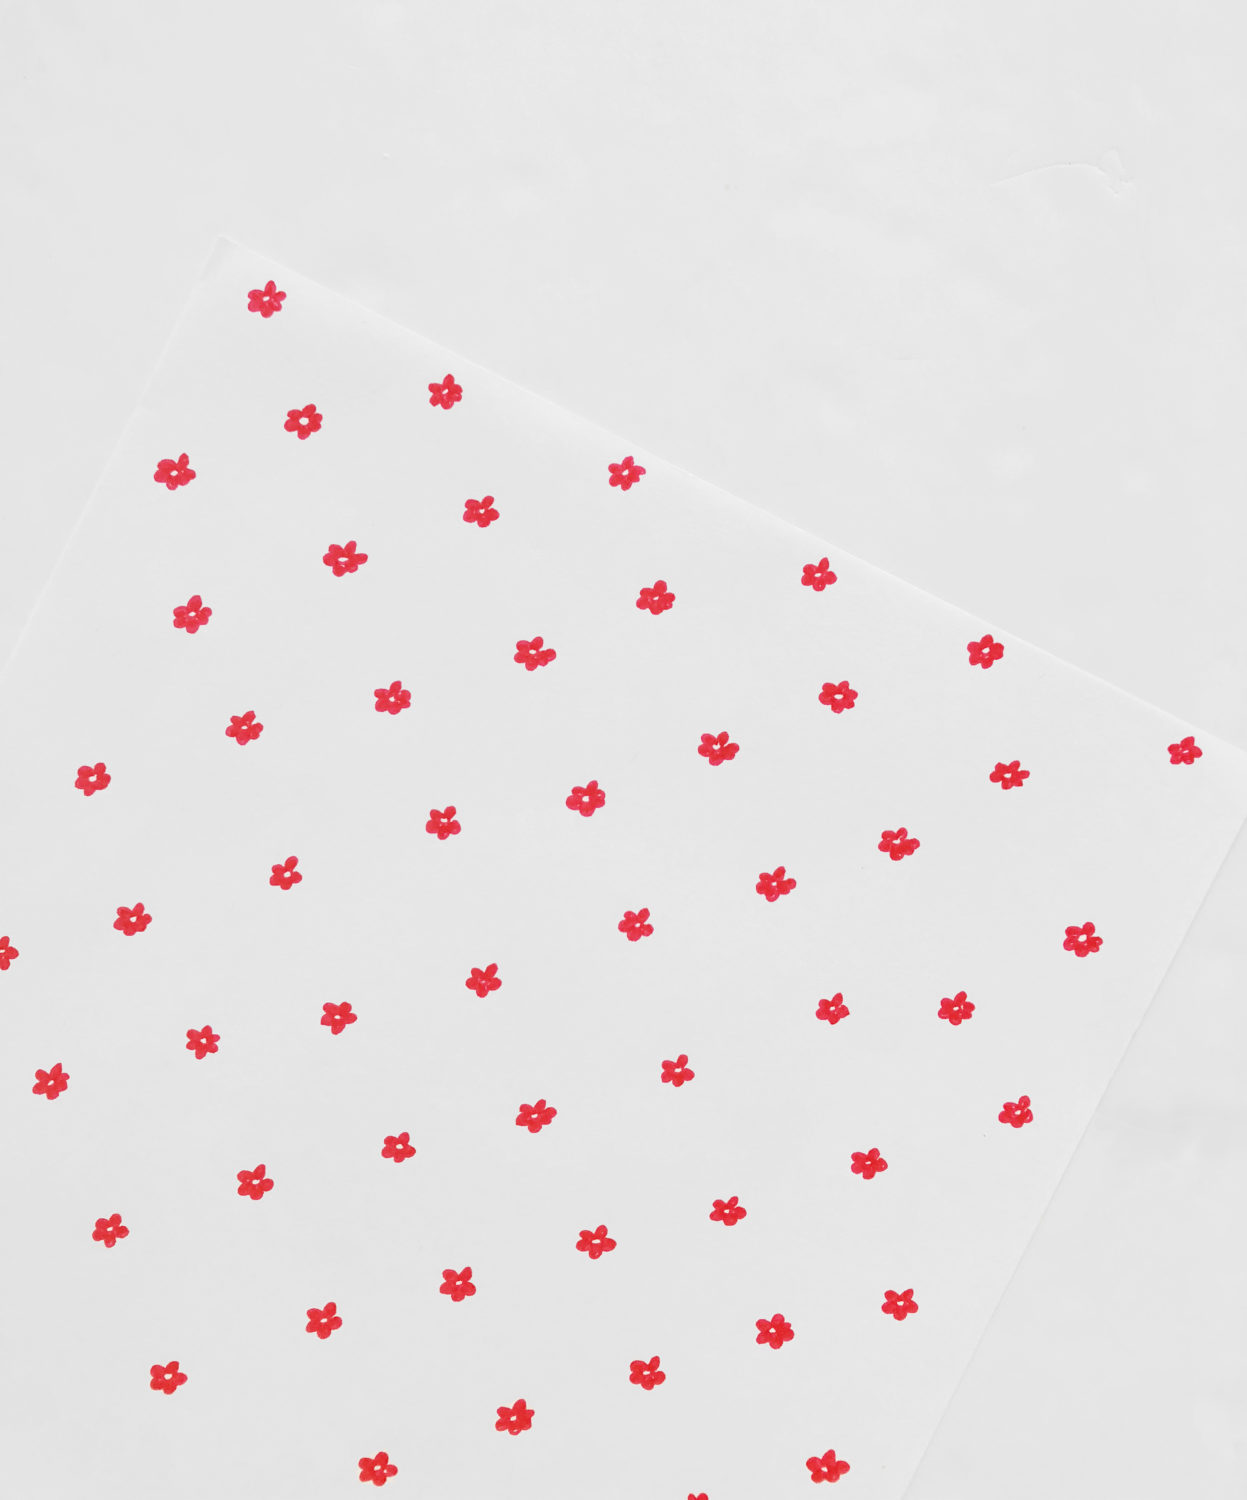
On your computer paper, draw a pattern for the envelope liner. Use the fine/bullet tip of the Dual Brush Pen so you do not fray the brush tip on this paper.
Step 5:
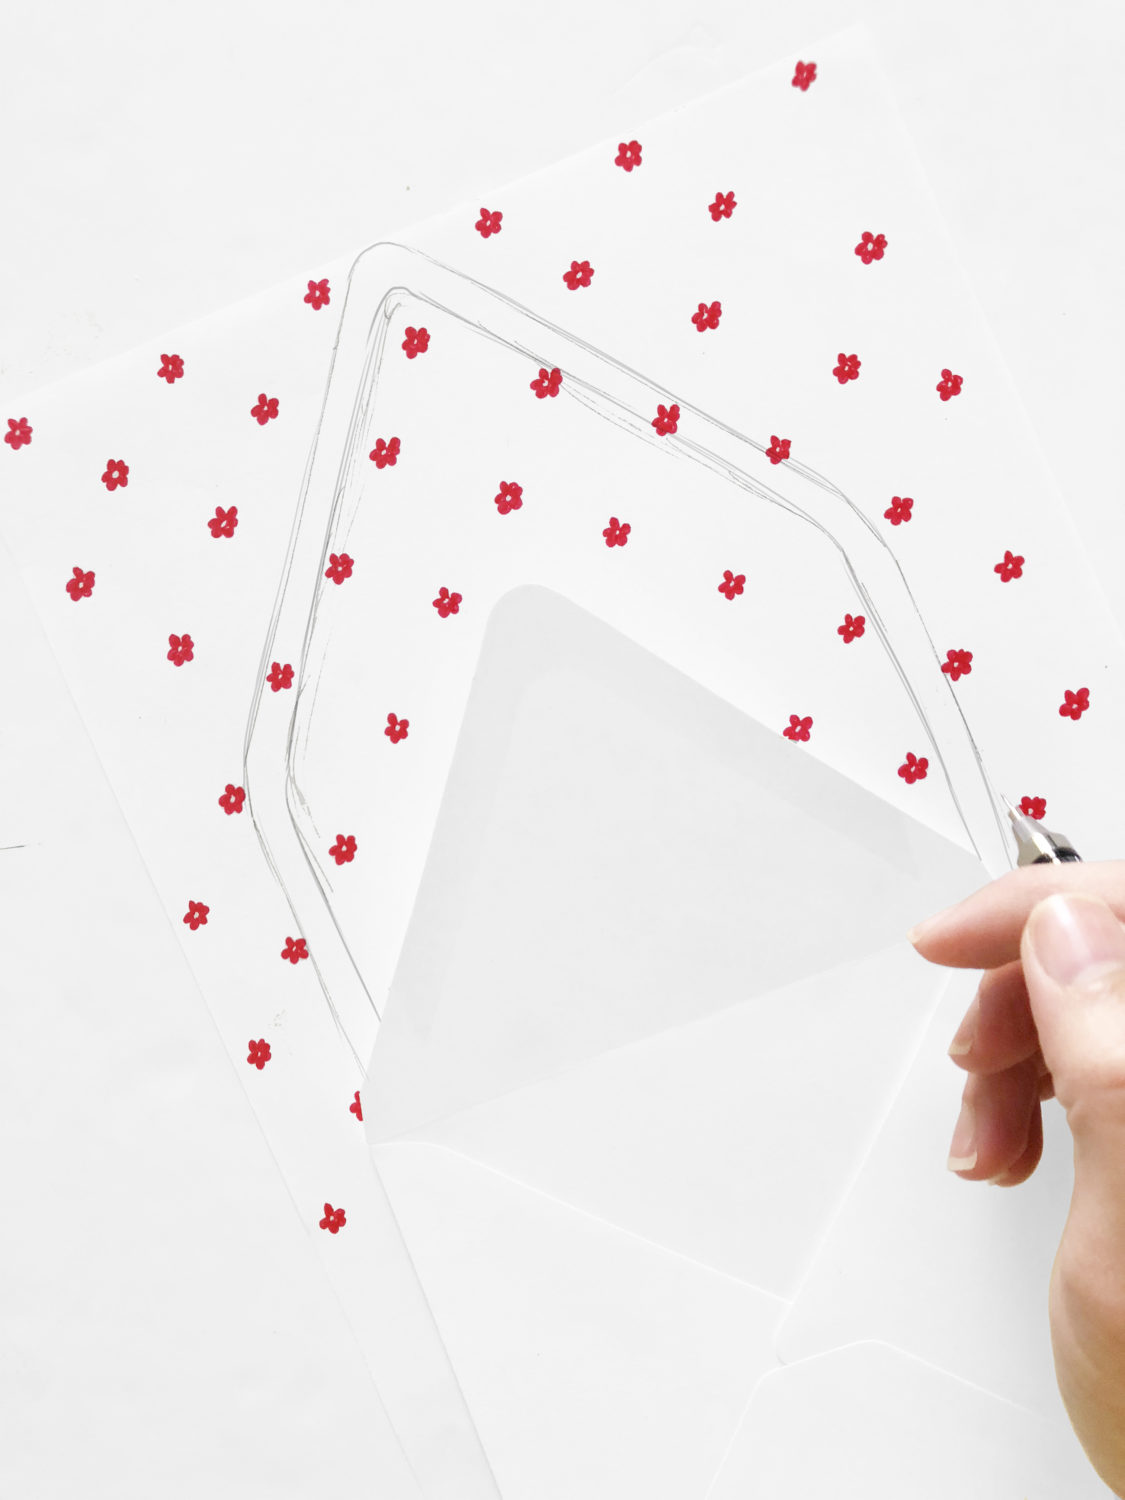
Trace the shape of your envelope onto the patterned sheet of paper. Then draw a line on the inside of that shape, about 1/3″ away from the original line.
Step 6:
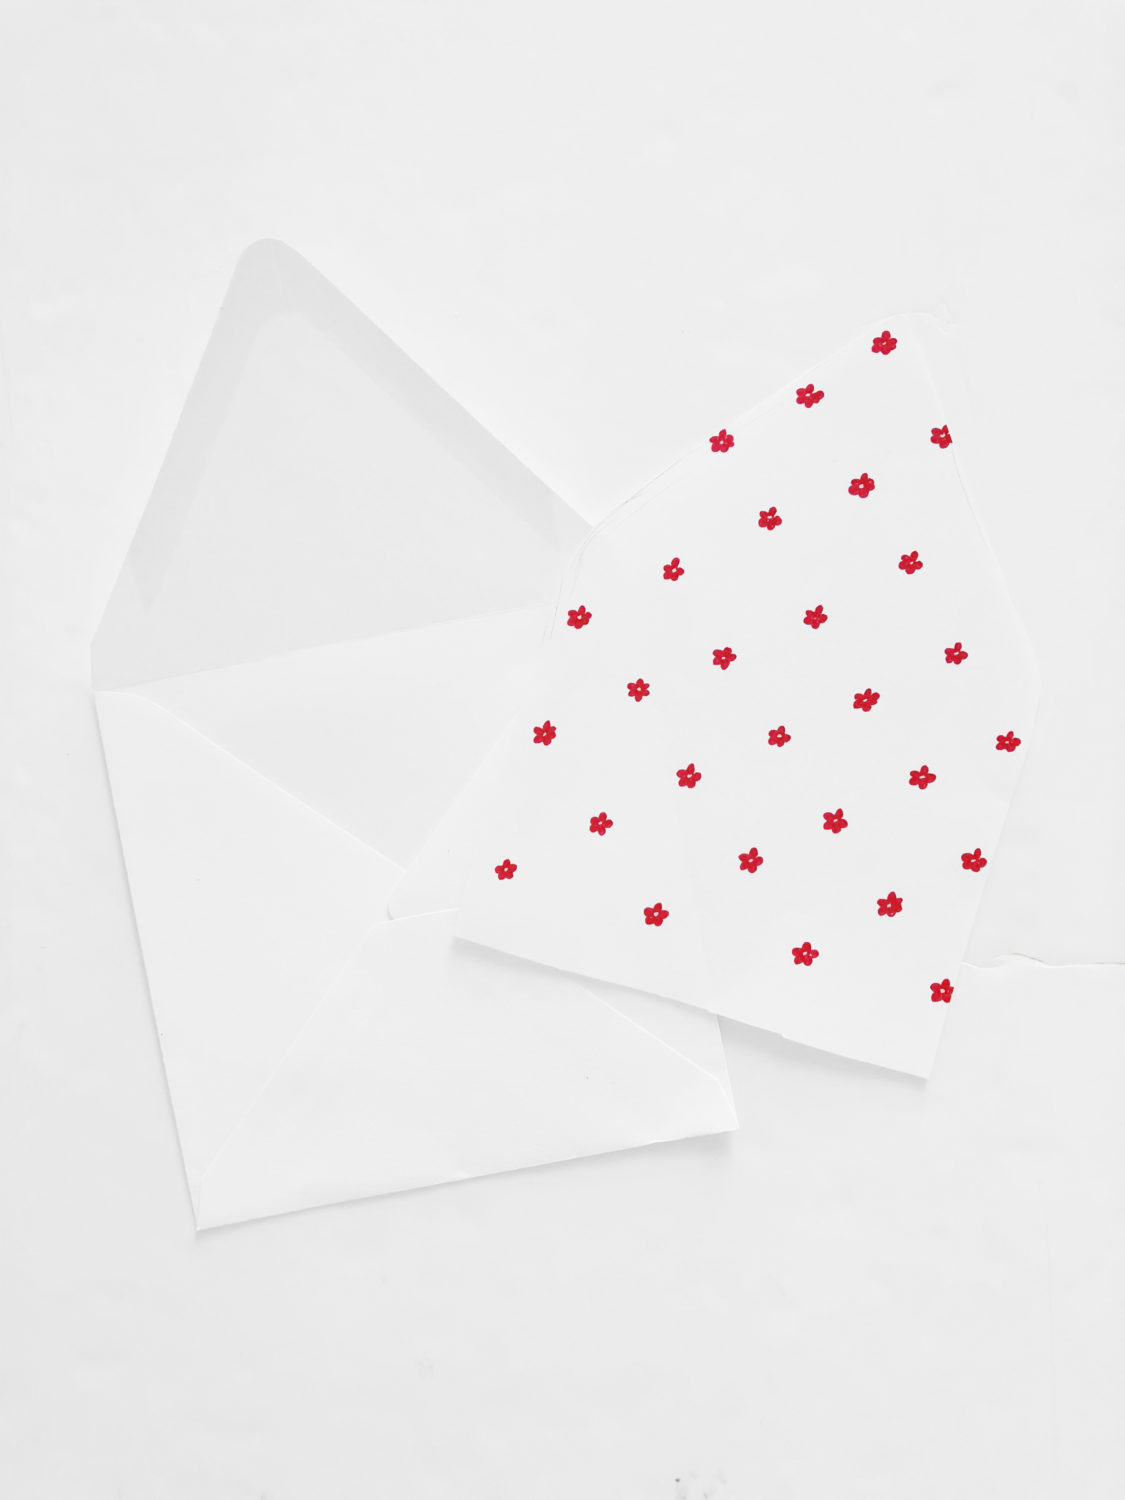
Cut out on the inner line.
Step 7:
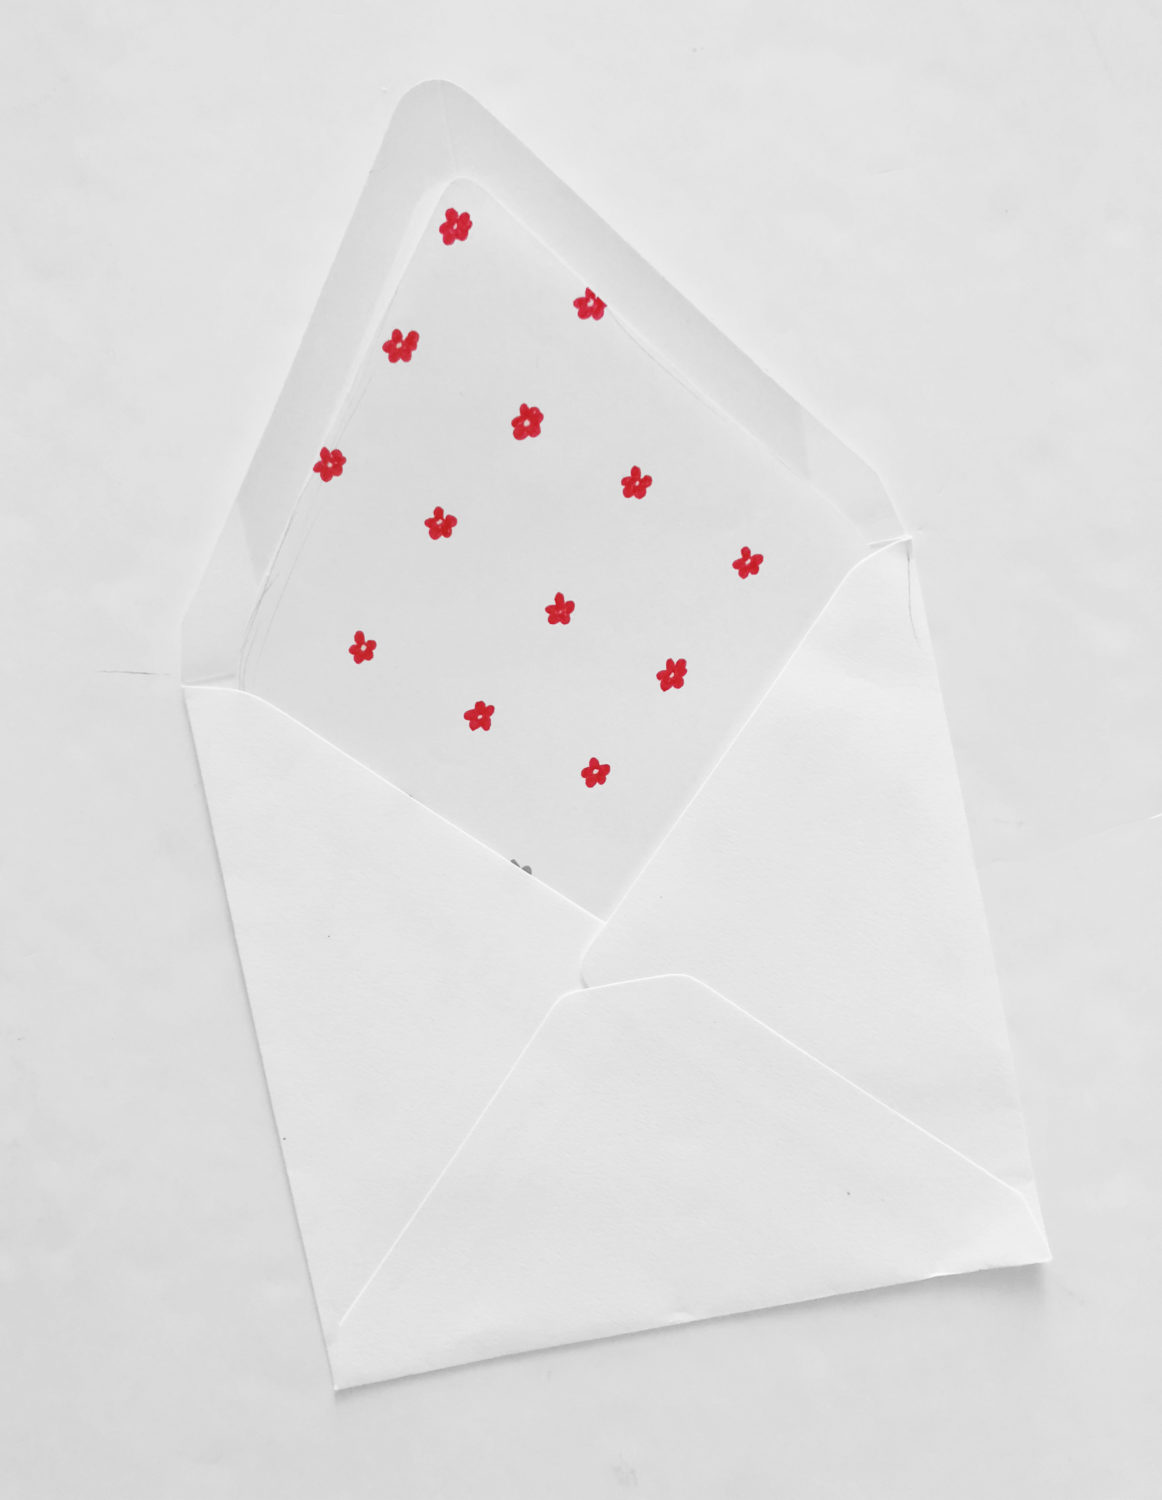
Place the patterned sheet of paper inside the envelope. Line the pattern just beneath the glue line.
Step 8:
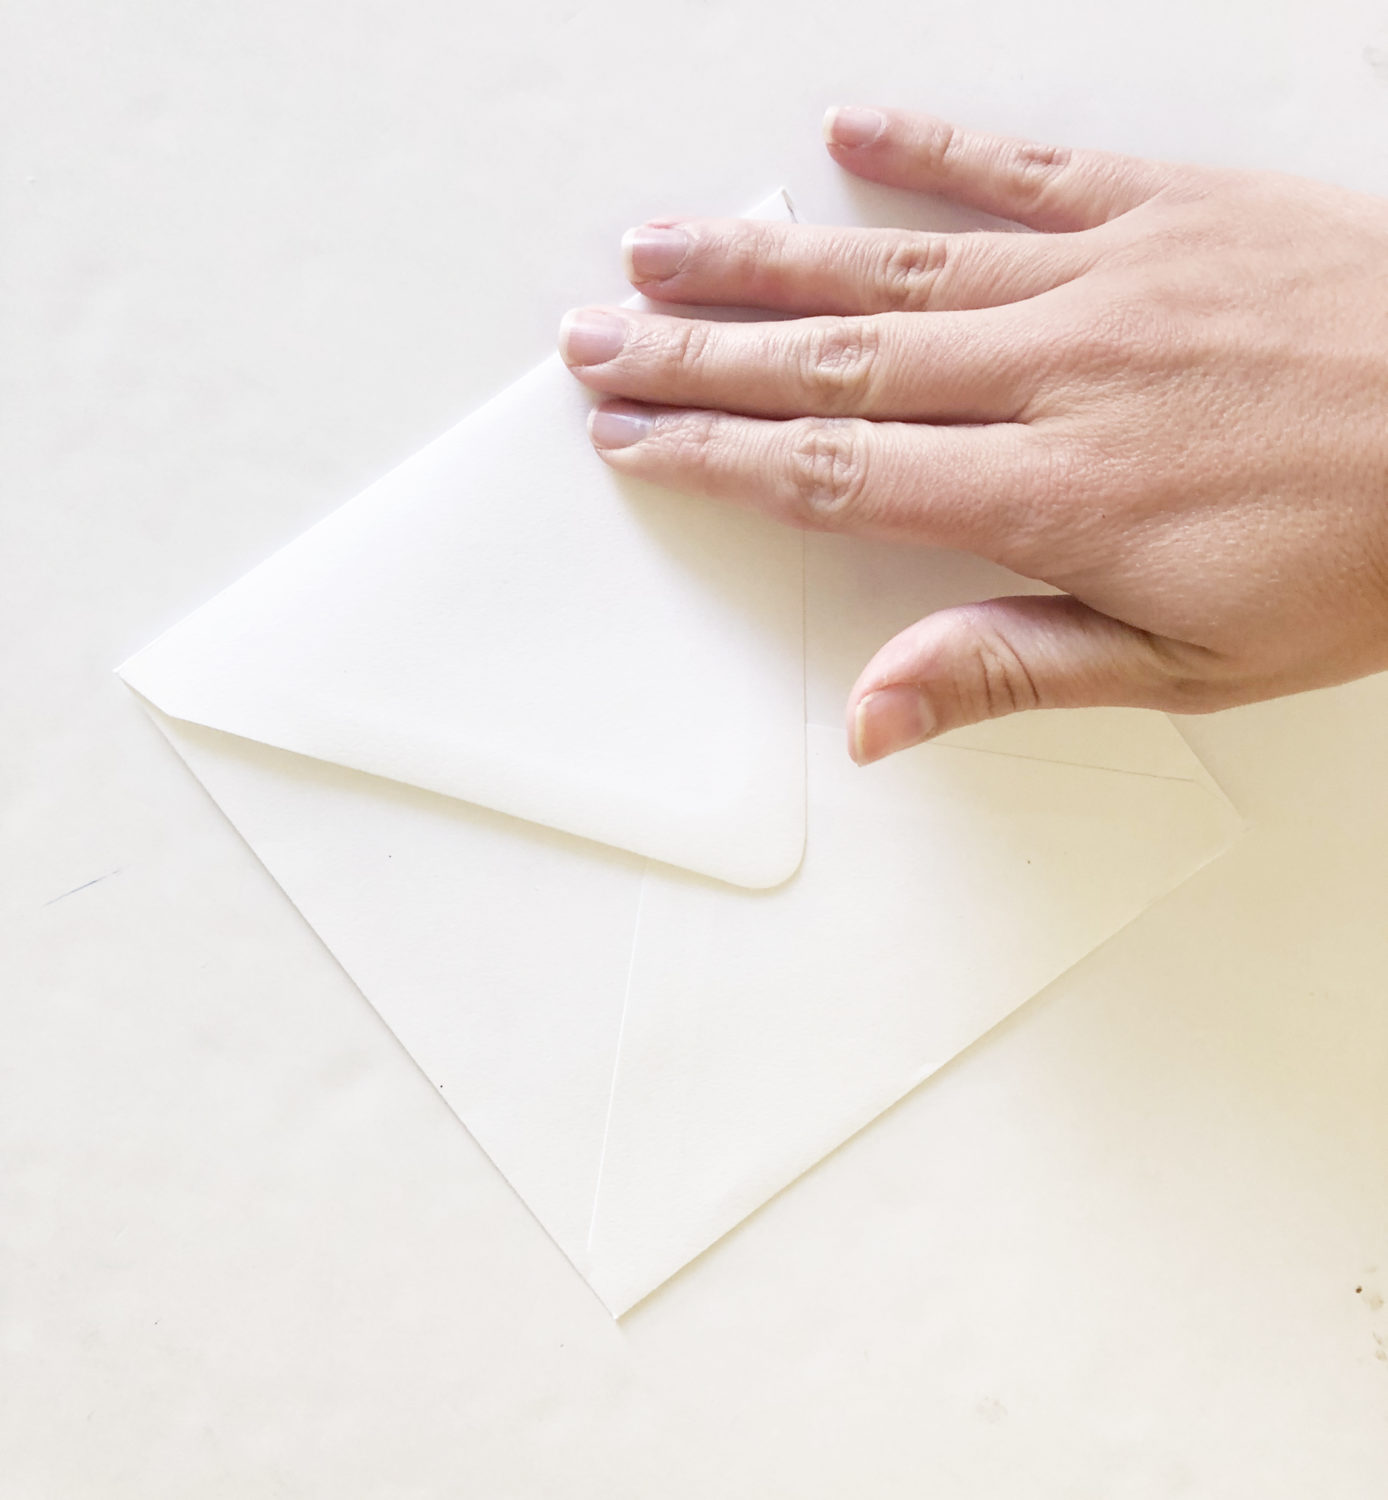
Fold the flap of the envelope, and the envelope liner down.
Step 9:
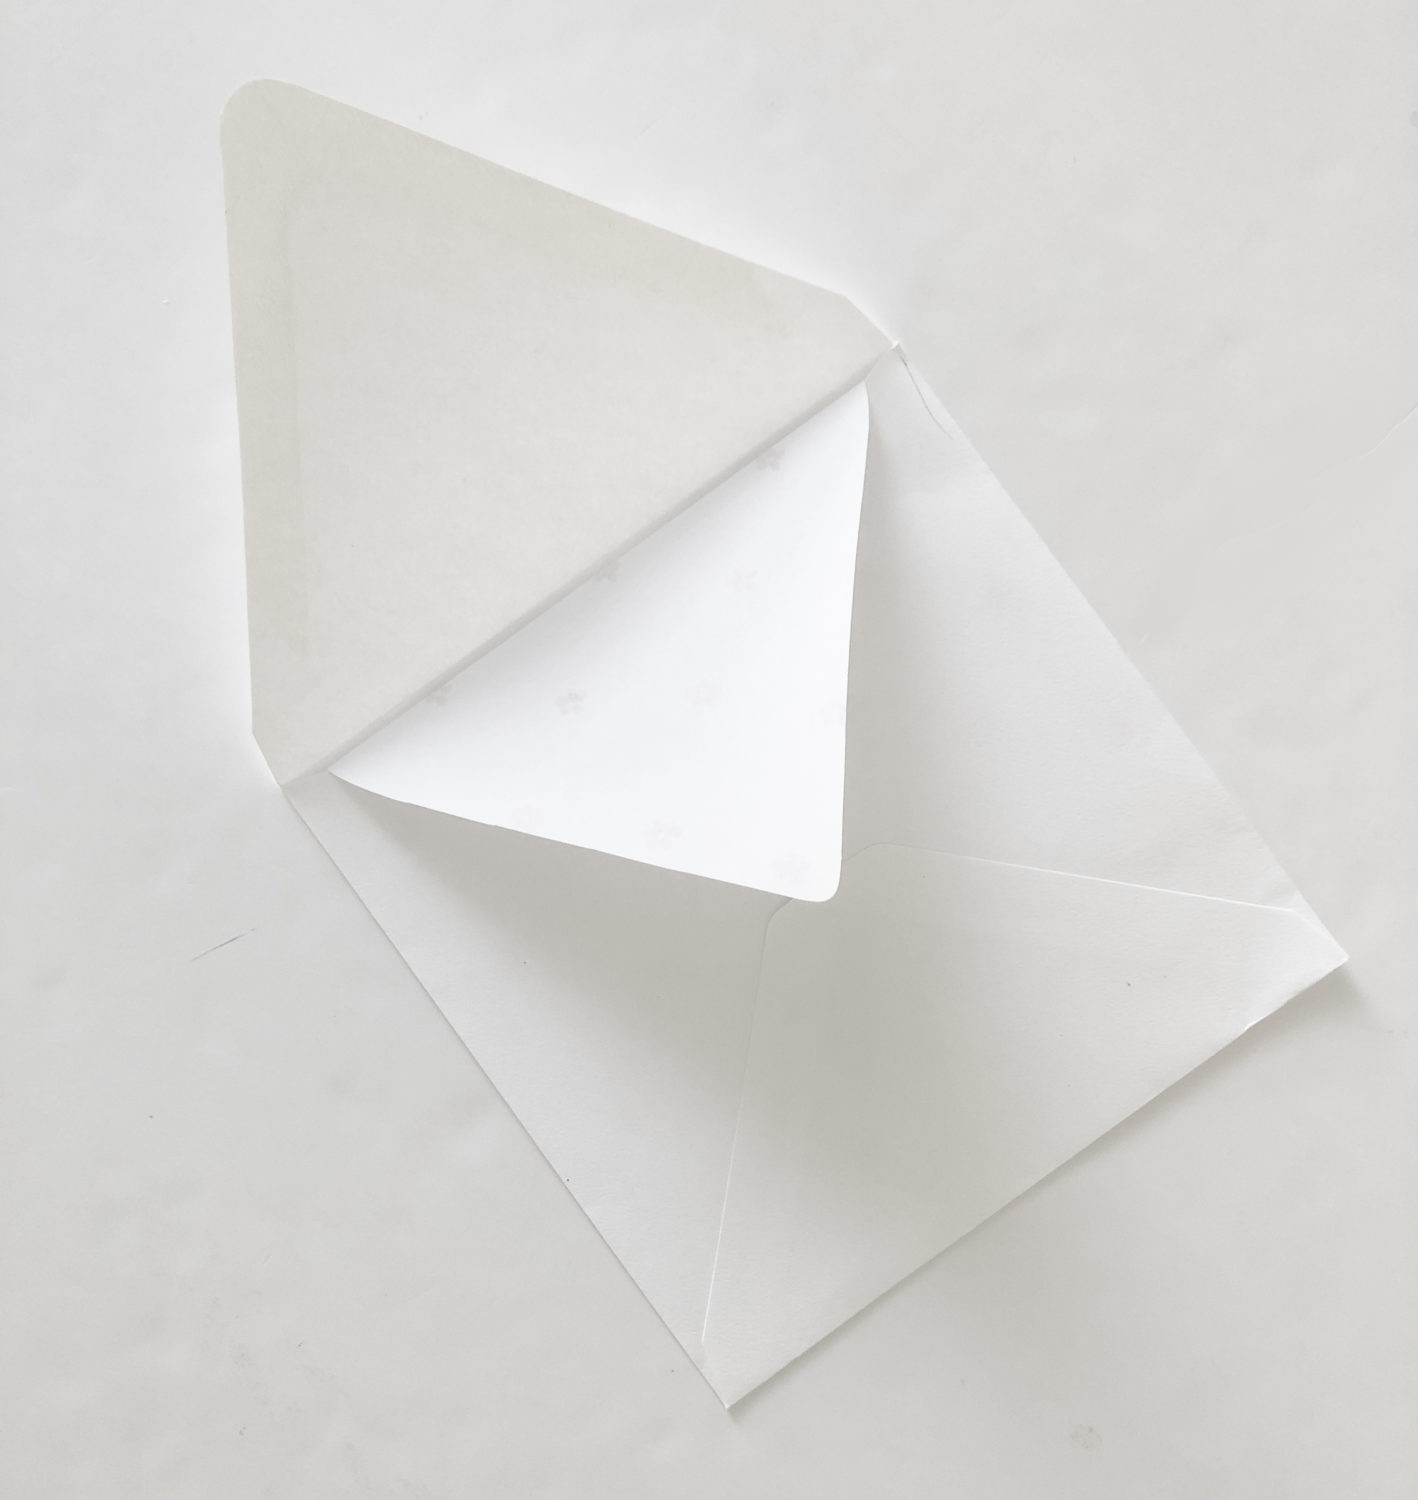
Fold the flap back up, but leave the liner down.
Step 10:
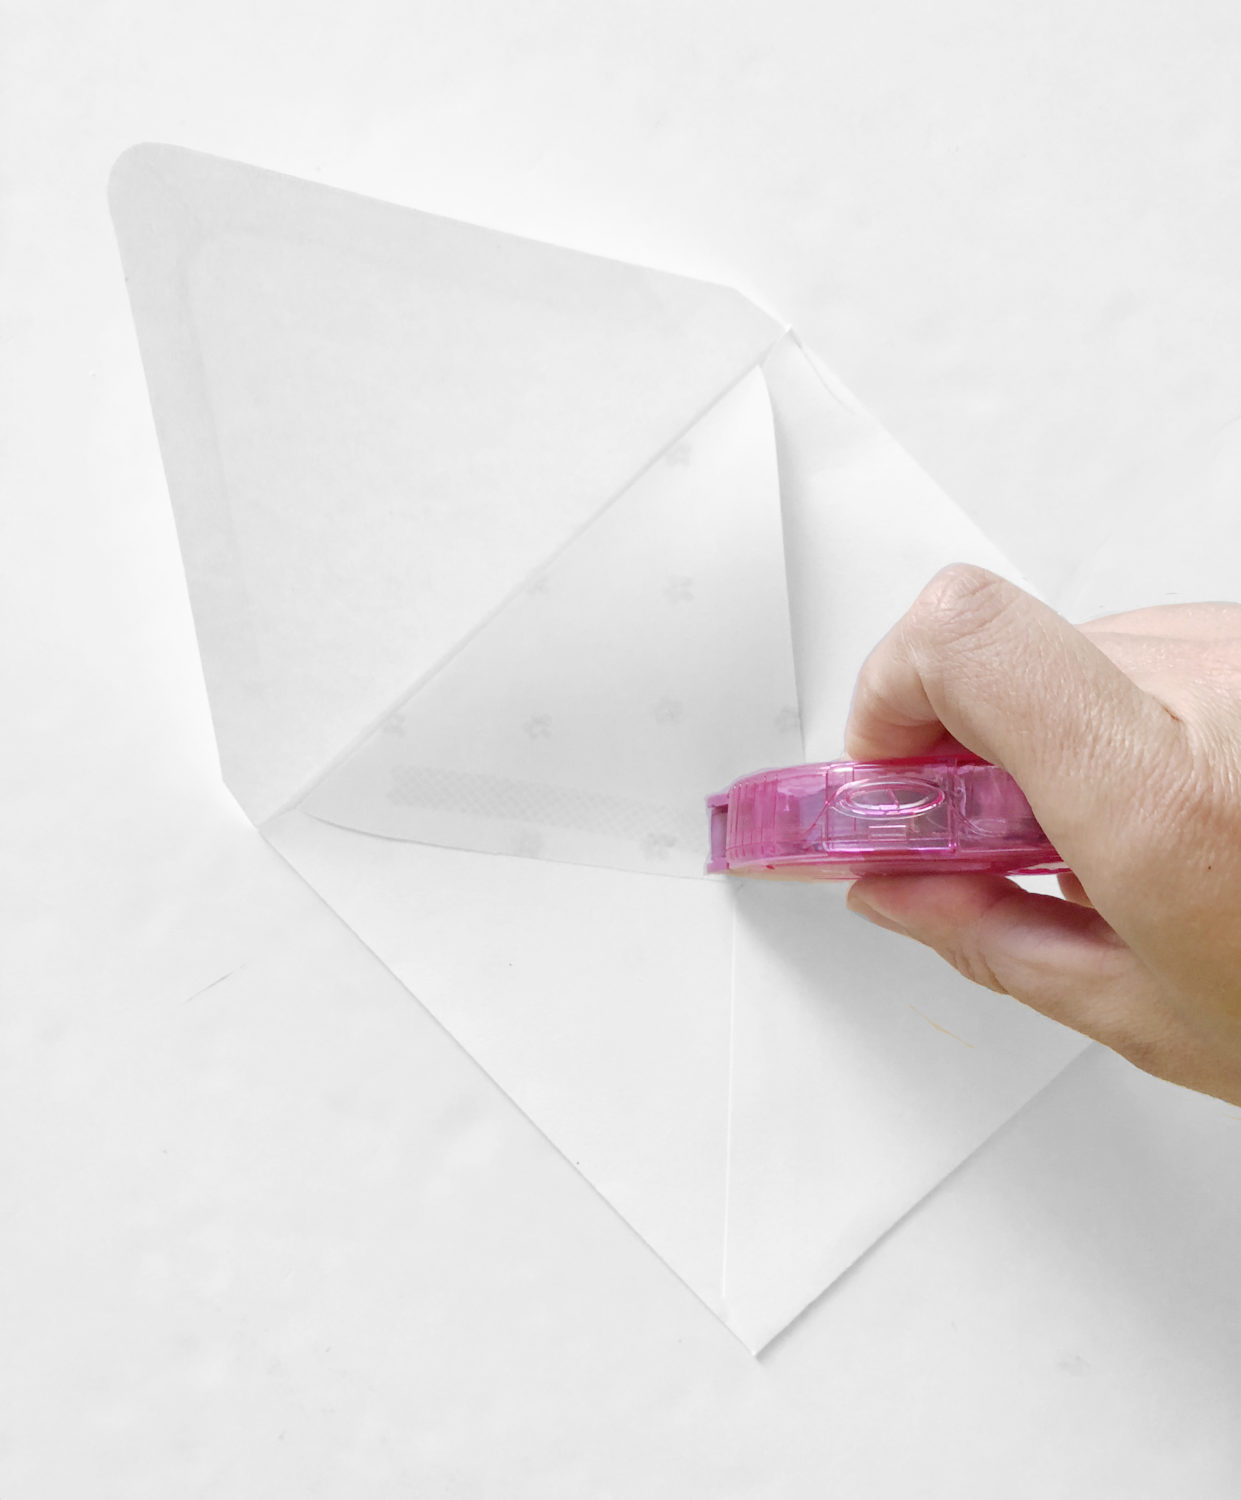
Apply Tombow MONO Dots Adhesive to the backside of the liner.
Step 11:
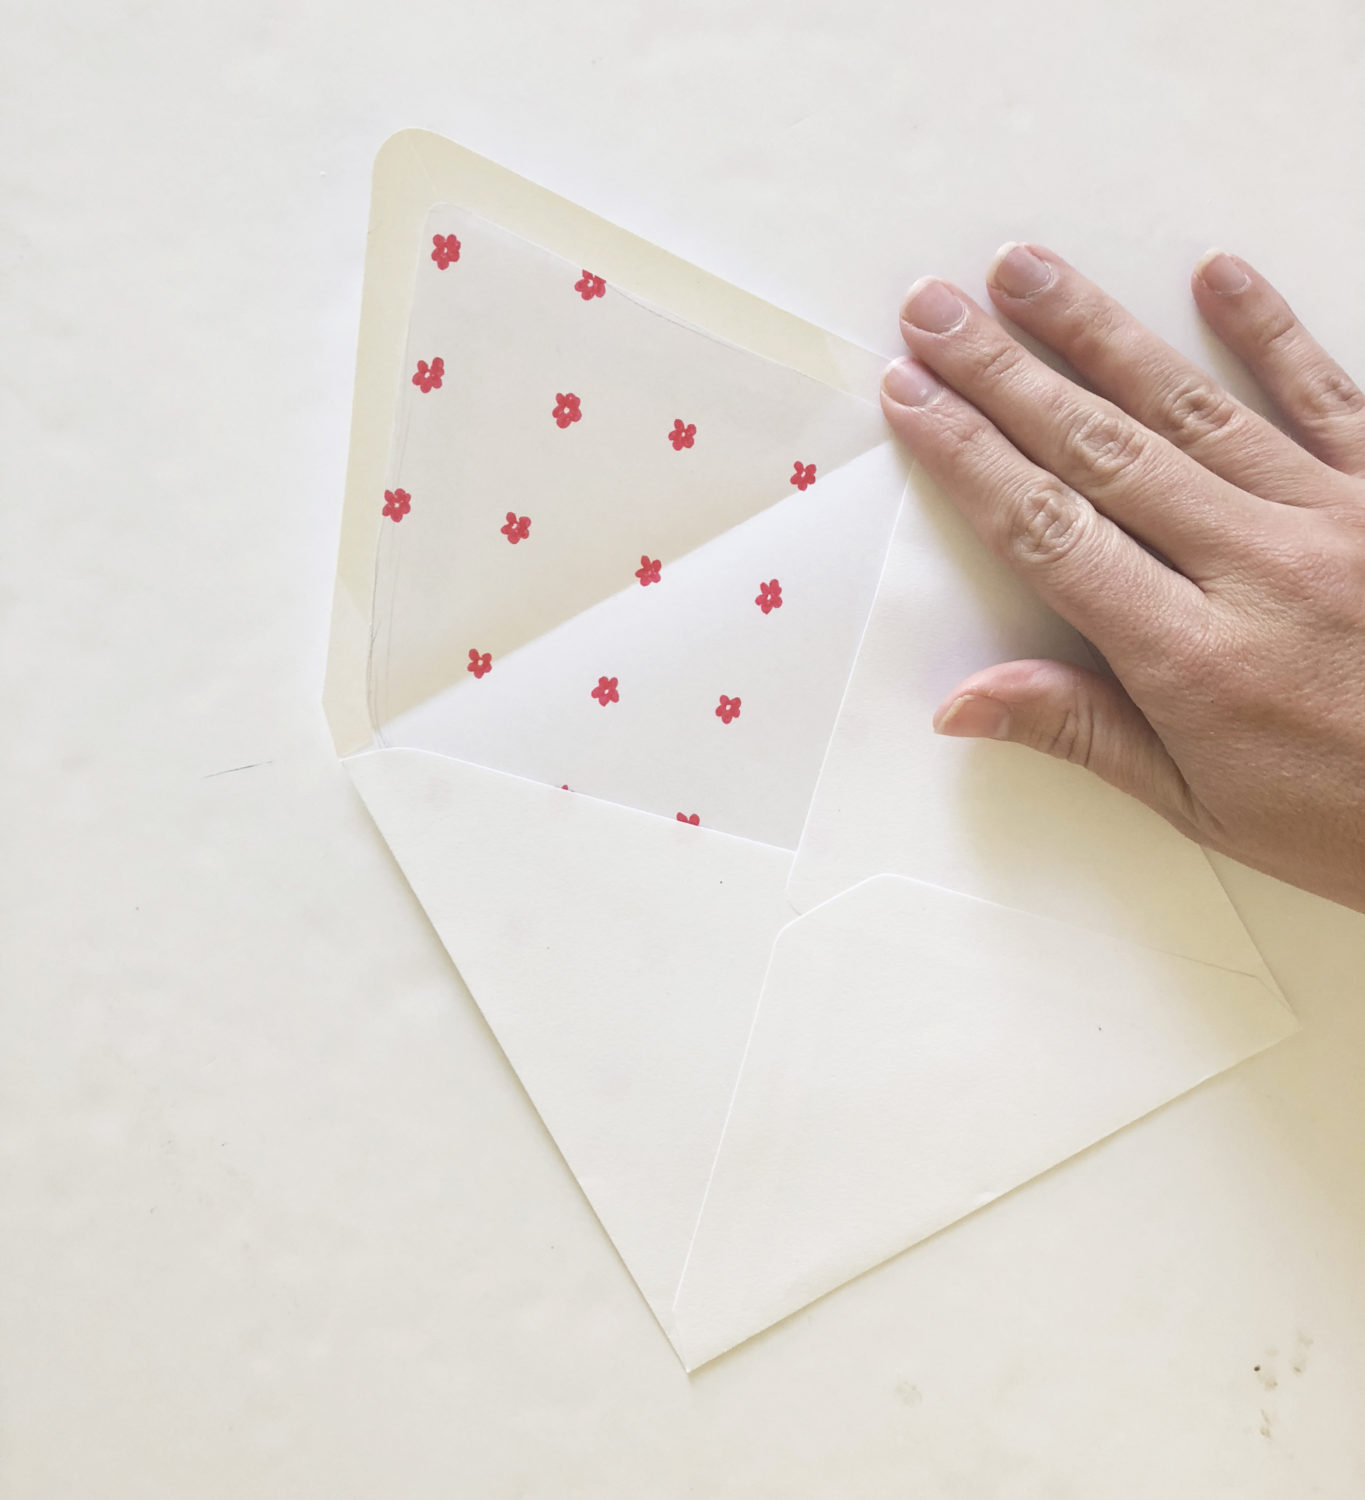
Adhere the liner to the flap. Erase any visible pencil marks and you’re finished!
If you create your own bridesmaid card and envelope liner, be sure to share it with us on social media by tagging @TombowUSA and using #TombowUSA! We can’t wait to see what you create.