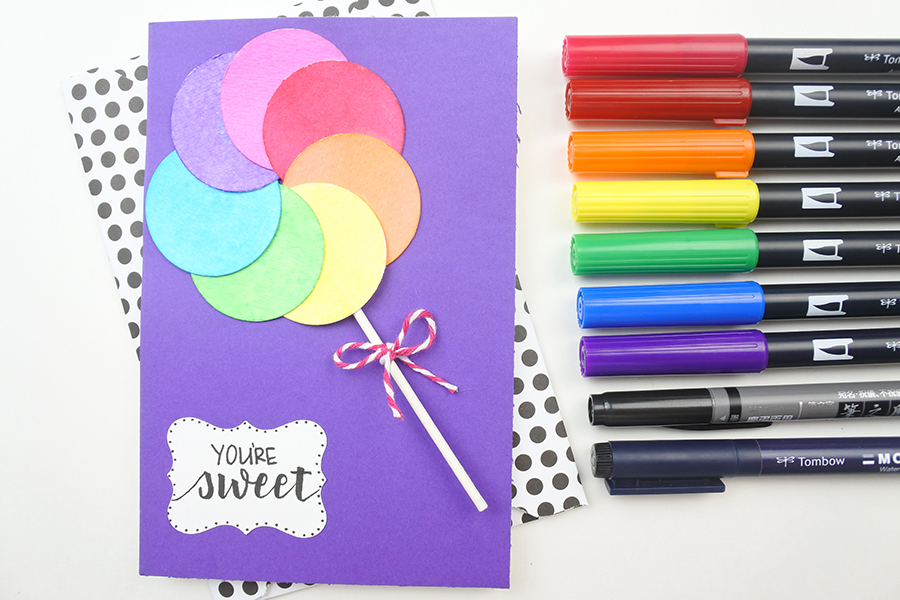
Hi friends, it’s Renee here with @thediyday and this week at Tombow it’s all about emojis. When it comes to texting, I’m all about selecting the right emoji as a form of expression. Today, I’m designing the cutest card inspired by the lollipop emoji. The lollipop emoji is so cute and colorful and to me this emoji means “you’re so sweet.”
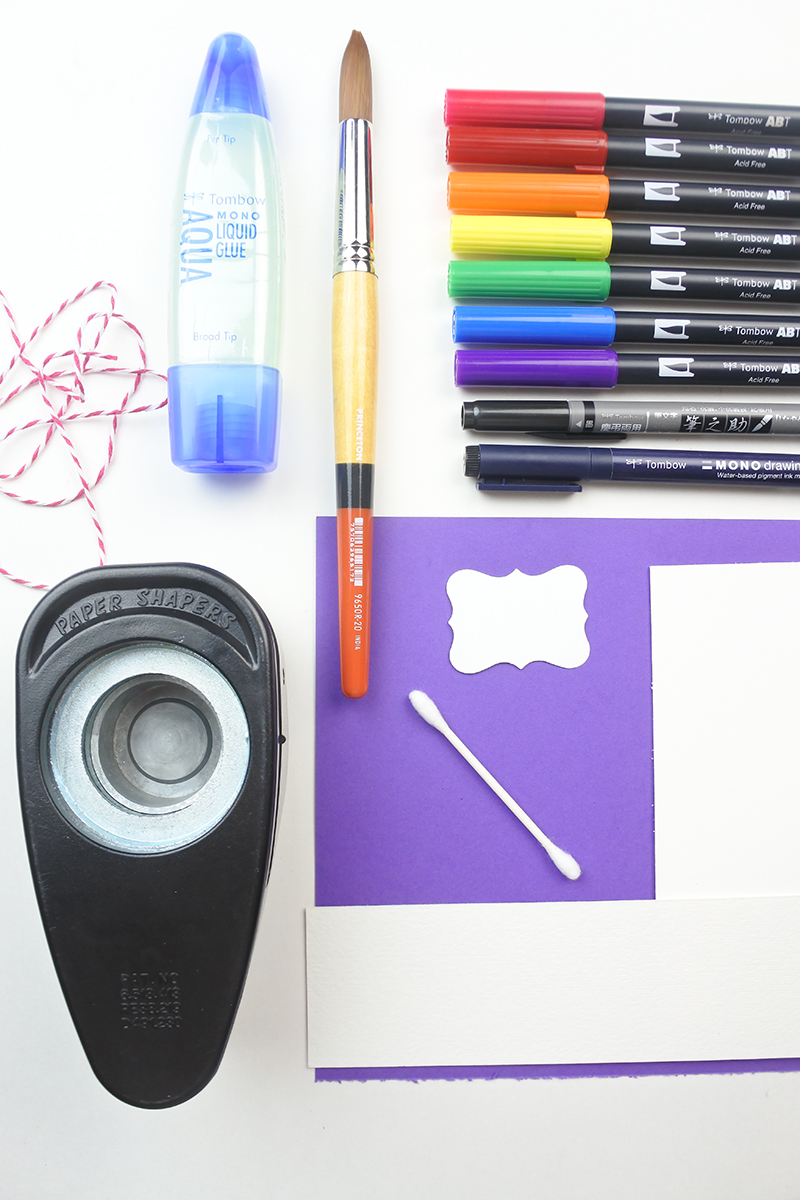
Supplies
- Watercolor Paper
- Circle Punch
- Tombow Dual Brush Pens (Primary and Bright)
- Tombow MONO Aqua Liquid Glue
- Paintbrush
- Baker’s Twine
- Q-Tip
- MONO Drawing Pen (05)
- Fudenosuke Twin Tip Brush Pen
- White Folded Cardstock (4×6)
- Purple Cardstock (4×6)
- Tag
Step One
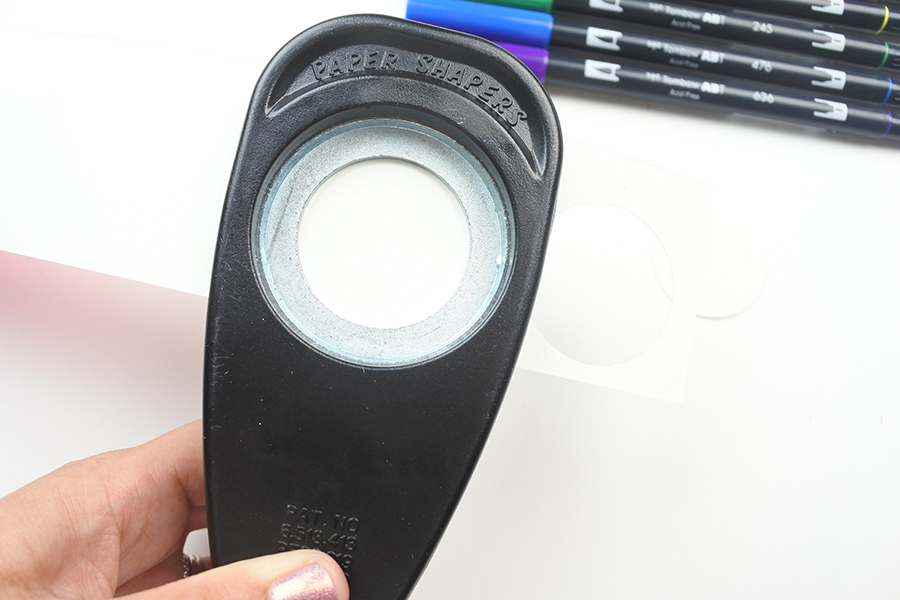
First, with the circle punch, punch-out seven circles (or cut them by hand) from the watercolor paper. Just an FYI, heavier (thicker) watercolor paper works best because it keeps the circles from curling.
Step Two
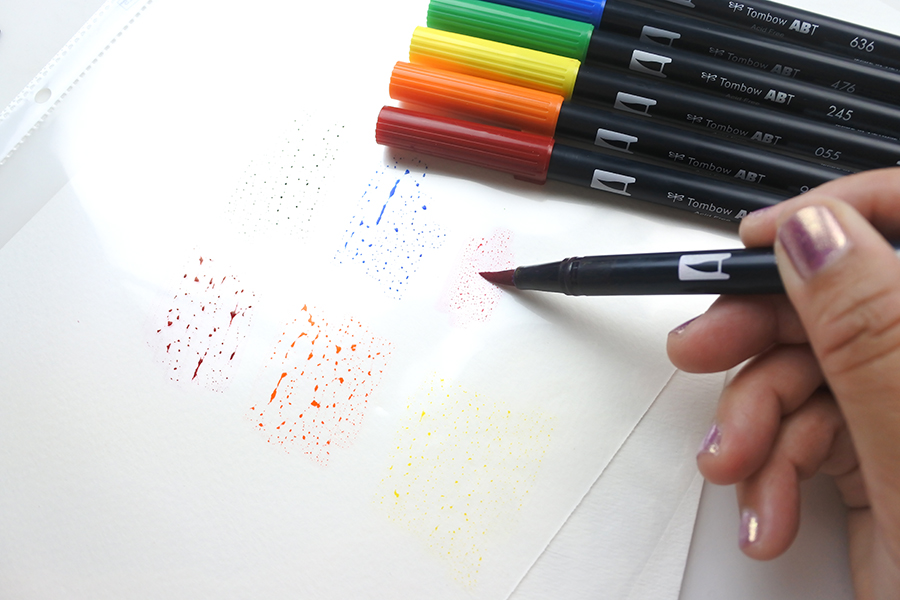
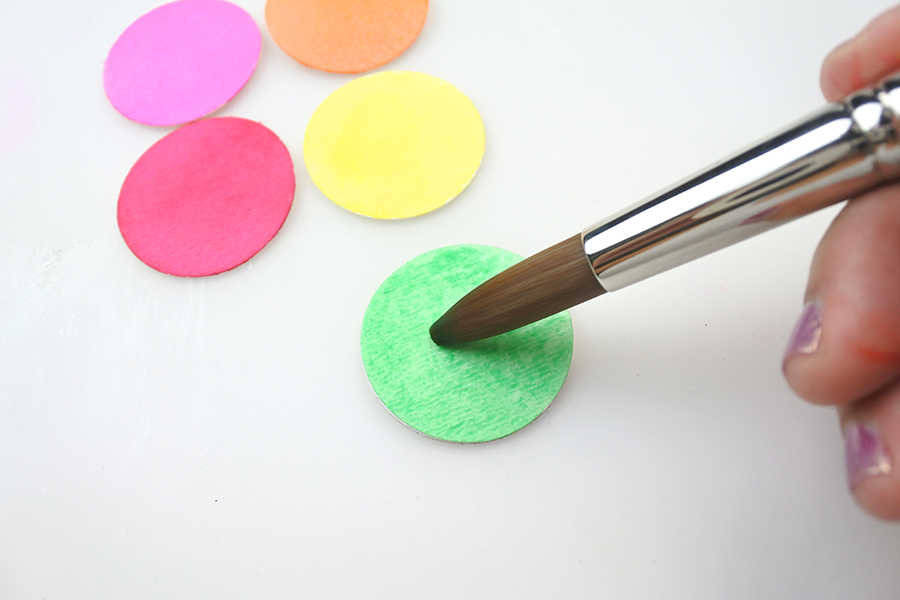
Next, after coloring a page protector with various Dual Brush Pens, wet a brush with water, grab some color off of the page protector, and color each individual circle. These circles will eventually form the lollipop emoji. In total, there should be seven circles in seven different colors. However, for a fuller looking lollipop, create more circles. Be sure to allow each circle to dry before moving onto step three.
Step Three
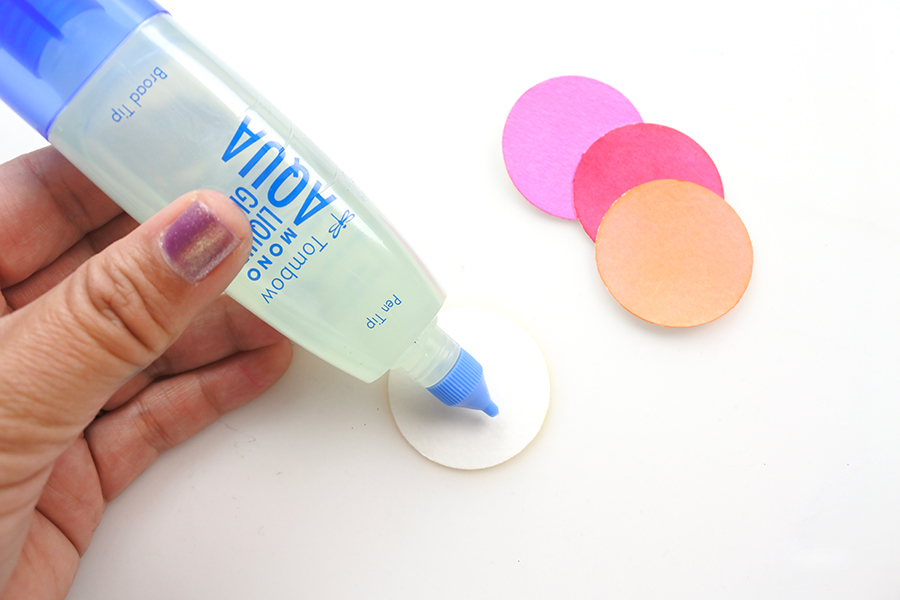
Then, arrange each watercolor circle to overlap the next and adhere the circles with some MONO Aqua Liquid Glue.
Step Four
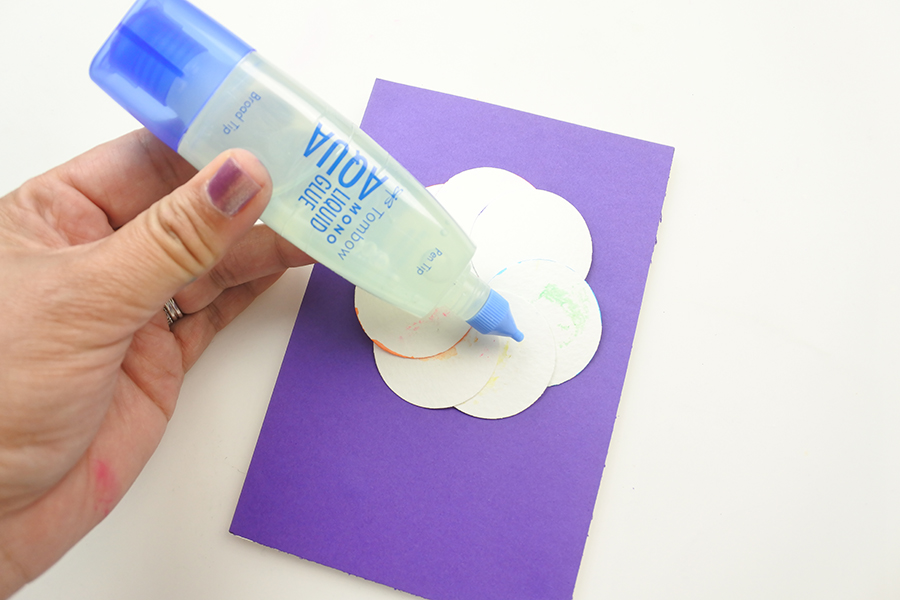
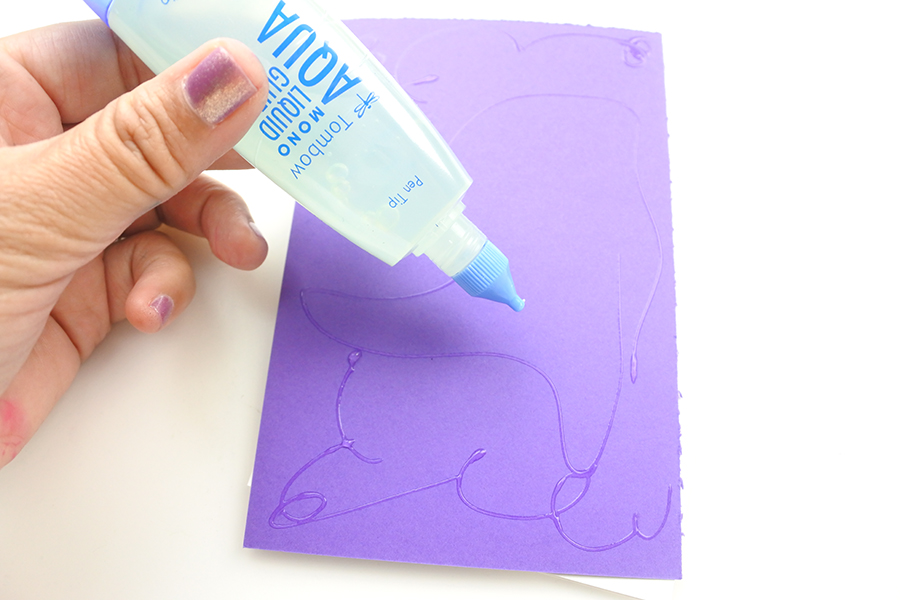
Now it’s time to arrange the card. For added color and vibrancy, glue a purple piece of cardstock right on top of the white folded cardstock. Next, glue the watercolor rainbow circle onto the purple layer.
Step Five
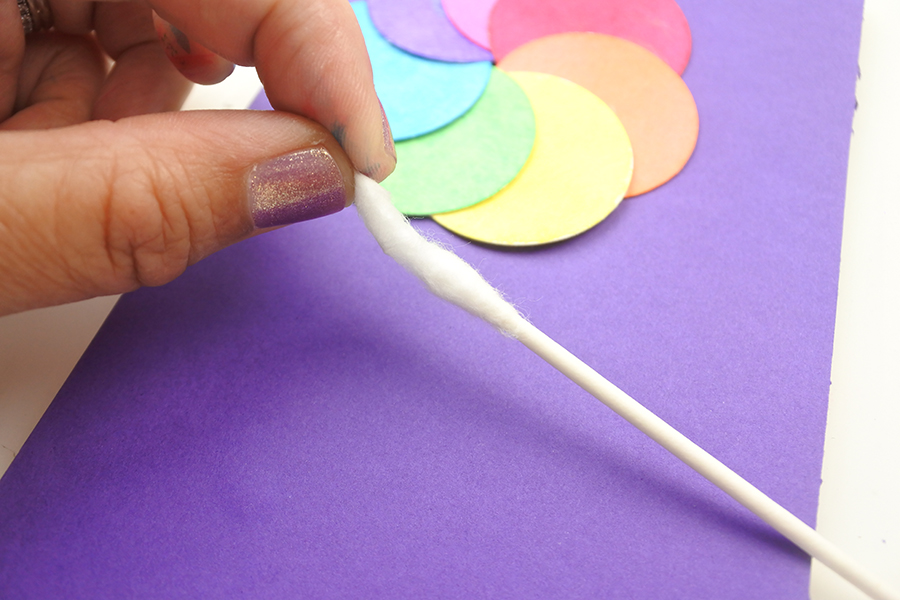
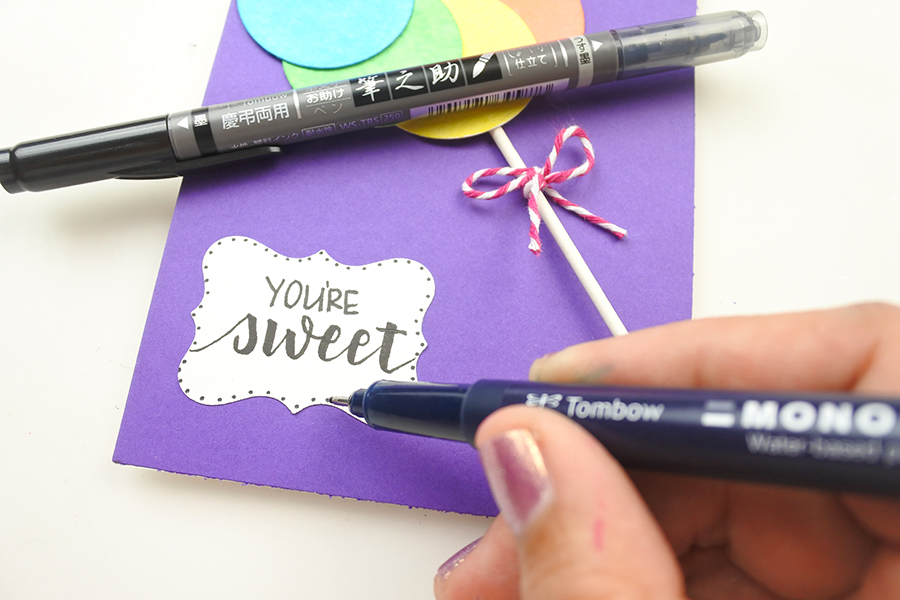
Finally, remove the cotton from both sides of the Q-Tip (this serves as the stick of the lollipop), tie some baker’s twine to the lollipop stick, and adhere that right under the “candy” portion of the lollipop emoji. Last, with a MONO Drawing Pen and Fudenosuke Twin Tip Brush Pen, letter a greeting onto the tag and adhere that to the card.
Isn’t this the cutest lollipop emoji ever? What’s your favorite emoji?
Renee