Hello friends! Smitha here sharing my process of faux calligraphy with you. Bounce lettering is very popular these days, but it does not come naturally to me. So using a pencil to help sketch out the steps first helps me achieve a better finished look. I’ll show you how I do it in today’s tutorial. 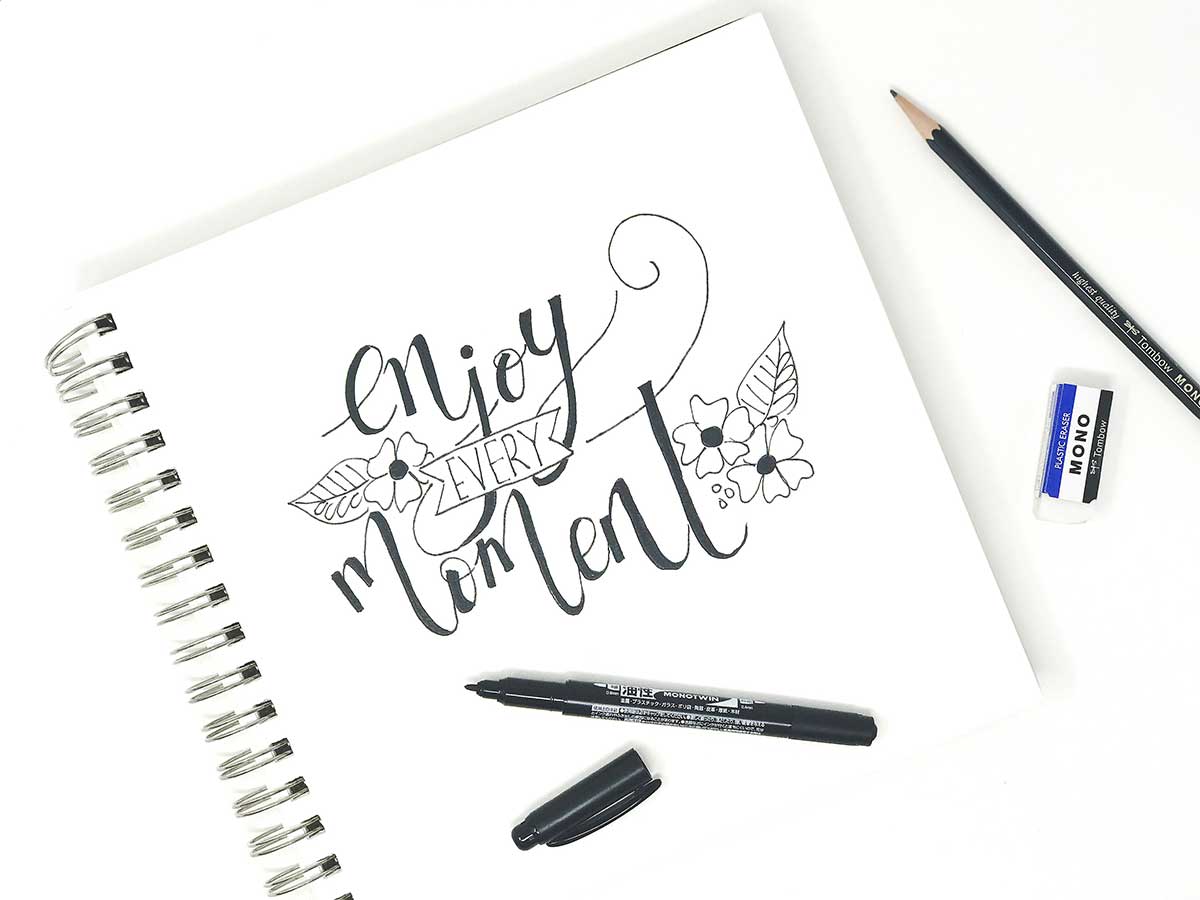
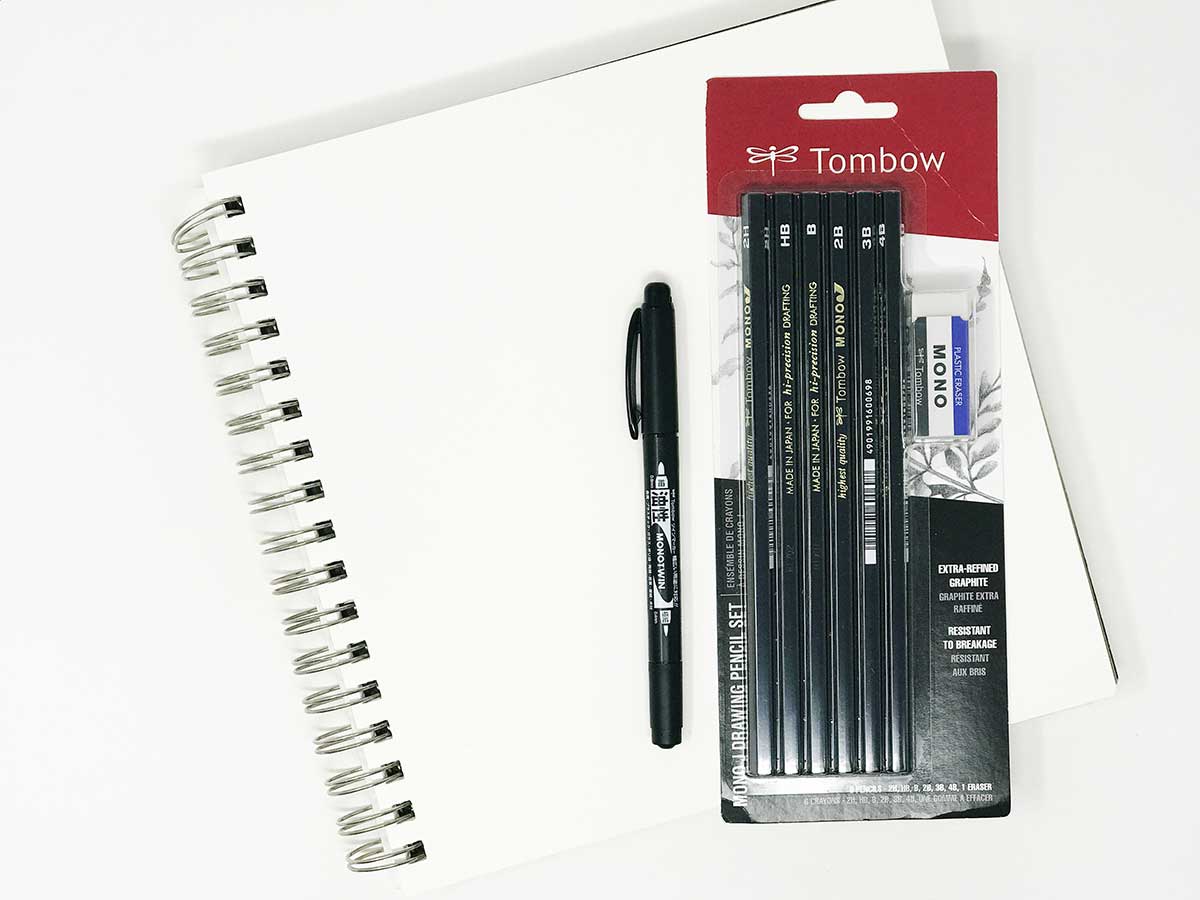
Material list:
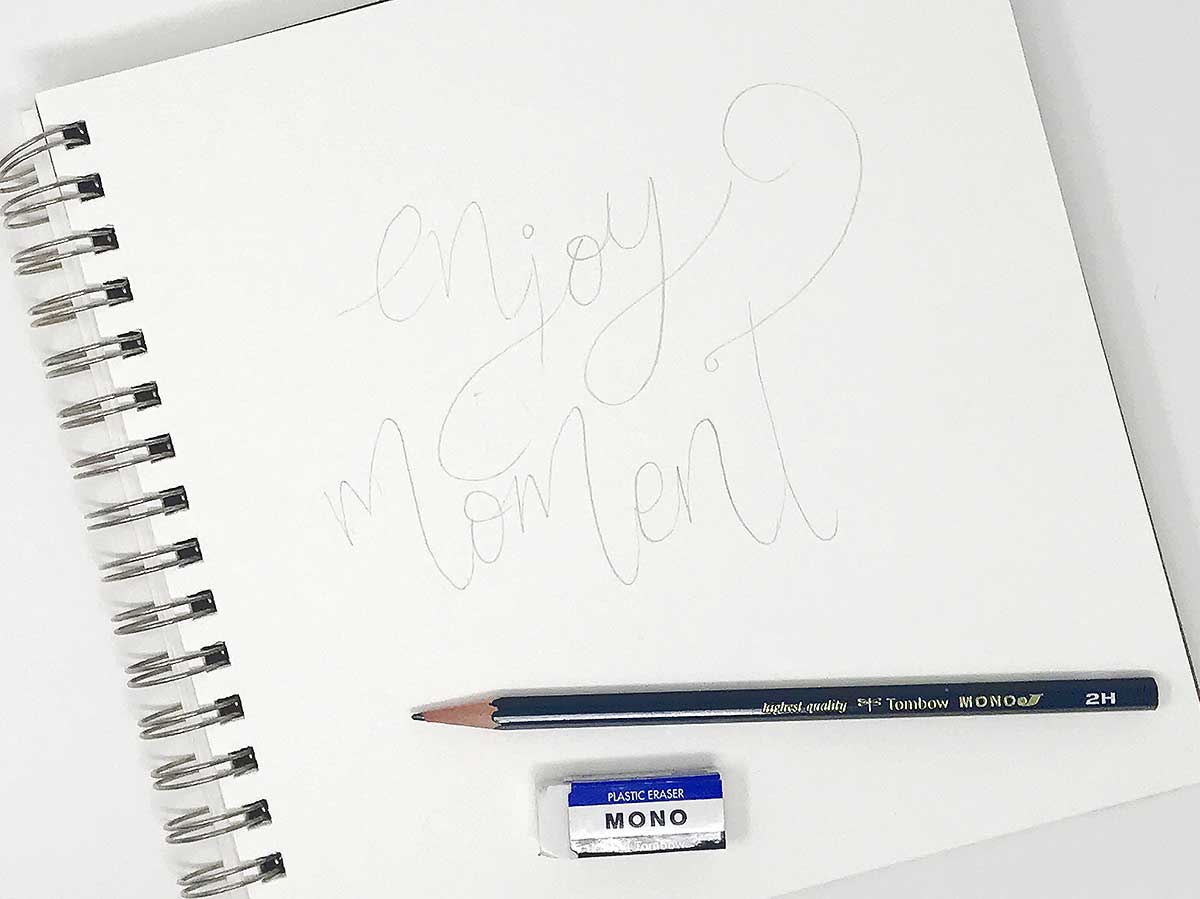
Step 1:
First we need to draw out a sketch. Start with a light pencil like 2H or 4H. Draw your words and erase them as much as you need to till you have something that you like.
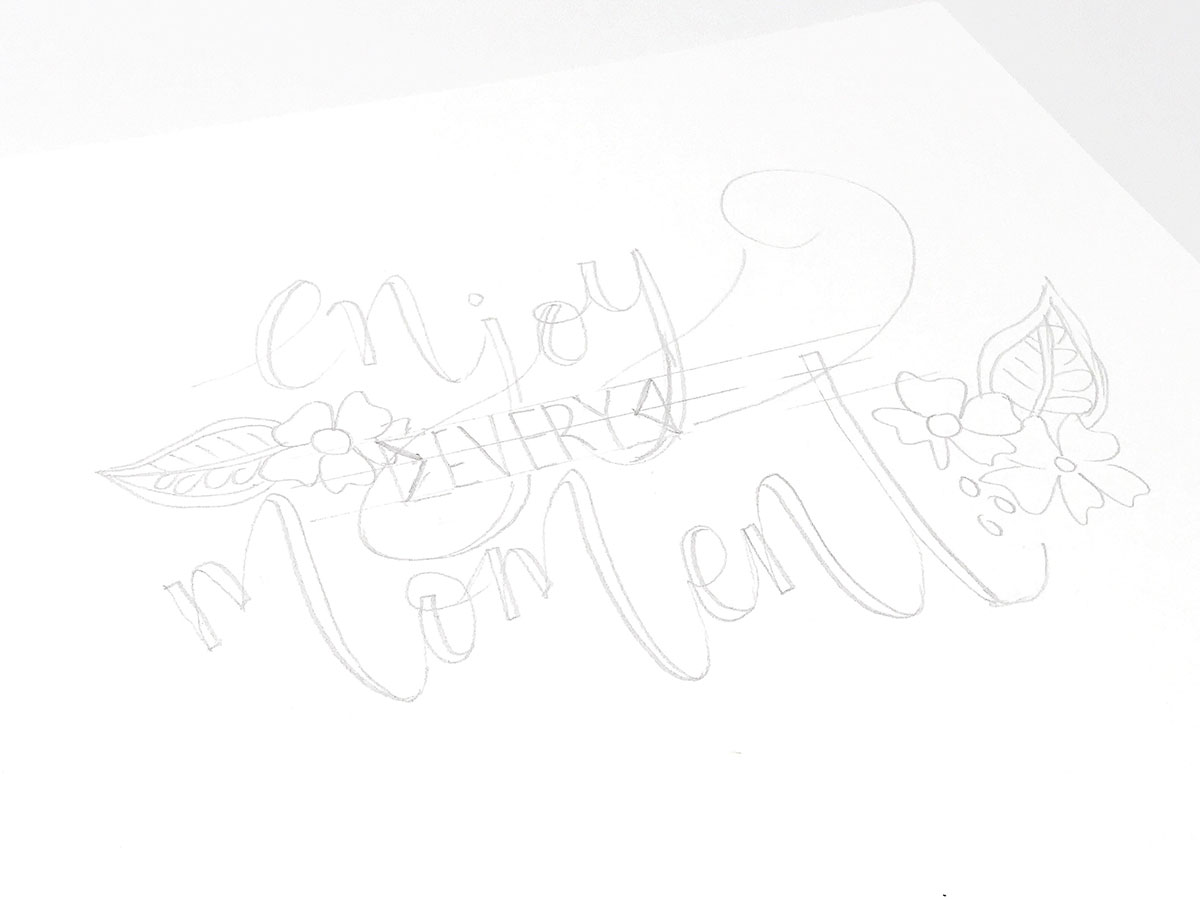
Step 2:
Once you have your words in place, add an extra line to all the downstrokes. Faux calligraphy basically means creating the look of brush lettering without a brush pen. So just with the pencil, mark all the downstrokes. Then add in some extra details and flower doodles too.
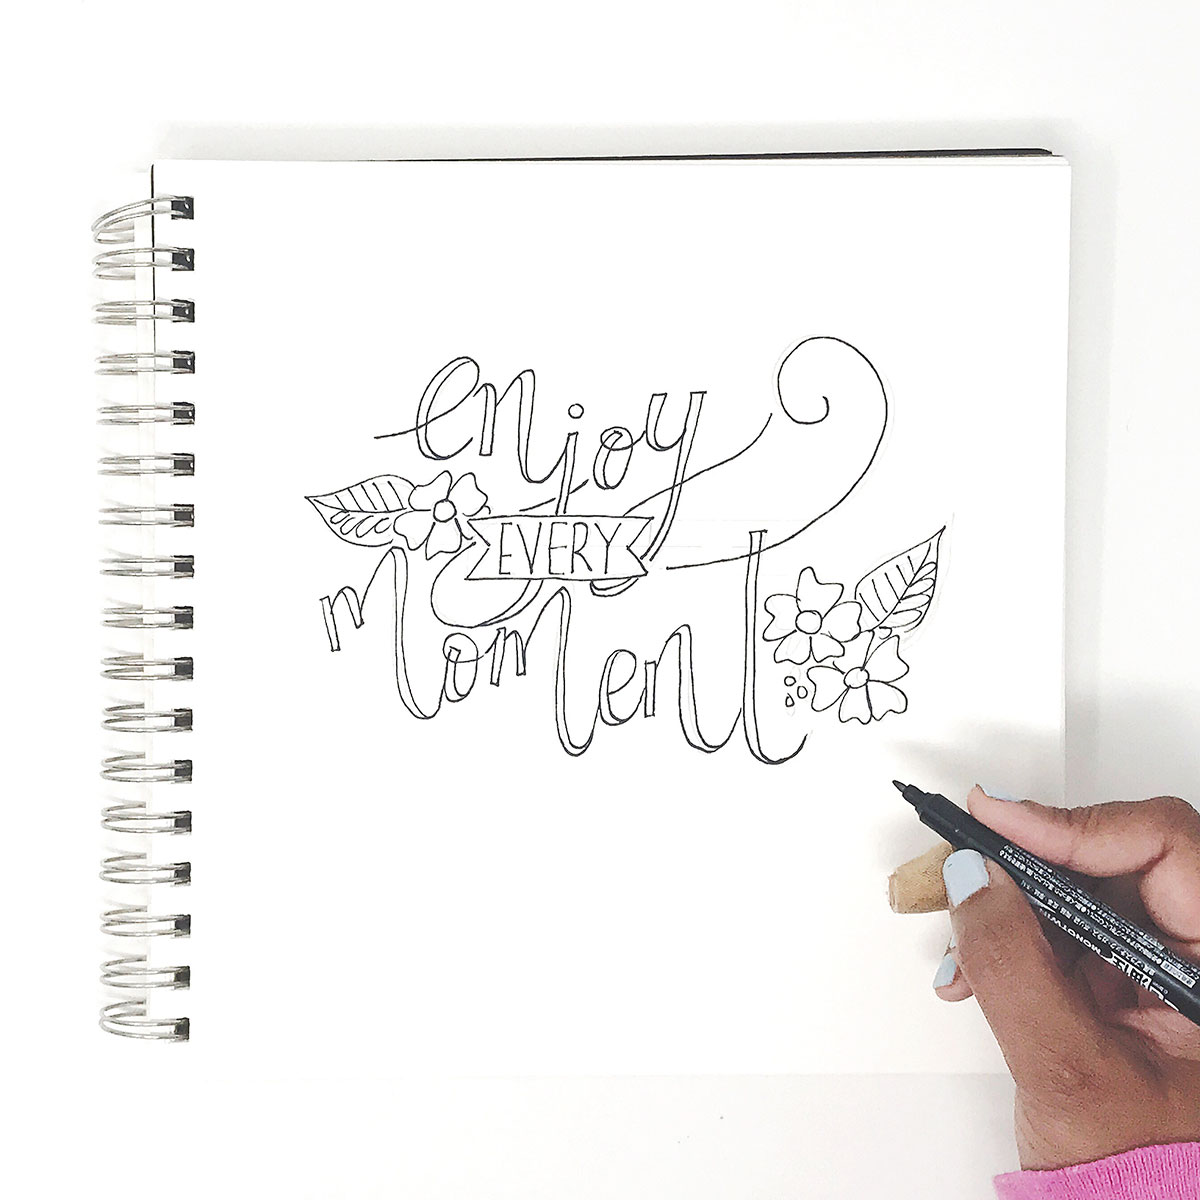
Step 3:
Now we can start inking our lettering. Using the MONO Twin Permanent Marker carefully go over all the pencil lines. Having a pencil sketch in place makes me so much more confident while inking. There is no guess work here, everything has a place and we are just inking it all.
Step 4:
Next, using the marker tip fill in all of those downstrokes, and voila’ your faux calligraphy is complete. Gently erase all the pencil lines once done to have a neat finished product.
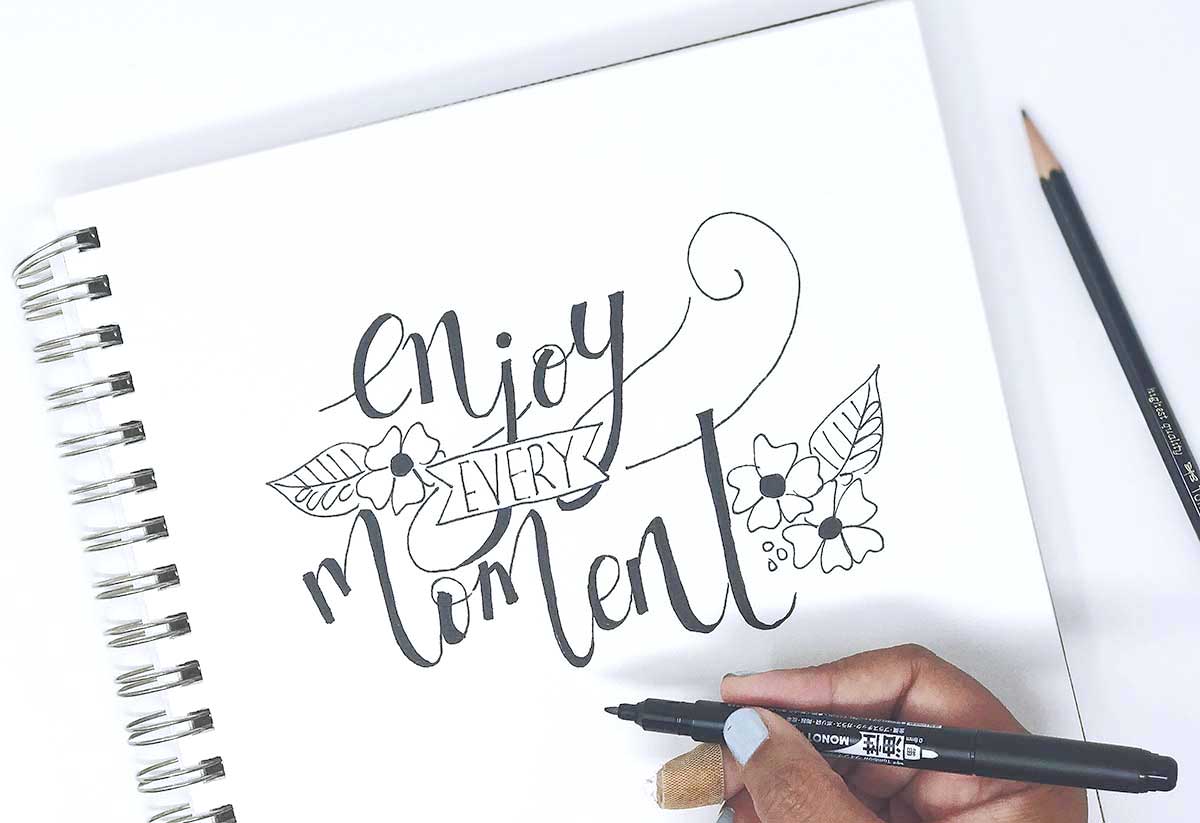
I love how this turned out! While we do spend a few extra minutes on the pencil sketch it helps us greatly with the finished product. Do you always use a pencil for a sketch or do you just go for it? Let me know in the comments below.
Happy Crafting!
Smitha