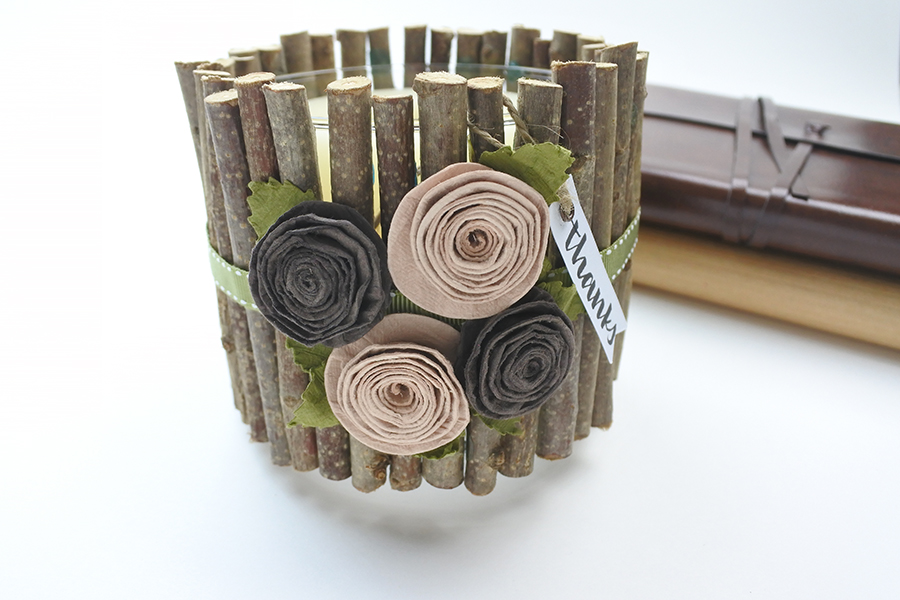
Hi everyone. It’s Renee from @thediyday. Since fall is just around the corner, I thought it would be great to ring in the season by creating a simple DIY fall themed centerpiece (this makes for a great hostess gift too!).
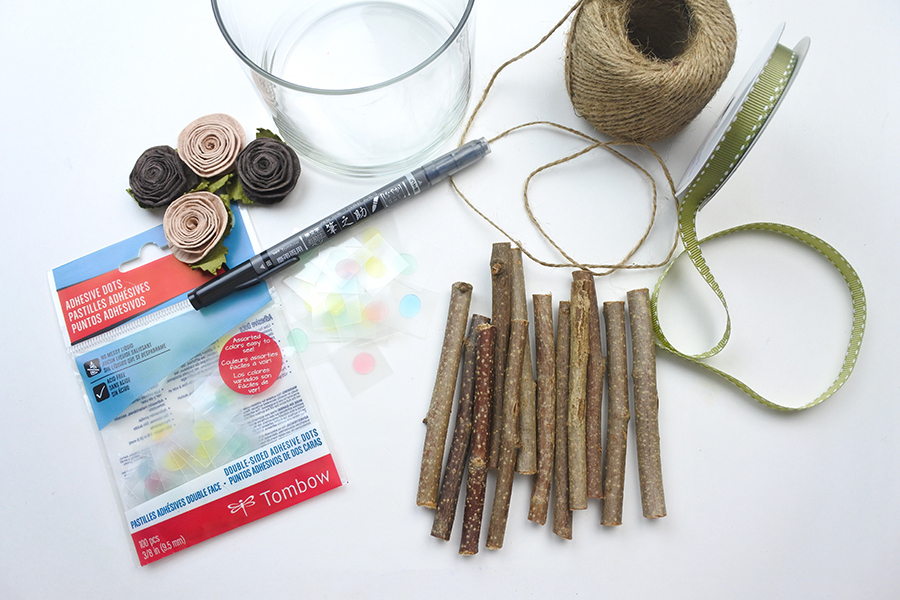
Supplies
- Cylinder Vase
- Tombow Adhesive Dots
- Wooden Twigs
- Ribbon
- Twine
- Gift Tag
- Tombow Fudenosuke Brush Pen, Twin Tip
- Candle or Flowers (optional)
Step One
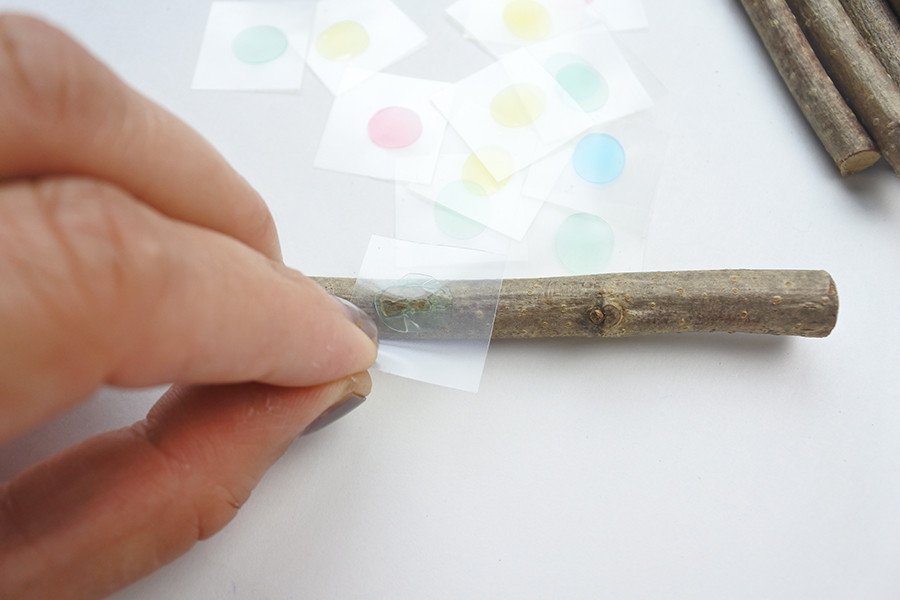
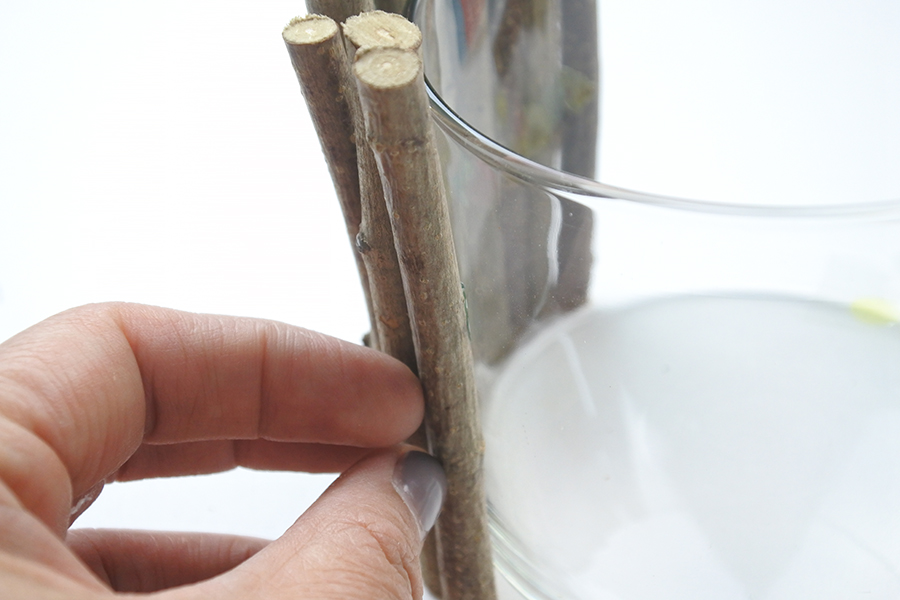
First, clean the vase, remove any dust or lint. Next, grab the wooden twigs. Before applying the Tombow Adhesive Dots to the twig, place the twig against the vase and find the spots that have the most contact with glass. Once found, place the adhesive dots to those areas on the stick and apply it to the vase. Continue this process until the glass is covered.
Step Two
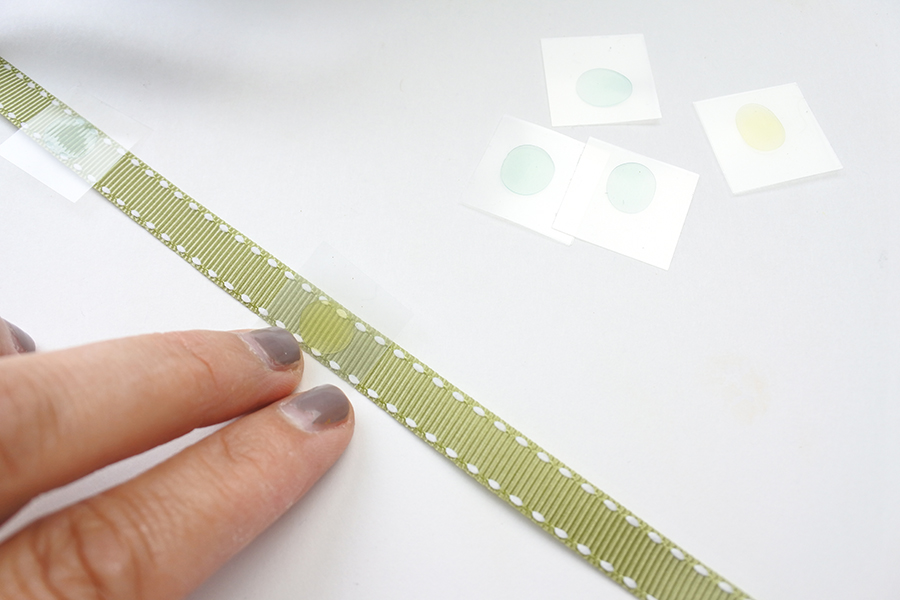
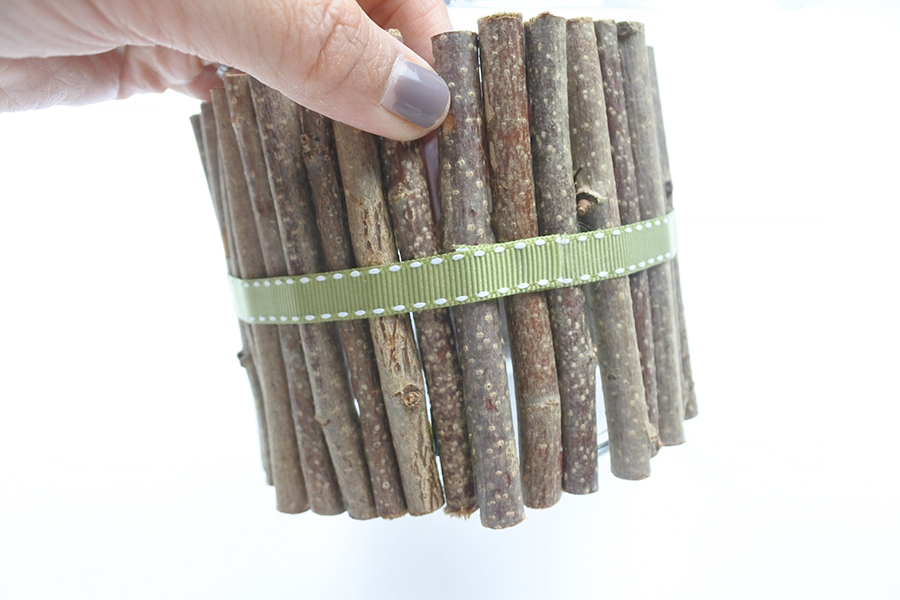
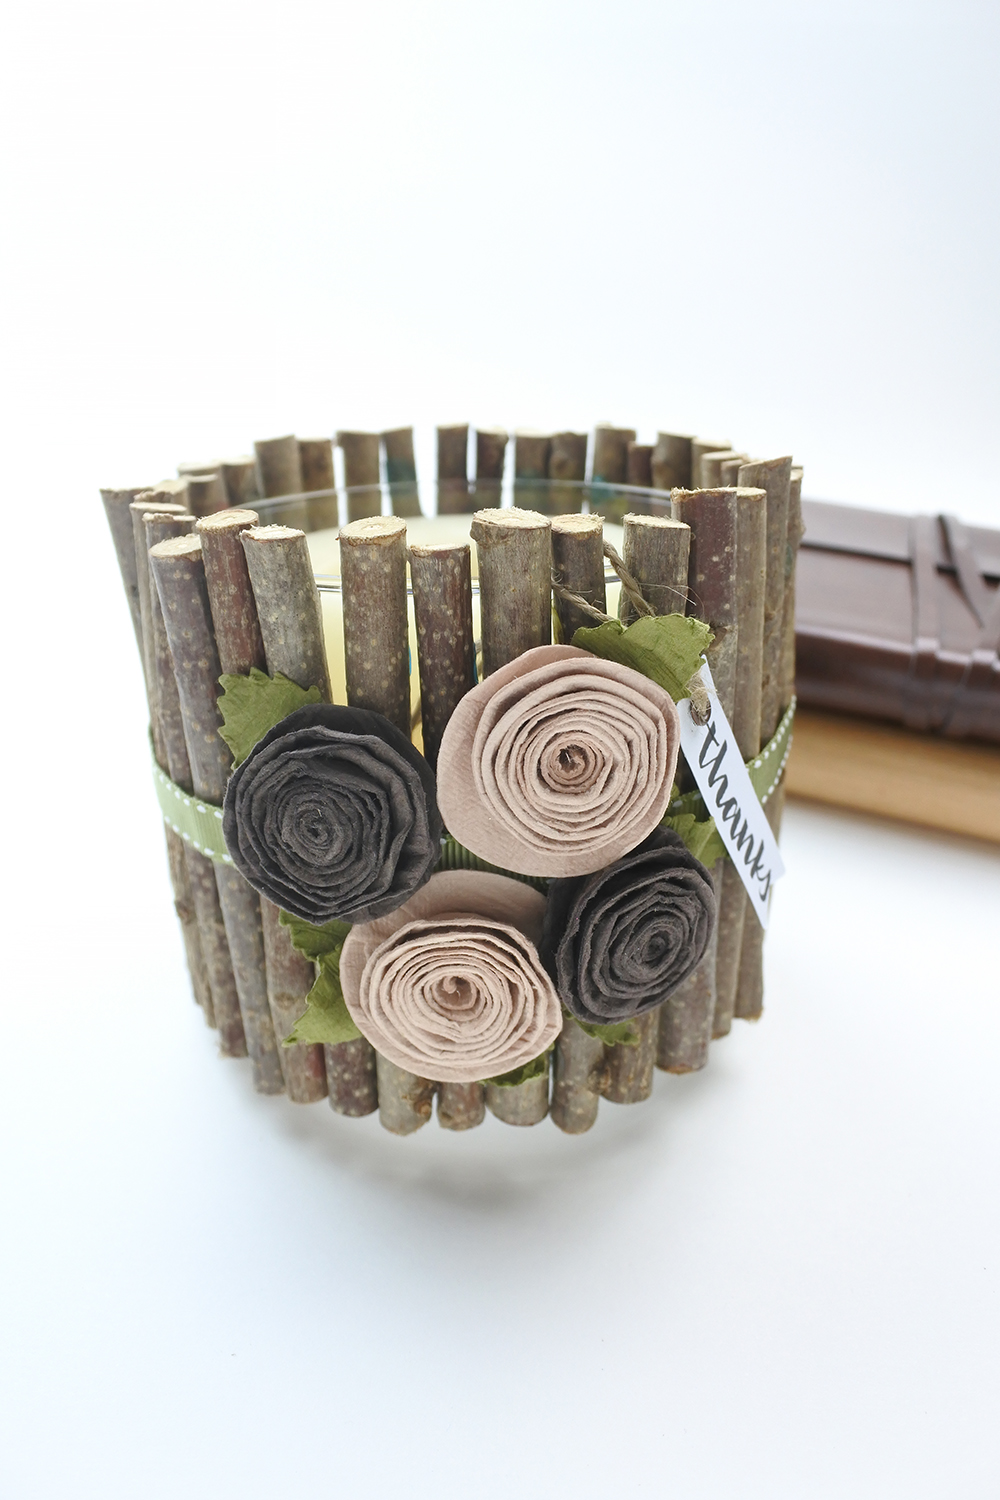
Now it’s time to add a bit more color to the fall themed centerpiece. Let’s add ribbon. I was torn between my ribbon choices, either burnt orange, pistachio green, gold, or chocolate brown. I decided on pistachio green. Using the same Adhesive Dots, I placed several along the ribbon and wrapped it around the vase of sticks.
Step Three
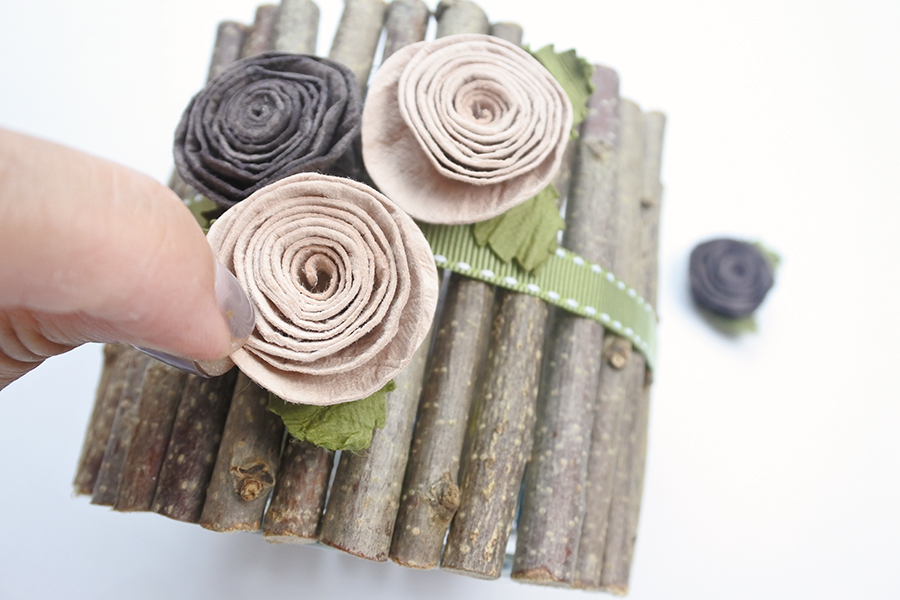
The centerpiece still looked a bit plain, so I added some paper flowers right on top of the ribbon (where the two ribbon parts come together). Again, I used the Adhesive Dots to secure the flowers. I couldn’t help myself. The dots are easy to use, mess free, and the adhesive is strong.
Step Four
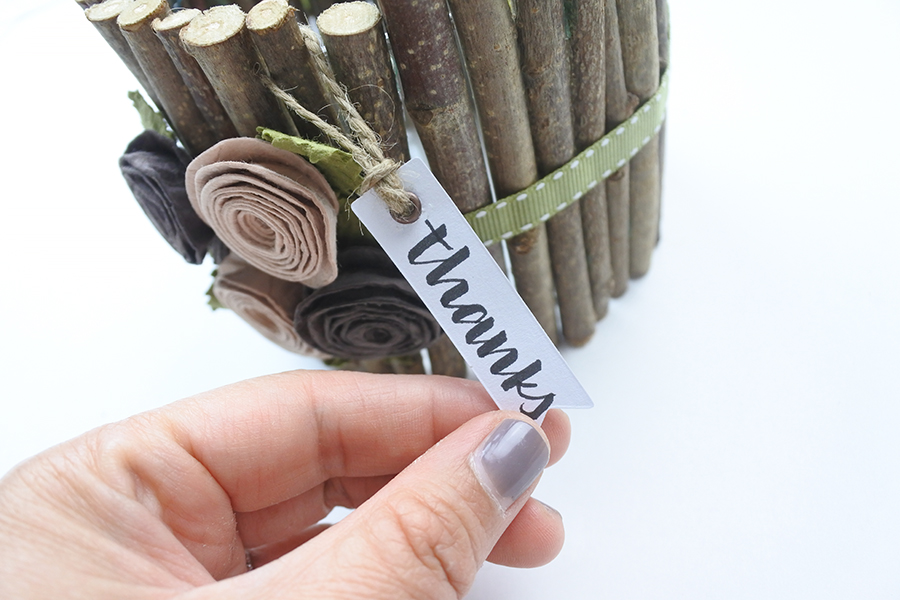
Next, I decided to add a gift tag. There’s no way I could make a fall themed centerpiece for myself and not create one as a hostess gift. With a Tombow Fudenosuke Brush Pen, Twin Tip, I lettered a simple greeting, ‘thanks’, added some twine, and slipped it onto one of the twigs. This centerpiece is rather versatile. Flowers are a great option and so is a candle. To avoid any potential fire hazards, use a flameless candle.
Thank you for following along and happy fall y’all!
Renee