Hello hello! Jessica from BrownPaperBunny here to show you how to make some fun travel-themed happy mail with Mixbook and Tombow supplies. I think the world would be a happier place in general if we all sent a little more snail mail to each other!
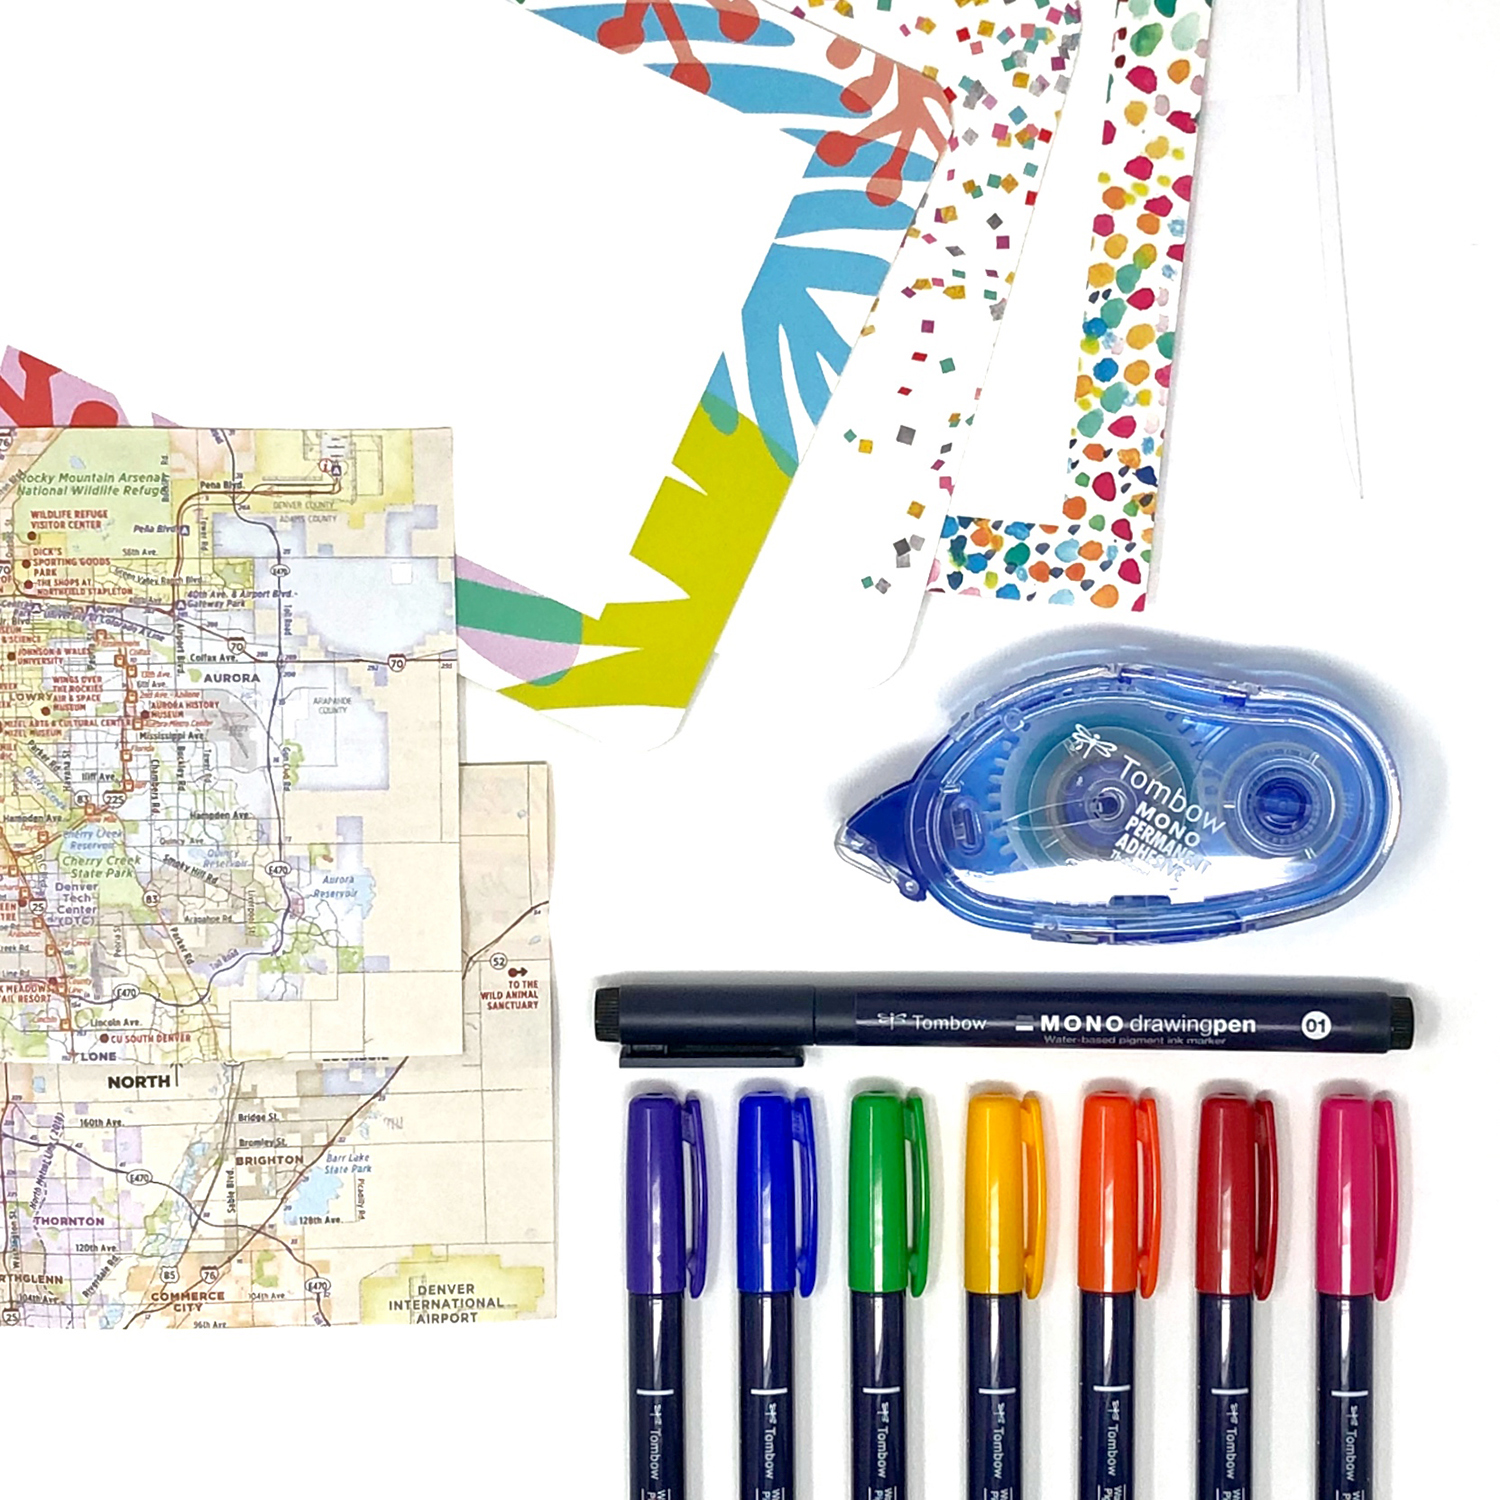
Supplies:
- Tombow Fudenosuke Color Brush Pens
- Mixbook Cards
- Tombow MONO Drawing Pen
- Map or travel photo
- Tombow MONO Adhesive+
- Plain paper
- Scissors

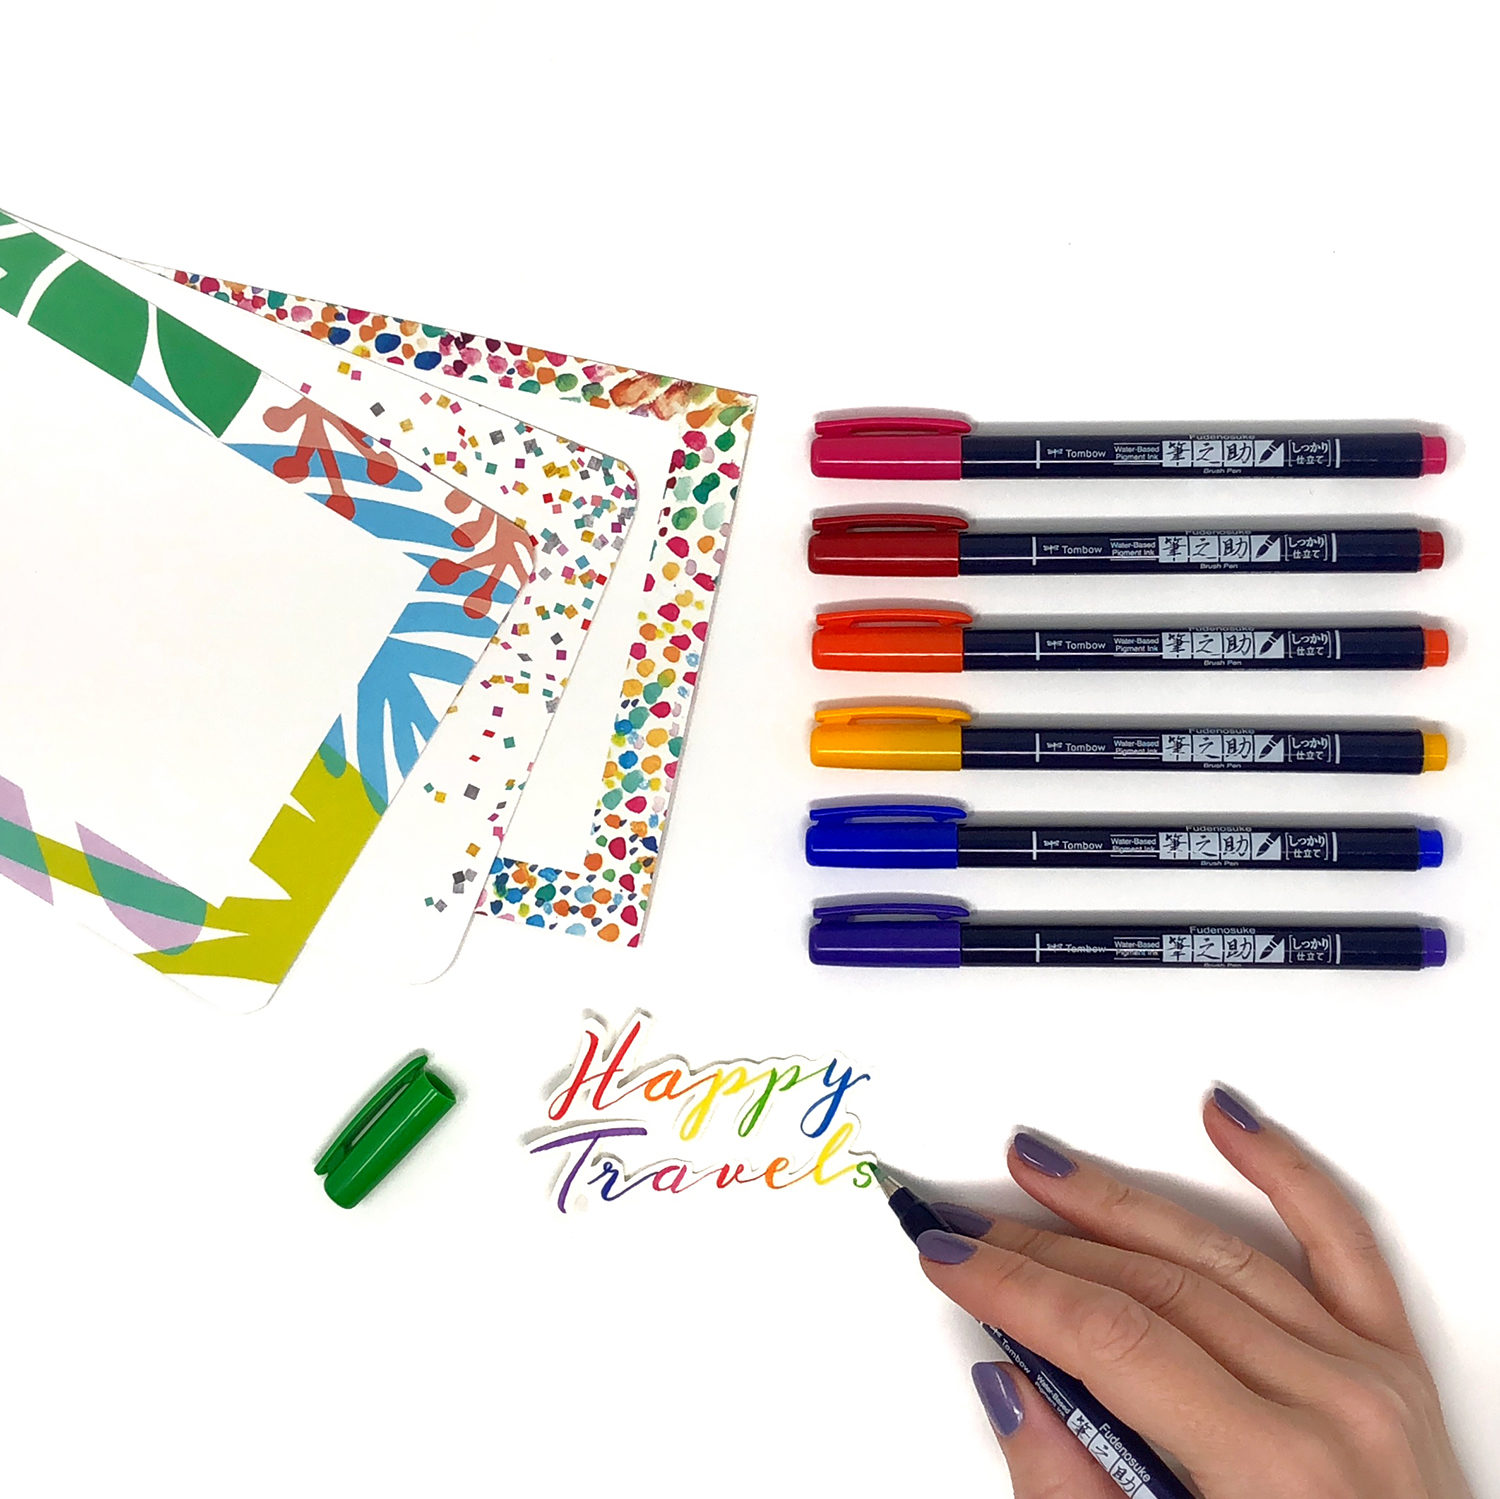
Step 1: Write Your Greeting
Use the Fudenosuke Colors brush pens to write your greeting onto a separate piece of paper. Have some fun with the colors and try some different writing styles!
Step 2: Cut Everything Out
Cut out your greeting, and trim down your map or travel photos so they fit just inside the border of your Mixbook cards.
Step 3: Stick the Pieces Together
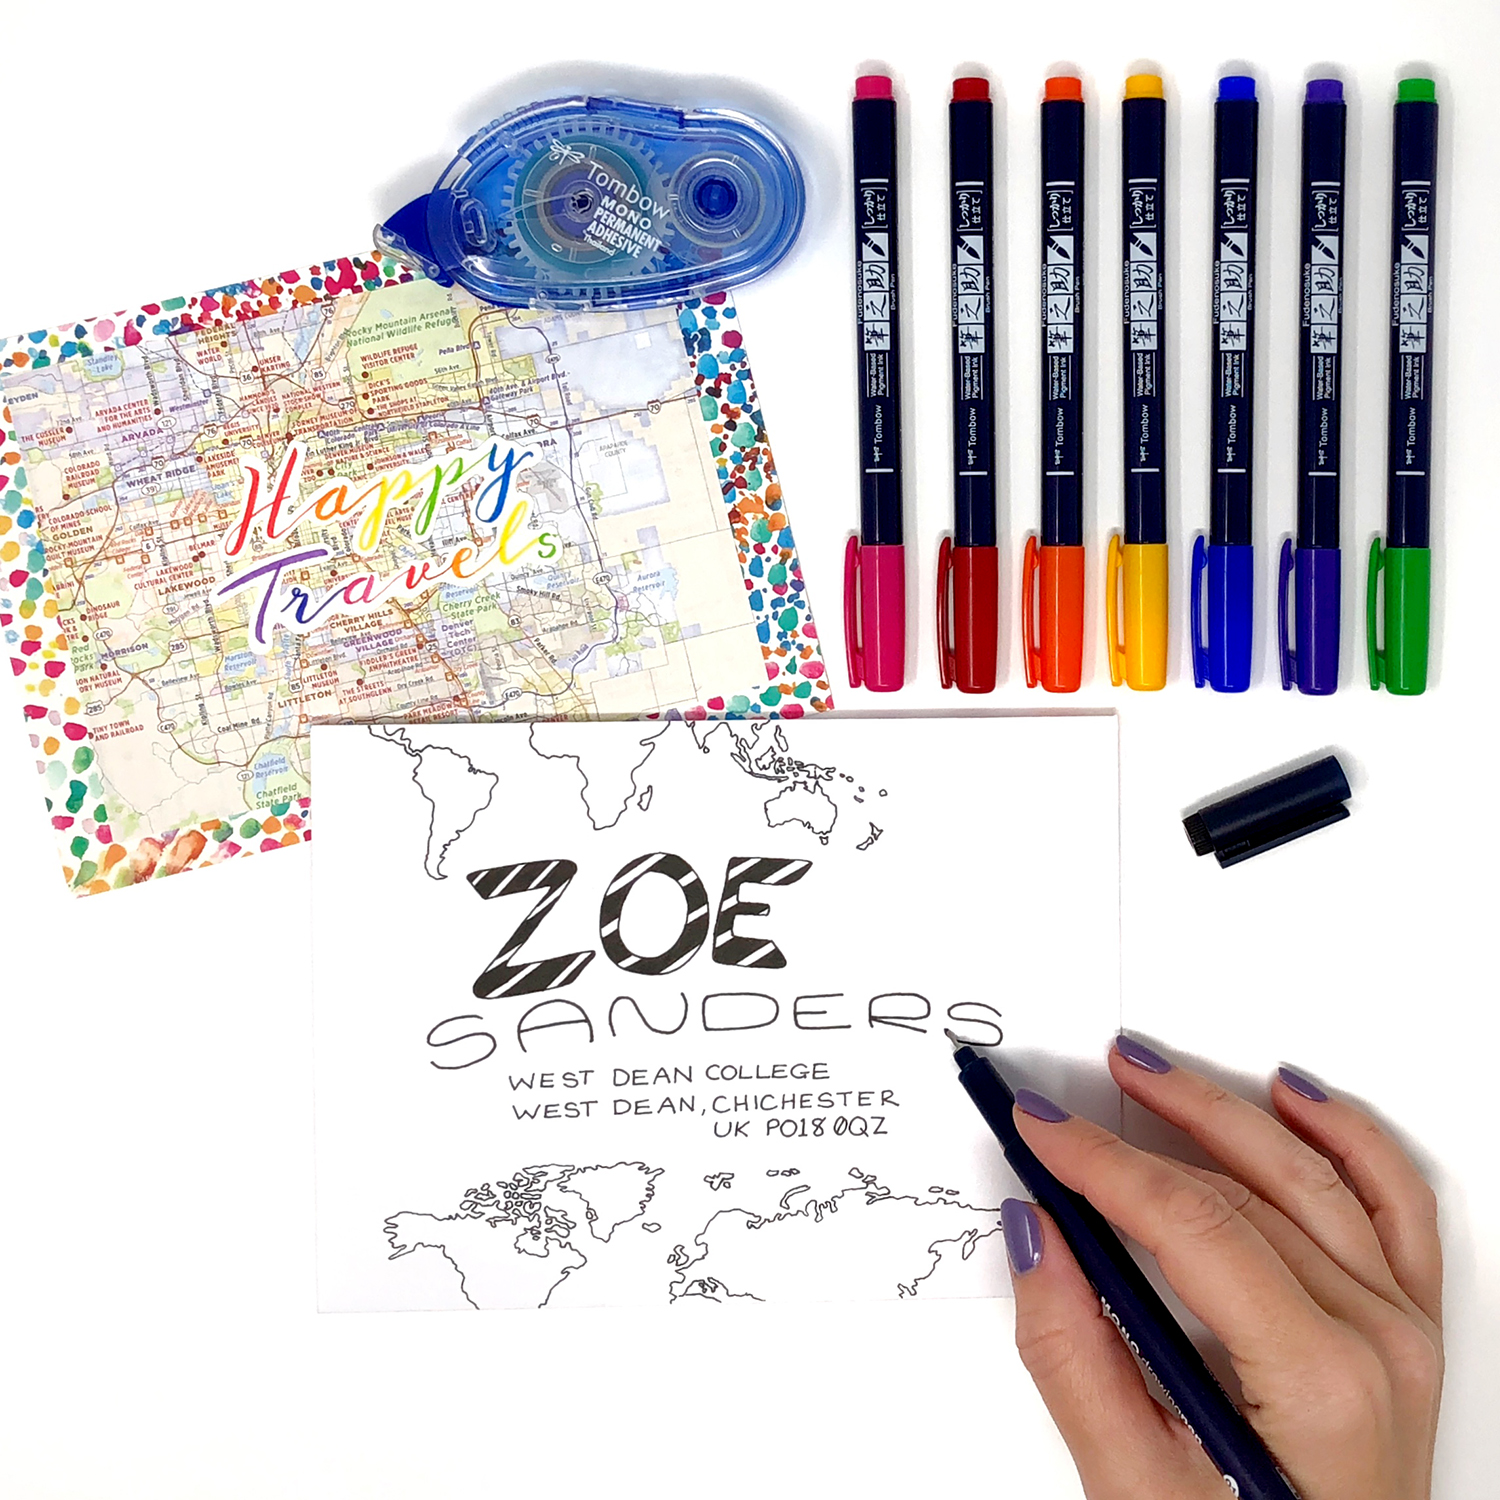
Using the Tombow MONO Adhesive+ to stick your map or photos to the card, then layer your greeting on top. Use the Fudenosuke Colors brush pens to add some fun details or finishing touches then write on the back with the MONO Drawing Pen and your DIY Mixbook happy mail is ready to be sent!

To put a little extra sparkle in your recipient’s day why not decorate the envelope as well. Use your Fudenosuke or MONO Drawing Pens to continue the travel theme on the outside.
We’d love to see your happy mail, tag @TombowUSA and @BrownPaperBunny on social media!