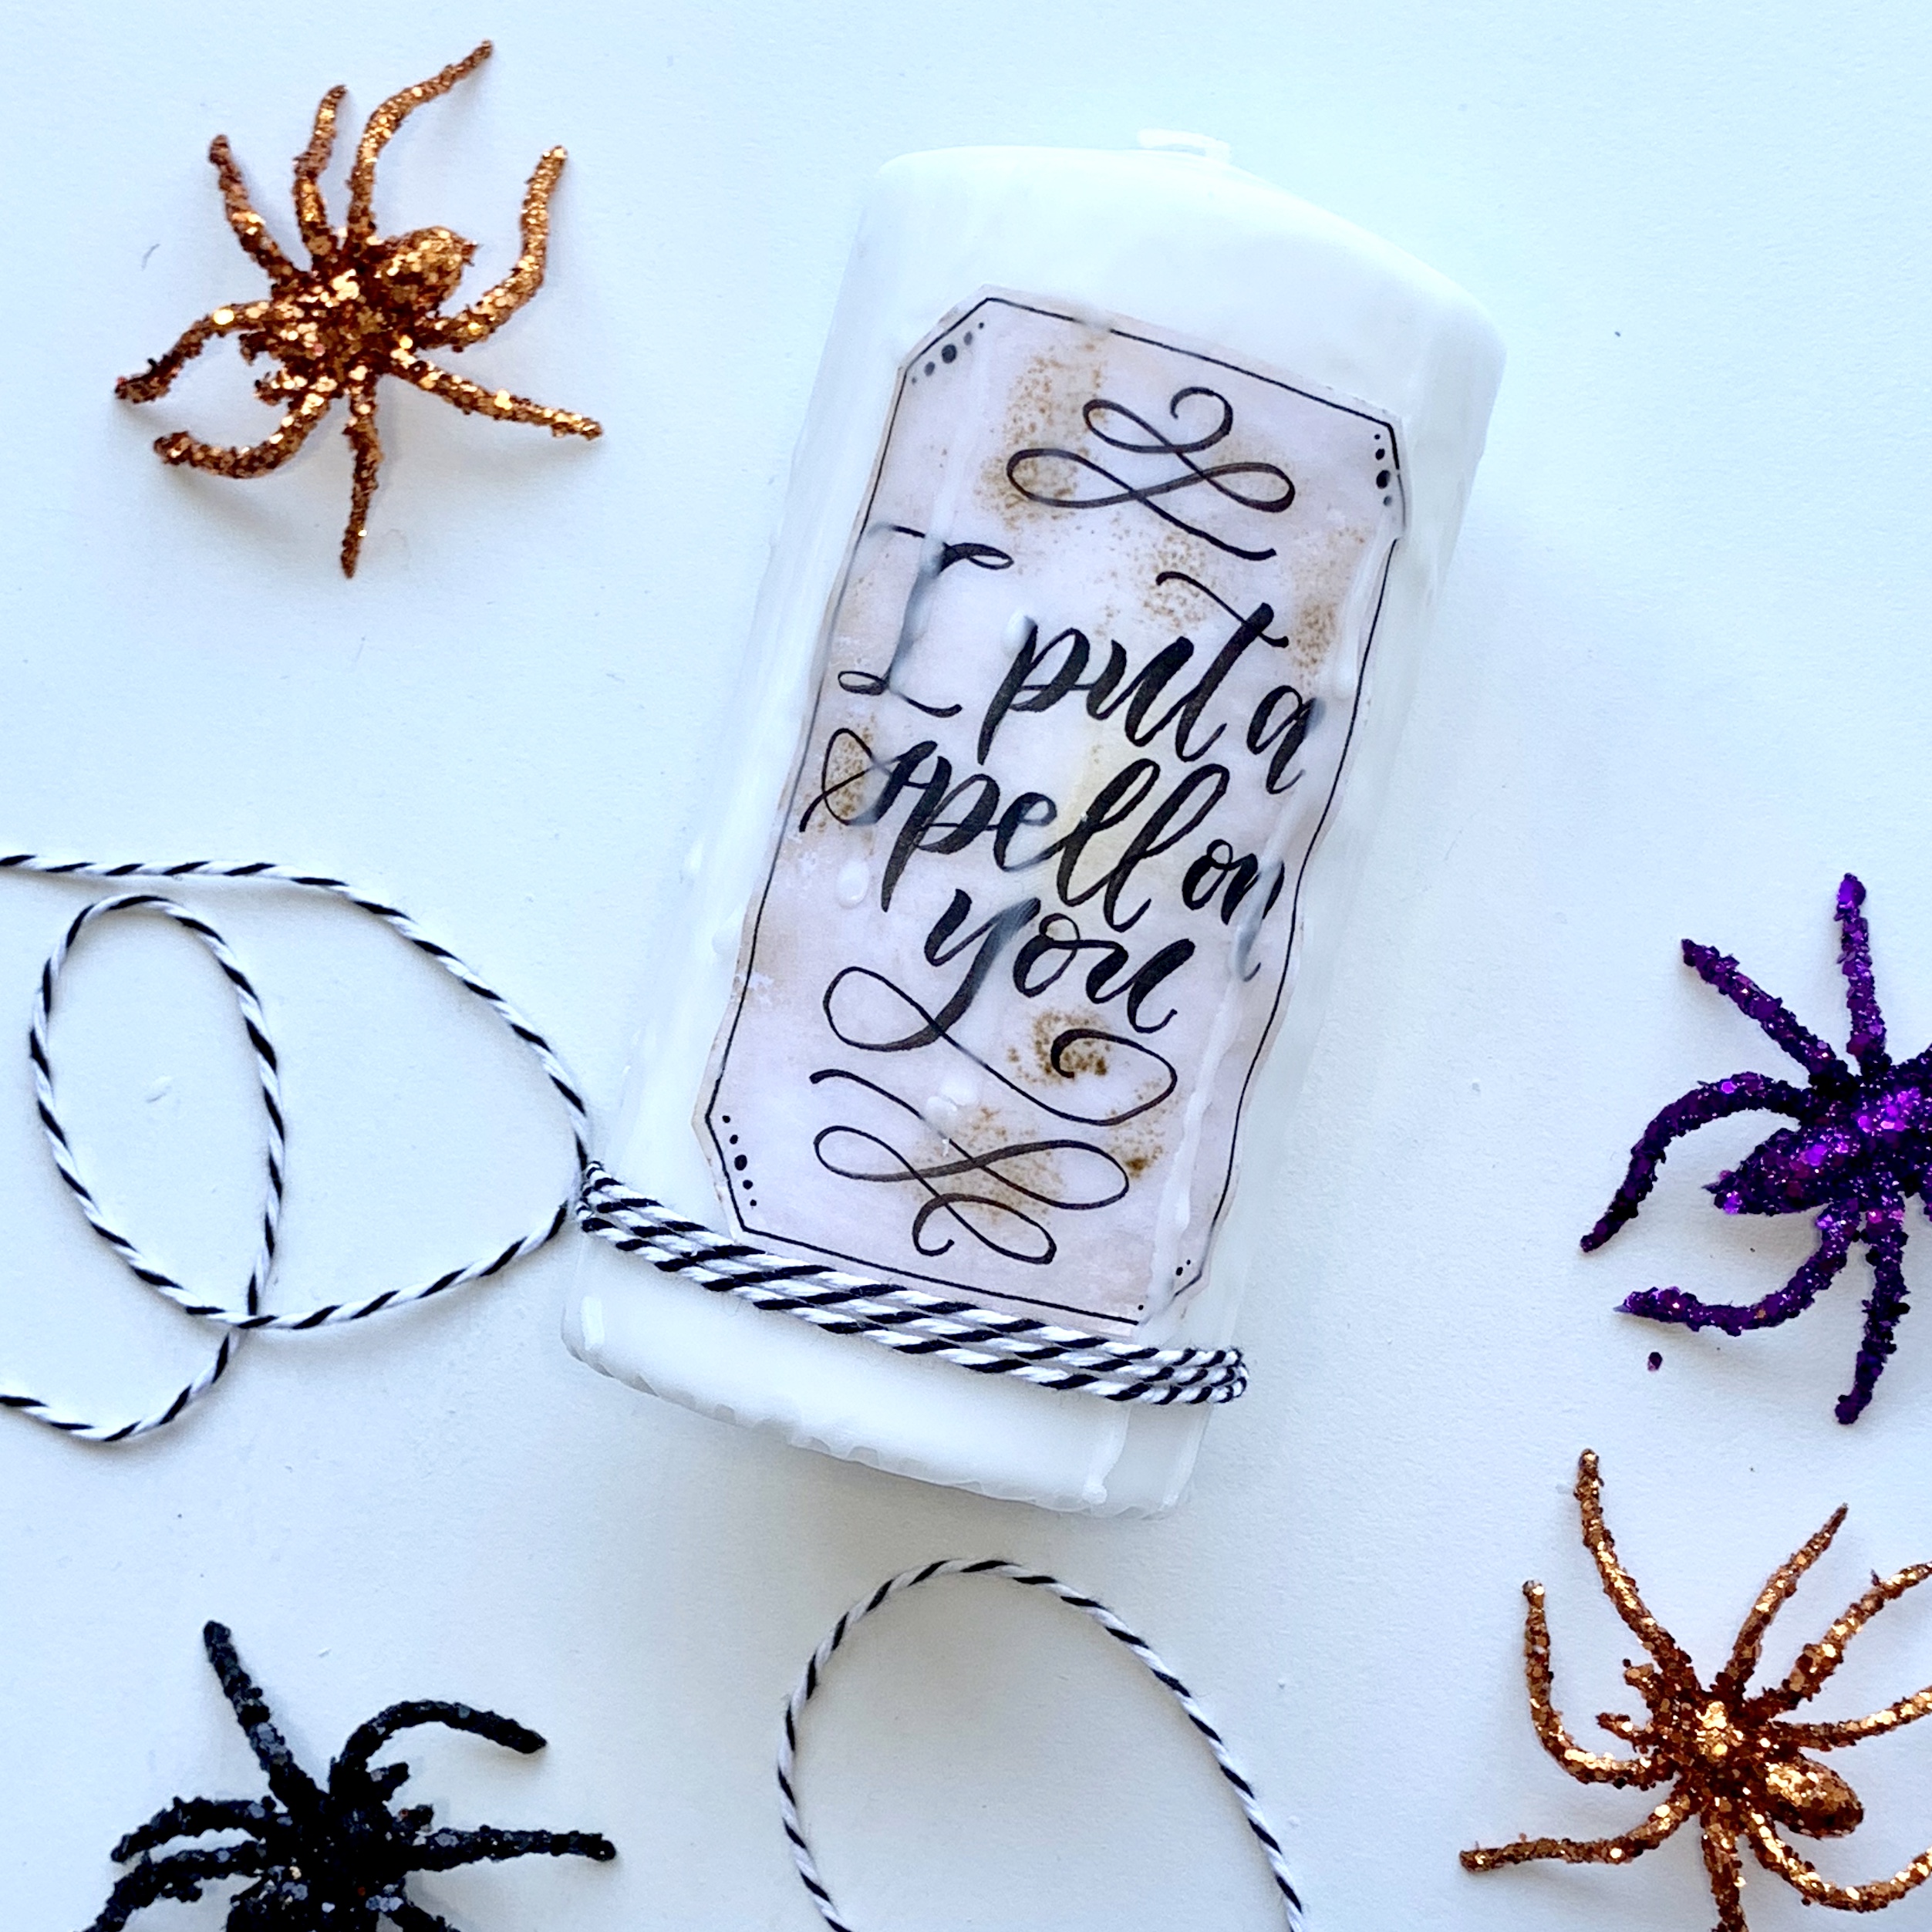
Hi everyone, Adrienne from @studio80design here today to show you how you can design a spooky Halloween candle to display in your home!
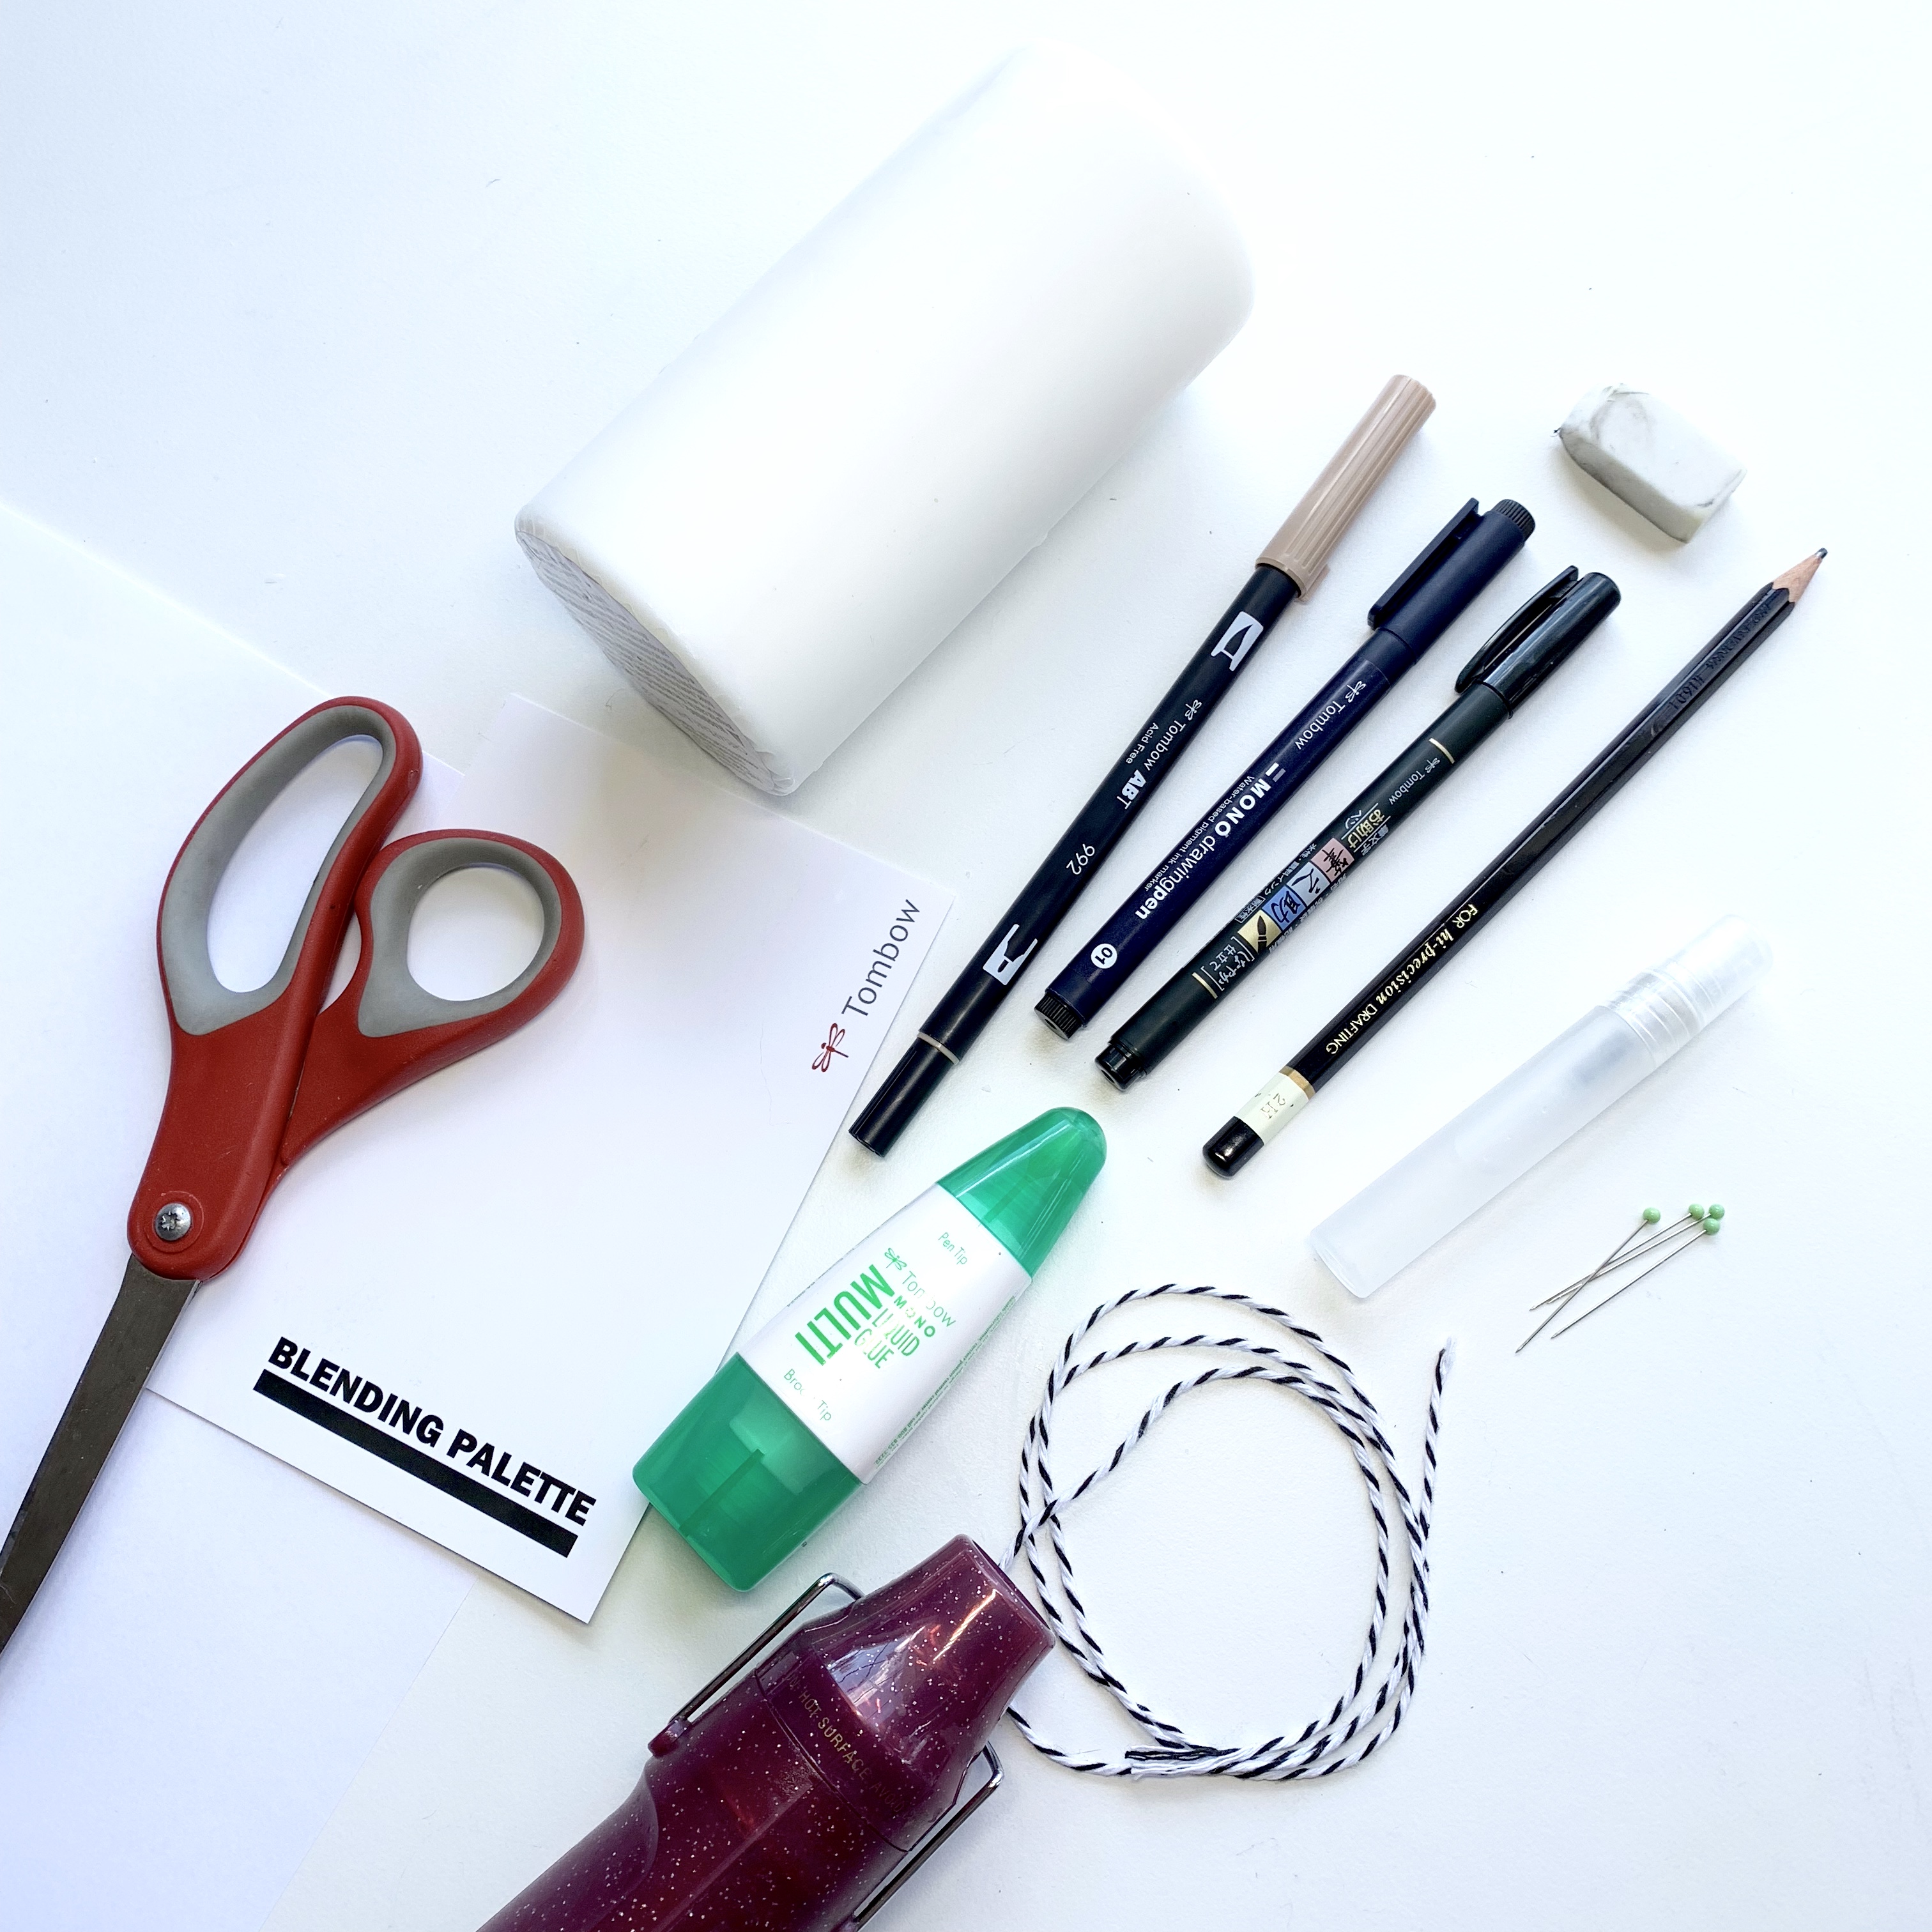
Materials you’ll need:
- Tombow MONO Drawing Pencil
- Tombow MONO Eraser
- Paper
- Tombow Fudenosuke Soft Tip Black Brush Pen
- Scissors
- Tombow MONO Drawing Pen 01
- Tombow Blending Kit
- Tombow Dual Brush Pen 992
- Pins
- Embossing Heat Tool
- String
- Tombow MONO Multi XL Liquid Glue
Step 1:
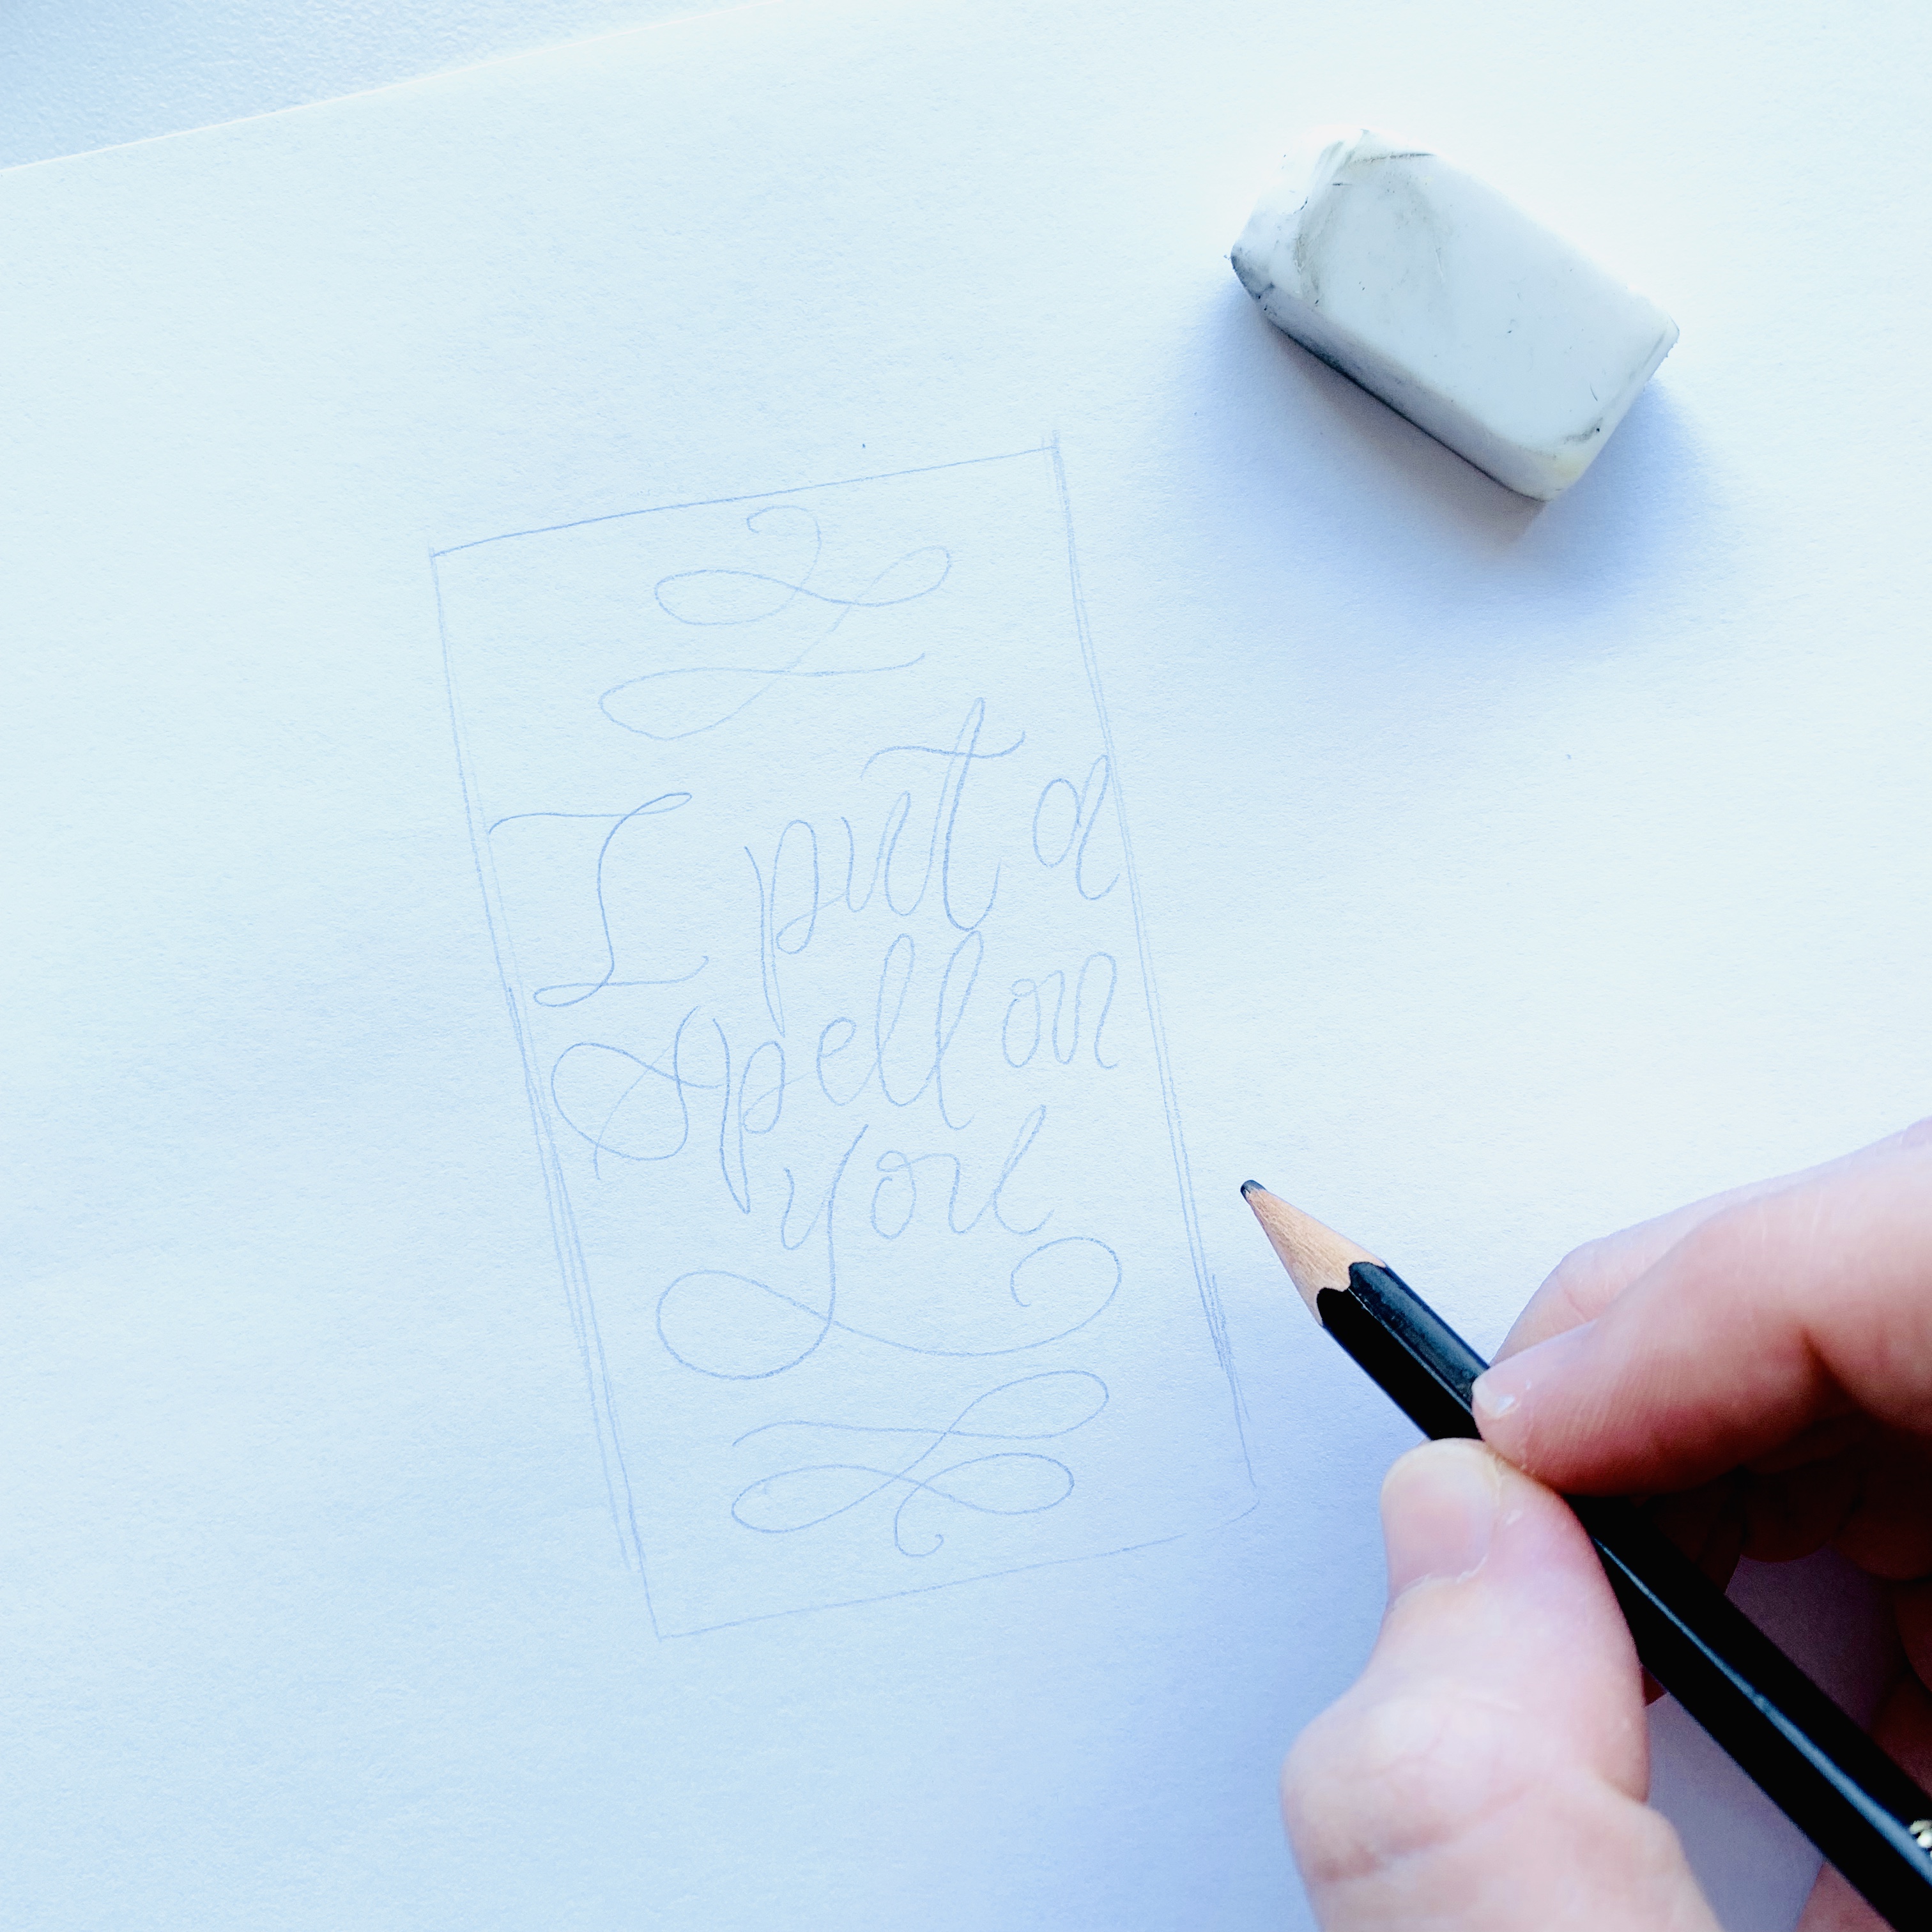
Using your MONO Drawing Pencil, sketch out a small design to go on the front of your candle. My design is about 2.5in x 4in so I could see if from the front of the candle.
Step 2:
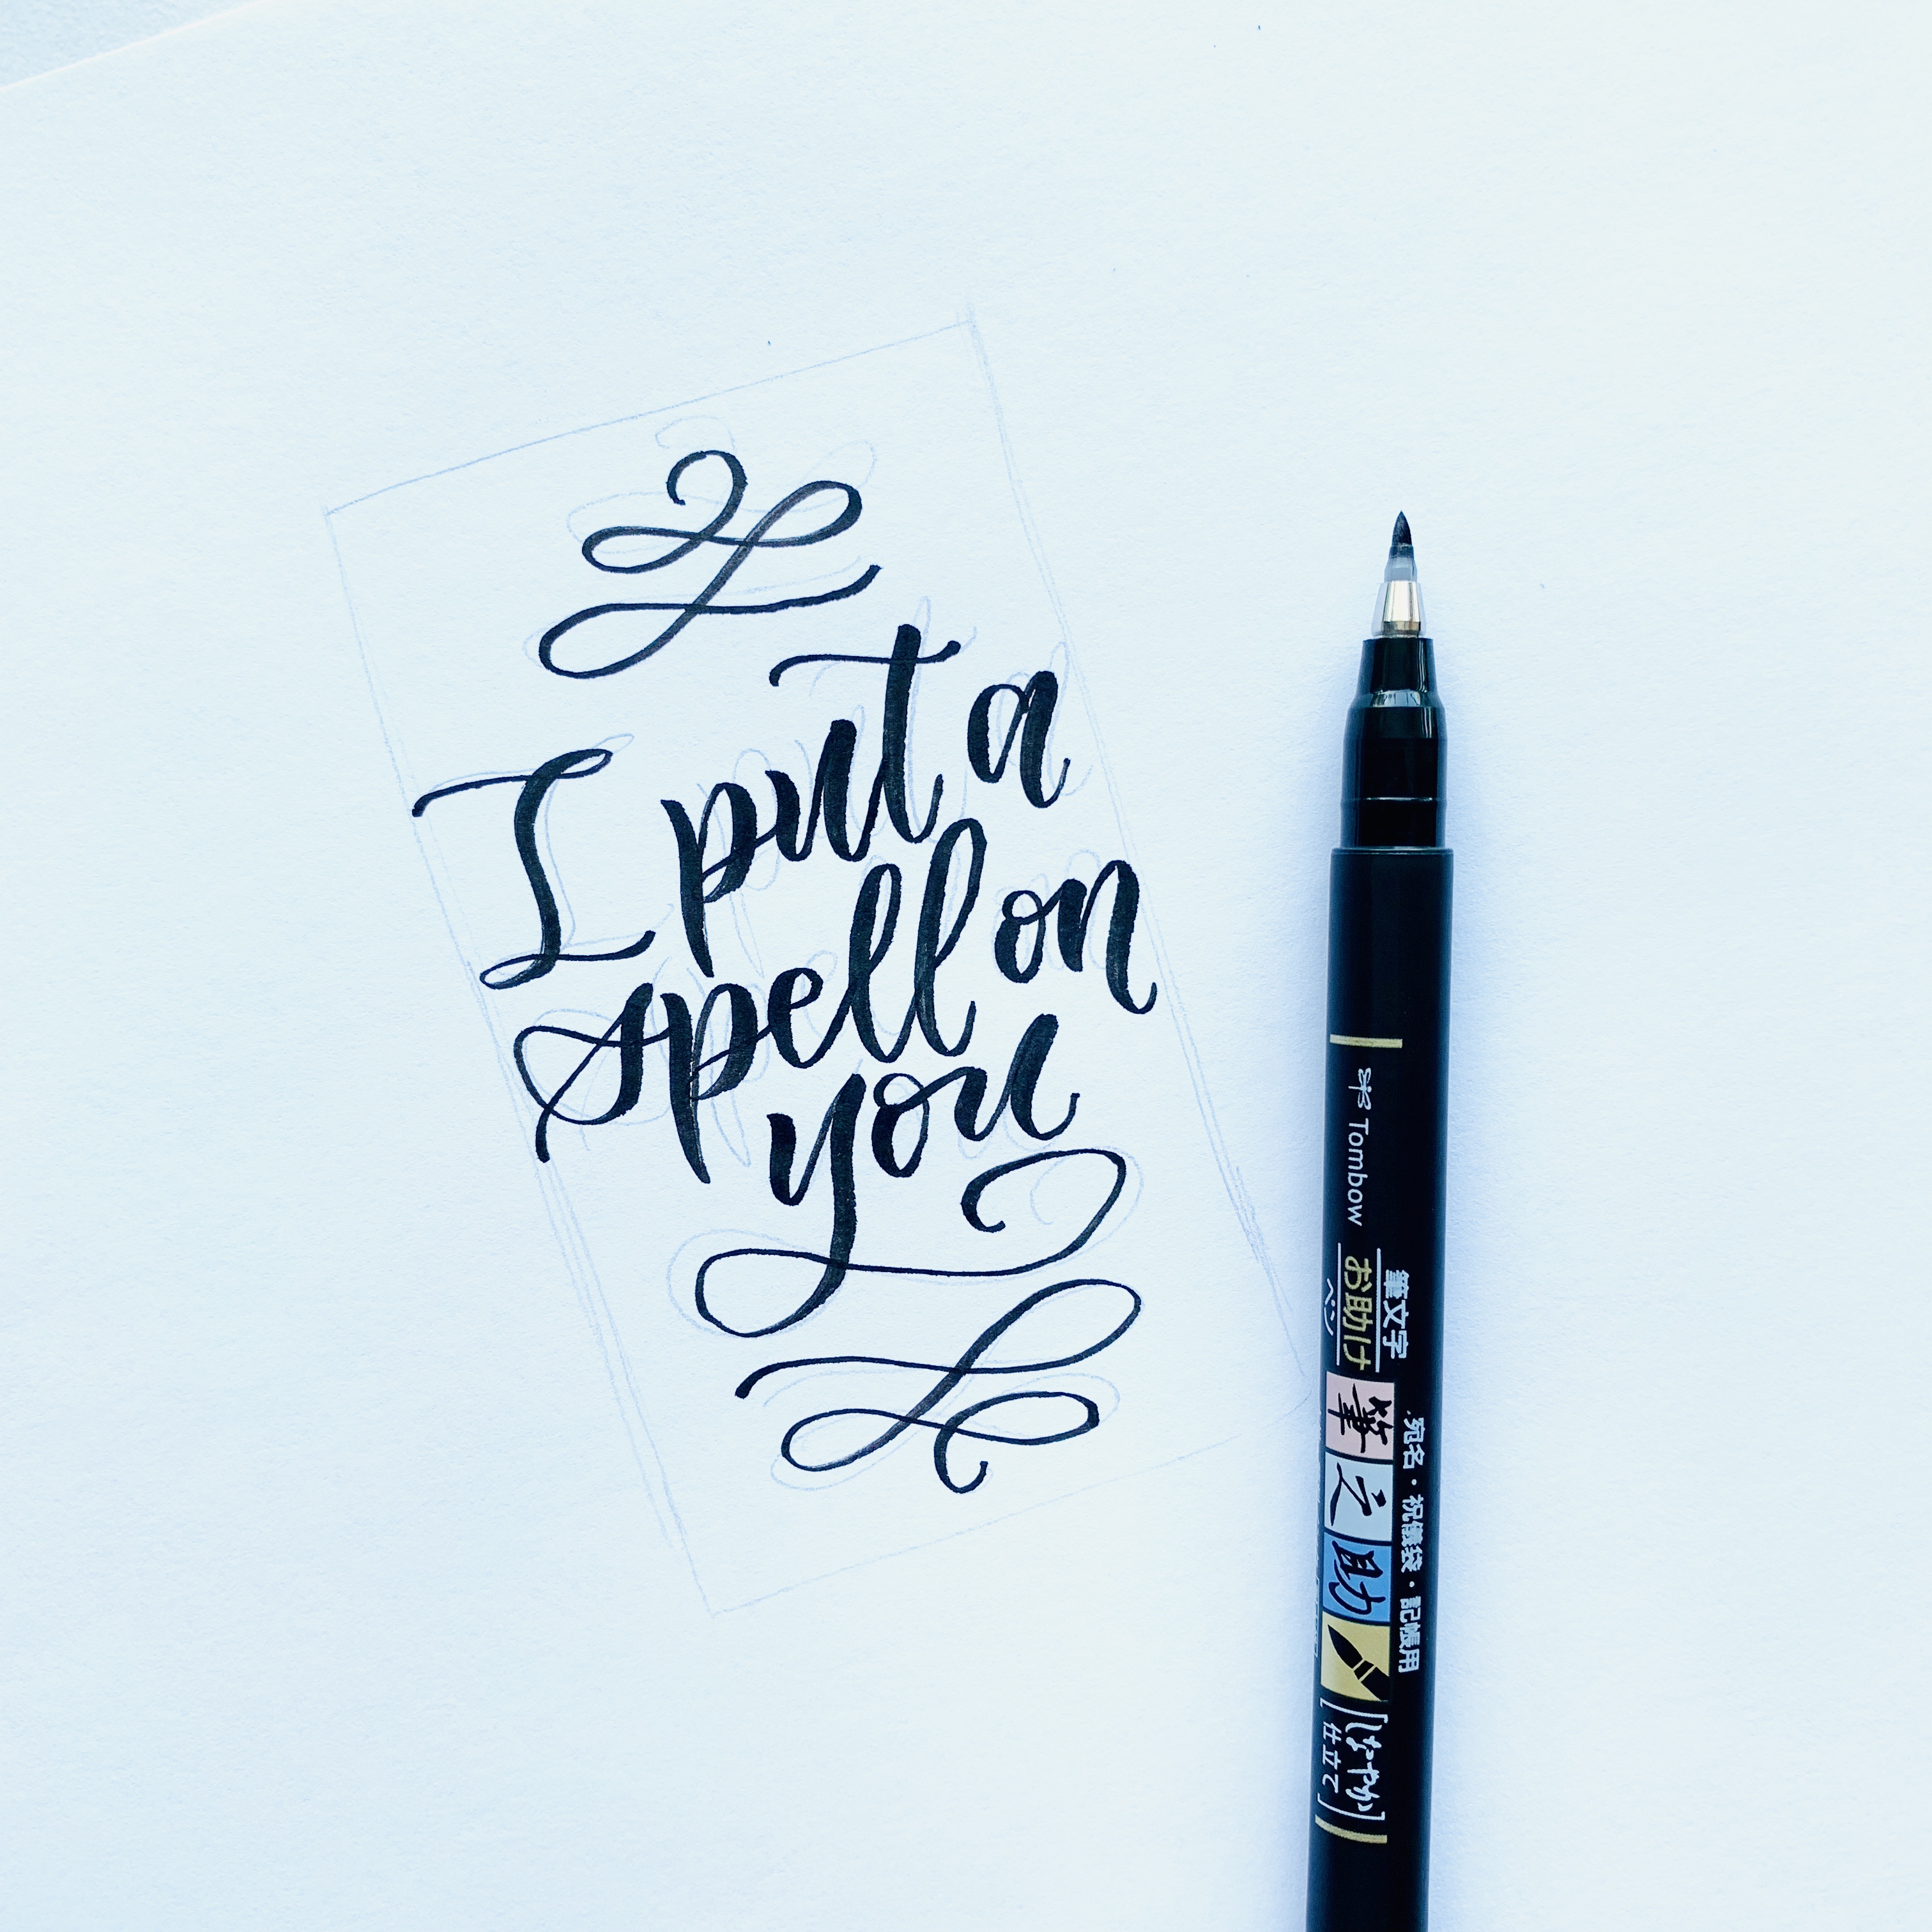
With your Fudenosuke Soft Tip Brush Pen, write out your saying and any flourishes. Erase any pencil marks with your MONO Eraser.
Step 3:
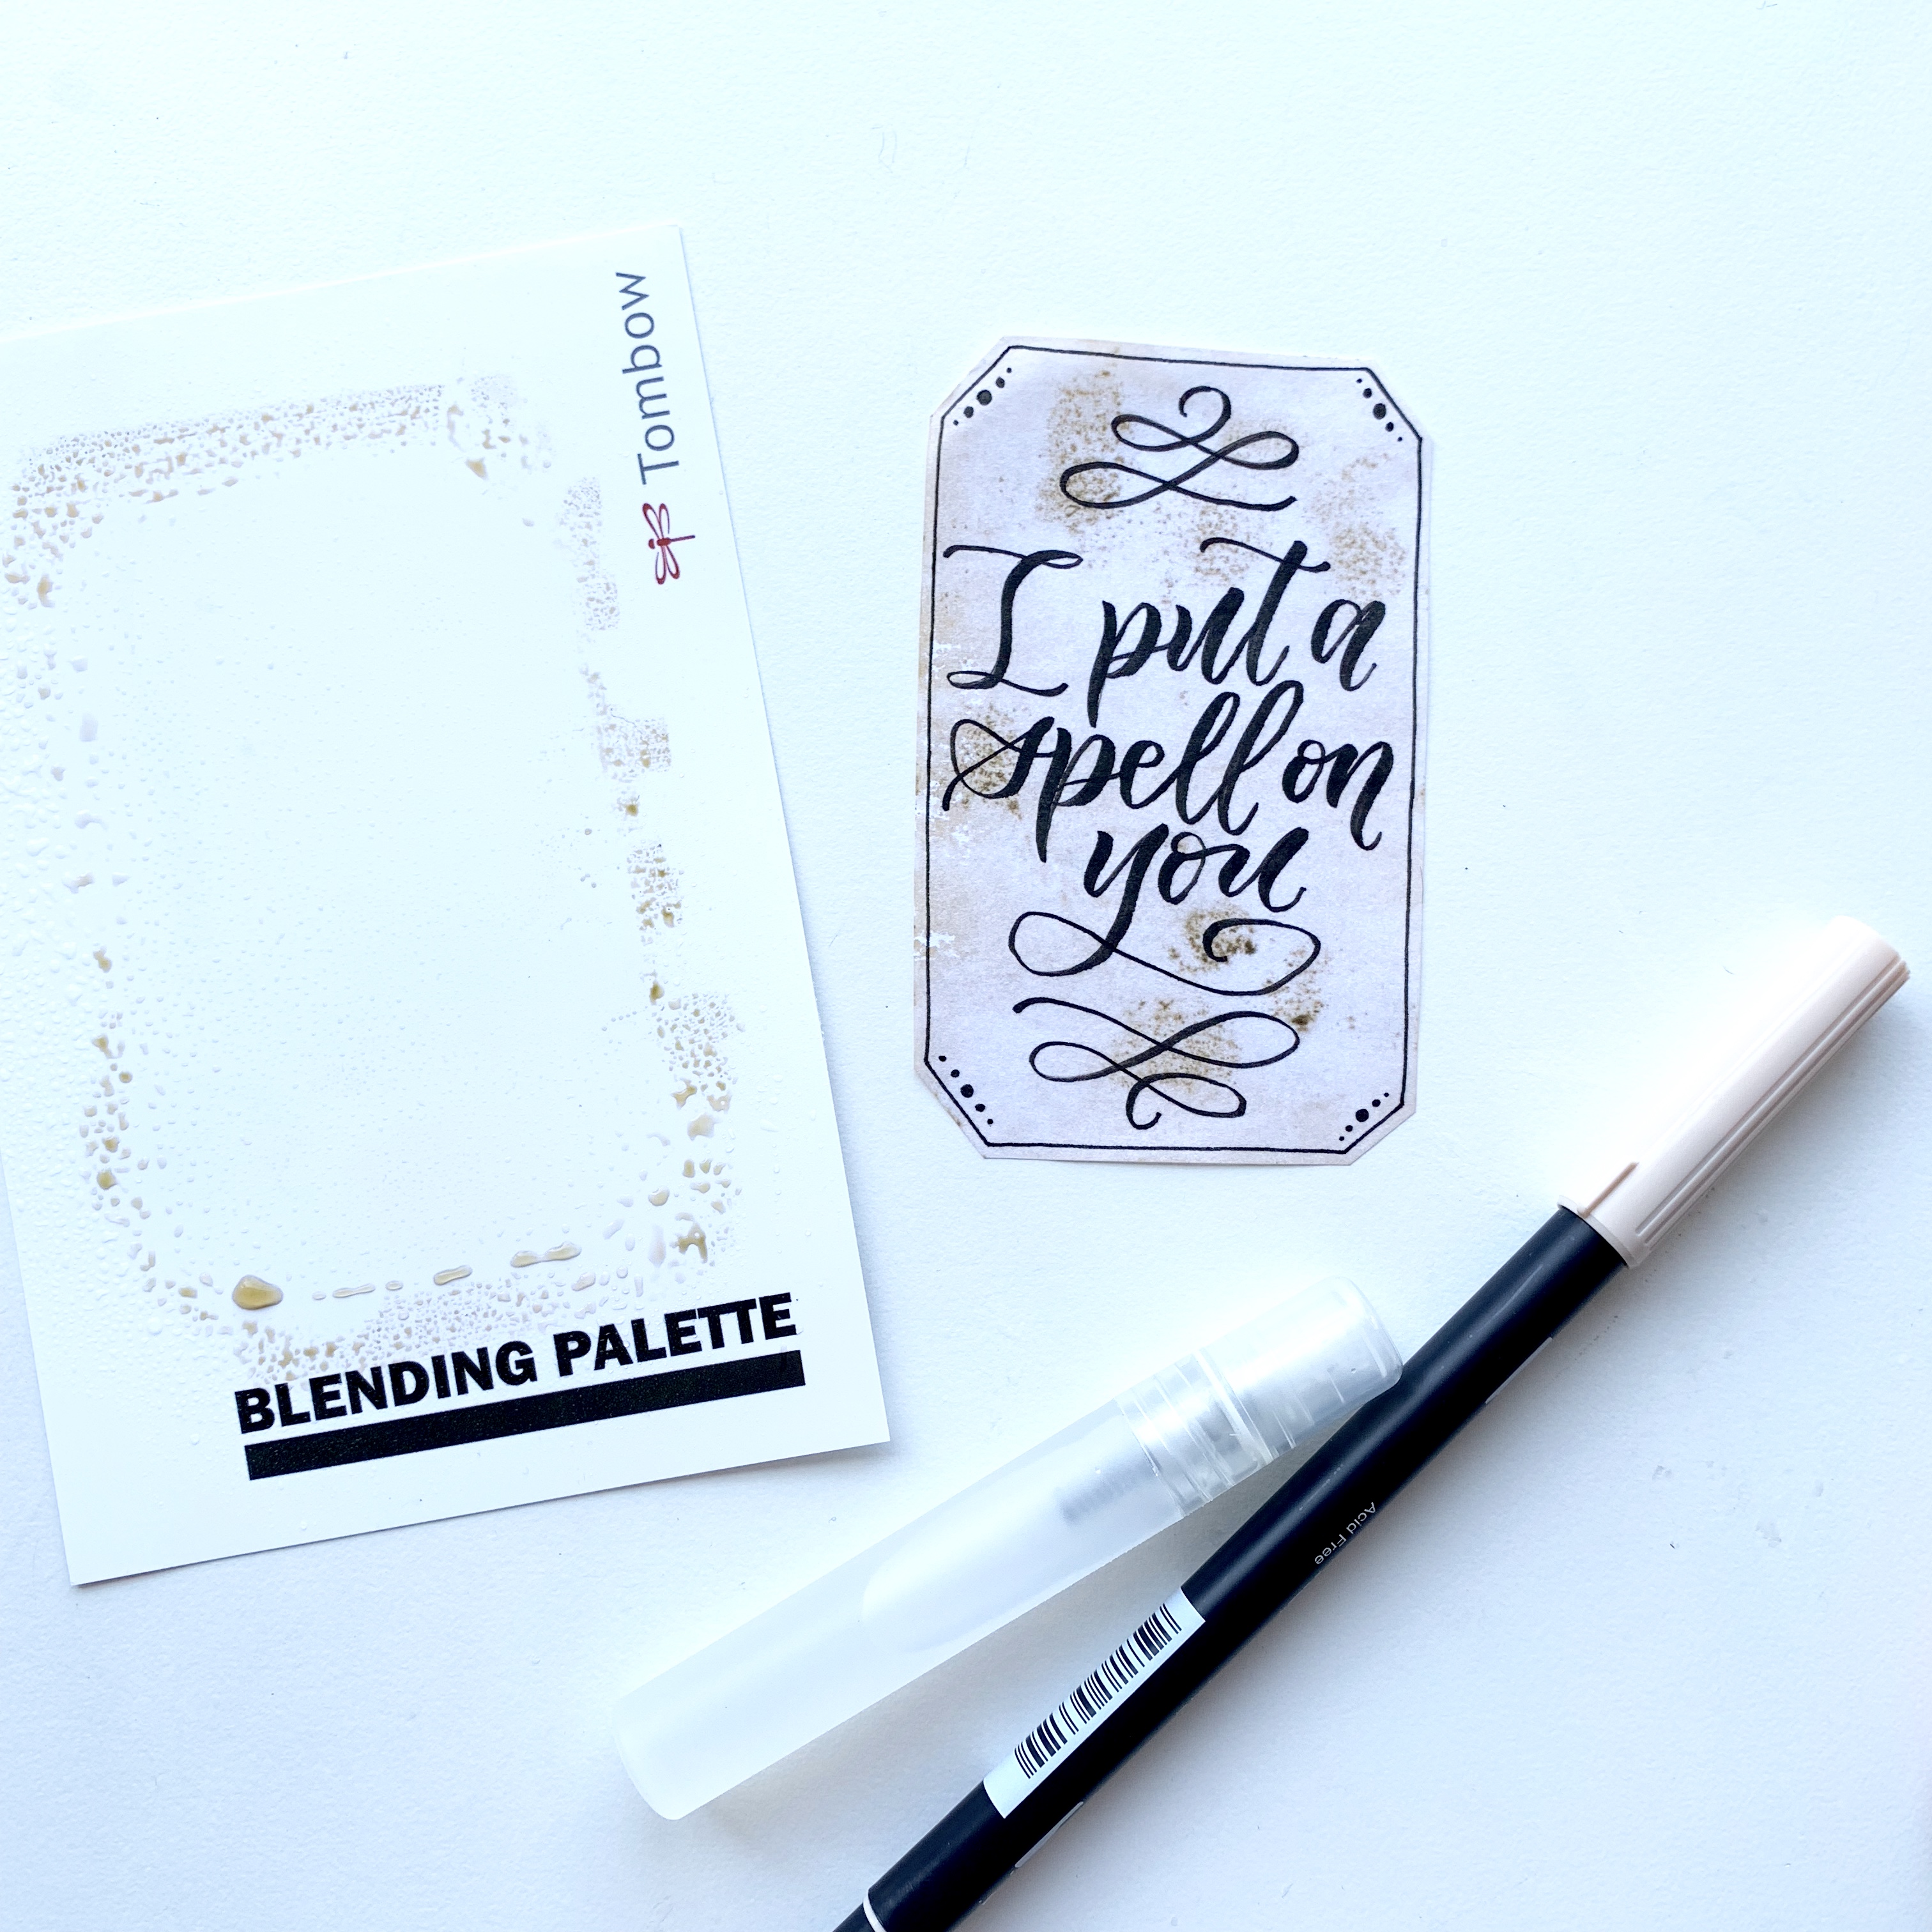
Cut out your design with scissors. I decided to angle the corners on mine and created a border with my MONO Drawing Pen 01. Next, use your Blending Palette and Spray Mister (from the Blending Kit) to add some color to the page. Color on the Blending Palette with your Dual Brush Pen 992, spray with water and lay down the paper on top to soak up the color.
Step 4:
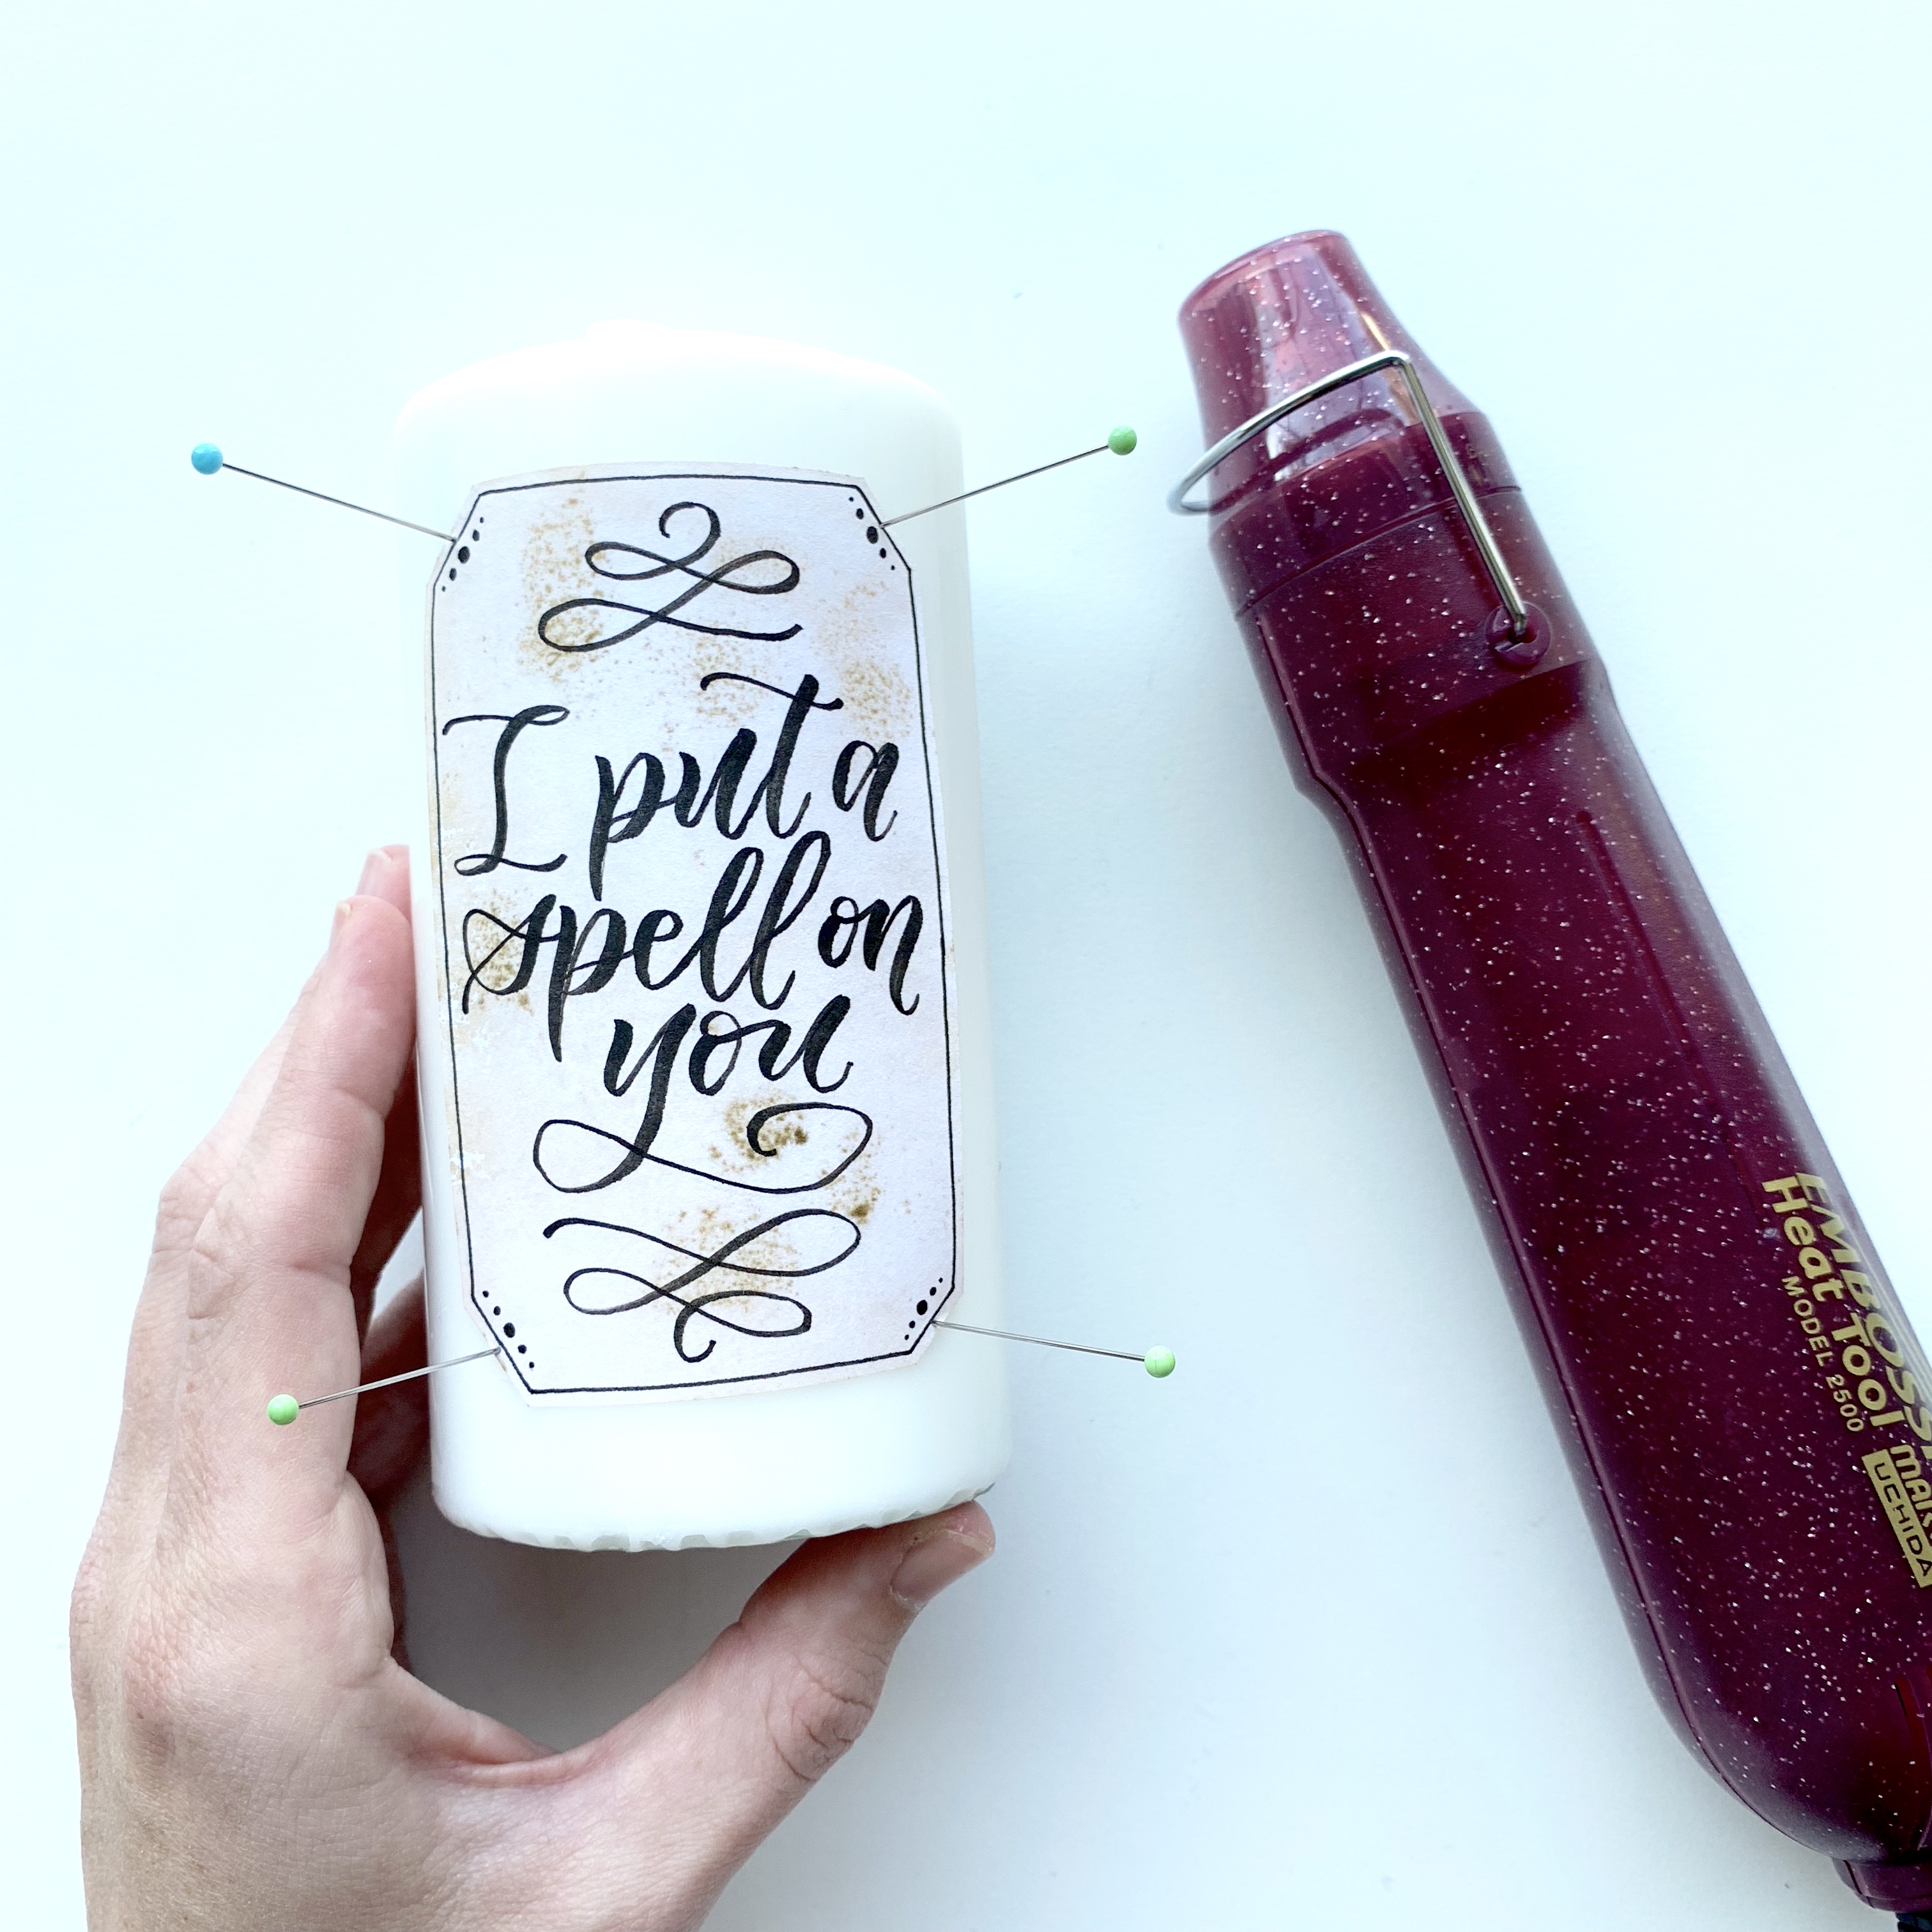
Pin your design onto the front of your candle using pins. Once you have it where you want it, use your Embossing Heat Tool to add heat. The wax will soak through the paper and adhere it to the candle. When applying heat, make sure to apply it lightly and don’t direct it at any spot for too long.
Step 5:
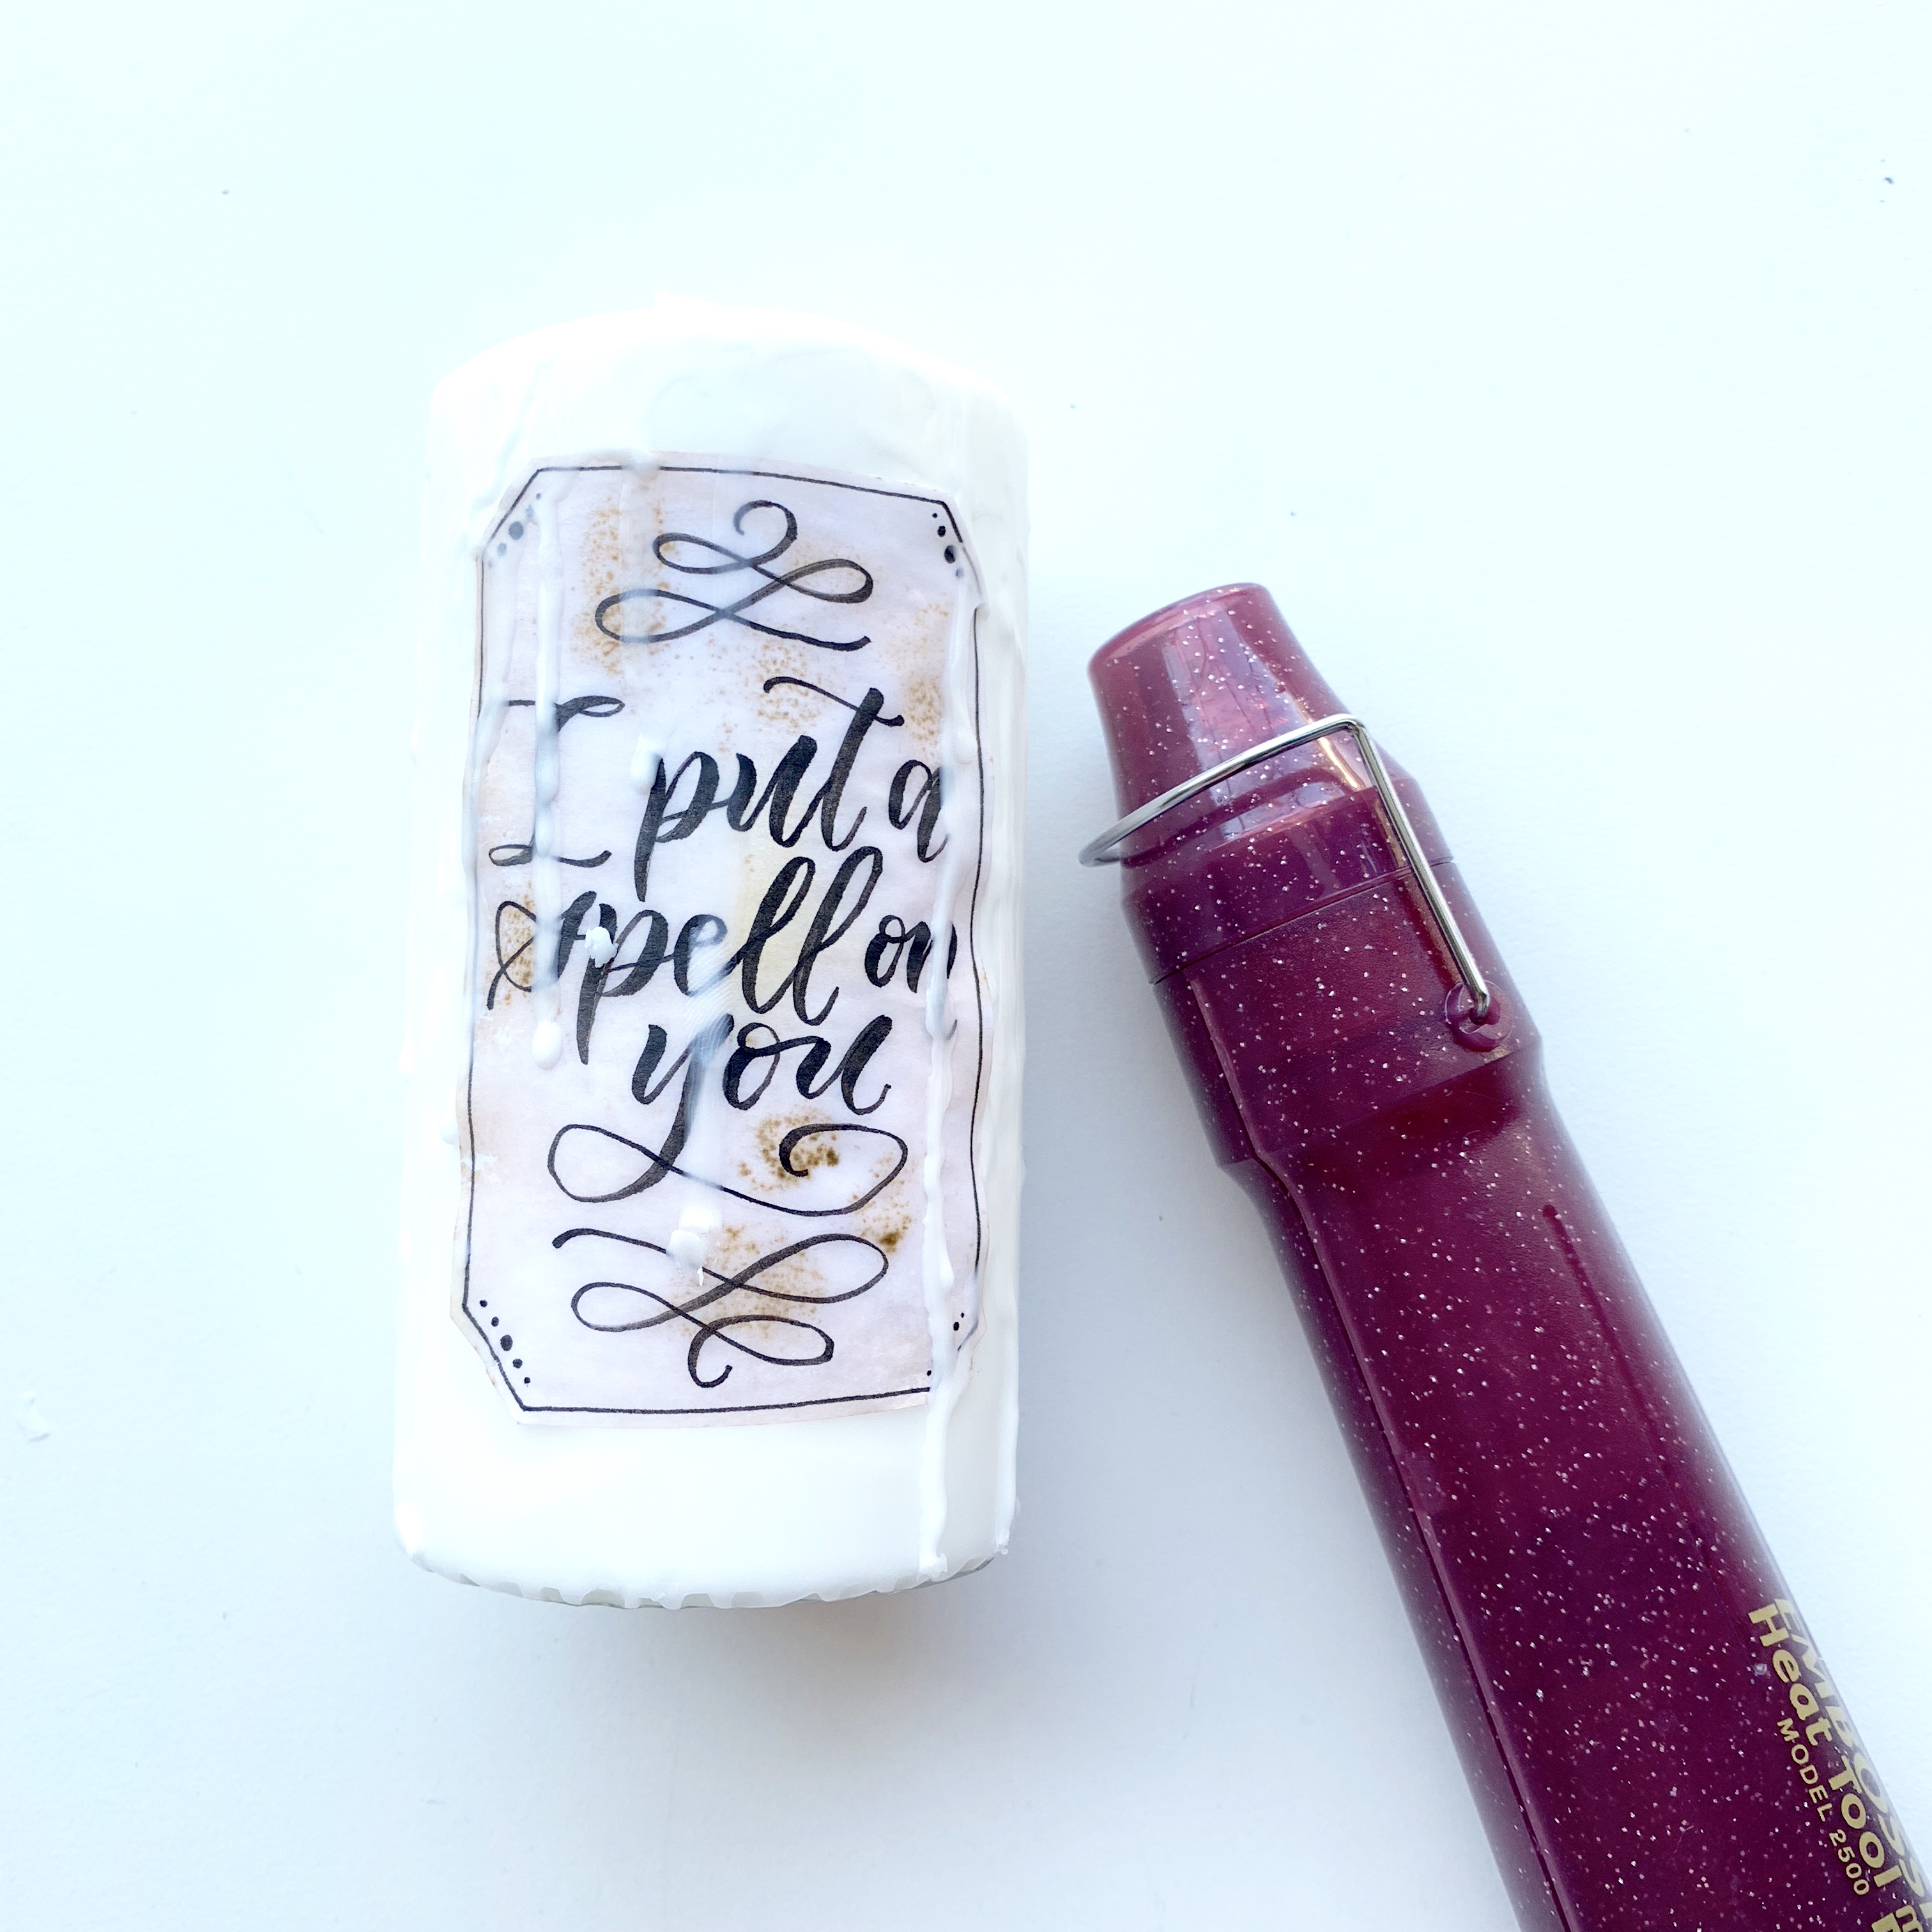
Once the paper design it adhered to the front of the candle, take the pins out. Then I applied heat at the top of my candle to melt wax down the front of the candle, to make it a bit more spooky.
Step 6:
Wrap your string around the bottom of the candle a few times and apply a dot of MONO Multi XL Liquid Glue to glue it in place!
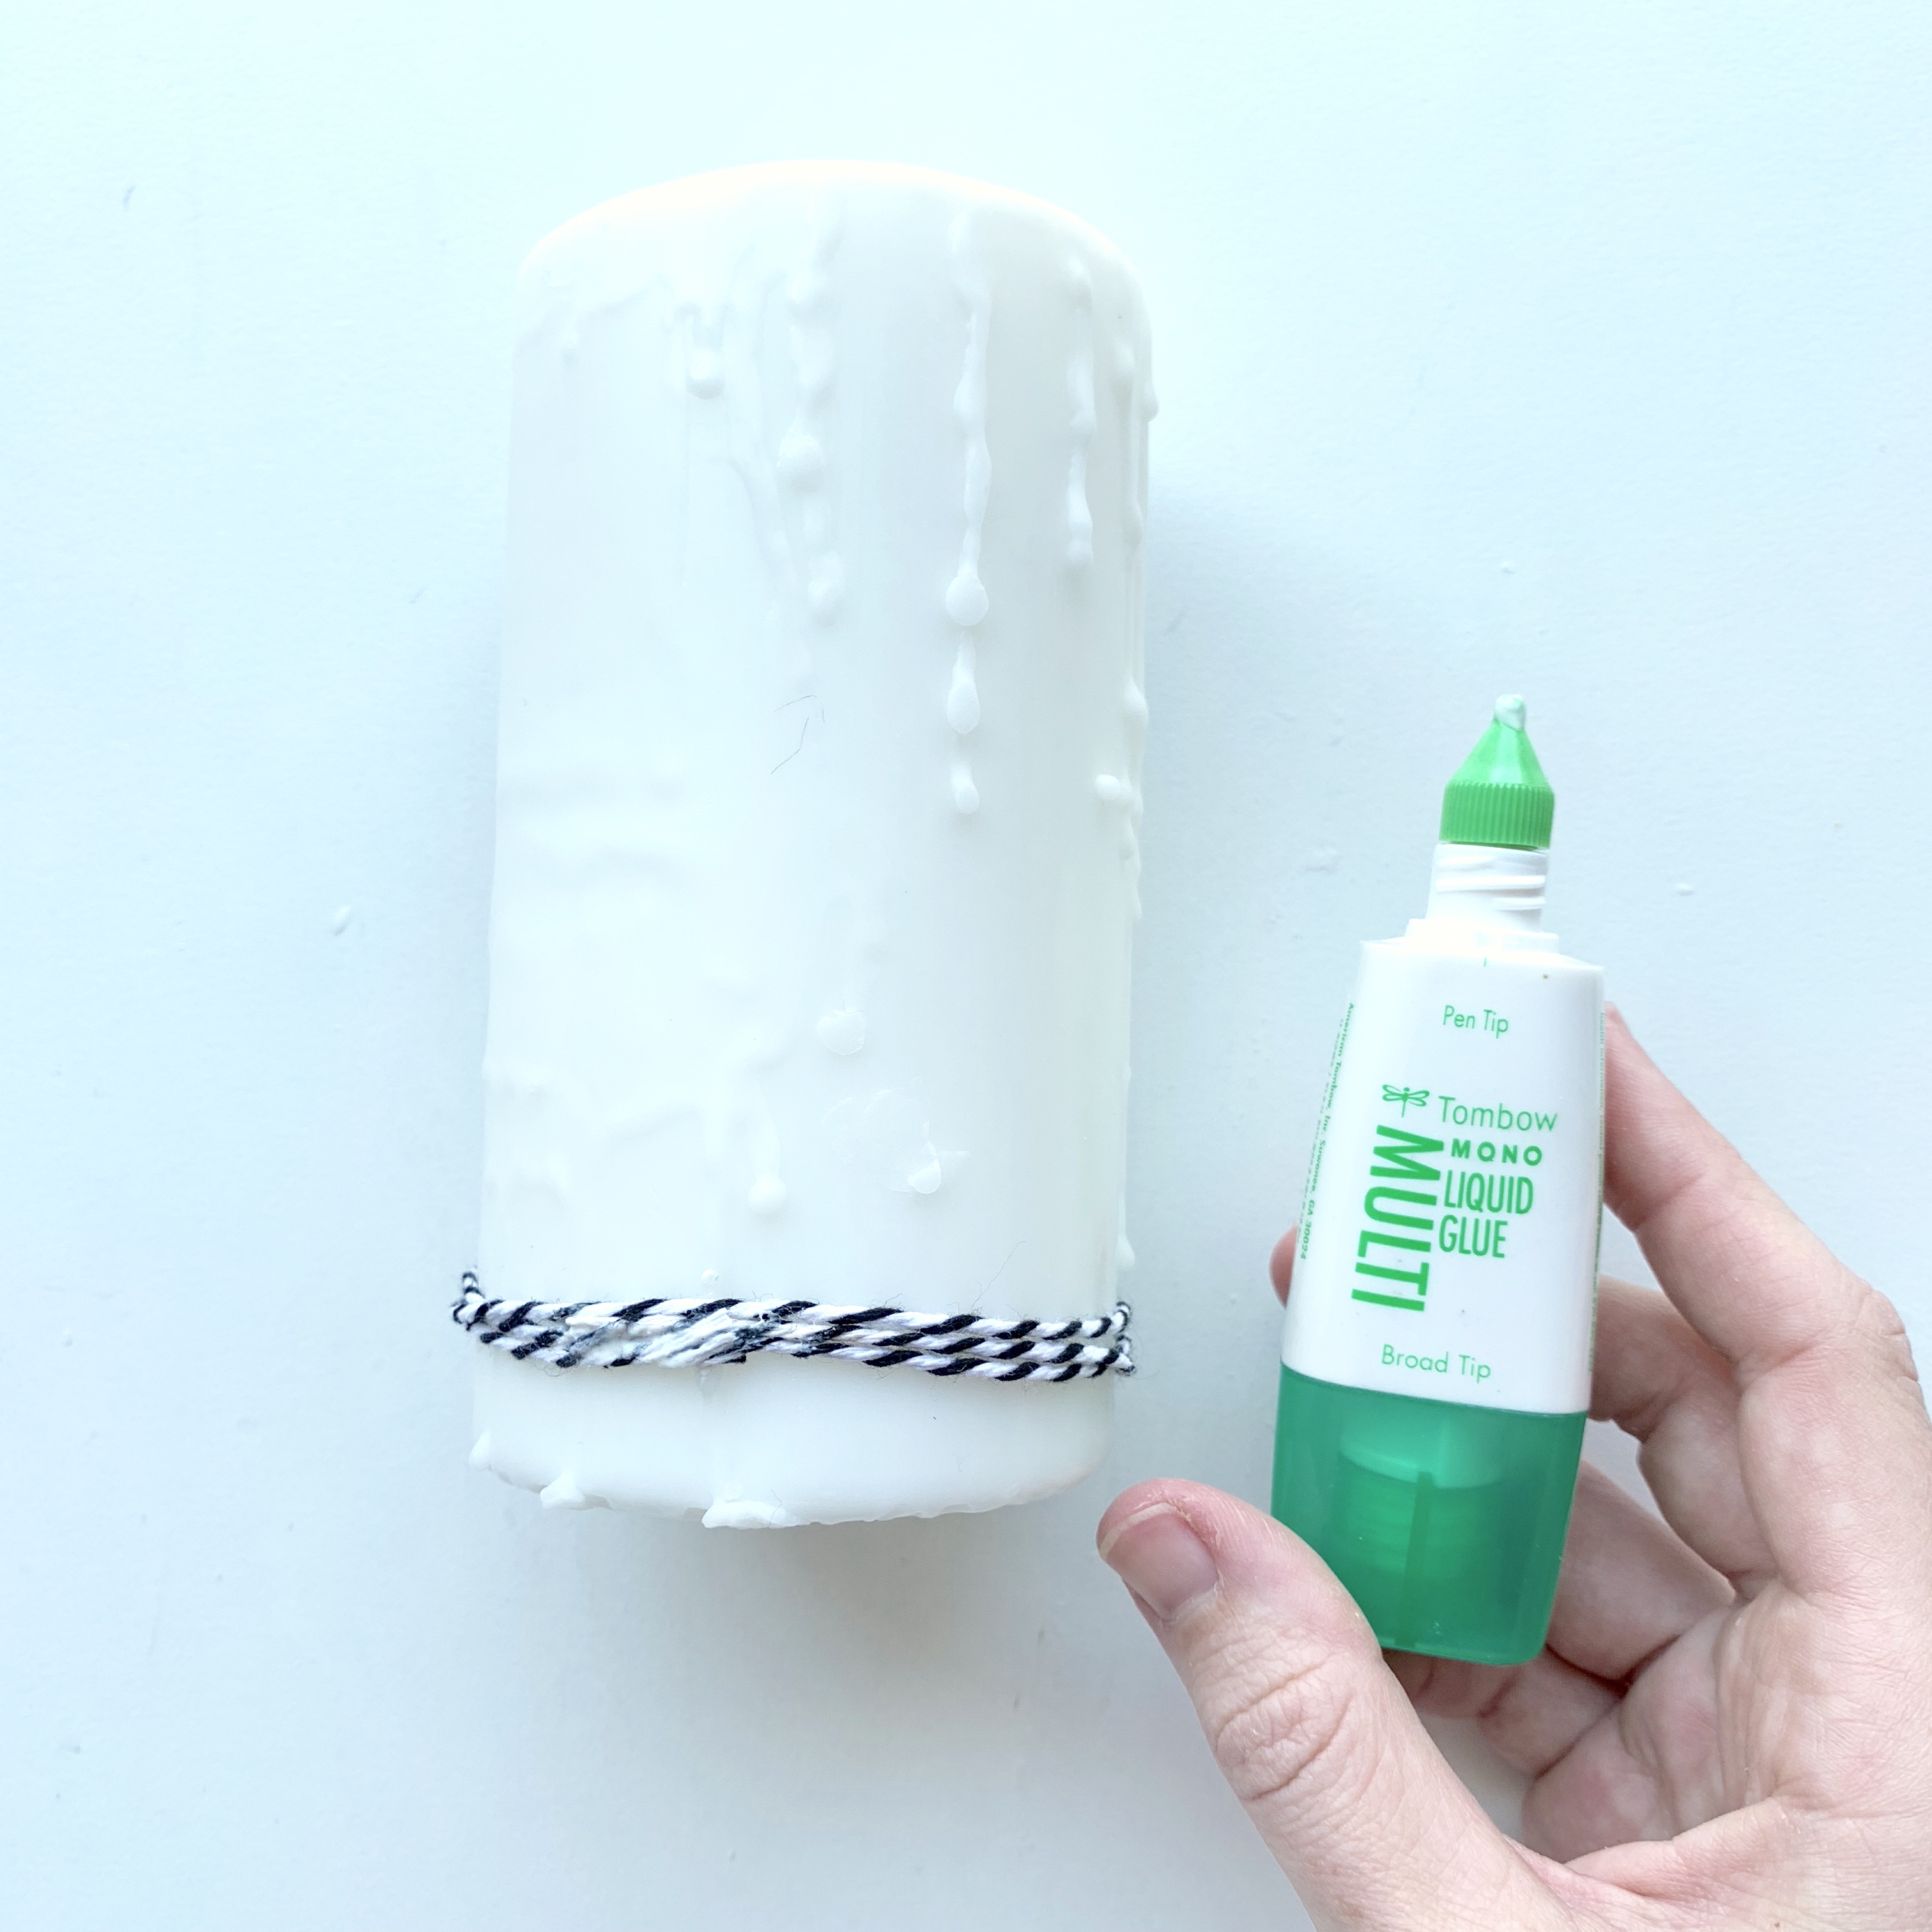
Here’s my finished candle! I put this candle up in my home with all my other Halloween decorations, and I love it. Making multiple of these would be great centerpieces for a spooky Halloween dinner! Hope you found this helpful! For more inspiration like this, go visit me at @studio80design!
