Hello friends! It’s Smitha here and today I am getting ready for New Year’s Eve with a quick Happy New Year signage. I’ll walk you through the steps of embossing with glue today. It is so satisfying to watch that embossing powder melt and get all golden!
Material list:
- Tombow MONO Multi XL Liquid Glue
- Paint Brush
- Embossing Powder
- Embossing Tool or Heat Tool
- Cardstock
Step 1:
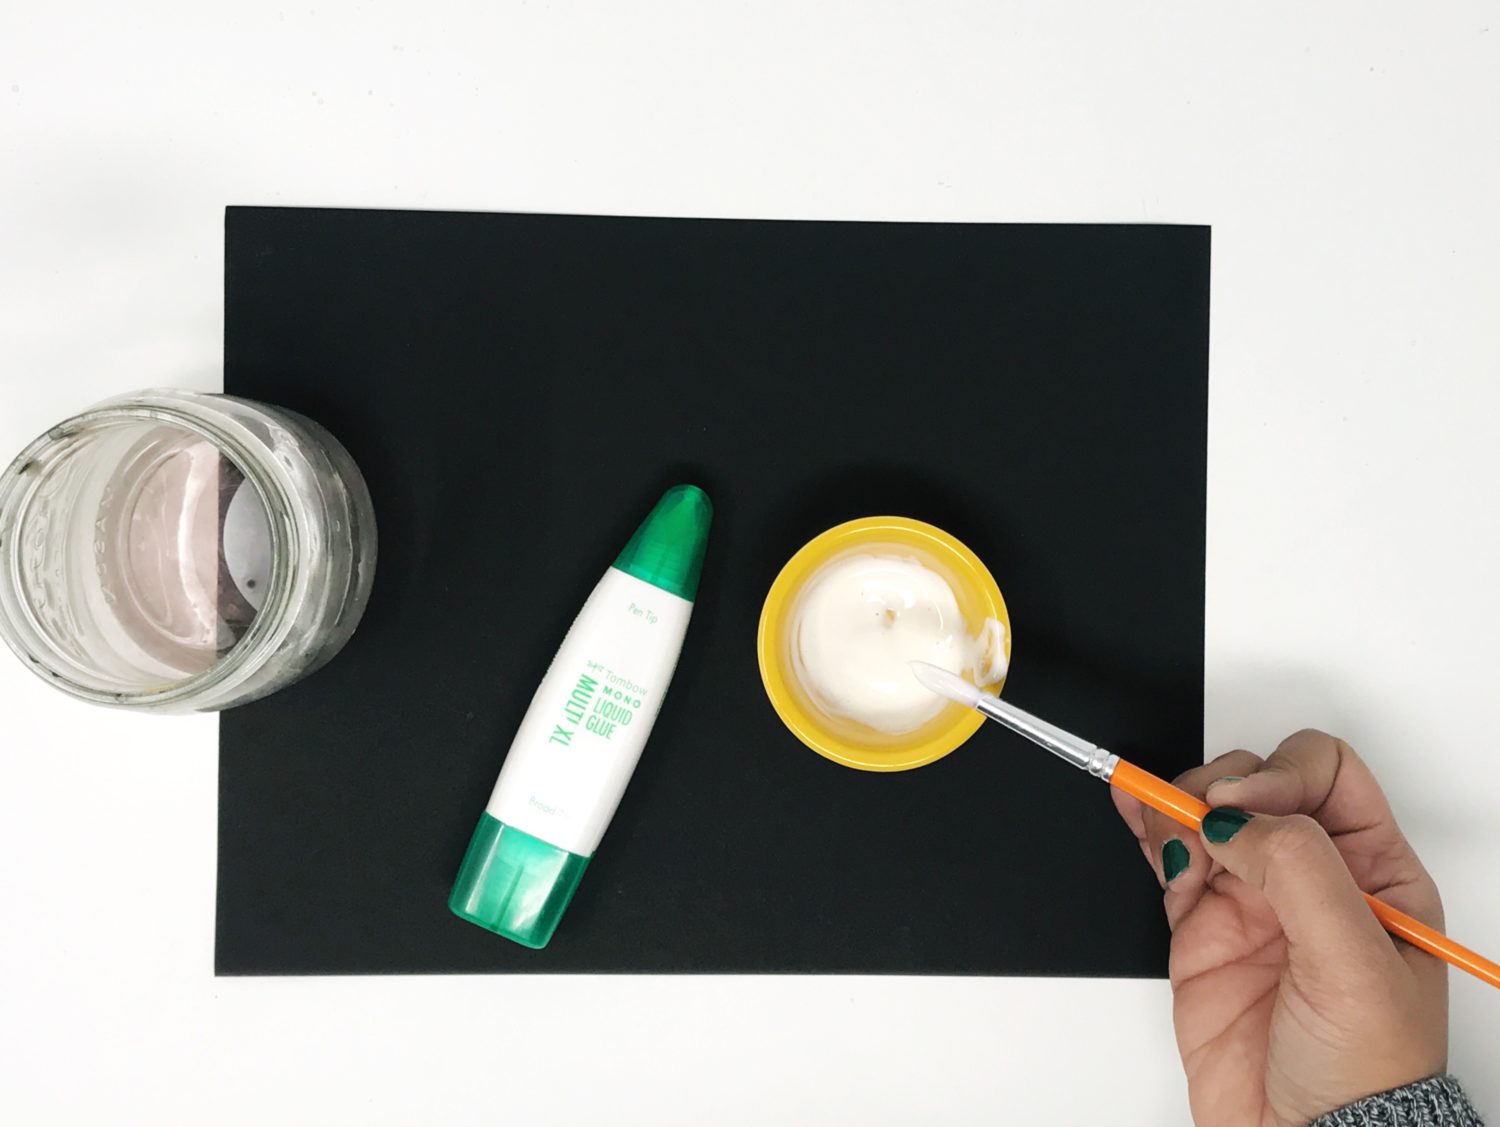
First, we need to prepare our glue. I used the Tombow MONO Multi XL Liquid Glue and thinned it down just a little bit to make it easier to paint with. I used 2 parts glue to 1 part water here.
Step 2:
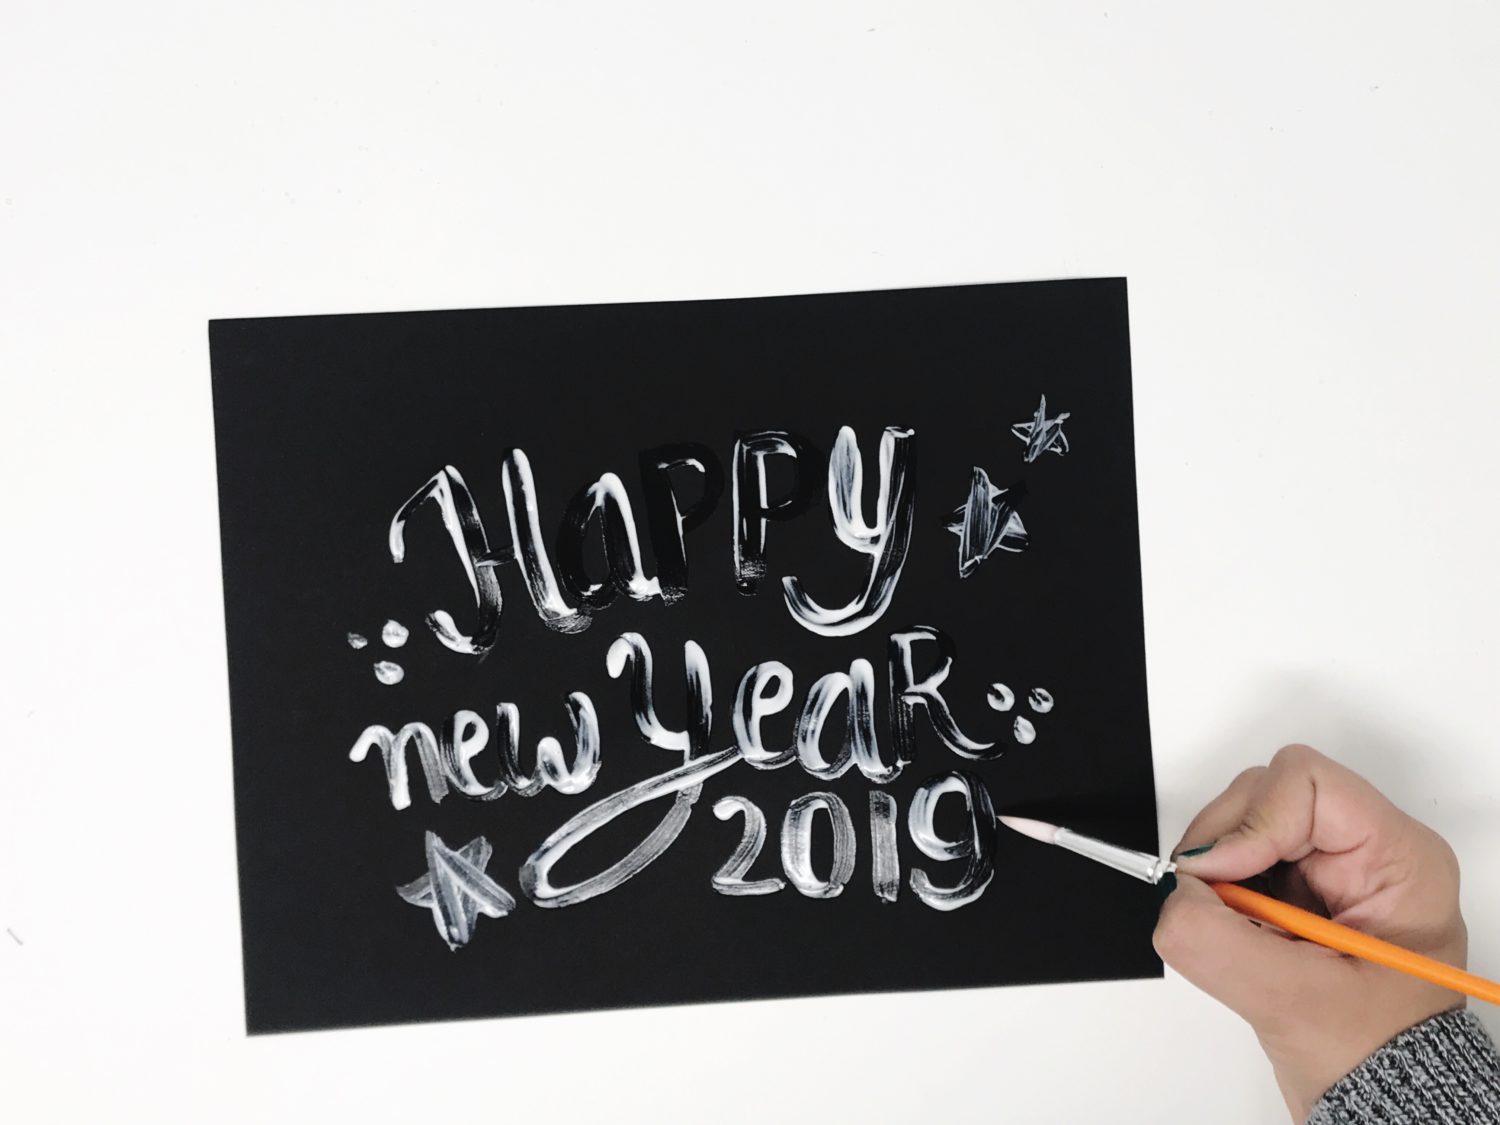
Next, I painted the words “Happy New Year 2019” carefully with the thinned out glue. I used a chunky bold lettering style here, but feel free to make this as fancy as you want! I also doodled some small stars and dots around the cardstock. The key here is work rather fast, as the glue can start drying pretty quickly.
Step 3:
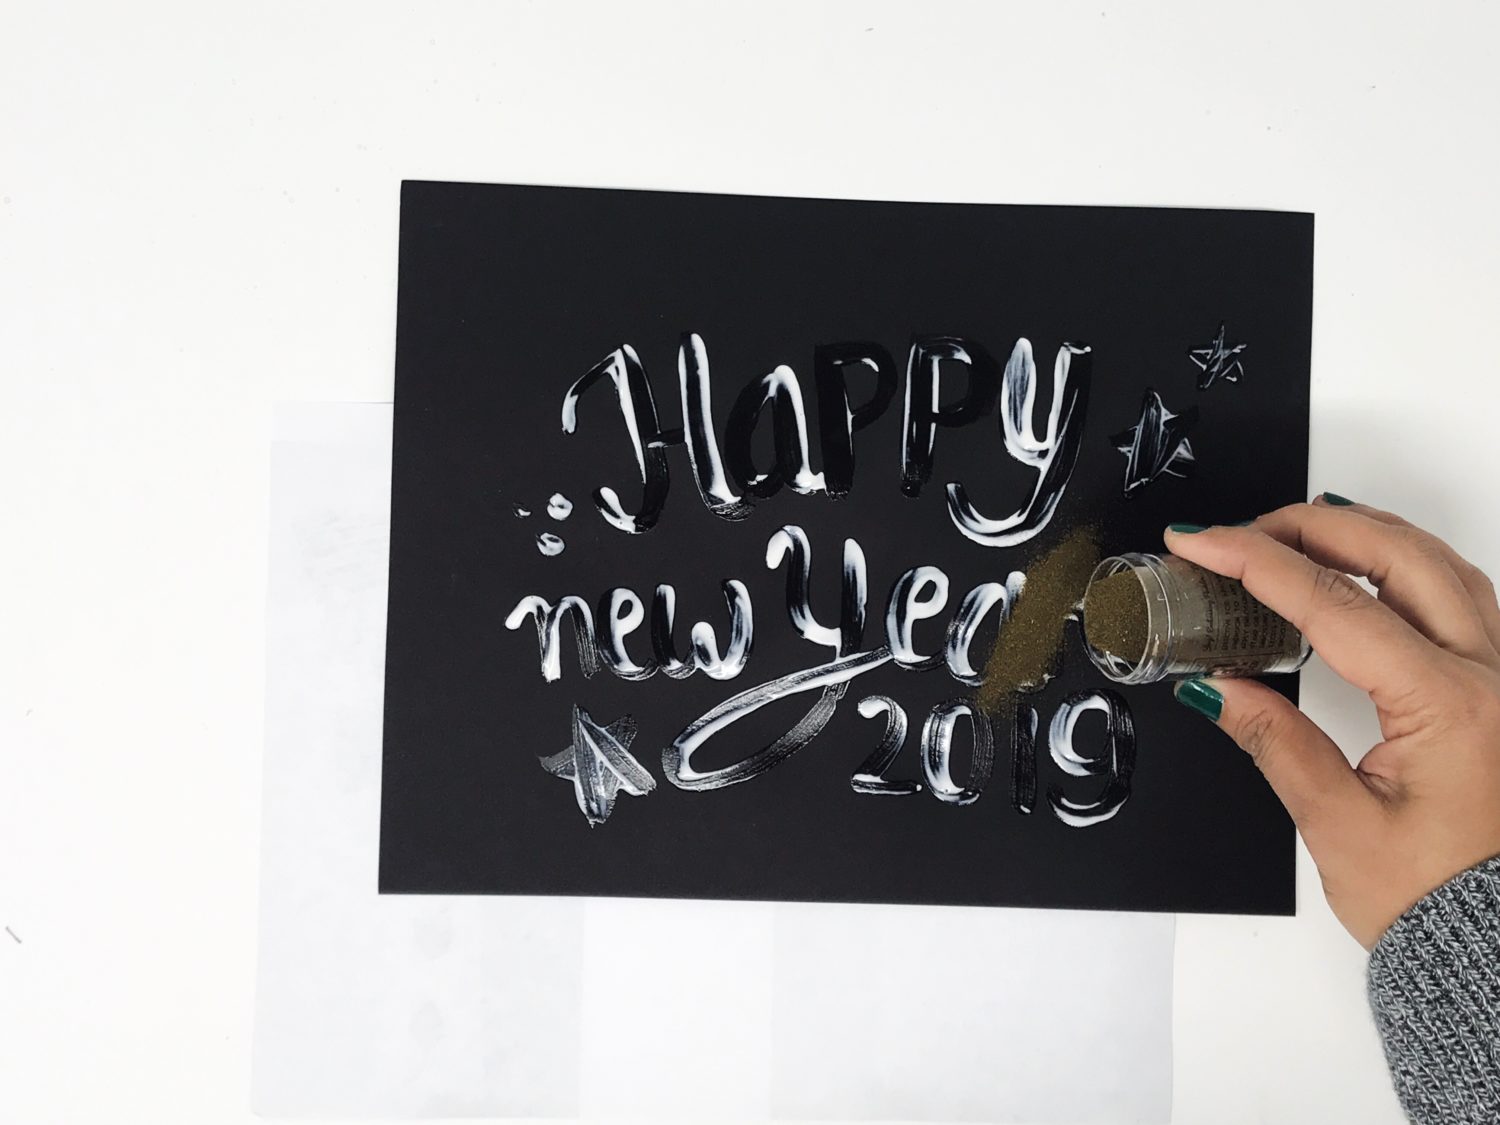
Pour embossing powder all over the glue lettering next. The Tombow MONO Multi XL Liquid Glue will remain tacky as it dries, so you should be able to easily cover the lettering with the embossing powder.
Step 4:
Shake off the excess embossing powder by tapping the back of the paper gently. Make sure that all areas of the lettering have been covered at this stage. If not, pour more embossing powder as needed. 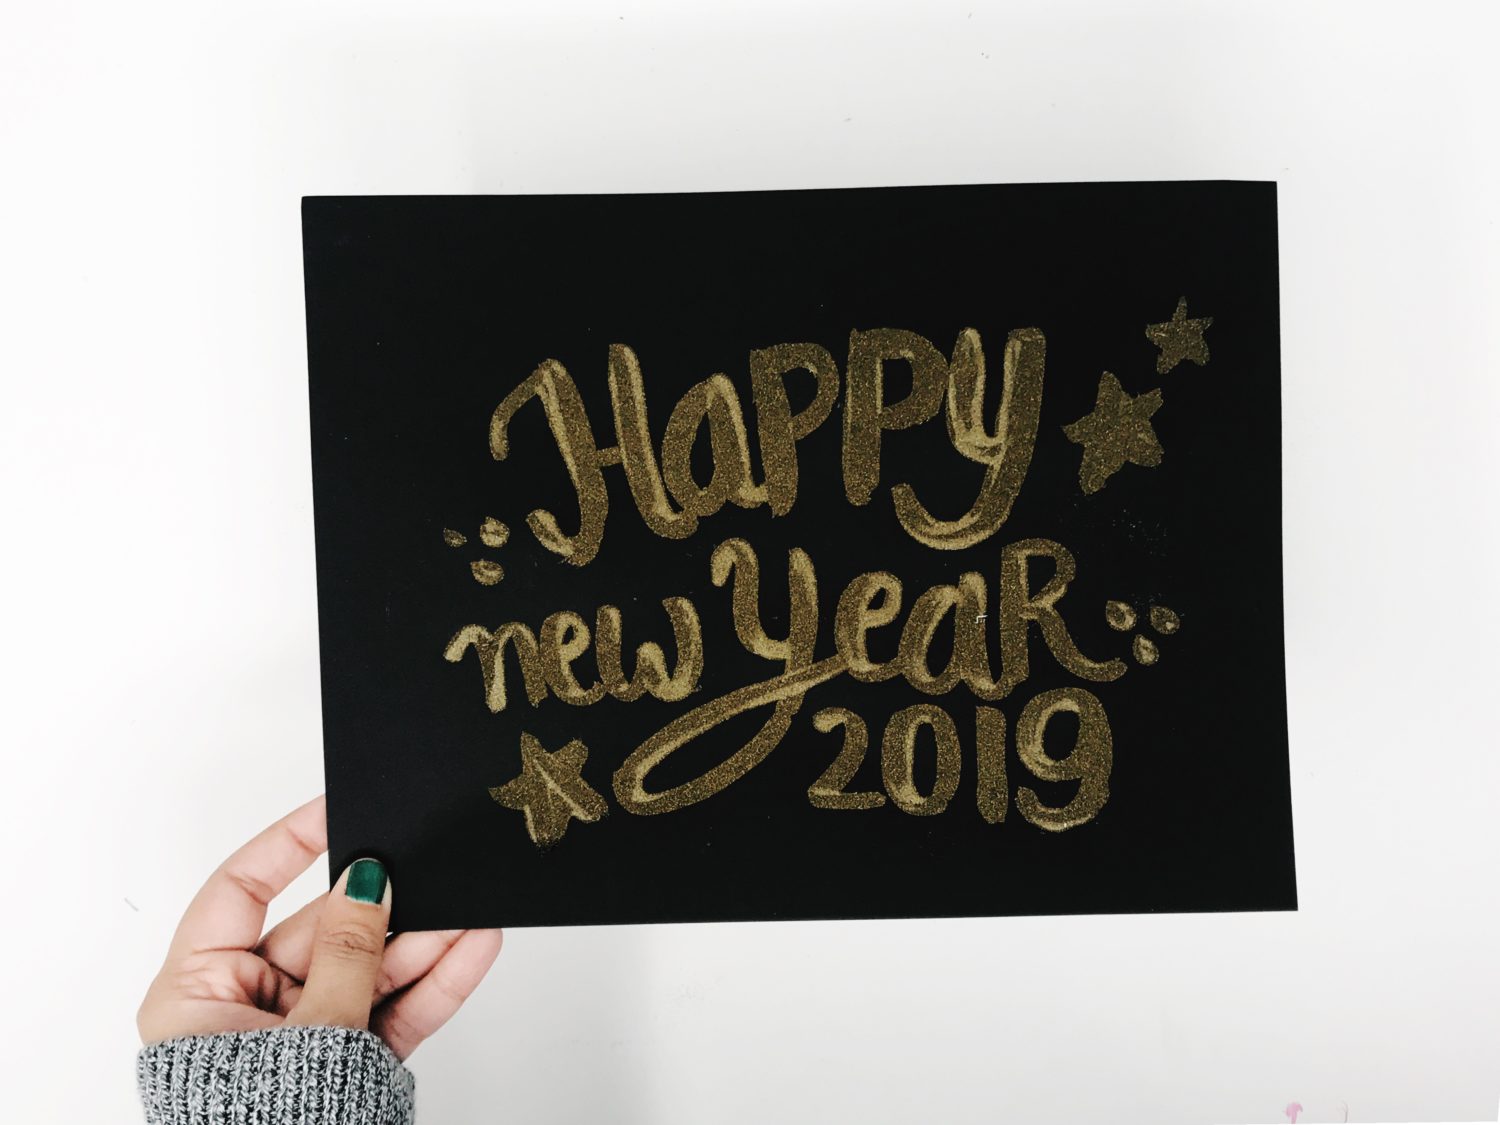
Step 5:
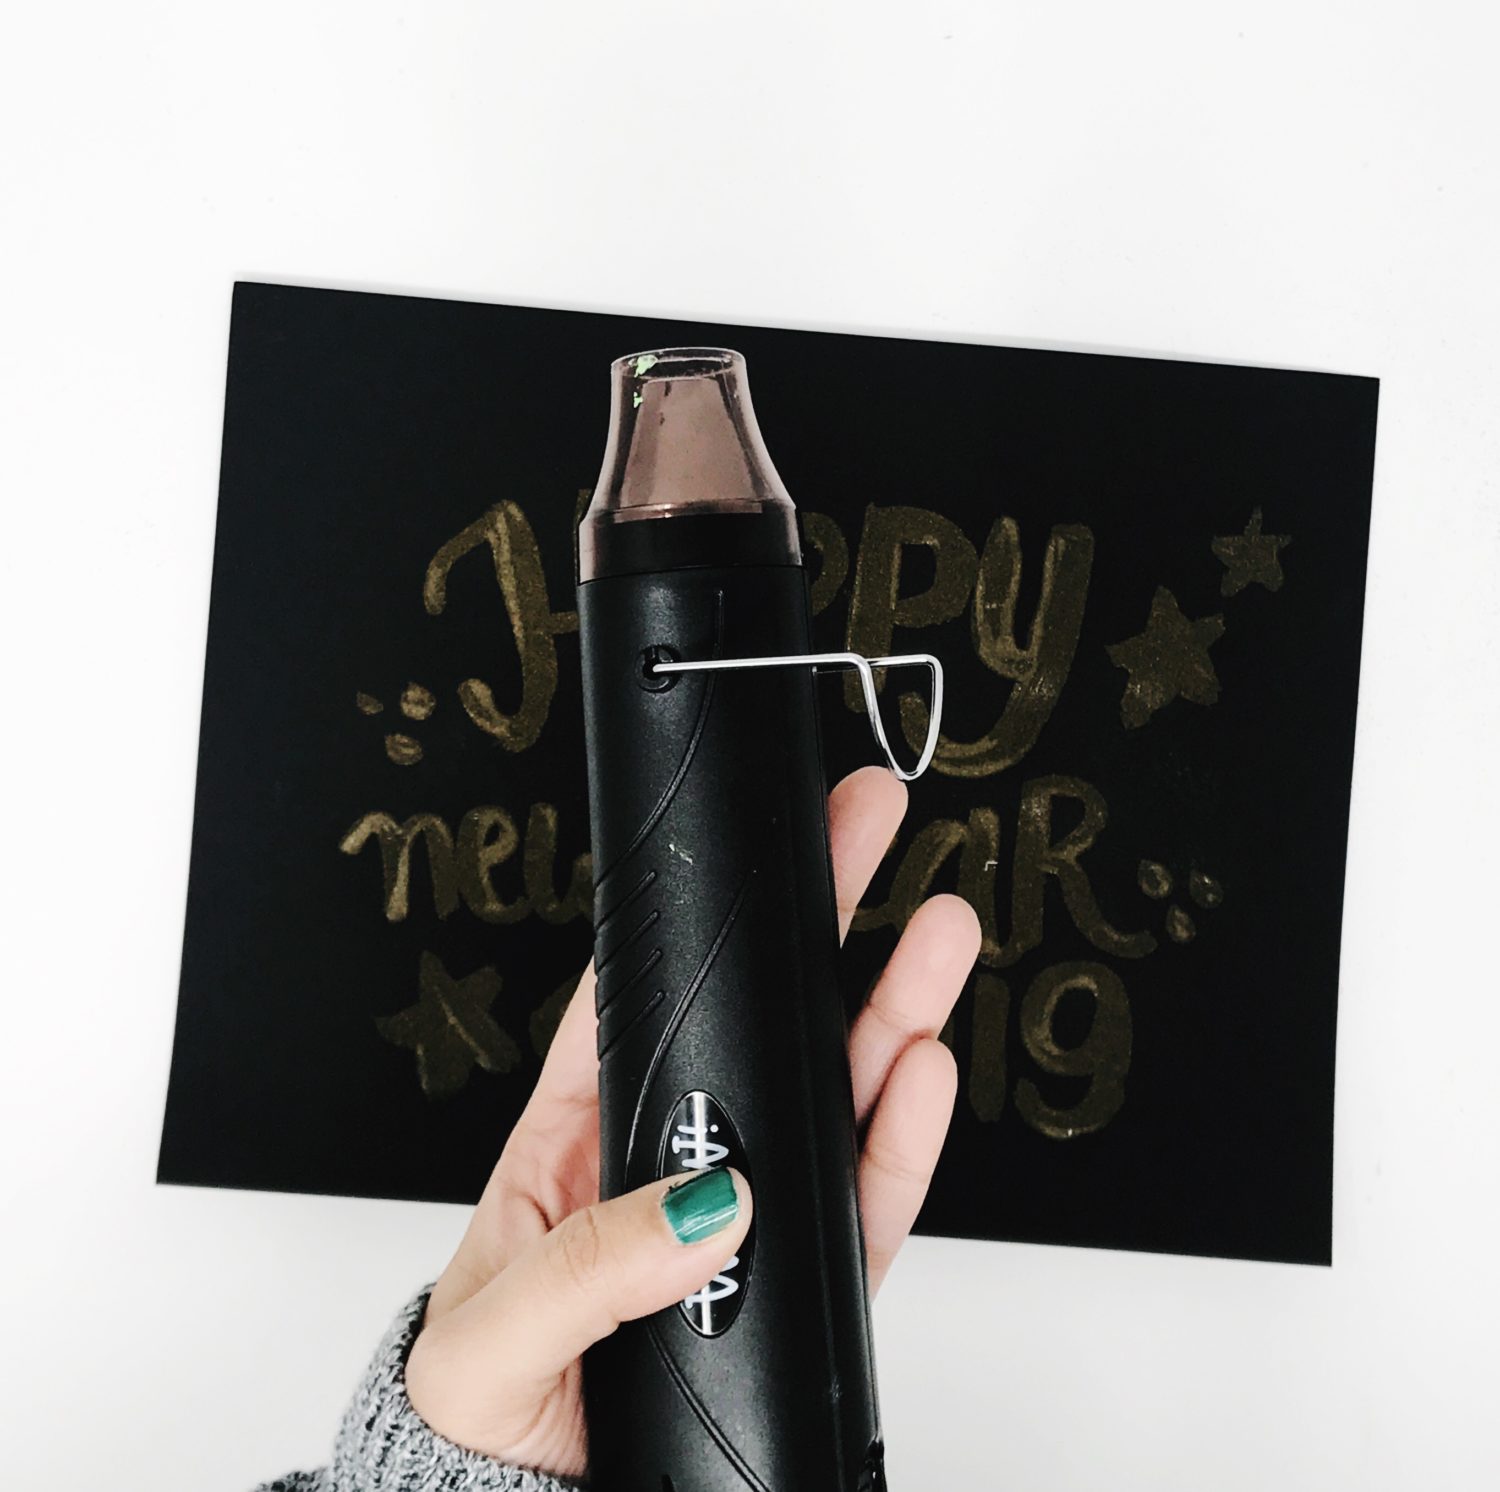
I like to let my glue and embossing powder air dry for a few minutes. This just prevents too many bubbles from forming and ensures that the embossing turns out nice and even. I let my embossing tool get warm and then slowly melt the embossing powder all over. This is my favorite part!
And that’s it! My New Year’s Eve sign is ready! I love the contrast of gold against the black here. Let me know what you think in the comments below.
Wishing you all a happy holiday season and a Happy New Year!
And of course, happy crafting!
Smitha | www.smilingcolors.com
