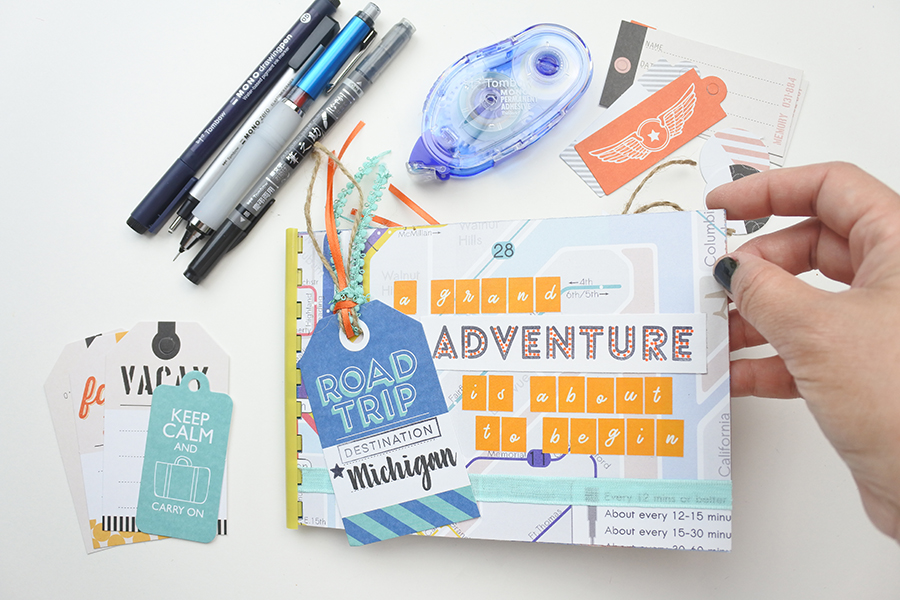
Hi friends, Renee here with @thediyday and I’m sharing a few must-have pages for a road trip travel journal. Whenever my husband and I go on a road trip, I bring along a travel journal to document the places we visit. Right now we are planning for a road trip from Texas to Michigan. With that in mind, I’m already creating my journal for this road trip using the travelers notebook kit from Clique Kits and several Tombow supplies.
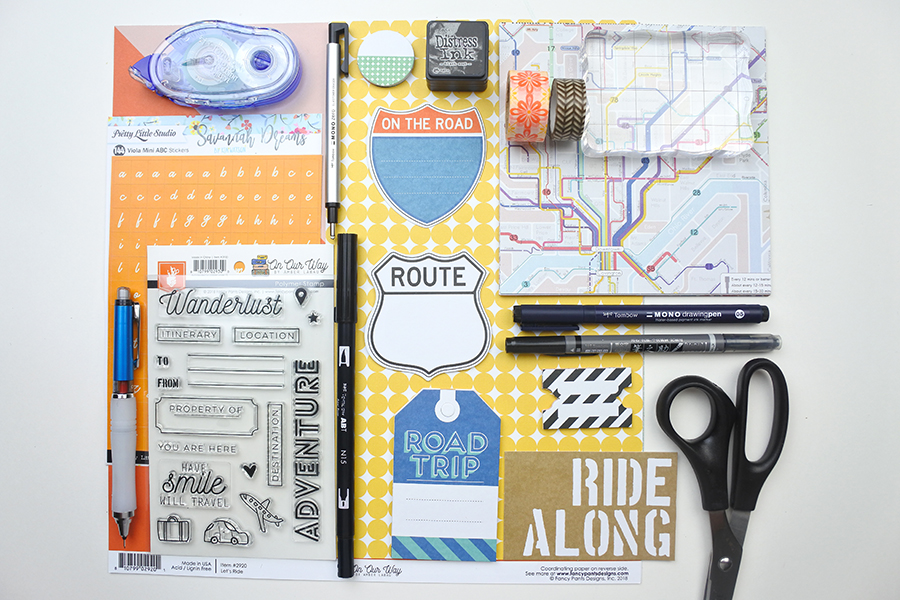
Supplies
- Tombow MONO Adhesive+
- Tombow Dual Brush Pen (N15-Black)
- Clique Kit December 2018 Traveler’s Notebook Kit
- Tombow MONO Drawing Pen (05)
- Tombow Fudenosuke Twin Tip Brush Pen
- Washi Tape
- Tombow Mechanical Pencil
- Tombow MONO Zero Eraser
- Scissors
- Black Stamp Ink (optional for stamping)
- Acrylic Block (optional for stamping)
- Ribbons (optional)
Want to see the entire flip through?
Step One – The Cover
When I create my journals, the front and back covers of the journal must be sturdy and durable so it doesn’t bend and ruin so easily. This is easy to do with chipboard, cardboard, or heavy cardstock (110 lb). I’m using the latter.
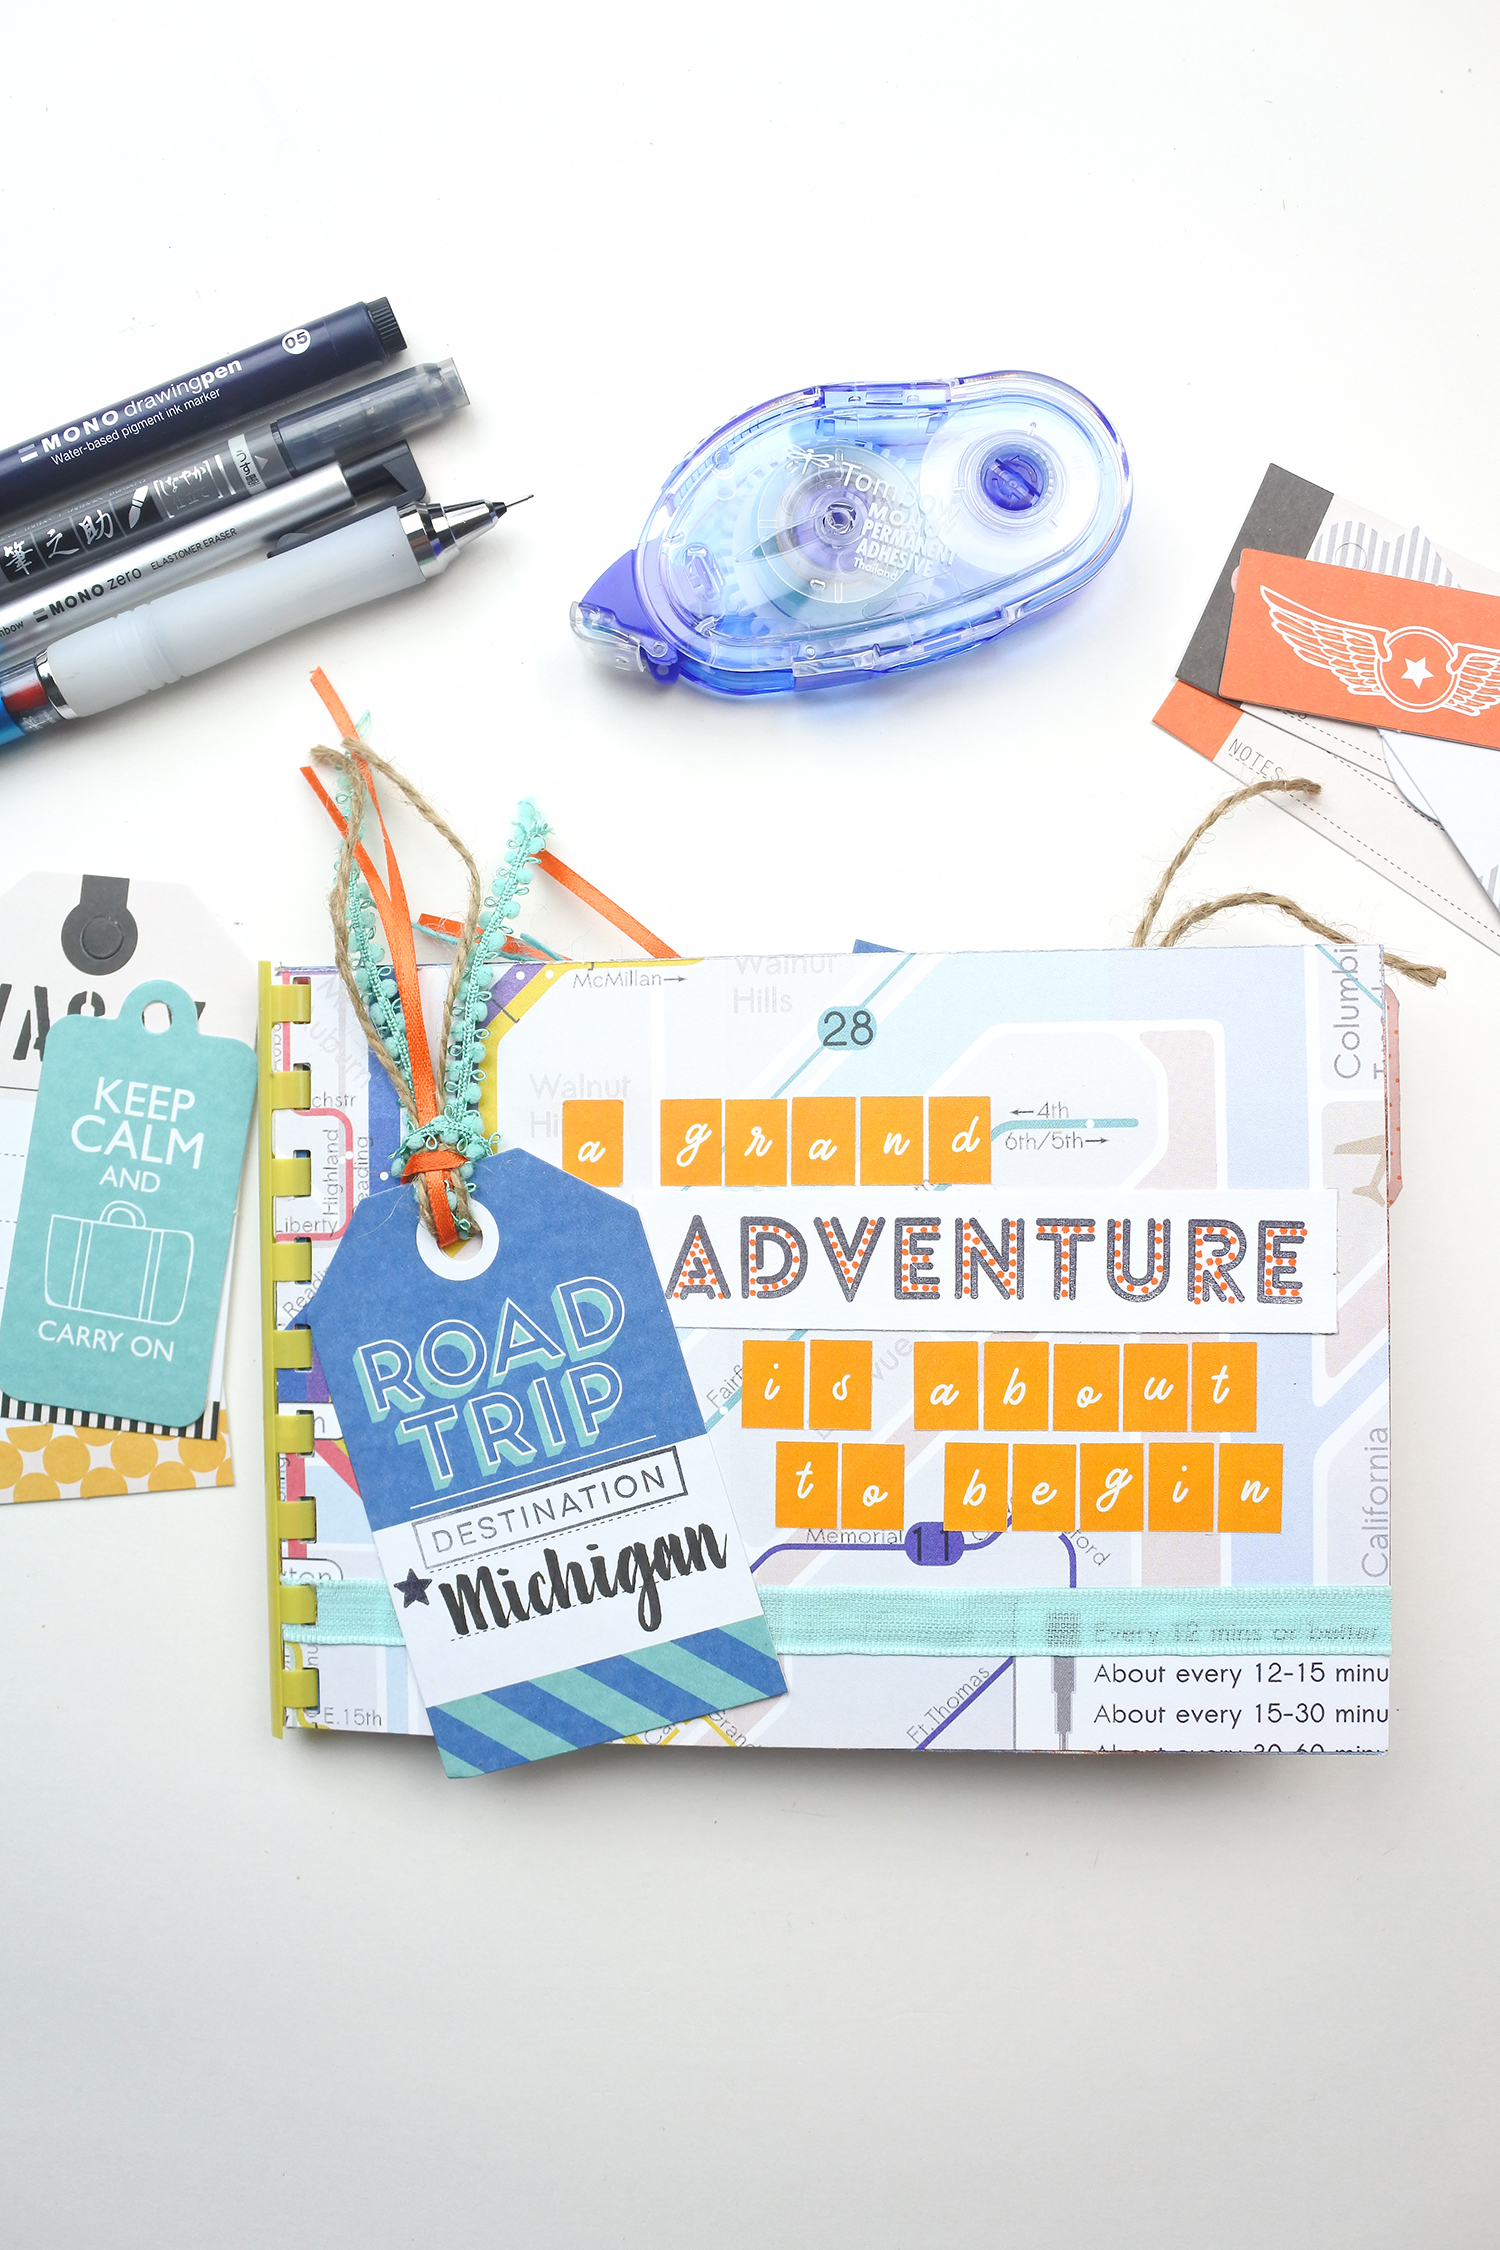
After cutting the heavy cardstock to 7×5, I applied some Tombow MONO Adhesive+ and placed the trimmed map theme paper from Clique Kits right on top. I did the same technique to the back cover too. This decorative paper from Clique Kits is heavy and thick, which adds to the sturdiness of the cover.
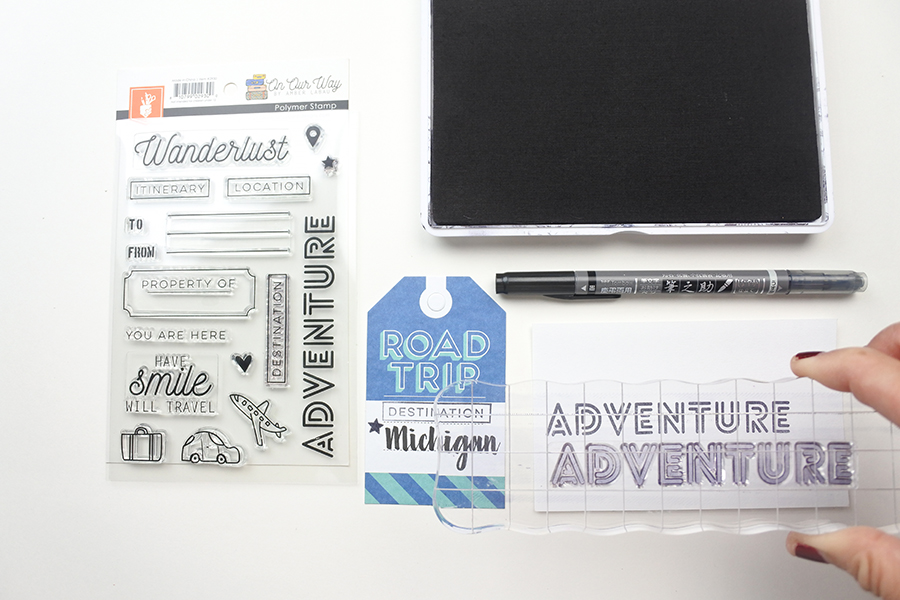
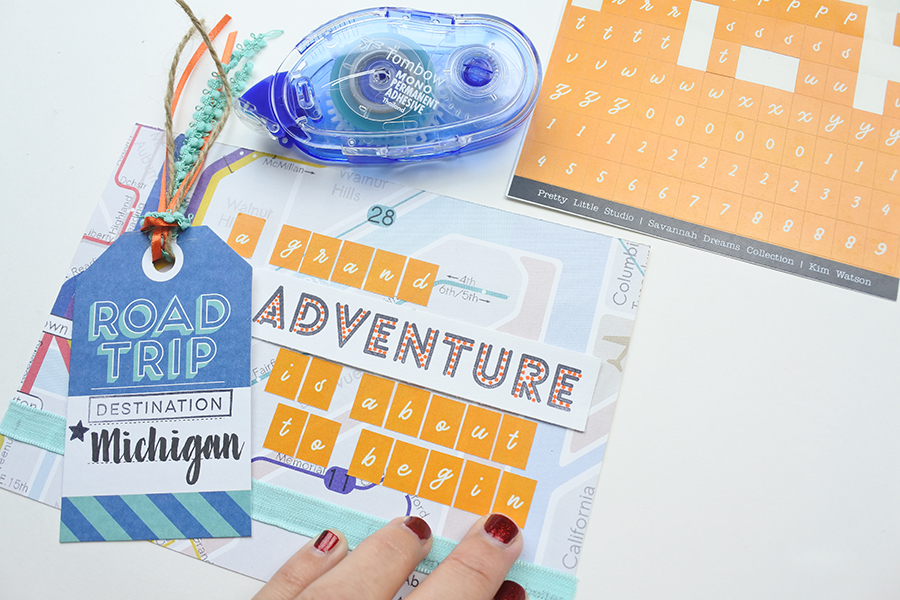
Because I like making my road trip travel journals clunky and full, the front cover has all sorts of embellishments. The bottom of the cover has a strip of ribbon, I did some lettering on one of the travel tags with a Tombow Fudenosuke Twin Tip Brush Pen, and I added some wording with an adventure stamp and orange alphabet stickers from the kit.
Step Two – Pockets
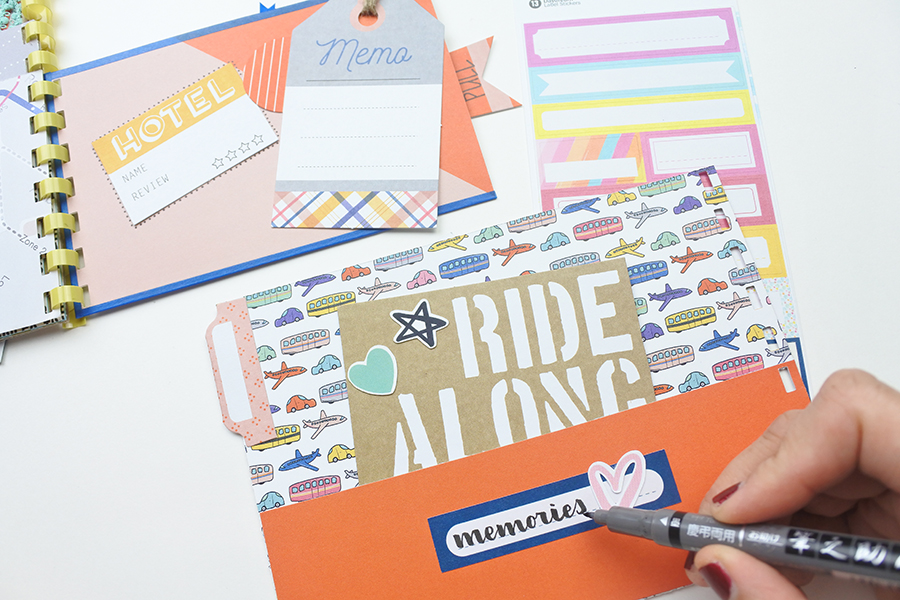
In my opinion, pockets are essential for travel journals. It provides a spot to hold any lose keepsakes – tickets, receipts, and even pictures. When I create pockets, I like to use two different types.
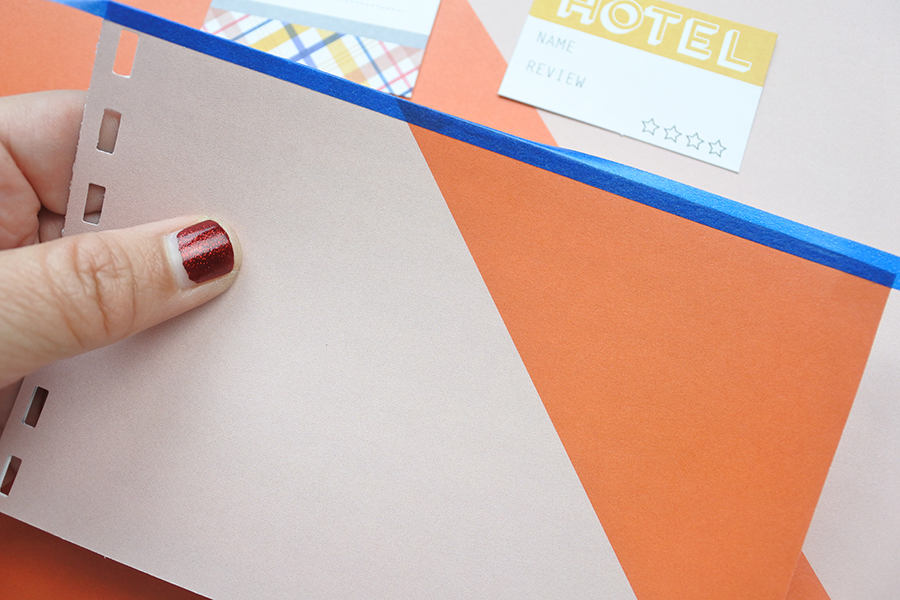
The first pocket is a side pocket. With this method, I trim two sheets of paper to the same size, place half of the washi tape on one of the sides of the paper and then fold it over to adhere it to the other sheet of the paper. This technique is done to three sides, leaving one side open, forming a pocket.
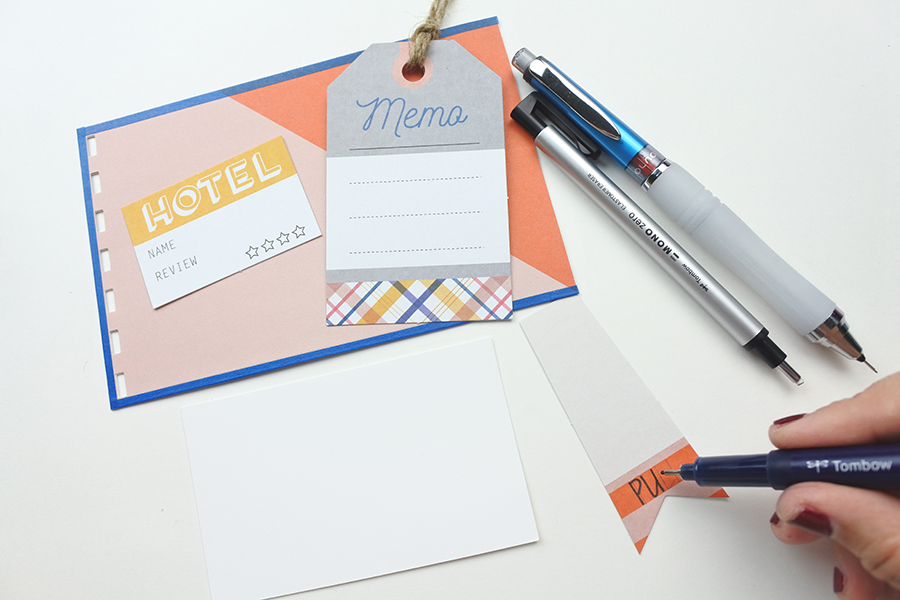
The other method is easy too. I cut a piece of decorative paper or cardstock to approximately half the size of the main journal size, place adhesive on three of the inner edges and adhere that pocket to the journal page.
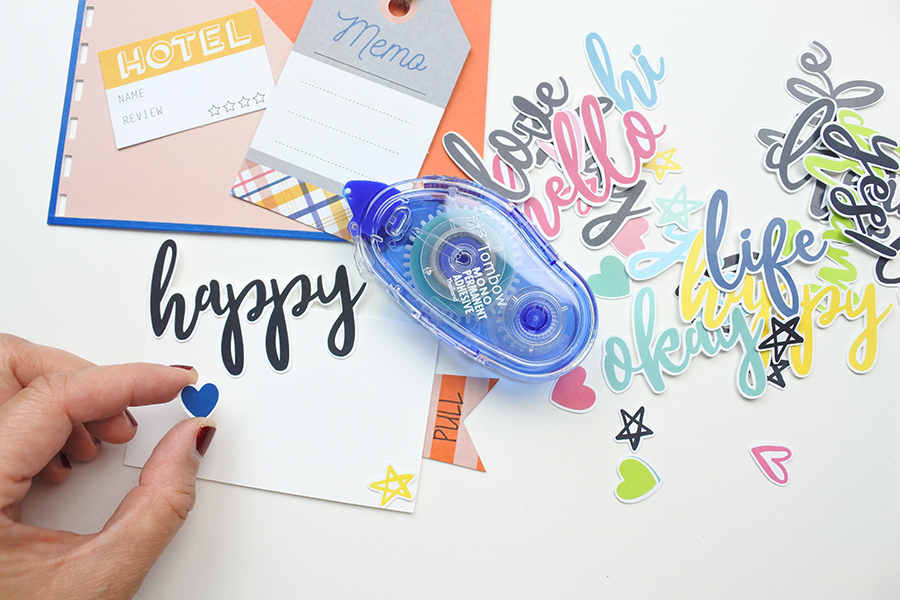
Don’t forget to add decorations and inserts to the pockets. For mine, I’m using various tags from Clique Kits and adding a personal touch with my own writing using a Tombow MONO Drawing Pen and the Tombow Fudenosuke Twin Tip Brush Pen. Whenever I use my daily writing style, I often write with a Tombow Mechanical Pencil first just so I have a preview of what it will look like in pen. Once it’s in pen, I erase my pencil markings with a Tombow MONO Zero Eraser.
Step Three – Notes and Quotes
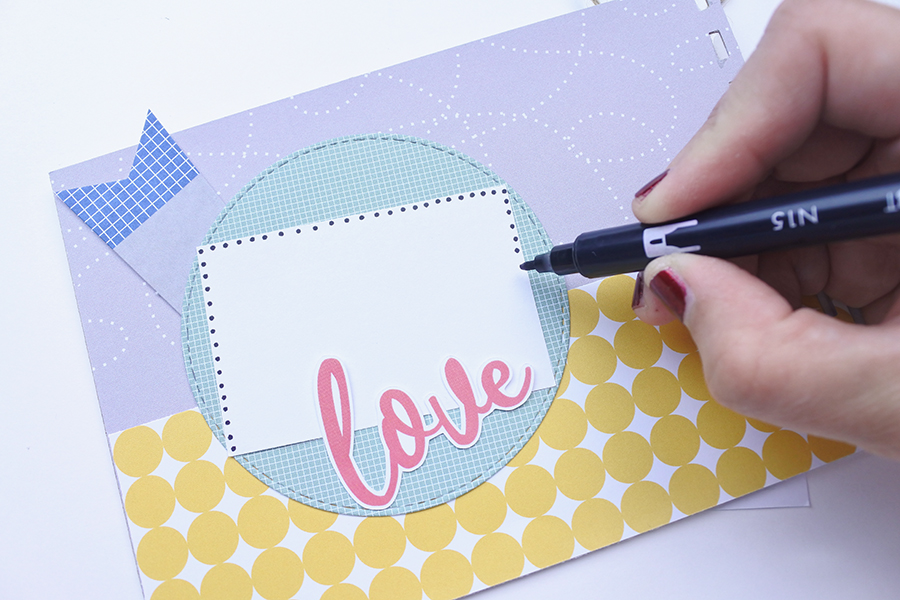
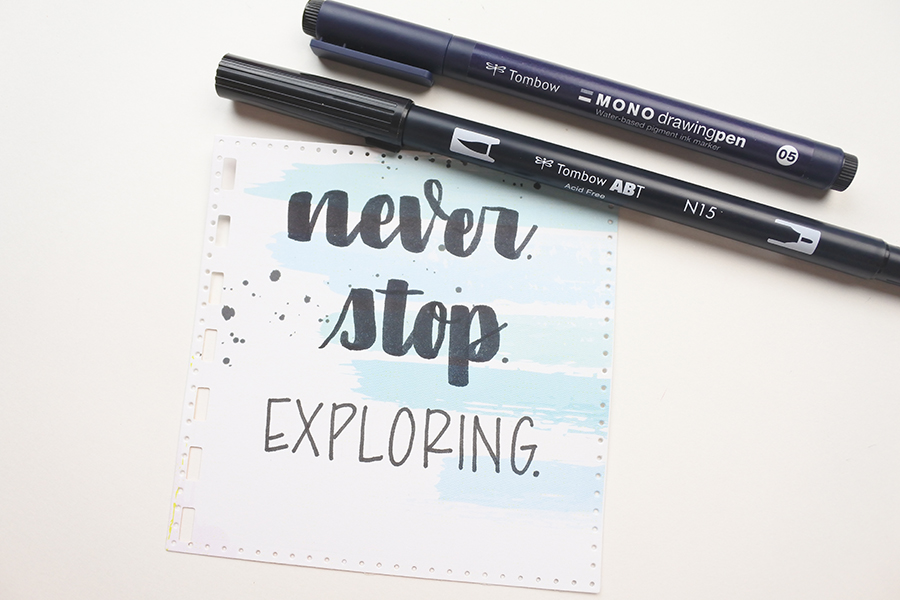
Another page I like to include in my road trip travel journal are pages to jot down notes and quotes. My notes are usually related to memories from the day or quotes about traveling. My go-to pens for these types of pages are the black Tombow Dual Brush Pen and MONO Drawing Pen.
Step Four – Binding
When it’s time to put the road trip travel journal together I prefer to bind the pages together because it’s easiest to flip through. Many office supply stores offer this service for around $5. Another affordable method is to hole punch the pages and use binder rings or ribbon to hold the pages together. If the journal pages are larger, like 8.5×11, a 3-ring-binder may work best!
Thank you so much for following along. I cannot wait to use my road trip travel journal. Happy and safe travels.
Renee Day
The idea is awesome! I just came back from my trip and it will be great to make some craft memories. I would make a thematic page dedicated to michael jackson one show vegas reviews with tickets and photos. I will make a page with funny moments of my journey, which was enough. The idea is brilliant! I love it!
So pretty and colorful, LOVE IT!
Your pages are punched as you create them. What did you use to punch them? What is the binding? Thanks for your help. It looks great!
This is yet another of my neighborhood shops $5 a gram strains. Its fantastic too. Very potent, never seen it below 28% THC. This is one of my go to strains when I’m poor (which is most of the time). For me it doesn’t knock me on my butt indica, but it in combination with a high CBD strain, my chronic pain is almost gone. Because of Marijuana and other ways of THC and CBD intake, I have been able to stay off painkill. https://wendymccormick.com/white-widow-cannabis-seeds/