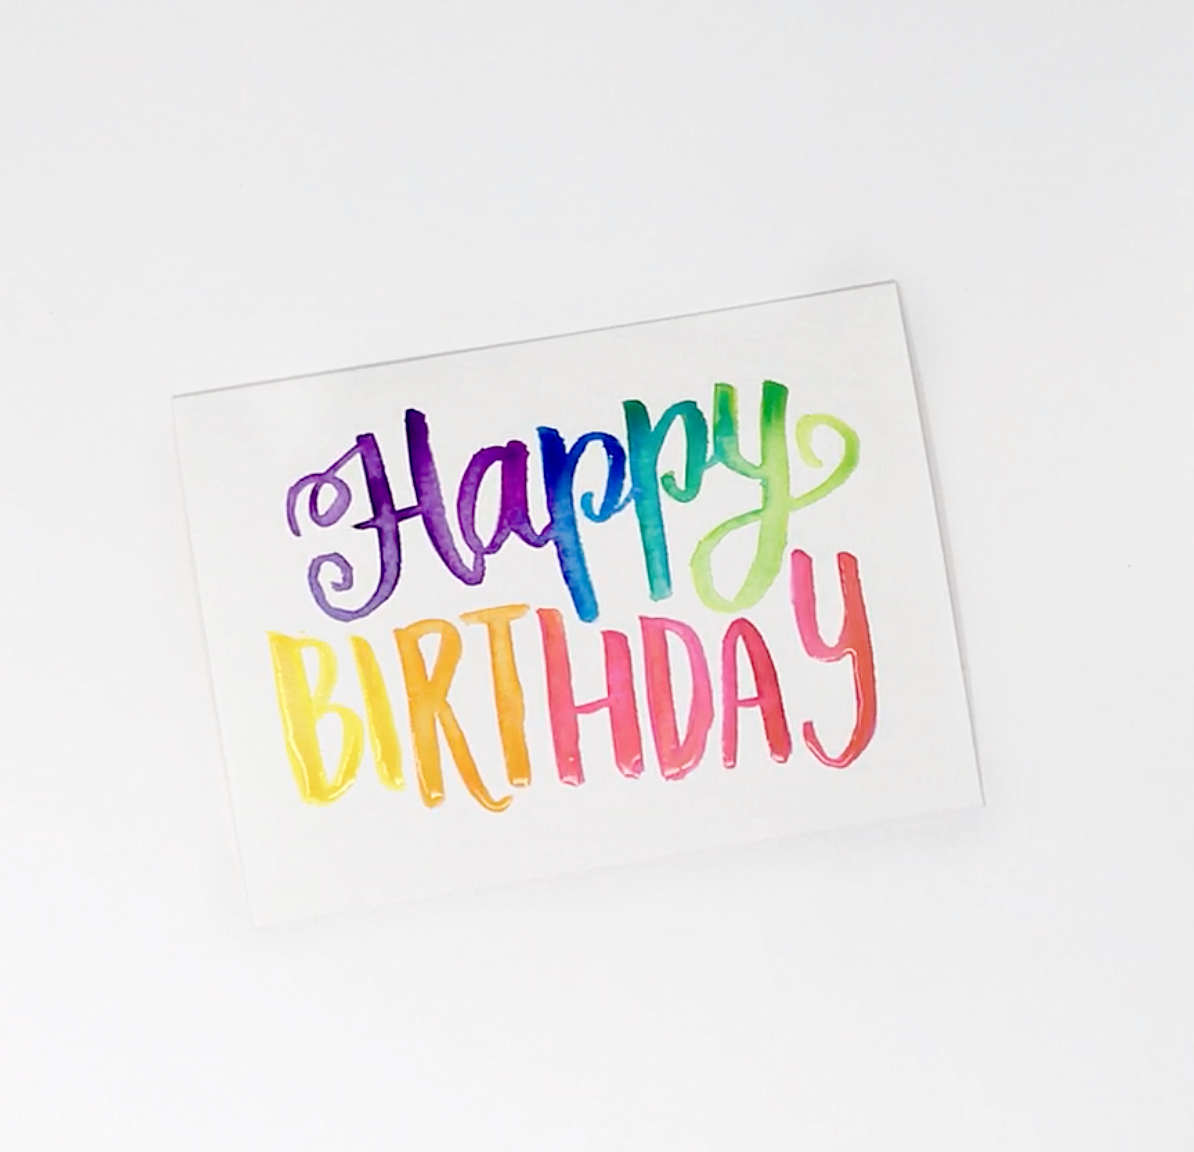
Hello friends! This is Smitha here sharing a rainbow with you today. I’ll be showing you in a few easy steps how to create a rainbow watercolor birthday card.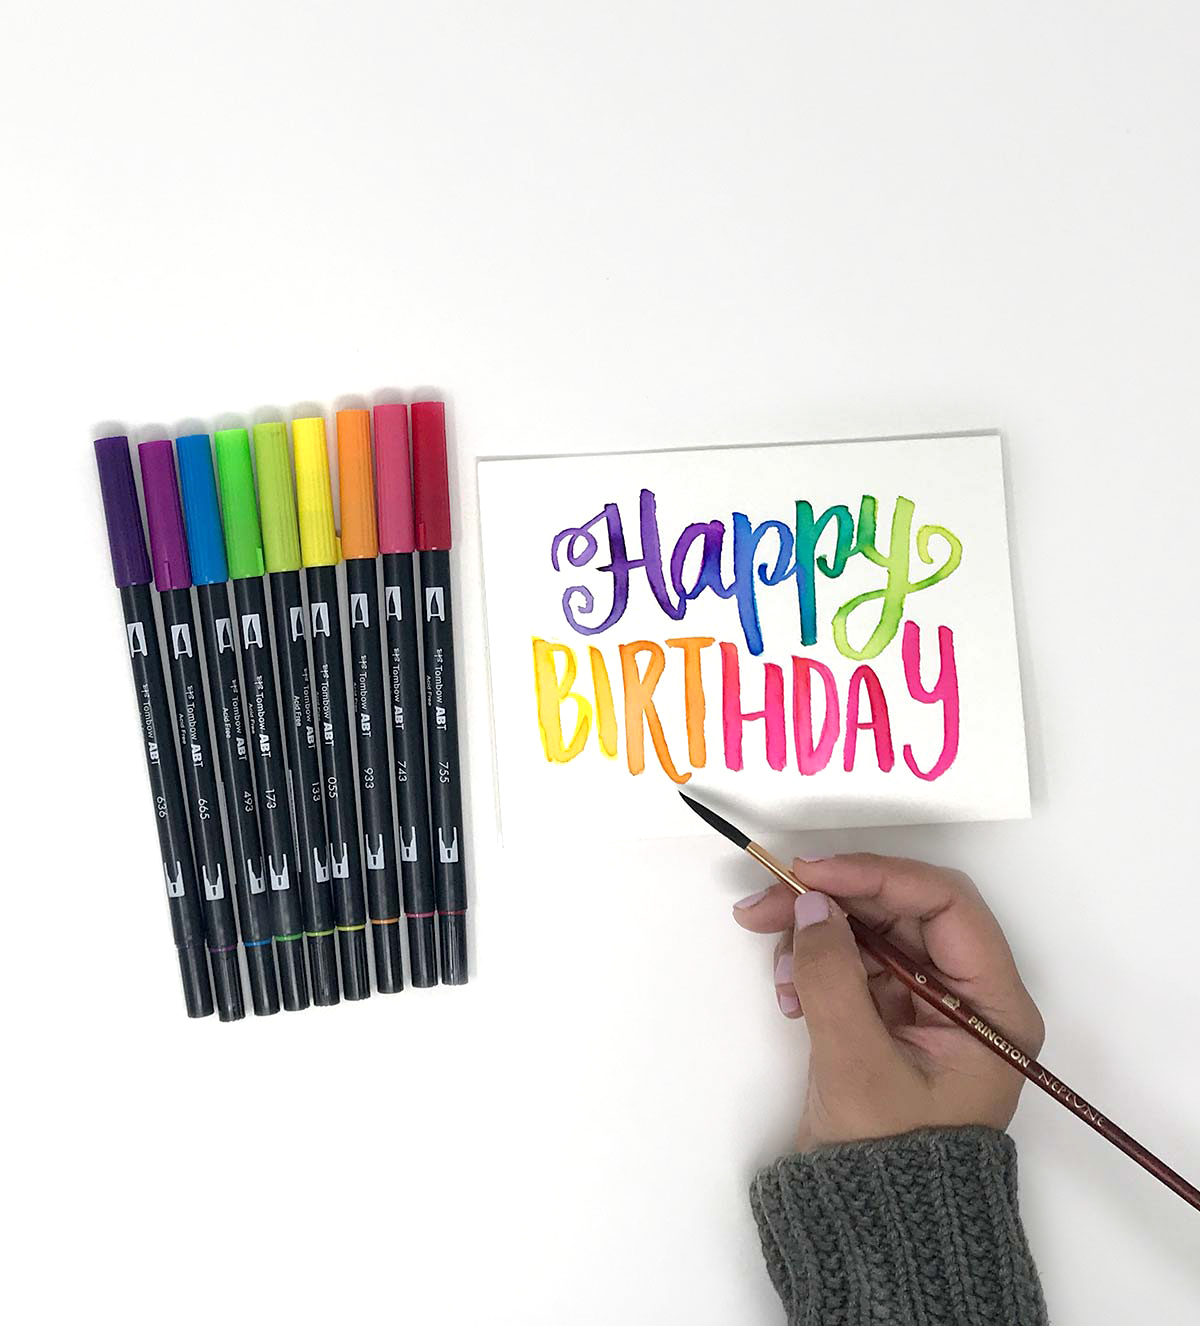
Material list:
- Tombow Dual Brush Pens Set, Bright
- Paint Brush
- Watercolor paper or pre-made watercolor card
Step 1:
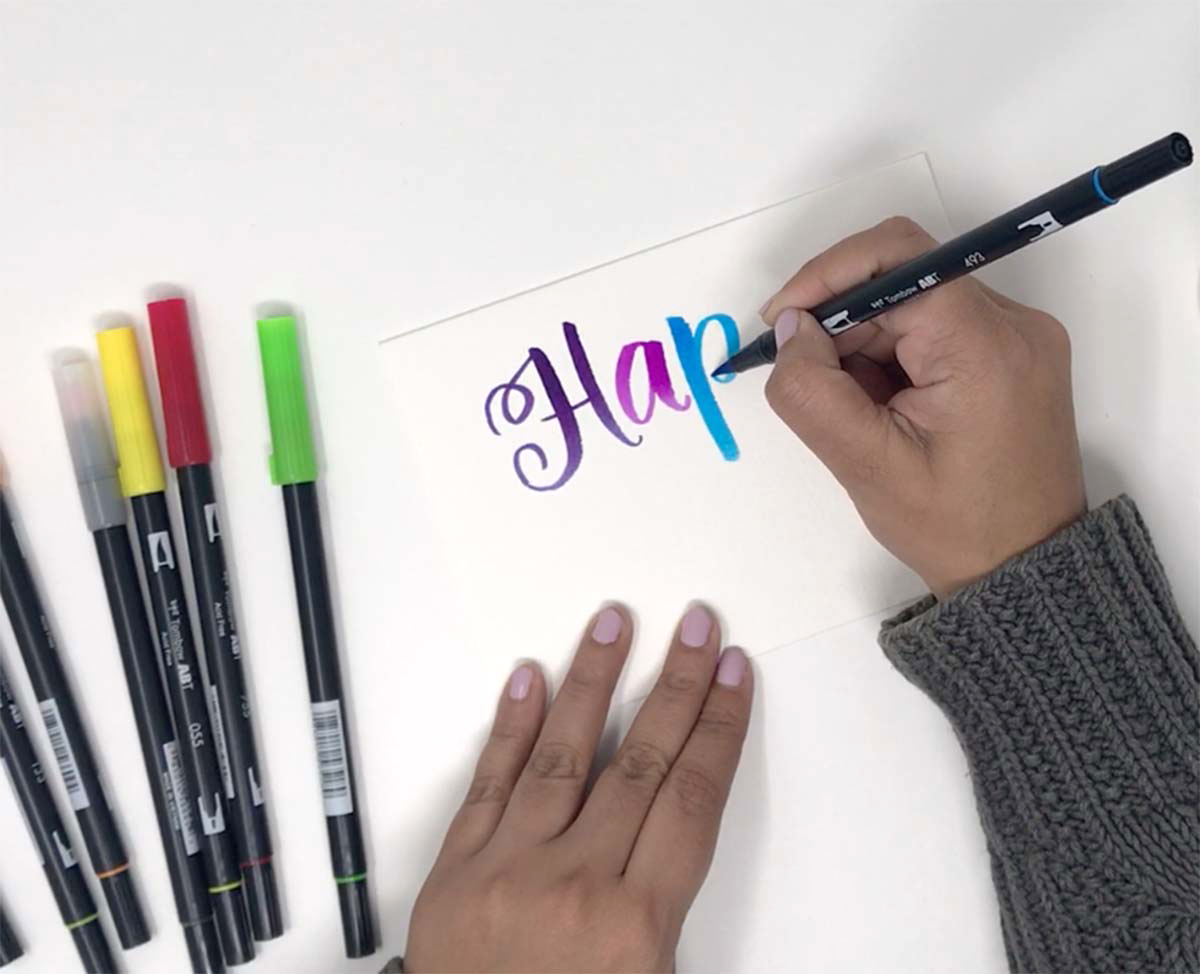
First we add color onto the page. Using the brush tip of the Dual Brush Pen, letter the first word “Happy” using 3 or 4 colors. Work relatively quickly because you don’t want the color to dry before the next step.
Step 2:
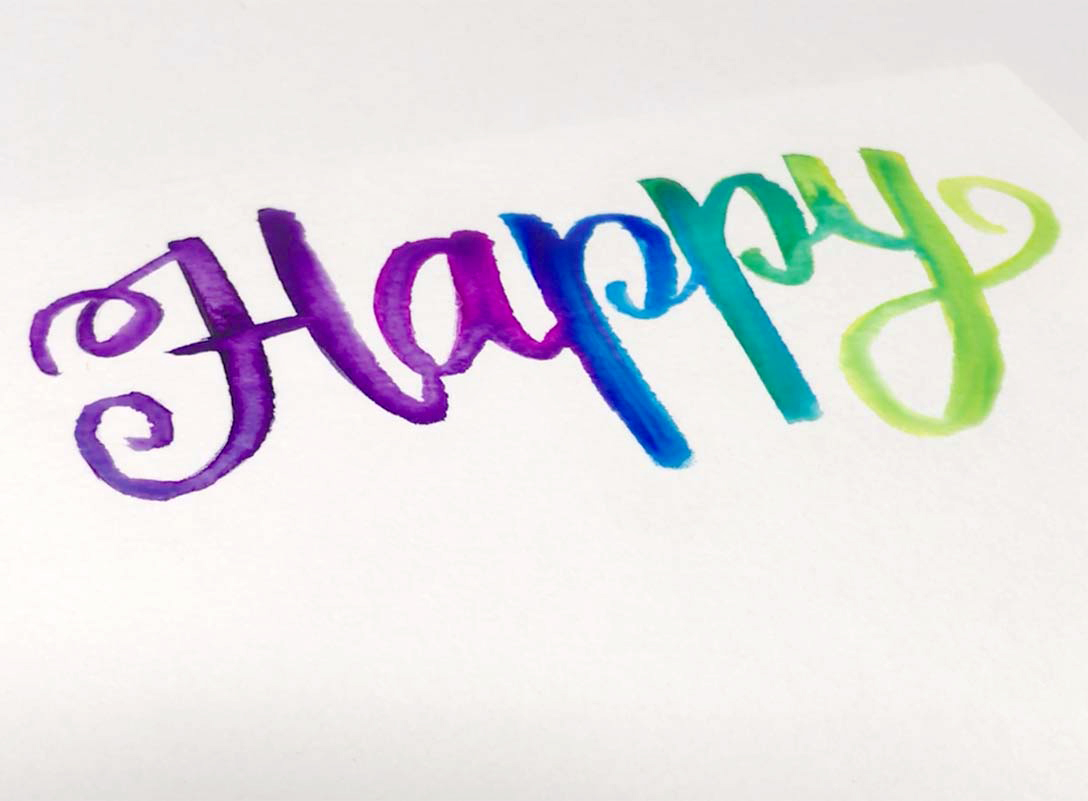
Next we paint with water. Dip your paintbrush in water and then paint over letters slowly. Connect the letters carefully and let the water mix the colors on the paper gently. Since the Dual Brush Pens are water-based this blending works beautifully and is easy to do. I like to add a decent amount of water to create a nice, watery look and then let it dry naturally.
Step 3:
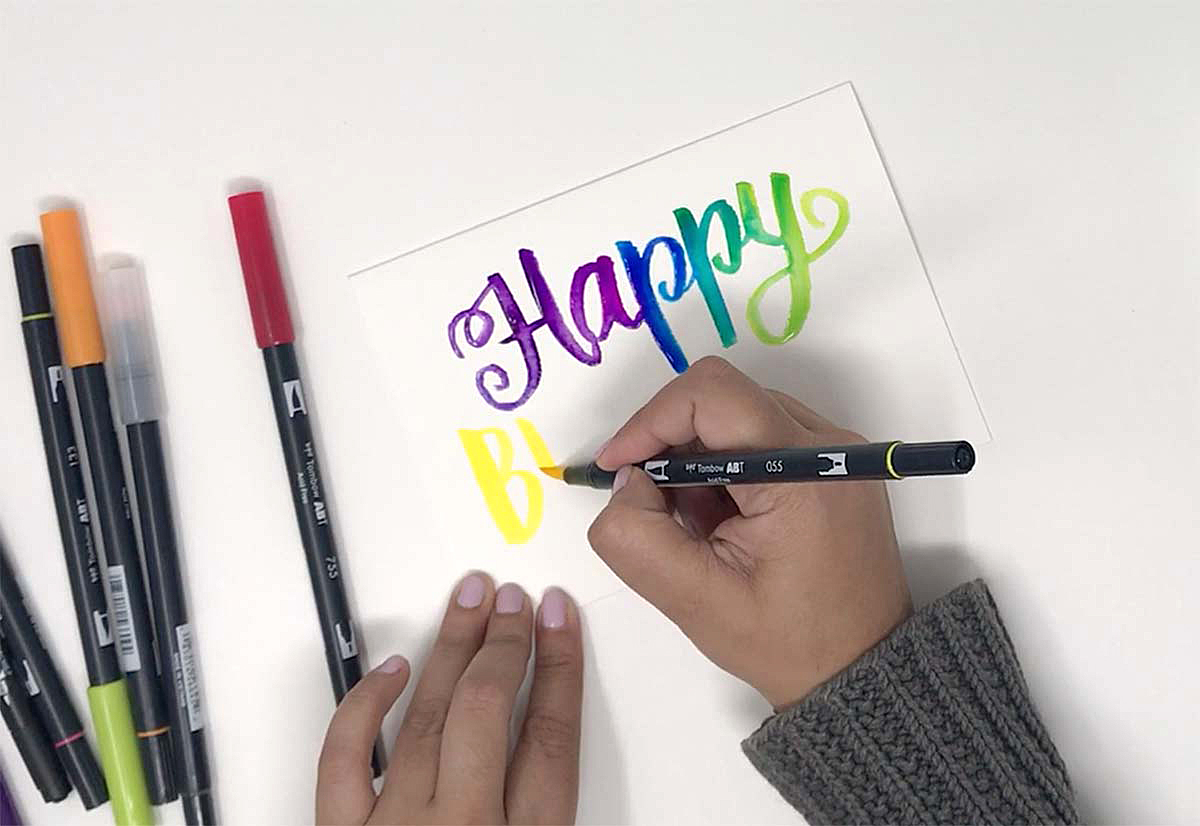
Now go in letter the second word “Birthday” with the rest of the colors. Since my first word hadn’t dried, I made sure that my new letters did not touch the previous word at all. I also varied the lettering style here and used all skinny tall capital letters to accommodate the larger word.
Step 4:
The final step is to paint over the “birthday” with water to create a soft watery look. This time I did not join my letters but let the letters stand by themselves. Of course, painting with water is totally optional. You can just simply letter the “Happy Birthday” in rainbow colors and that itself would look great!
I’ve put together a video showing you the inside of the planner, and how I created all of these spreads seen above. Stop by my YouTube channel to see it or click the video box below.
I hope you enjoyed this tutorial friends, Happy Crafting!
Smitha
Find me on instagram: @theshinynest

Simple yet beautiful. Thank you for the inspiration ?
Pingback: Rainbow Lettering with Passion Planner - Tombow USA Blog %