Hello Tombow friends! Adrienne from Studio 80 Design here and we are celebrating Tombow’s 106th Birthday this week! Today I’m going to show you how you can create a fun banner you can add to the top of any cake!
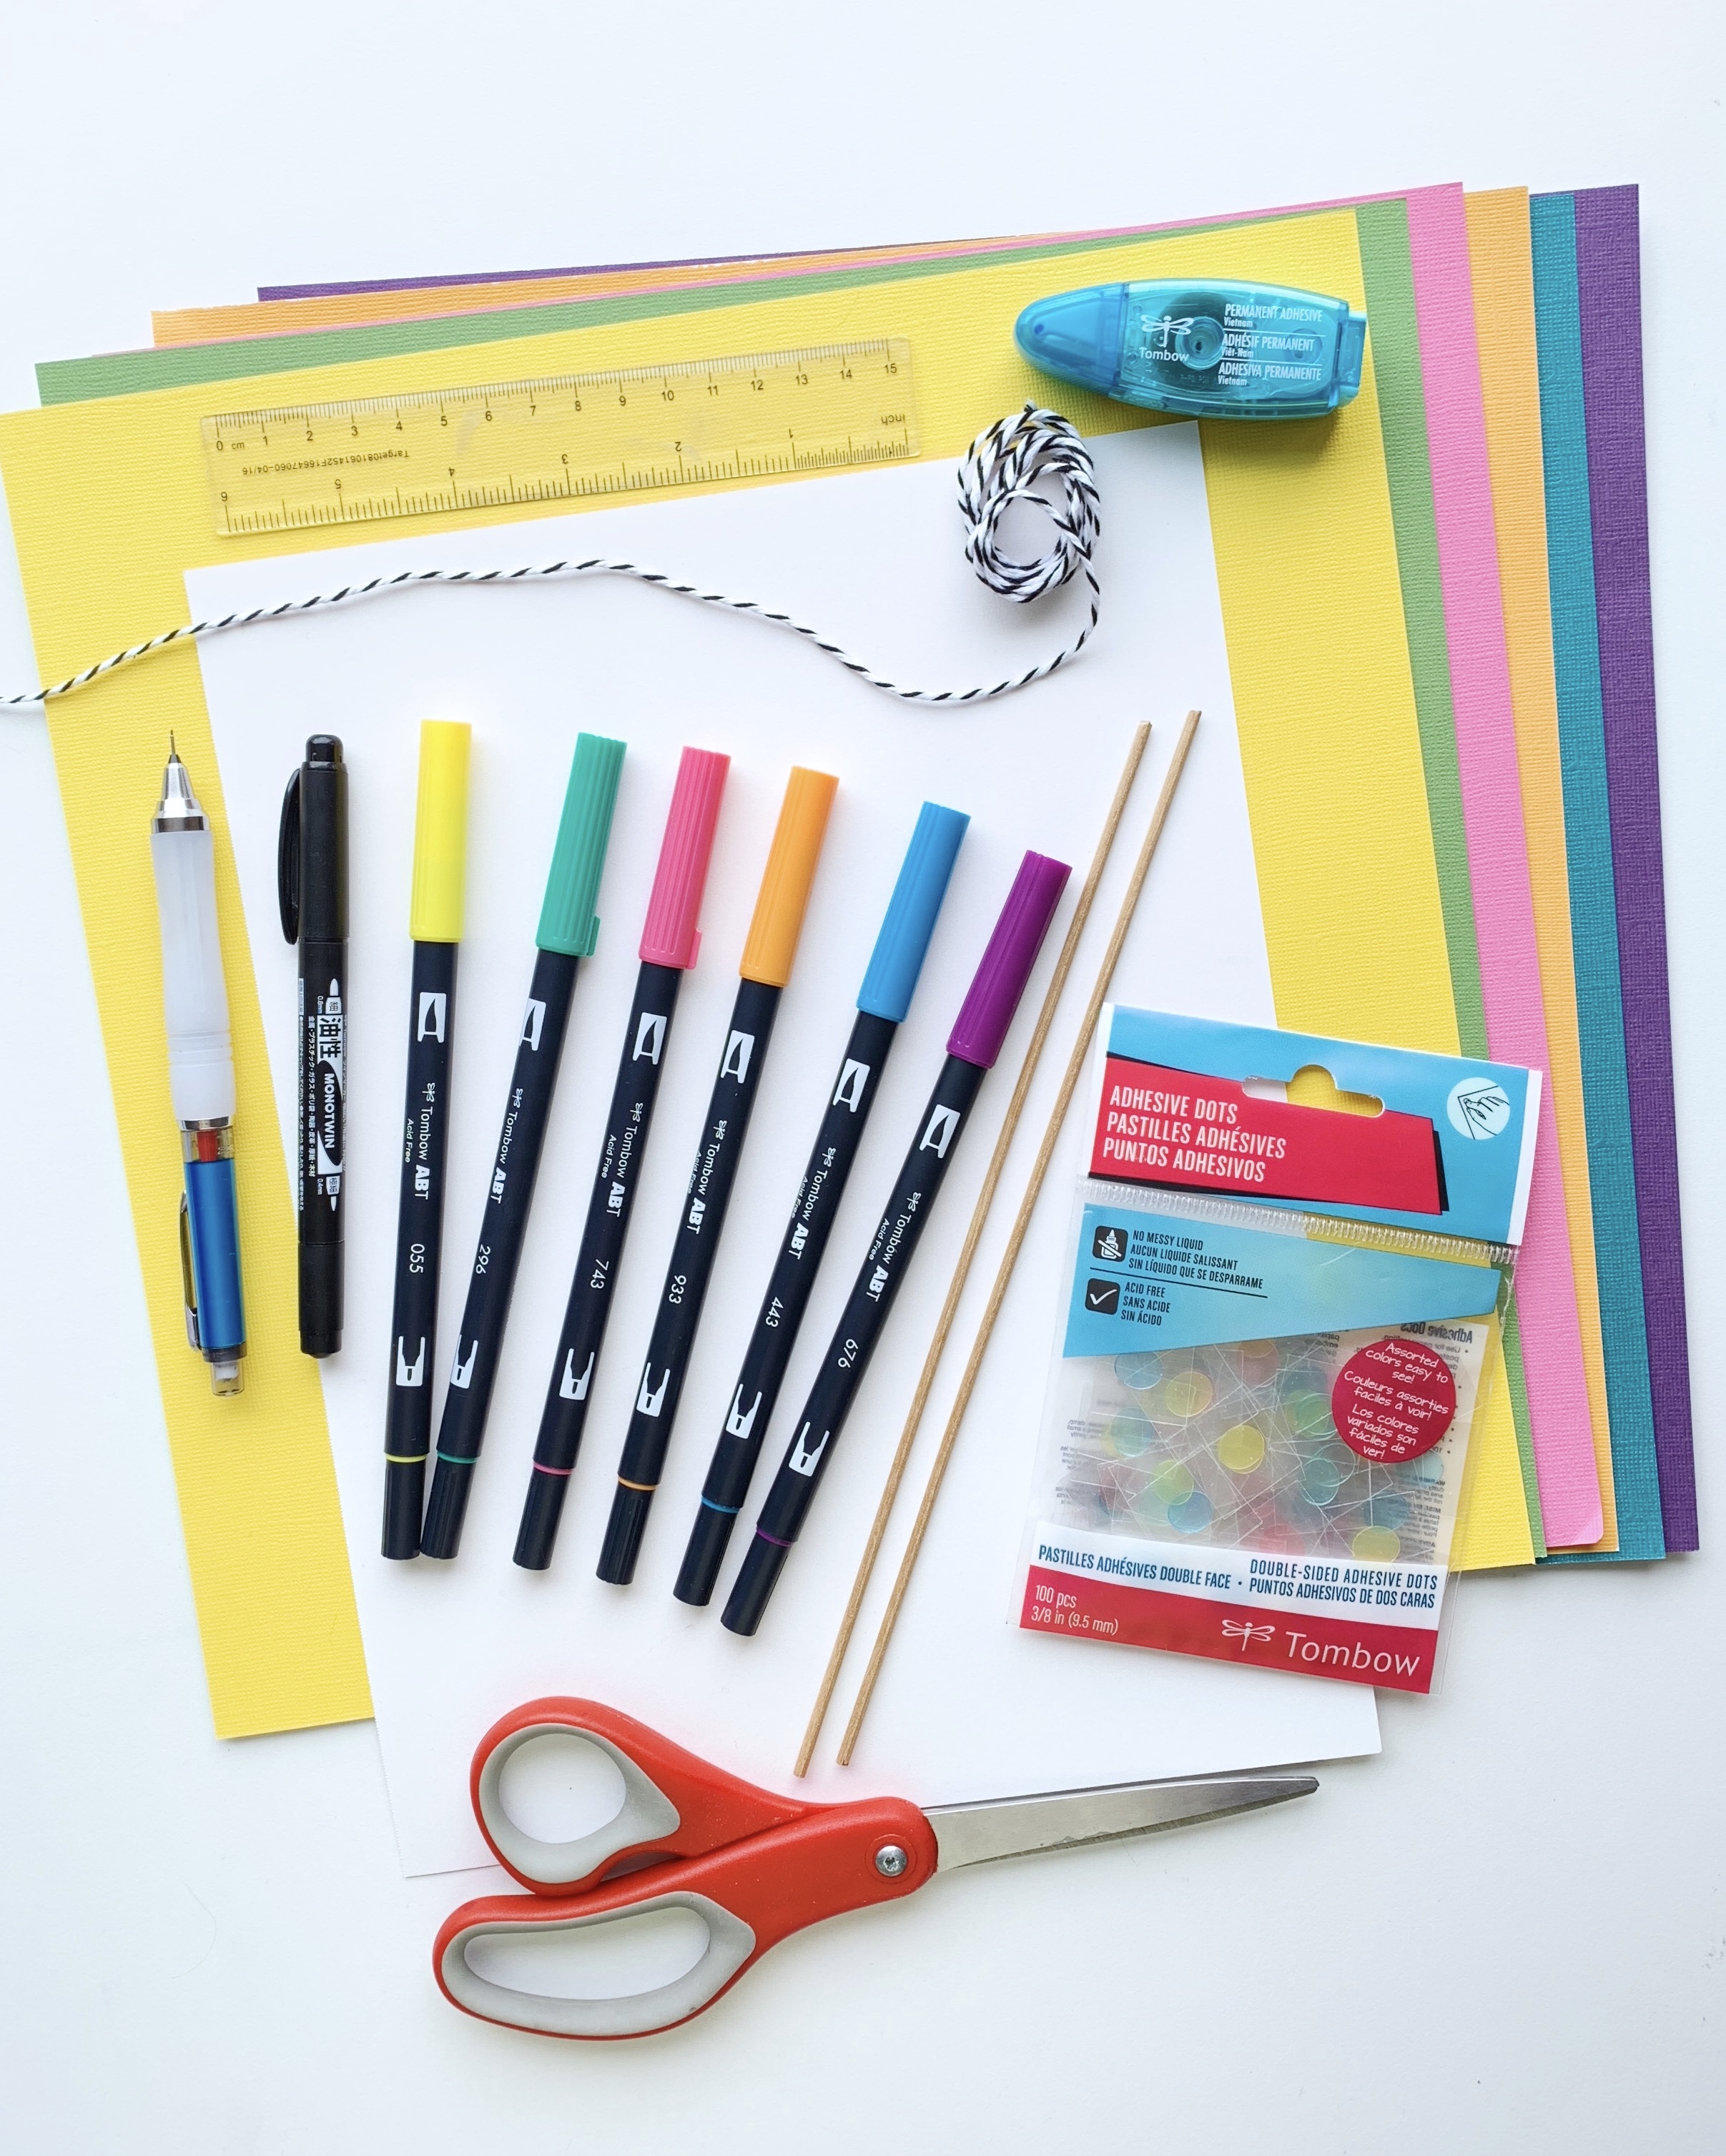
Supplies you’ll need:
- Tombow Mechanical Pencil
- Tombow MONO Twin Permanant Marker
- White Marker Paper
- Colored Construction Paper
- Scissors
- Ruler
- Tombow Dual Brush Pens in assorted colors
- Tombow Adhesive Dots
- String
- Tombow Power Mini Glue Tape
- Two Small Wooden Sticks (about 10 in. each)
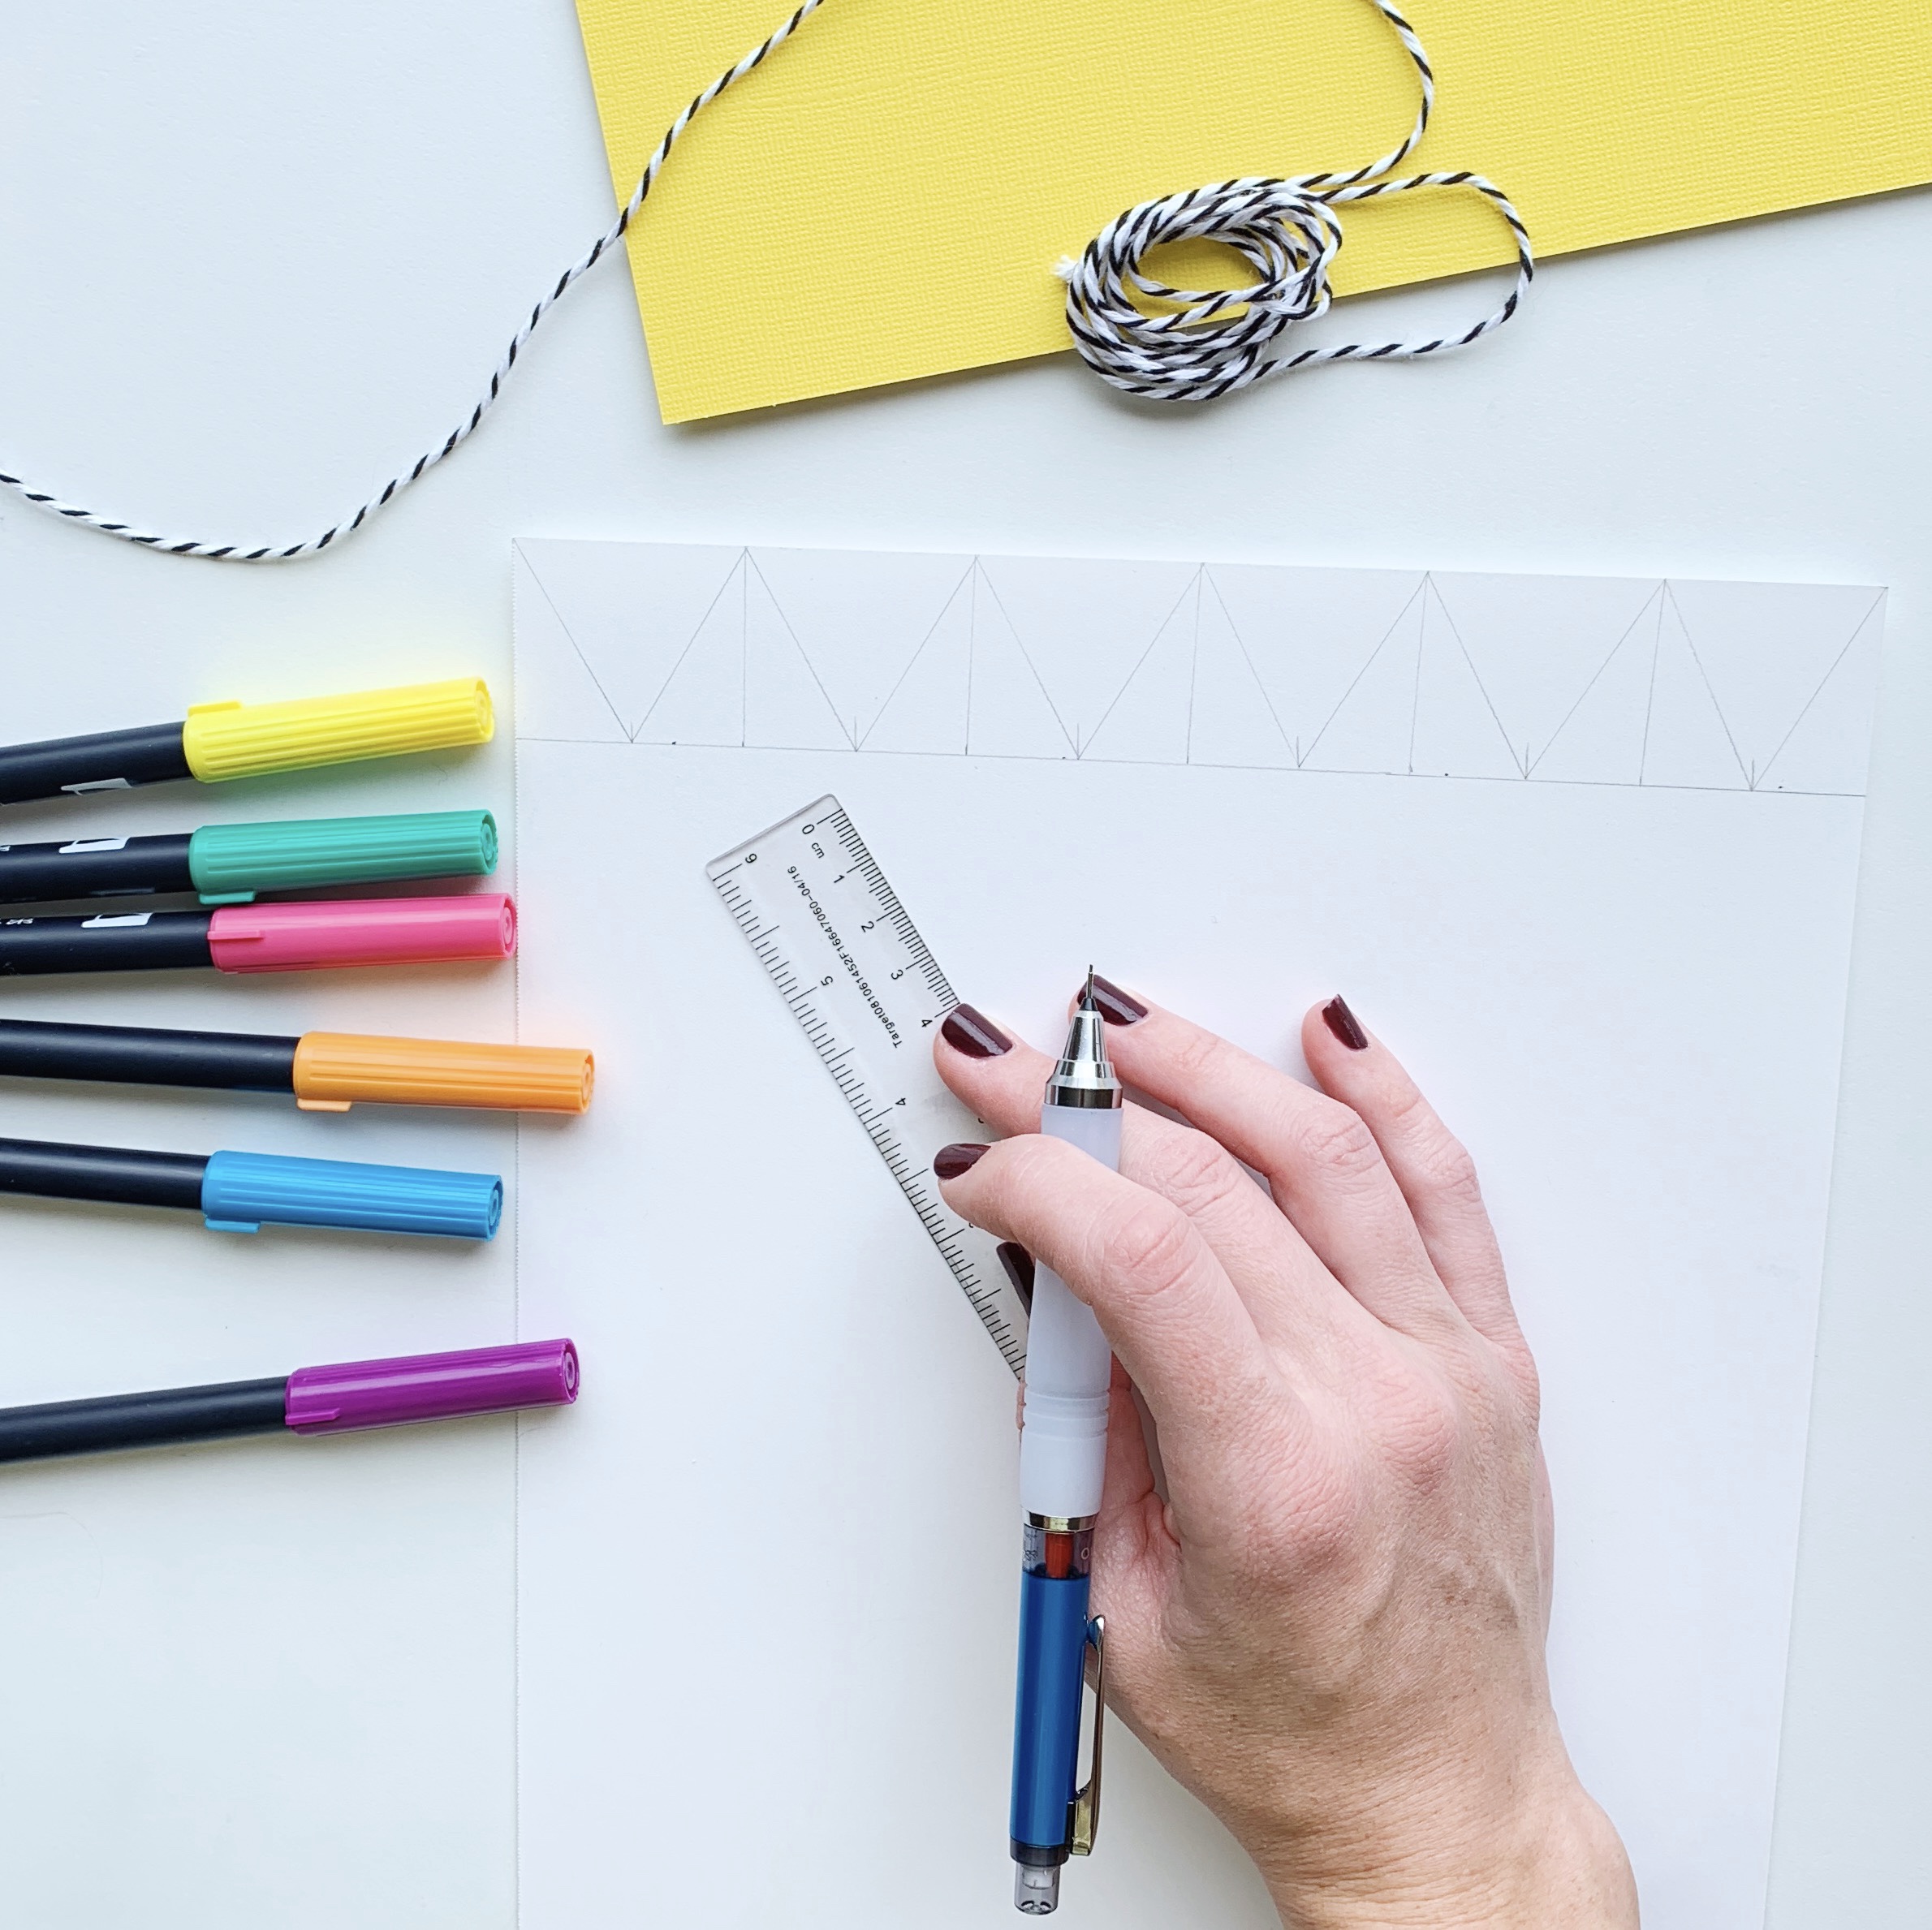
Step 1: Draw triangles
First, decide what you want your banner to say. Since we are celebrating Tombow’s birthday, I decided to have the banner say “Tombow,” which has six letters. With a mechanical pencil and ruler, draw out boxes that are 1.5″x1.5″ on the white marker paper. I made six boxes because there are six letters in “Tombow.” Next, use a ruler to create small triangles within those boxes to make sure each triangle is the same size. Then use scissors to cut them out!
*Side note, I didn’t realize until I was cutting them out that I had made 11 triangles instead of 6. So be aware of that when deciding how many triangles you need and how many to sketch!
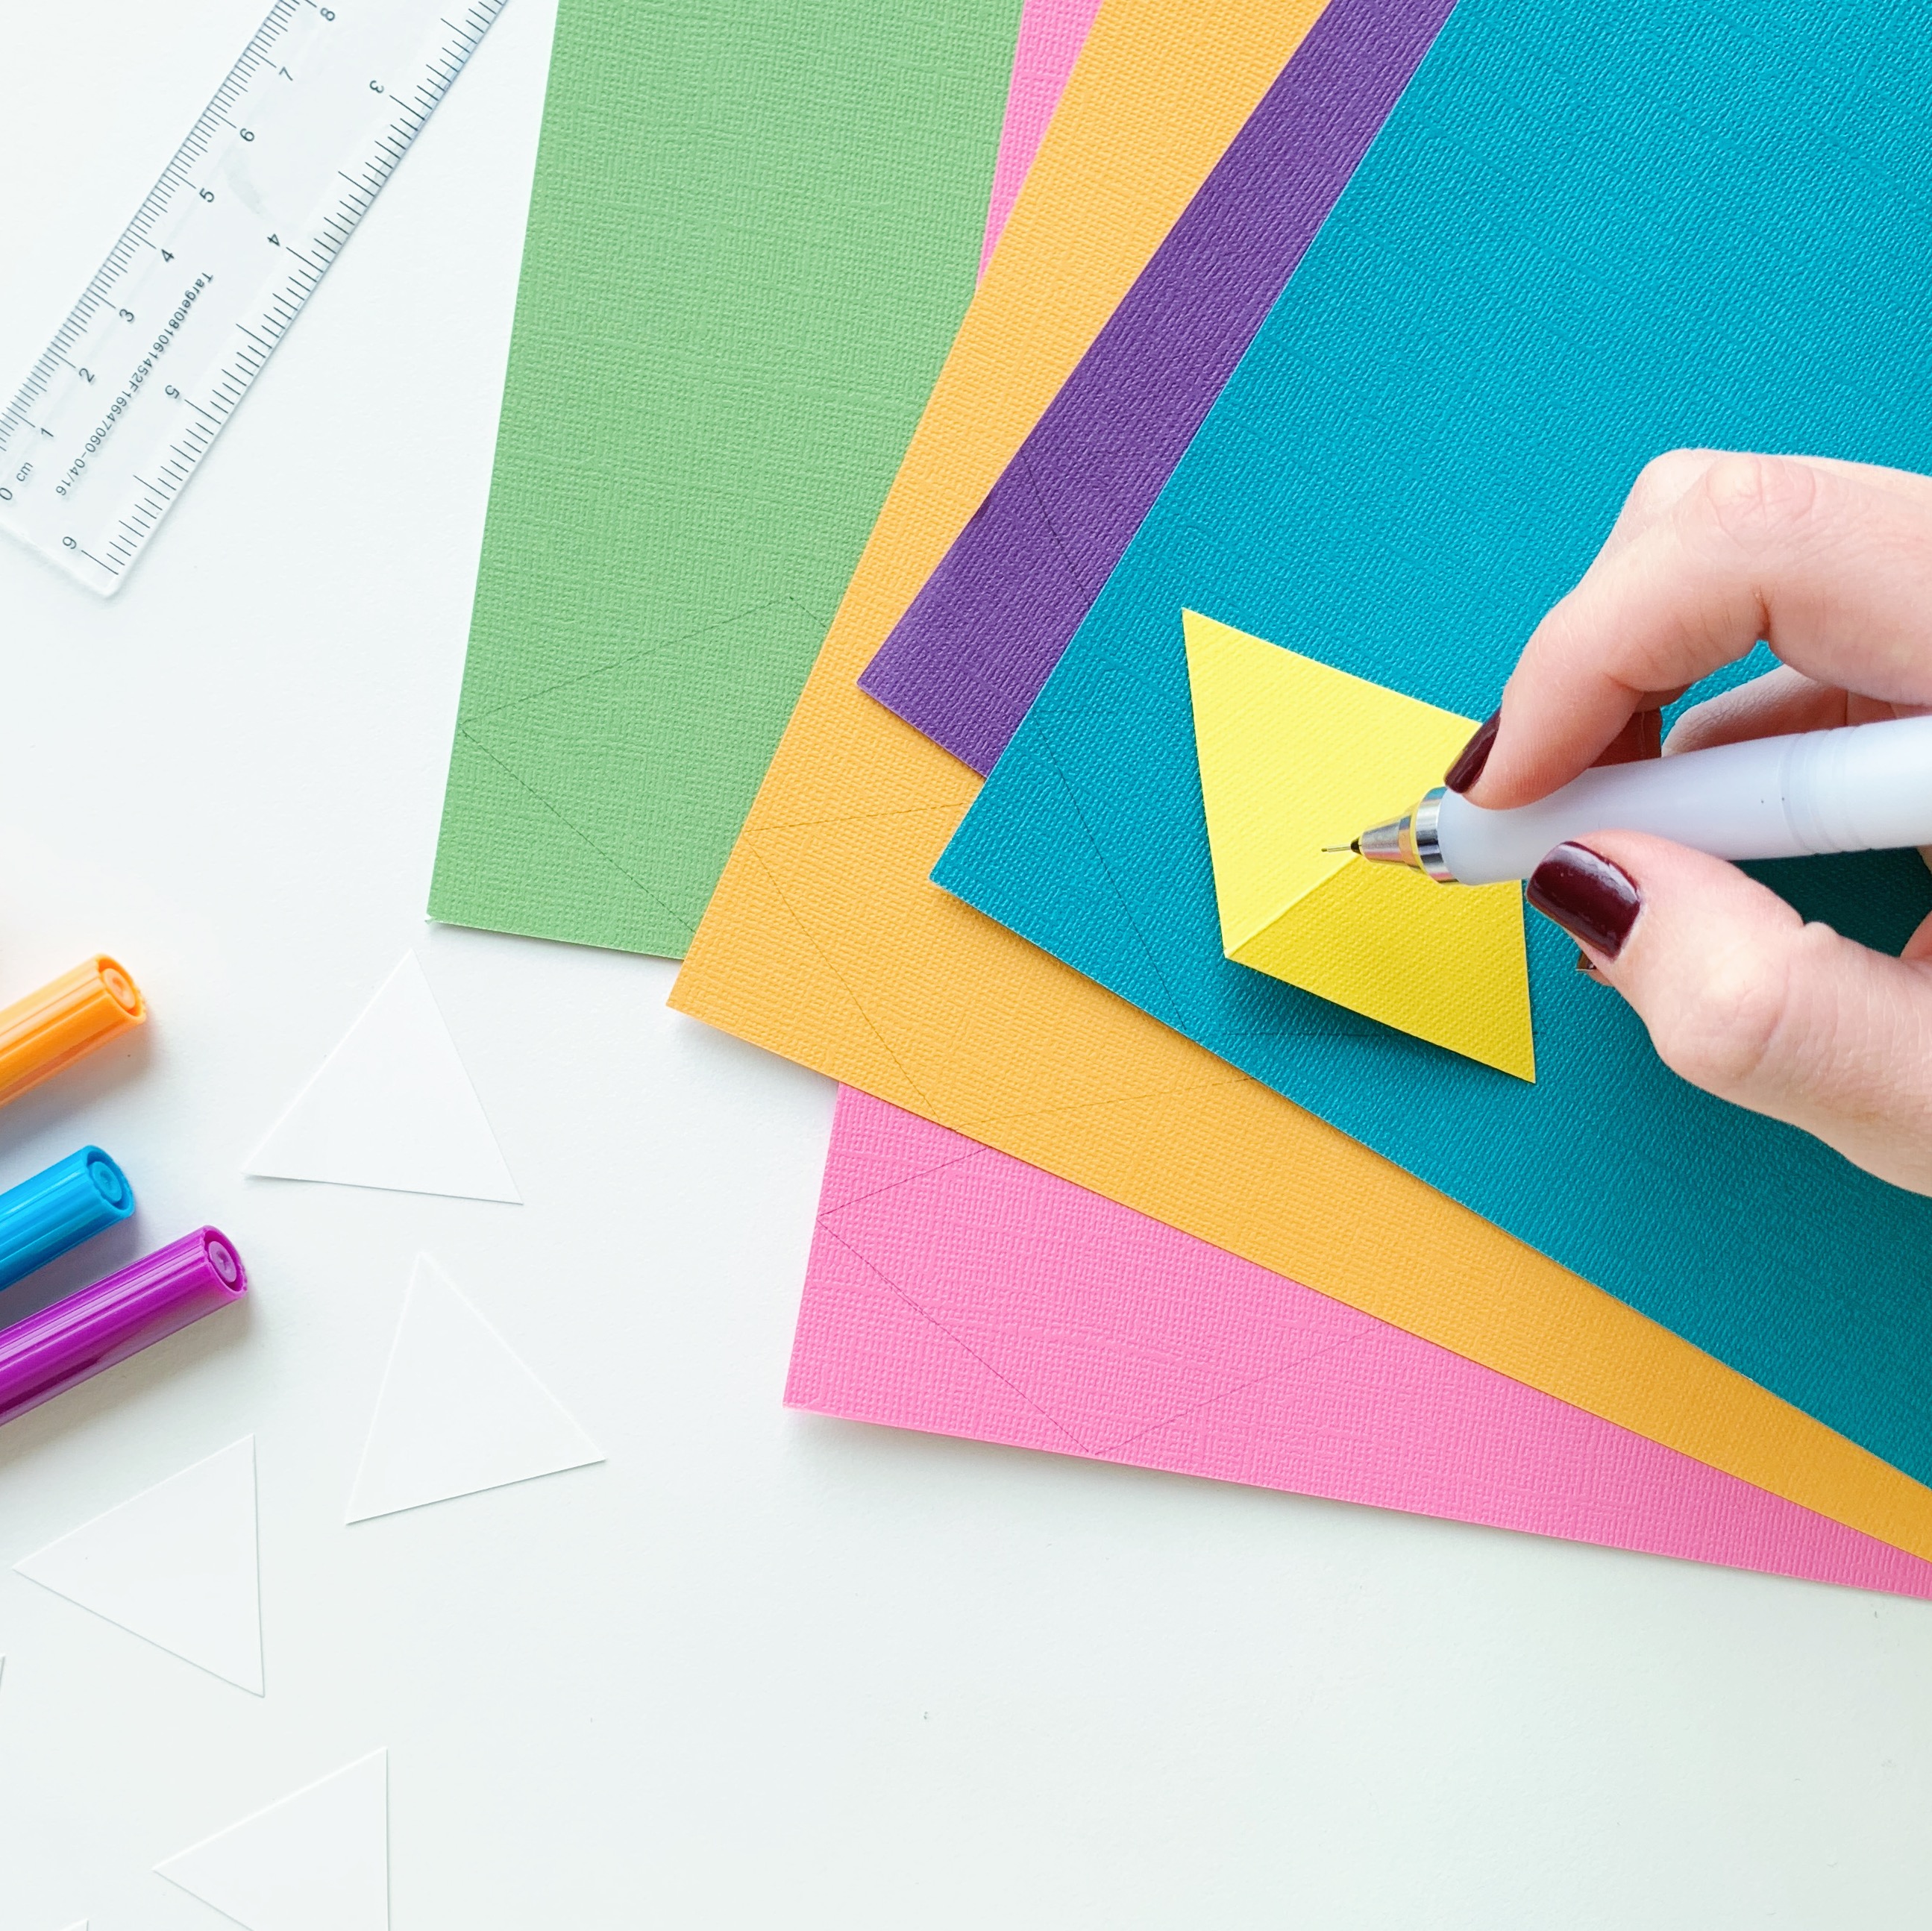
Step 2: Create colored triangles
Cut out a piece of colored construction paper about 2.5″x4″ and then fold it in half. Put a white triangle on top and added .25″ on each side of the triangle and then use a ruler to draw the triangle. While the paper was still folded, cut out the triangle with scissors. It’s important to have the colored triangle connected at the top because it needs to hang on the string to create the cake banner.

Step 3: Cut out the rest of colored triangles
The great thing after cutting the first colored triangle is now there’s a template to use to trace onto the rest of the colored construction paper! Just trace and then cut out each triangle (now diamond) and fold each one in half to create a triangle.
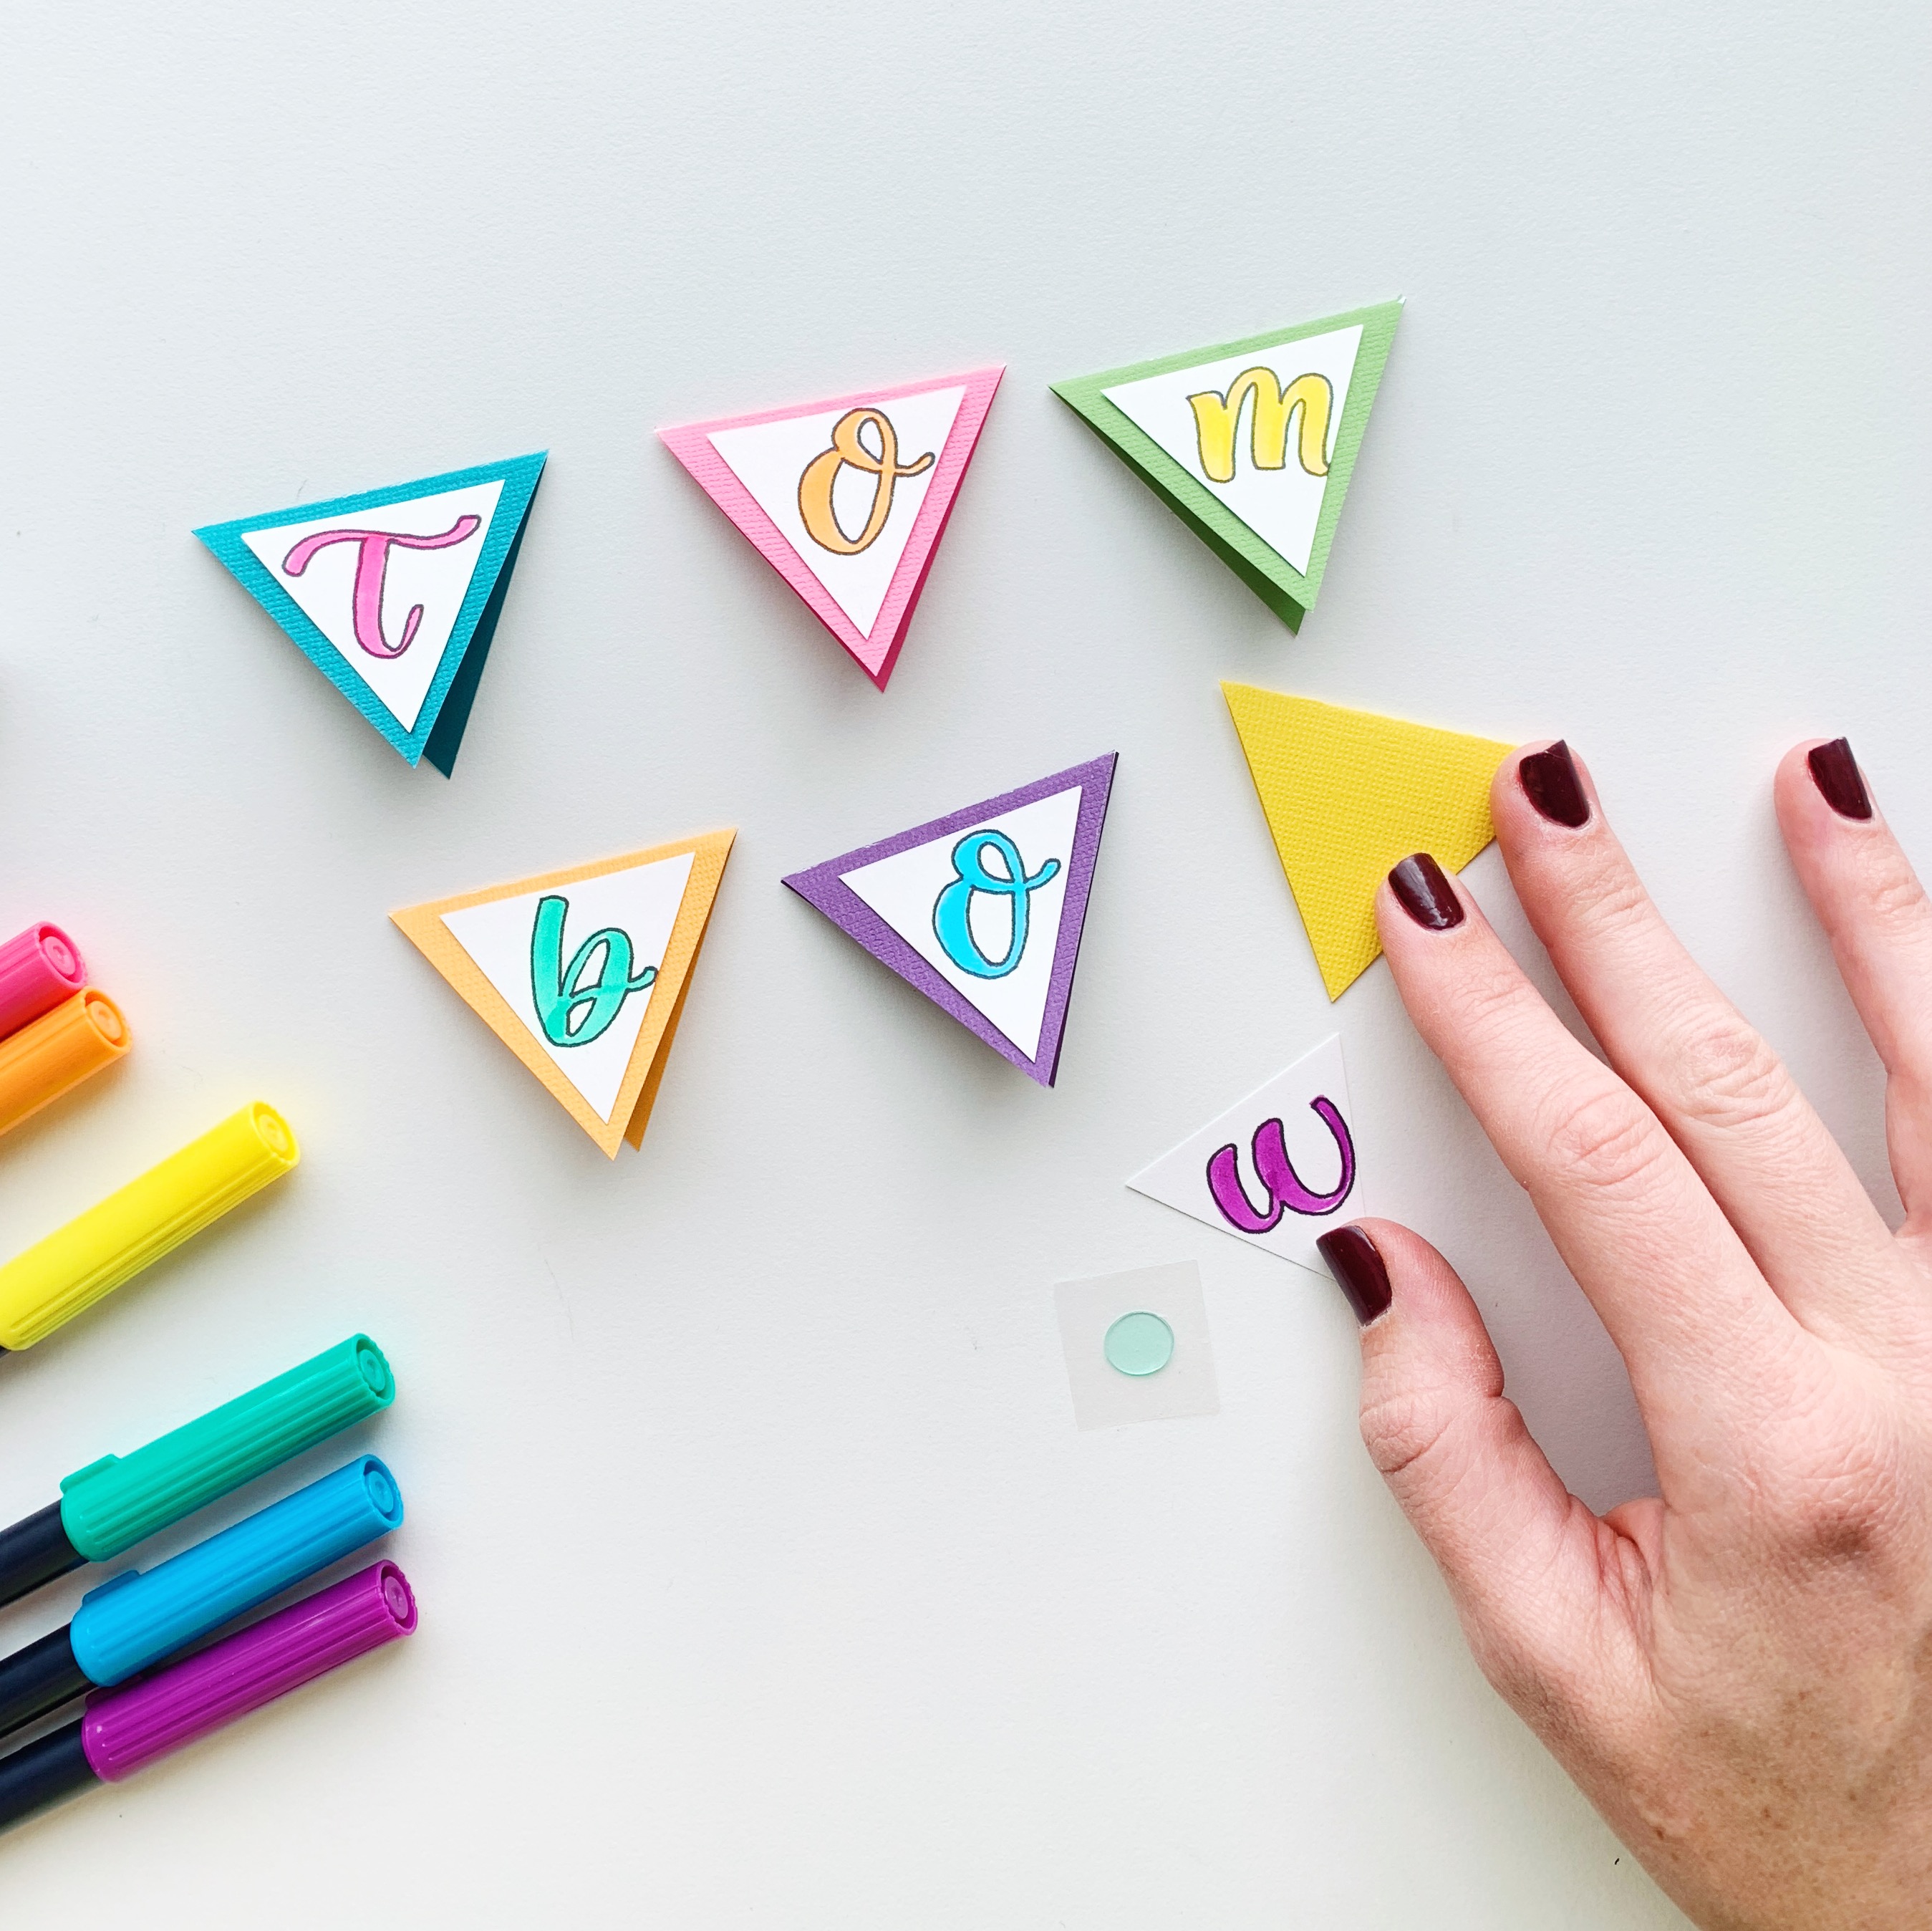
Step 4: Write out phrase
Use the Dual Brush Pens to write out a phrase onto the small white triangles. I wrote out “Tombow” and I used a different color brush pen for each letter. Then use the small tip of the MONO Twin Permanent Marker to outline each letter and help them pop a little better! The small tip is great for adding small detail to your work and I love that it’s permanent!
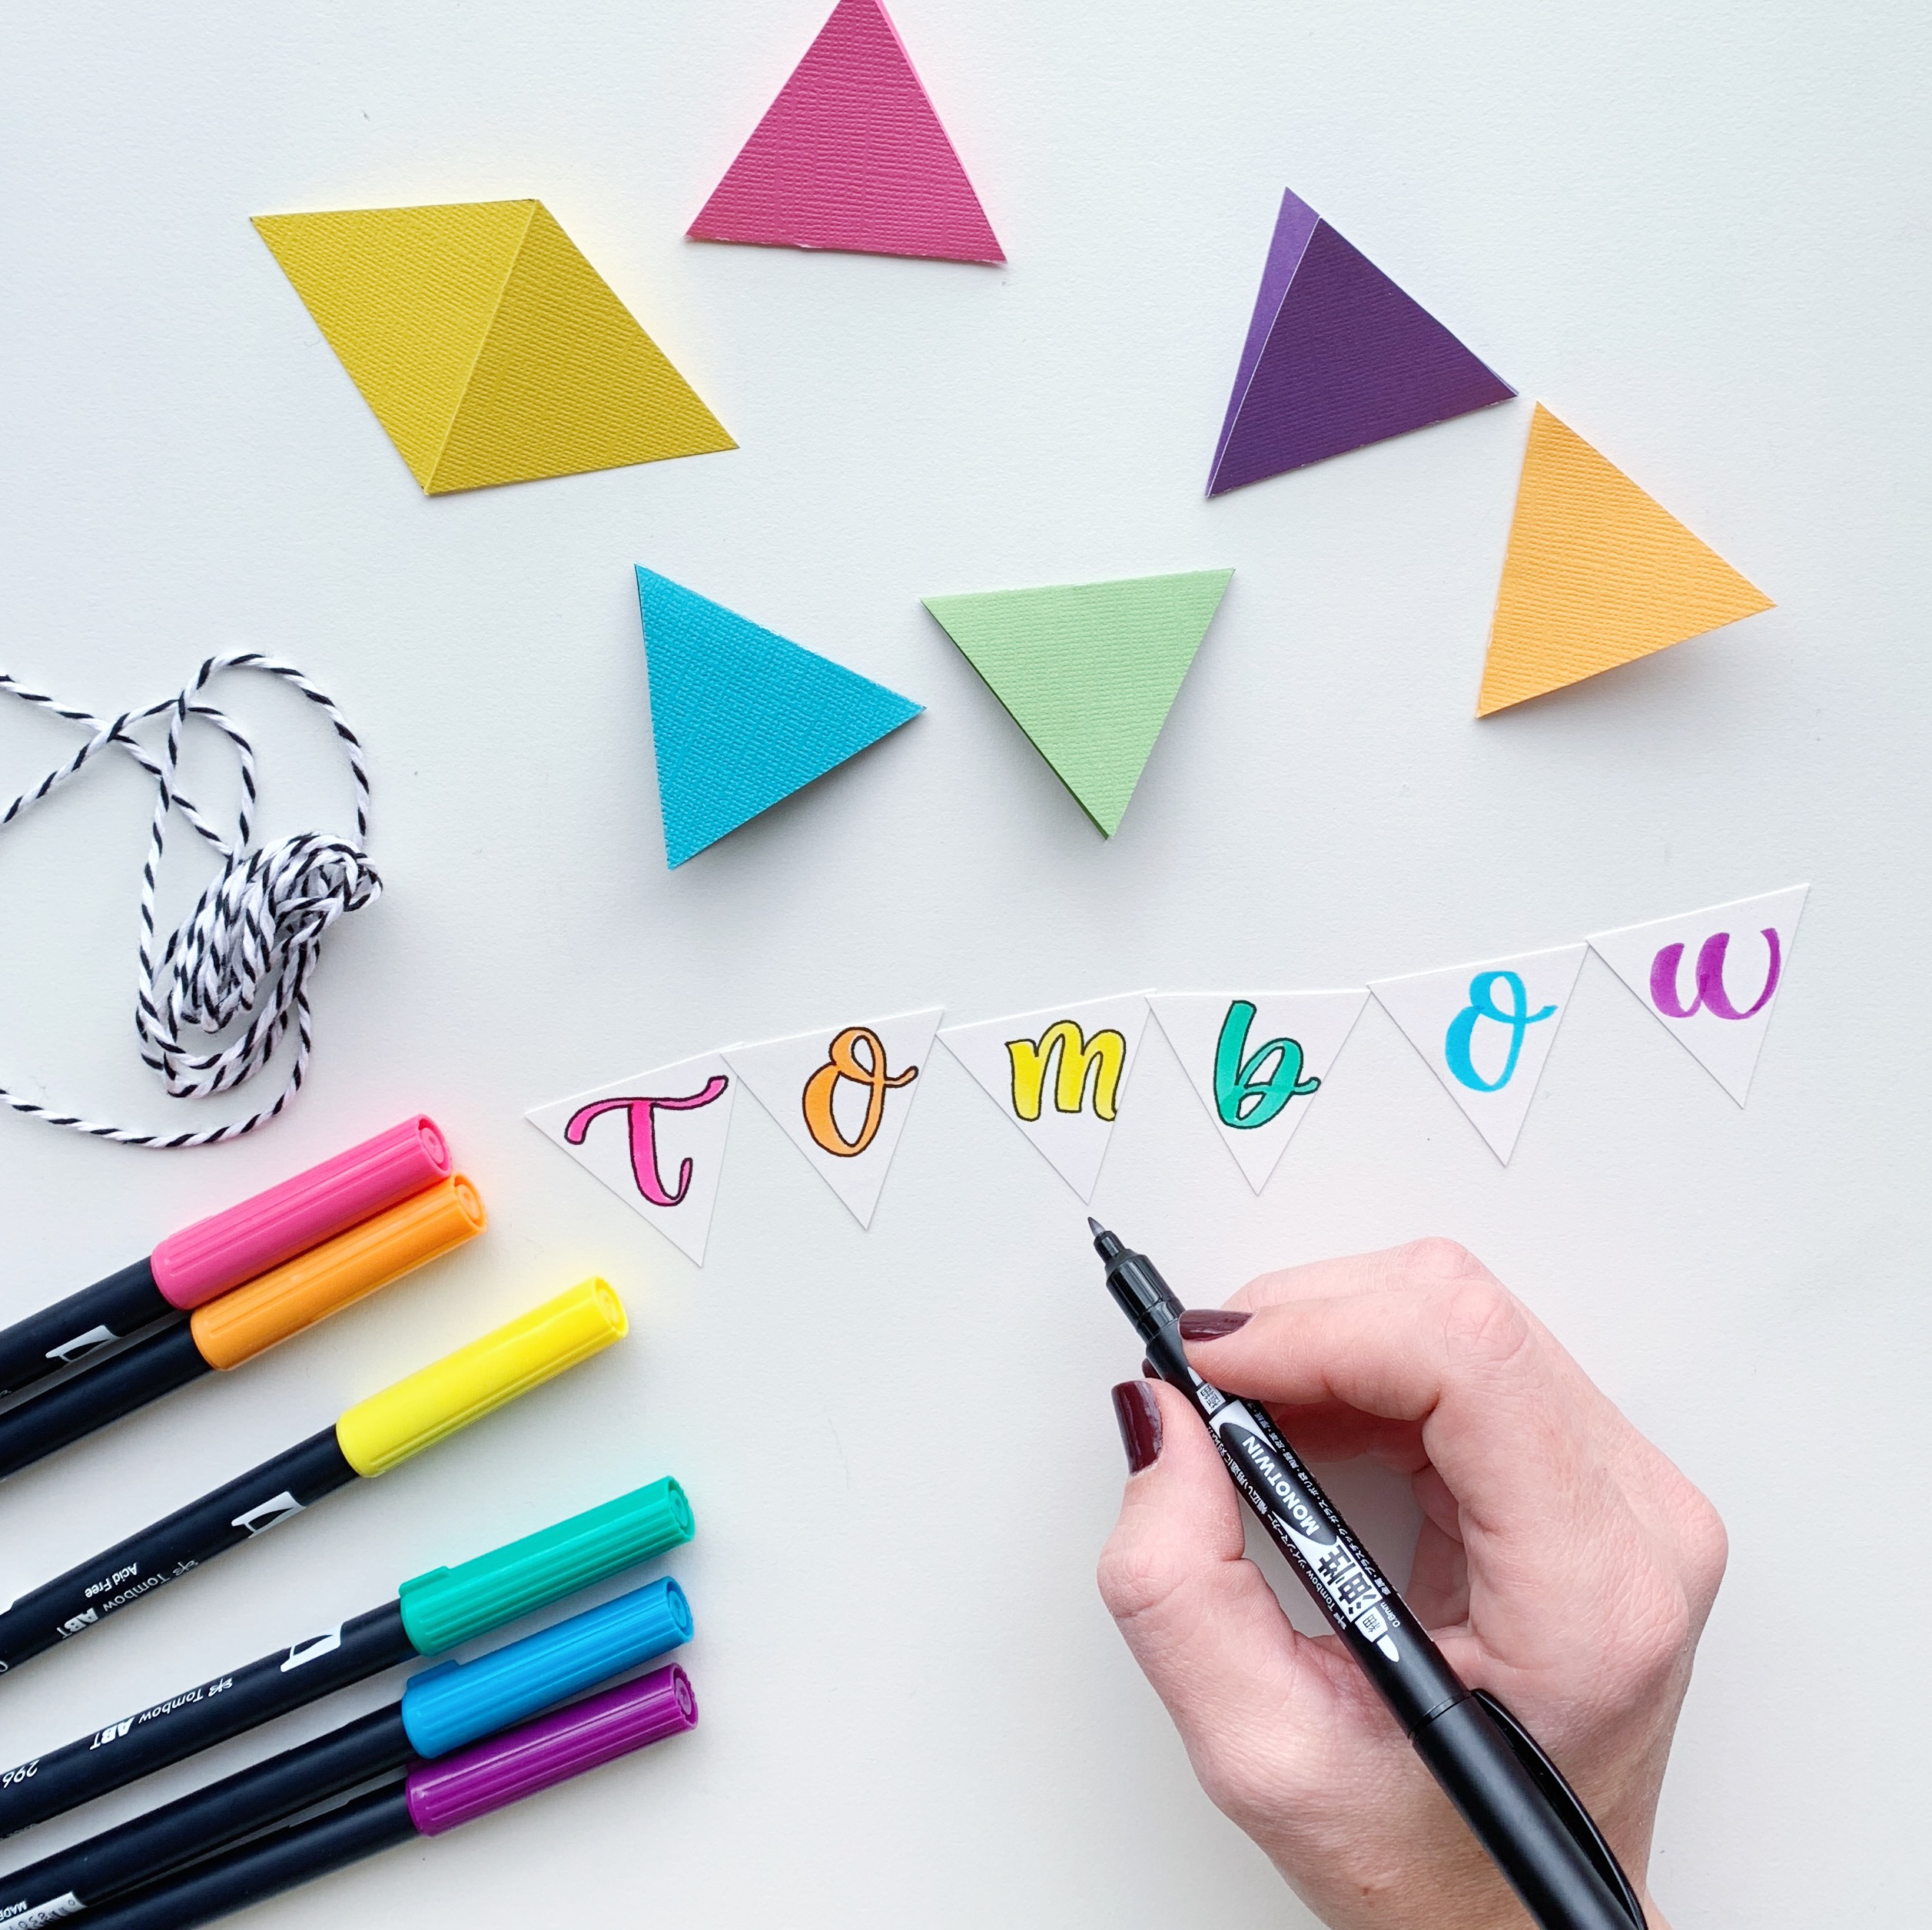
Step 6: Assemble triangles
Assign each lettered triangle a colored triangle, making sure all the colors match well together. Then use the Adhesive Dots and attach each letter to it’s colored triangle. I love using the Adhesive Dots because they are super easy to use and mess free! Can’t get much better than that!
Step 7: Attach triangles to string
Place the string (about 2.5′ long) in the middle of each completed triangle, so the triangle wraps around the string. Next, roll some of the Power Mini Glue Tape on the inside of the bottom triangle and fold over the top, making sure the string is still in the middle crease. Press down to make sure the sides stick together! I love this adhesive because it gets the job done and doesn’t compromise the glue job. Continue adding all the triangles onto the string. The cake banner is almost there!

Step 8: Tie the string to sticks
The last step to creating a fun cake banner is to tie your string banner to the wooden sticks that will go into the cake! I tied it to the stick about an inch from the top with a knot first and then made a bow with the remaining string. And you’re done!
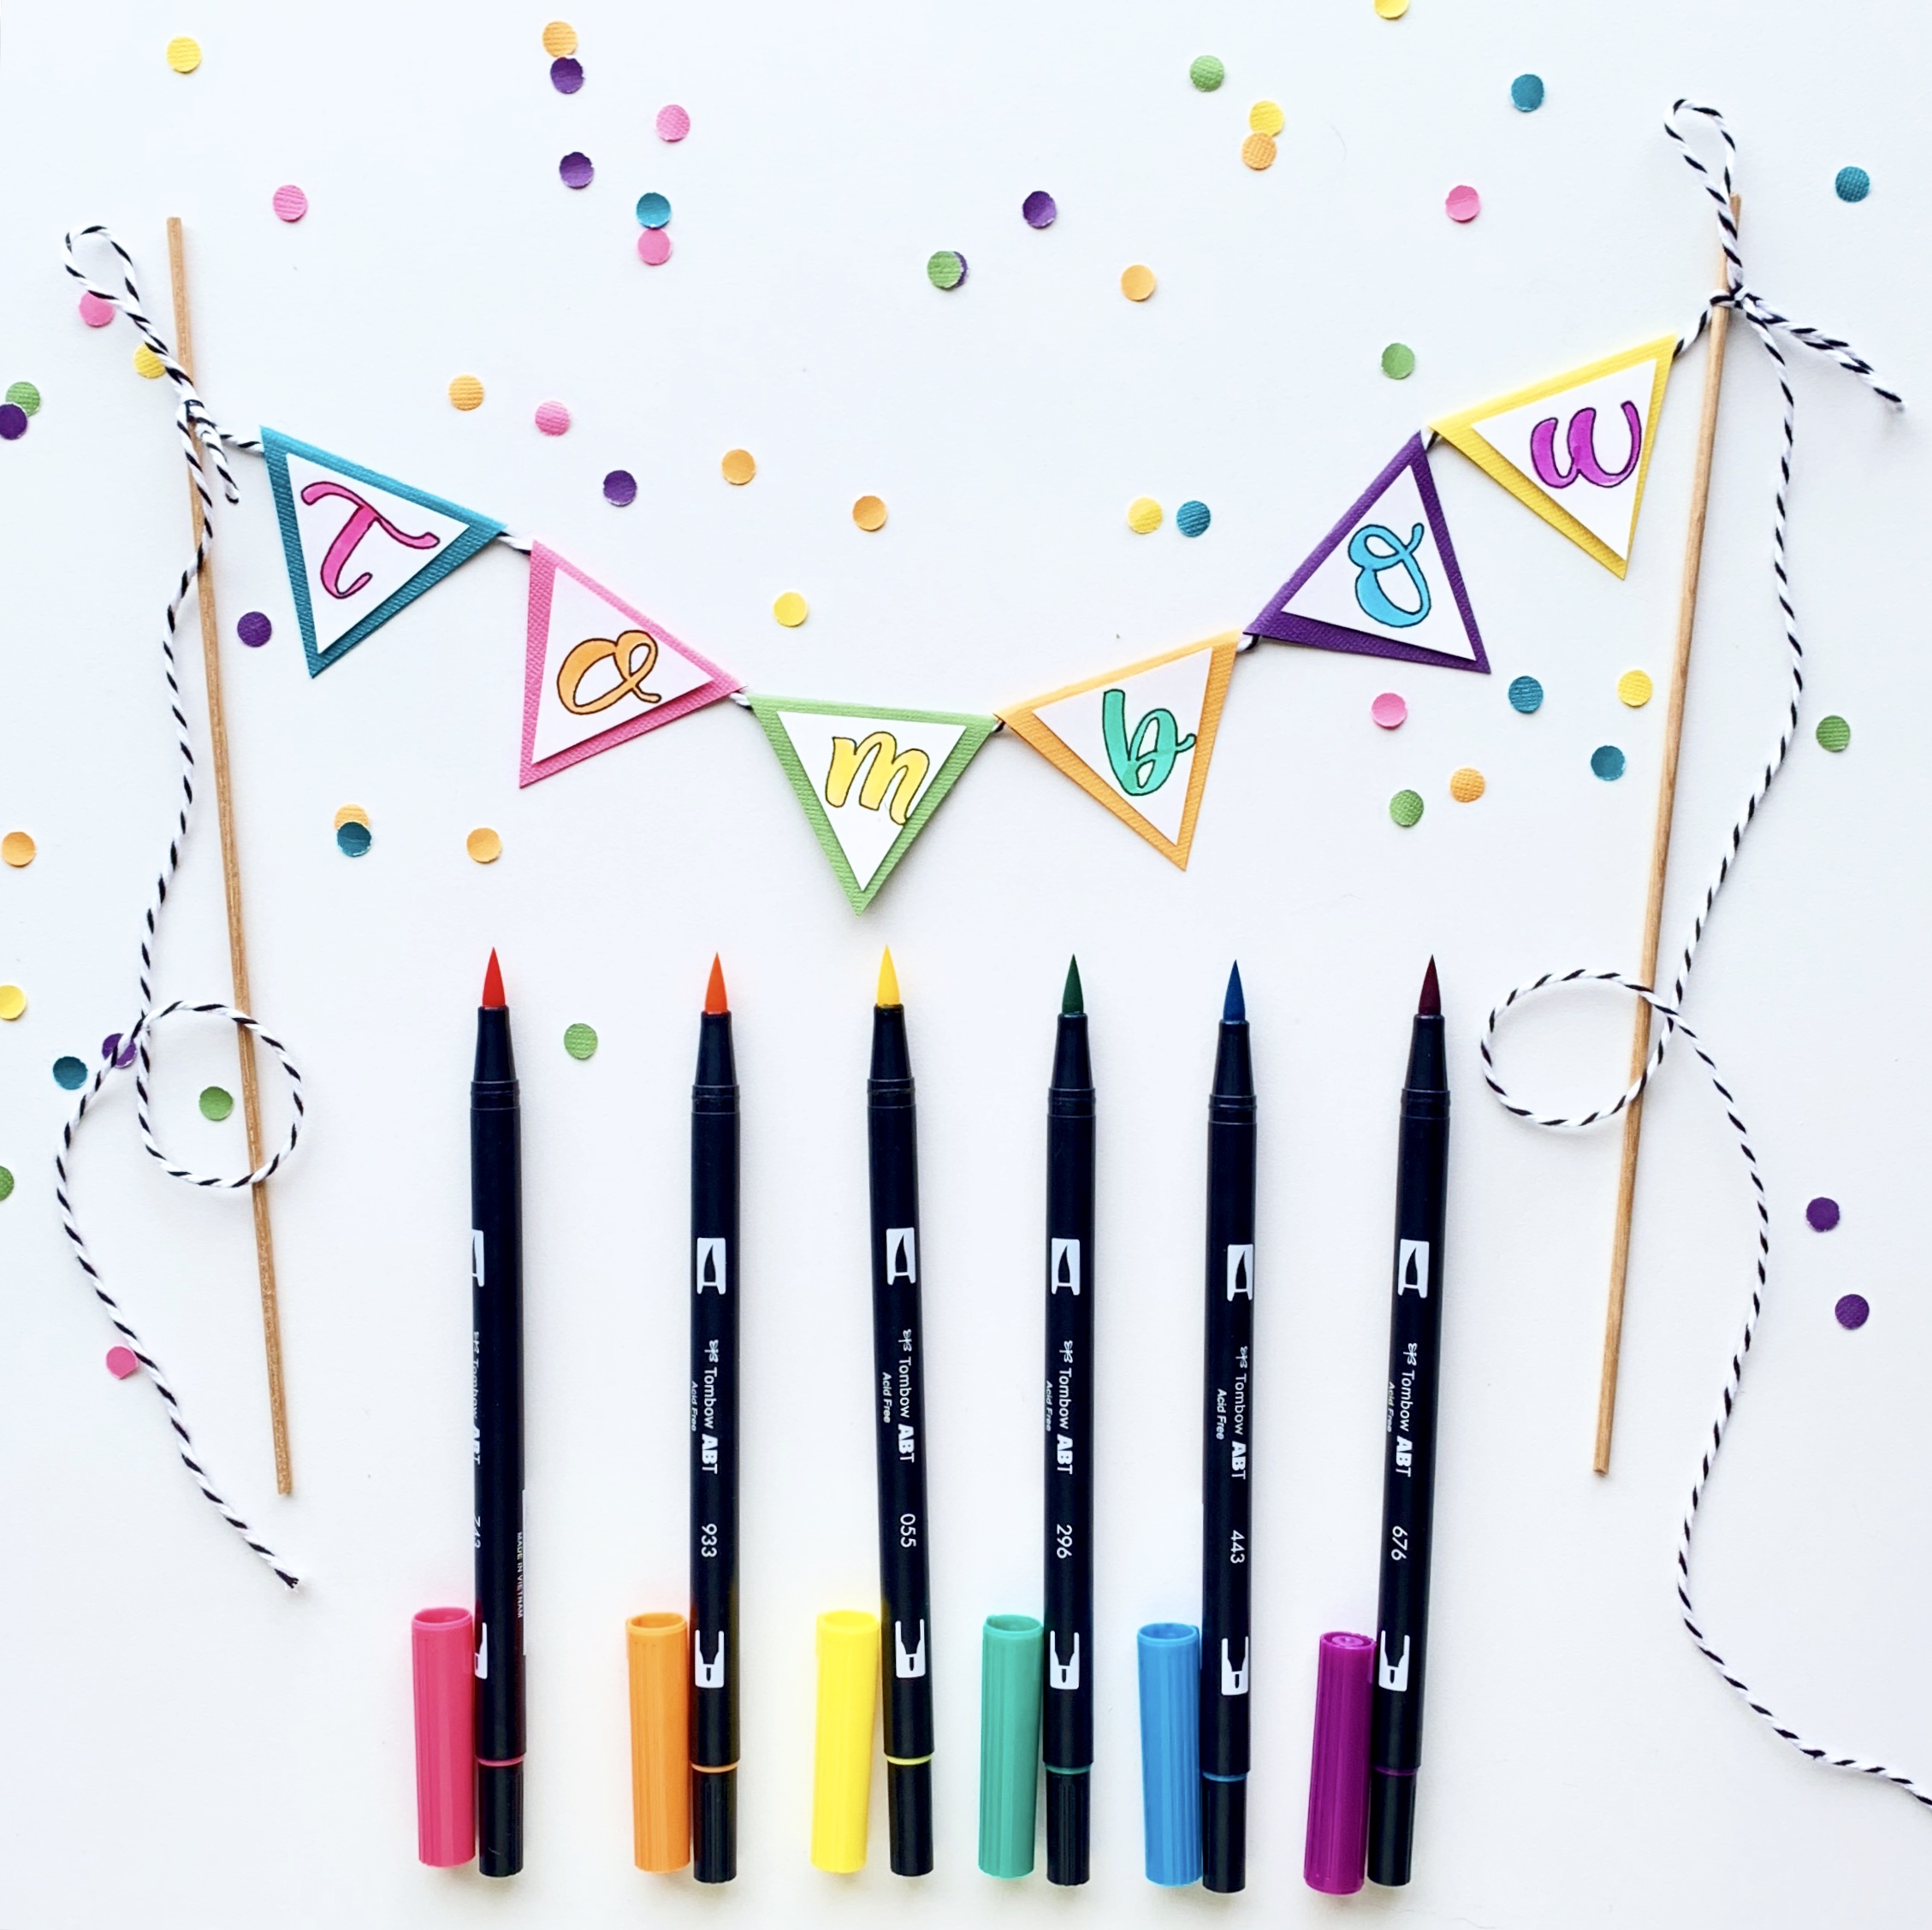
This little birthday cake banner is perfect to add to the top of any cake! Happy Birthday, Tombow! Now let’s go eat cake! Thanks for following along, for more inspiration like this make sure to follow me @studio80design.
For more DIY decorations, make sure you check these posts out!
- 3 Simple Birthday Crafts With White Paper And Ribbon
- Creating A Convertible Birthday Banner
- Watercolor Rose Birthday Card
Pingback: How to Make a Thanksgiving Bunting Banner - Tombow USA Blog