Hi Tombow fans! It’s Mandy from @a_heartened_calling and today I’m showing you how to create a funny watercolor art print using Tombow’s Dual Brush Pen Galaxy Set. I love the colors of this set! They are perfect for creating galaxy art! For this art print, we will be creating planets with details. Then we will be adding a funny phrase to it. Let’s get started!
MATERIALS
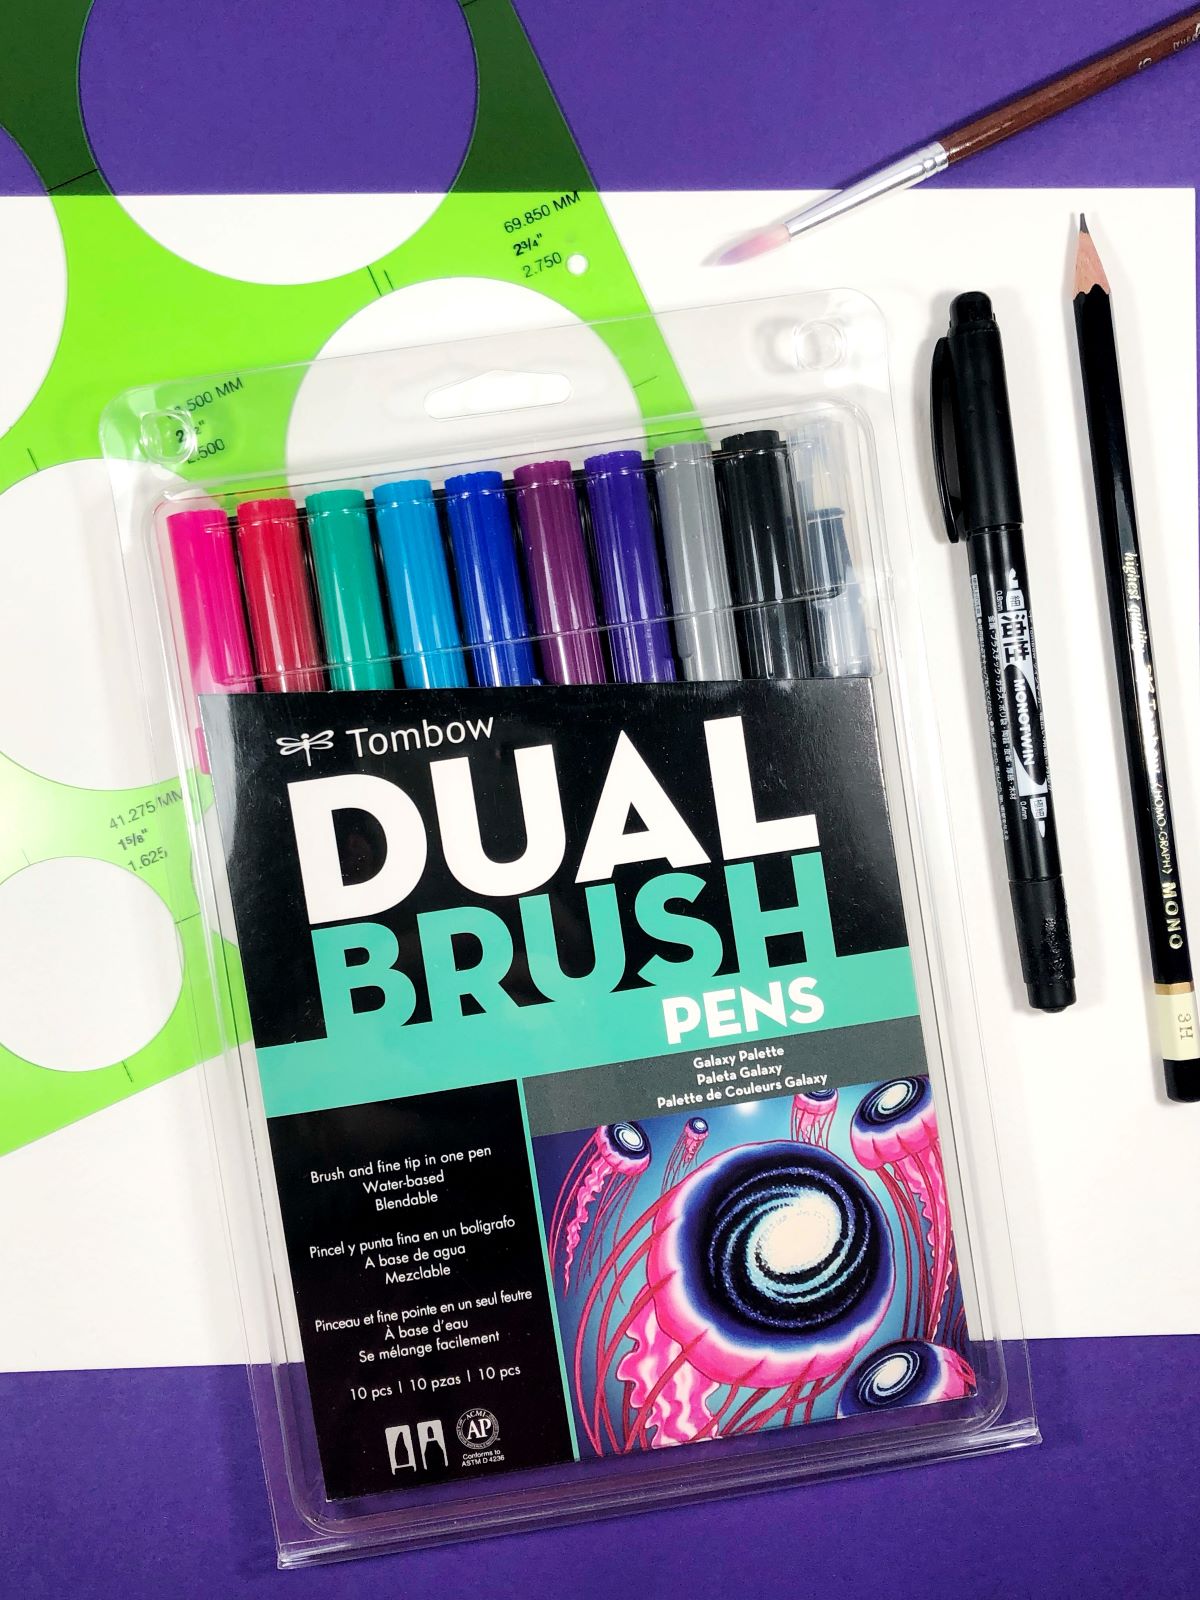
- Tombow’s Dual Brush Pen Galaxy Set
- A piece of watercolor paper
- Tombow’s MONO Twin Permanent Marker
- Tombow’s MONO Drawing Pencil 3H
- A white gel pen
- A circle template
- A paint brush and cup of water
STEP 1 – Sketch Out the Planets and Phrase
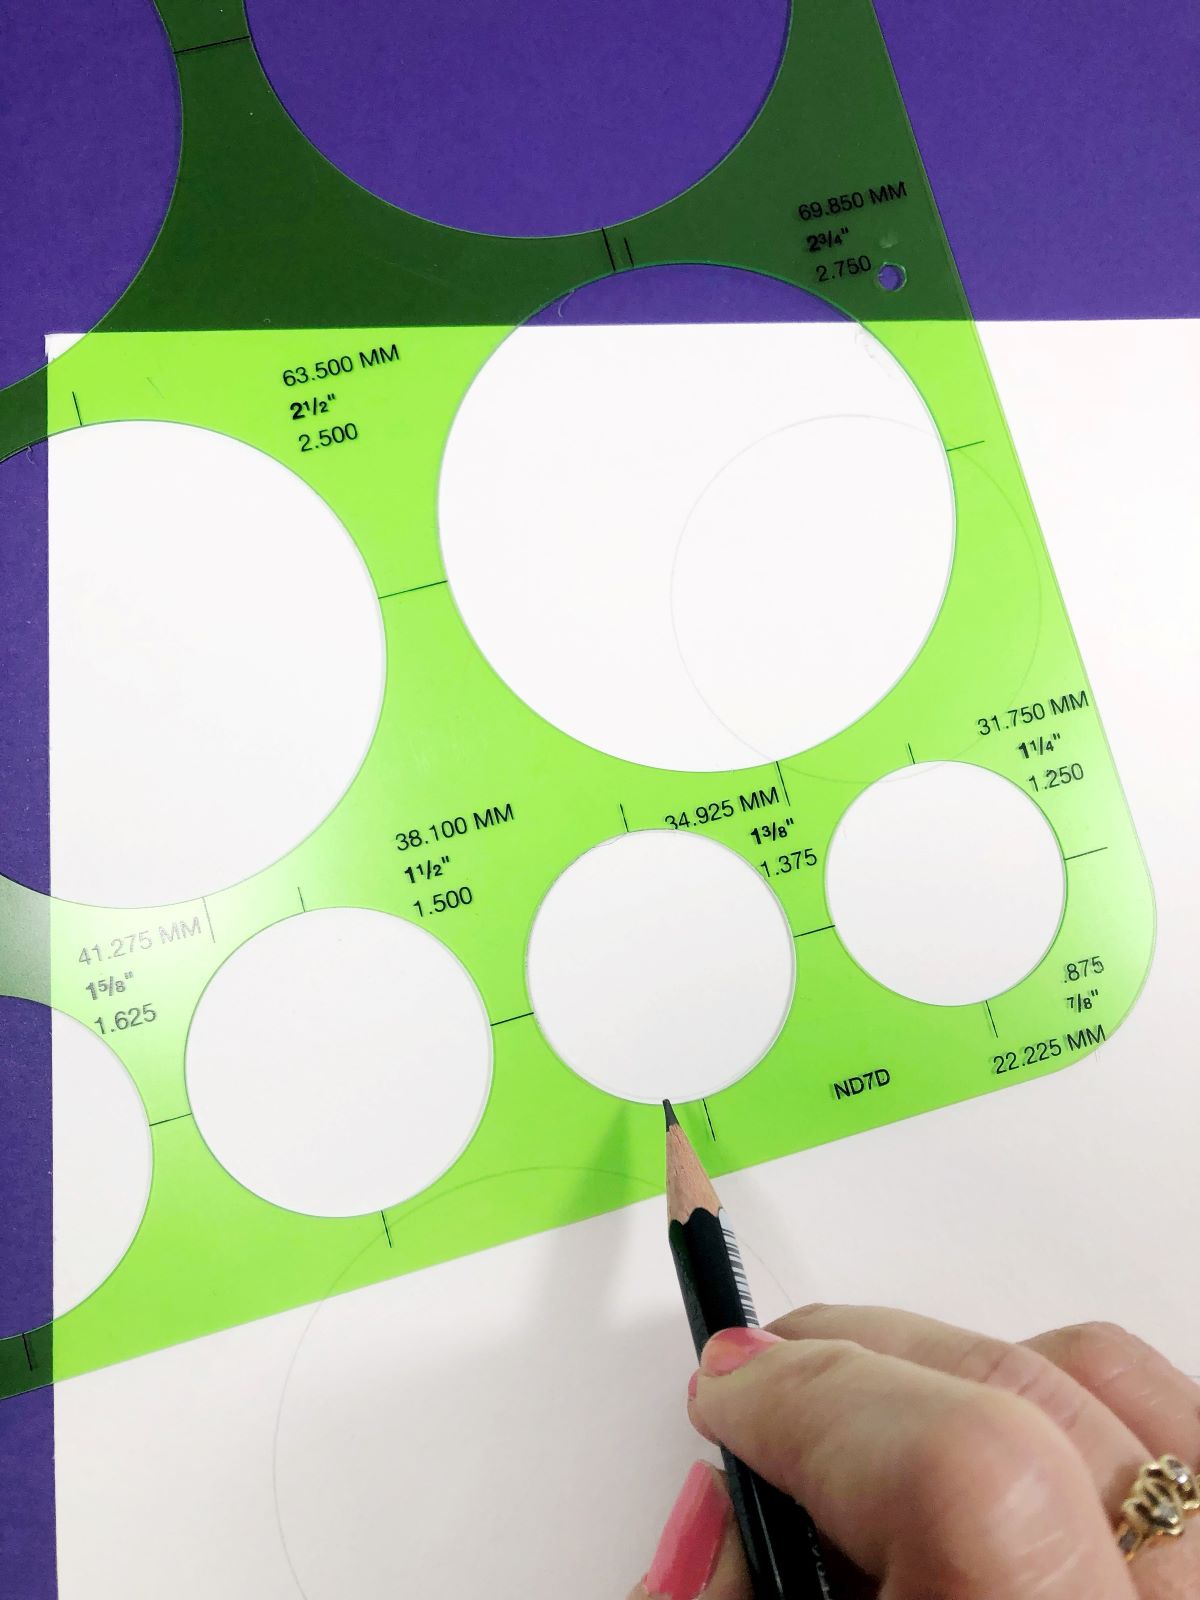
Using the MONO Drawing Pencil 3H and the circle template, sketch out your planets onto watercolor paper. Use a different size template for each circle. Draw the planets in a circular shape leaving room in the center for the lettering. Different sized bowls, cups, and cans will work if you don’t have a circle template.
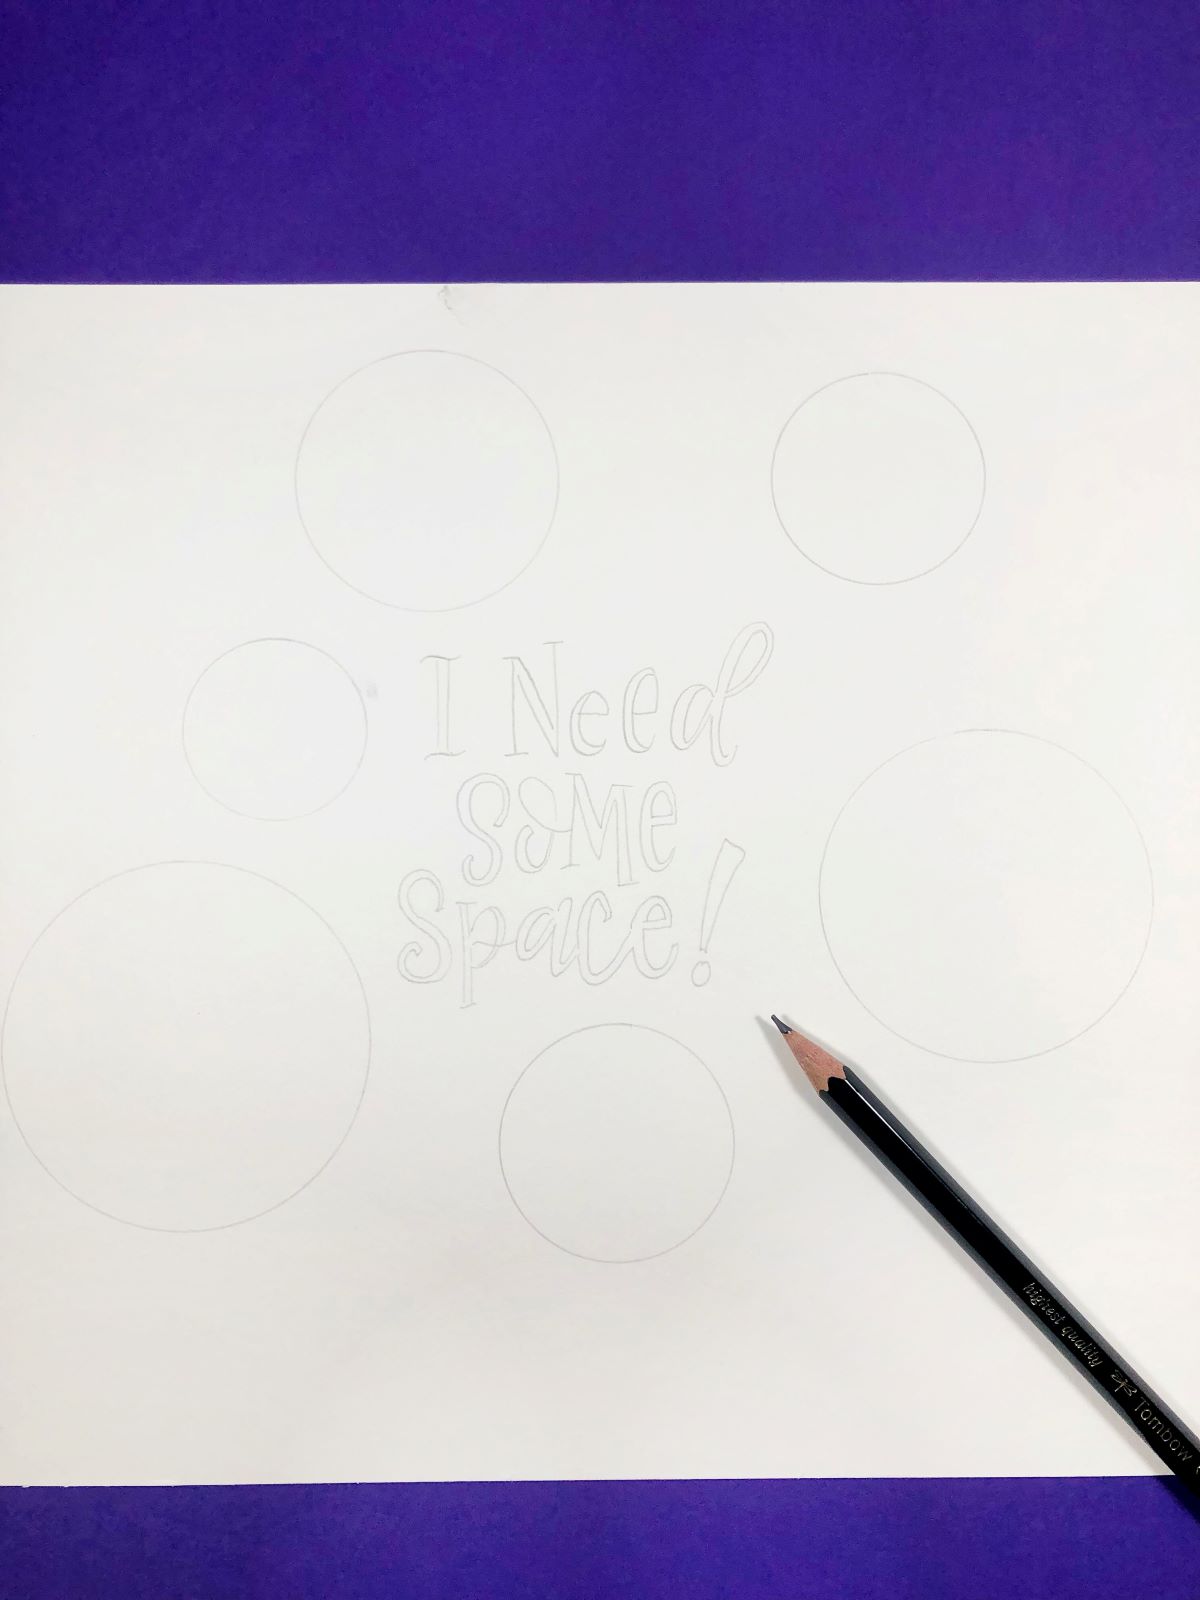
Using the MONO Drawing Pencil, sketch out “I Need Some Space” in the center of the planets.
STEP 2 – Add Color
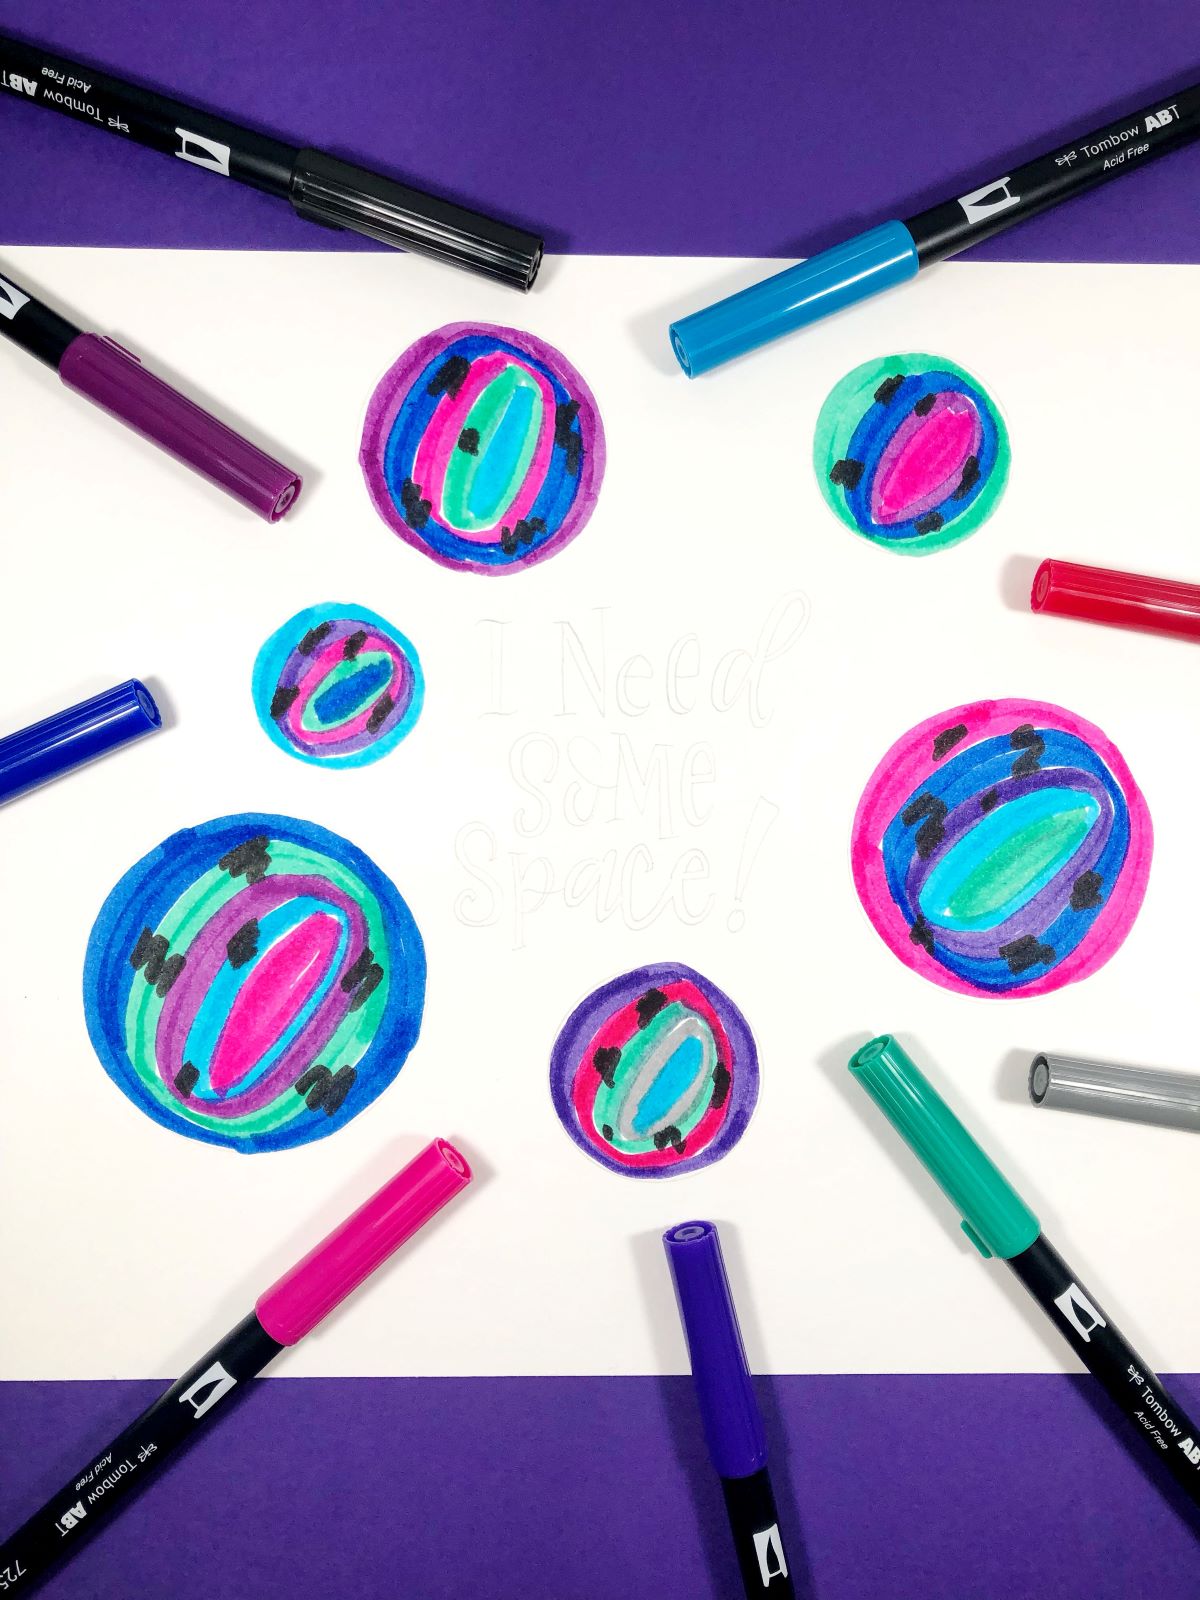
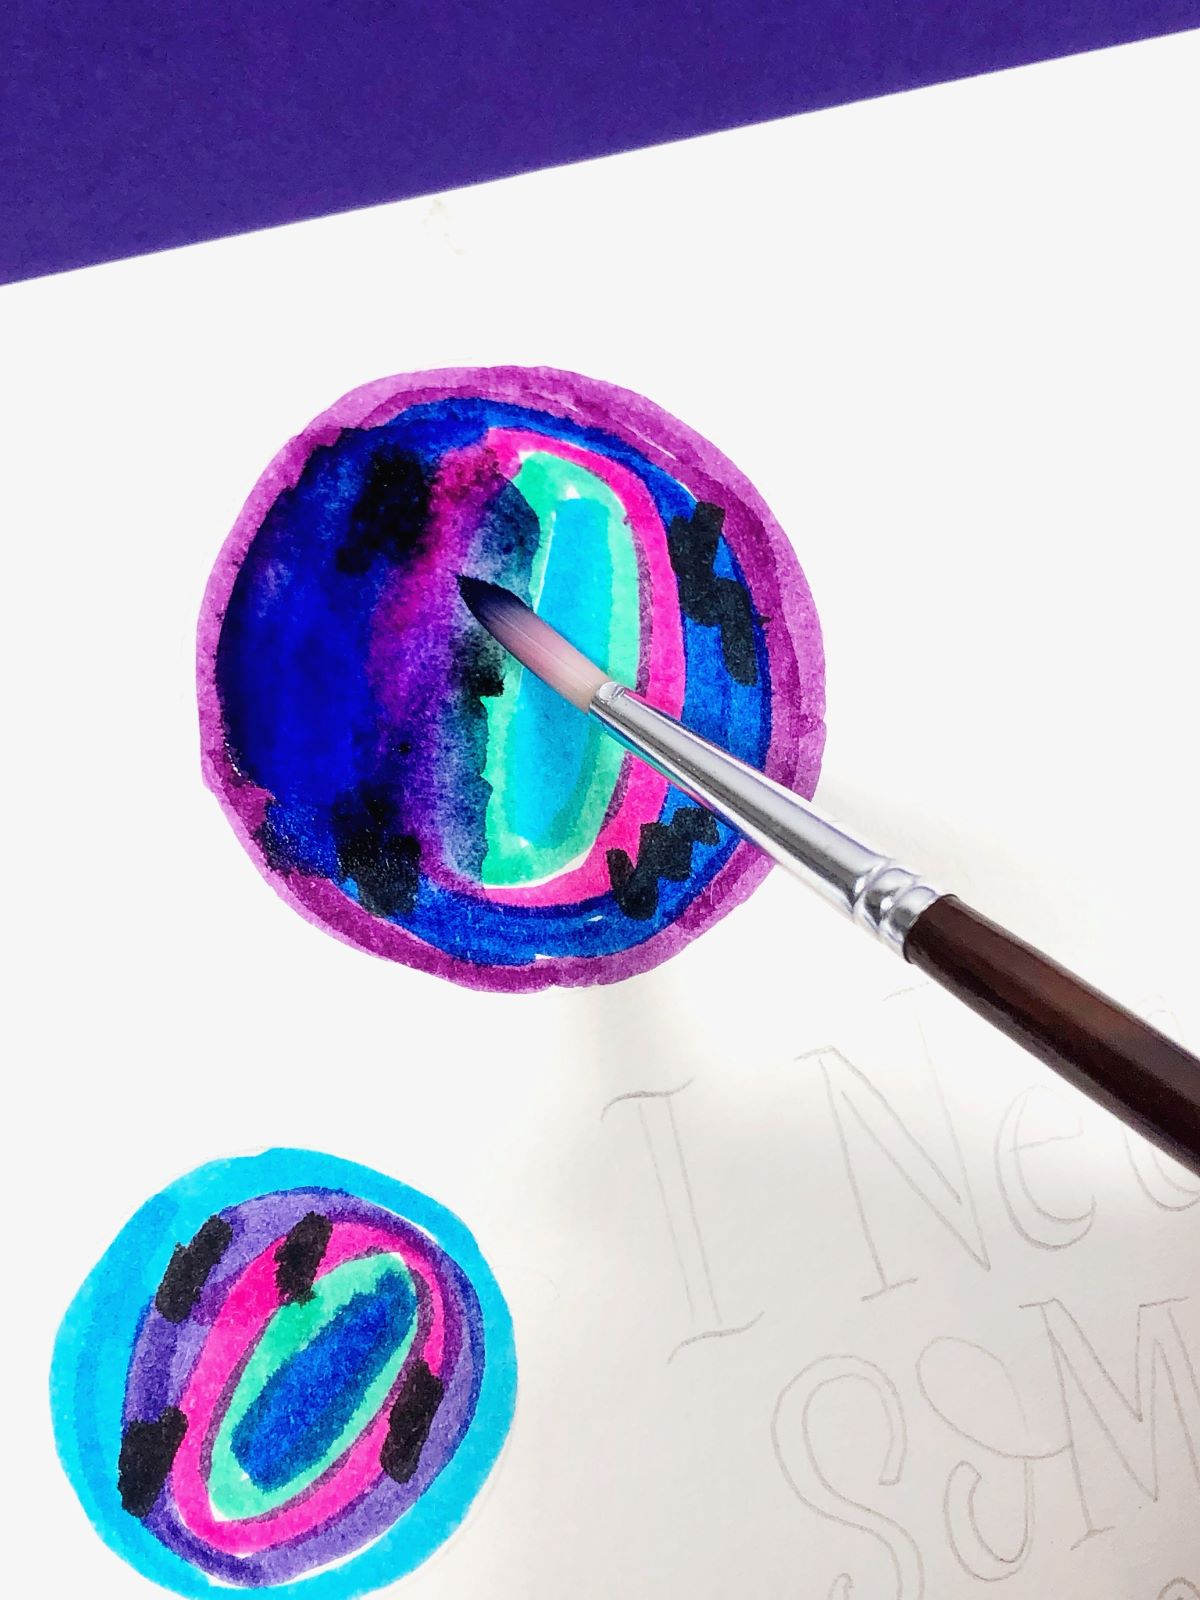
Using the Dual Brush Pen Galaxy Set, add a variety of colors to each planet. Start off using one color and create a ring of color along the outermost edge. Then switch to a different color for the next ring until the circle is completely filled in. Rotate your colors for each planet, so they will all look different. Then add little spots of black on top of your colors in random spots. This helps to create that dark galaxy sky. It may be best to work on one planet at a time. I added color all at once to show you a quick glimpse of the colors I used for each planet.
STEP 3 -Add Water
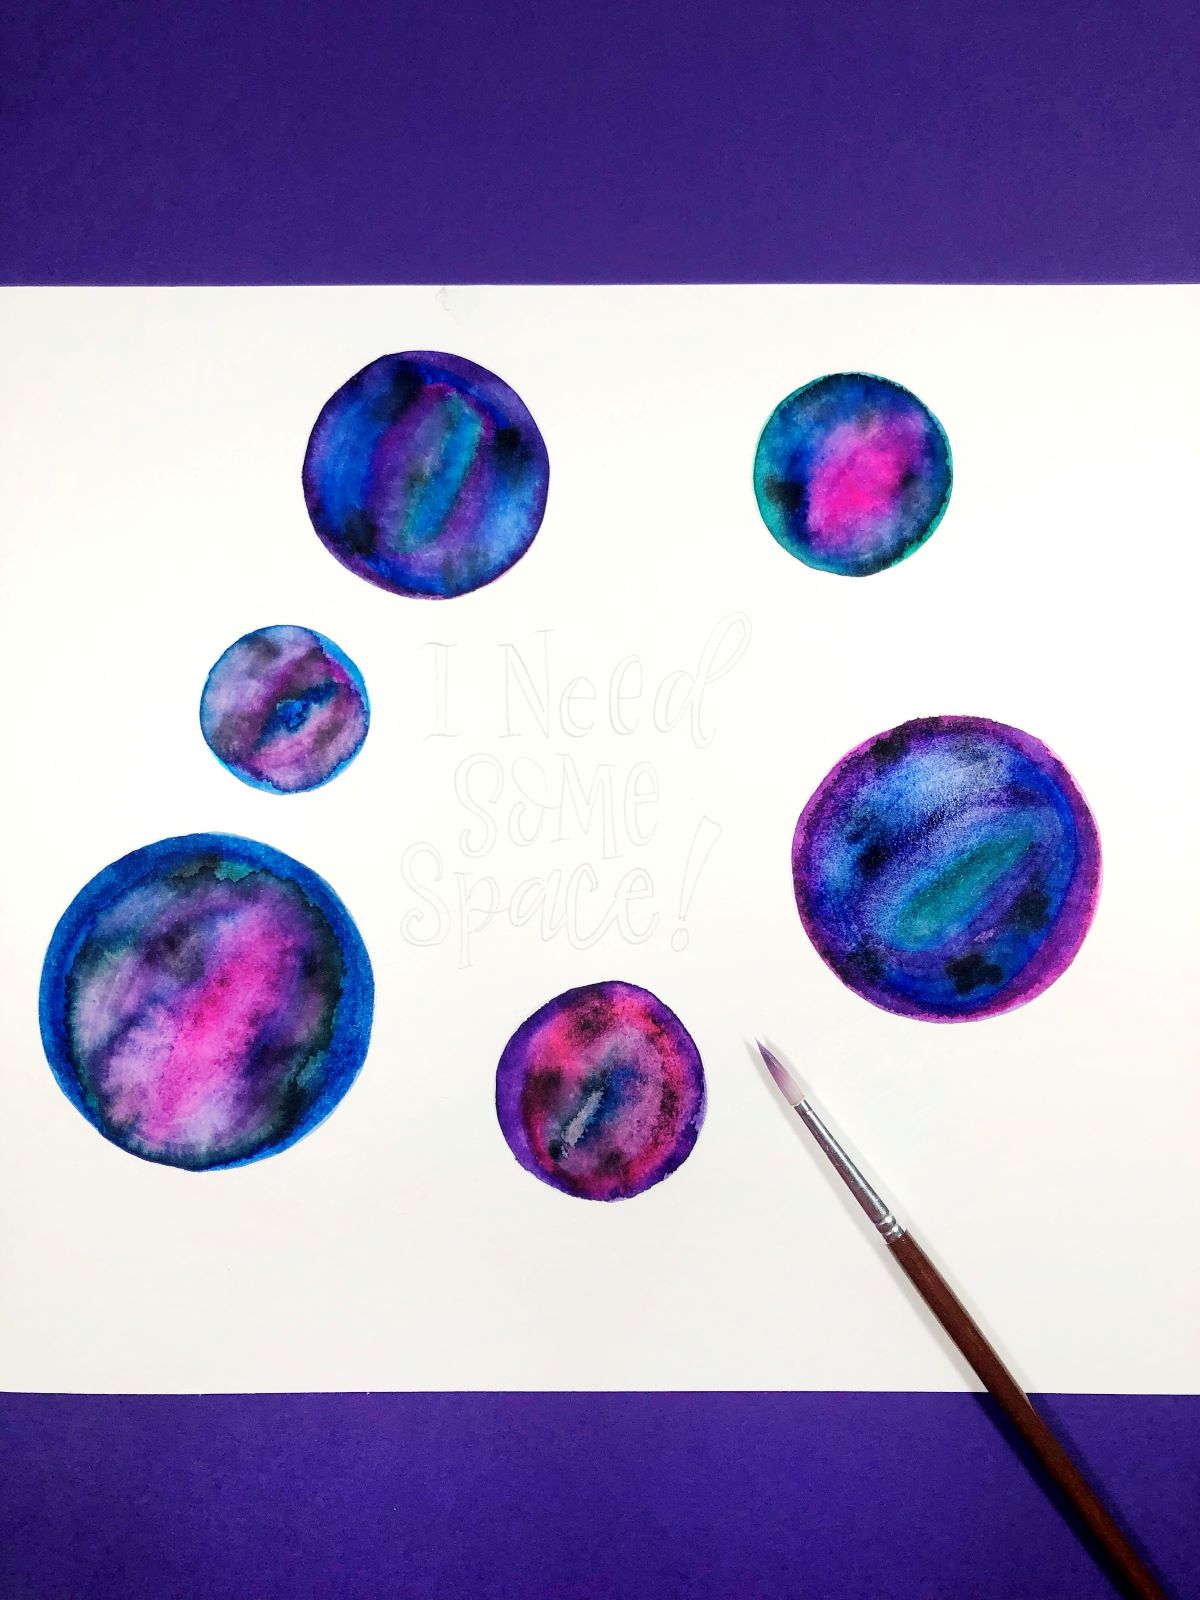
Dip a paint brush into a cup of water and add water to one of your planets. Blend all the colors together adding more water if needed. If you have too much water on your paint brush, dab it onto a paper towel. Repeat for all your planets. If you want the center core color to show through more, work from the center first and pull the colors out to the outer edge. Once you have finished all the planets, let it dry completely.
Here’s what my piece looked like with all the planets painted:
STEP 4 – Add Detail to Planets
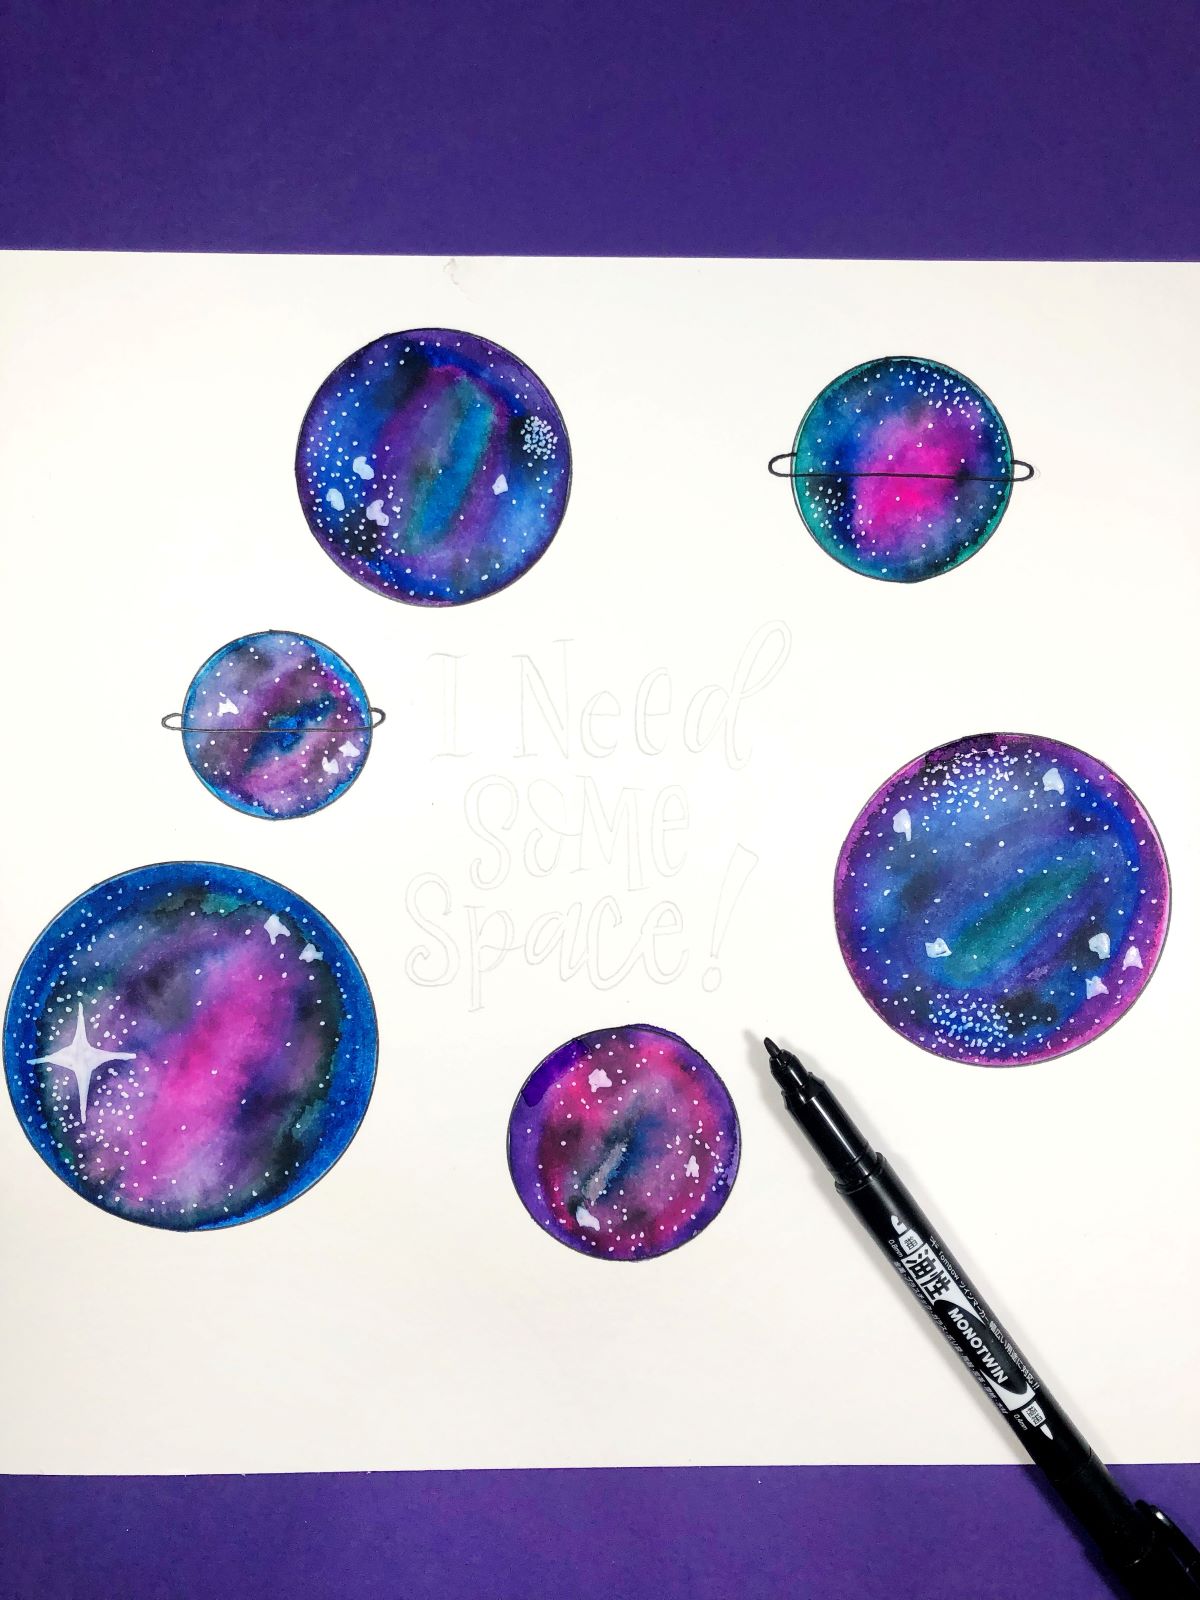
Using the smaller tip of the Tombow MONO Twin Permanent Marker, trace around the outer edge of your planets using the circle template you previously used for each planet. This gives your planets a nice clean crisp look to them. It’s also way easier than trying to trace around them by hand! You can also add planet rings to a couple of planets. Using a white gel pen, add your star and galaxy details to each planet. Be as creative as you want here!
STEP 5 – Add Lettering
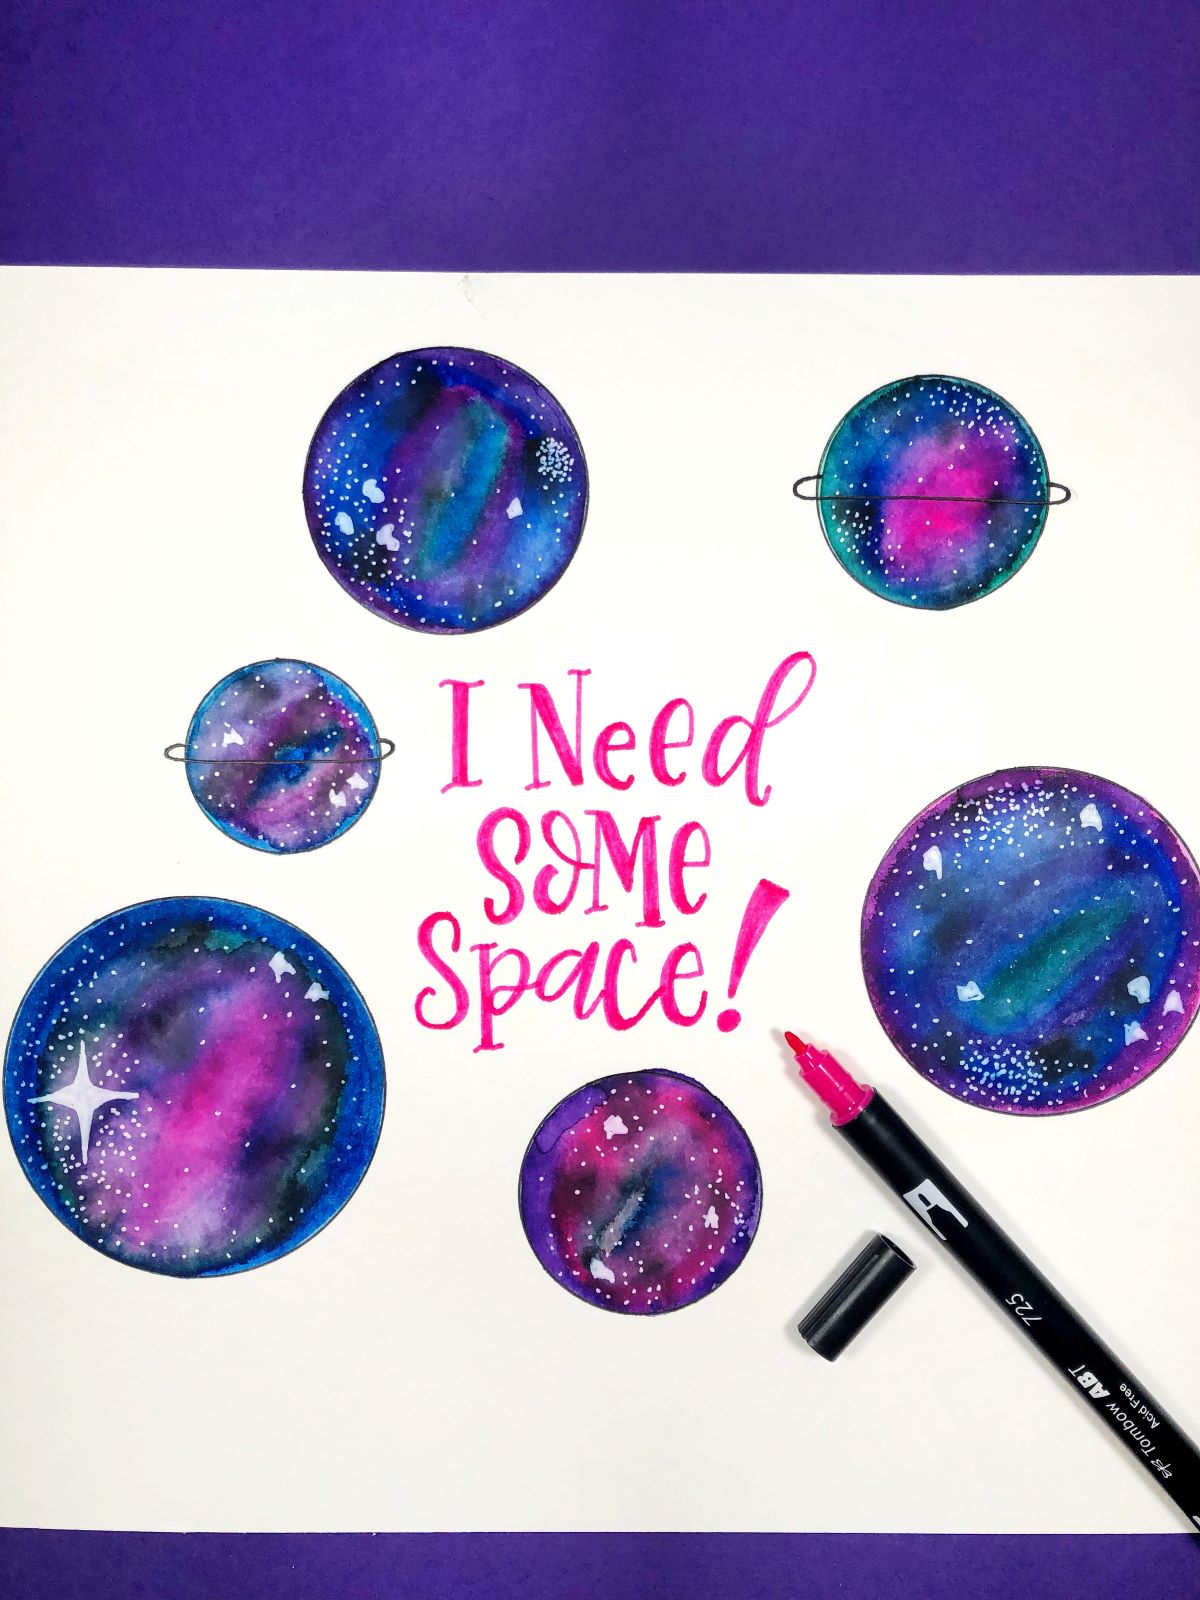
Using the bullet tip of Dual Brush Pen 725, trace over your sketched lettering. Use faux calligraphy to add thicker lines to your down strokes.
STEP 6 – Add Final Details
Using the bullet tip of Dual Brush Pen N25, place little dots throughout the center and around your lettering. You can add some stars or little comets.
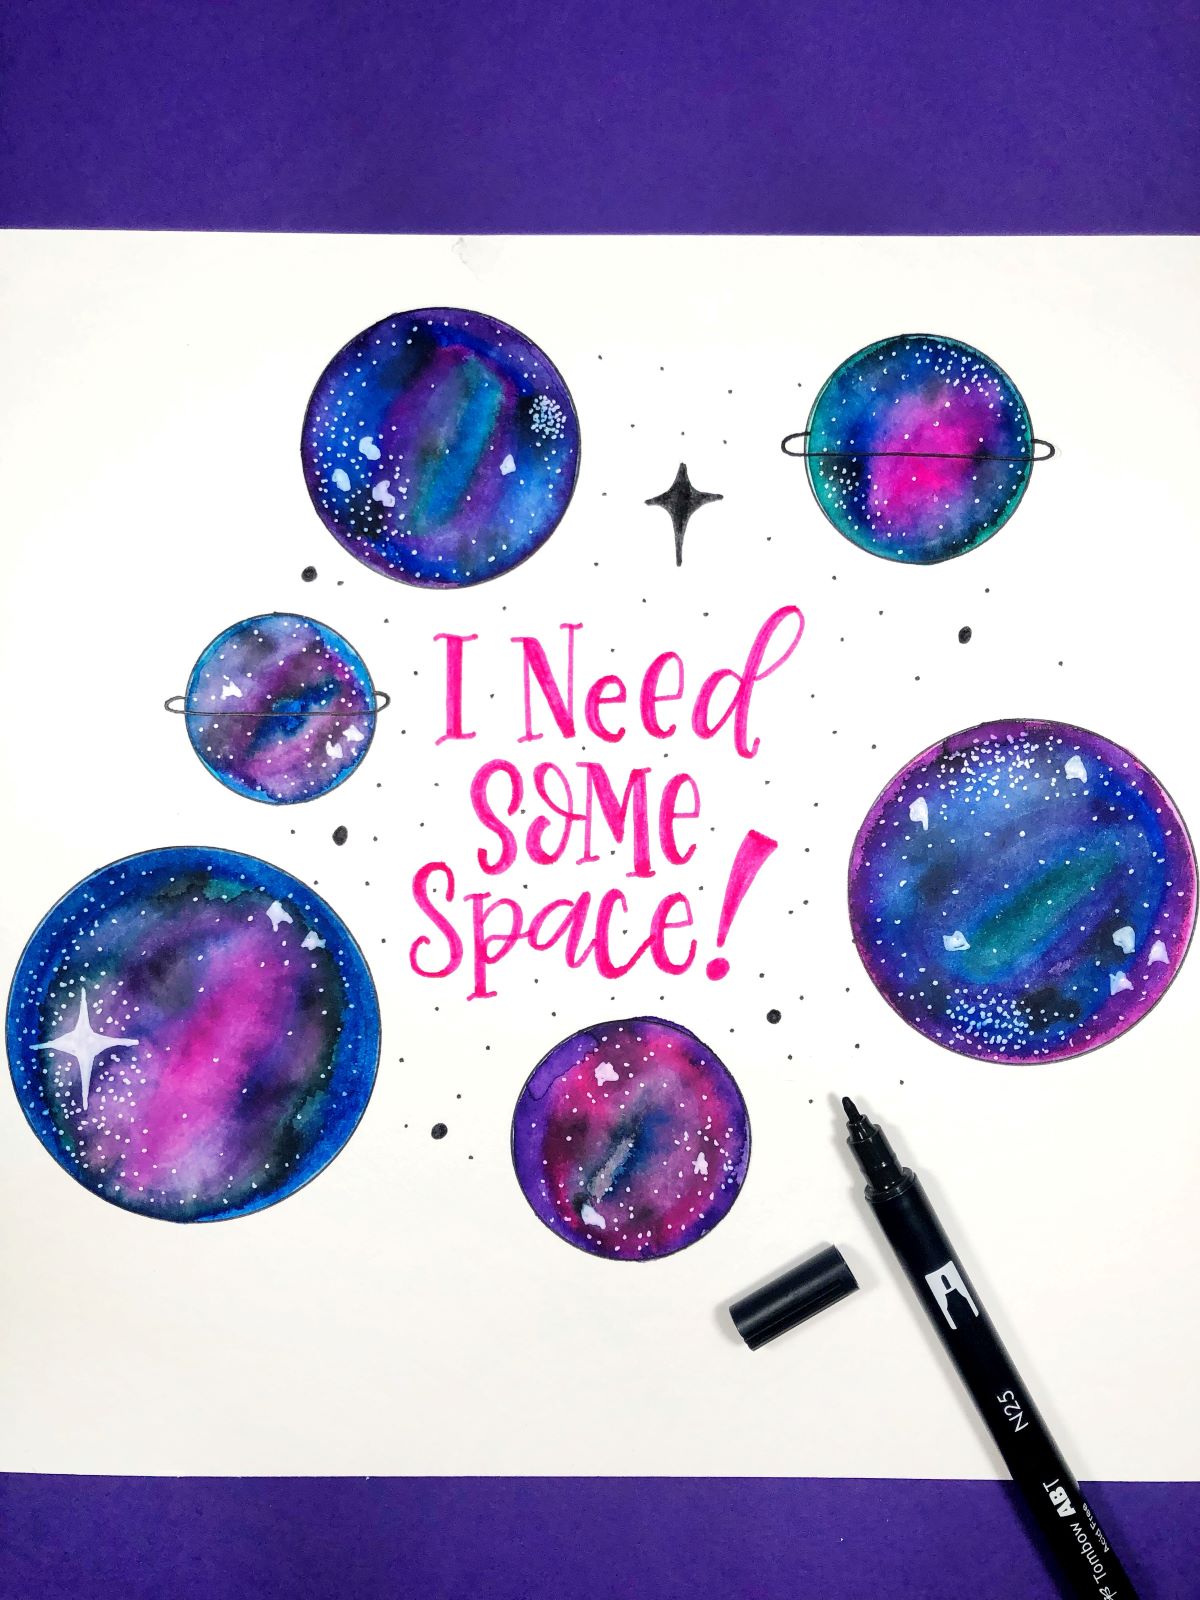
Using a white gel pen, cover all your bigger details. This gives it a different look and helps “soften” the black details.
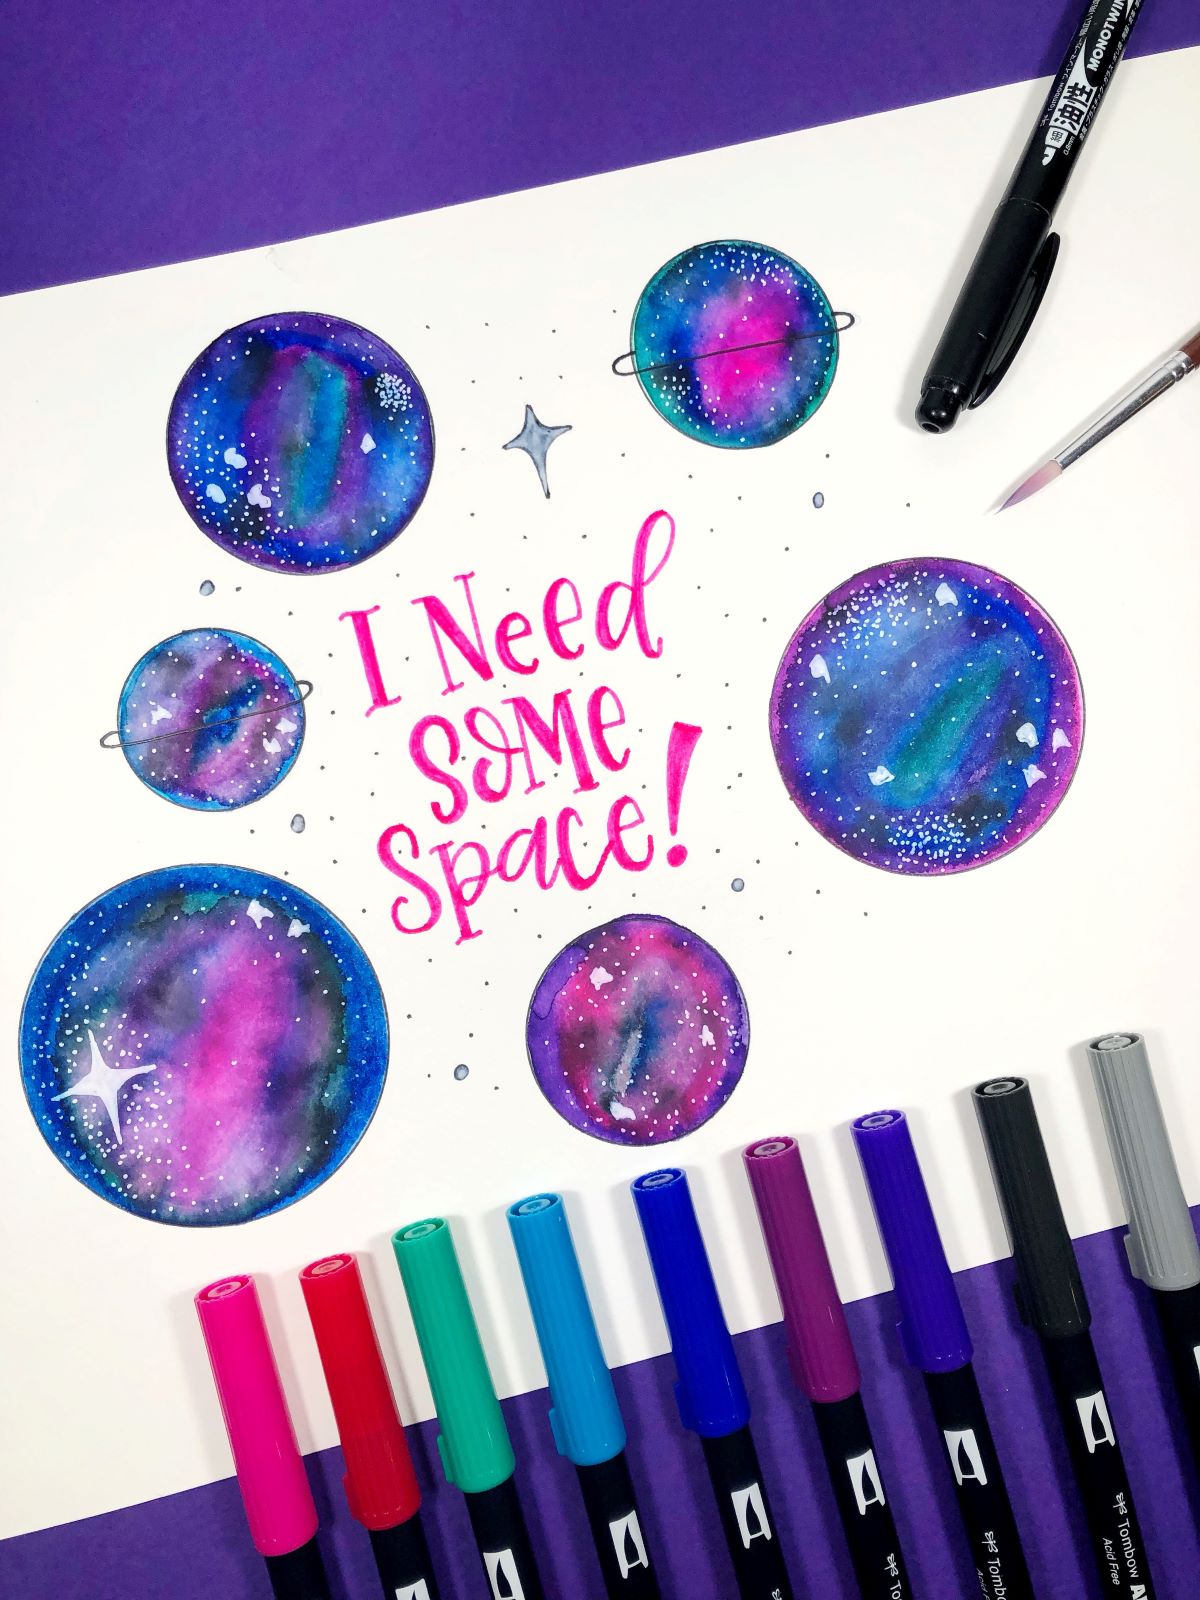
Your watercolor print is done! Now you can frame it or give it as a gift. I hope you enjoyed this tutorial! If you create your own watercolor space art print, be sure to tag us at @tombowusa and @a_heartened_calling so we can cheer you on!
For some other fun galaxy projects, check out these posts:
- Create a Galaxy Bookplate With Tombow Dual Brush Pens Galaxy Pack with Bonnie
- Galaxy Girl: A Lesson About Warm and Cool Colors with Jennie
- Patterned Lettering with Tombow’s Galaxy and Pastel Palettes
Have fun creating! See you next time!
Mandy