Hi friends! It’s Dani from @popfizzpaper here today with a fun summer craft project for kids! We are going to make paper fortune tellers! I spent so many summers making endless versions of these for me and my friends, filling them with silly fortunes or sweet sentiments. It’s up to you how sassy you make them! Let’s get started.
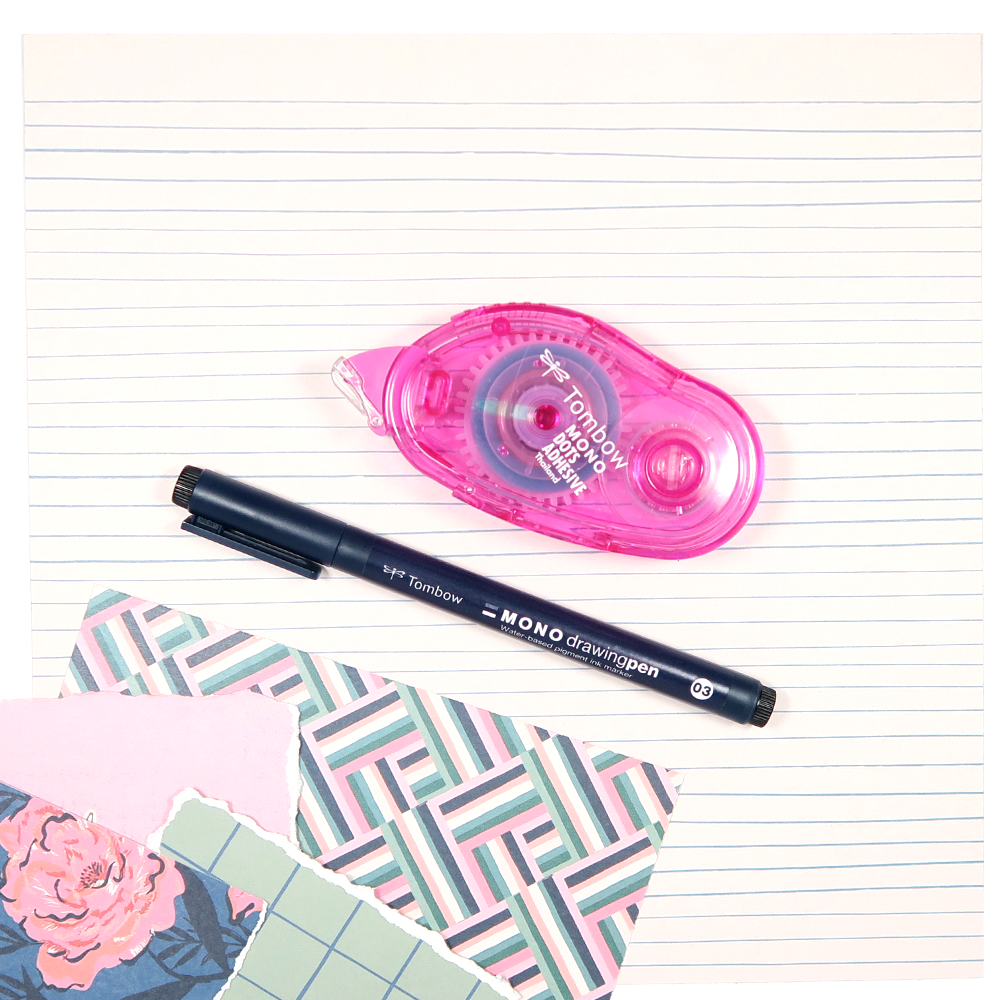
SUPPLIES:
- Scrapbook paper cut to 8.5″ x 8.5″
- Paper scraps
- Tombow MONO Dots Adhesive
- Tombow MONO Drawing Pen
- Bone folder
- Scissors

STEP 1
To begin, fold your 8.5″ x 8.5″ scrapbook paper into eight quadrants along the dotted fold lines shown above. Use the bone folder to crease the paper well. Next, decide what side of the paper you want to show, then place that side facing down.

STEP 2
Fold up the corners of the paper like shown above (see the dotted lines above for reference) and crease with the bone folder again. Next, flip the paper over so the folded triangles are underneath.

STEP 3
Last major fold for our paper fortune teller! Again, get the corners and fold them over. I like to really go over all the folds again with the bone folder. Gently keep bending the folds for a minute or two to “soften” the paper a bit – it will make holding and moving the fortune sections easier!

STEP 4
Next, fold up your fortune teller! I find it easiest to bring the four corners together, then pop out the finger spots. See above – it’s hard to explain!

STEP 5
Time to jazz things up a bit! Trim down scrap papers to 2″ x 2″ and cut in half diagonally. Use the Tombow MONO Dots Adhesive to adhere the triangles to the outside panels of the paper fortune teller, making sure to avoid the folds. If you like, use a Tombow MONO Drawing Pen to write colors or phrases on these so your querent has something to choose from. I really like the patterns of mine, so I’m leaving the outside panels blank for now.
STEP 6
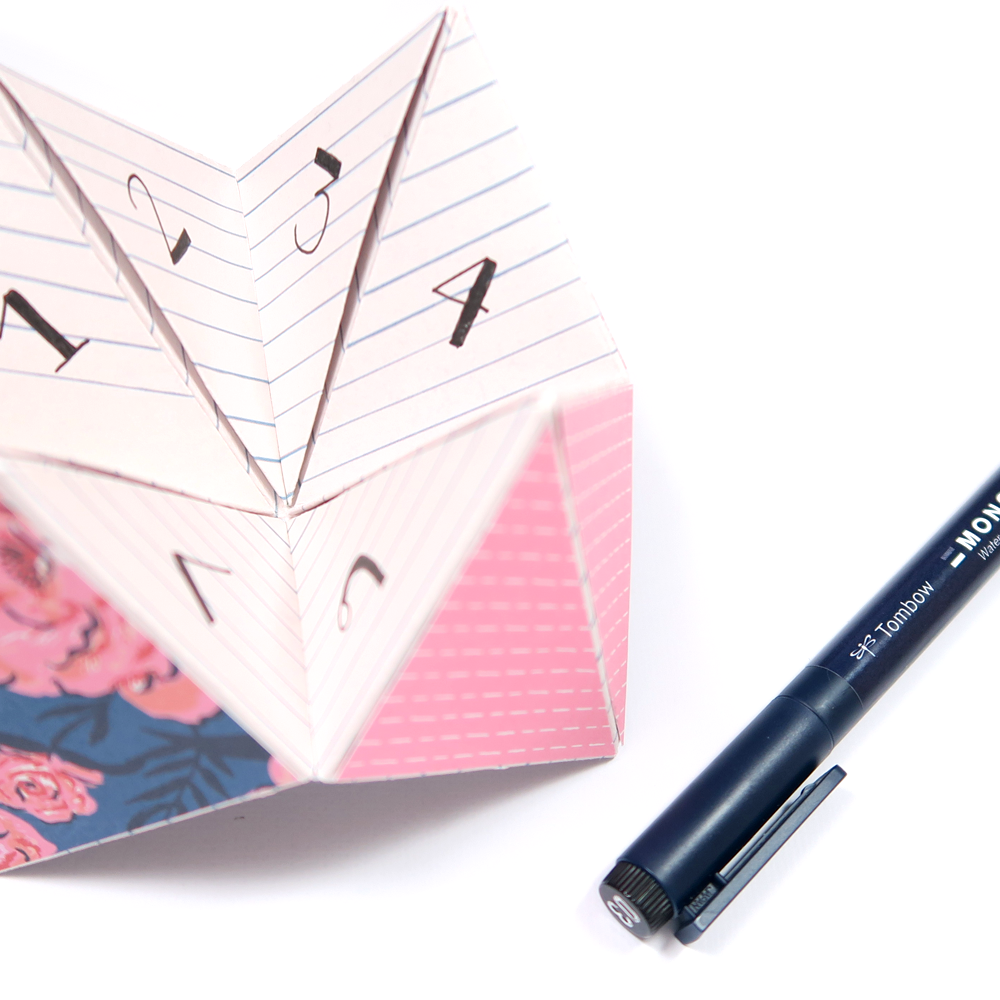
Last step! Use a Tombow MONO Drawing Pen to write a number on each of the interior panels (try to have an equal amount of evens and odds). Finally, flip up the interior panels and write your fortunes!
Not sure how it works? See the video below!
HERE’S HOW TO PLAY: Your querent picks a color from the outer panels. For each letter of the color, make one move of the fortune teller. Once you’re out of letters, have the person choose a number from an inside panel. Again, one move for every count up to that number (so eight moves for the number 8). Repeat a time or two, then have the querent choose a final number. Flip up the panel and reveal the mystery fortune underneath! So fun!
This fortune teller is perfect for kids this summer, right?! Thank you so much for following along with my paper fortune teller tutorial today! Please tag @popfizzpaper if you give it a try. I would love to see! If you’d like to see more tutorials like this, make sure to check out my Crafty Club for more fun ideas! And for more summer craft inspiration for kids, check out this this post by Jennie. I will see you next time!