Hi friends! It’s Dani from @popfizzpaper here today with a fun happy mail project! This DIY ephemera folio is perfect for filling with surprises (like little notes, die cuts, magazine cutouts, and more). So, gather up some flat things that remind you of your penpal and let’s get started!
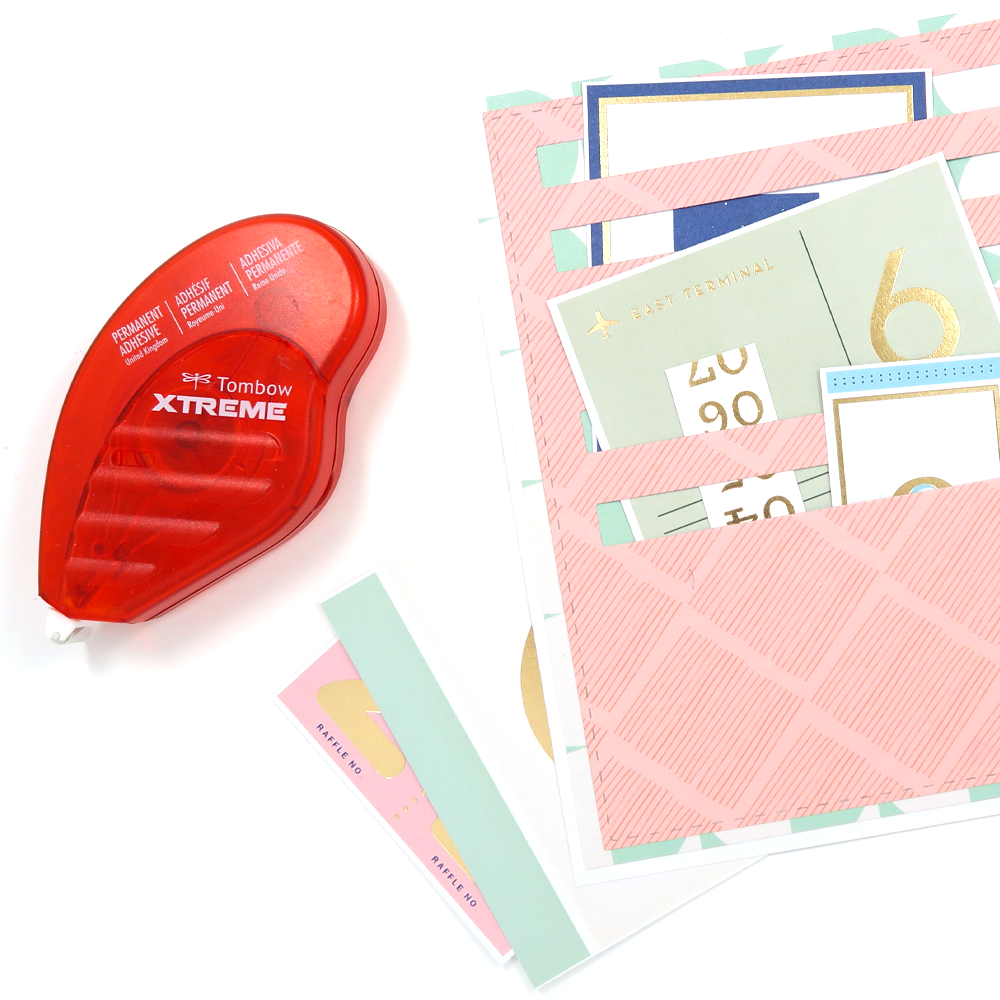
SUPPLIES:
- Slot die (I’ll share a workaround below!)
- Two coordinating 12″x12″ scrapbook papers
- Tombow Xtreme Adhesive
- Ephemera
- Tombow MONO Drawing Pen
- Scissors or paper trimmer
- Bone folder
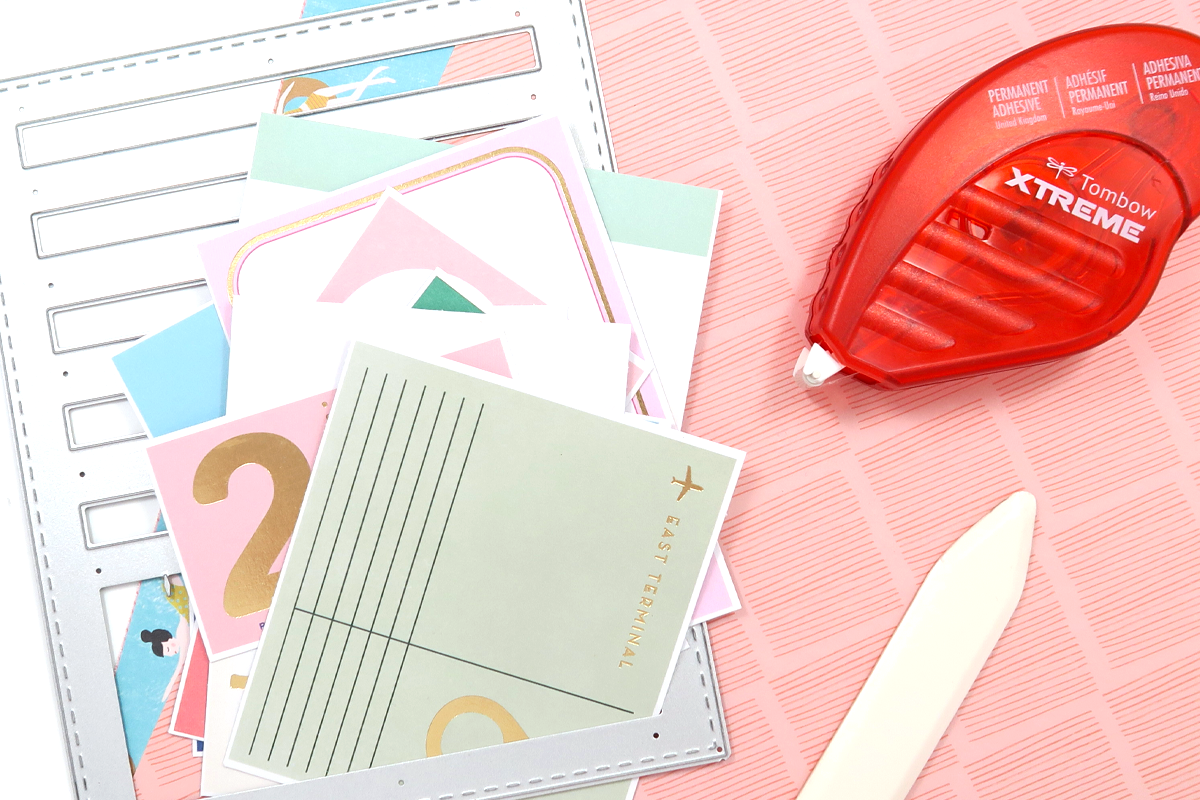
STEP 1
To begin, die cut two slot panel pieces out of a scrapbook paper. For size reference, my die measures 6.75″ tall and 5.5″ wide so I can get two panels out of one sheet of 12″x12″ scrapbook paper.
TIP: If you do not have a slot die, use a ruler and a pencil to sketch in your slots on the back side of the paper. Carefully cut out the slots. The slots on my die measure 4.5″ wide and a little under .5″ high, with a half inch border around the sides.
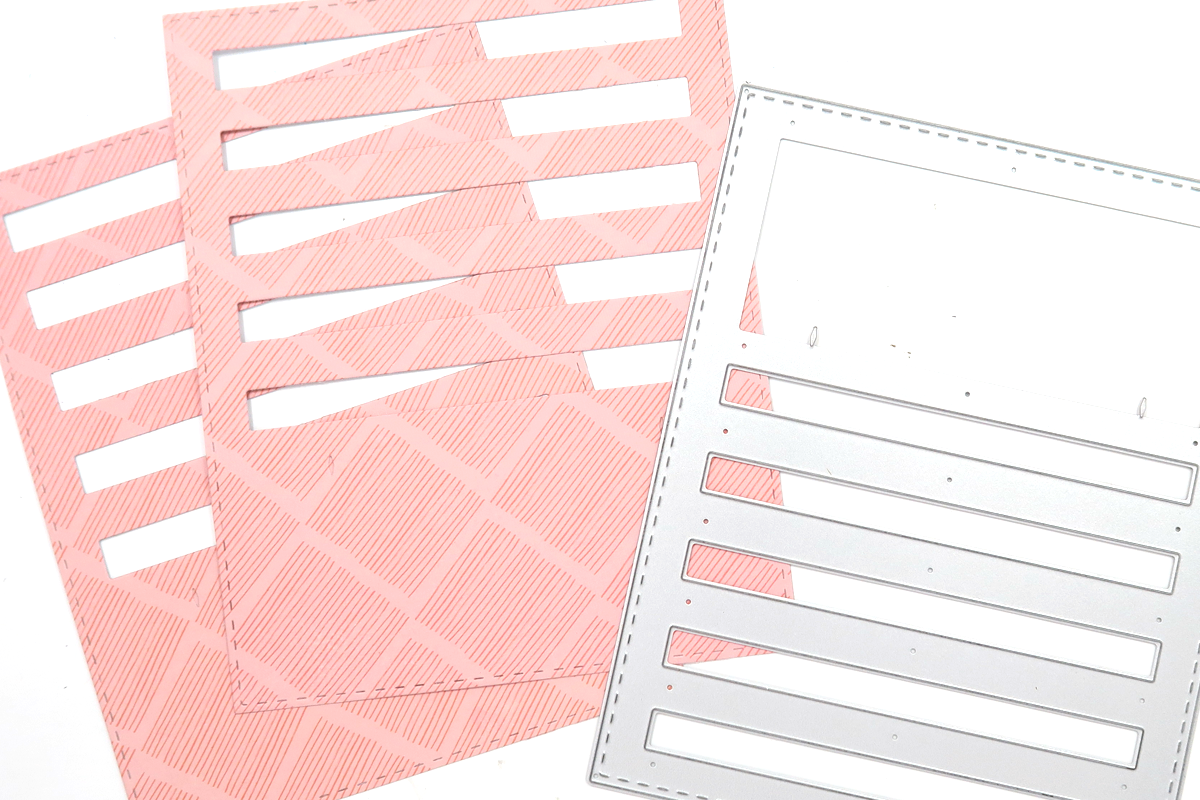
STEP 2
Next, fold the other 12″x12″ scrapbook paper in half so that the fold is oriented vertically. Center a slot panel piece on top of the paper. Make sure to vertically orient it again. Use a Tombow MONO Drawing Pen to mark where to trim off the excess. Then, go ahead and cut. I left a border around mine.
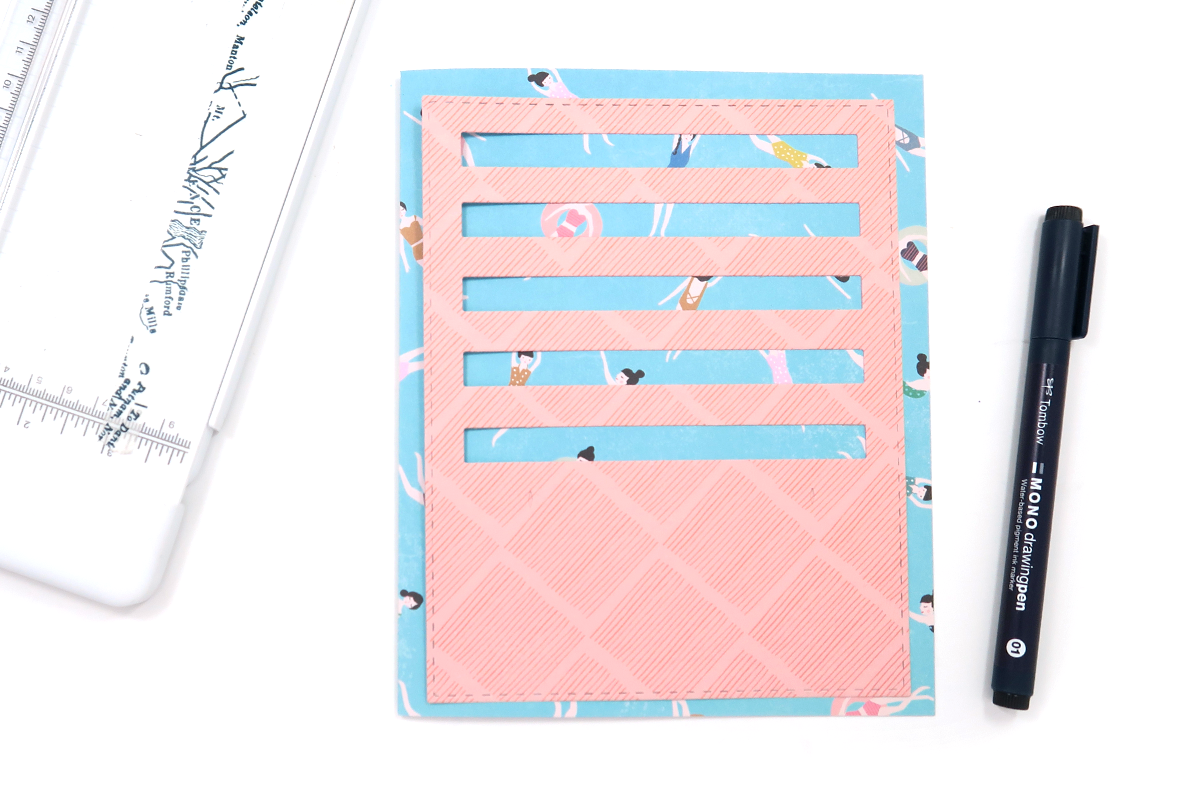
STEP 3
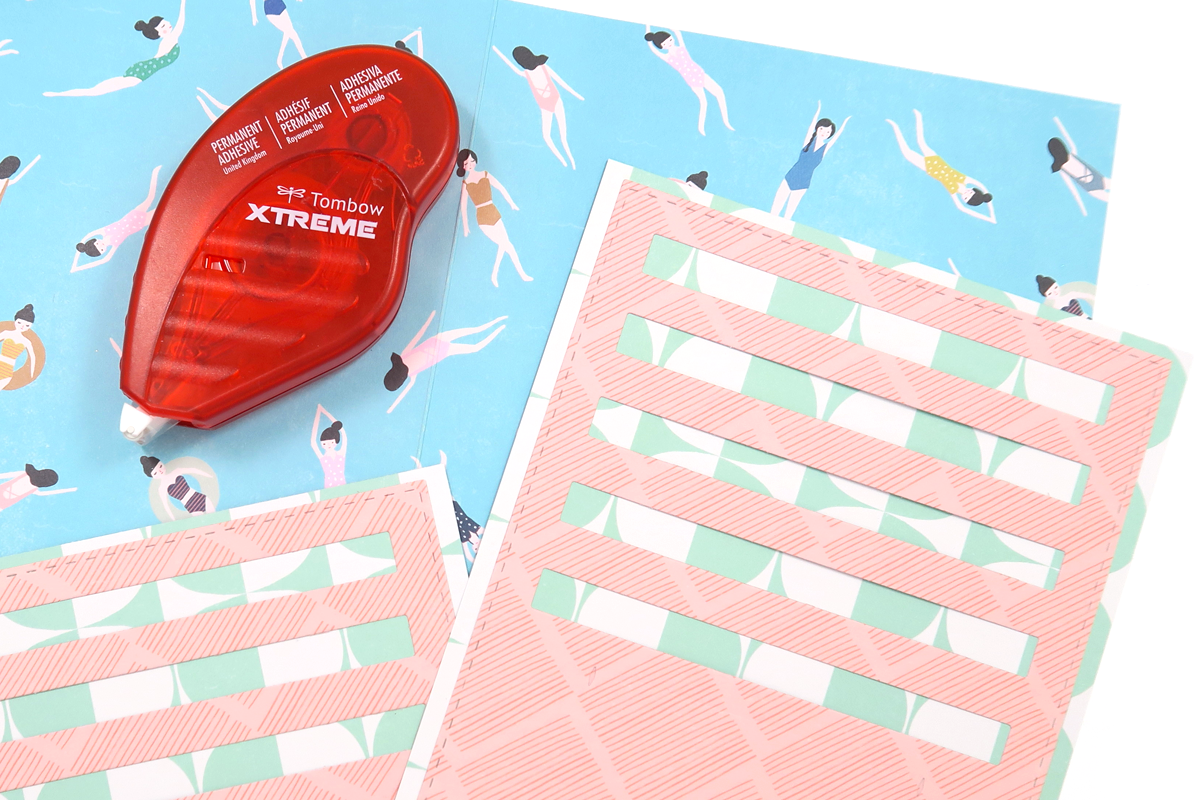
Let’s start assembling! Use Tombow Xtreme Adhesive to glue down the slot panels into your folio. I chose to go an extra step and layered mine over a slightly larger piece of decorative paper for a bit of interest.
STEP 4
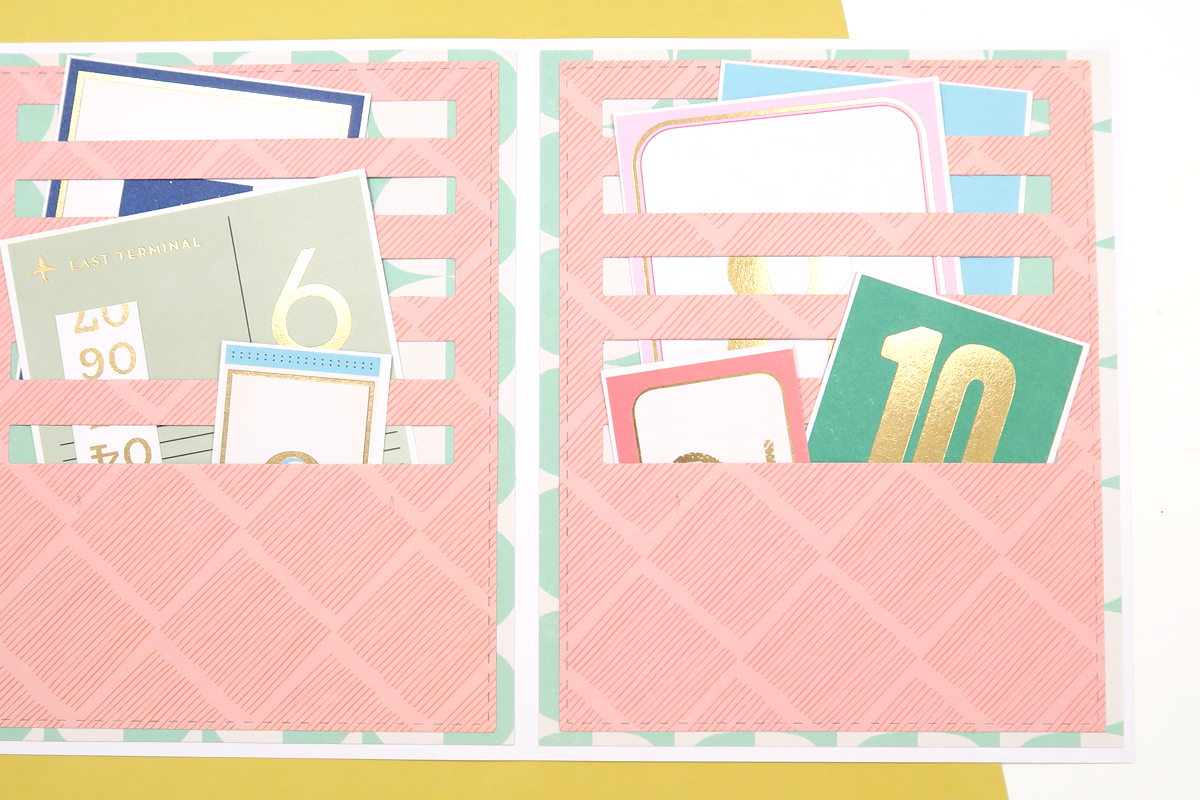
Now, start filling up your ephemera folio! I added some pretty foiled number cut-aparts to mine. I’m thinking I’ll write down a few reasons why I think my friend is awesome on the back. As she goes through different goodies, she will be happily surprised!
STEP 5
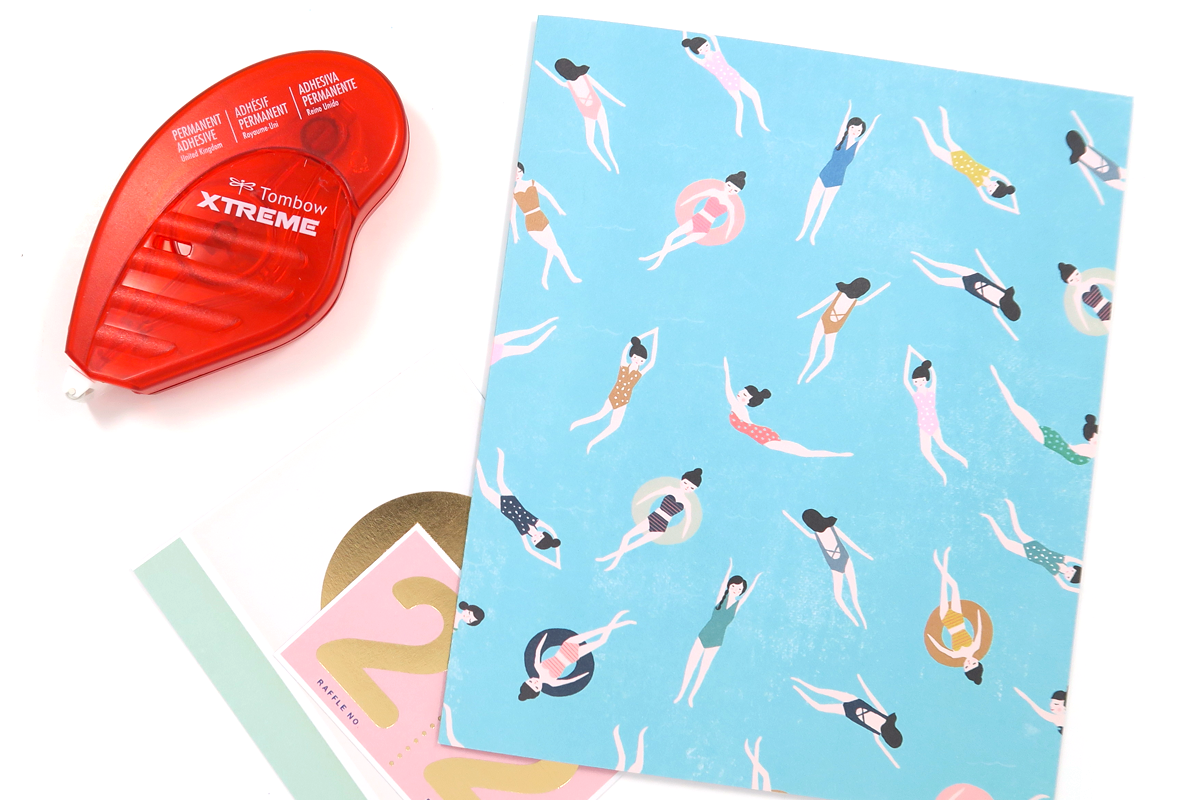
The last step is to decorate! Help a girl out – what would you put on the front of this ephemera folio? Leave me your ideas in the comments and I’ll try one! You can always bet that when decorating happy mail, I always use the Tombow Xtreme Adhesive. I like to make sure things stay put together through the mail!
This happy mail tutorial was super easy, right?! Thank you so much for following along with my tutorial today! Please tag @popfizzpaper if you give it a try. I would love to see! For more tutorials like this, make sure to check out my Crafty Club for more fun ideas and to register for Crafty Camp (my online summer camp for creative grownups)! I will see you next time!