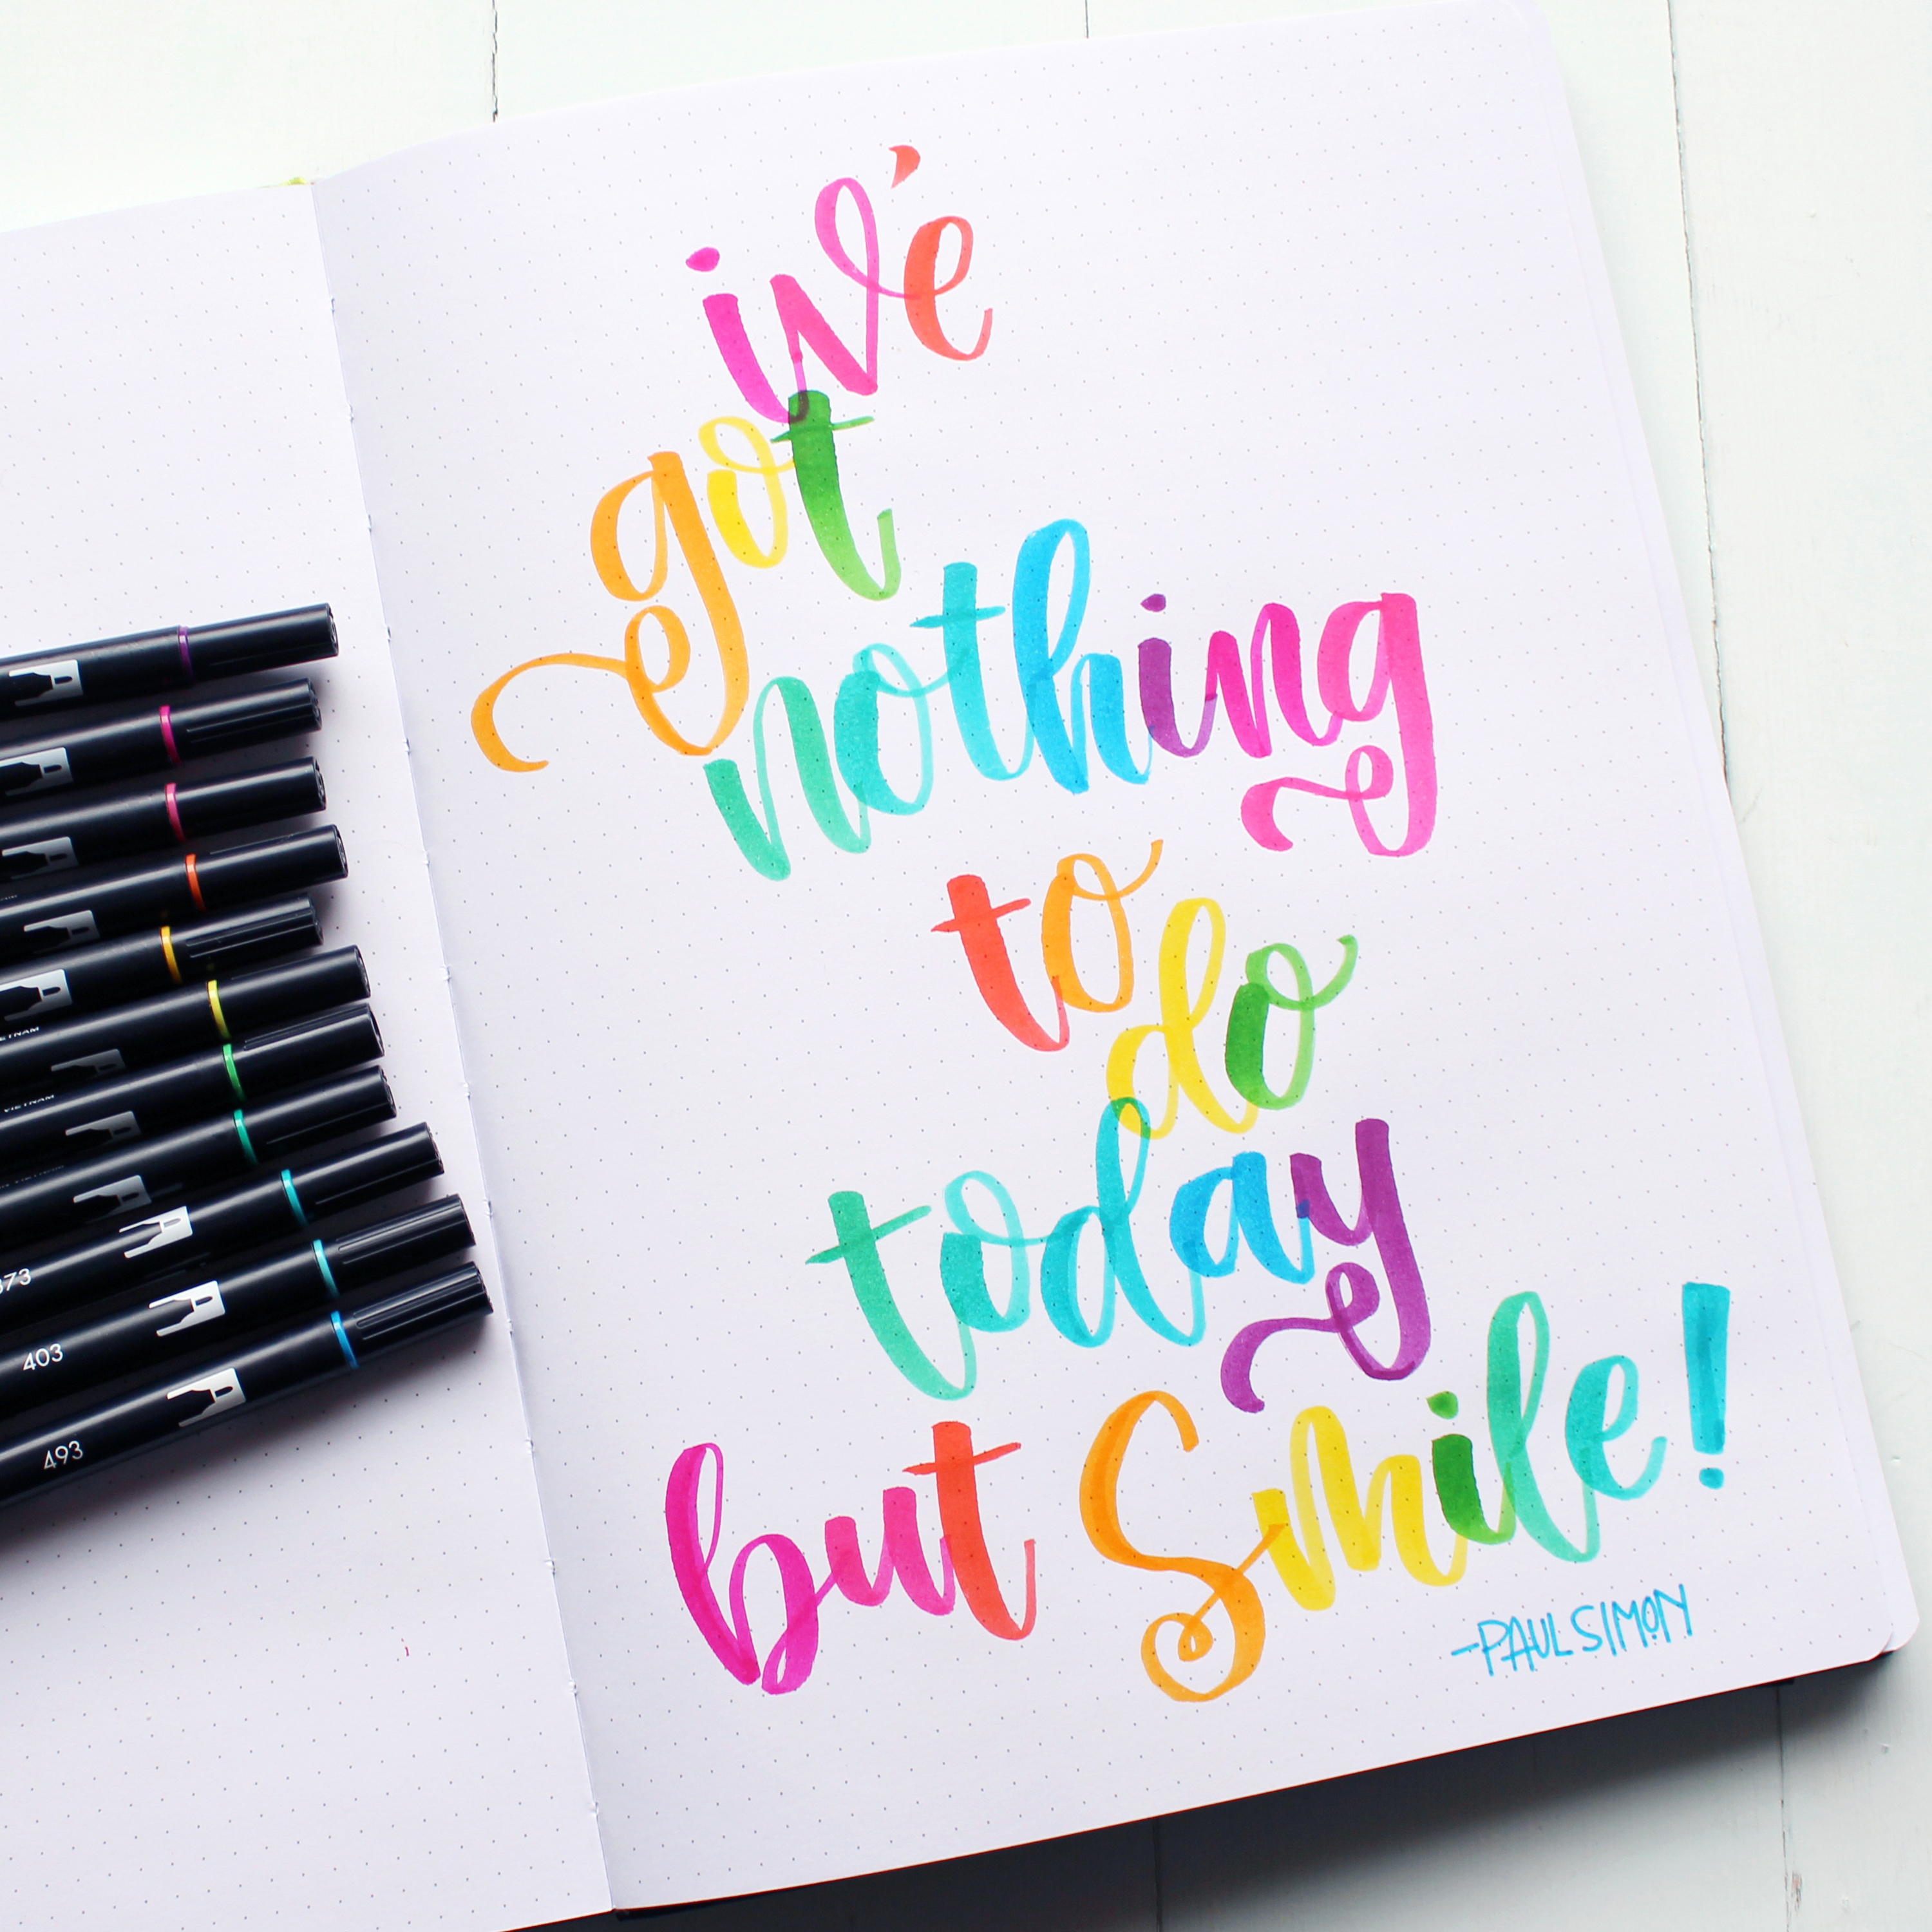
Rainbow Lettering with Dual Brush Pens in Passion Planner
Hi friends, it’s Natalie from Doodlecraft! Today, I’m sharing a quick rainbow lettering tutorial using Dual Brush Pens. I’m using the dotted pages in the back of my Passion Planner. Rainbow Lettering is bright and beautiful using Tombow Dual Brush Pens.
Confession: When it comes to scheduling, I’m not very organized. One of my goals for this year is to get more organized. I am doing it with the help of Passion Planner. I got the large size of the undated yearly planners. It’s got full calendar grids and then breaks them up into weekly spreads. It’s awesome and makes a great life tracker or journal too.
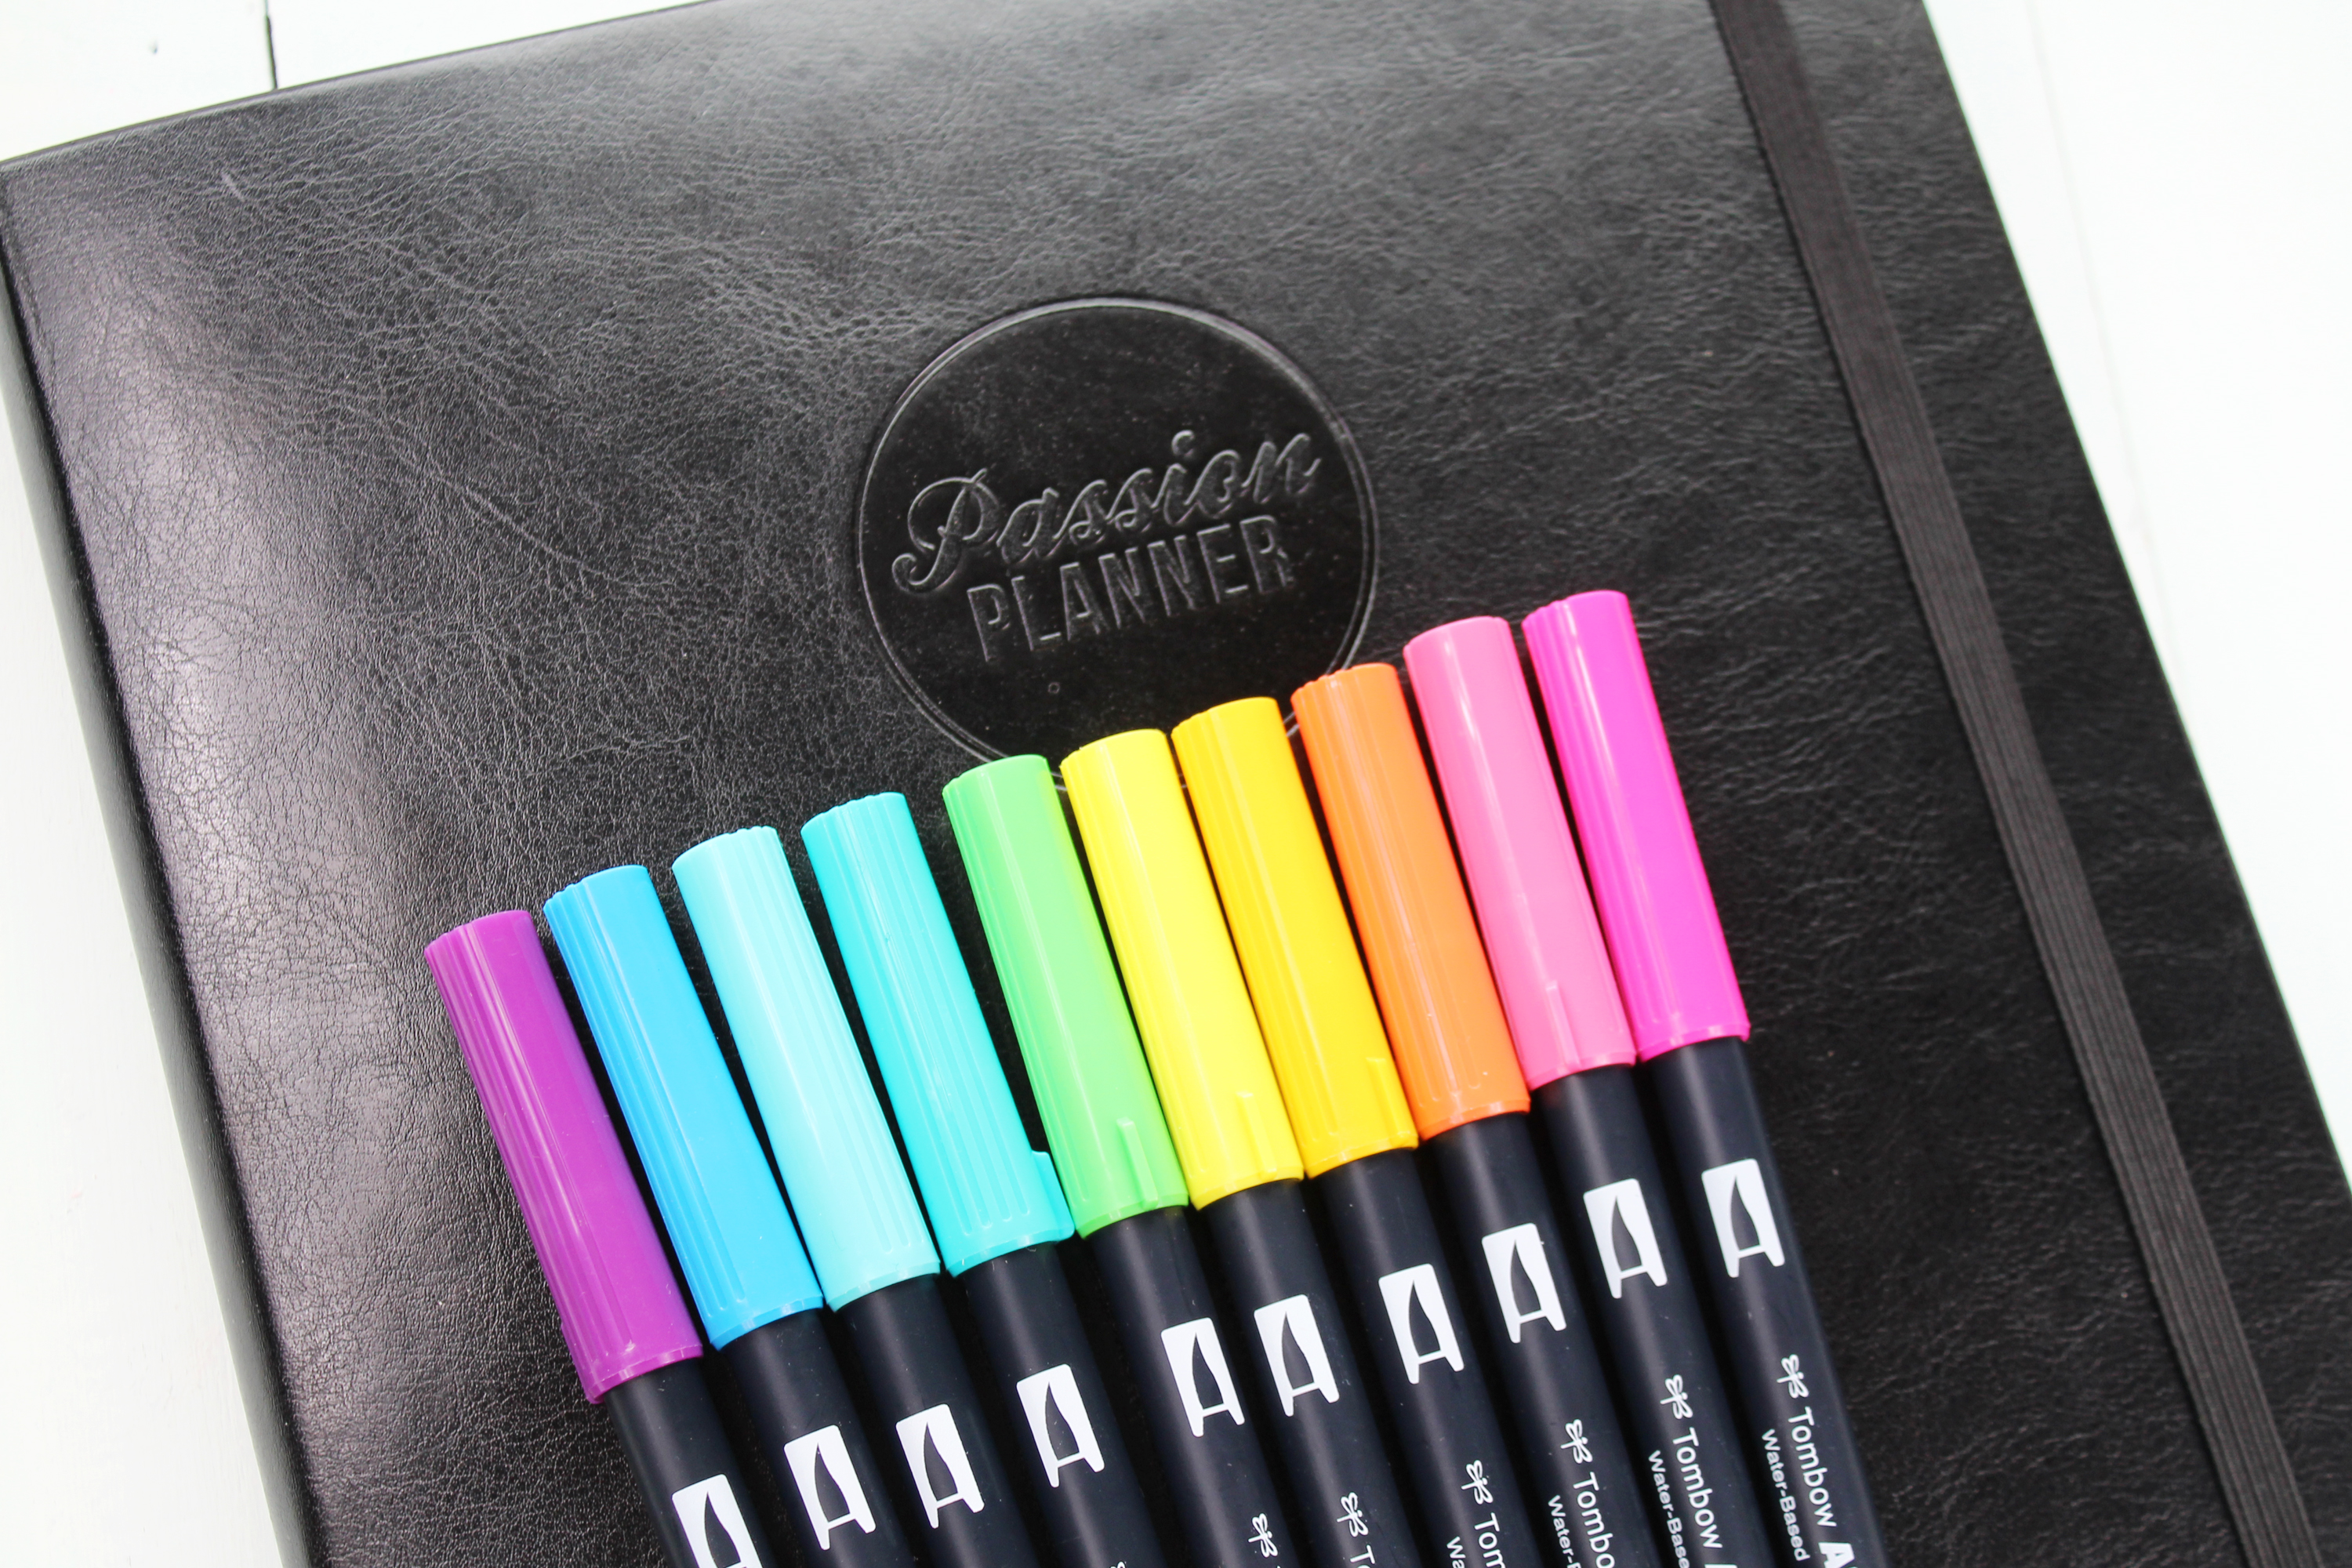
Supplies Needed:
Tombow Dual Brush Pens (in various colors or a Bright 10- Pack)
Cool quote: “I’ve got nothing to do today but smile!” -Paul Simon.
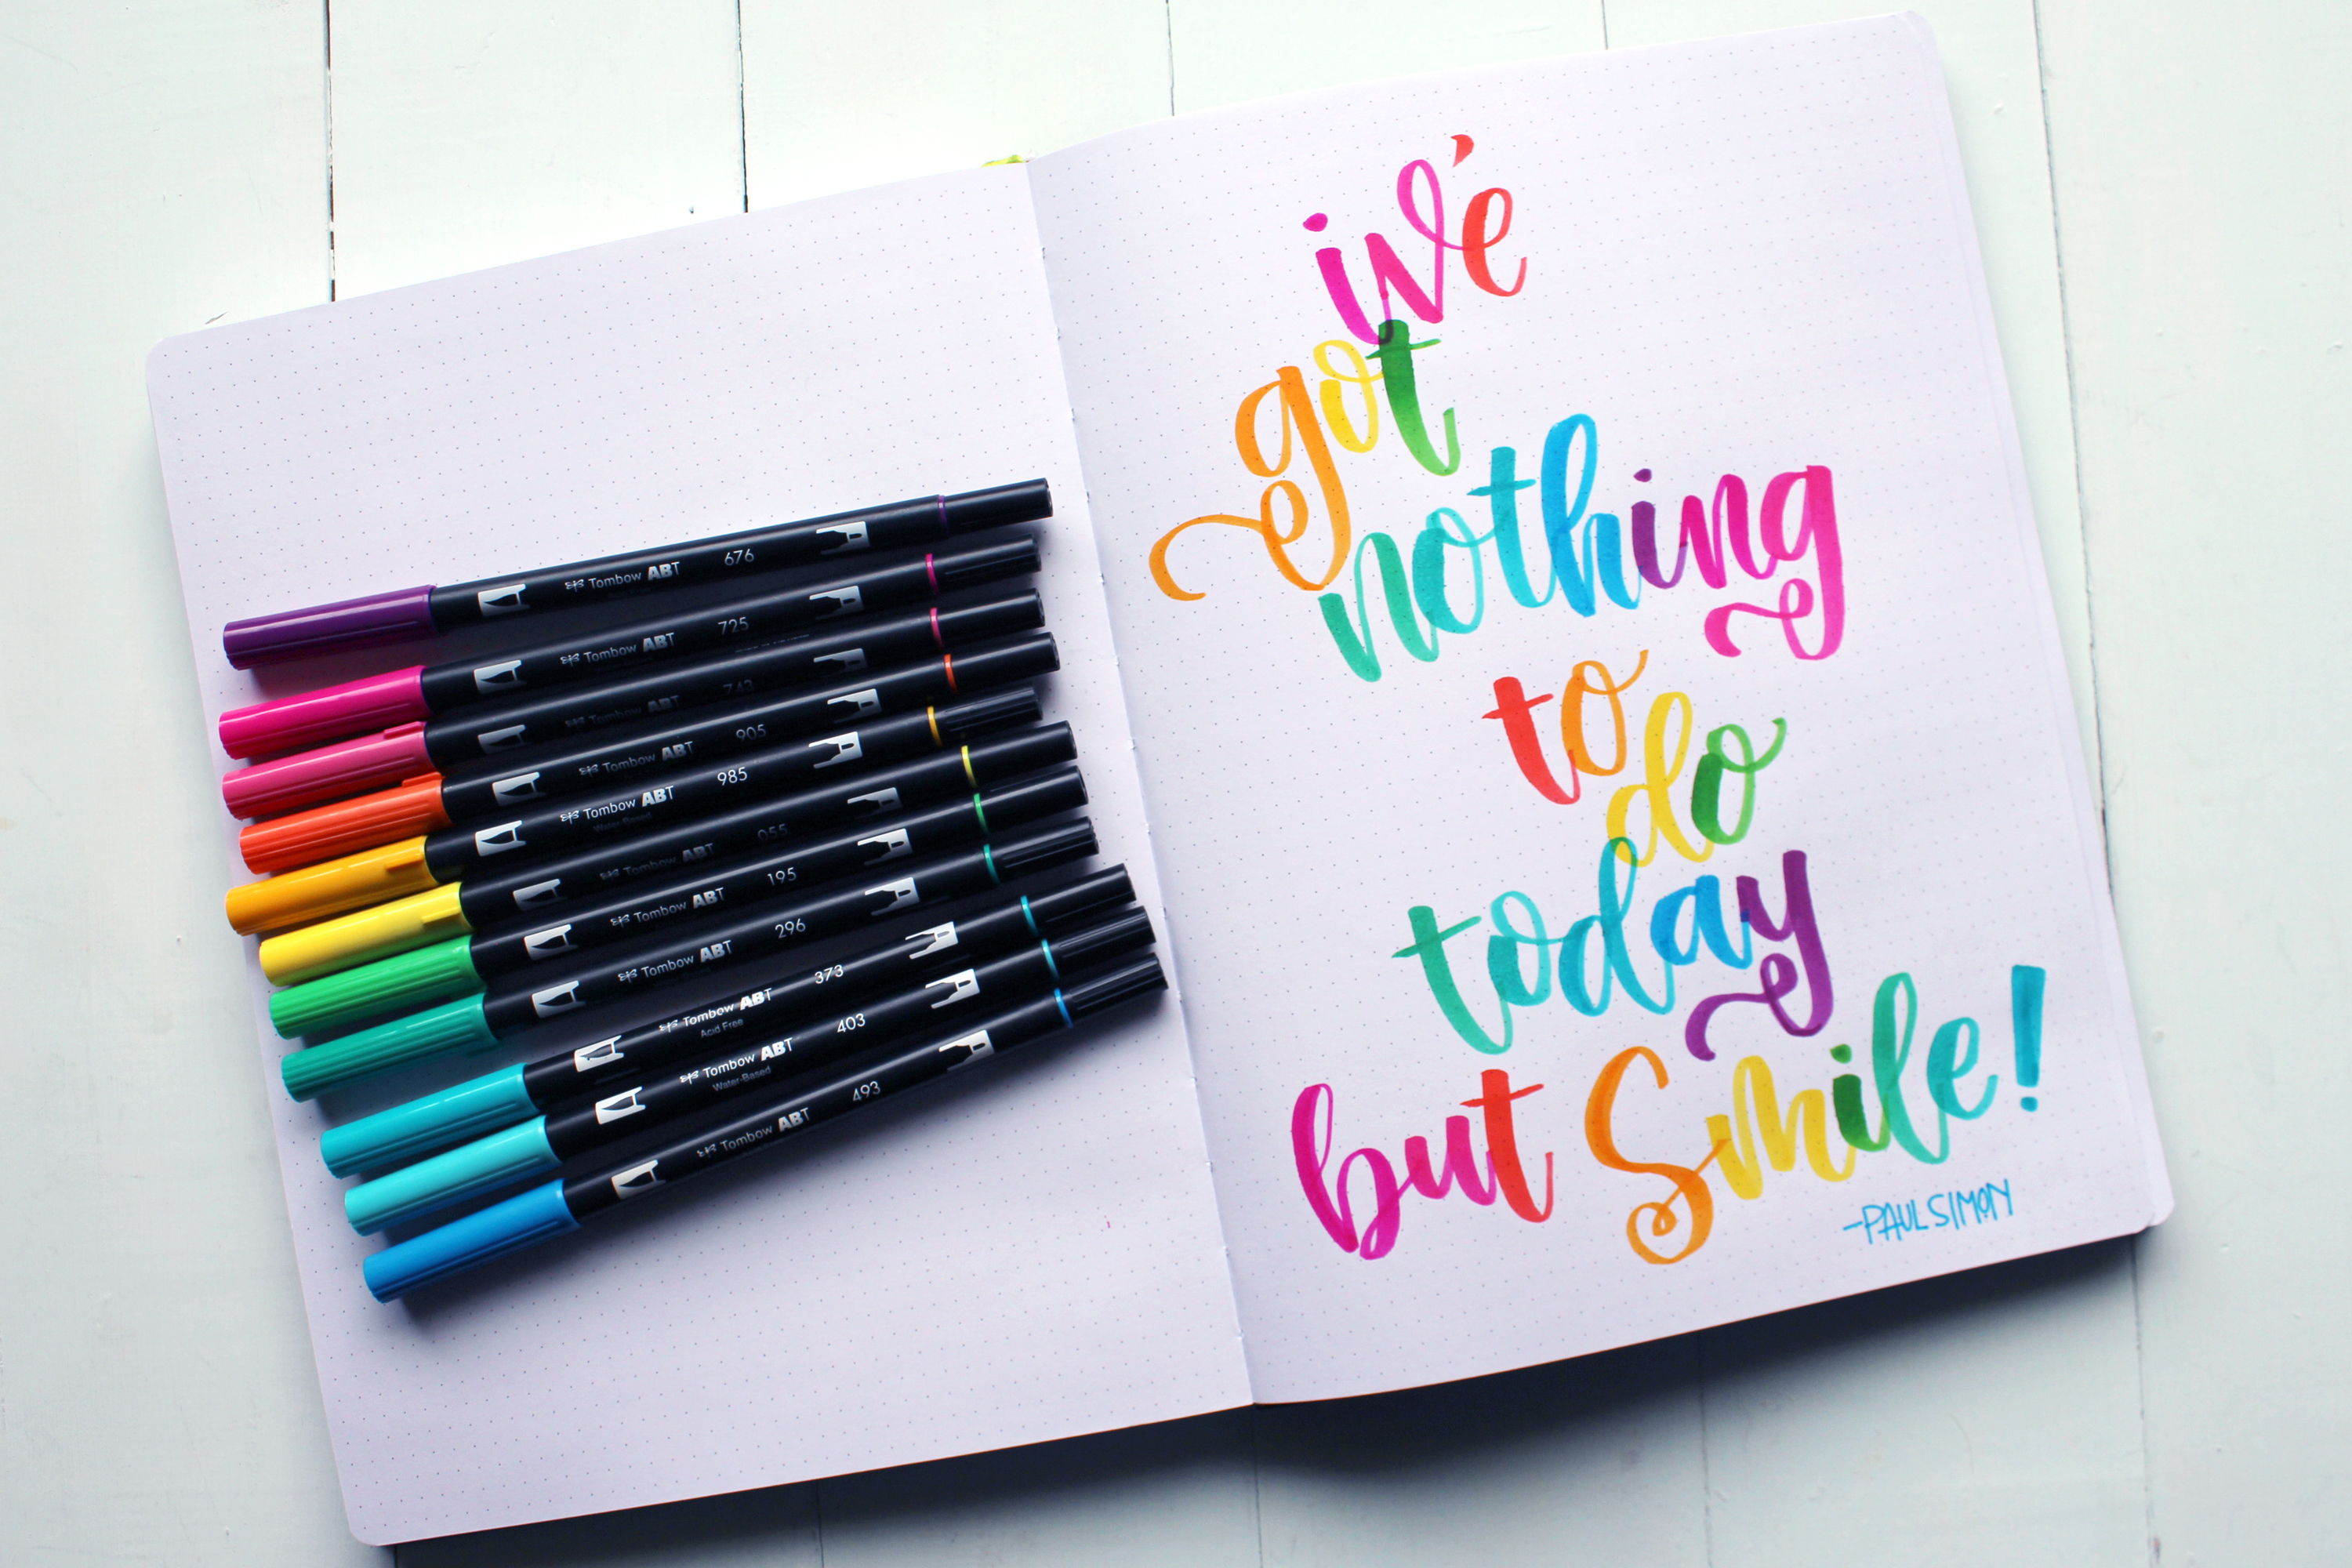
In the back section of this Passion Planner is blank pages and dotted pages. I love this addition to the planner. There is room for lists, thoughts, art, etc.

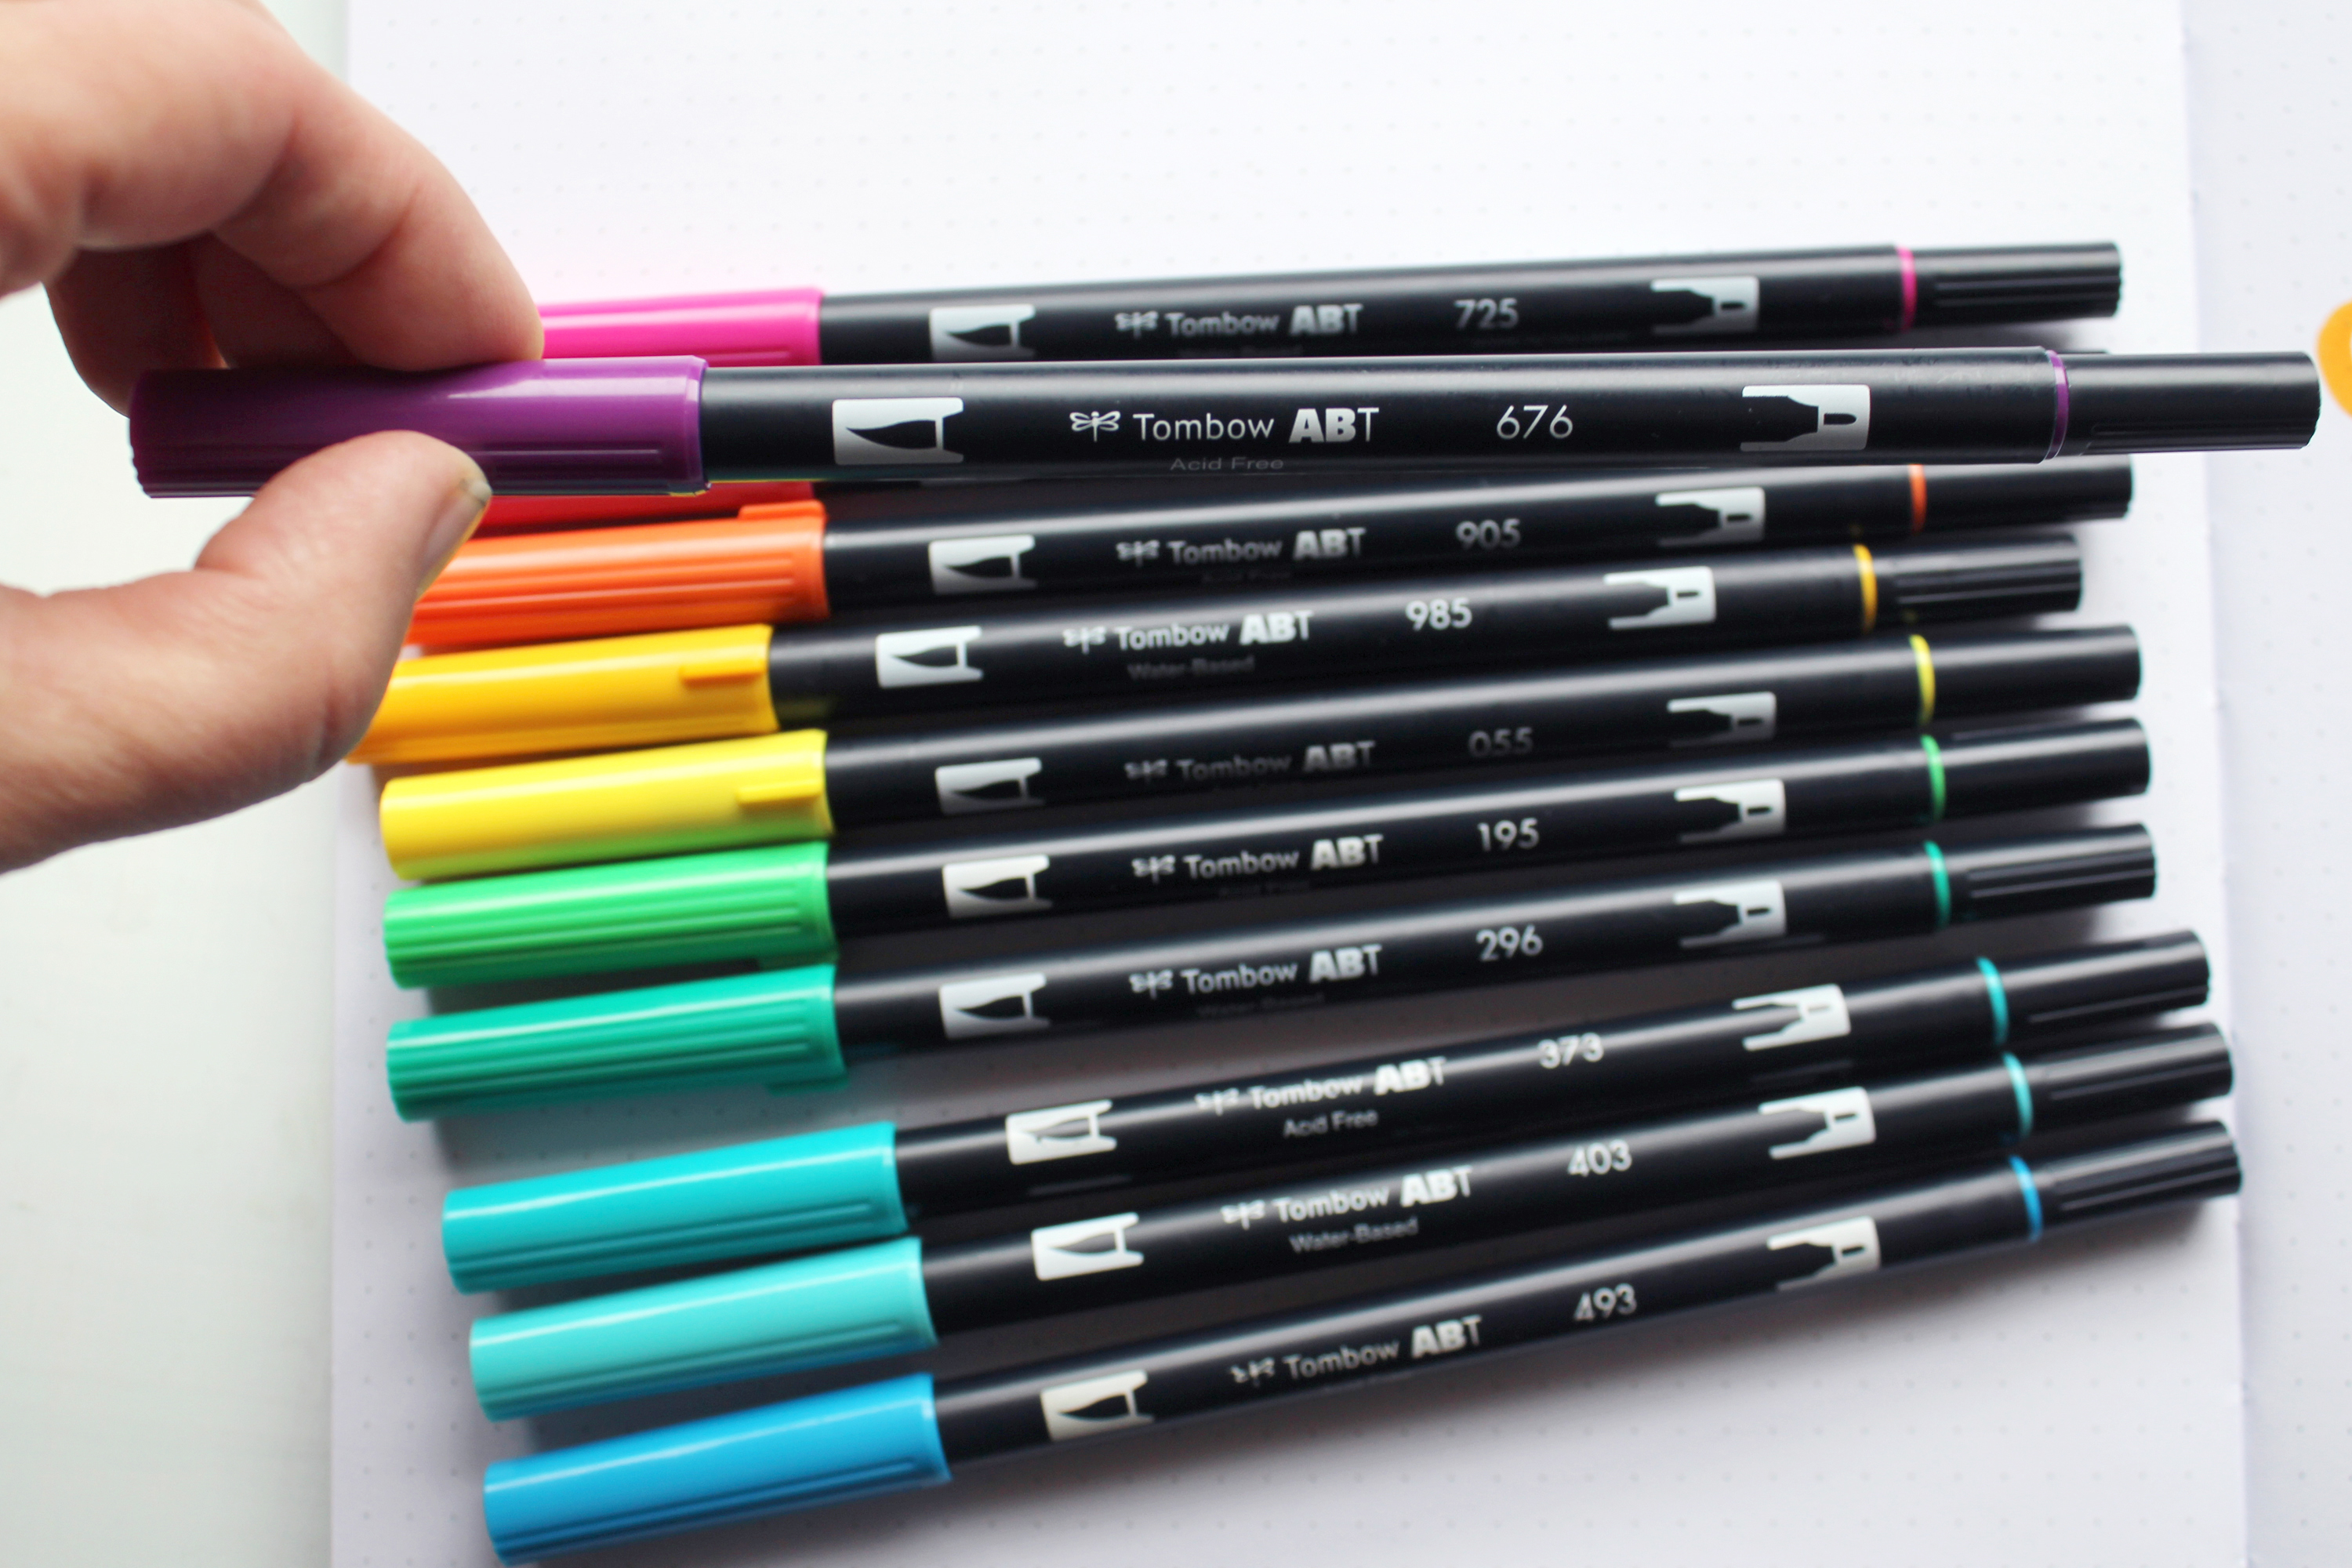
Begin by organizing the Dual Brush Pens in the color order you desire. I always pick a rainbow order because the colors blend and work together nicely.
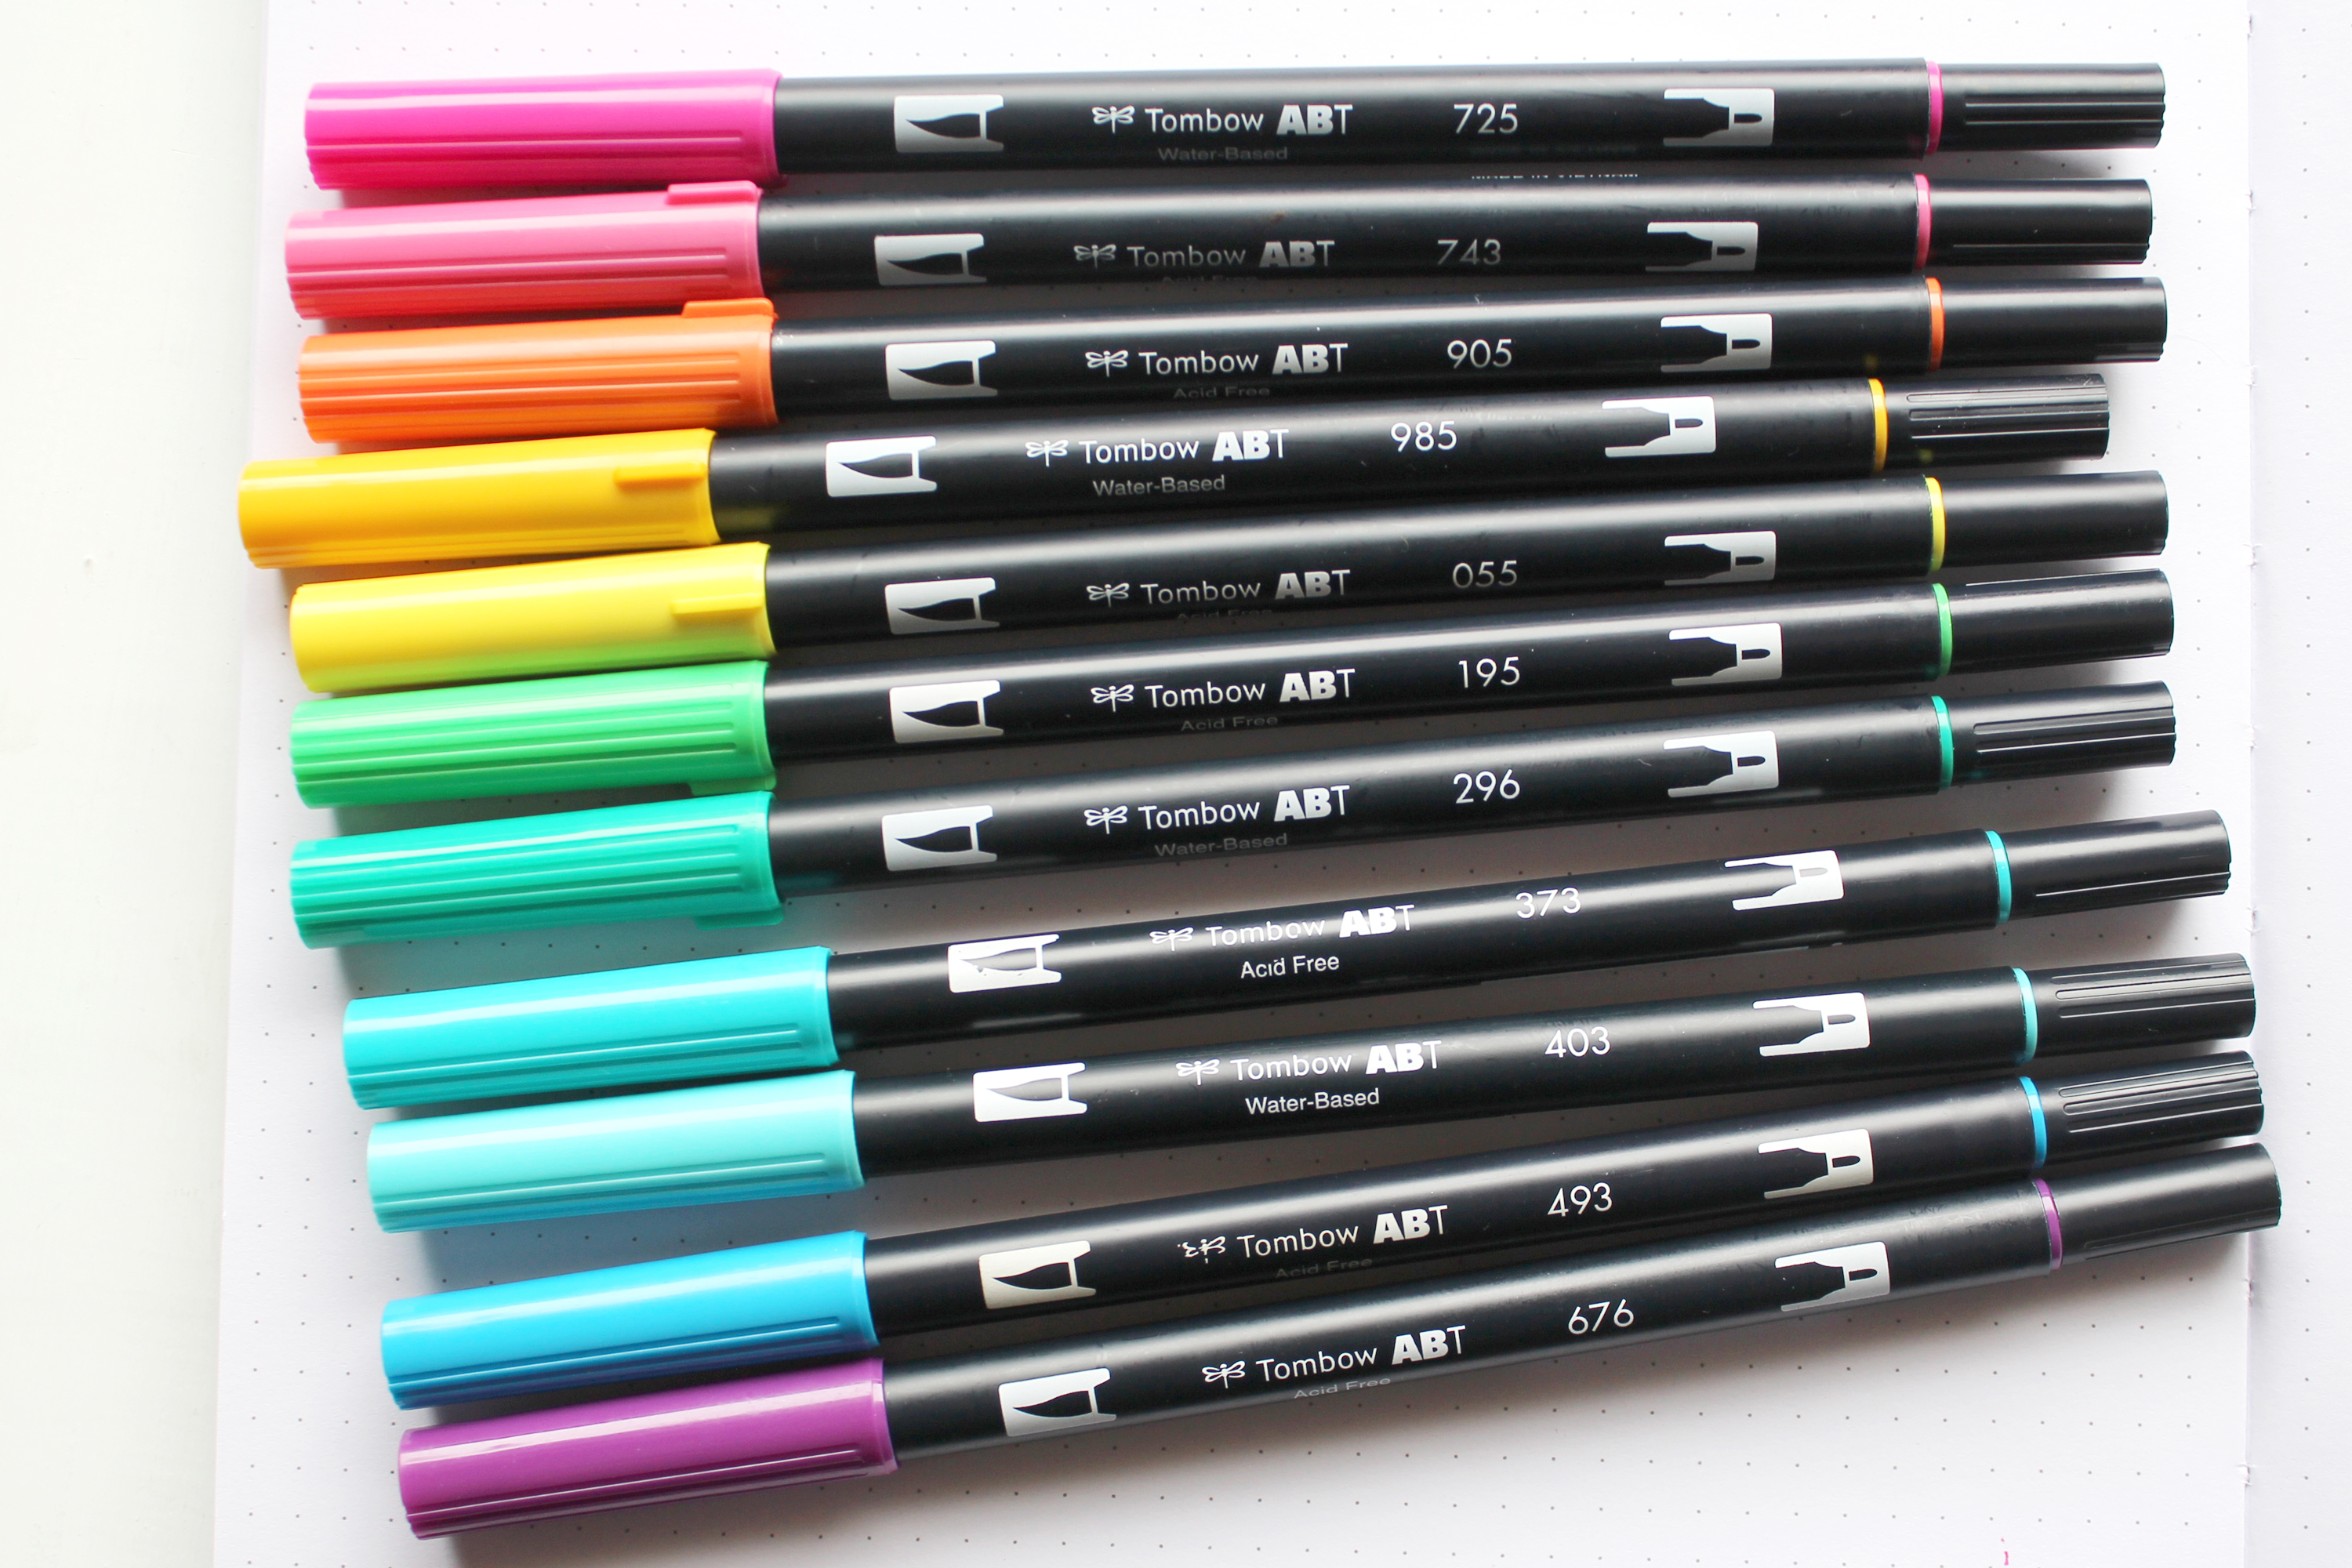
Starting with the top marker in your pile, draw the first letter. I have the hardest time with capital I’s, so I always go with a lowercase. If you are new to hand lettering, get the FREE Lettering Worksheets from Tombow to get started.
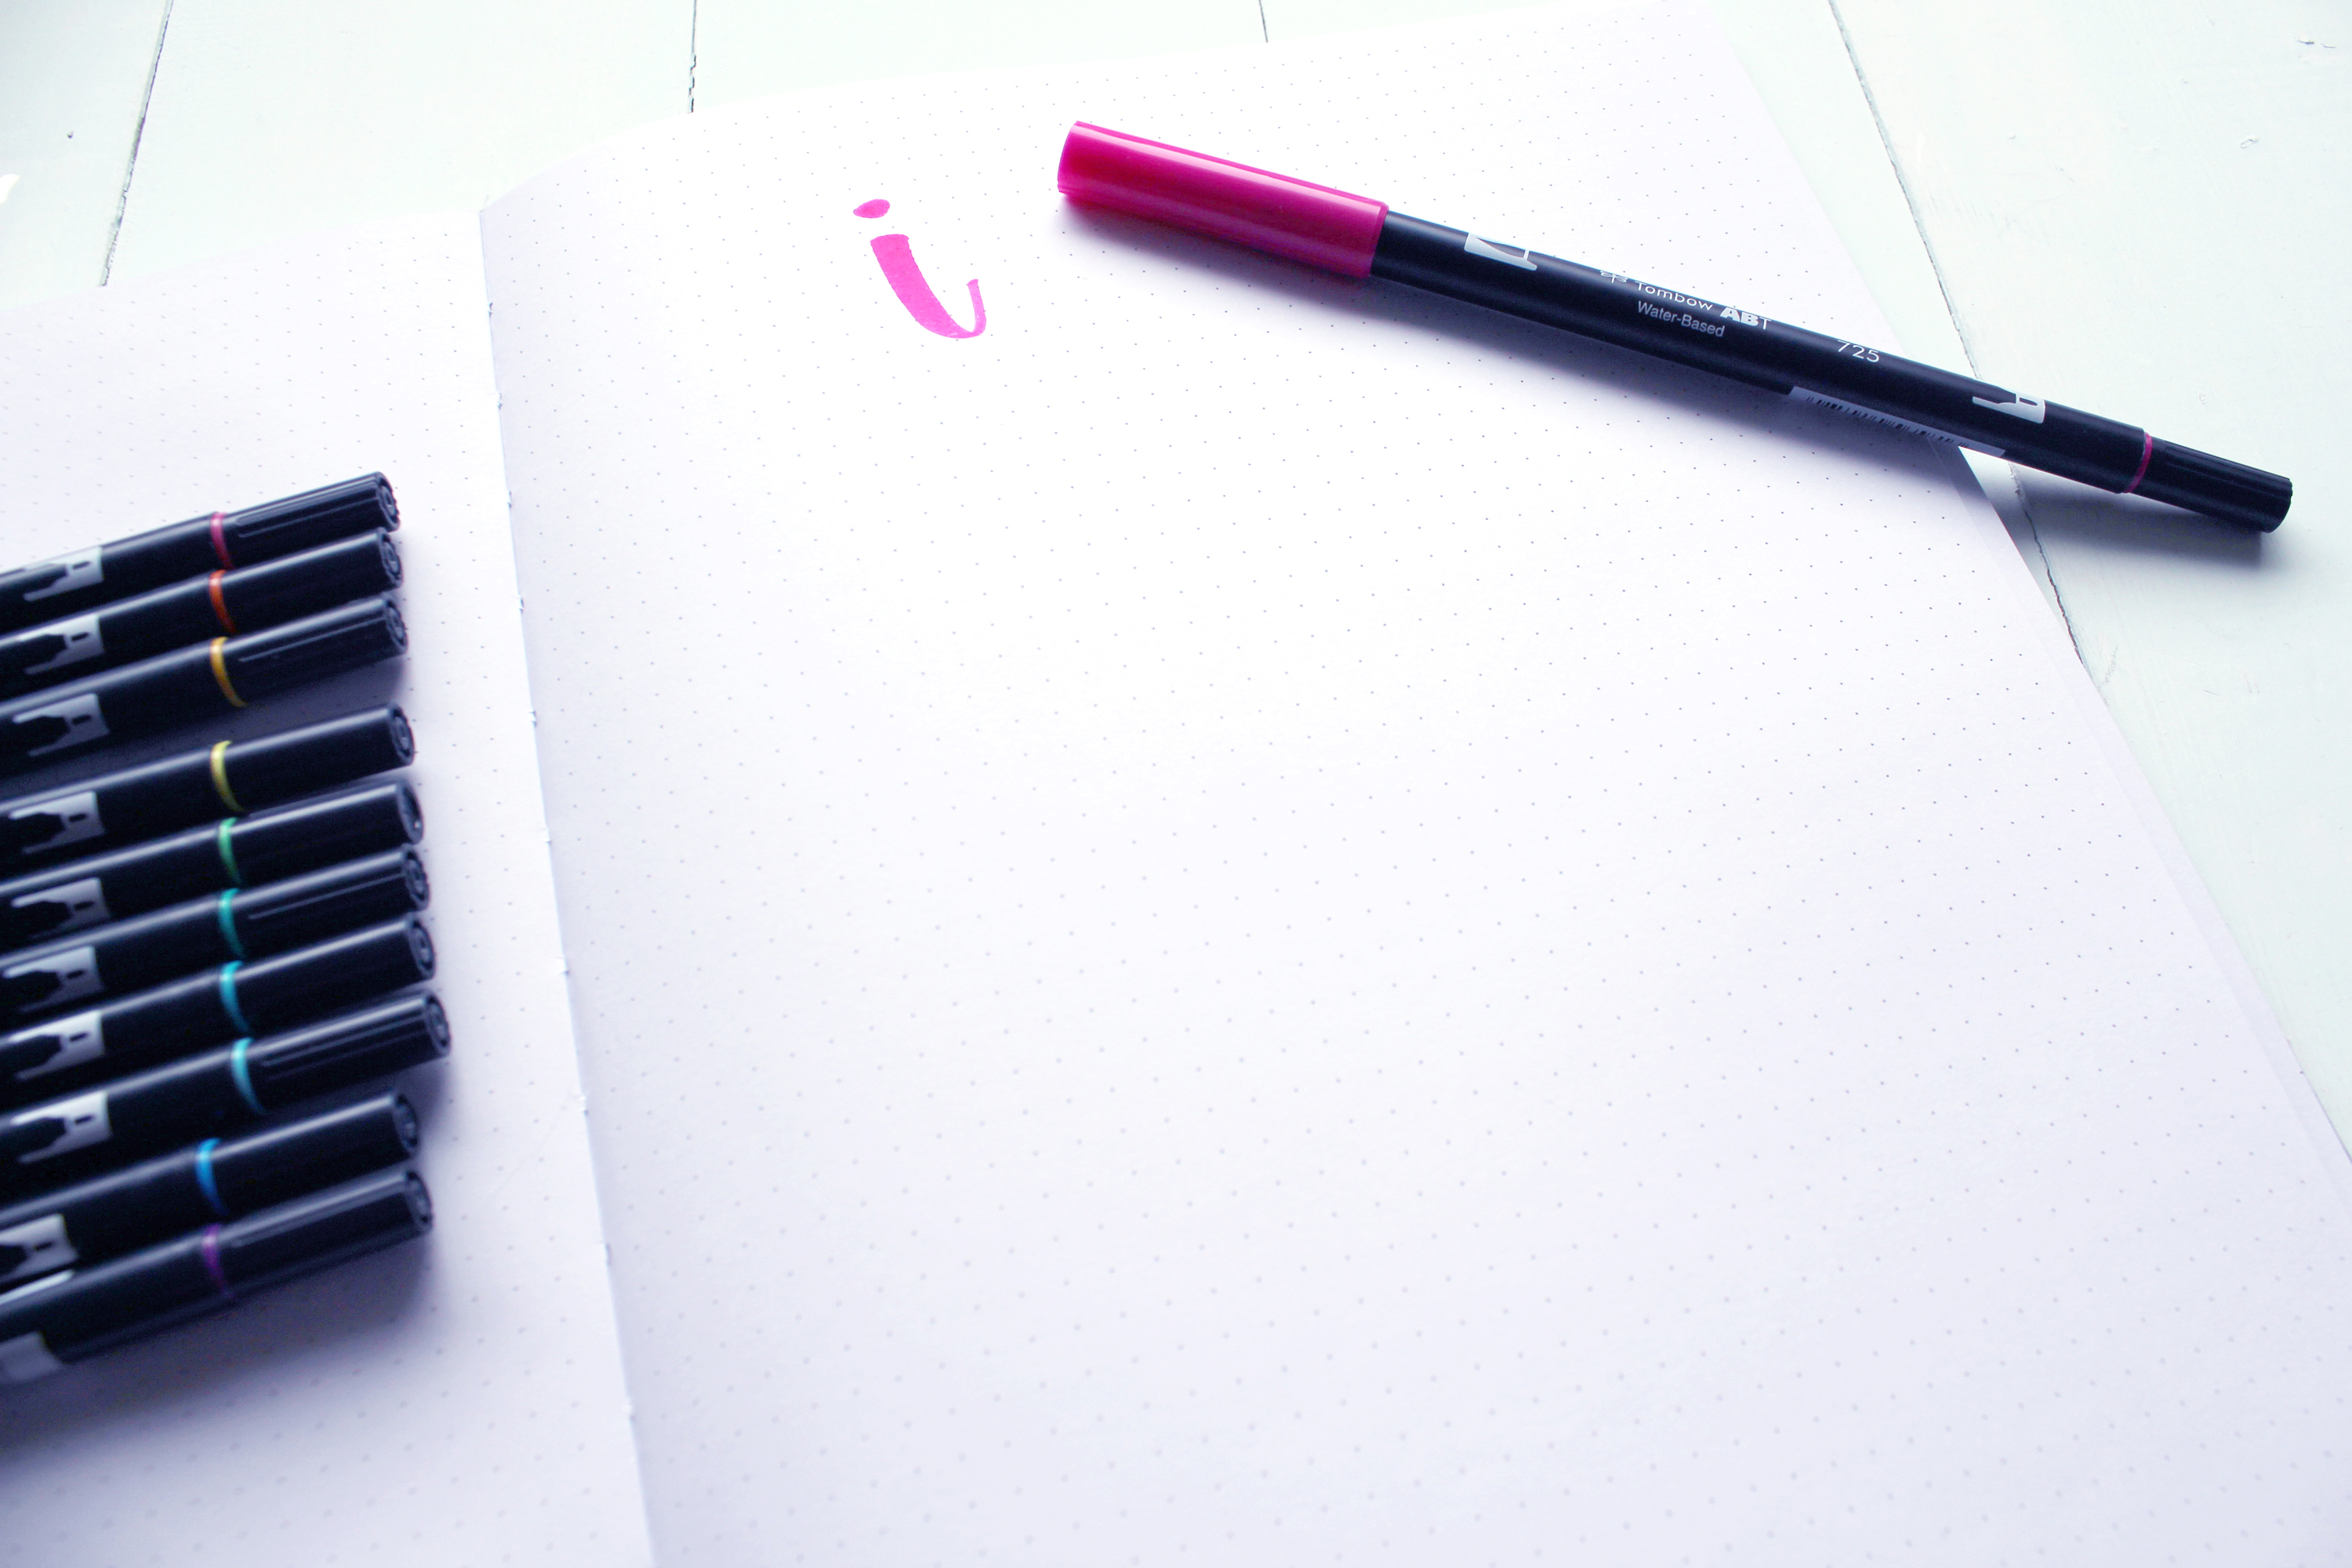
Place the Dual Brush Pen at the bottom of the row and take the next one off the top. Add the next letter and move onto the next color. Don’t worry if the letters overlap. It’s a fun effect with the rainbow lettering.
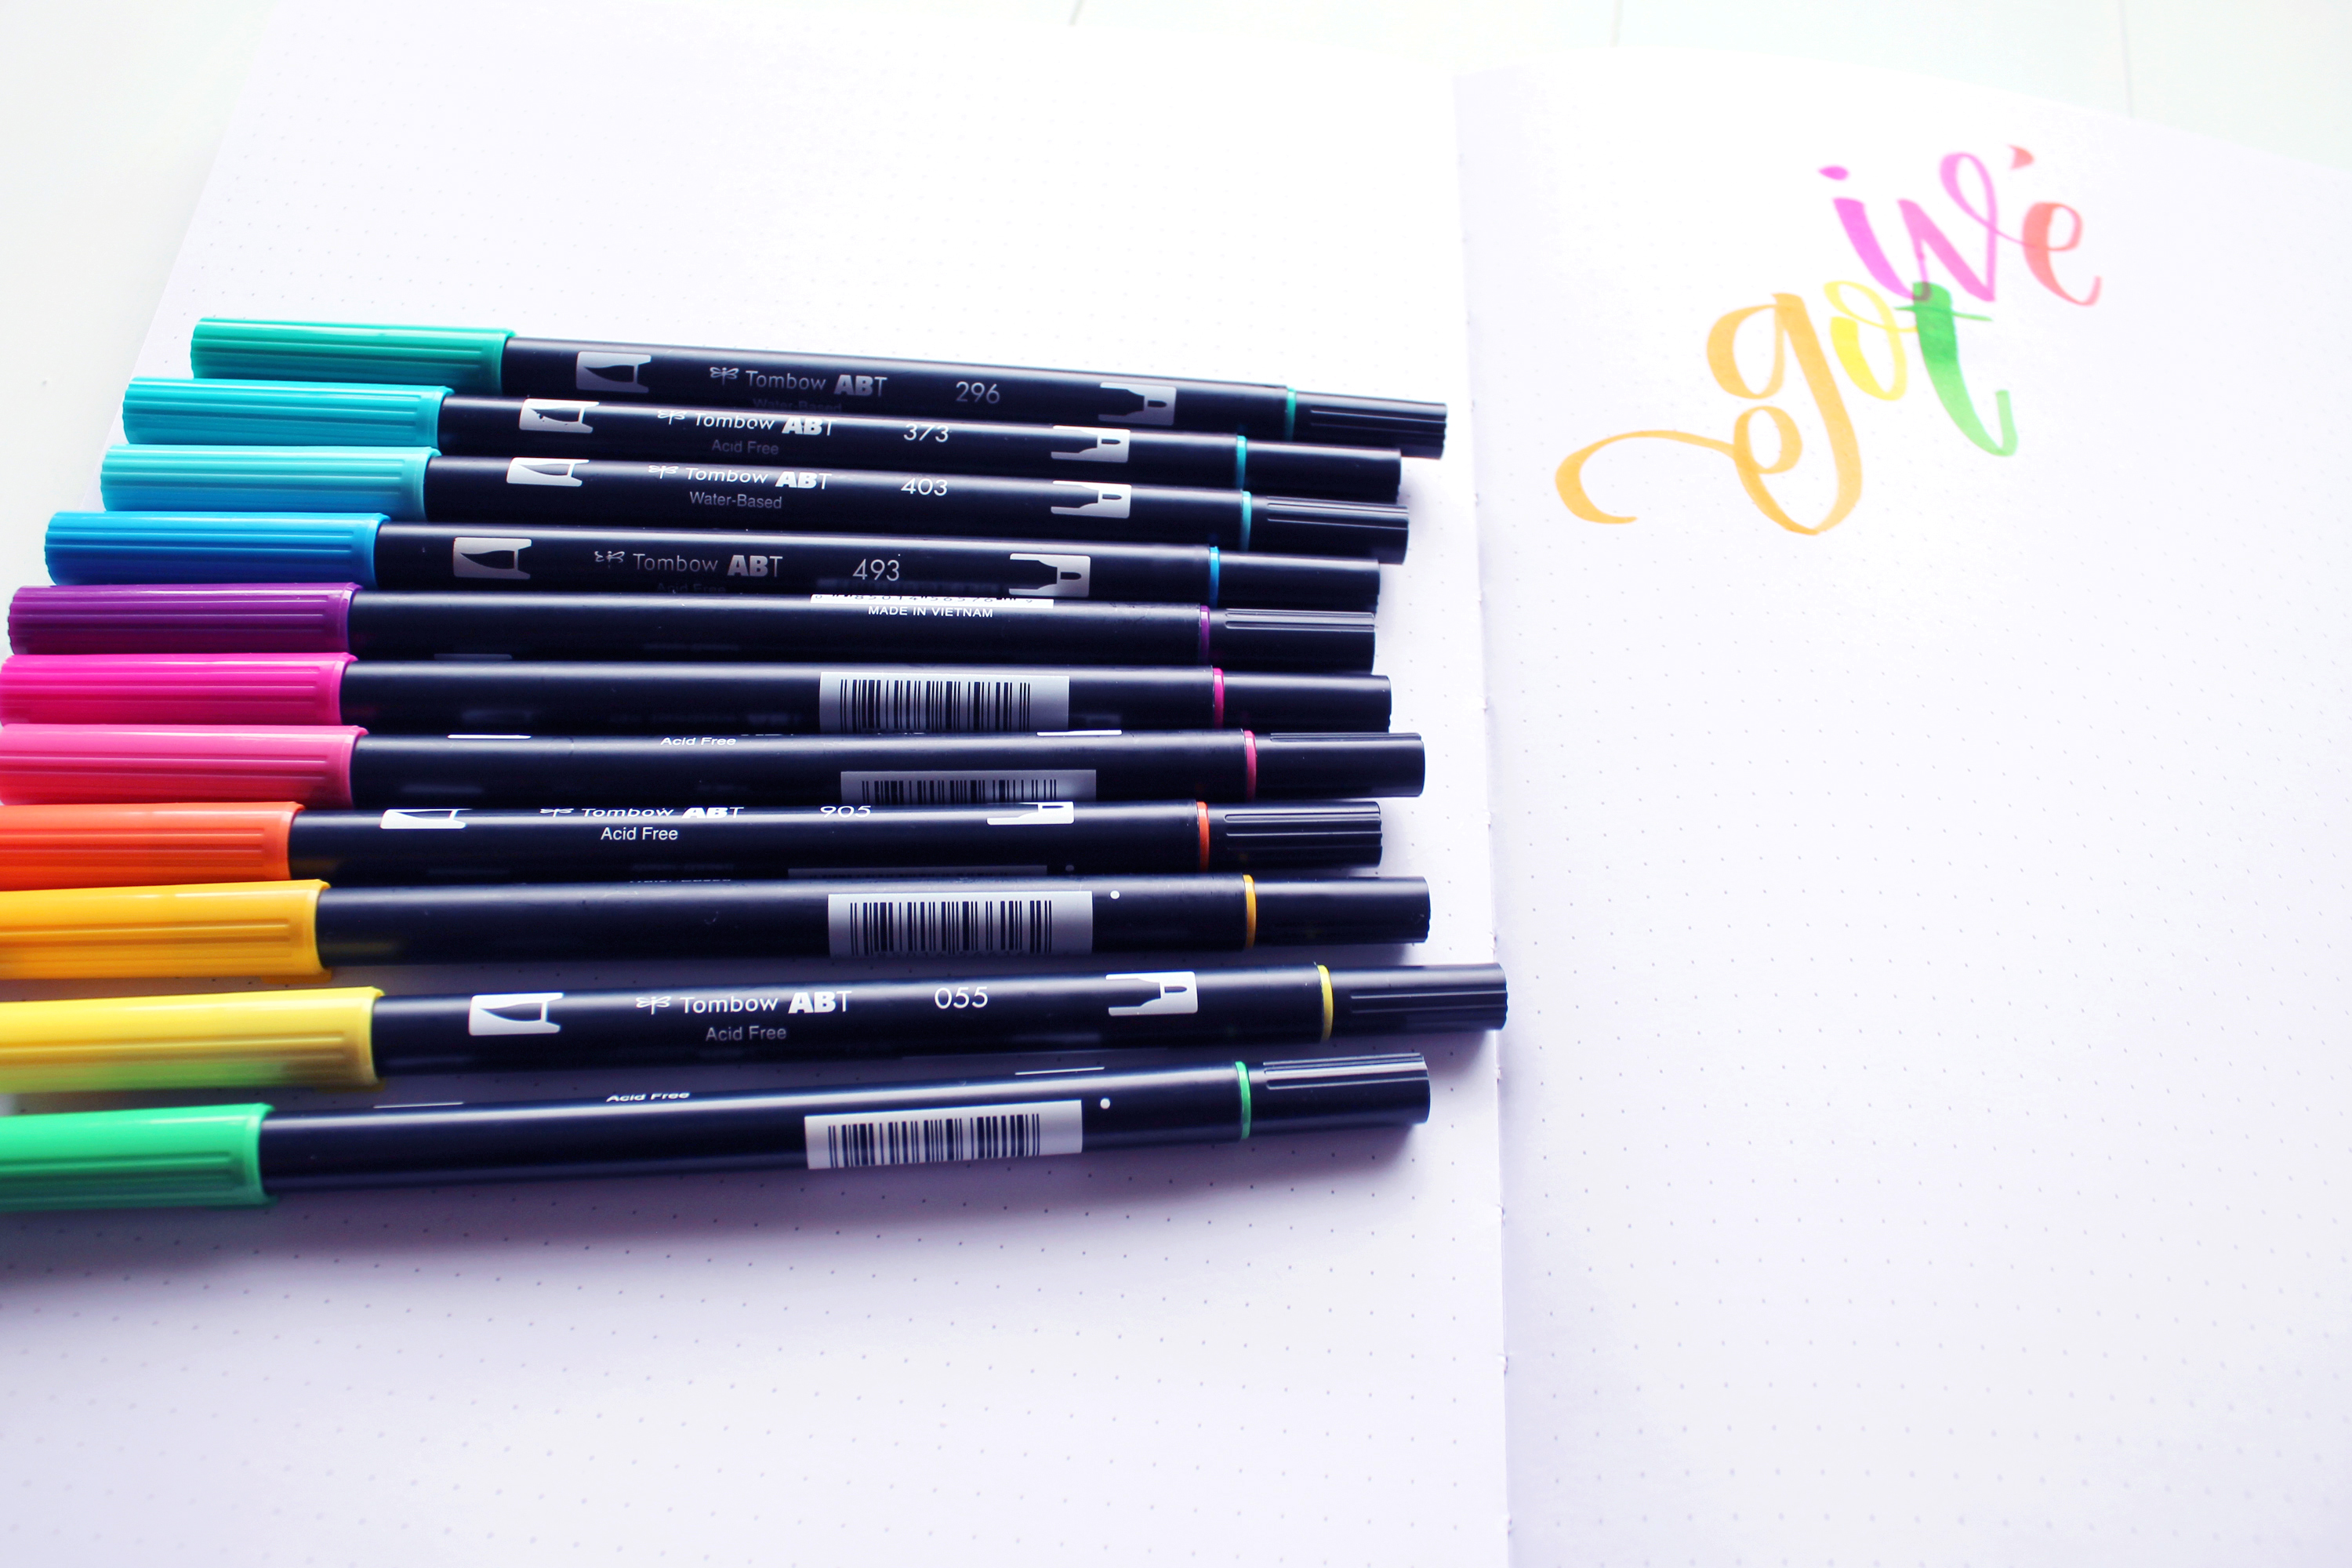
Continue this process of one letter per color until the script is written out. This sounds labor intensive, but it actually goes pretty quick.
Use the fine tip of the Dual Brush Pen to add the author name at the bottom. I love how colorful the rainbow lettering on this piece turned out.
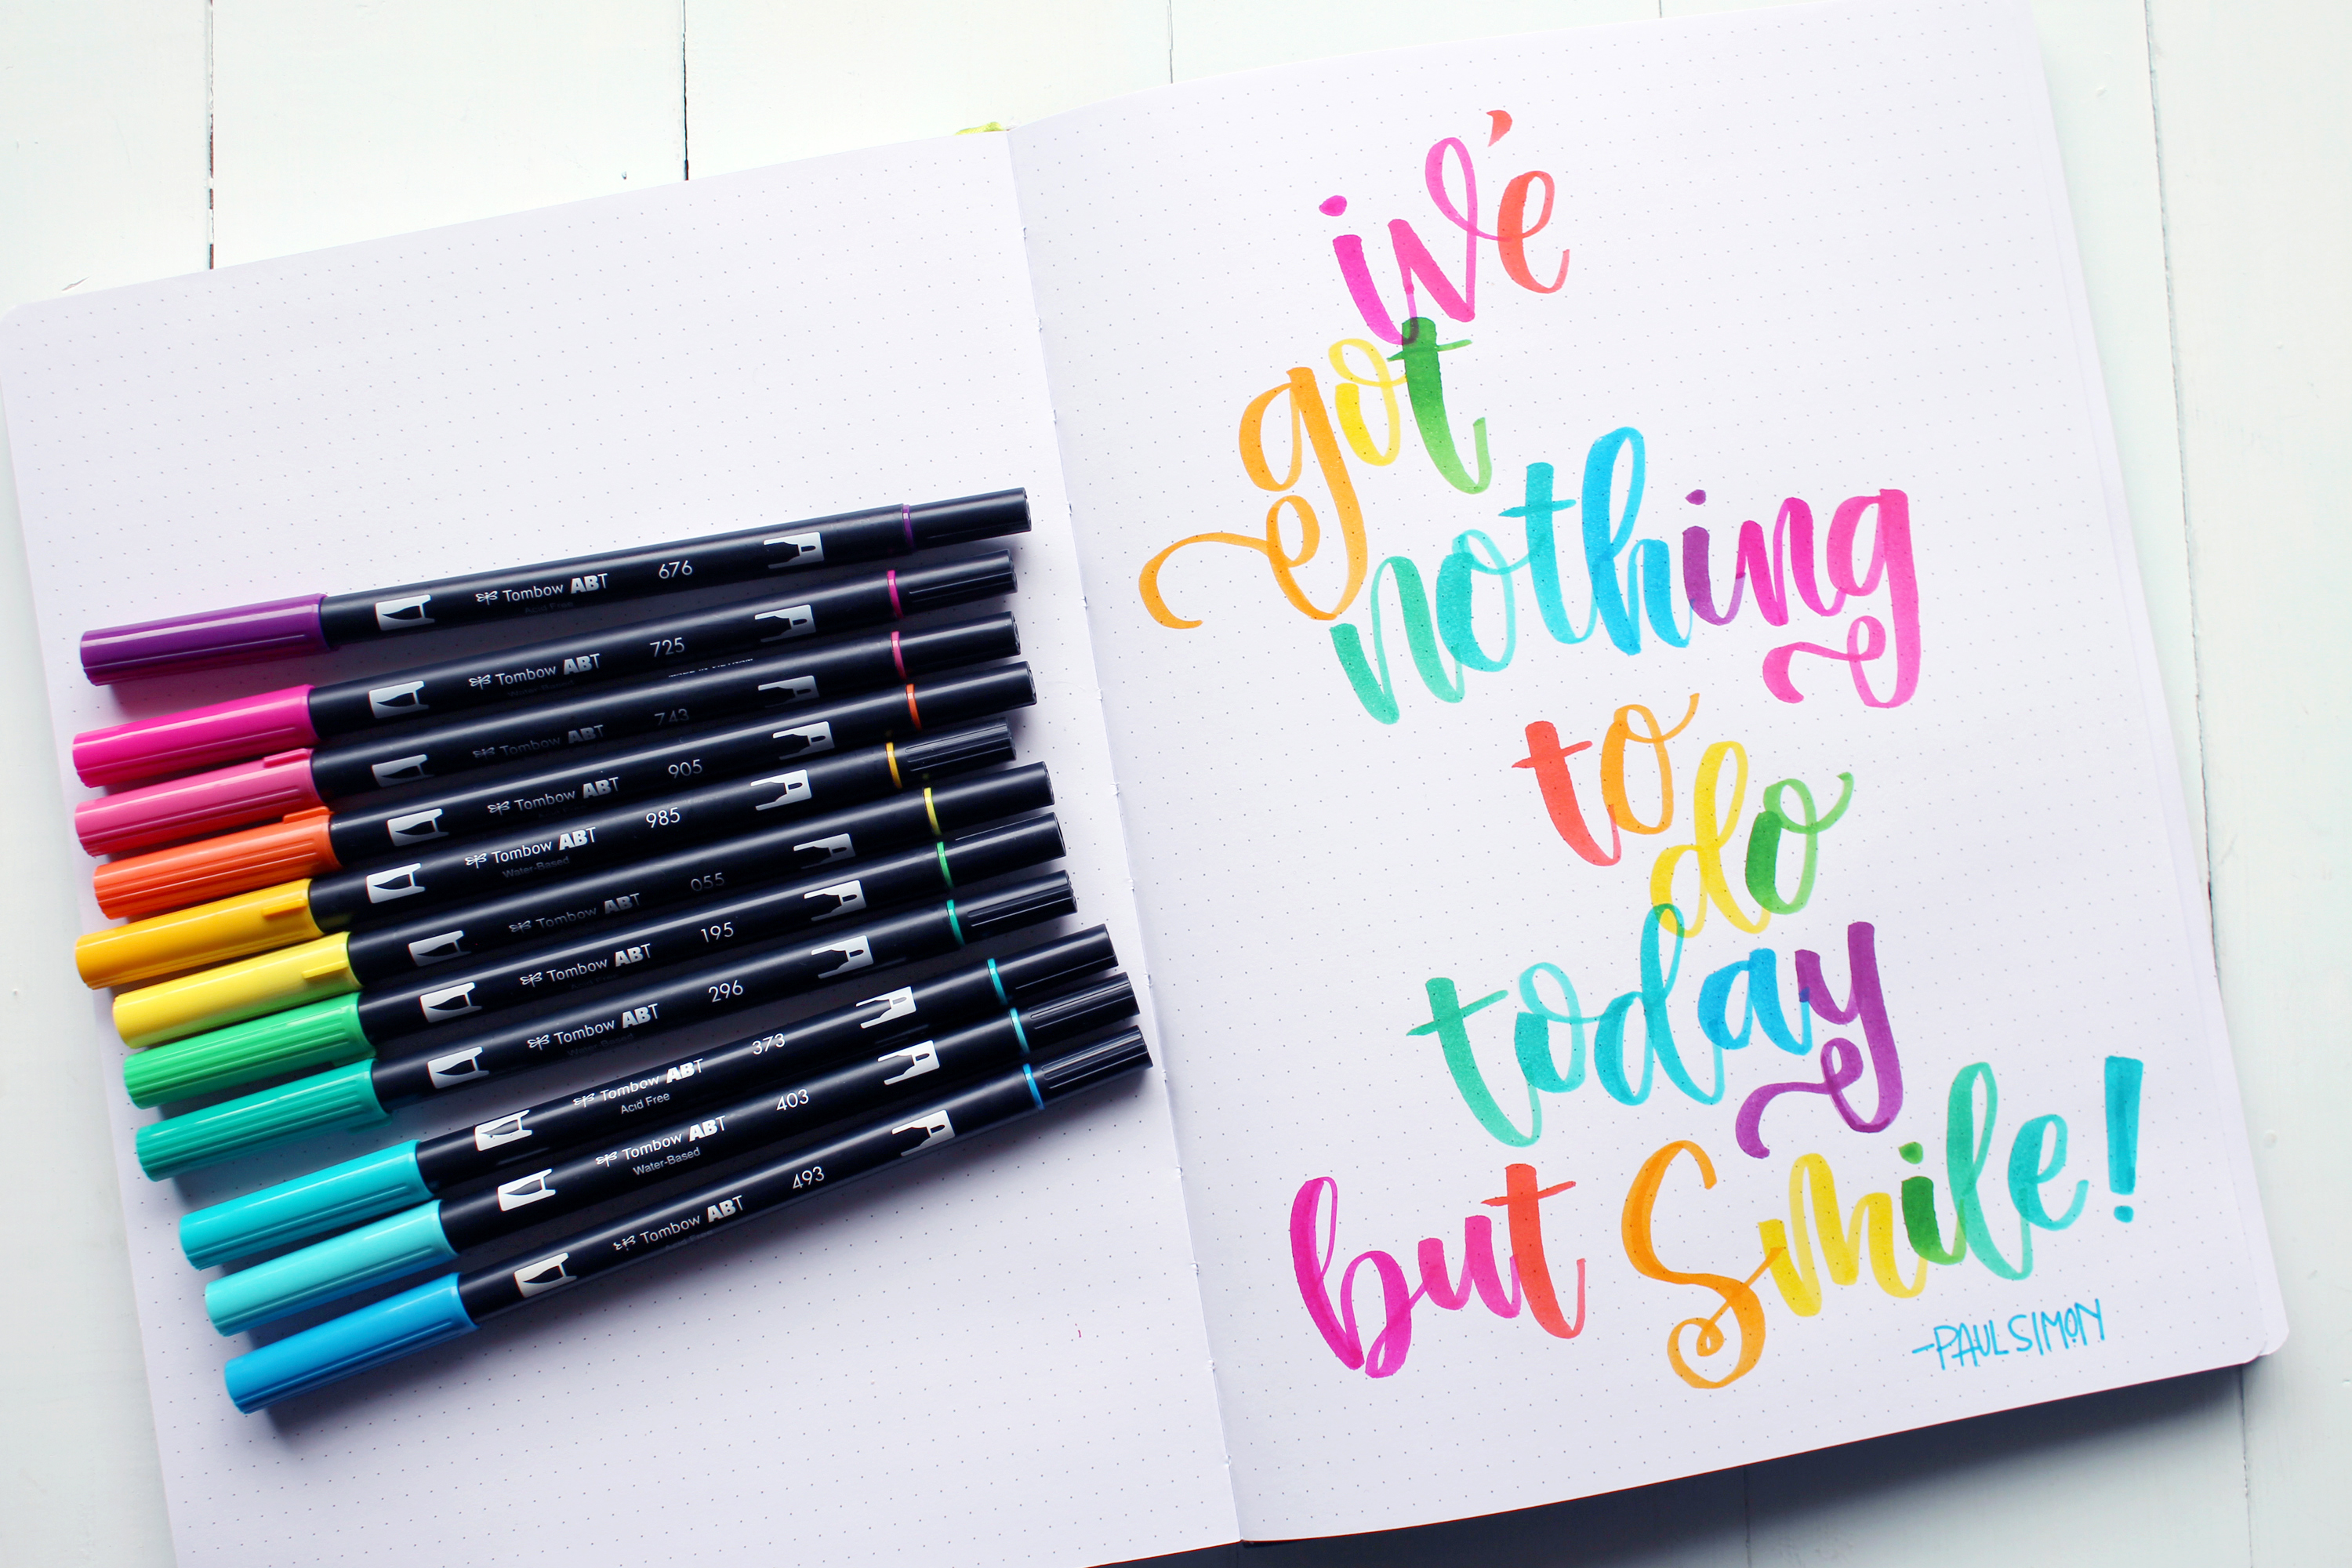
That’s it!
Have you done rainbow lettering before? If you have, give Rainbow Watercolor Lettering a try!
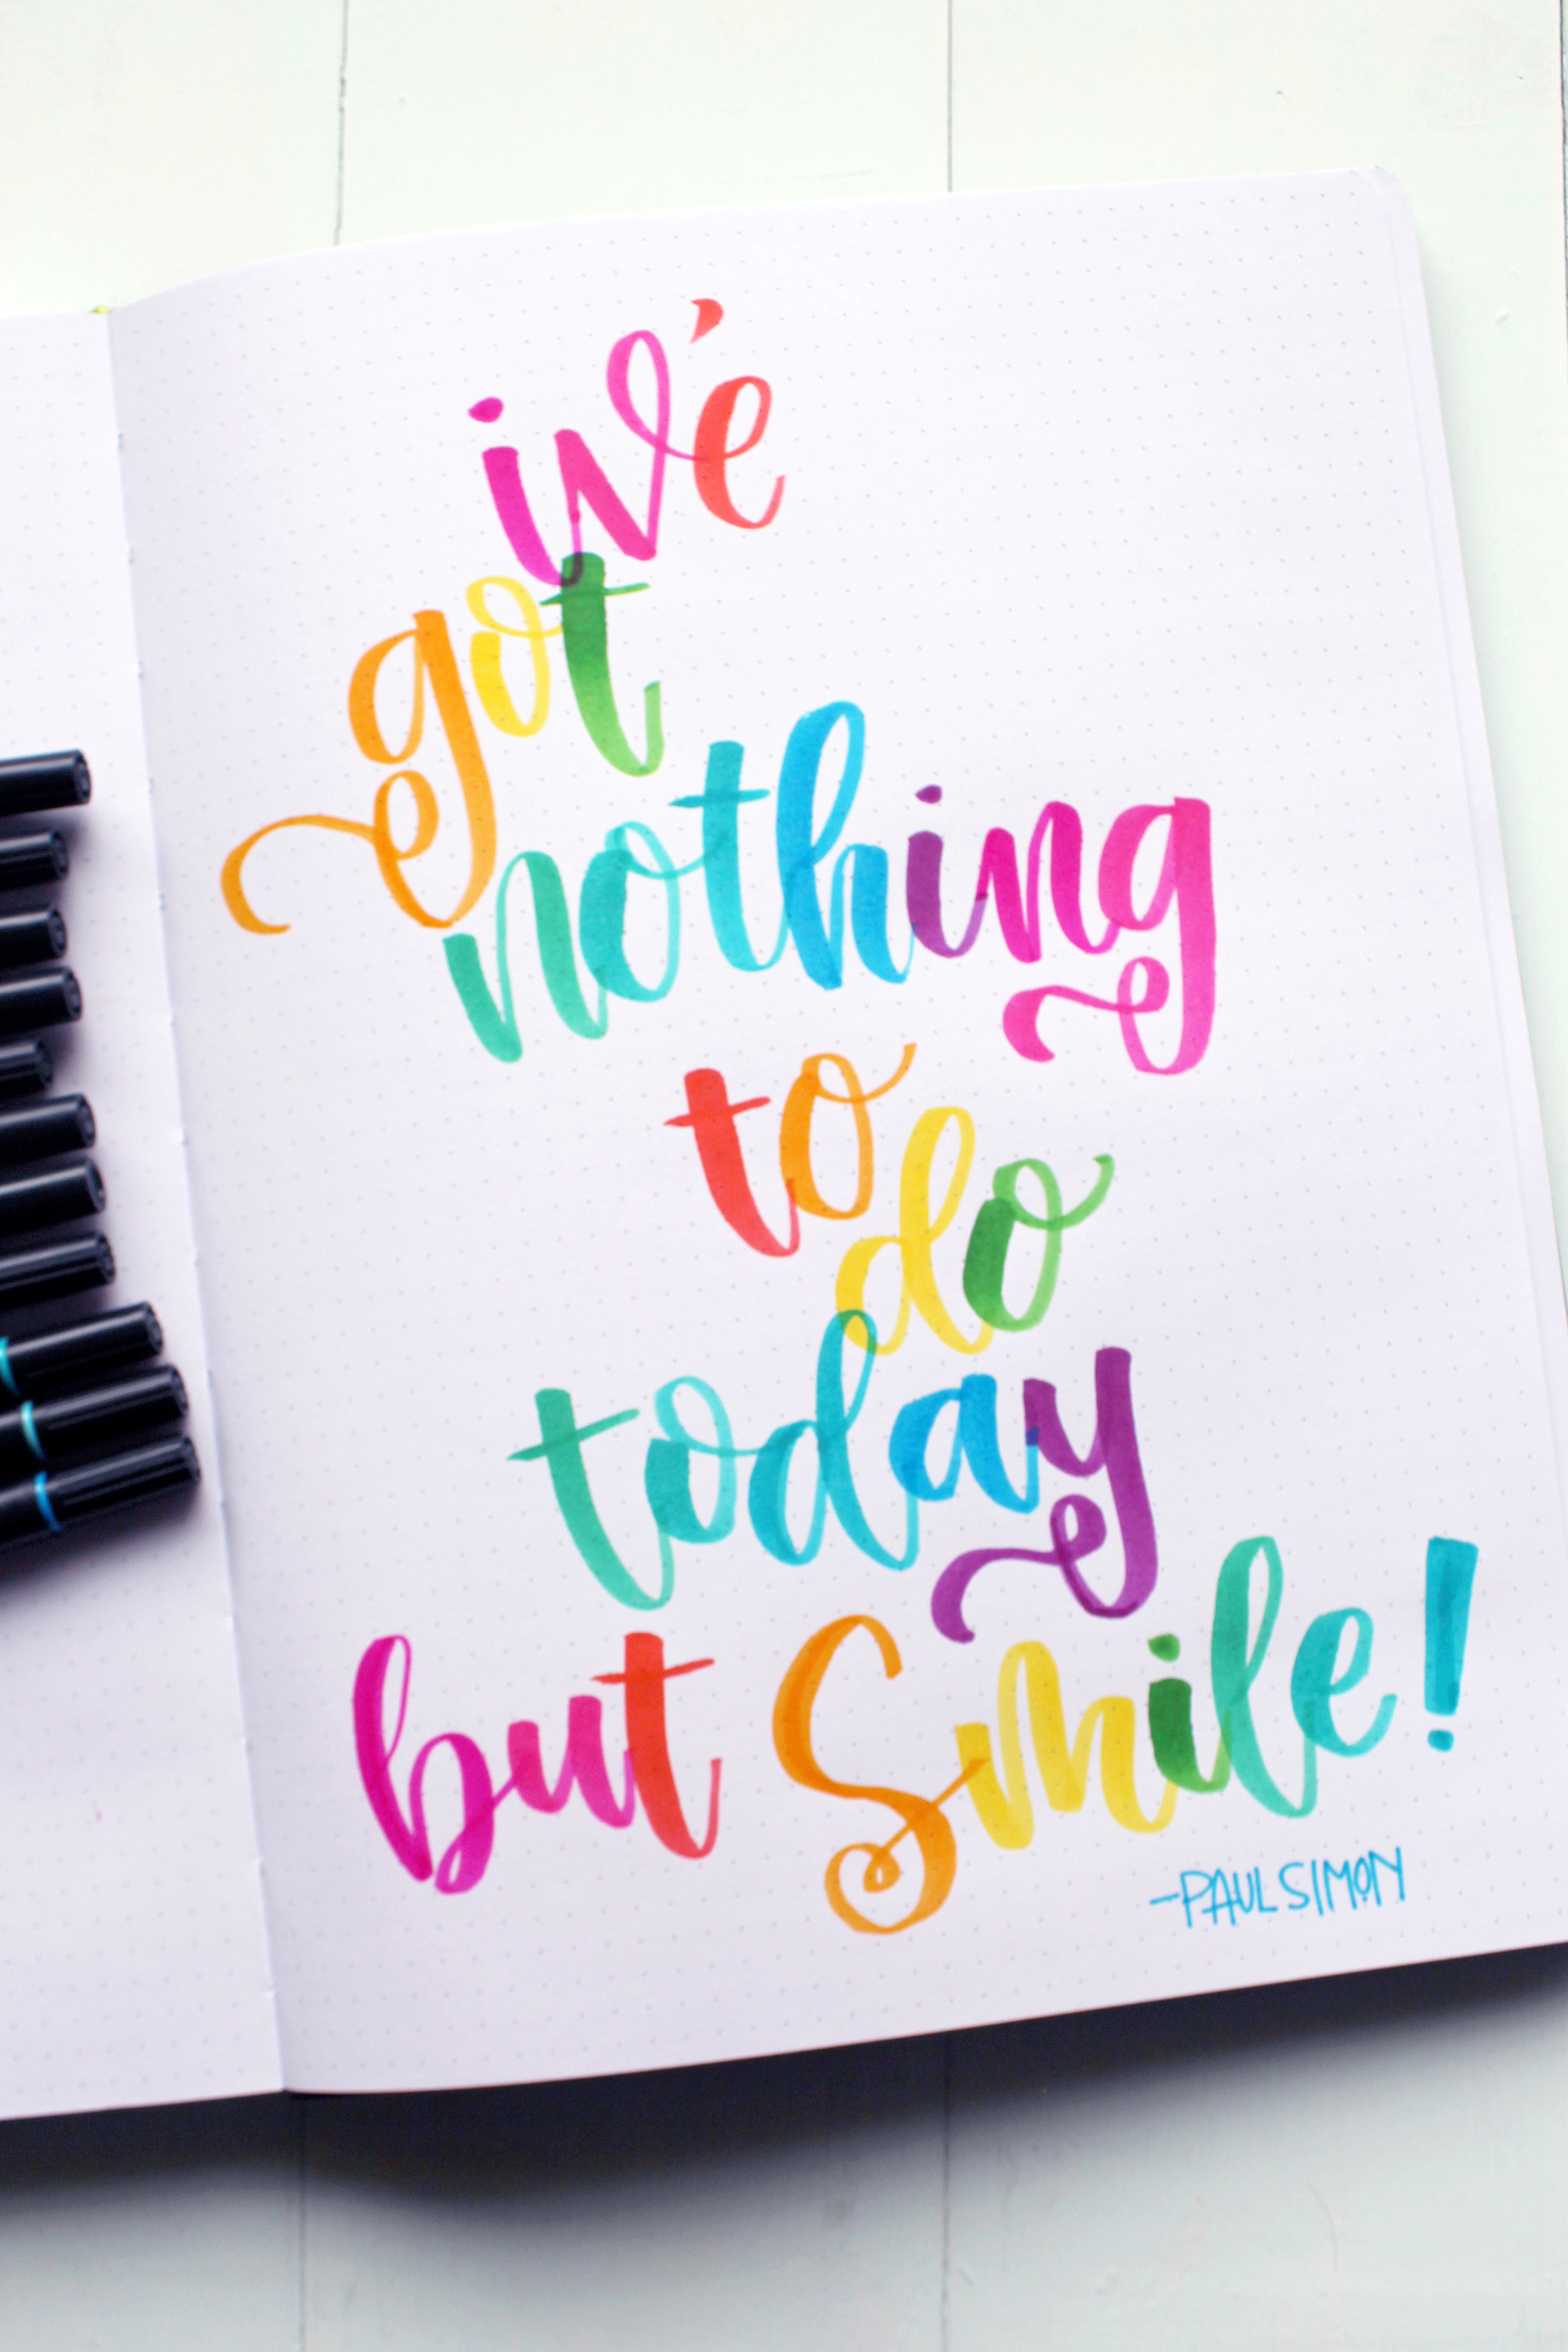
I love the bright colors