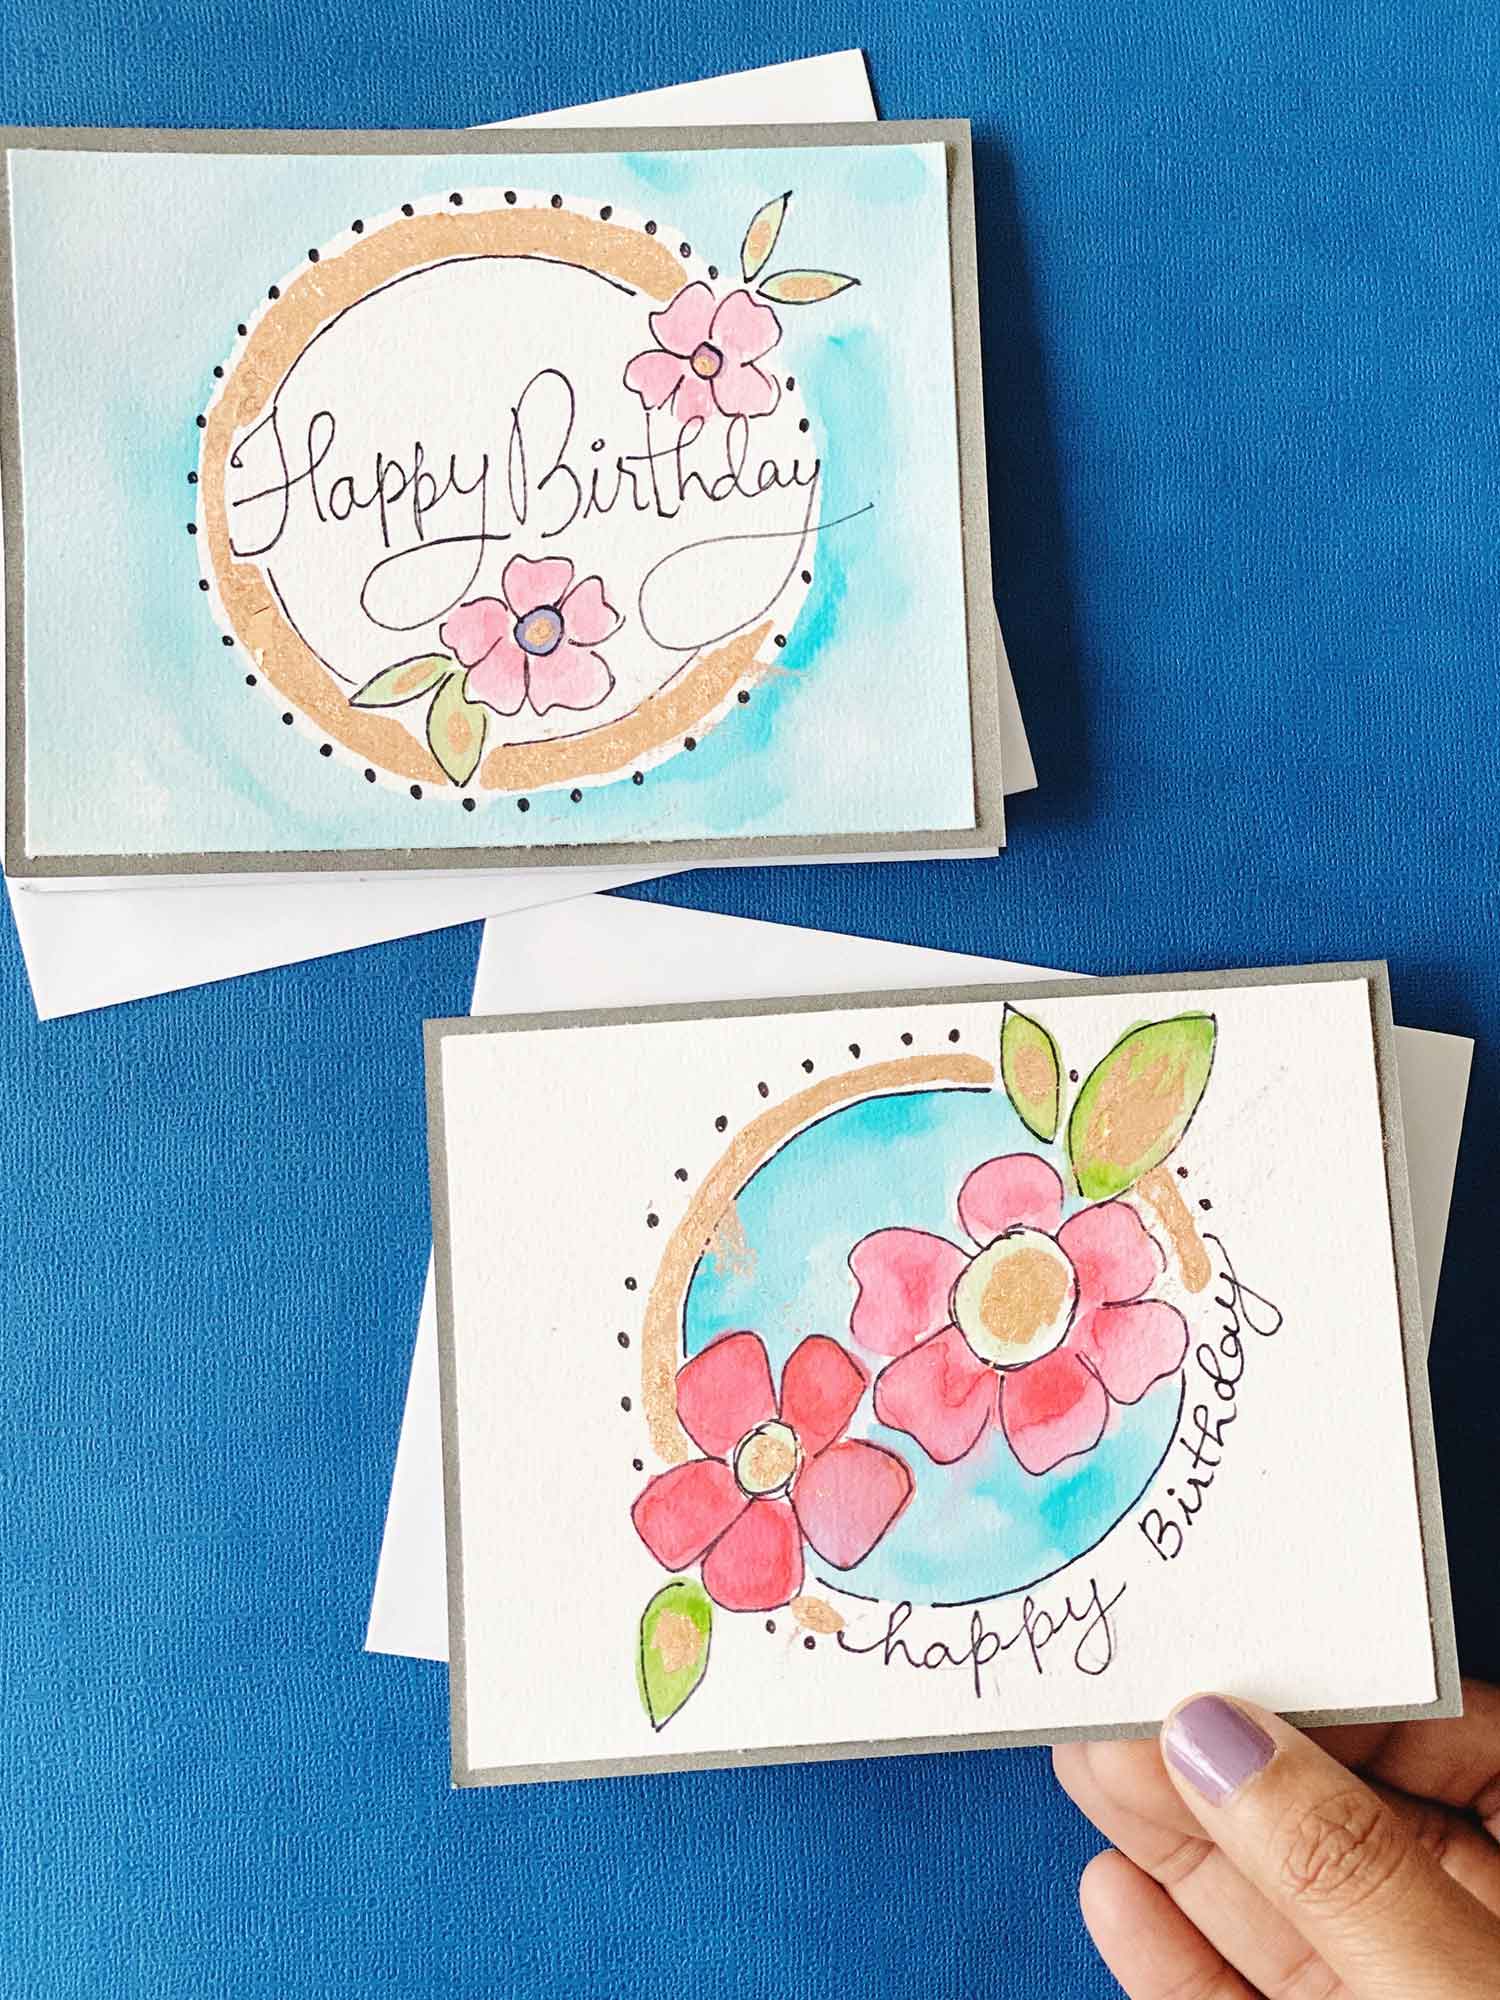
Hello friends, it’s Smitha! Today, I am sharing a birthday card tutorial with you all! Plus, I am adding some gold leaf flakes to it!
Material list:
- Tombow Dual Brush Pens
- Water Brush, Medium
- MONO Multi XL Liquid Glue
- MONO Adhesive + Permanent
- Premade cardstock card
- Tombow MONO Twin Permanent Marker
- Gold leaf flakes
Watch the video tutorial:
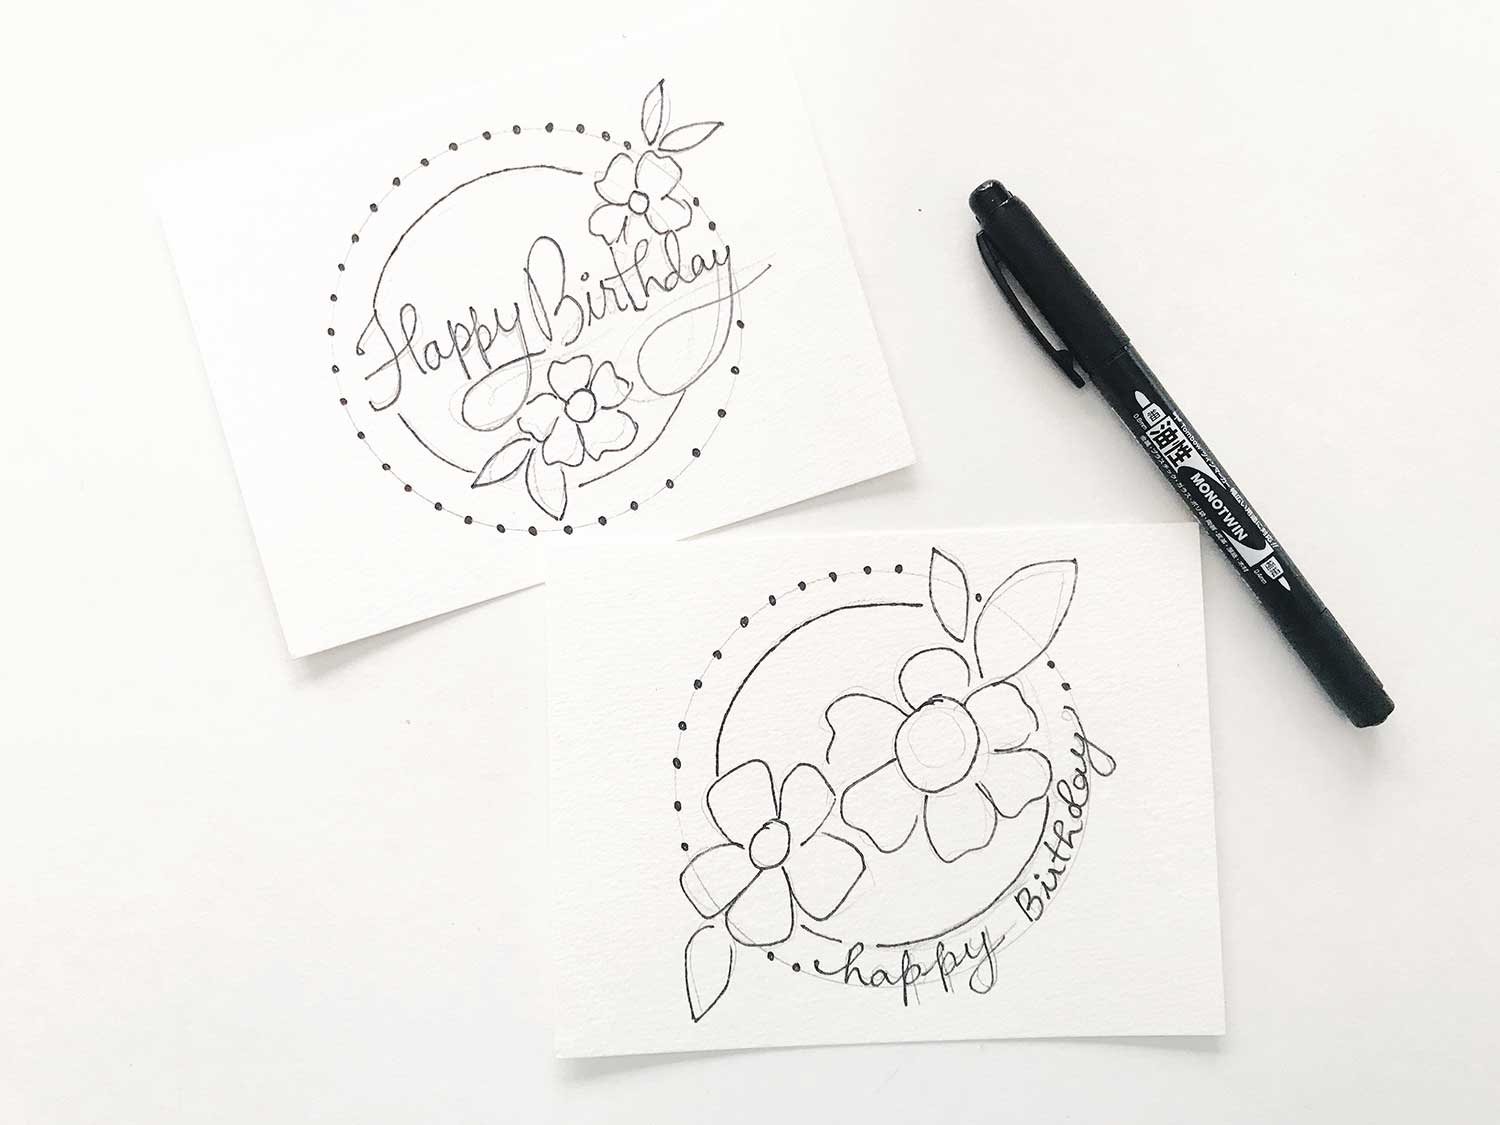
Step 1:
Pencil in your flower and sentiment on the paper.
Ink your quote using the MONO Twin Permanent Marker. This is a waterproof pen
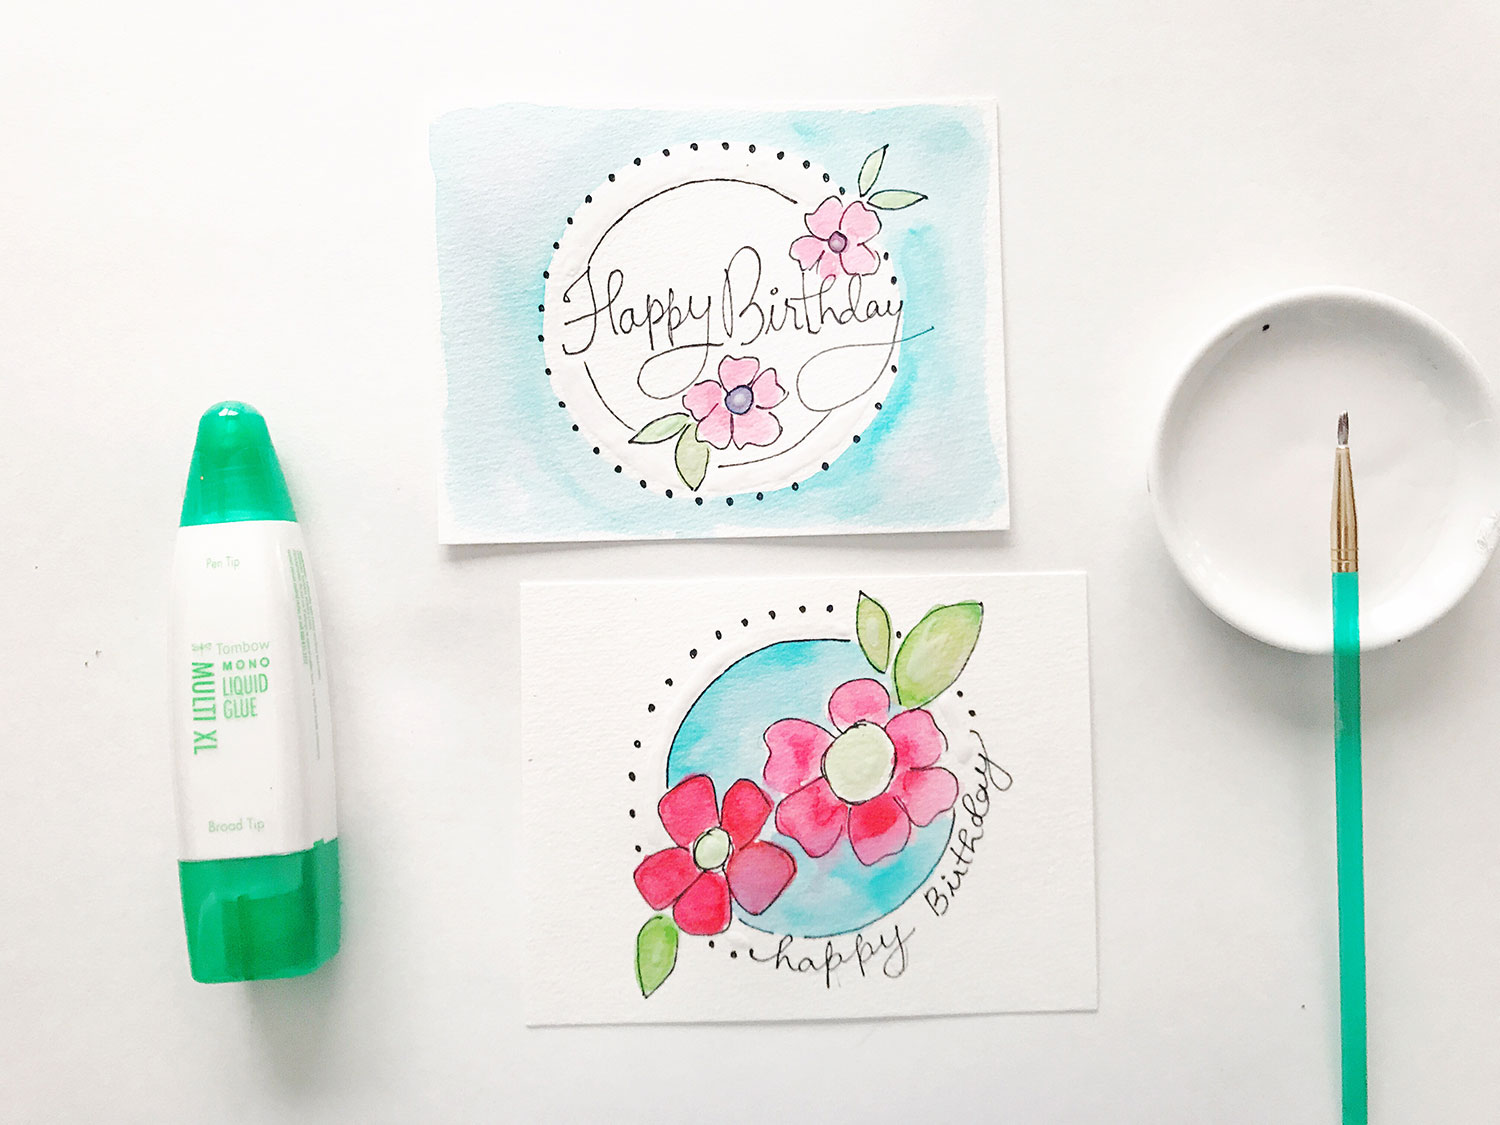
Step 2:
Time to paint! Pull out your Tombow Dual Brush Pens and Water Brush to add color to your florals. Nothing fancy here, just some quick coloring. I like how the water softens the Dual Brush Pen colors.

Step 3:
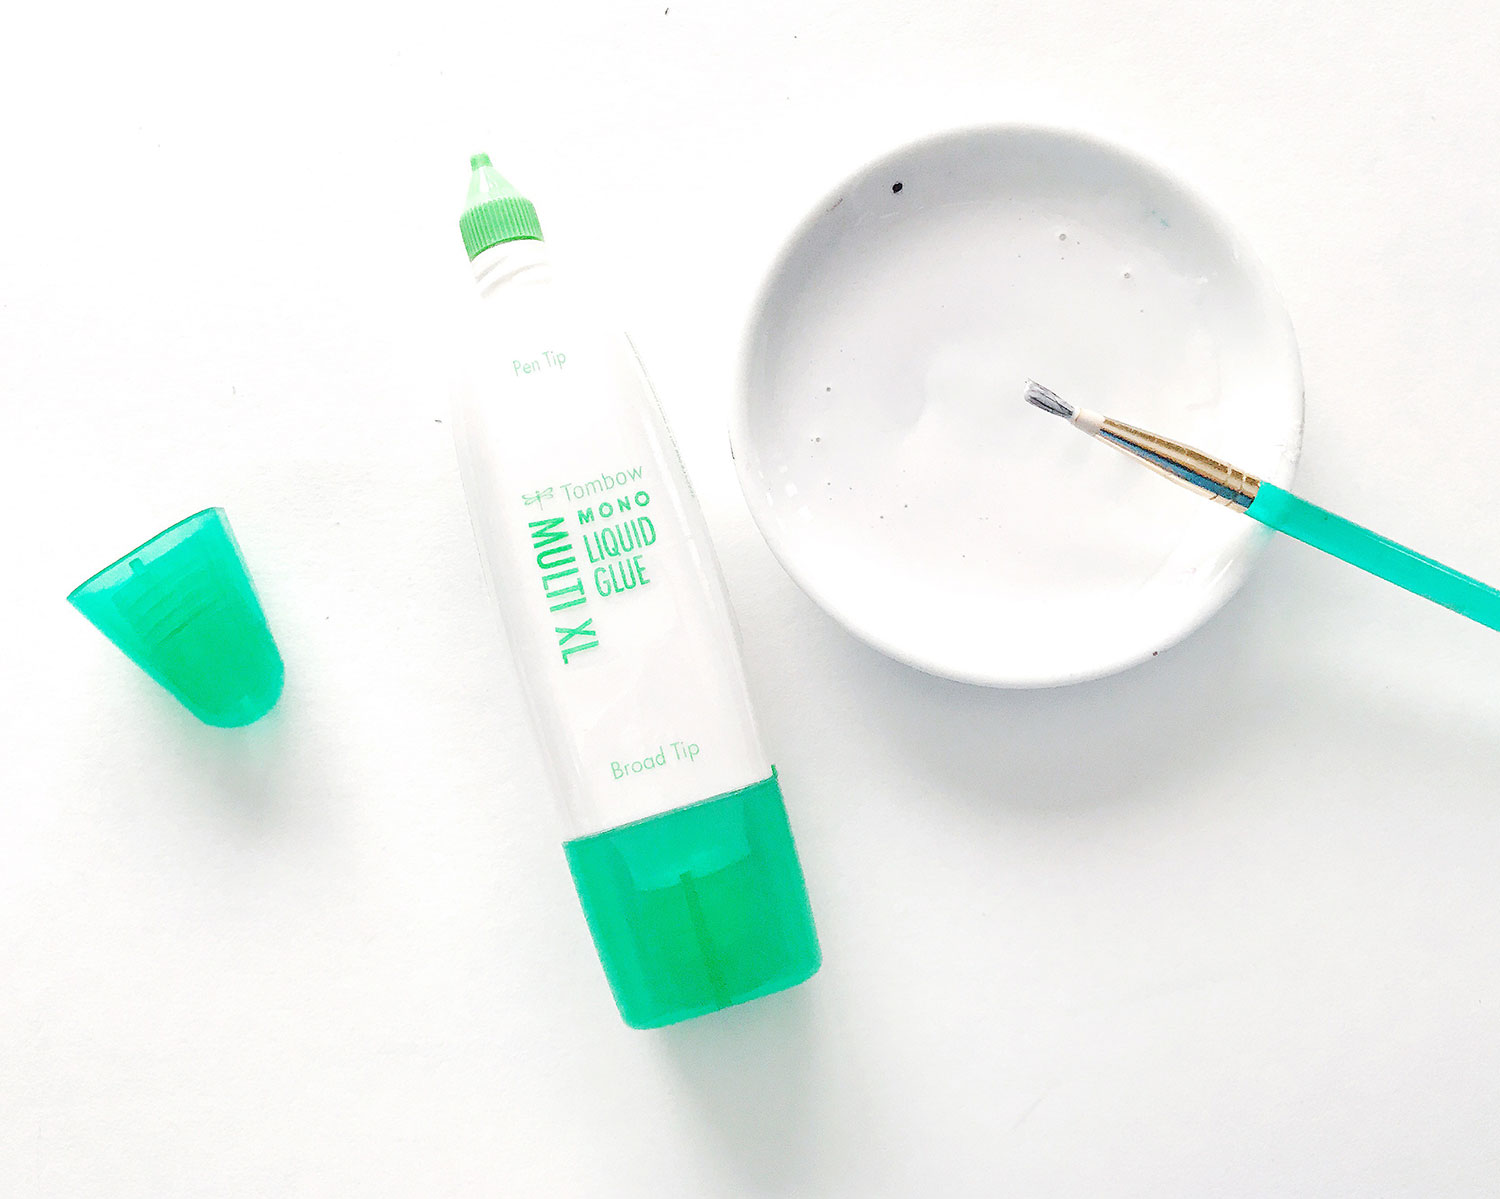
Next, we need to prepare our glue. Squirt some MONO Multi XL Liquid Glue into a bowl or container and then dilute it with an equal part of water. The gold flakes are really delicate, so you don’t need a heavy glue. What you want here is a milky consistency of the glue. Thin the glue down further if you need to.
Step 3:
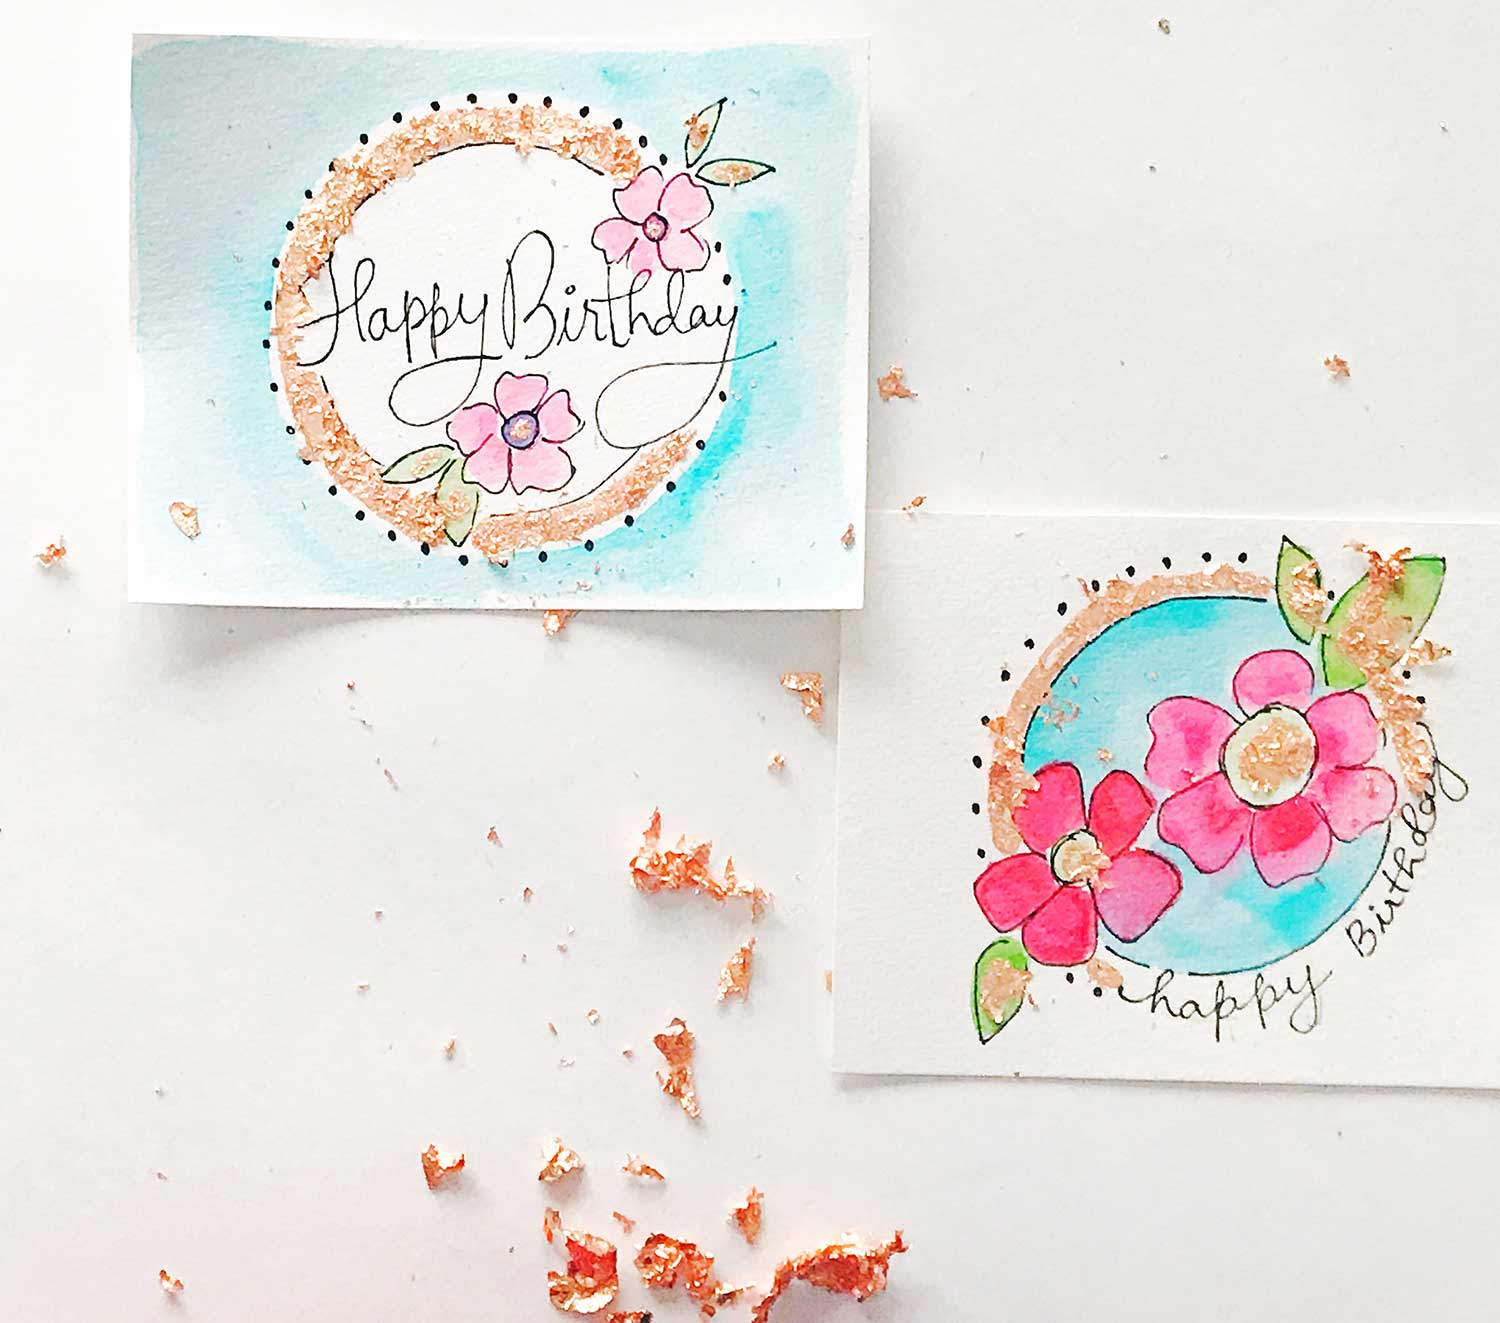
Carefully apply the thinned out glue to areas where you want to apply the gold leafing.
Let the glue dry for a few minutes. Then bring out your gold flakes and place a generous amount of the gold flakes onto the glue area.
Gently rub off the excess gold flakes with your finger tips. You can put them back into the container to be used again.
Step 4:
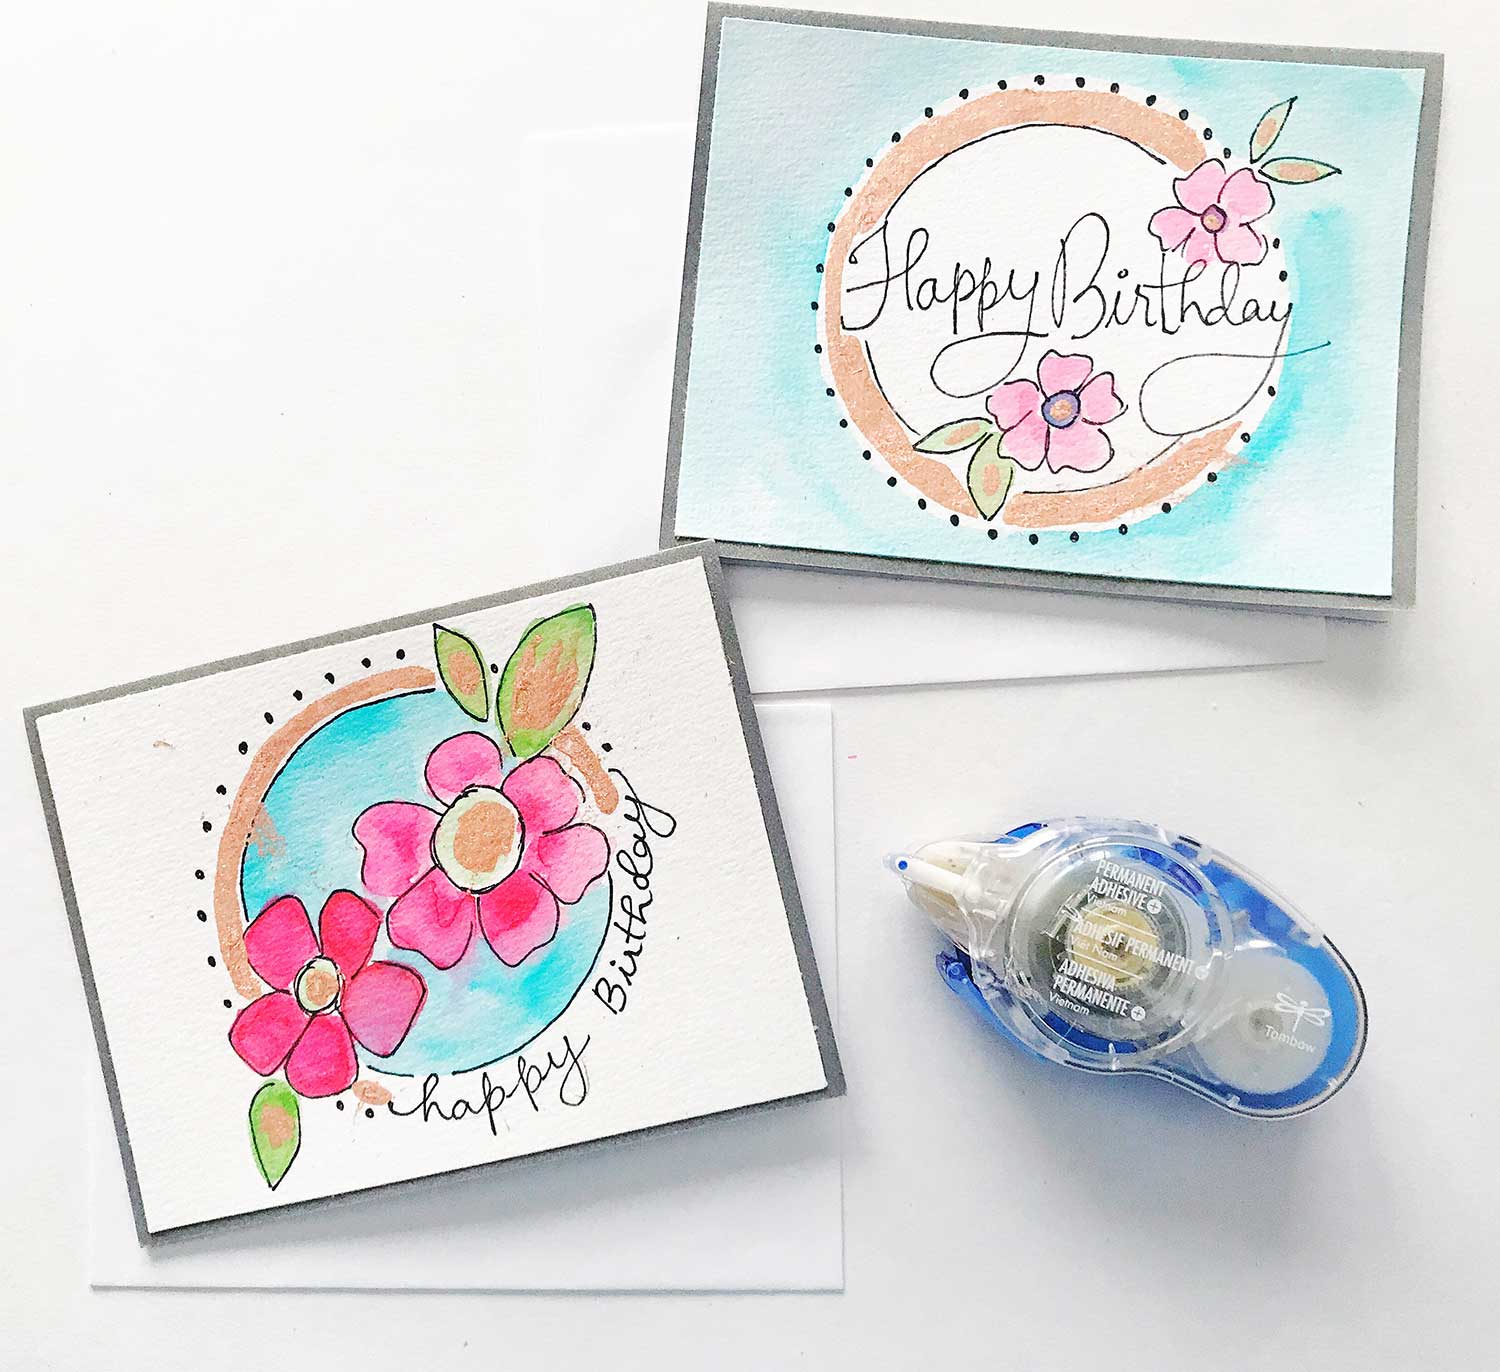
Trim the mixed media paper down a bit and adhere onto a premade card using the MONO Adhesive + Permanent. This tape runner can be applied from corner to corner.It will hold down the paper corners nicely.
I hope you enjoyed this tutorial! Happy crafting!
Smitha
Find me on instagram: @theshinynest
Find more tutorials of mine on my blog www.smilingcolors.com