Hello friends, it’s Smitha here today with a simple tutorial. The other day, I had to scramble last minute to make a cake topper to make a family member’s birthday special. I’ll show you how you can make one in this tutorial.

Material list:
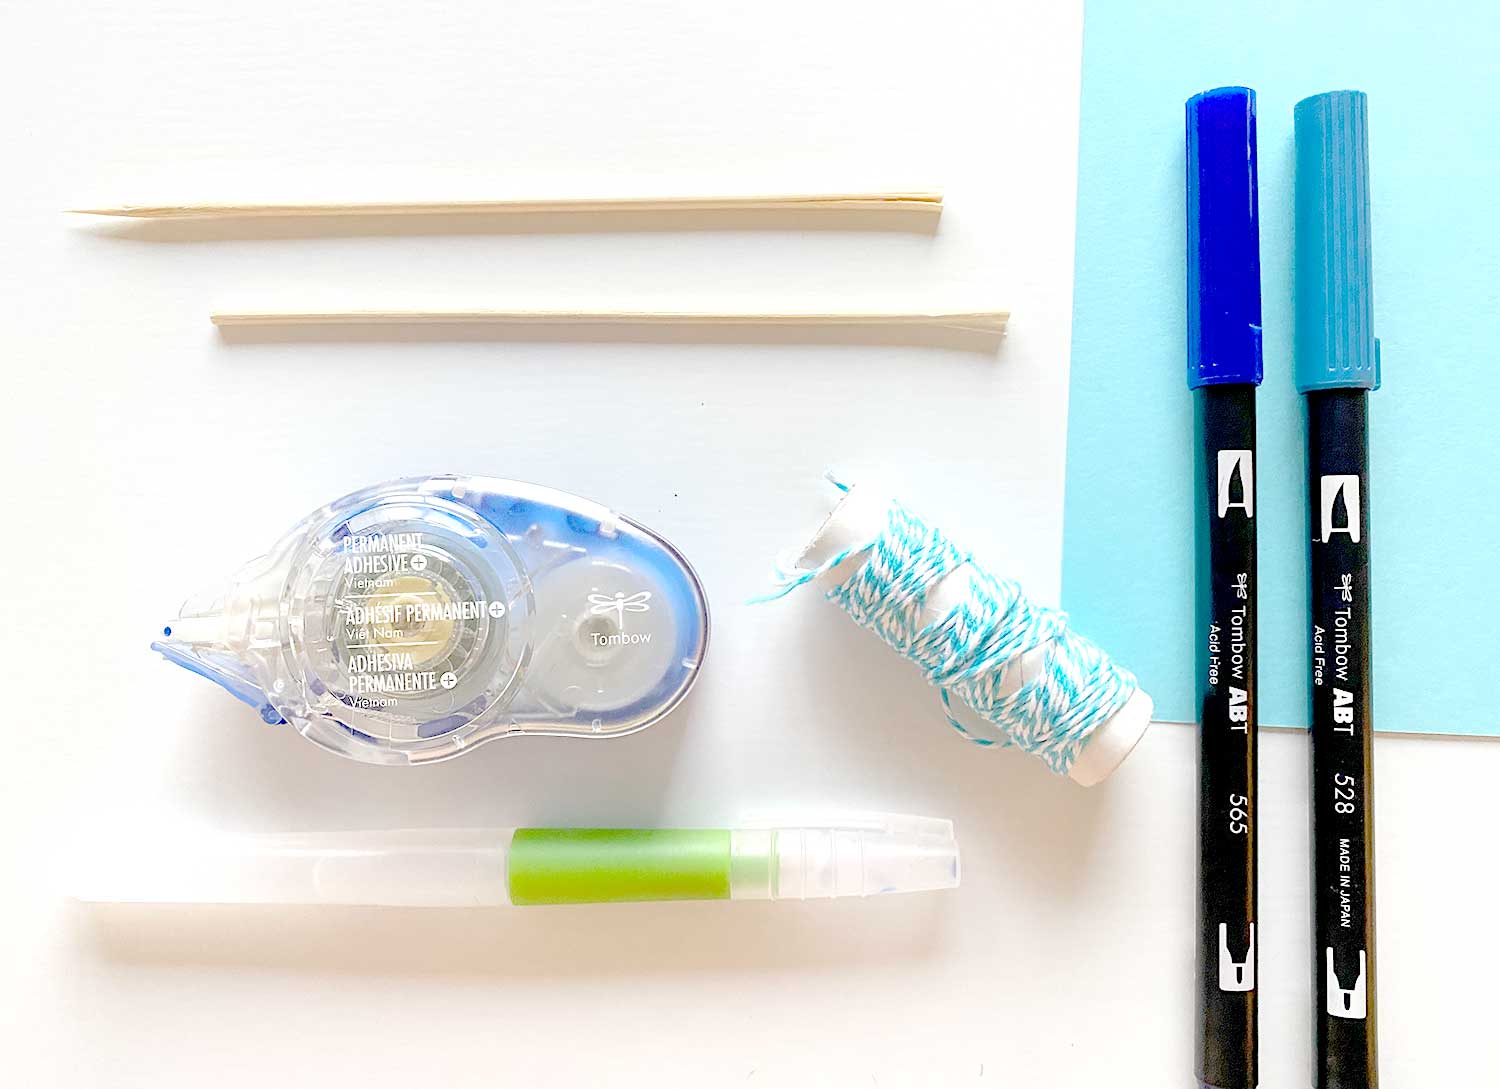
- Tombow Dual Brush Pens
- MONO Adhesive + Permanent
- Tombow Water Brushes
- Cardstock
- Scissors
- Skewers
- Twine
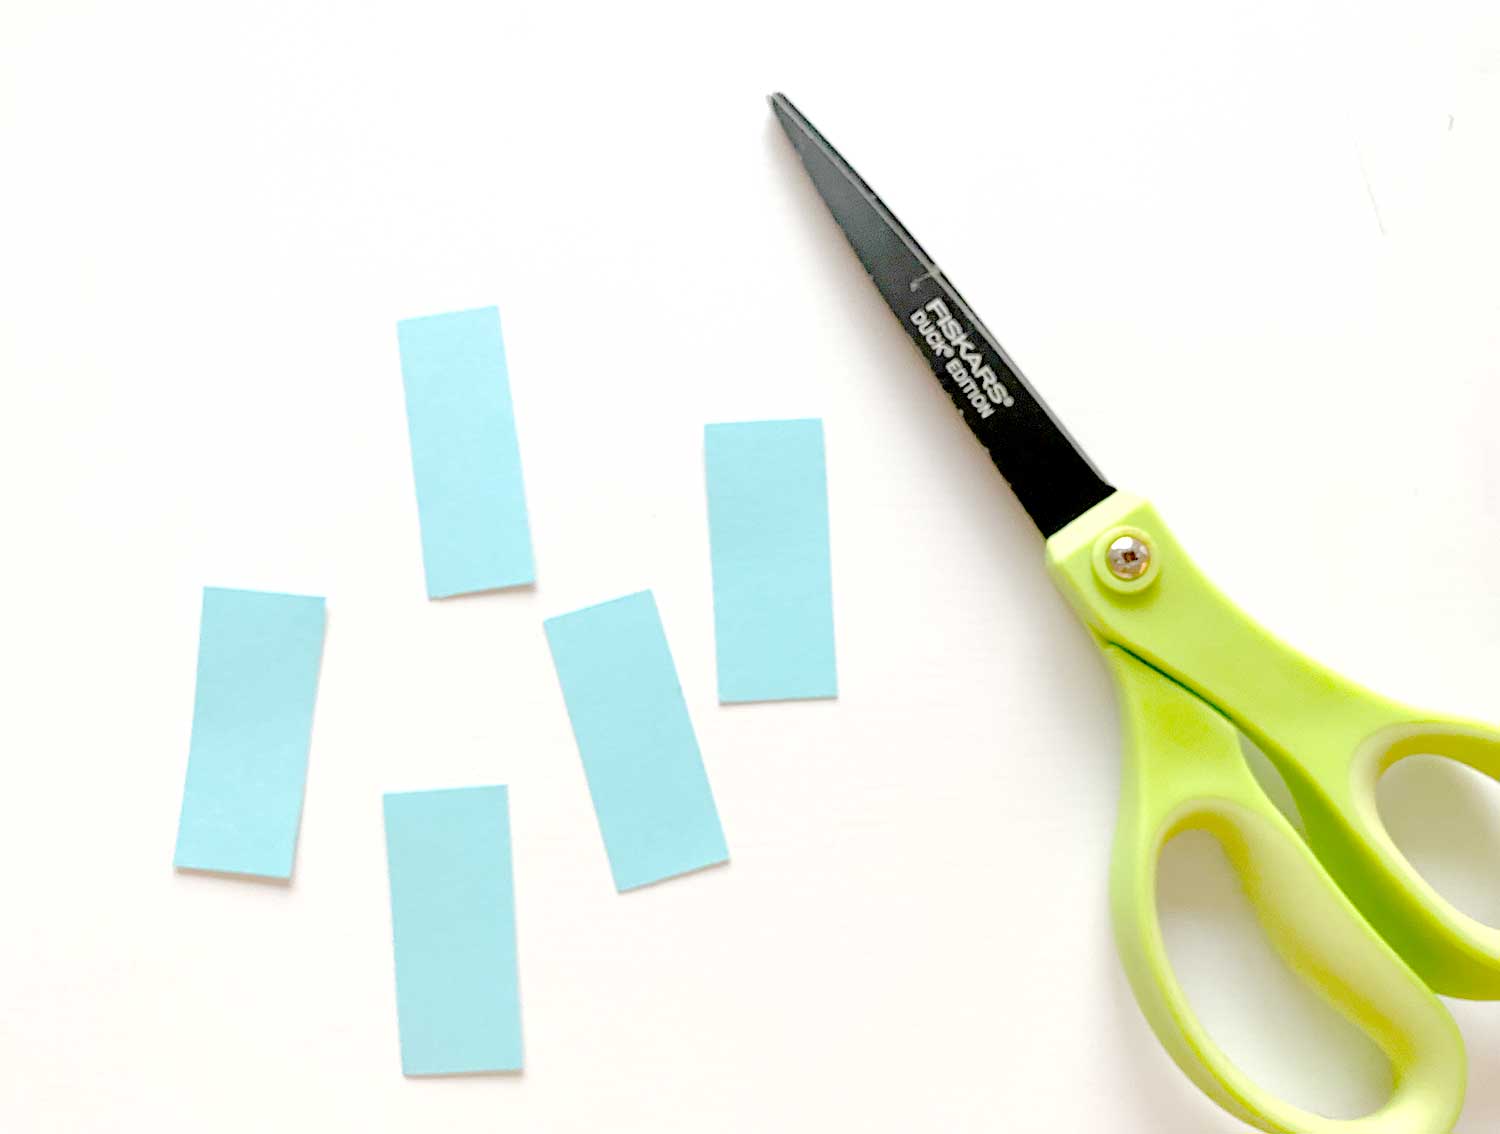
Step 1:
Trim cardstock down to small rectangles. You can use a paper trimmer instead. Whatever is easier to find and use.
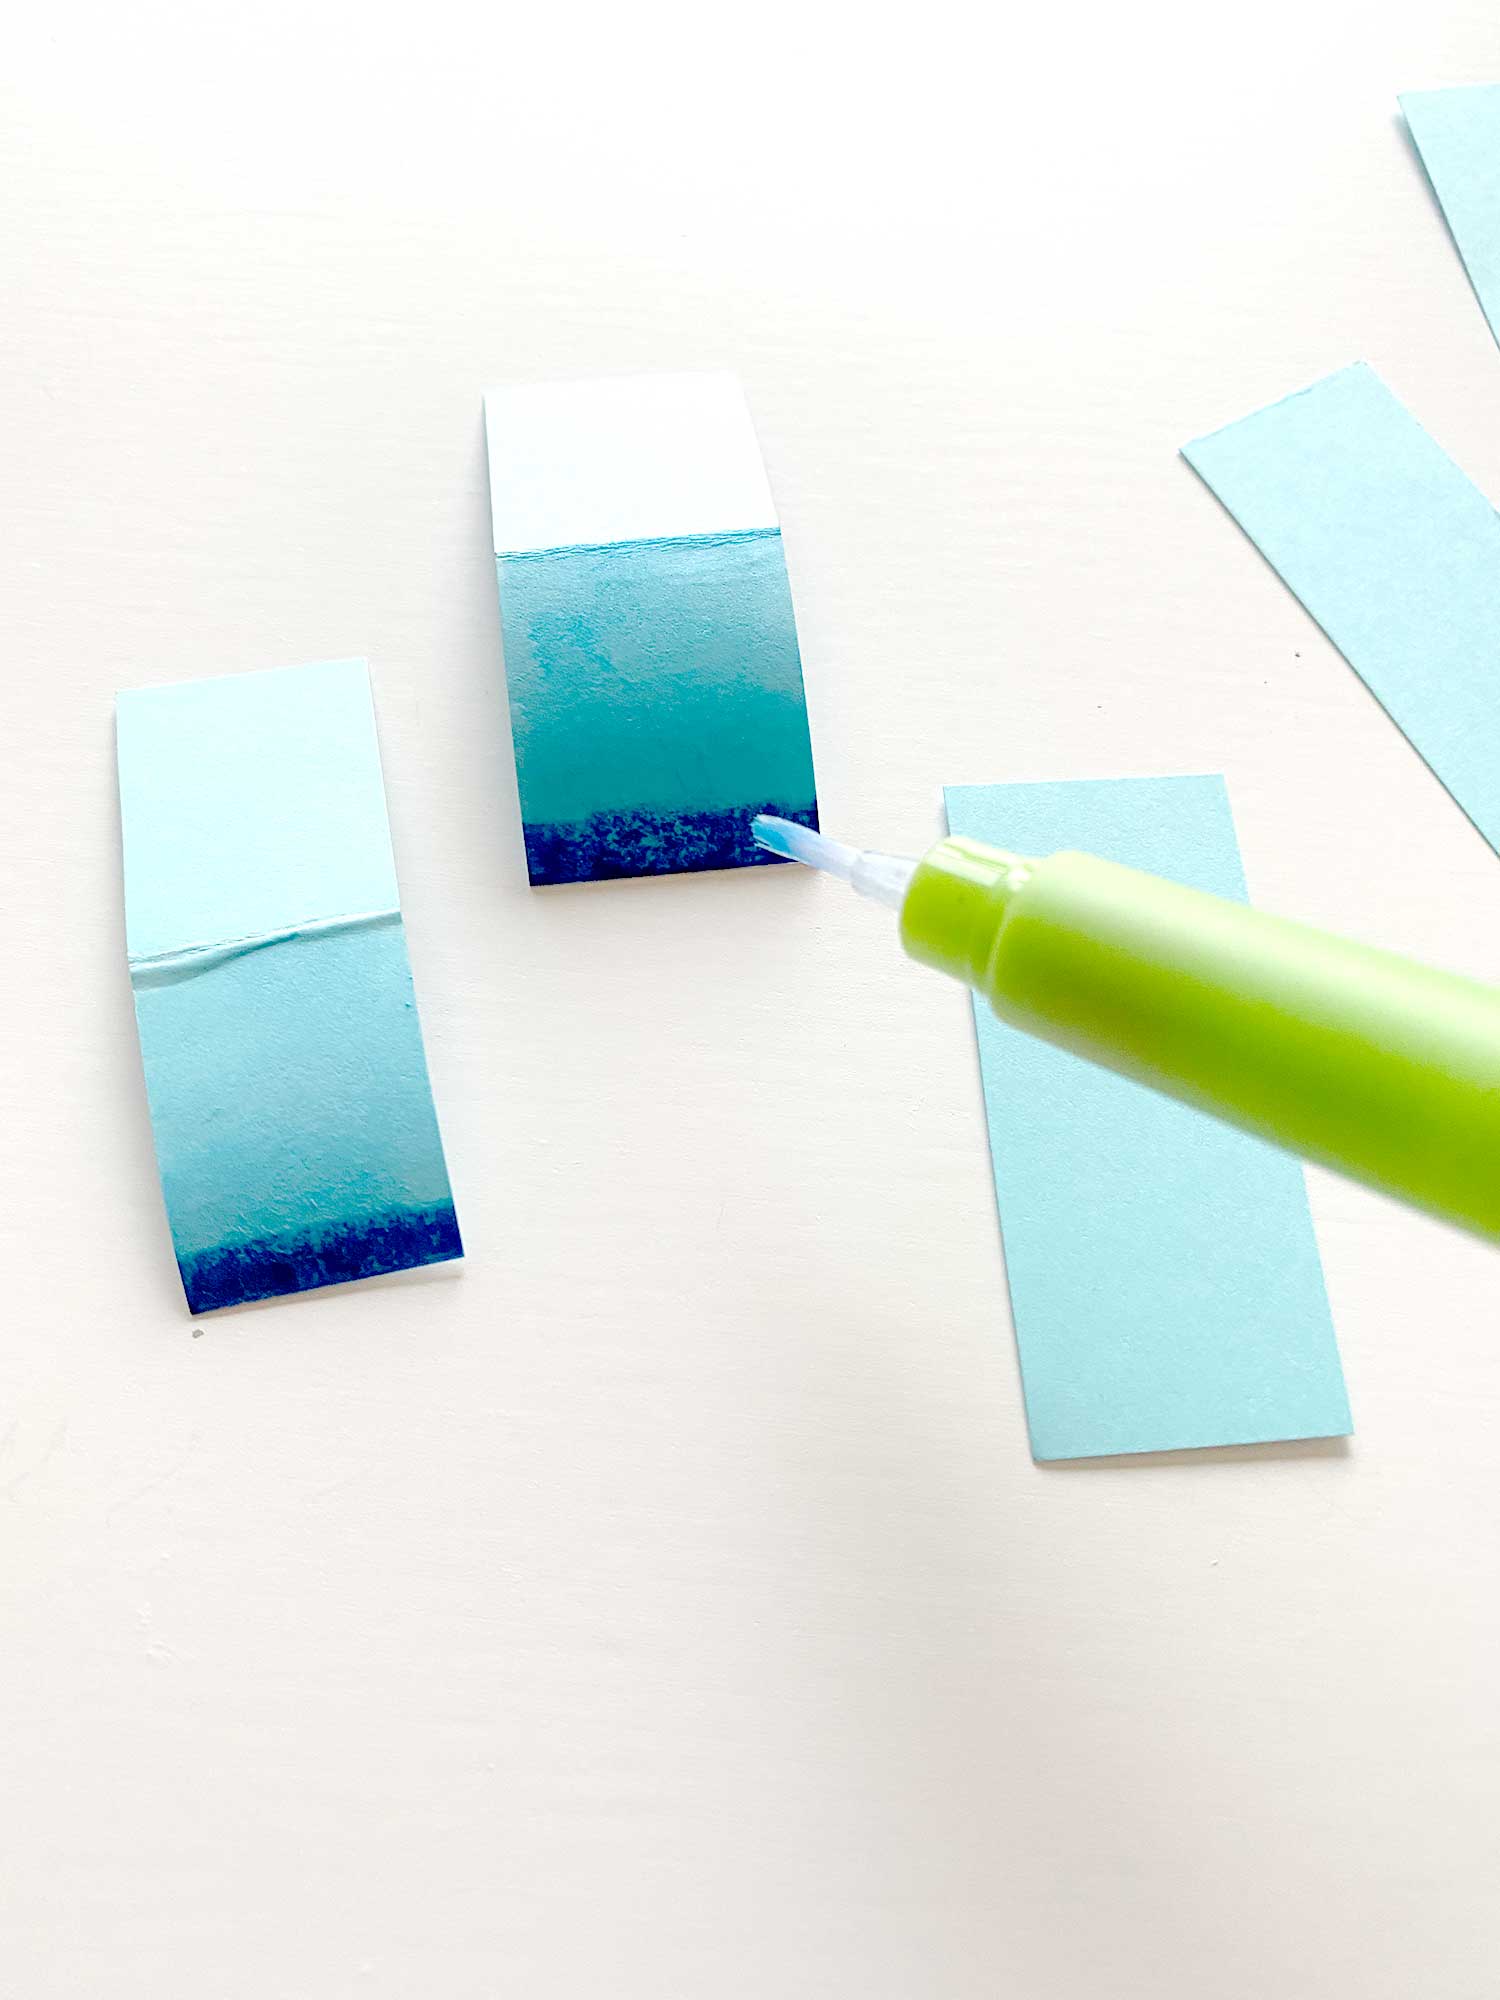
Step 2:
Add a line of color to the bottom of each rectangle using a Dual Brush Pen. Paint over it quickly with the Water Brush. Fold each rectangle into half.
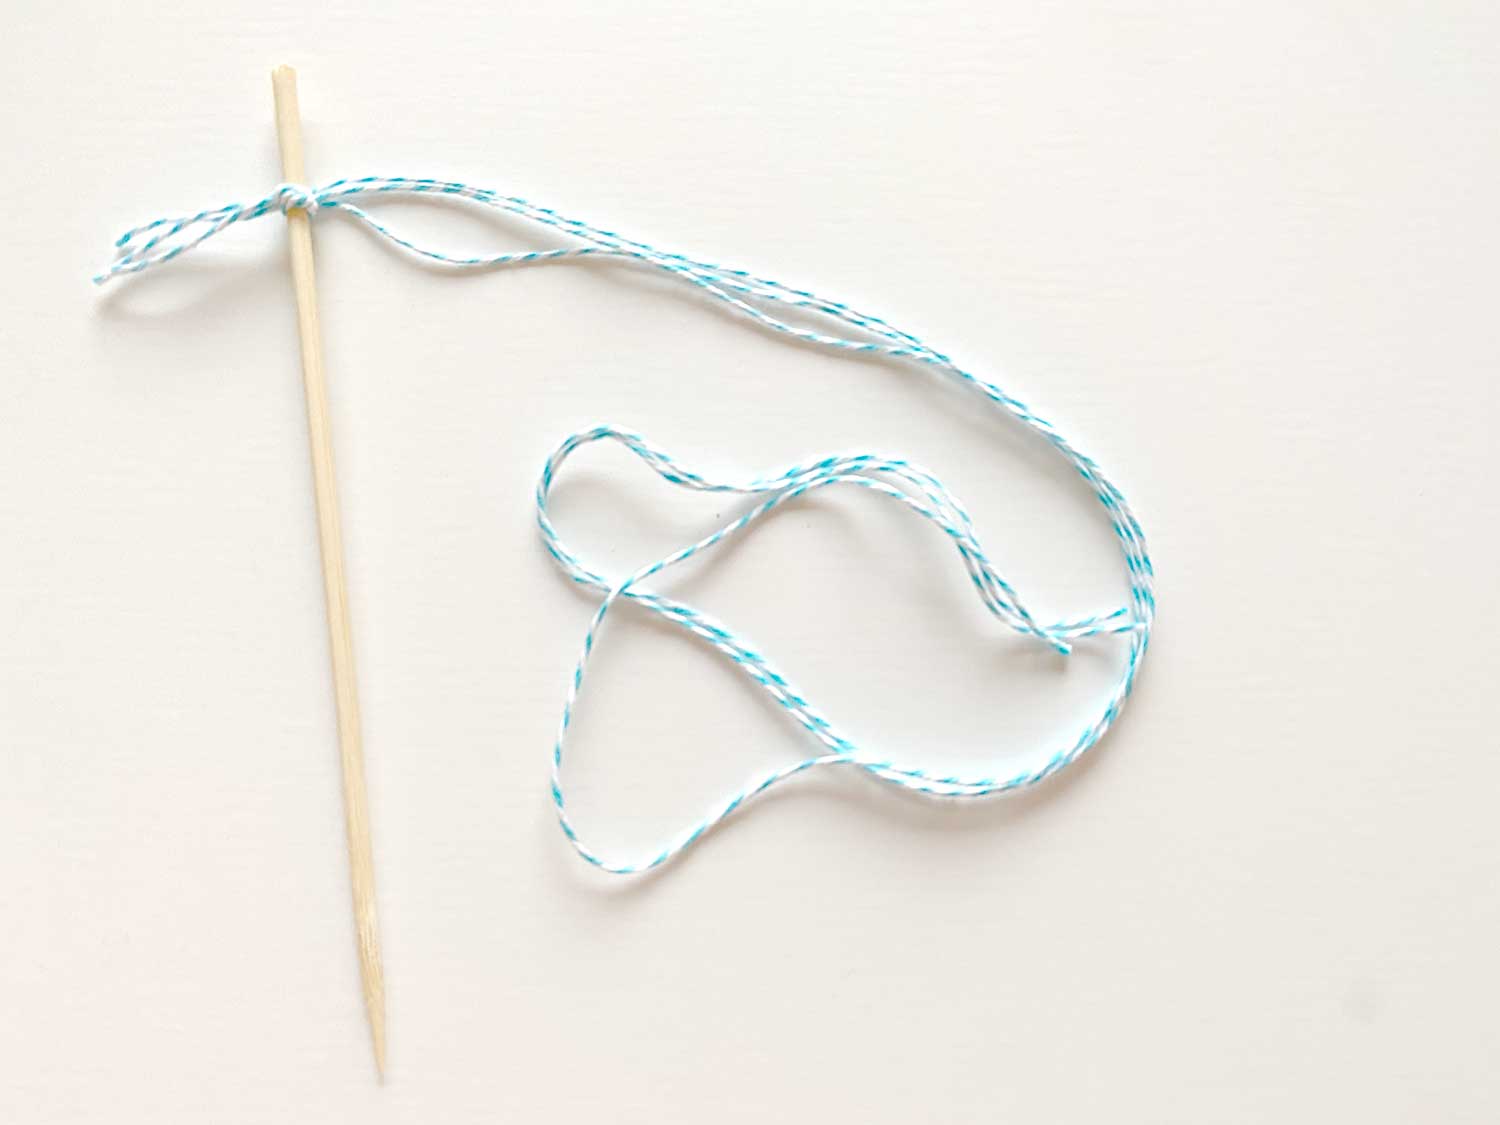
Step 3:
While the watercolor dries, tie a few strands of twine onto a skewer. Make sure that your skewer is long enough to fit into the depth of your cake.
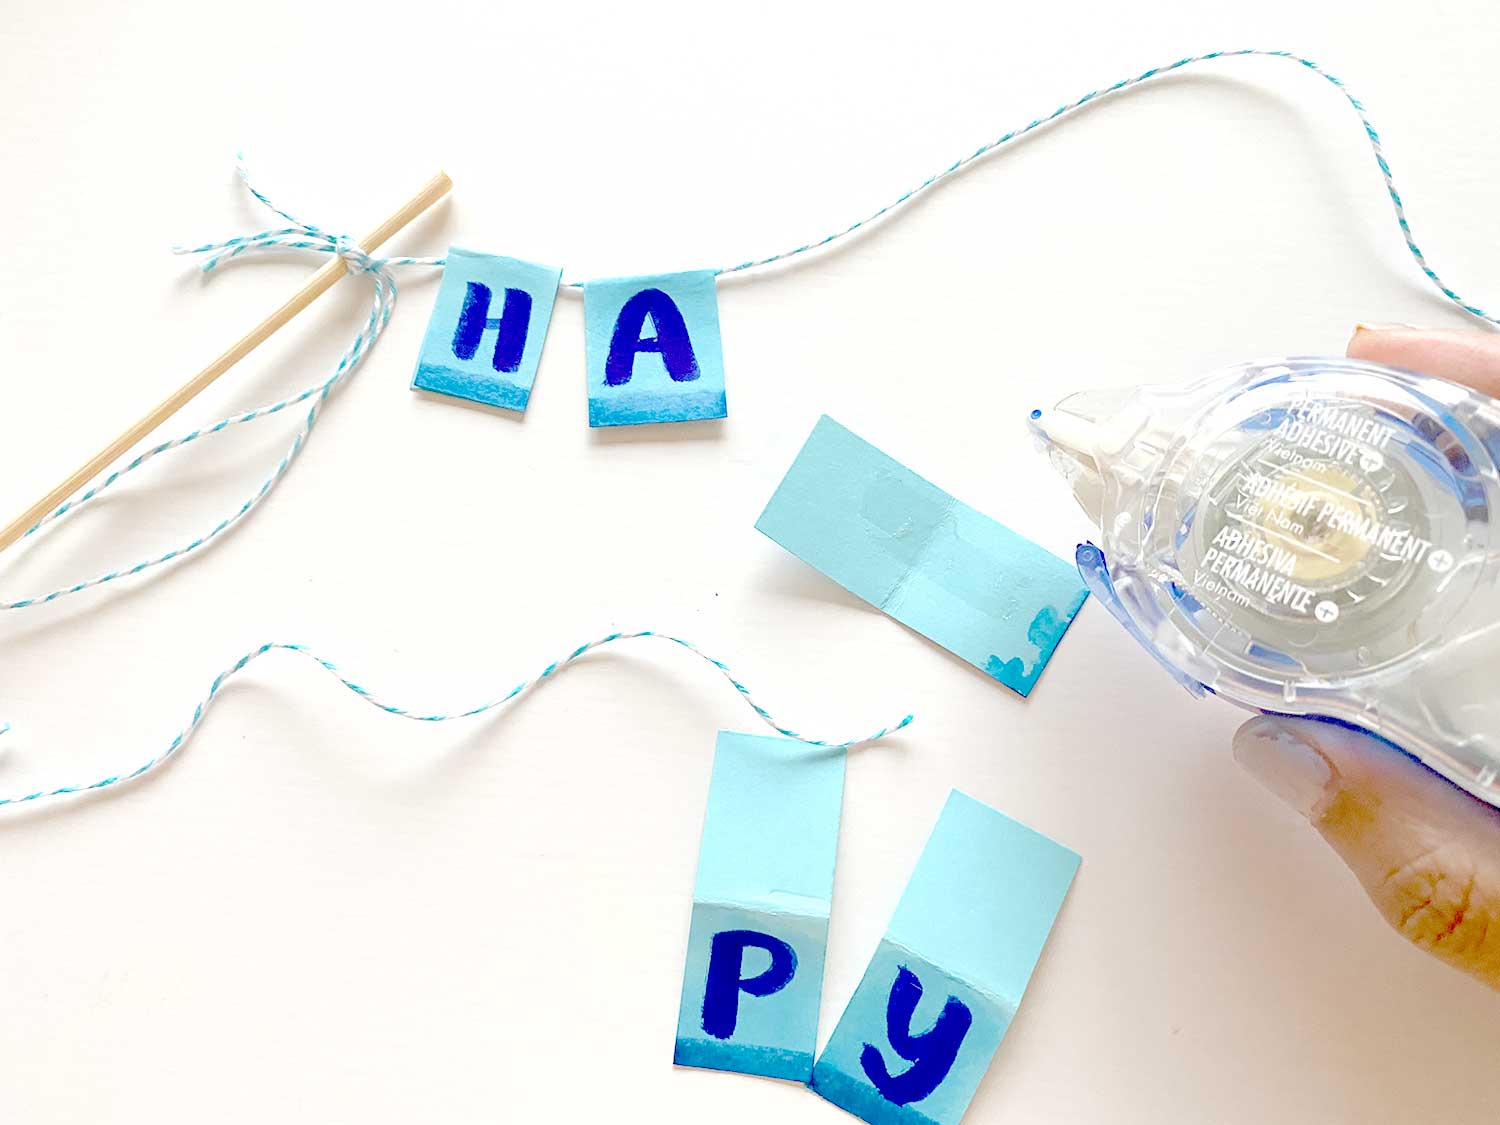
Step 4:
Adhere the cardstock onto itself while trapping the twine in between using the MONO Adhesive + Permanent. Space out your letters equally onto the twine.
Step 5:
Repeat this in another color to make the word “birthday” and enjoy your little cake banner!
I hope you enjoyed this tutorial! Happy crafting!
Smitha
Find me on Instagram: @smithakatti
Find more tutorials of mine on my blog www.smilingcolors.com