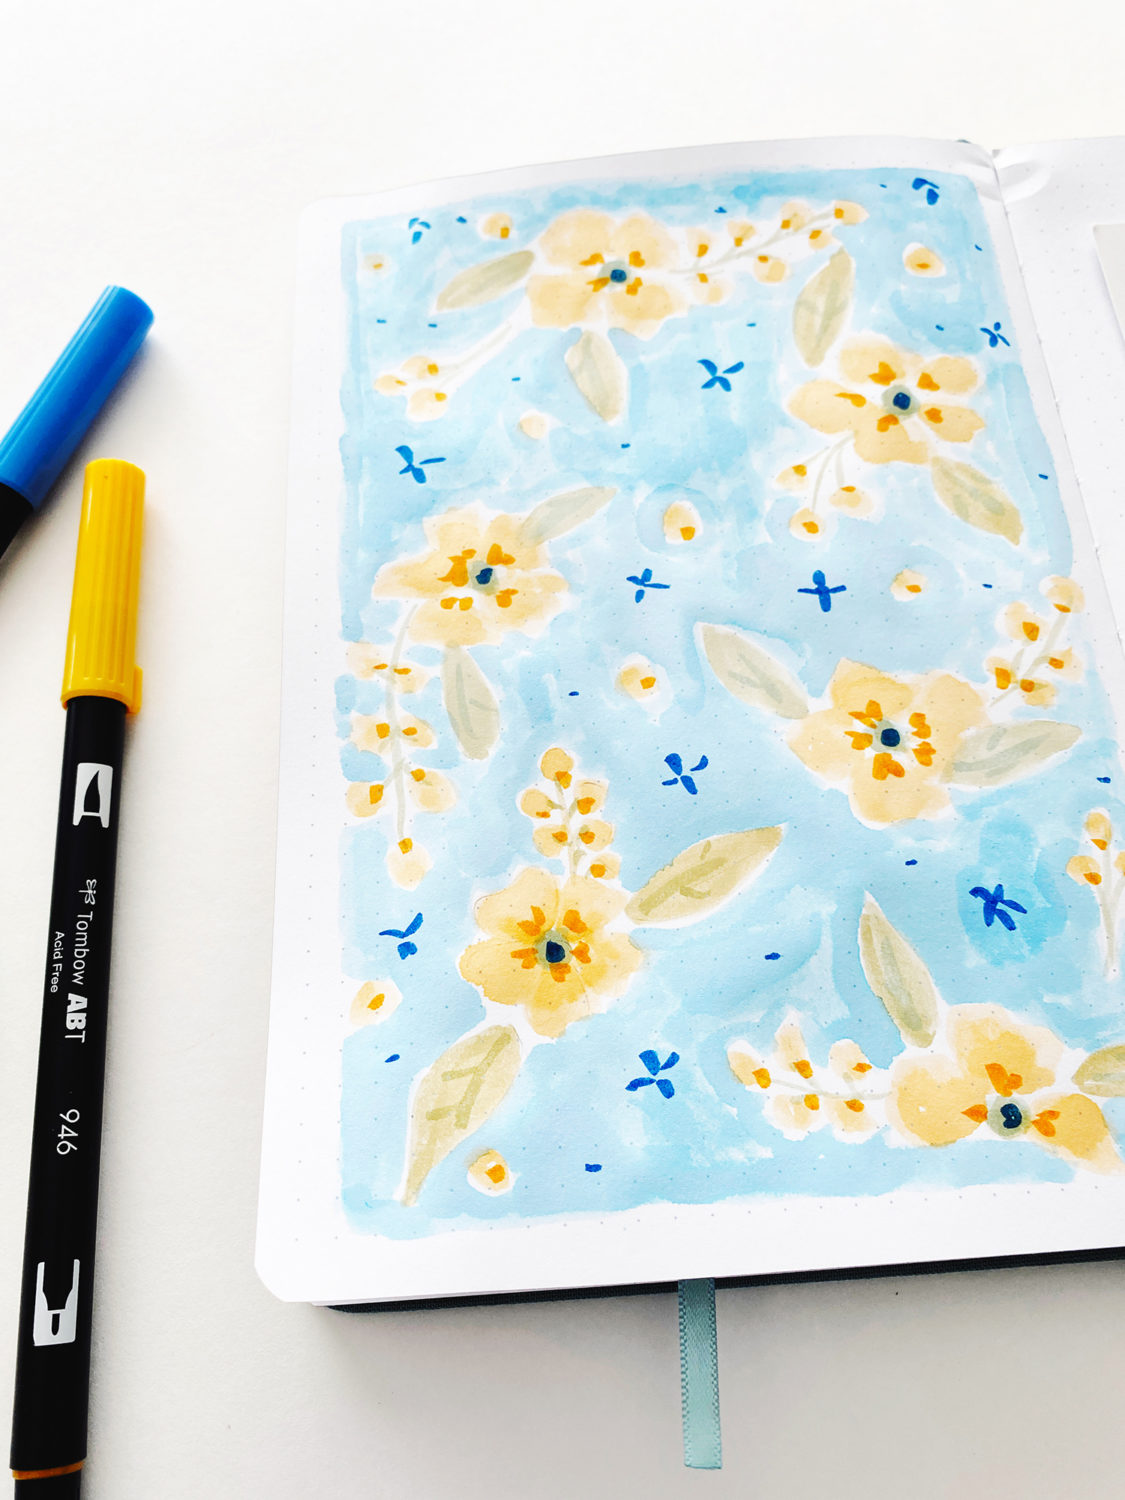
Hello friends, it’s Smitha! Today, I have a fun blog post showing you how to create a watercolor floral pattern.
Materials:
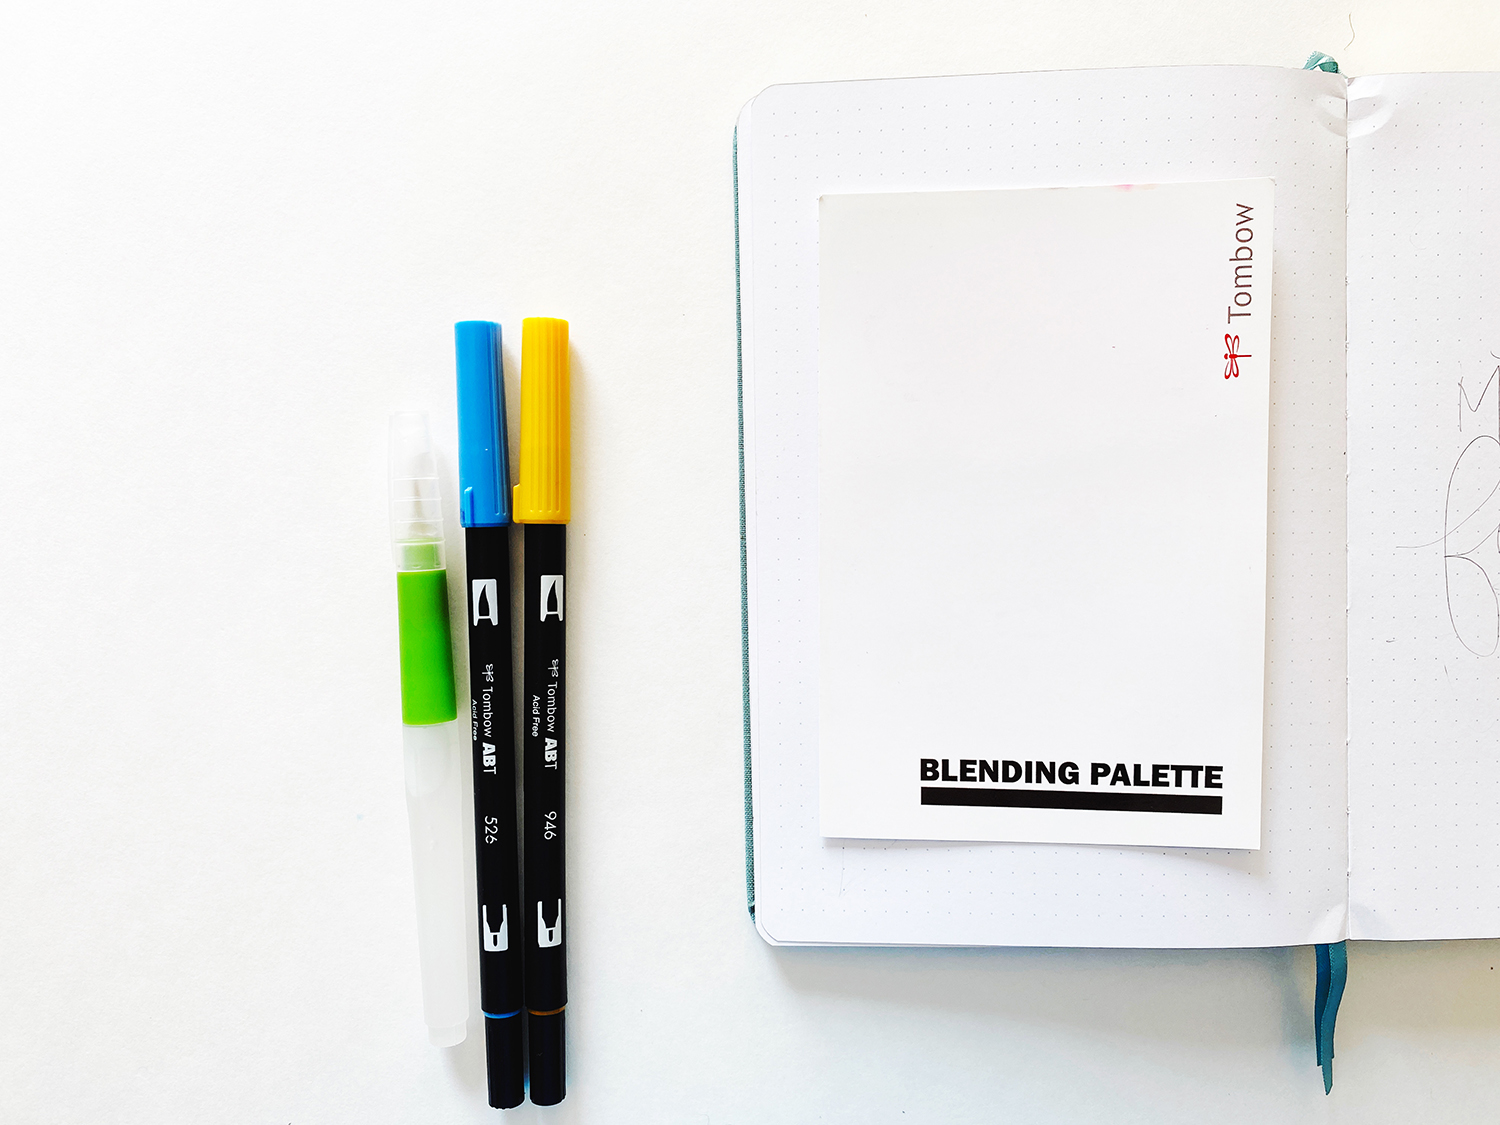
- Dual Brush Pens
- Blending Palette
- Water Brush, Small
- Dot Journal, sketchbook, or any planner.
Step 1:
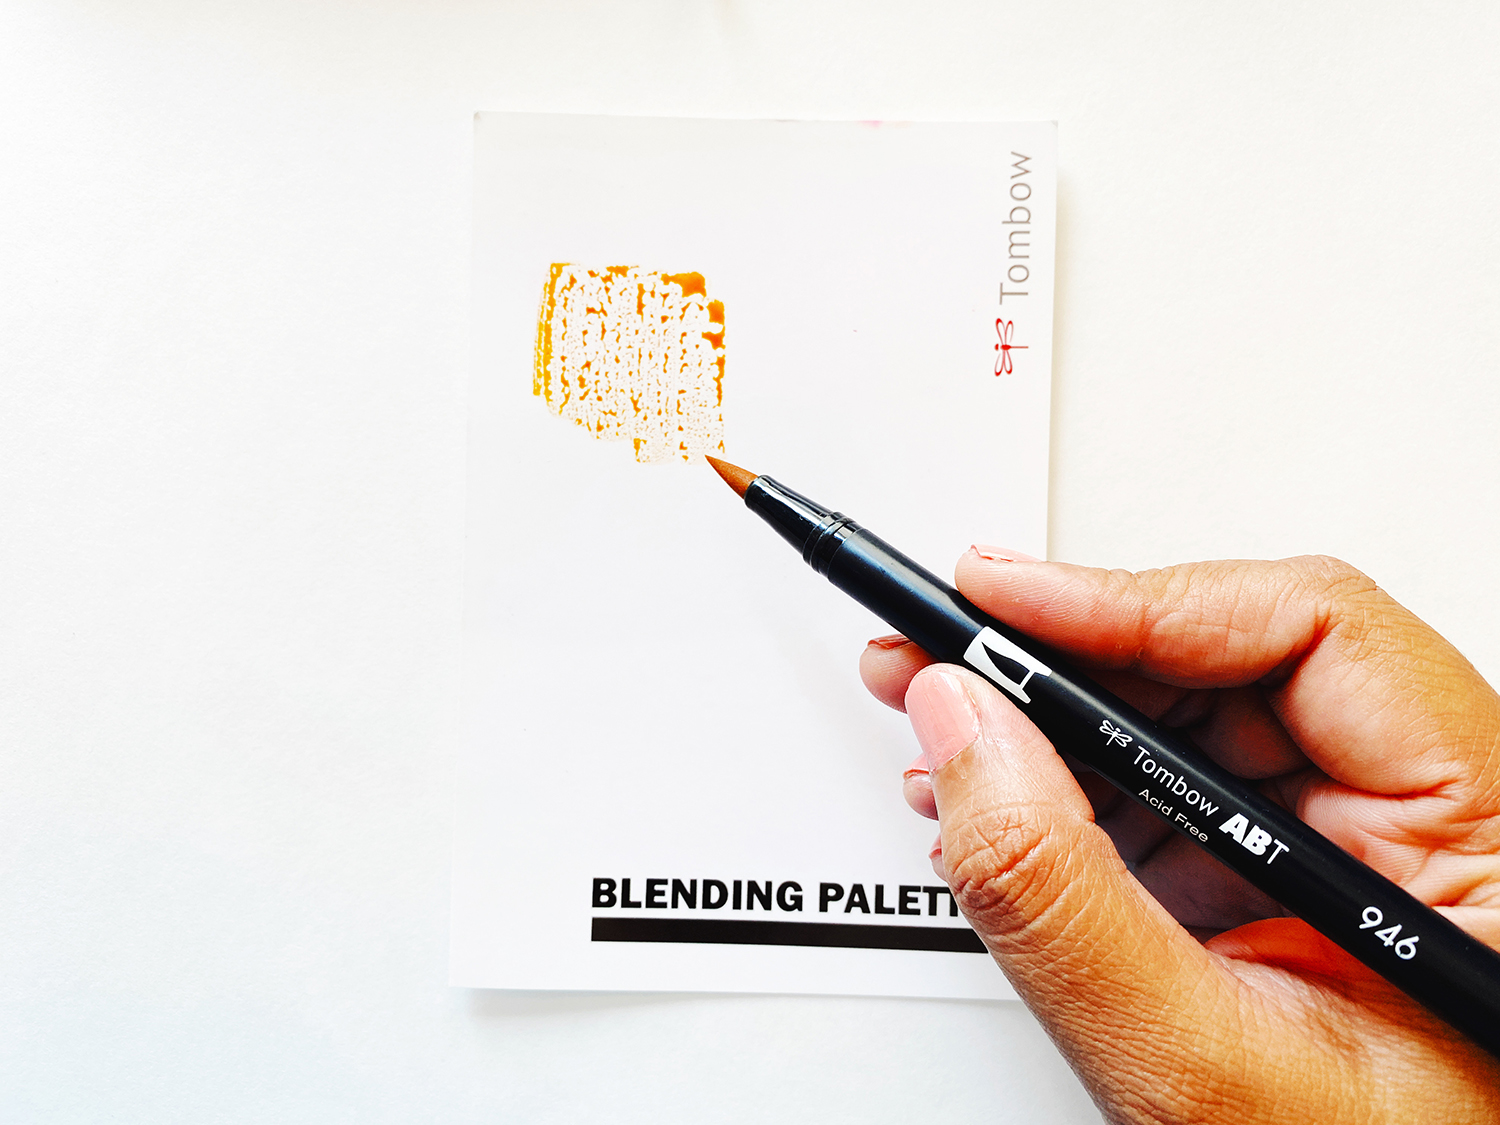
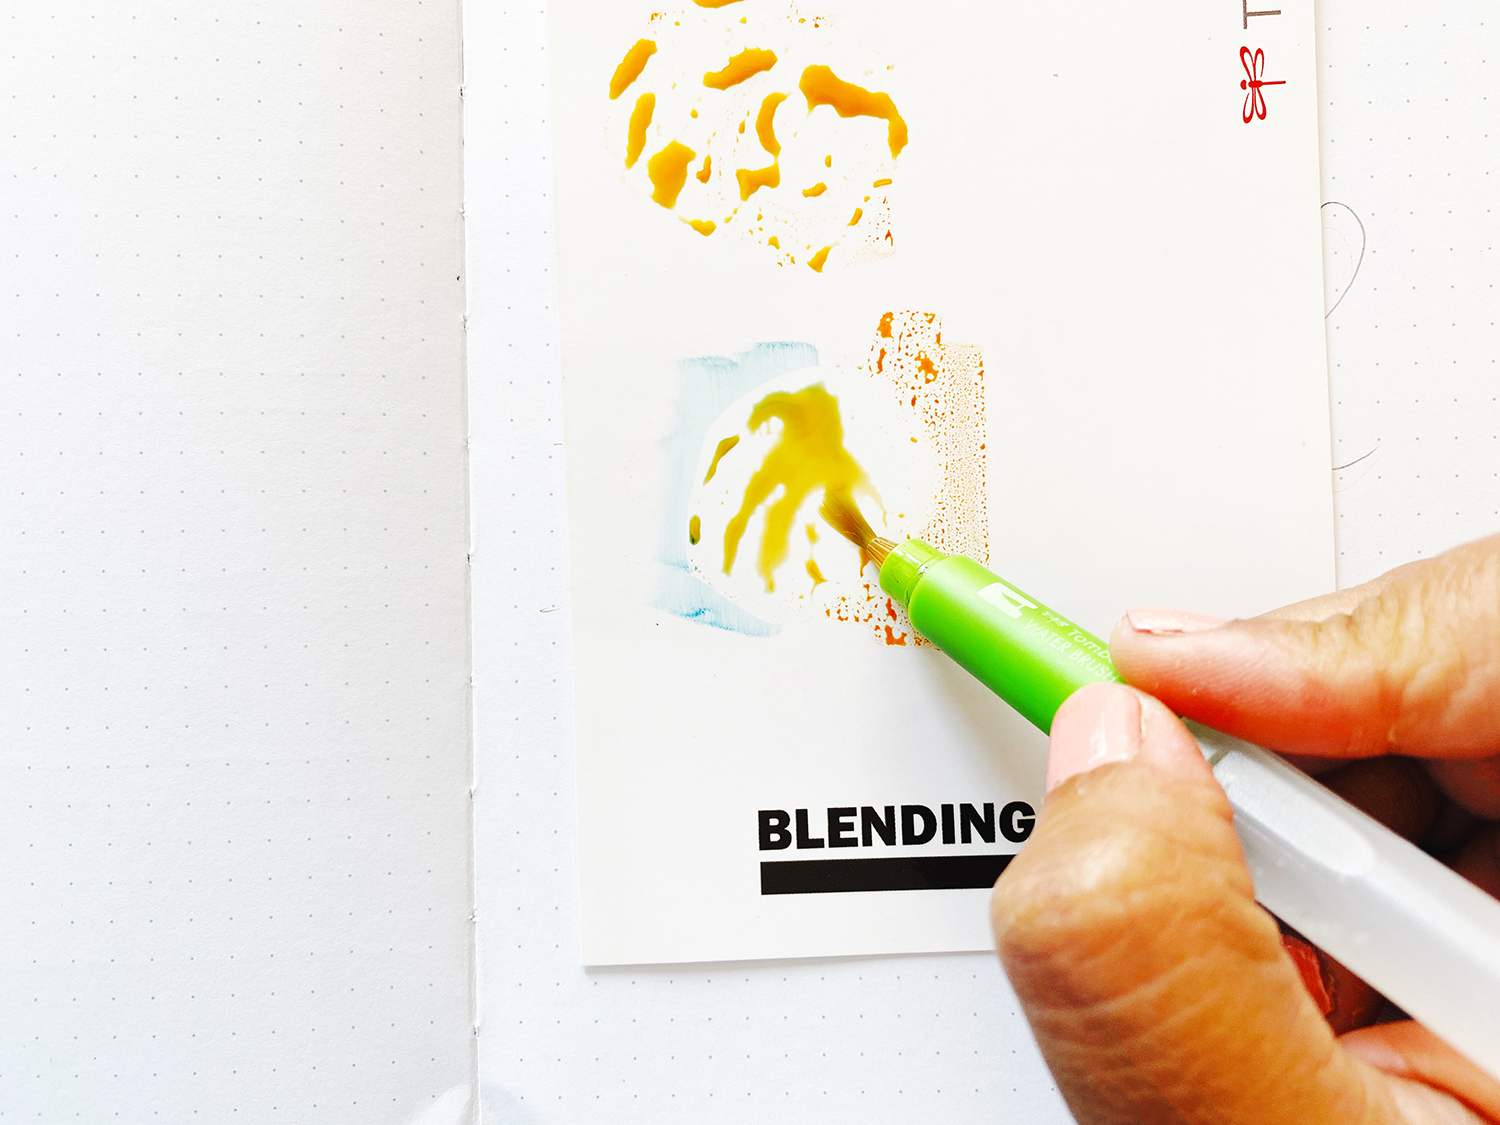
Start by applying your Dual Brush Pen color directly onto the Blending Palette. I’m starting with a soft yellow color for my flowers.
Step 2:
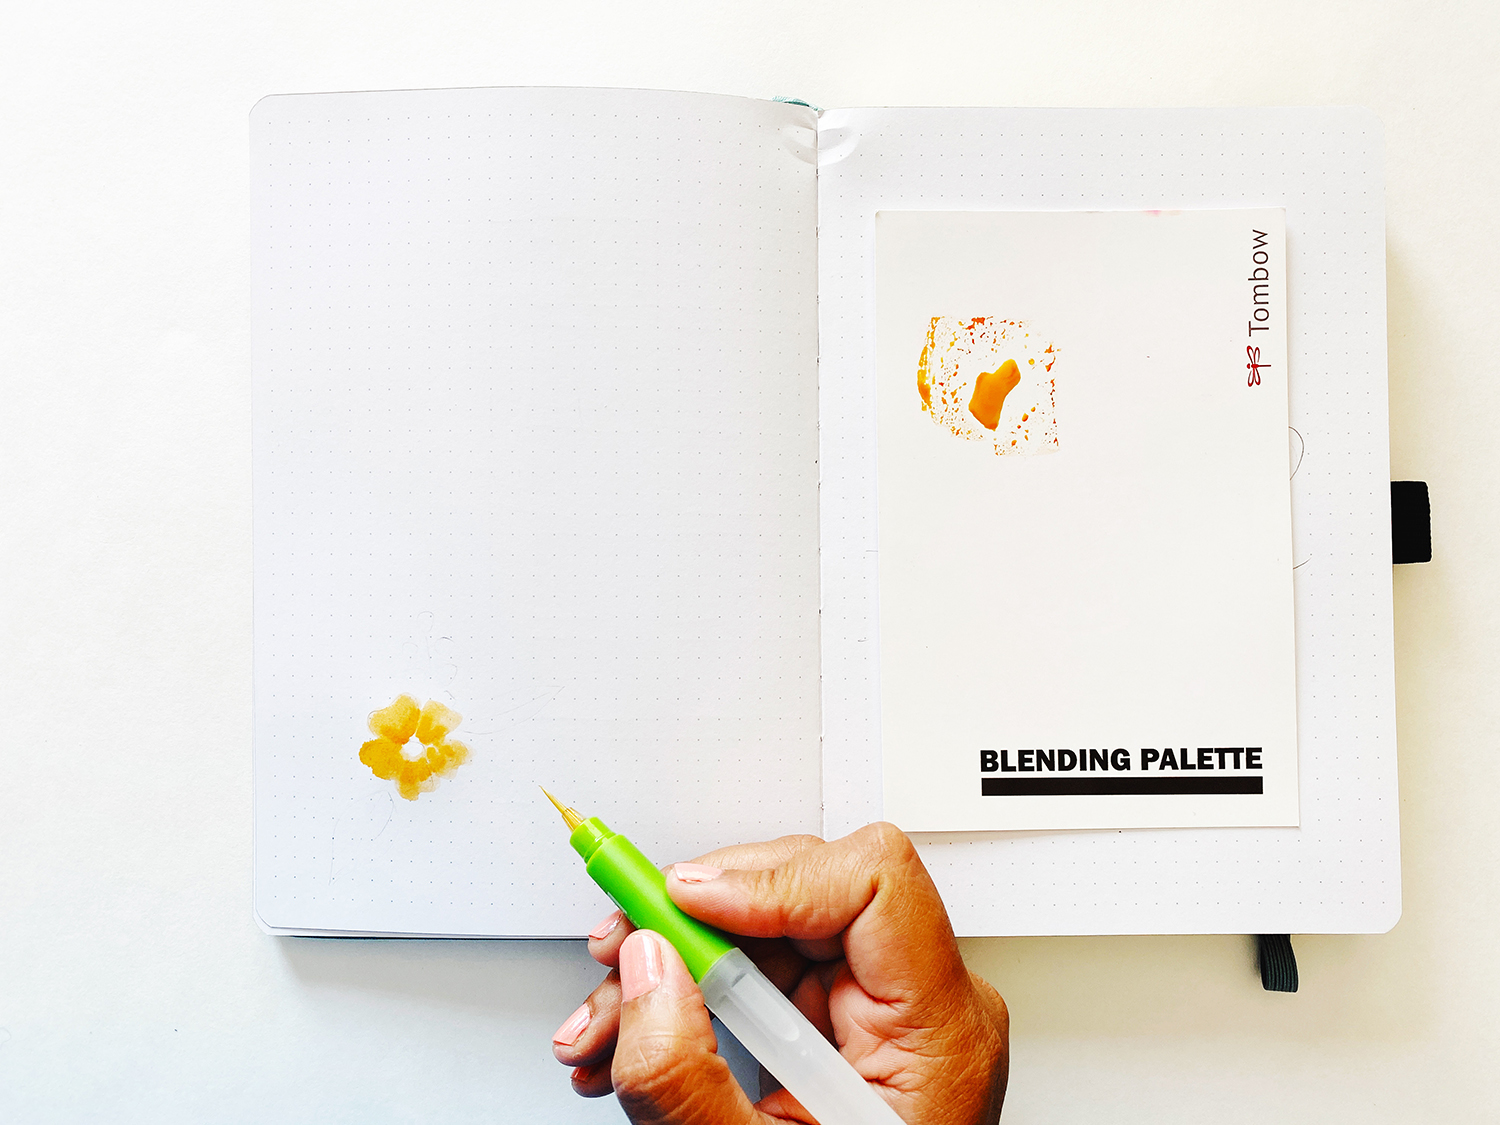
Using the Water Brush, drip a few droplets of water onto the Blending Palette. Mix the water and color directly on the palette and pick up this watery color with the brush. Paint a simple floral shape onto the paper.
Step 3:
Next, add the blue color onto the palette and mix it with the yellow to create a greenish hue. We are using just two colors to create this pattern!
Step 4:
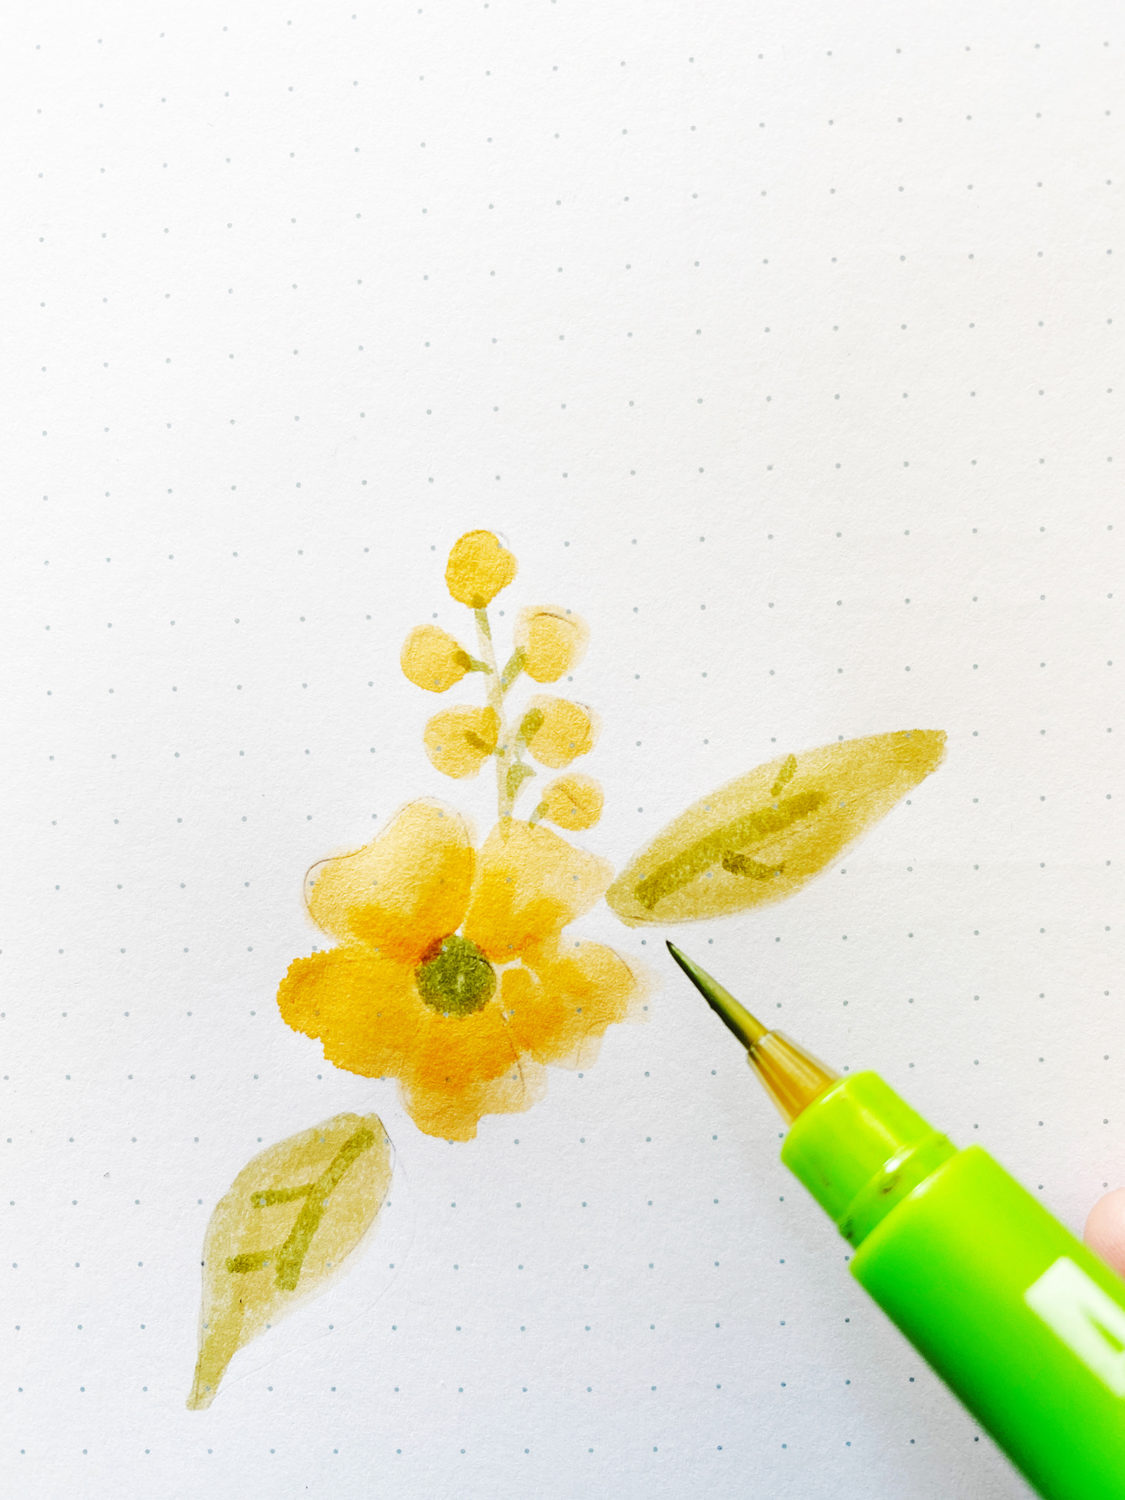
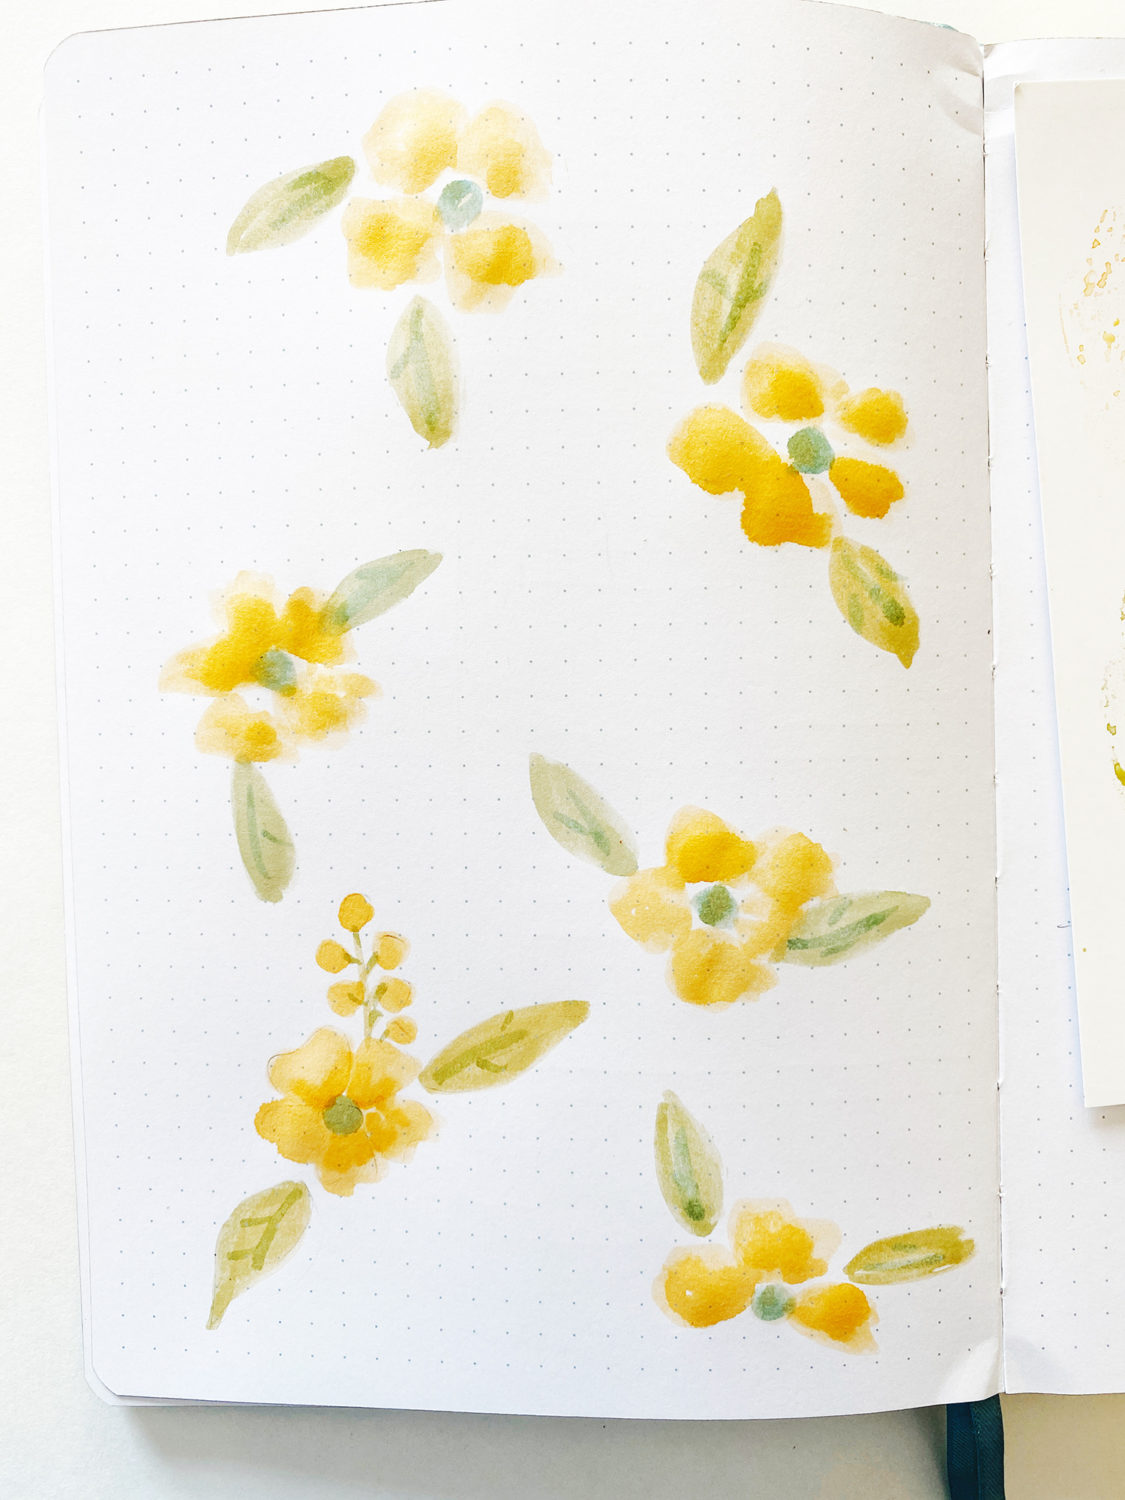
Pick up the mixed color onto the brush and paint some leaves around the flower. Repeat these steps a few times to paint a few flower bunches around the page.
Add a few incomplete flowers, a few berries and buds to add more interest to the illustration.
Step 5:
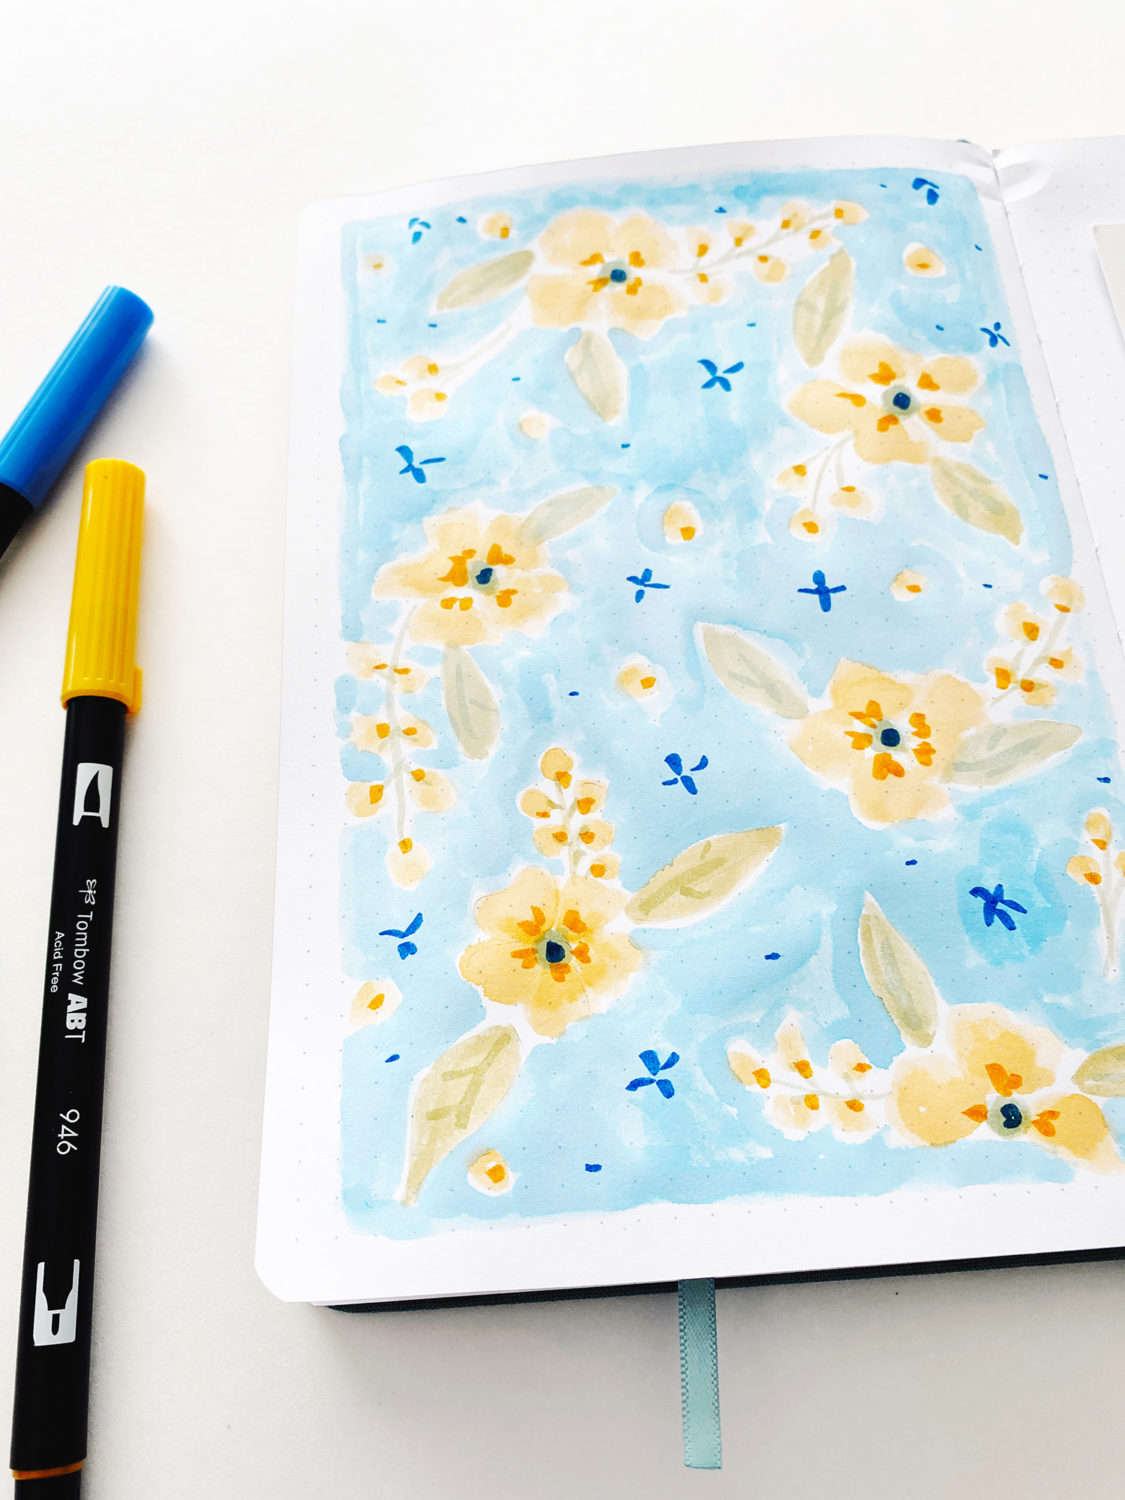
Finish off the pattern by filling the background with a soft blue color. Water down the blue as much as you need to create a softer version of the color.
Directly add marker details on top of the watercolor florals as the final step.
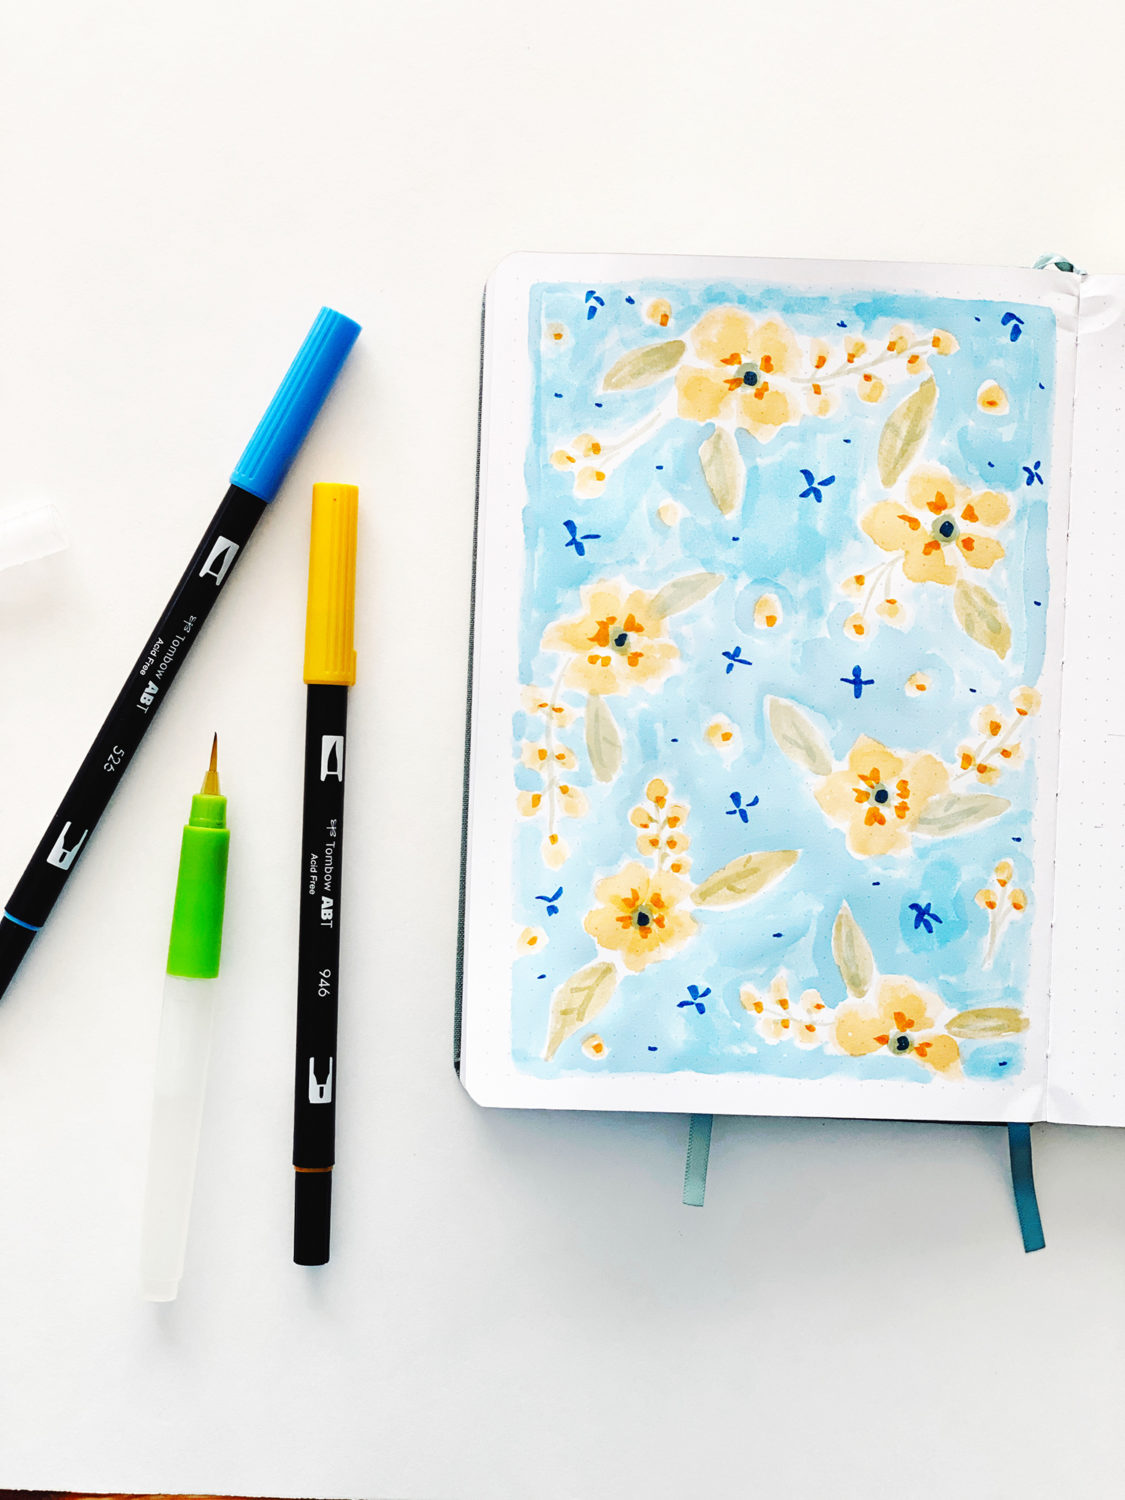
There you have it friends! A simple, soft and beautiful floral pattern using just two colors of Dual Brush Pens! I love how all the colors tie in nicely since we mixed the hues ourselves.
I hope you enjoyed this watercolor floral tutorial friends! Happy crafting!
Smitha
