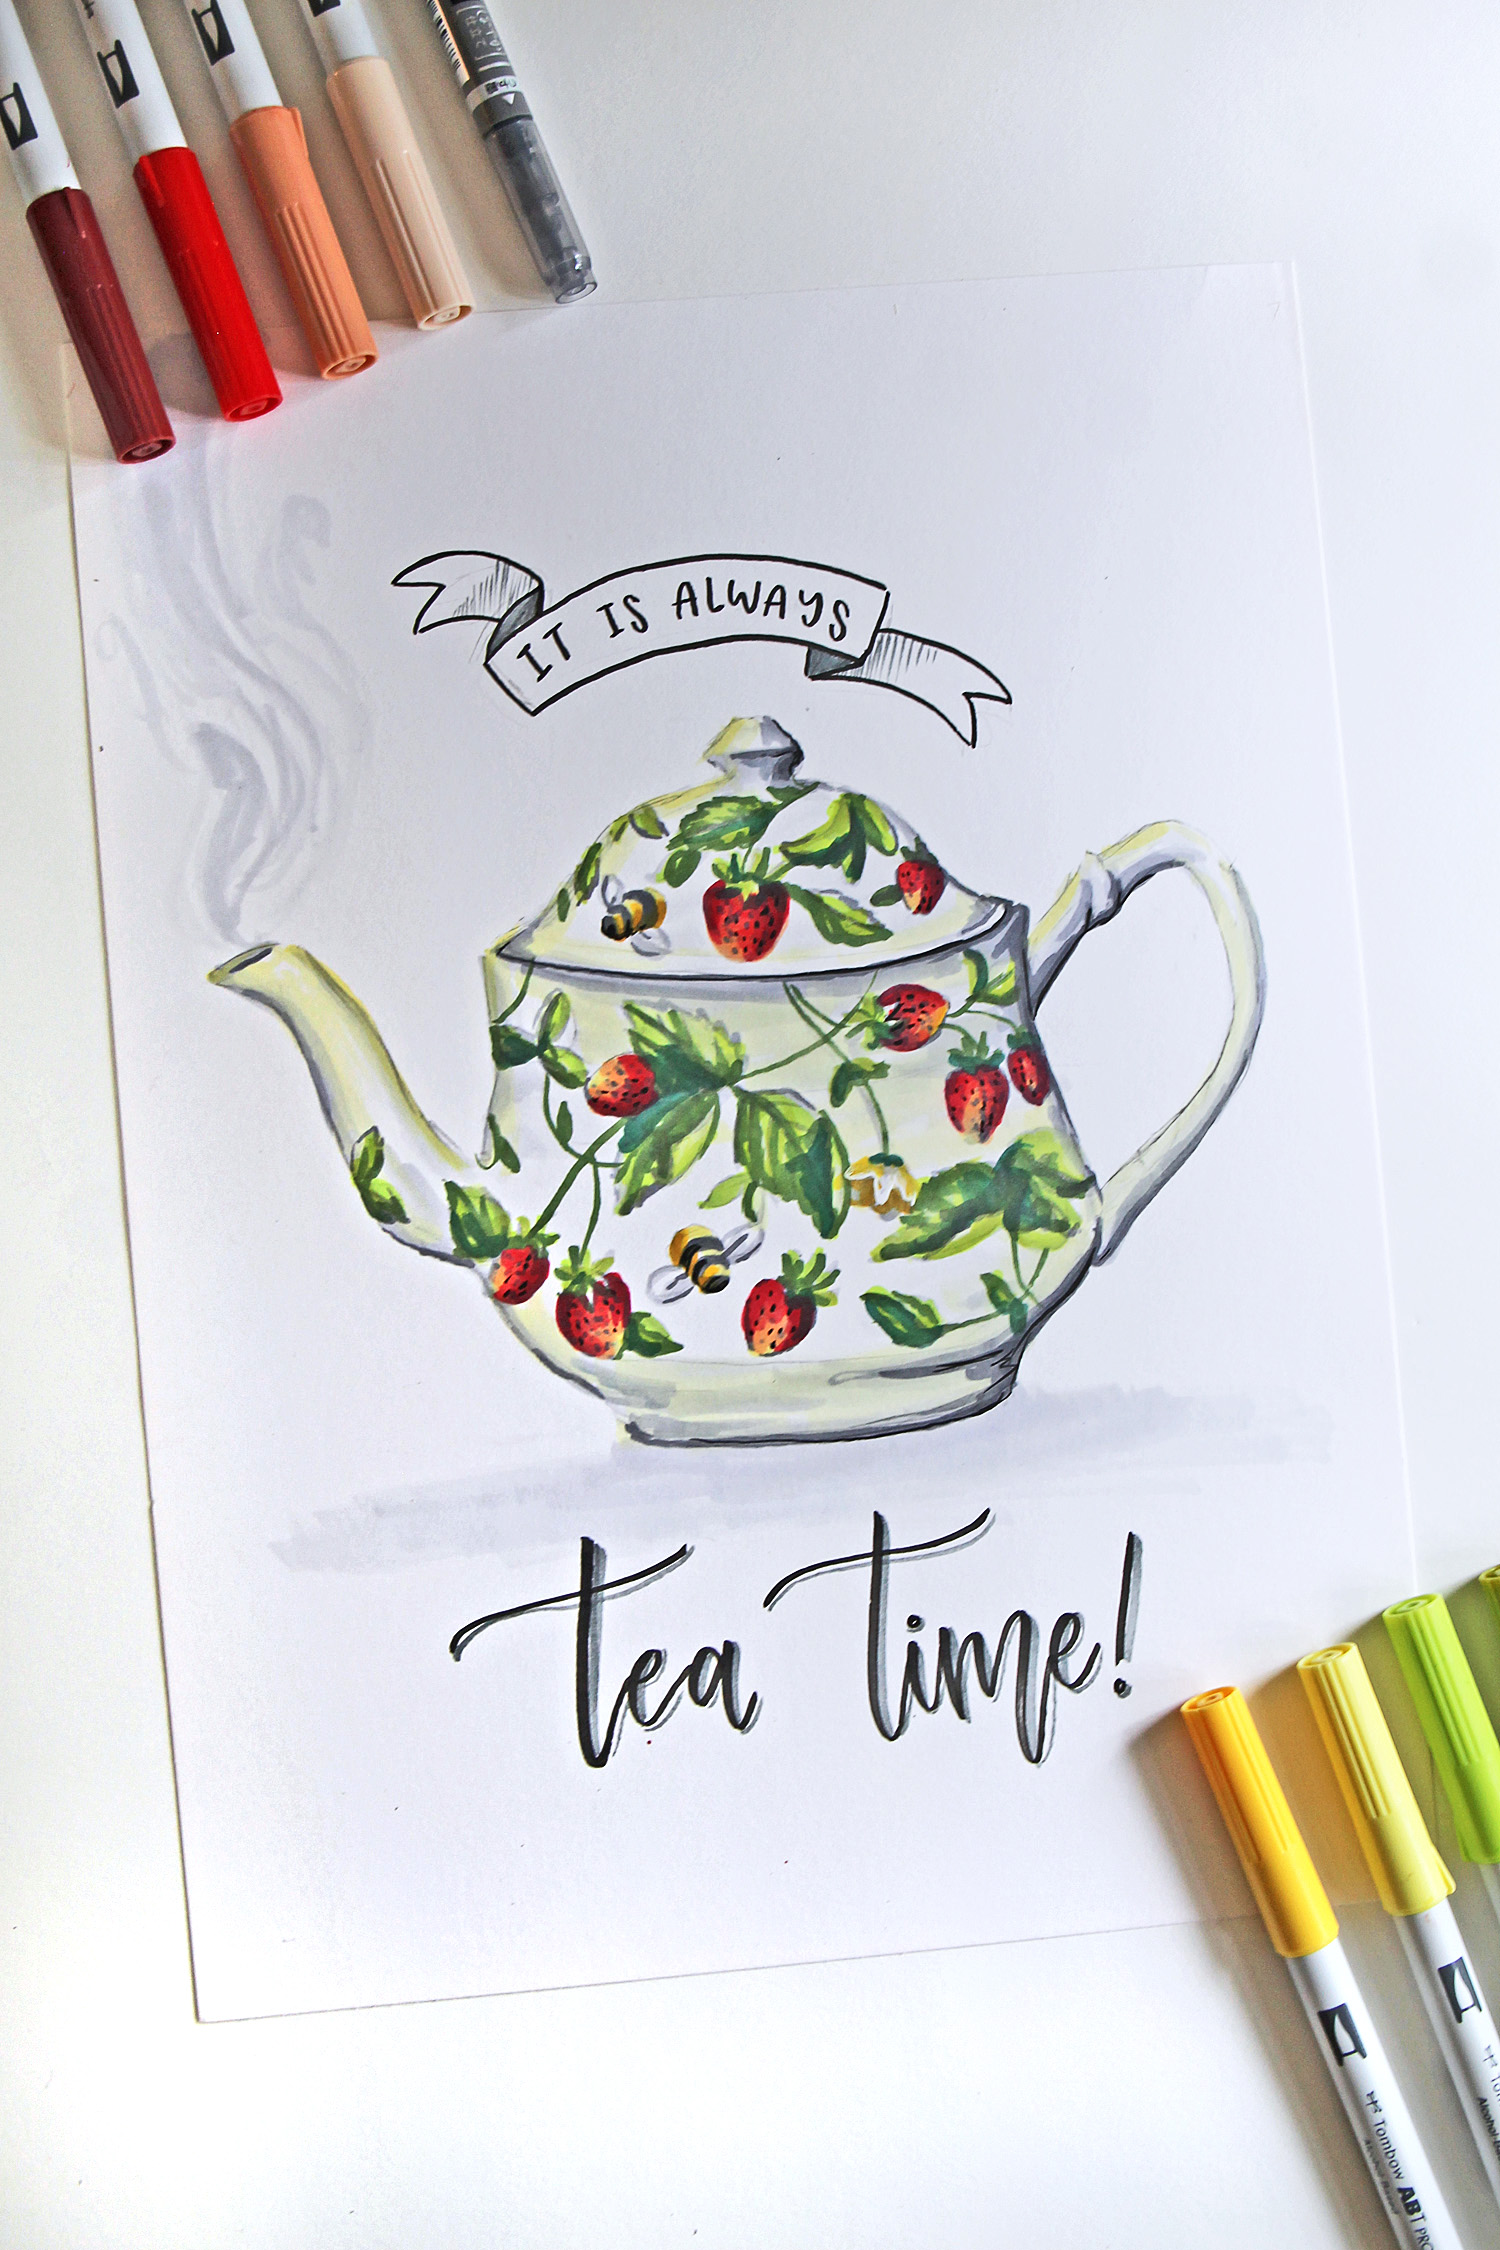
Hey everyone, Katie here! This week on the Tombow blog, the Design Team is creating projects inspired by our guilty pleasures. Mine is tea. I love a good cup of tea! Today, I am illustrating a vintage strawberry teapot and wanted to take the opportunity to show you a really cool technique: Grayscale coloring!
For this technique, you complete your drawing in shades of gray first and then “glaze” over top of it in color.
Other terms for this technique include grisaille or a value underpainting.
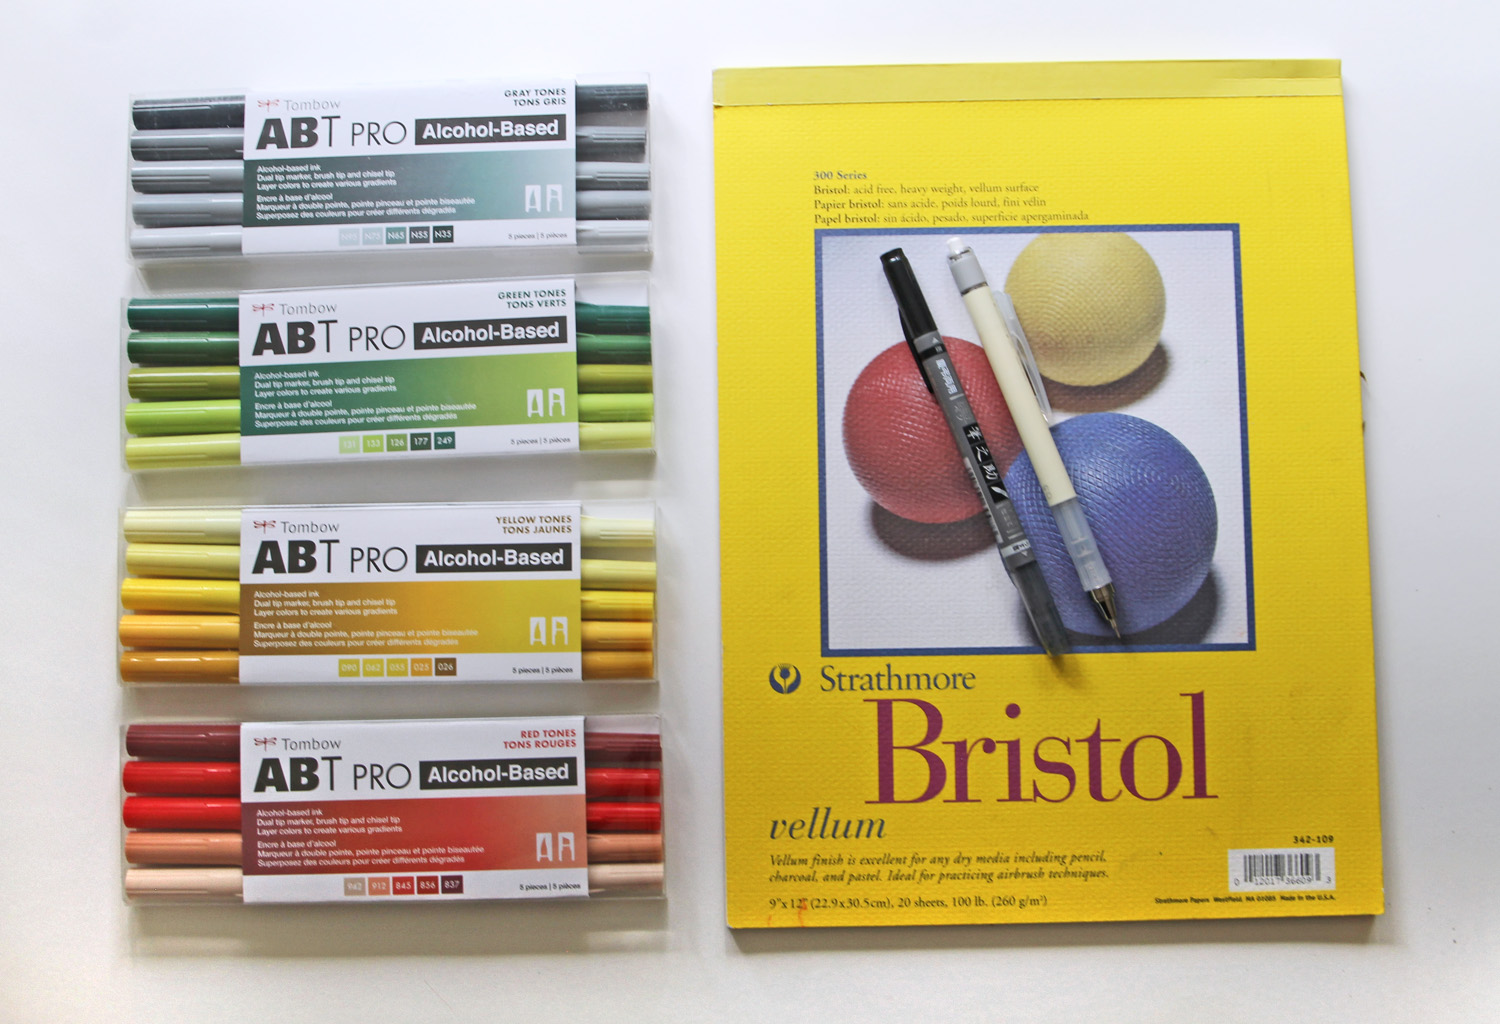
Supplies:
- Tombow ABT PRO Alcohol-Based Markers. You can purchase them individually here or I used the ABT PRO 5-Packs in these colors: Gray Tones, Green Tones,Yellow Tones, and Red tones.
- Tombow MONO Graph Mechanical Pencil
- Bristol Paper or a similar marker paper.
- Tombow Fudenosuke Brush Pen Twin Tip(optional)
Step one:
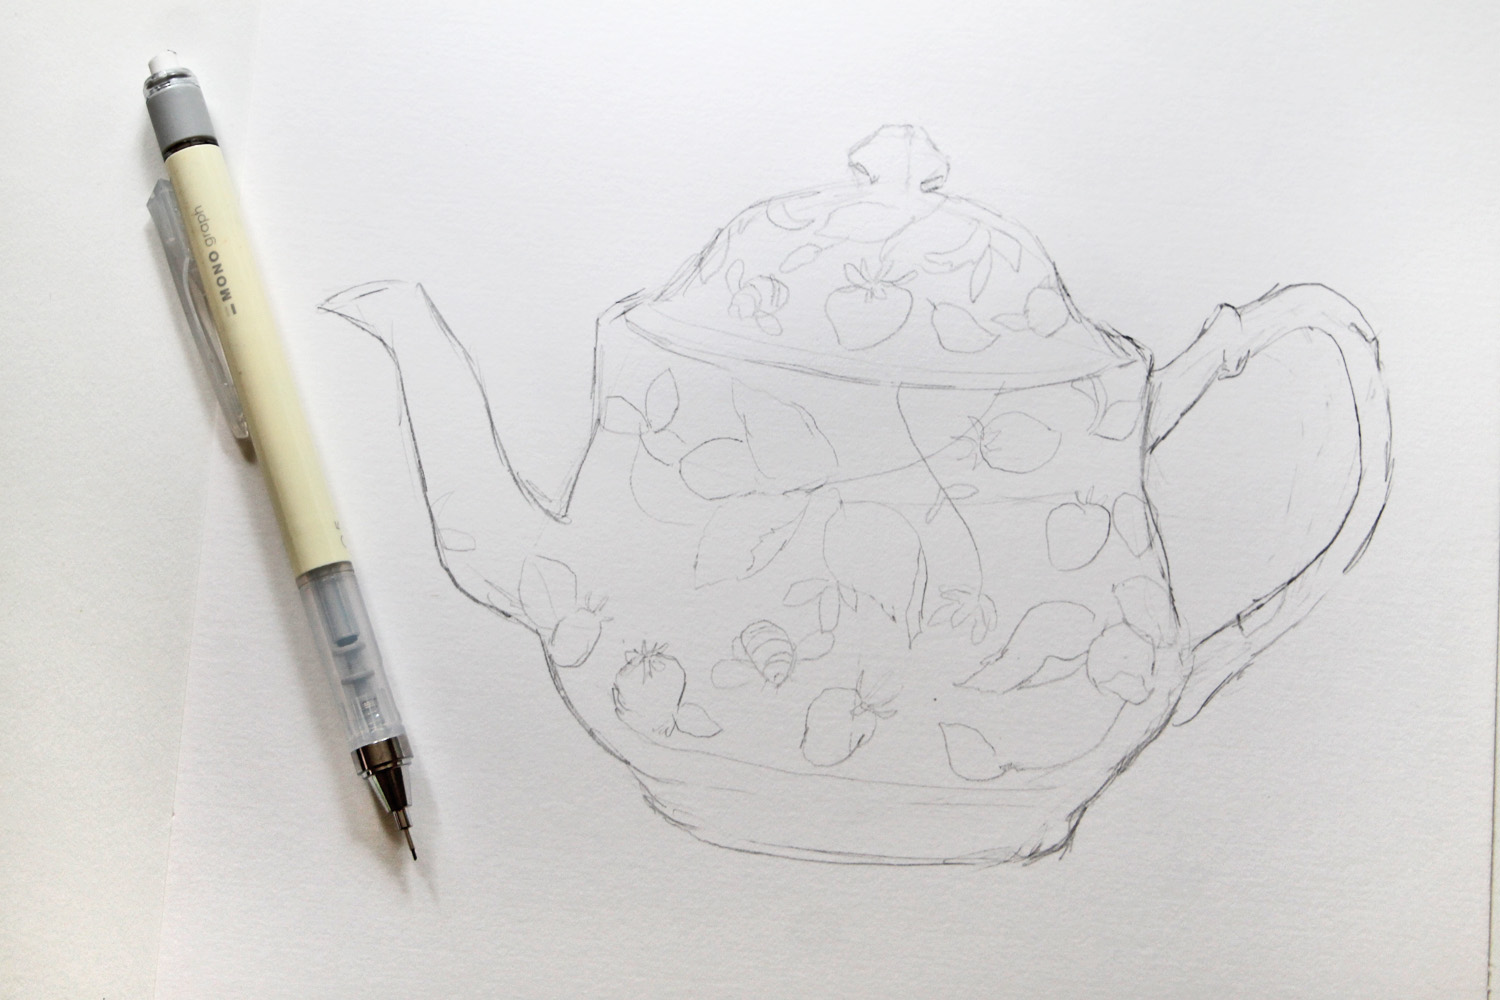
Start by sketching out your design onto a piece of bristol paper using the MONO Graph Mechanical Pencil. I looked up some photos of vintage teapots to reference for my drawing.
Step two:
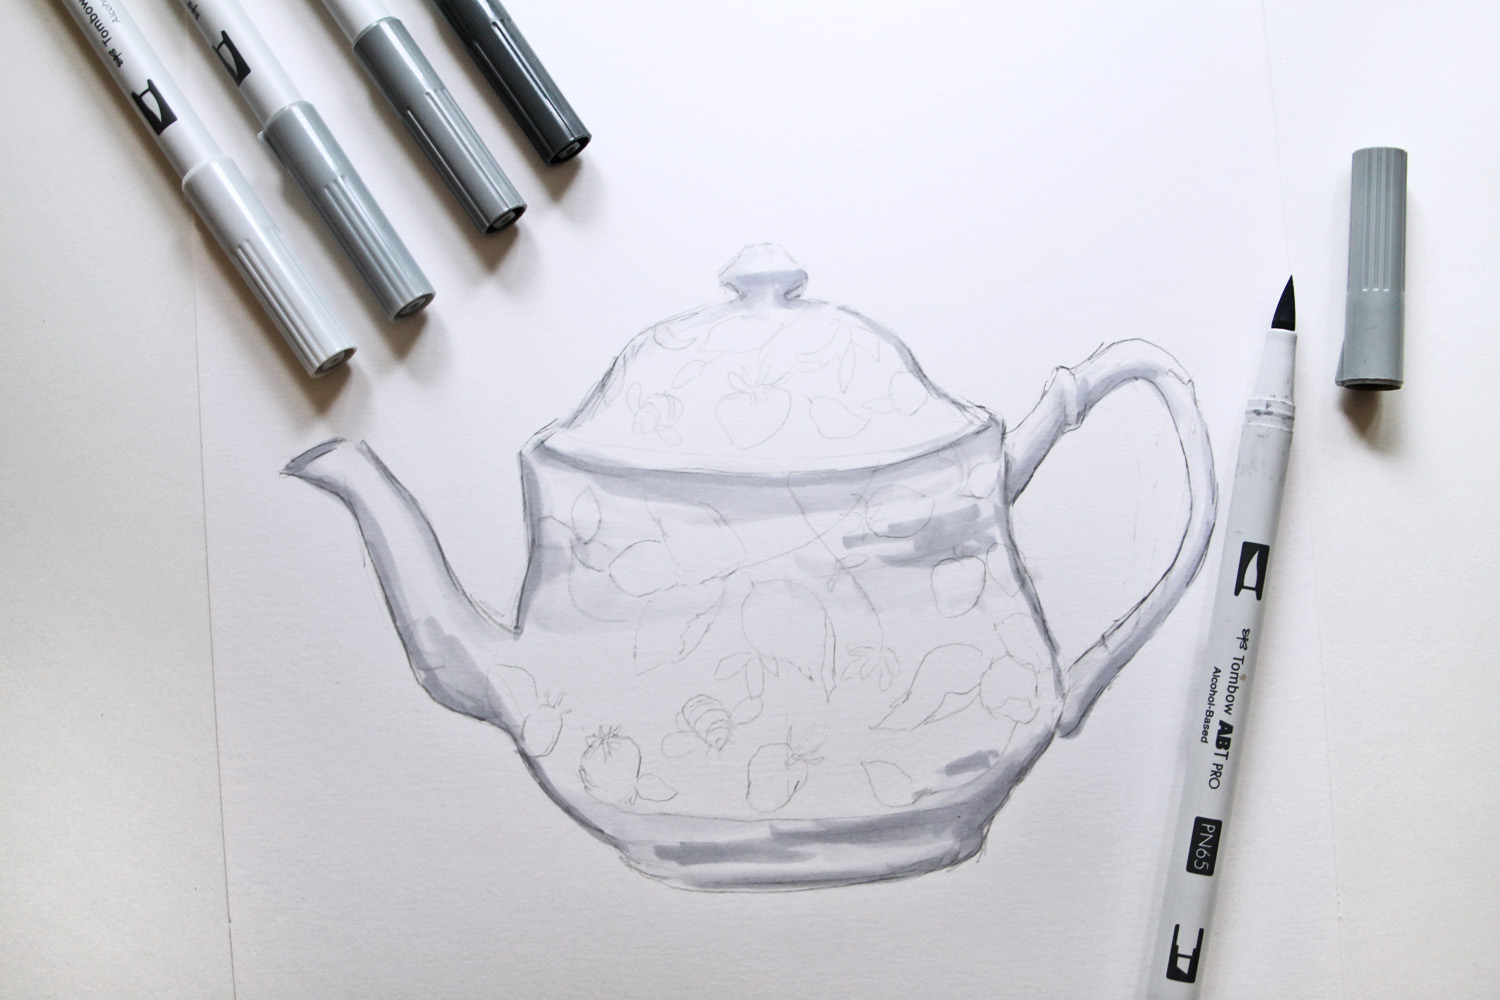
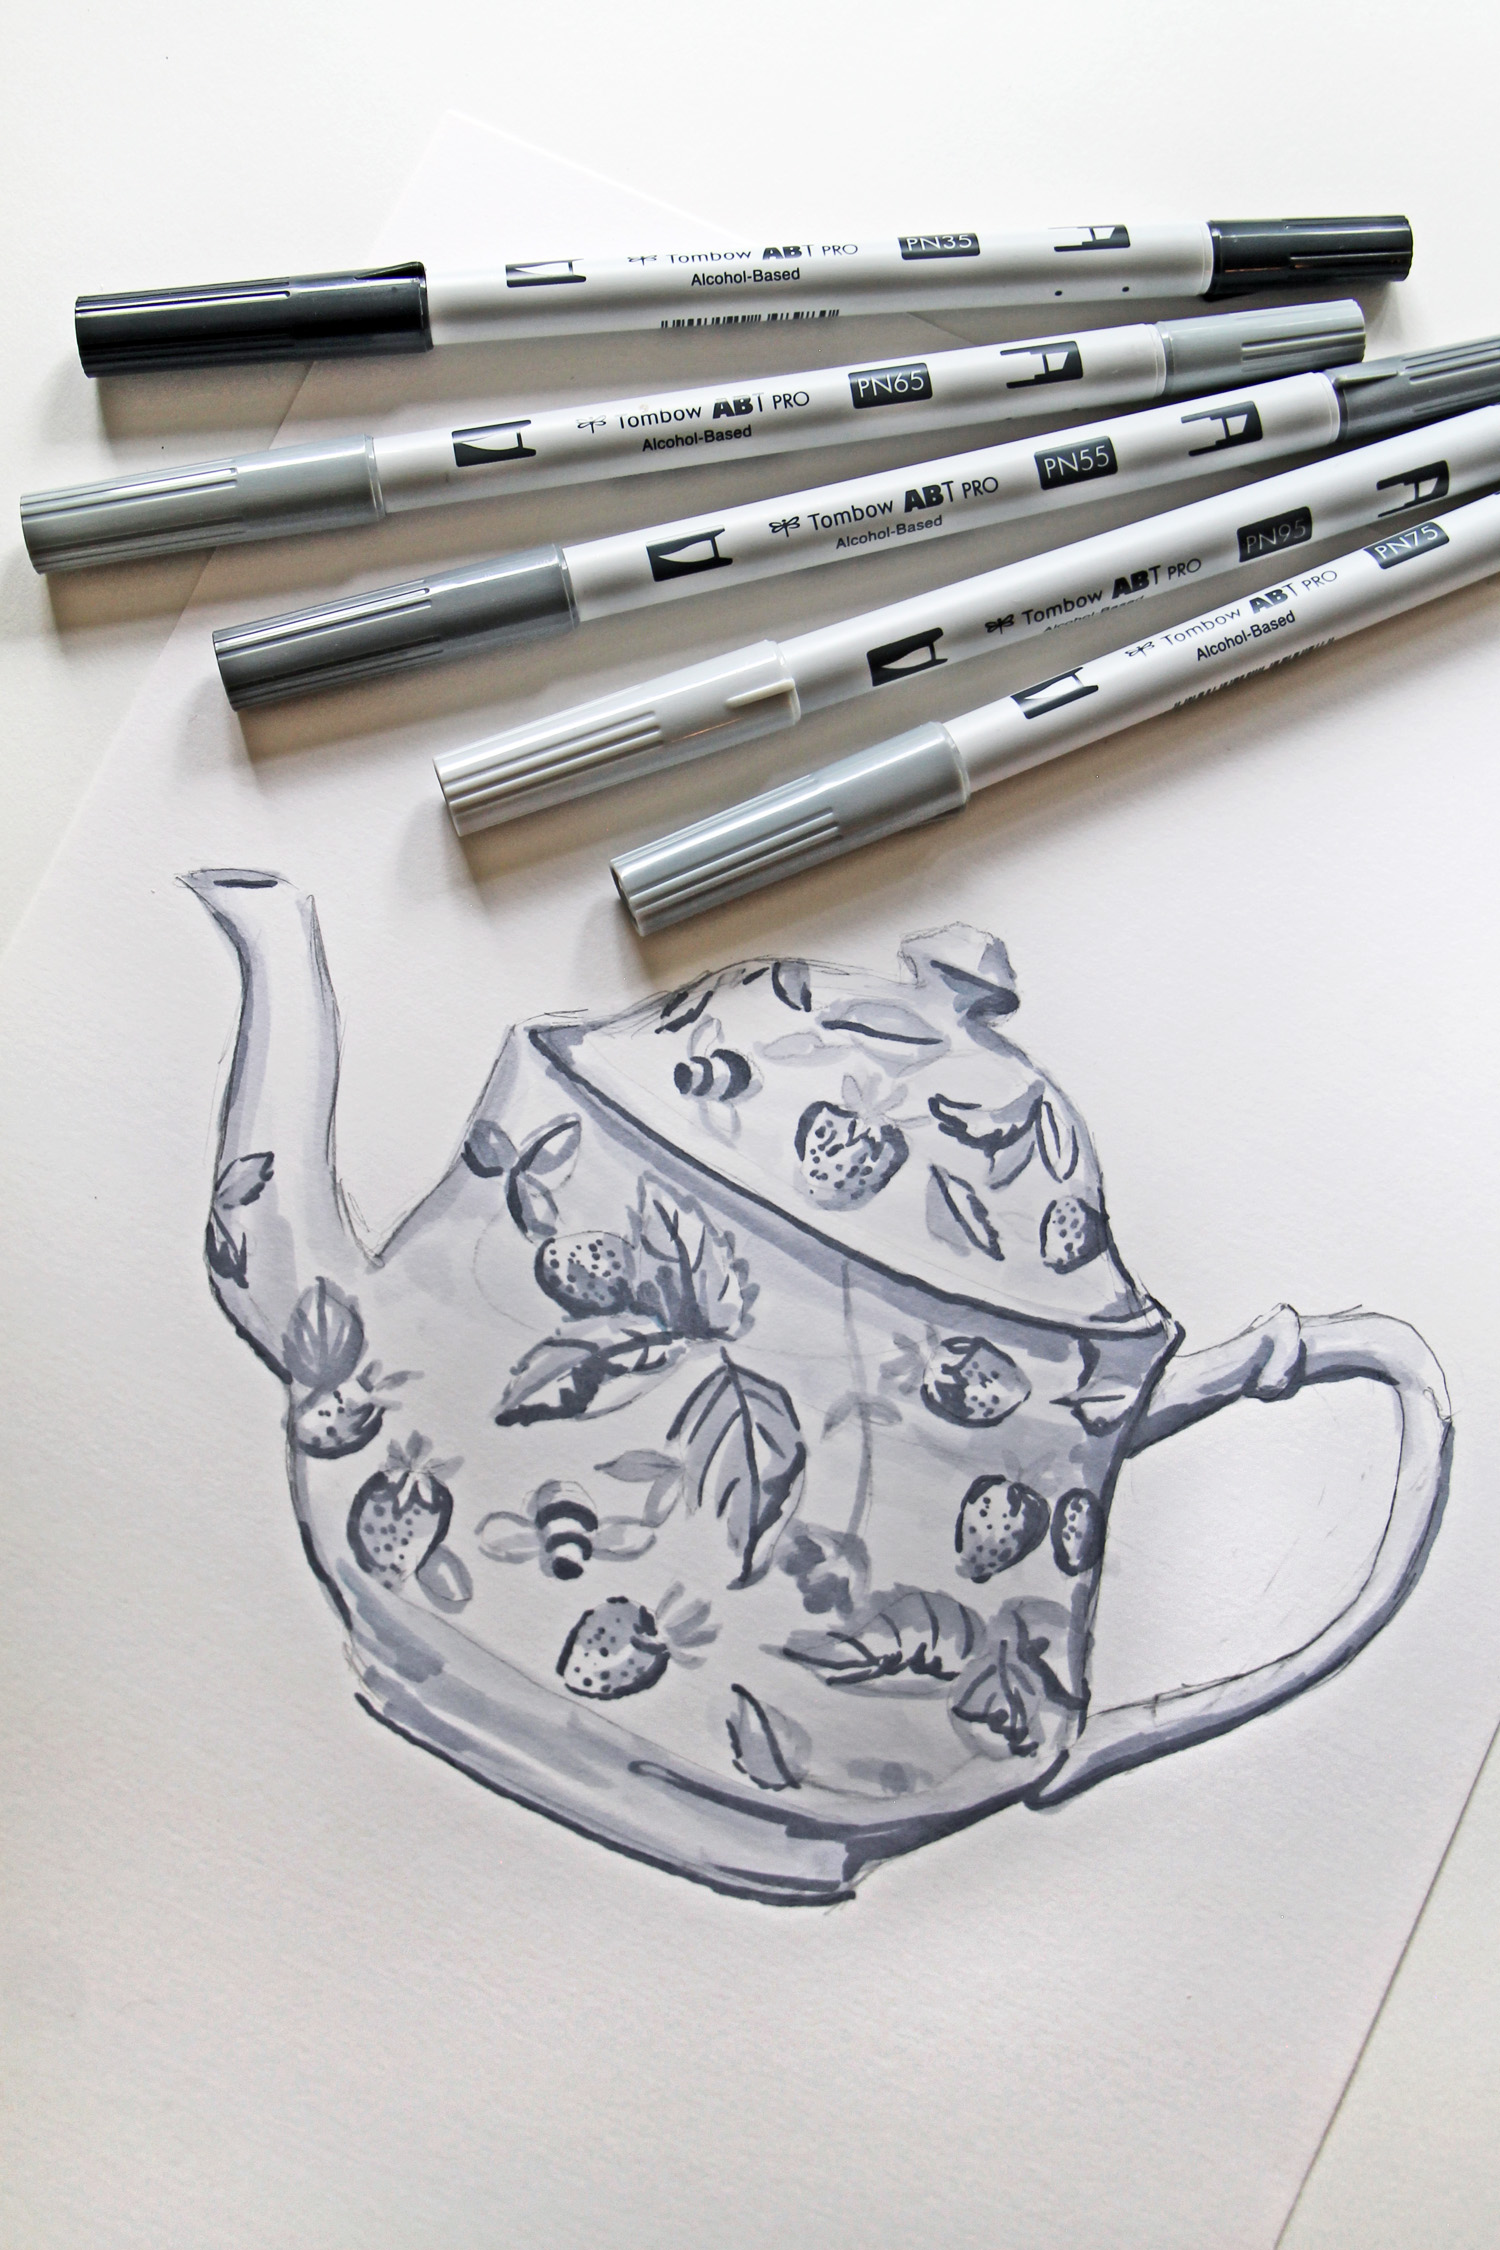
Now, we’ll begin by coloring the teapot in shades of gray. For this technique, you want to get your values down in gray before adding color. So, think about where the shadows and light are on your drawing. If you’re working from a reference photo, it can help to convert your photo into black and white.
I like to start with the lighter grays and then deepen the shades with the darker tones. Continue with your grayscale coloring until you’re happy!
Step three:
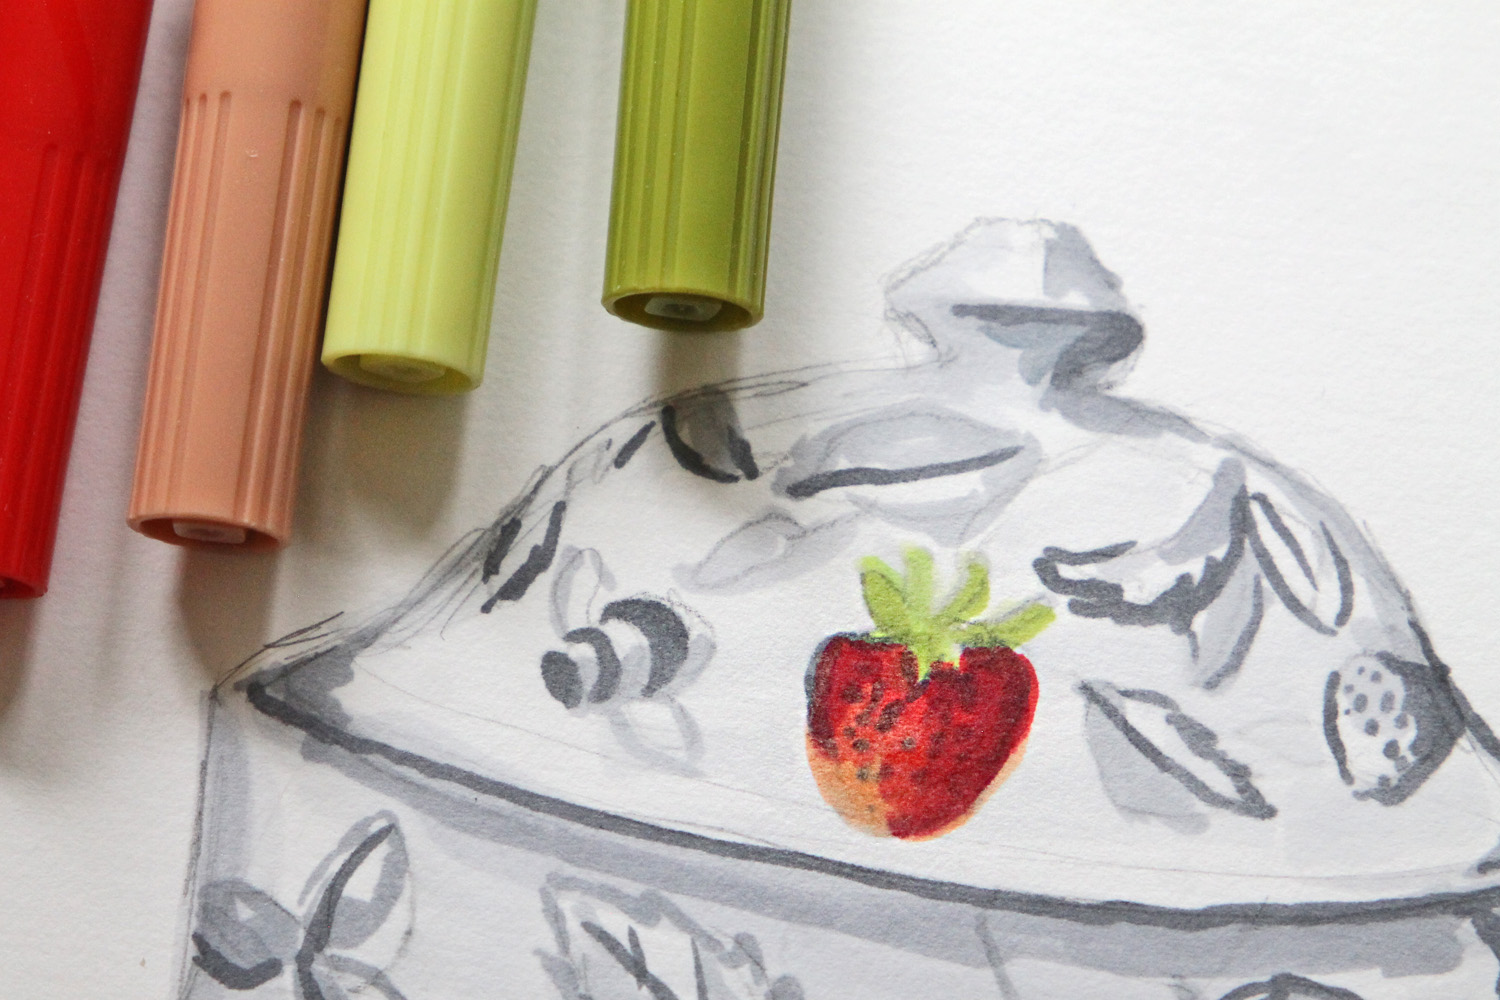
Once you have your drawing done in gray tones, it’s time to add the colors! The gray values will show through the colors, so you need less variety of colored markers. You only need 1-2 reds instead of needing multiple shades of red.
Glaze over top of the gray tones with the colored ABT PRO Markers.
Step four:
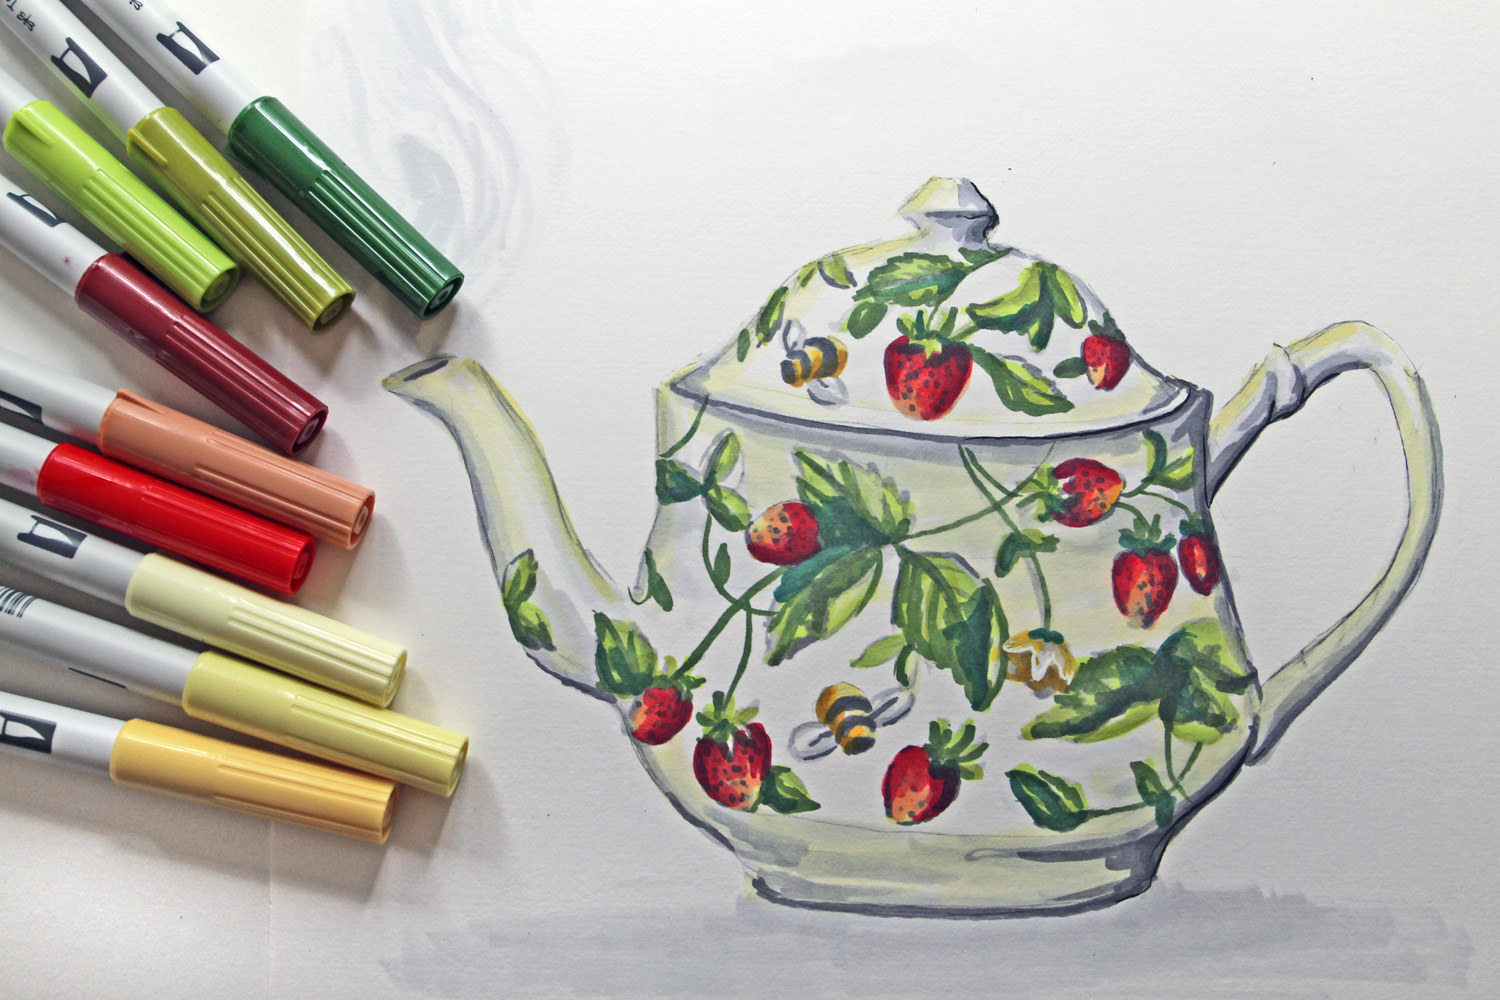
Continue until you’ve finished coloring your piece.
Step five:
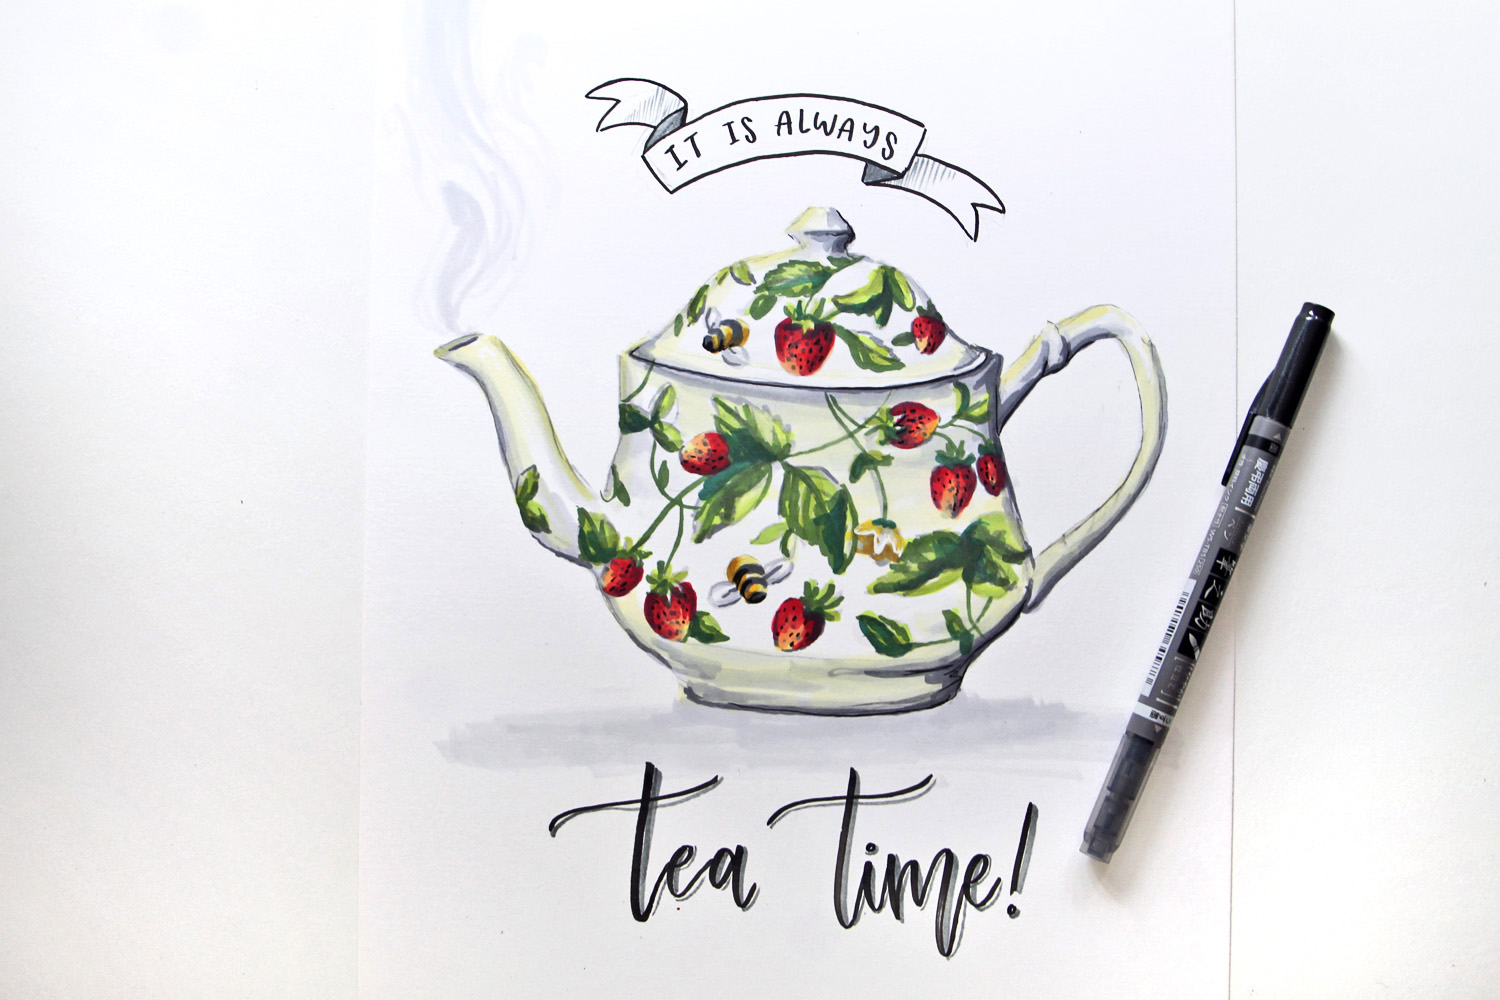
This is an optional last step. You can also use the Twin Tip Fudenosuke Brush Pen to add an outline or hand lettered embellishment. The Twin Tip Fudenosuke Brush Pen has a black brush tip on one end and a gray tip on the opposite end. So, it’s great for doing lettering with a shadow!
I hope you enjoyed learning this technique! If you give it a try and share it, feel free to tag @tombowusa & myself @studio.katie so we can see!