Hi everyone, Katie here! Today, I want to show you how to paint watercolor galaxies! The galaxy trend is still huge and honestly, I believe that galaxies will never go out of style! I just love them! If you do as well and want to learn how to create your own galaxy art, keep reading to learn two different methods using Dual Brush Pens!
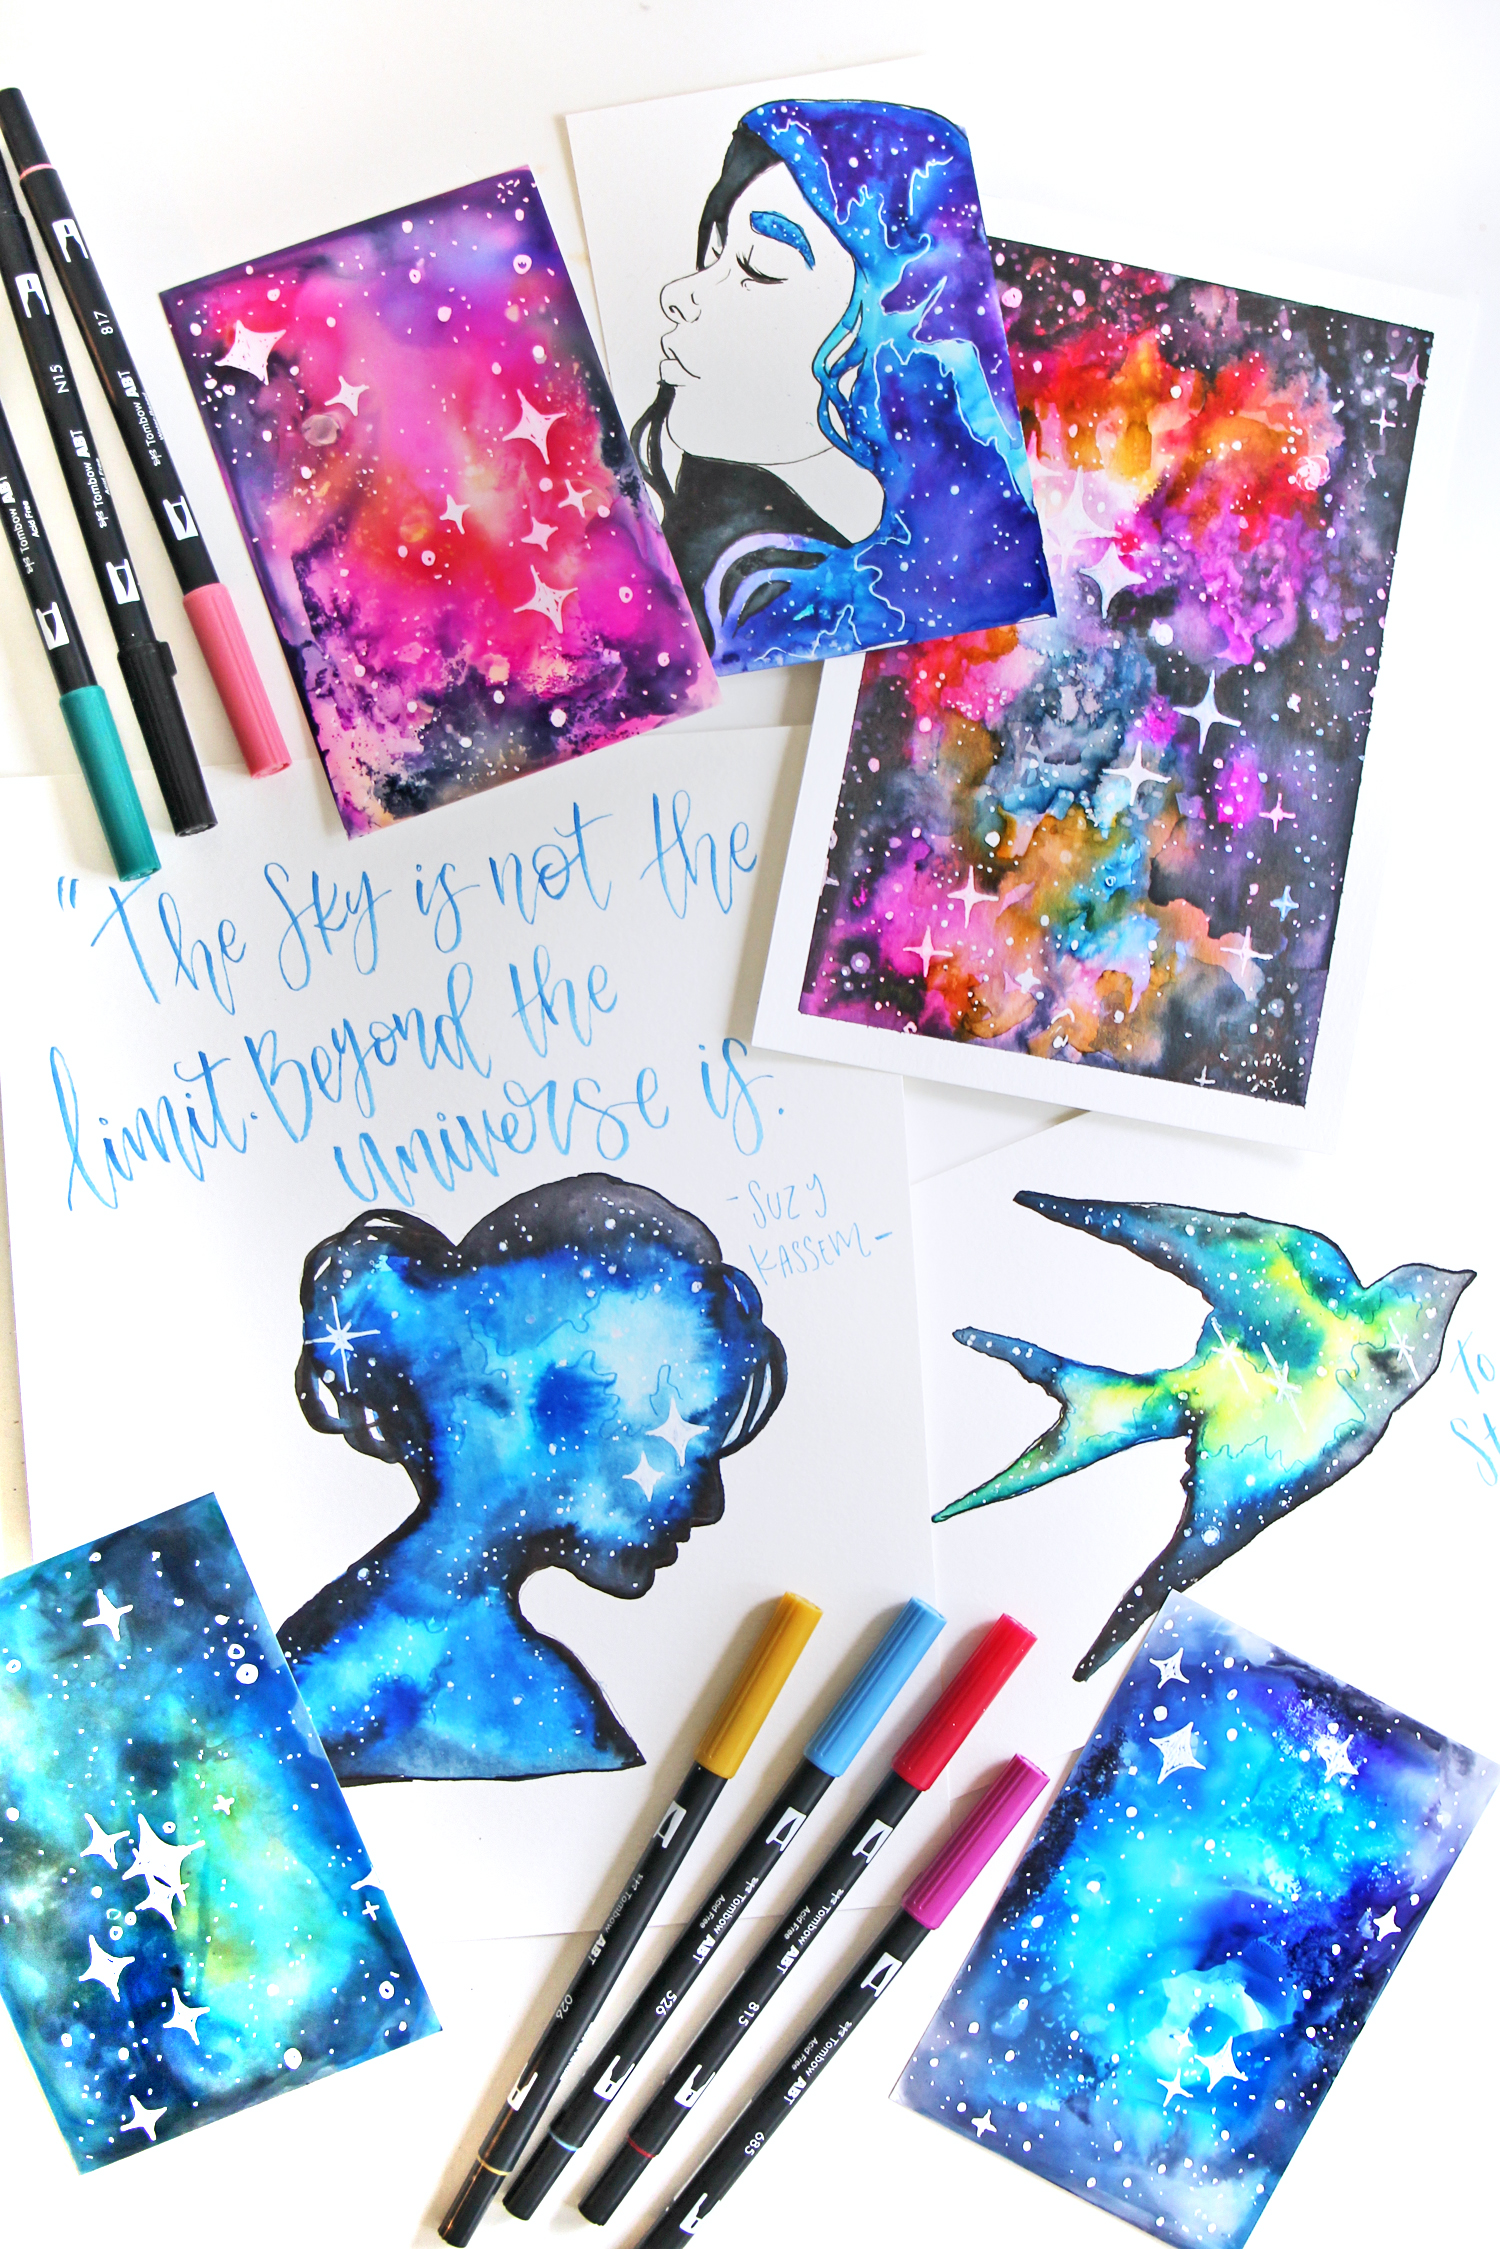
Supplies:
- Tombow Dual Brush Pens Galaxy 10-Pack (or your favorite Dual Brush Pen colors)
- Tombow MONO Glue Pen
- Glossy photo paper
- 140 lb watercolor paper
- Tombow Water Brush, Medium
- Tombow Blending Kit
- Table salt
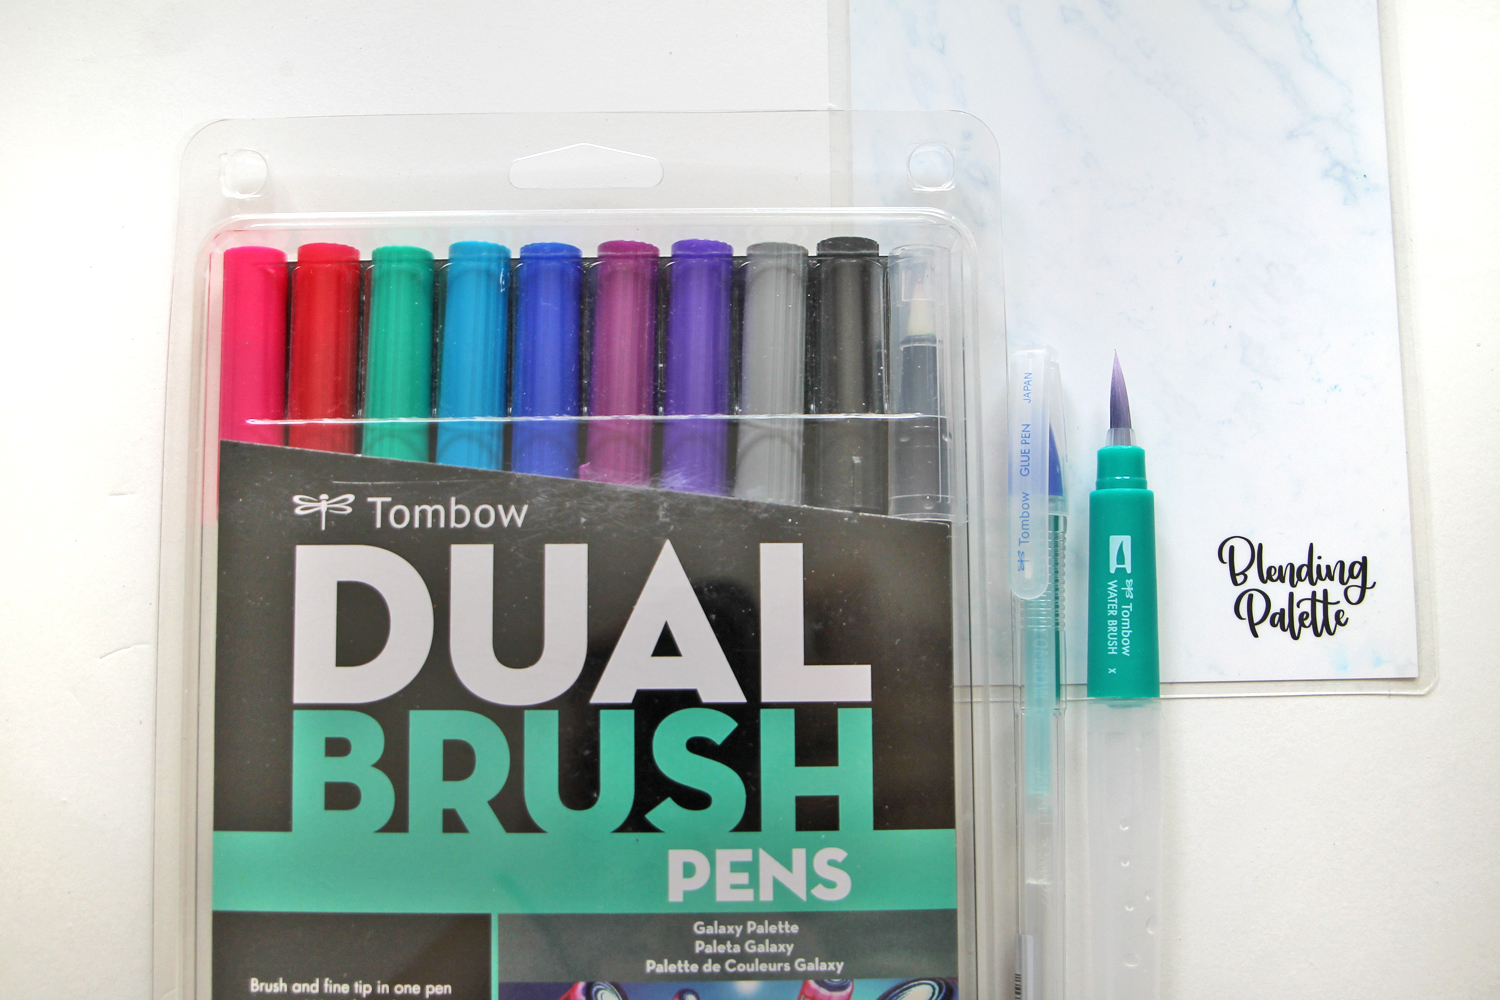
Galaxy Method 1: The Splash Technique Using Glossy Photo Paper.
This is probably the easiest galaxy technique I know. Anyone can do this and it is SO much fun!
Step one:
Use Tombow’s MONO Glue Pen to draw stars onto the front of a 4×6″ piece of glossy photo paper. These can be both big stars or just a lot of little dots for stars. Whatever you like! Let them dry (this will only take a couple of minutes).
Step two:
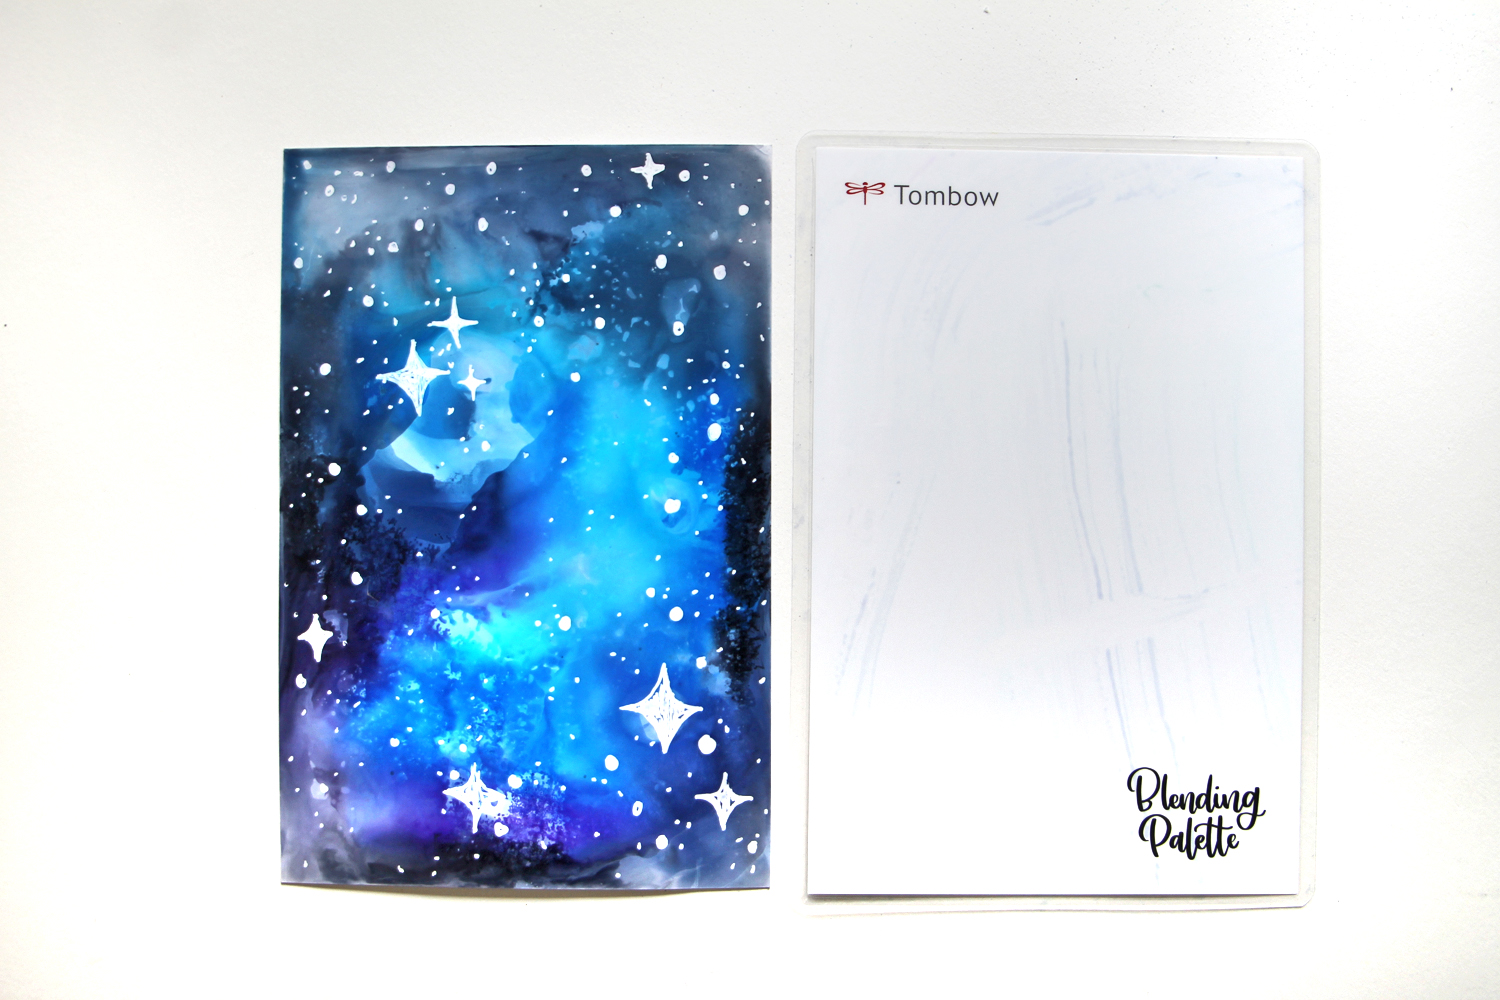
Choose 2-3 Dual Brush Pen colors, plus Dual Brush Pen N25. Apply the Dual Brush Pen ink to the Blending Palette by scribbling the markers around on the surface. I recommend starting with your lightest color around the middle and then adding the darker colors further out.
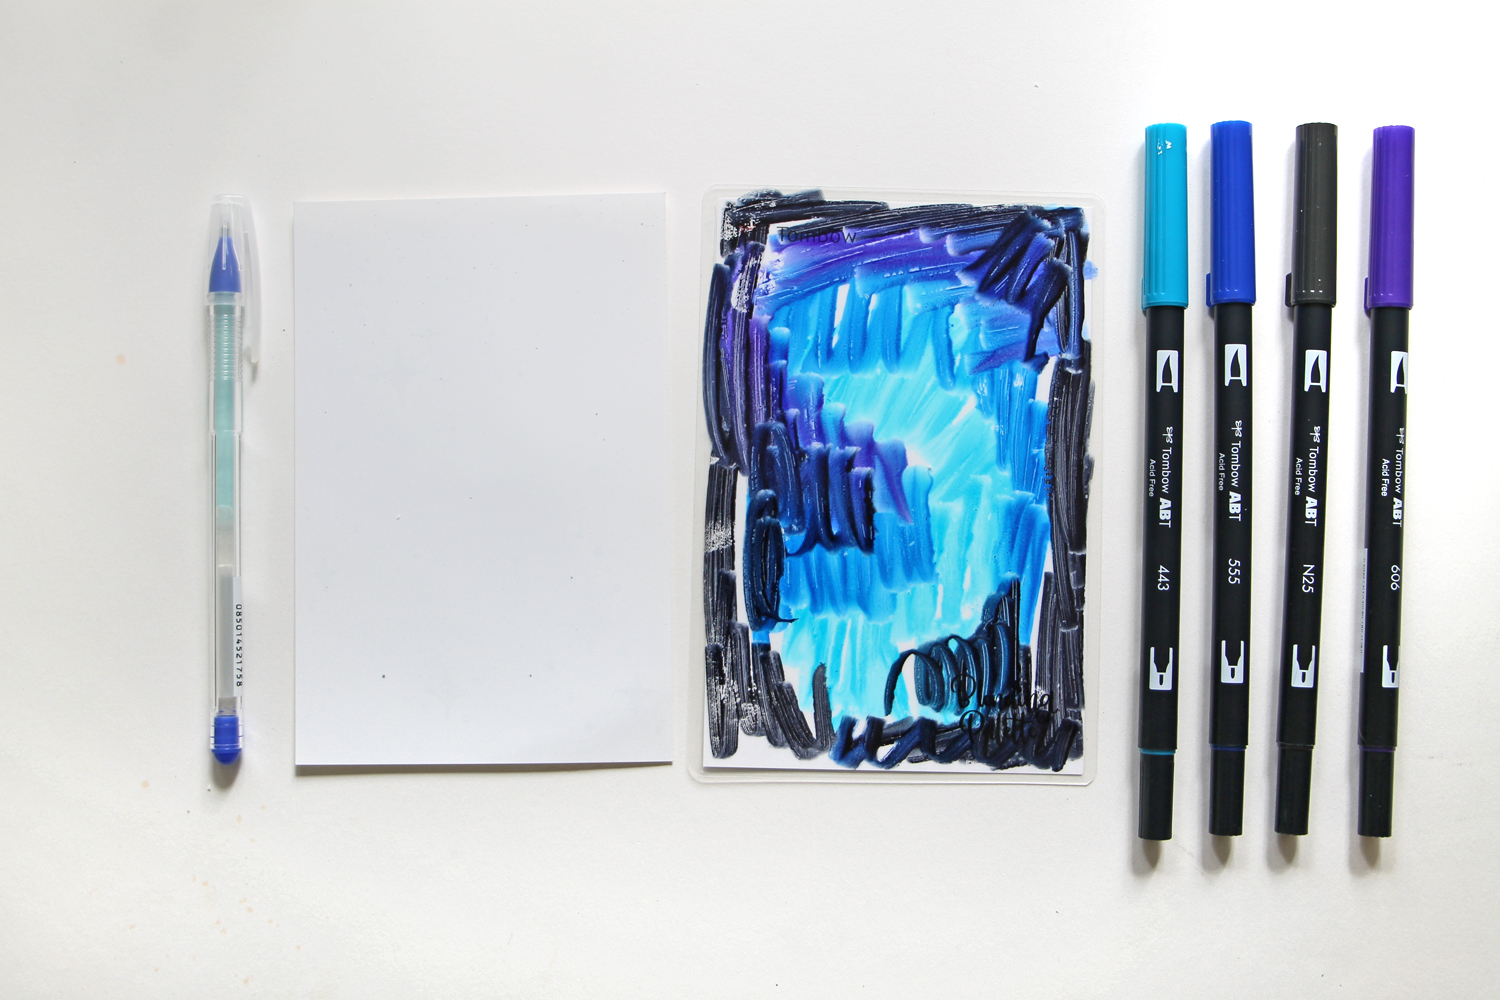
Step three:
Mist the Blending Palette with water to wet the ink. (Note: Both the Blending Palette and the Spray Mister are included in Tombow’s Blending Kit!)
Step four:
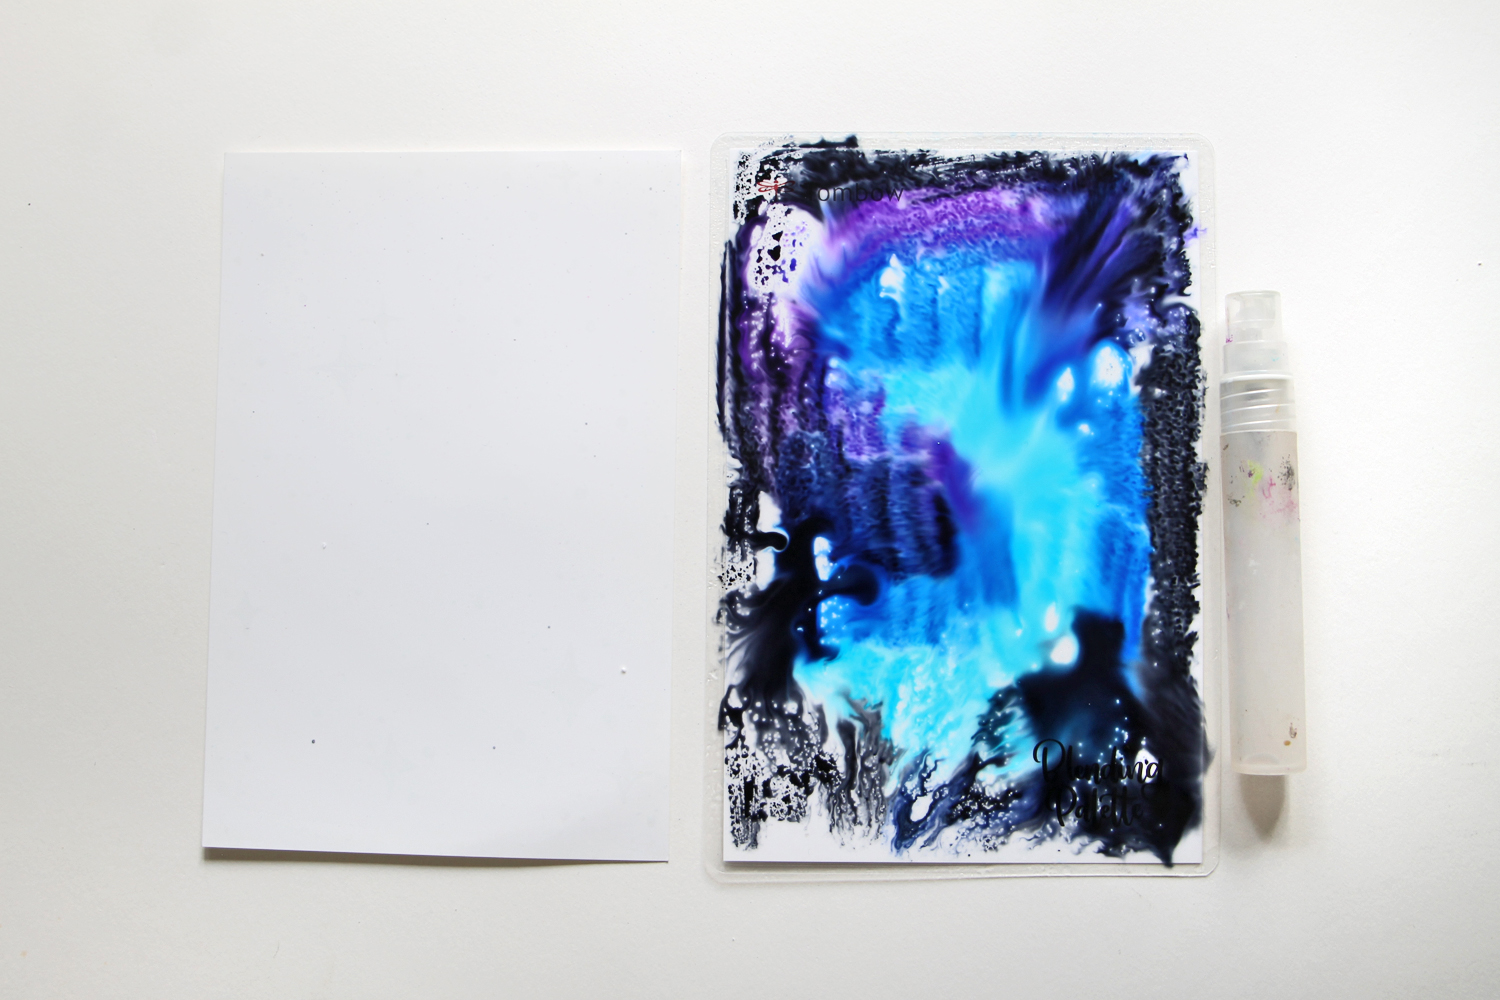
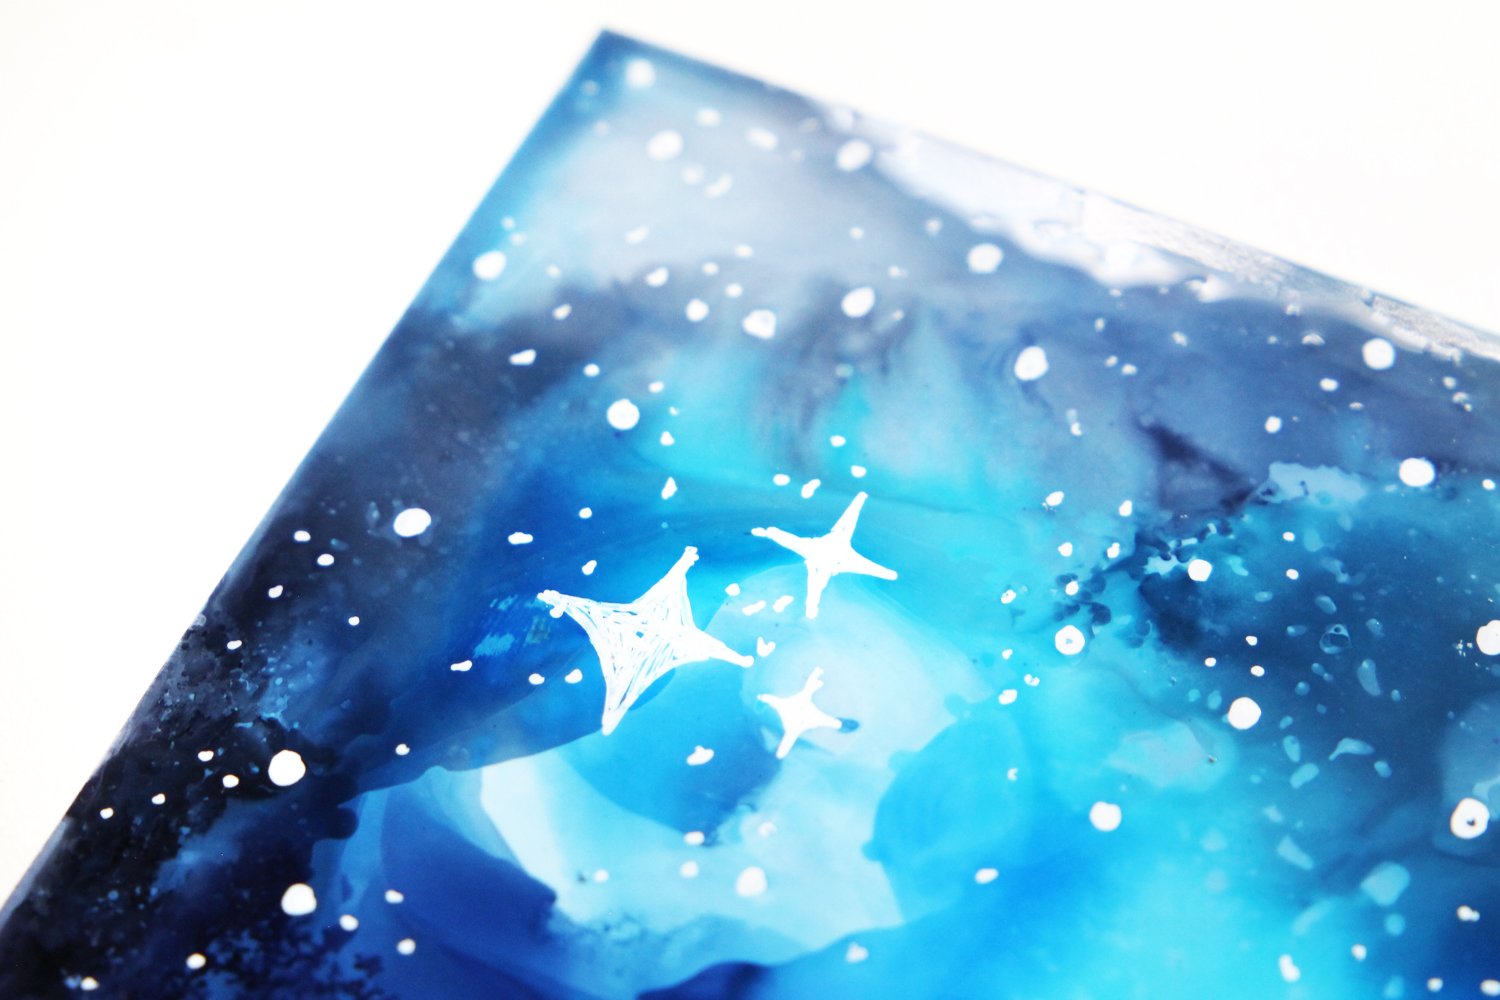
Place your glossy photo paper face down onto the wet ink. Swirl it around just a little to make sure you’ve covered the surface and then pull it back up to reveal your galaxy!
Photo paper is designed to dry very quick and the Dual Brush Pen ink resists the glue pen stars, so you have an instant galaxy! Yay!
Galaxy Method 2: Layering Colors on Watercolor Paper.
I use this method to create a lot of watercolor galaxies in my art journal! It’s great for filling in shapes too.
Step one:
Start by taping the edges of a piece of 140 lb watercolor paper. I recommend 140 lb paper because it will hold up best to the water and the layers without pilling or warping. The tape will give you a clean edge when finished as well!
Use the MONO Glue Pen to draw stars onto the piece of paper and let dry.
Step two:
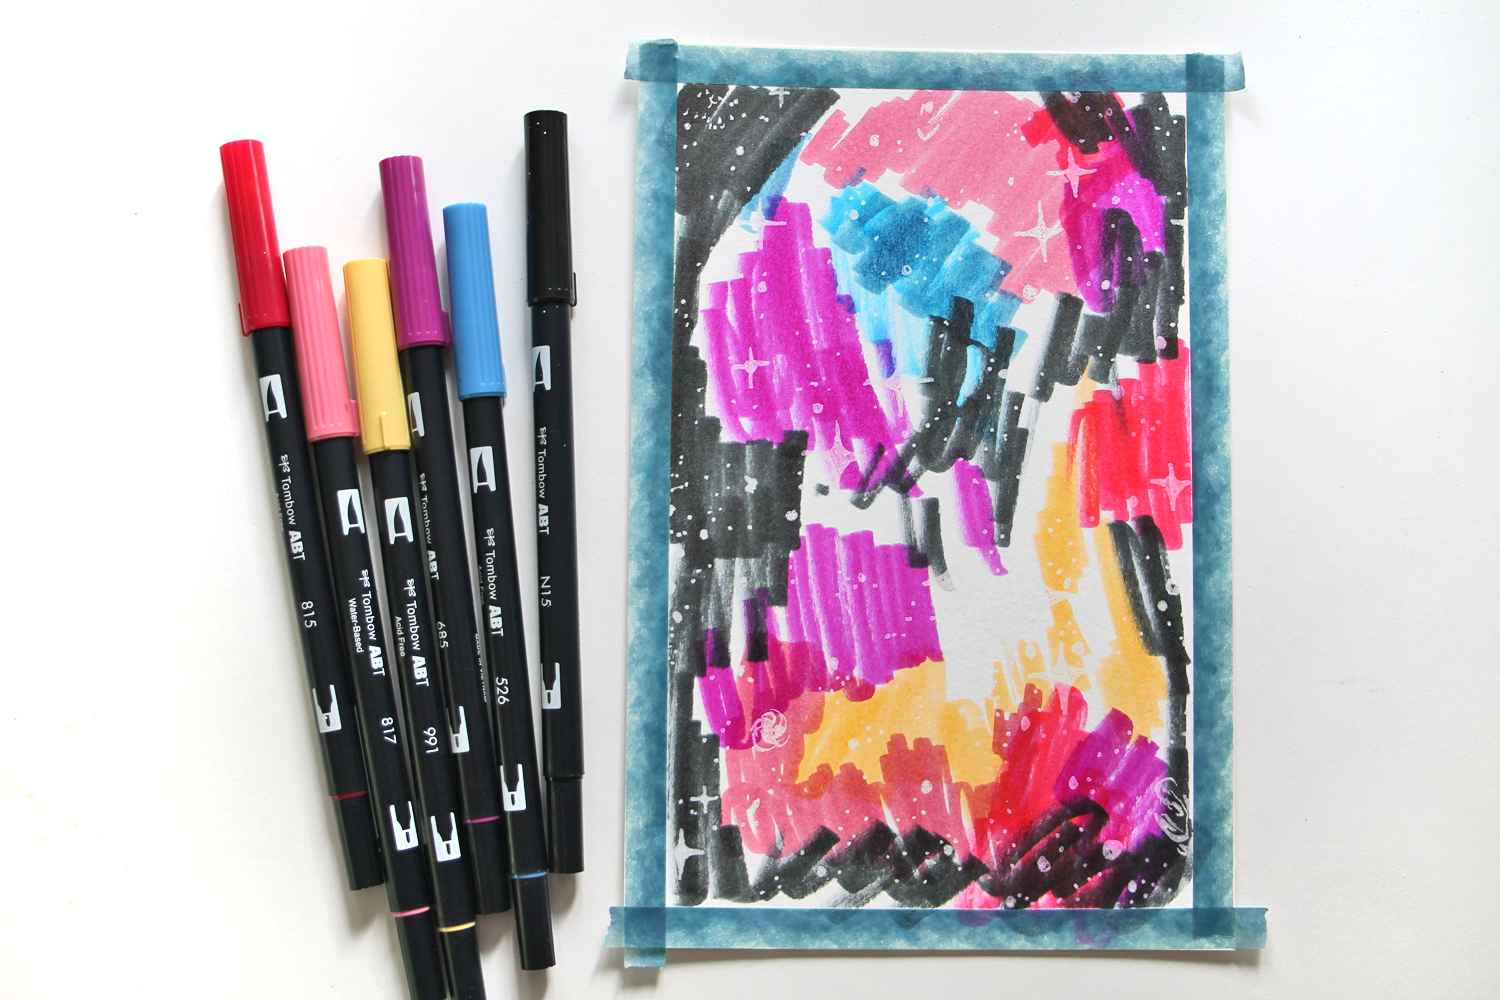
Choose a few colors to include in your galaxy. I like to choose analogous colors (analogous colors are groups of three colors that are next to each other on the color wheel) to keep the colors from getting muddy. However, you can also throw in another shade. I used blue.
Apply the ink by scribbling the colors around. Try to keep the black mostly to the edges of the paper.
Step three:
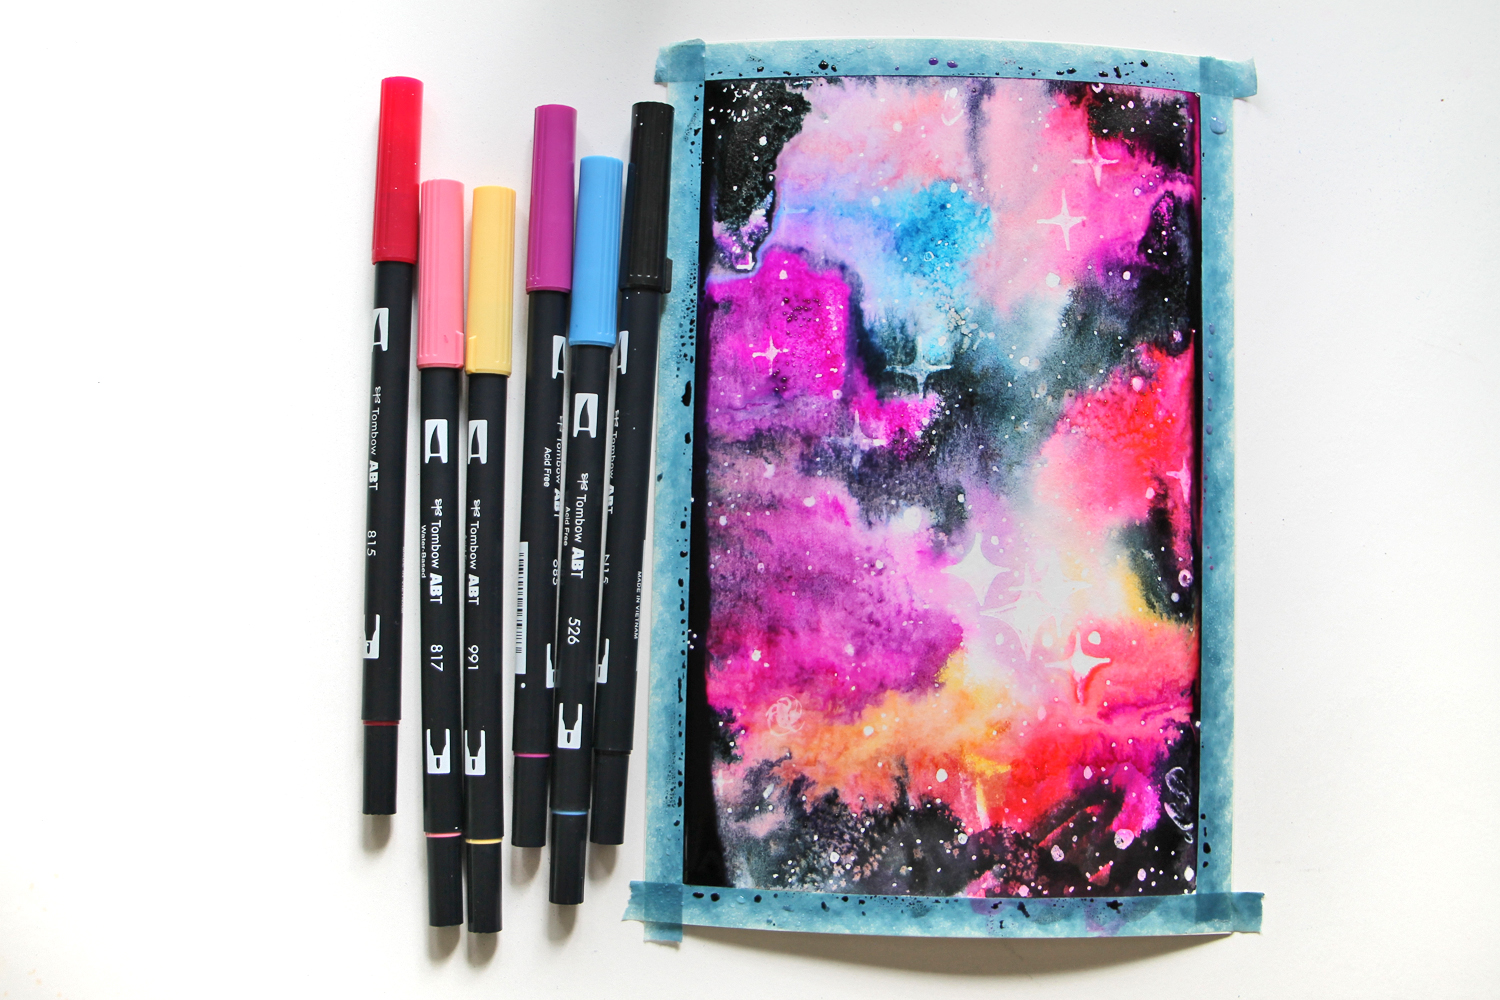
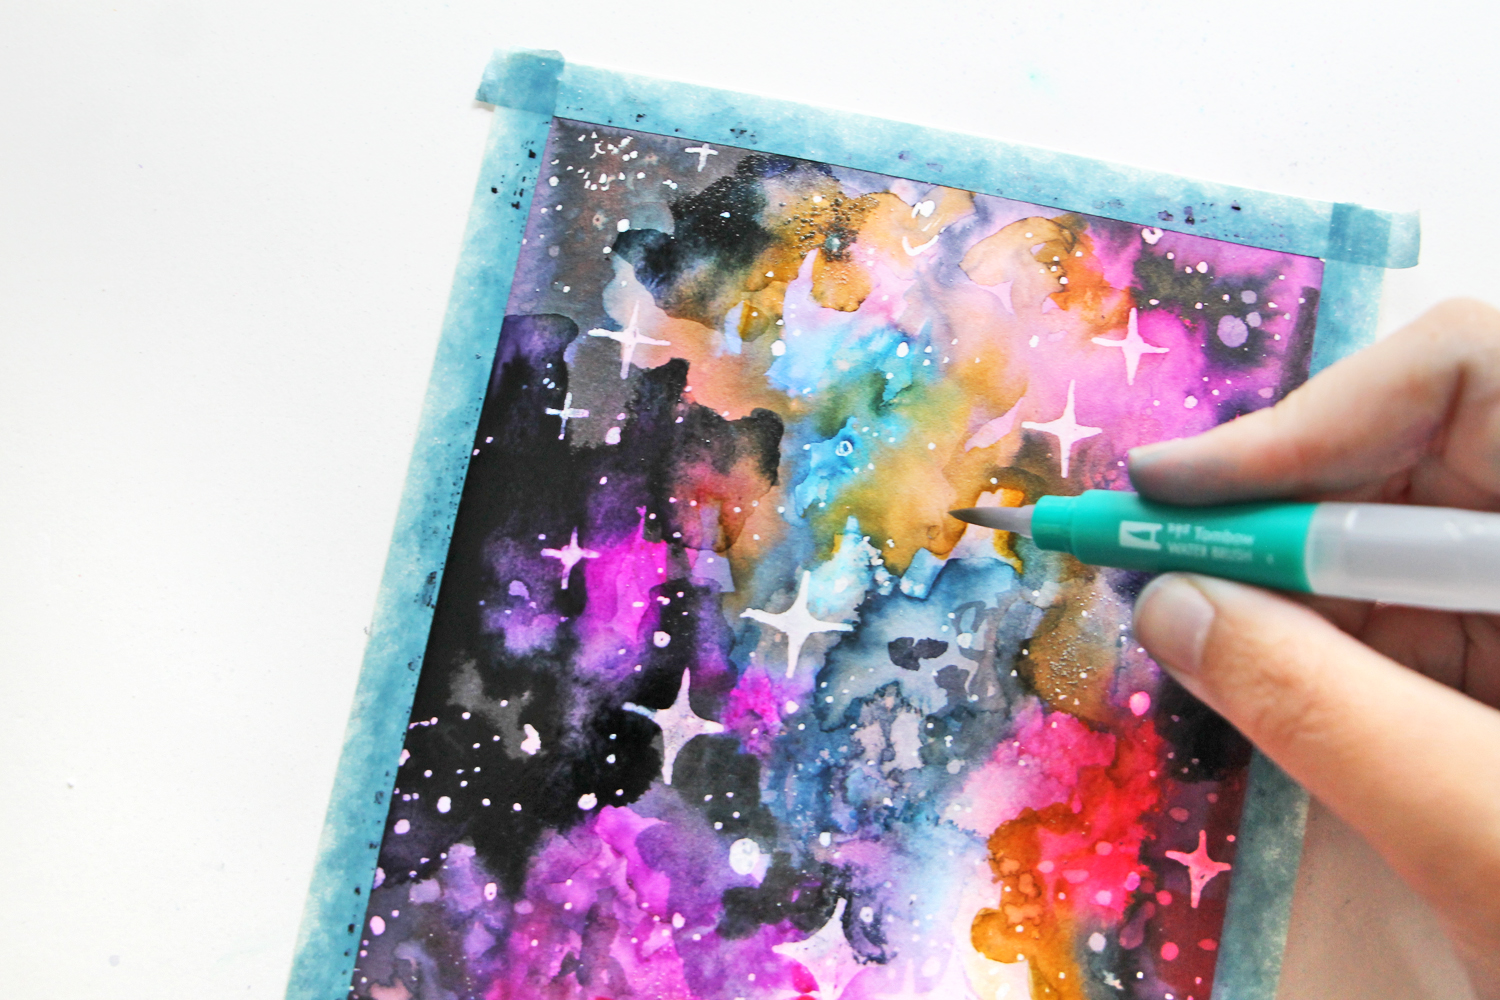
Very lightly mist the paper with water to dampen the ink and then use the Medium Water Brush to blend the ink into the paper (and removing the marker streaks). Try not to blend all of your colors together, as you don’t want to end up with a gray galaxy! This can take some practice, but my tip is to start by blending the lightest colors together and then slightly blend the darker areas.
Keep a paper towel on hand if you need to soak up any extra water.
While the ink is still wet, sprinkle a little bit of table salt onto your galaxy. As the ink dries is will react to the salt to create a cool effect. Let dry.
Step four:
Now you can leave your galaxy as is (I’m sure it’s magical!) or you can add another layer!
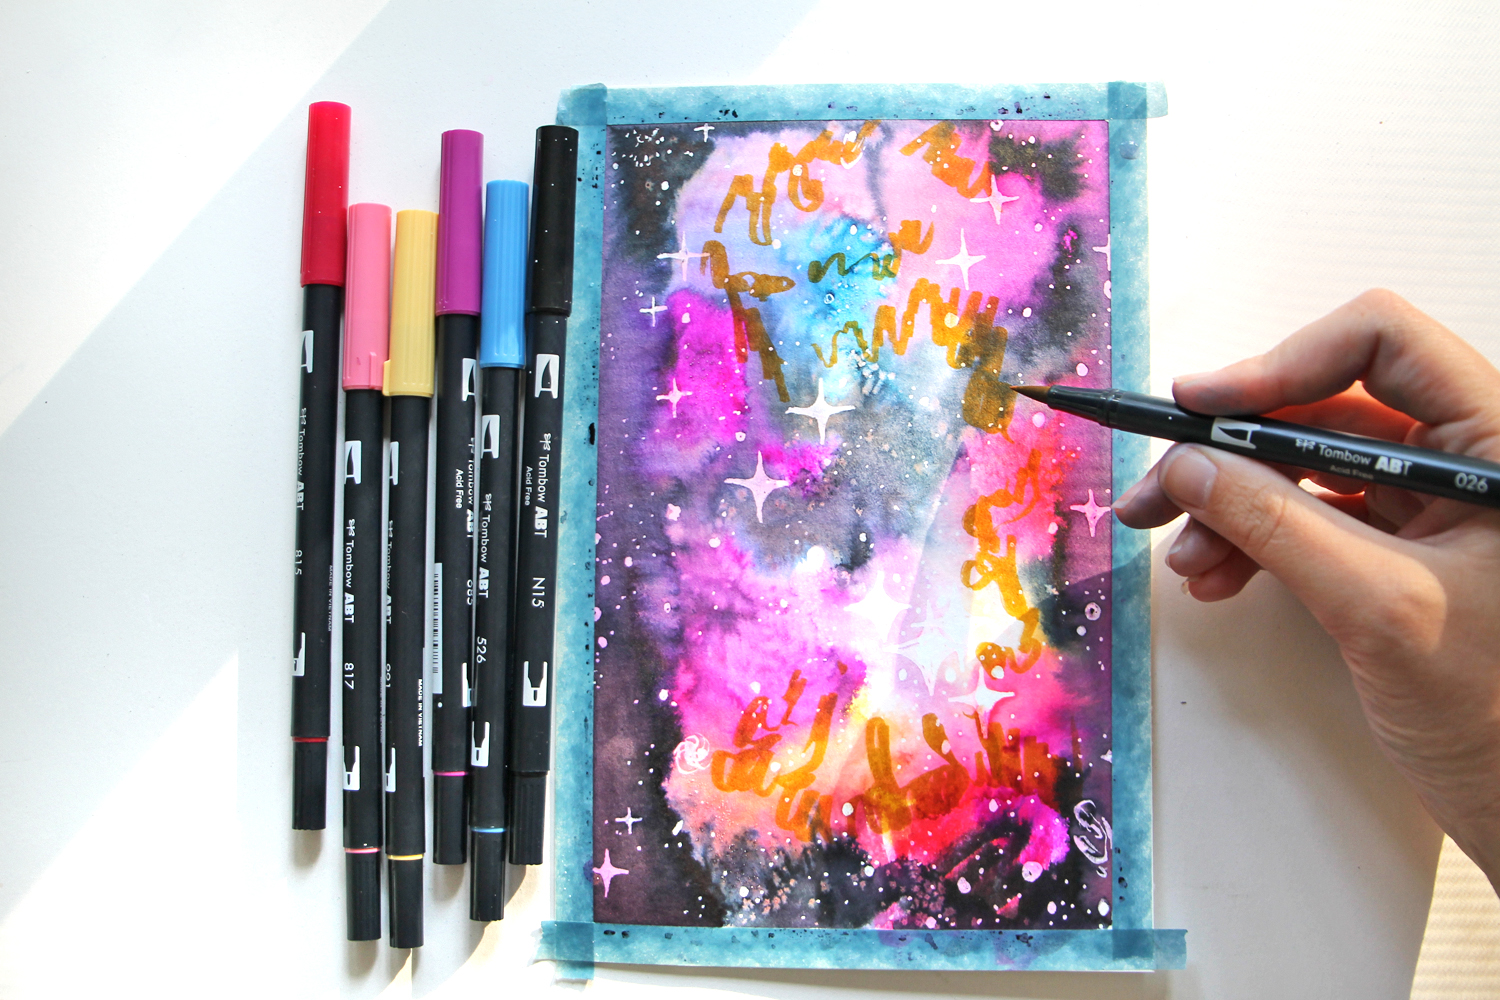
I chose to use Dual Brush Pen 026 to add more gold into my galaxy. I did this by coloring a few places with the marker and then lightly blending them into the design.
I like to add 2-3 layers for a more vibrant galaxy with more depth!
Step five:
Once dry, brush off the salt and slowly remove the tape to reveal your finished galaxy!
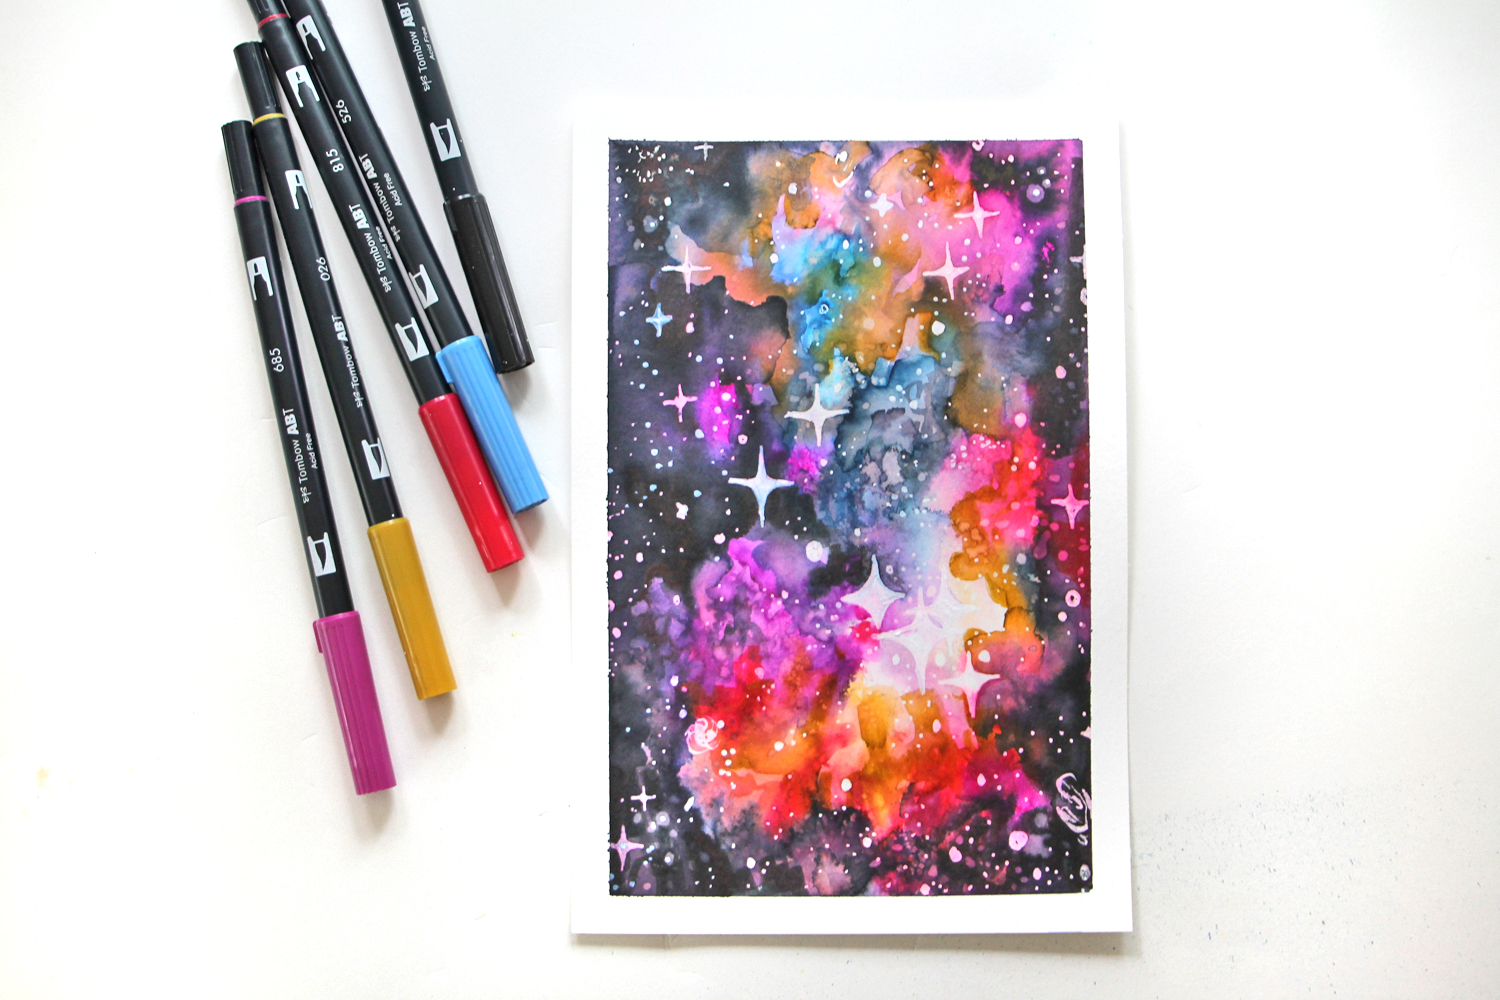
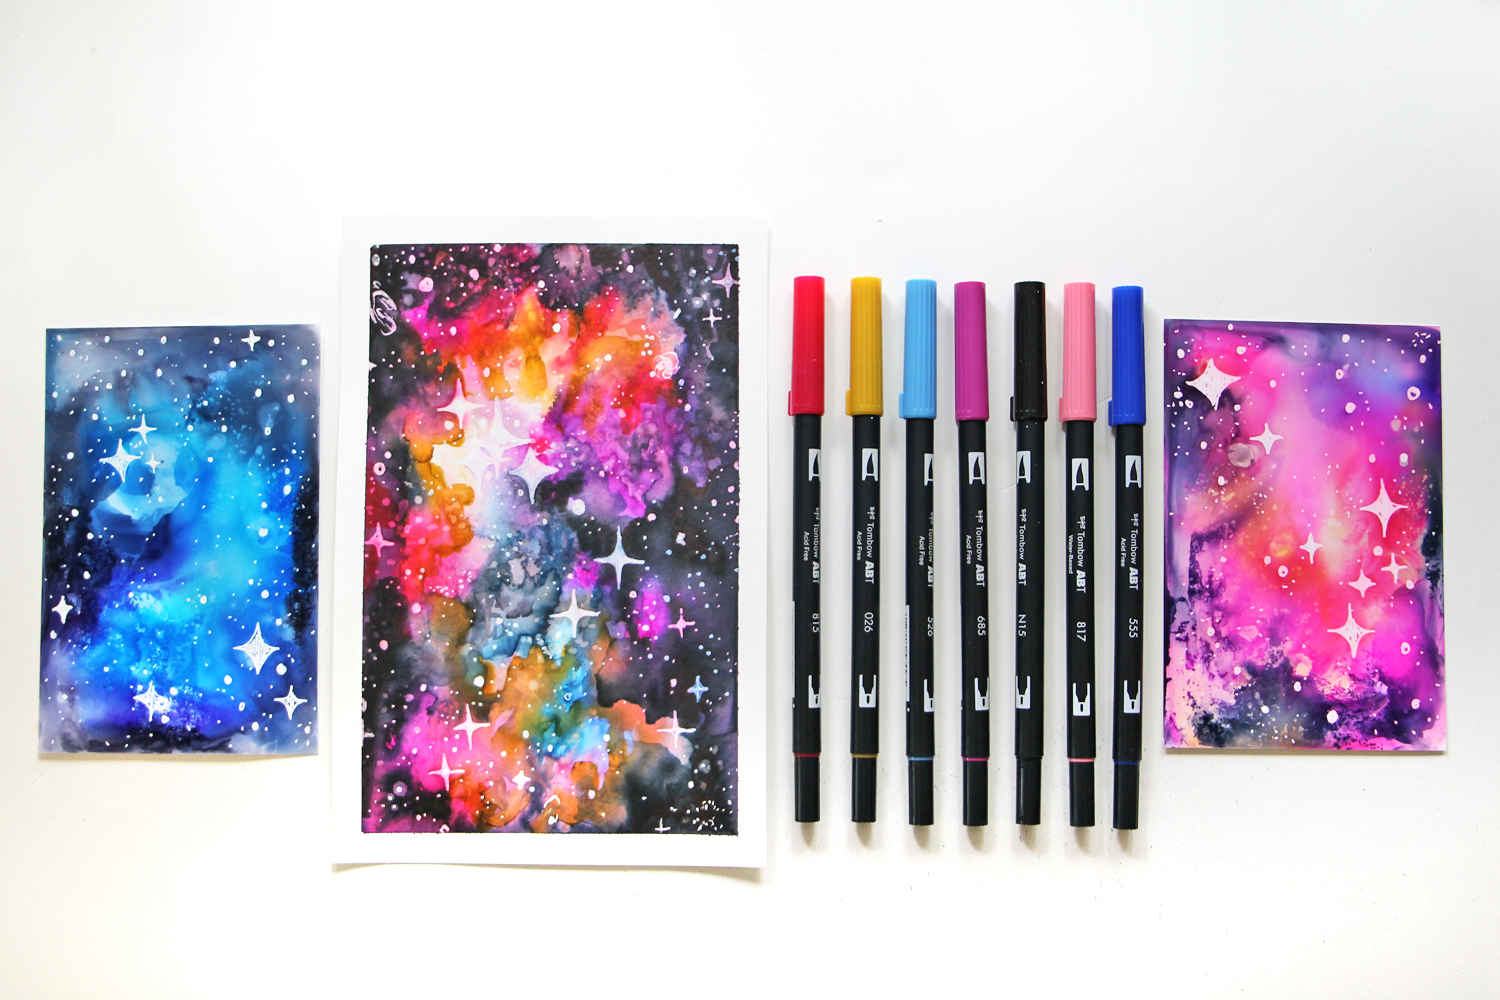
Which technique are you going to try first? Both are very fun and a great way to add watercolor galaxies into your art!
Pingback: Watercolor a Landscape Inspired by Katie Smith with the Dual Brush Pens - Tombow USA Blog %