Have you every created a bright and colorful galaxy? Hi Tombow fans, it’s Mandy from @thebrewtifulword! This week, the Design Team is creating projects that are inspired by other Design Team members. My inspiration is coming from @alilepere. There doesn’t seem to be anything that Ali can’t do. Her artwork is just jaw dropping! I especially love her use of bright and bold colors in her creations. So for this project, I decided to take my love of creating galaxies and Ali’s bright and colorful artwork and combine them by making a bright and bold galaxy with negative space lettering! Let’s gather our supplies and get started!
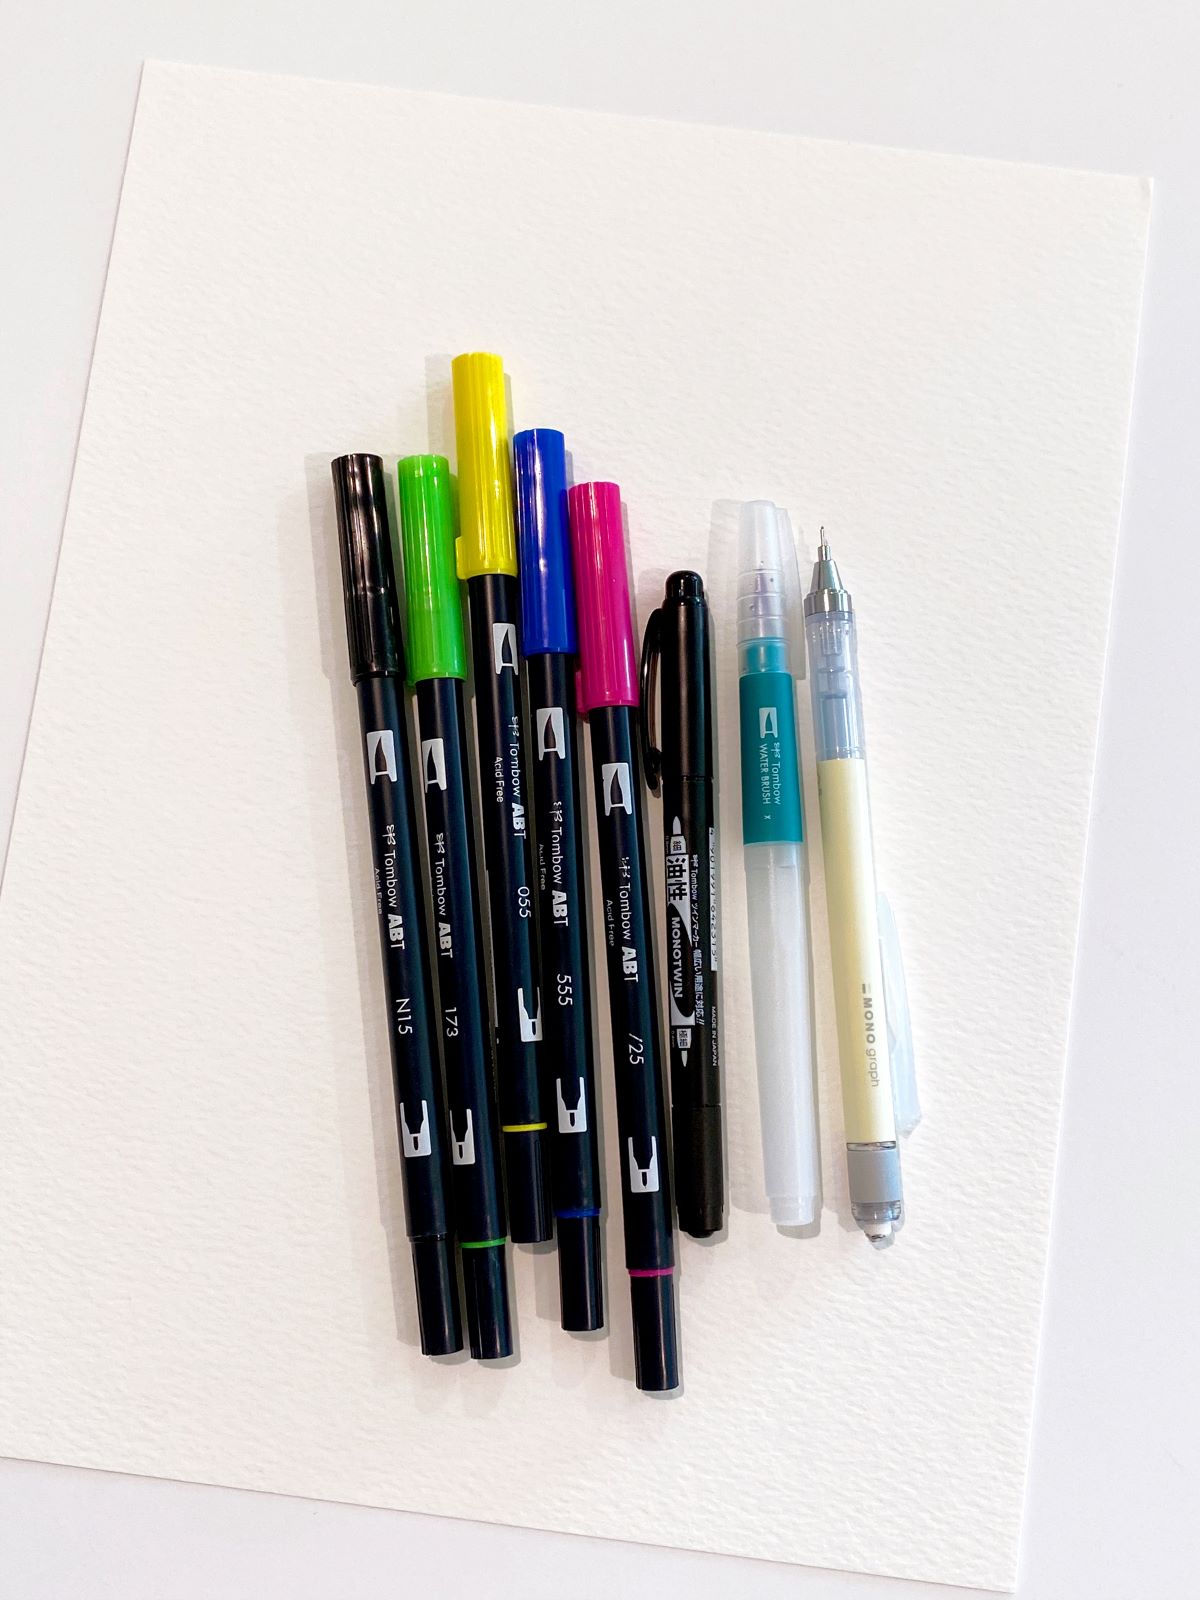
MATERIALS
- Tombow Dual Brush Pens 055, 173, 555, 725, and N15
- Tombow MONO Twin Permanent Marker
- Tombow Medium Water Brush
- Tombow MONO Graph Mechanical Pencil
- Watercolor paper
- White acrylic paint
- Washi tape and ruler
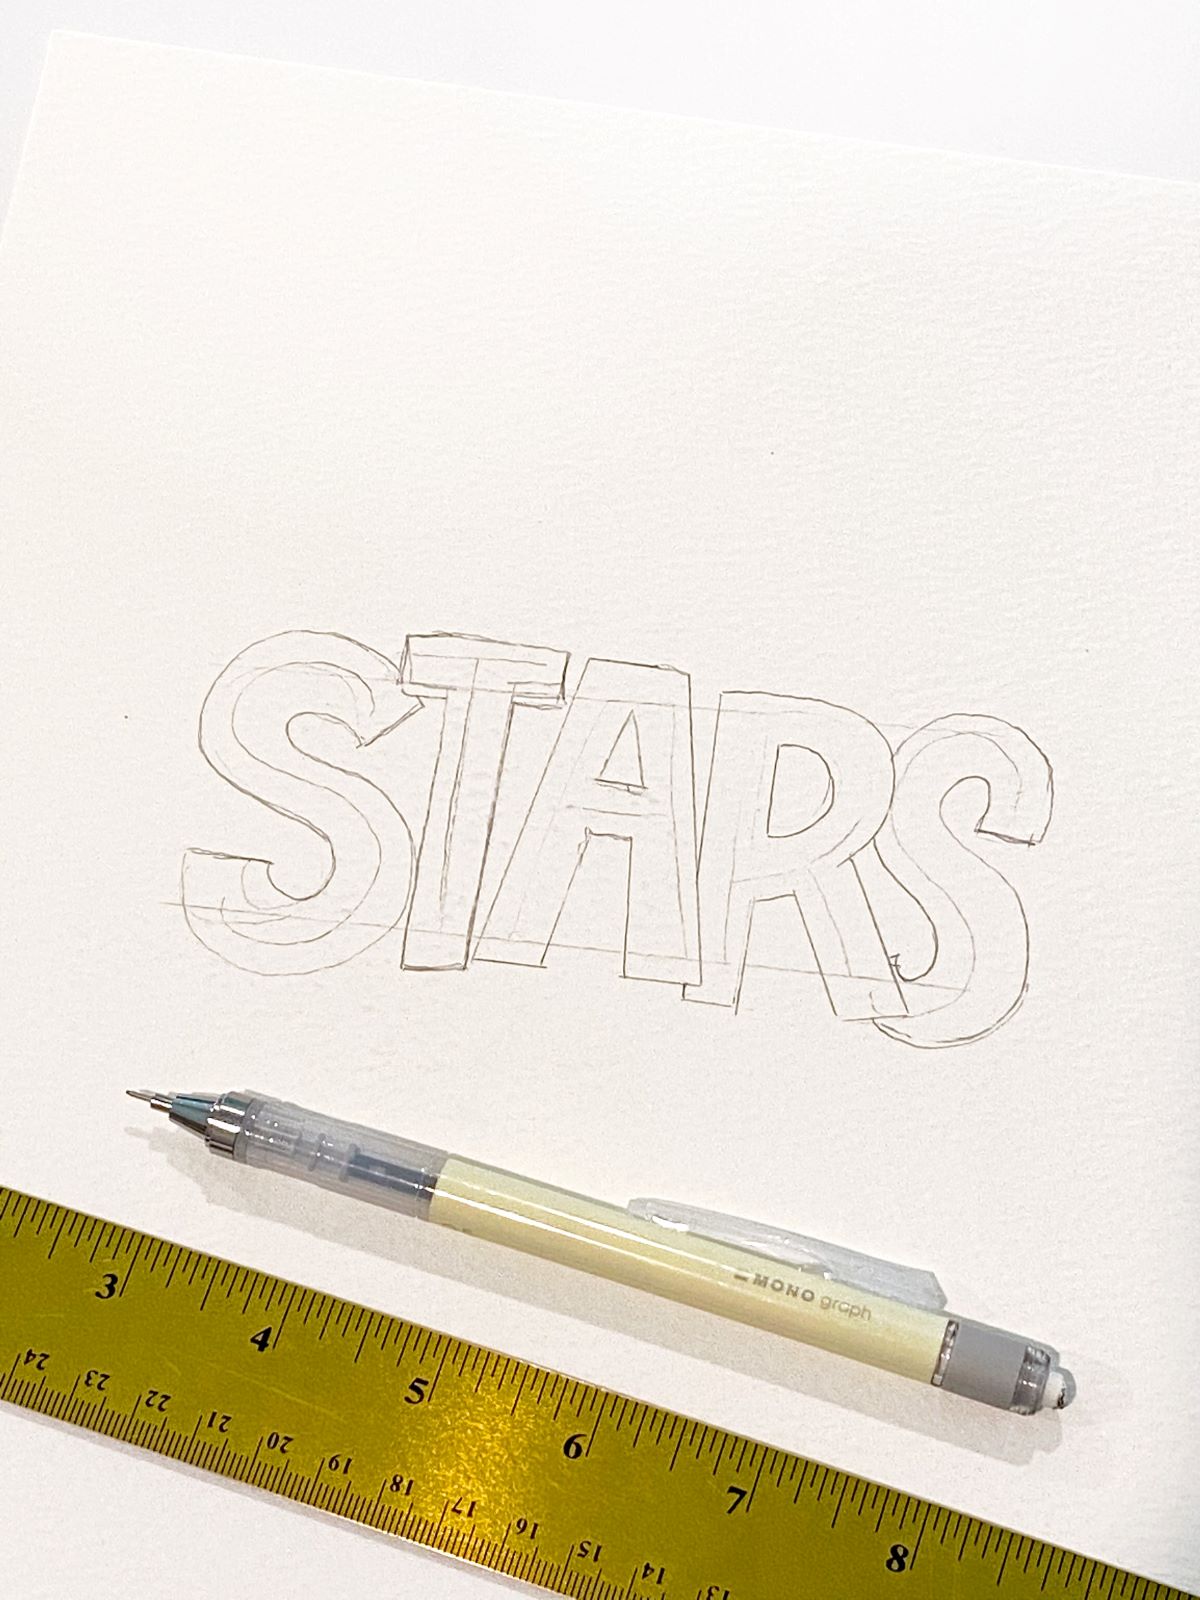
STEP 1 – Sketch Font
Using the MONO Graph Mechanical Pencil and a ruler, sketch out “stars” in a big font. I decided to overlap a couple letters to give it a more playful look!
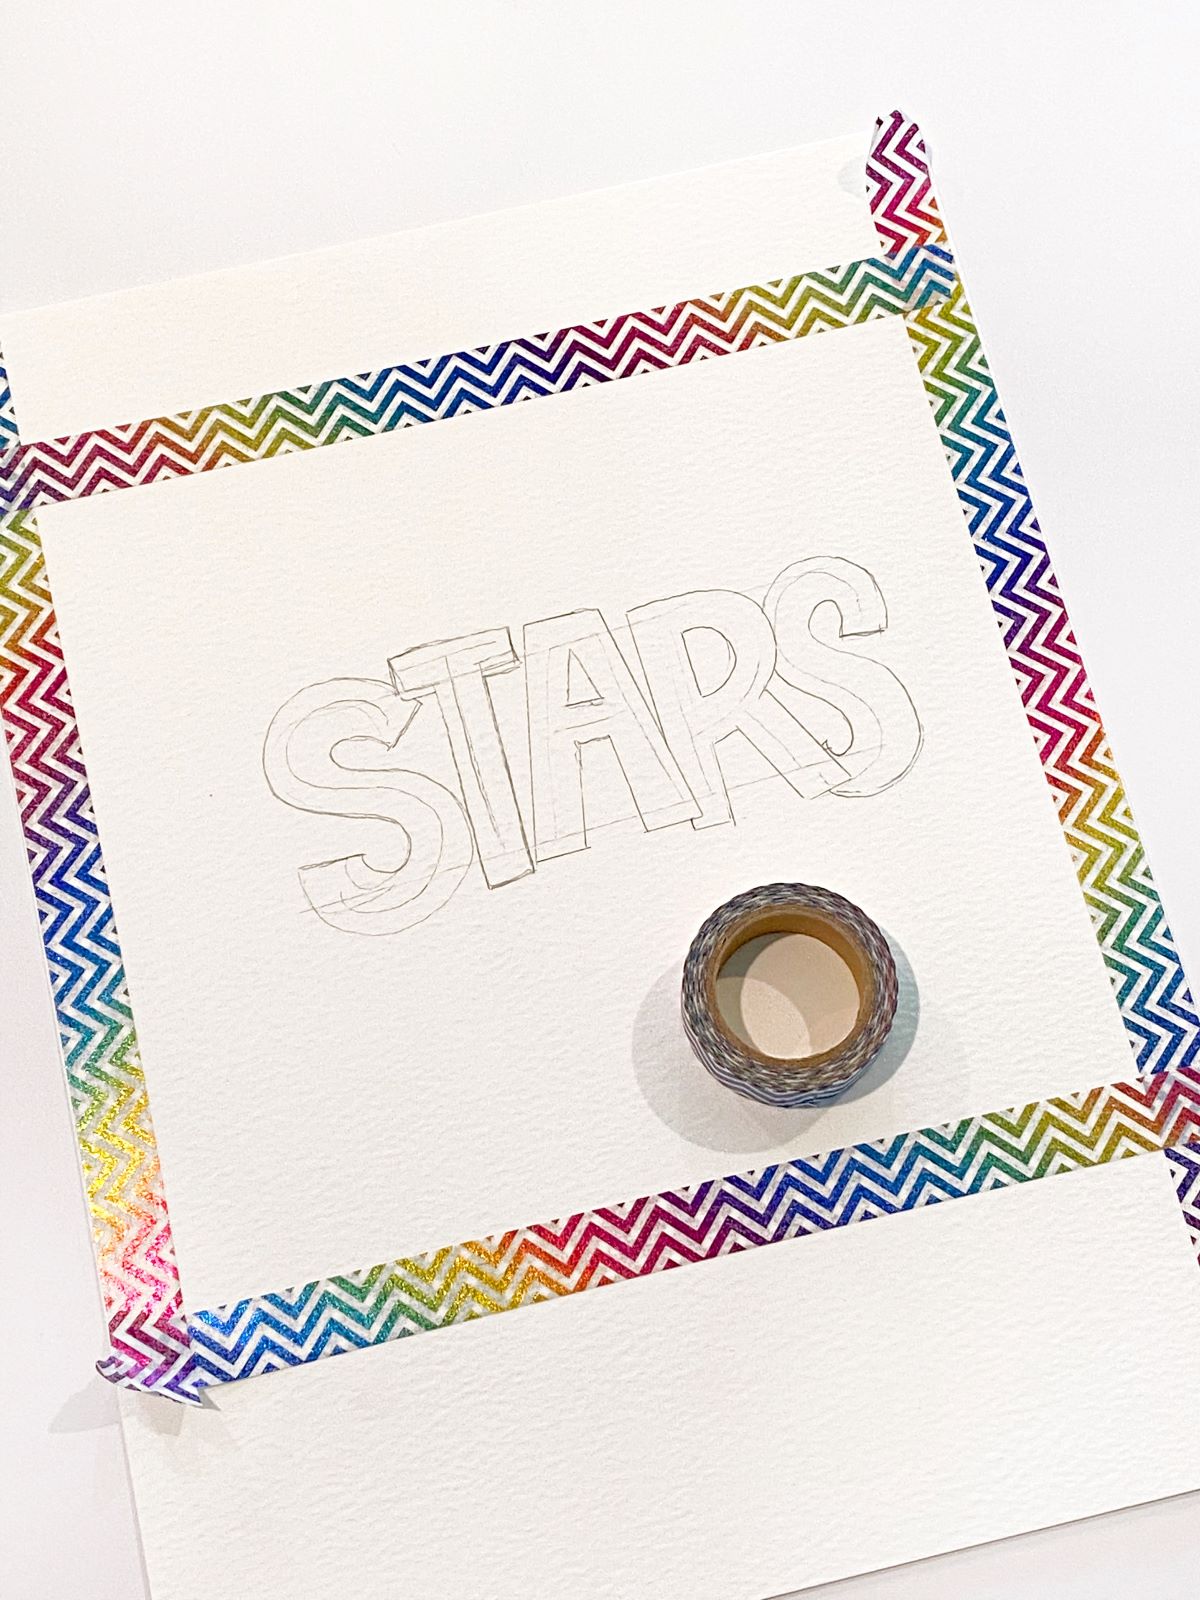
Next, use washi tape and tape off a section around the word. Leave more room on top and below the word.
STEP 2 – Add Ink
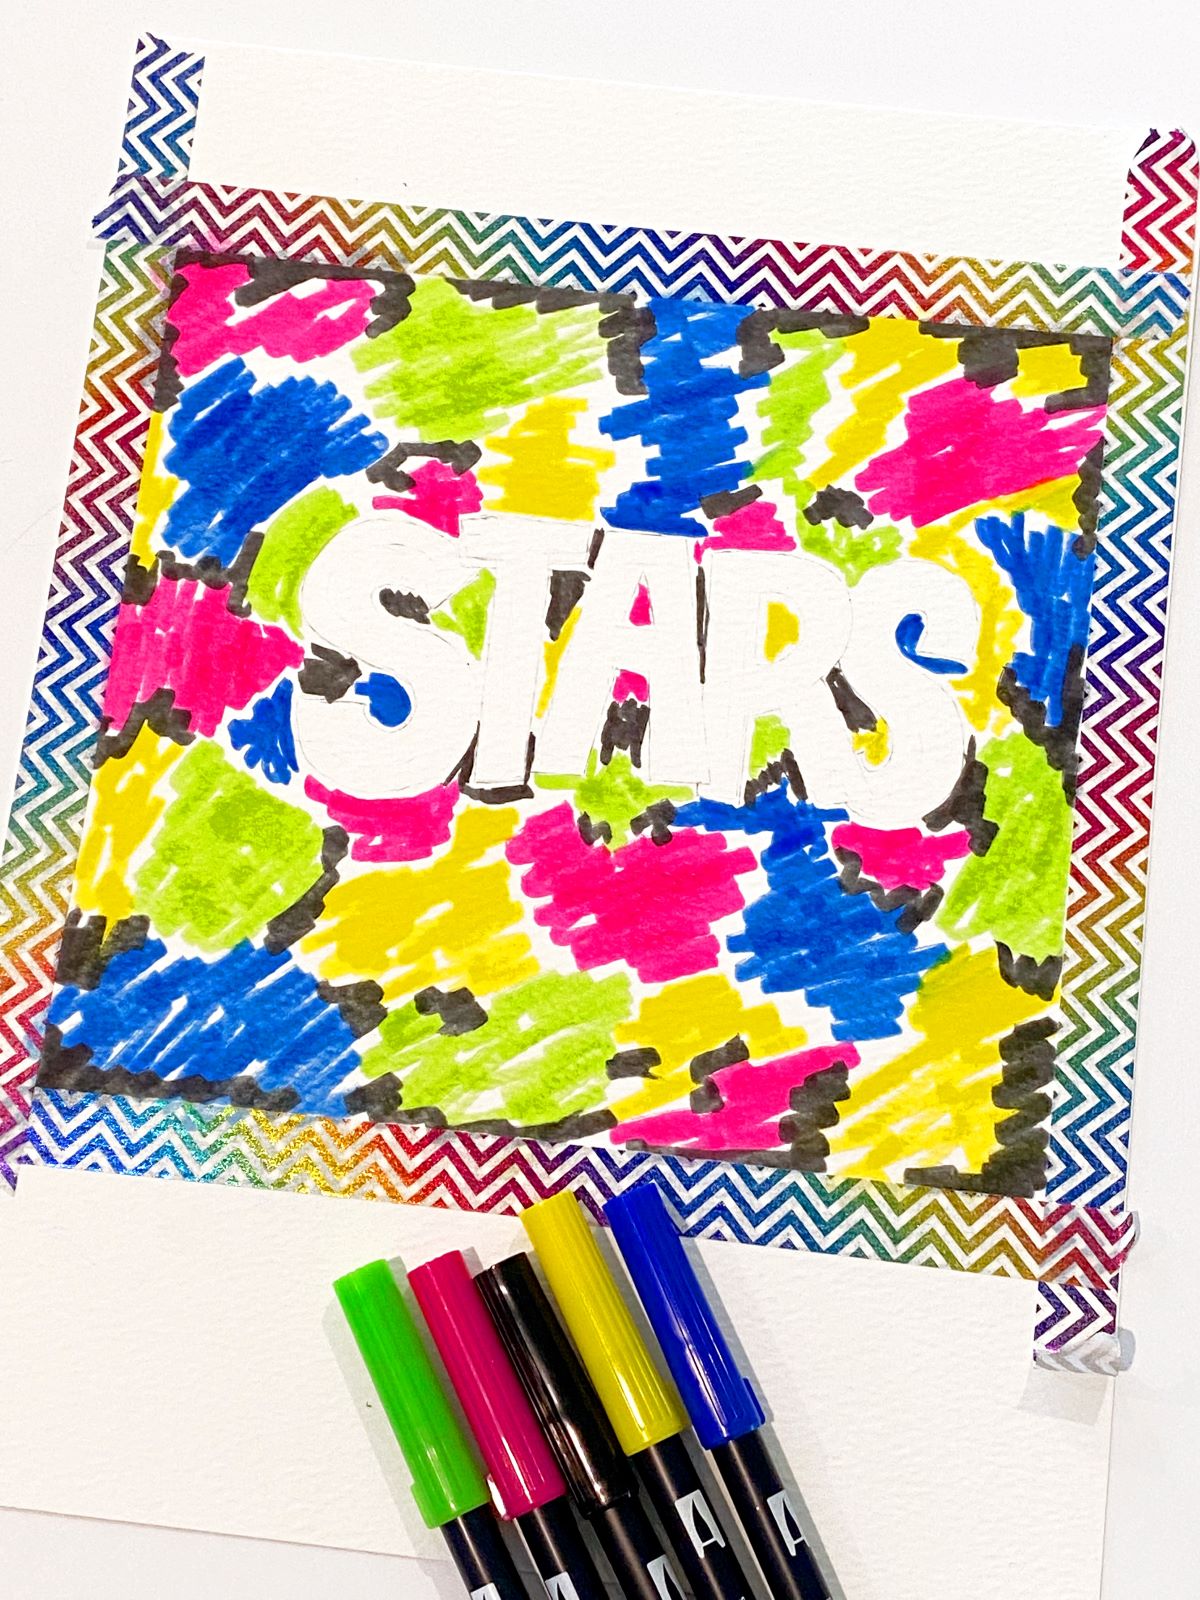
Using all the Dual Brush Pens, add ink to all areas around your letters first. This will leave the word “stars” in white as negative space. Then, lightly erase your pencil lines.
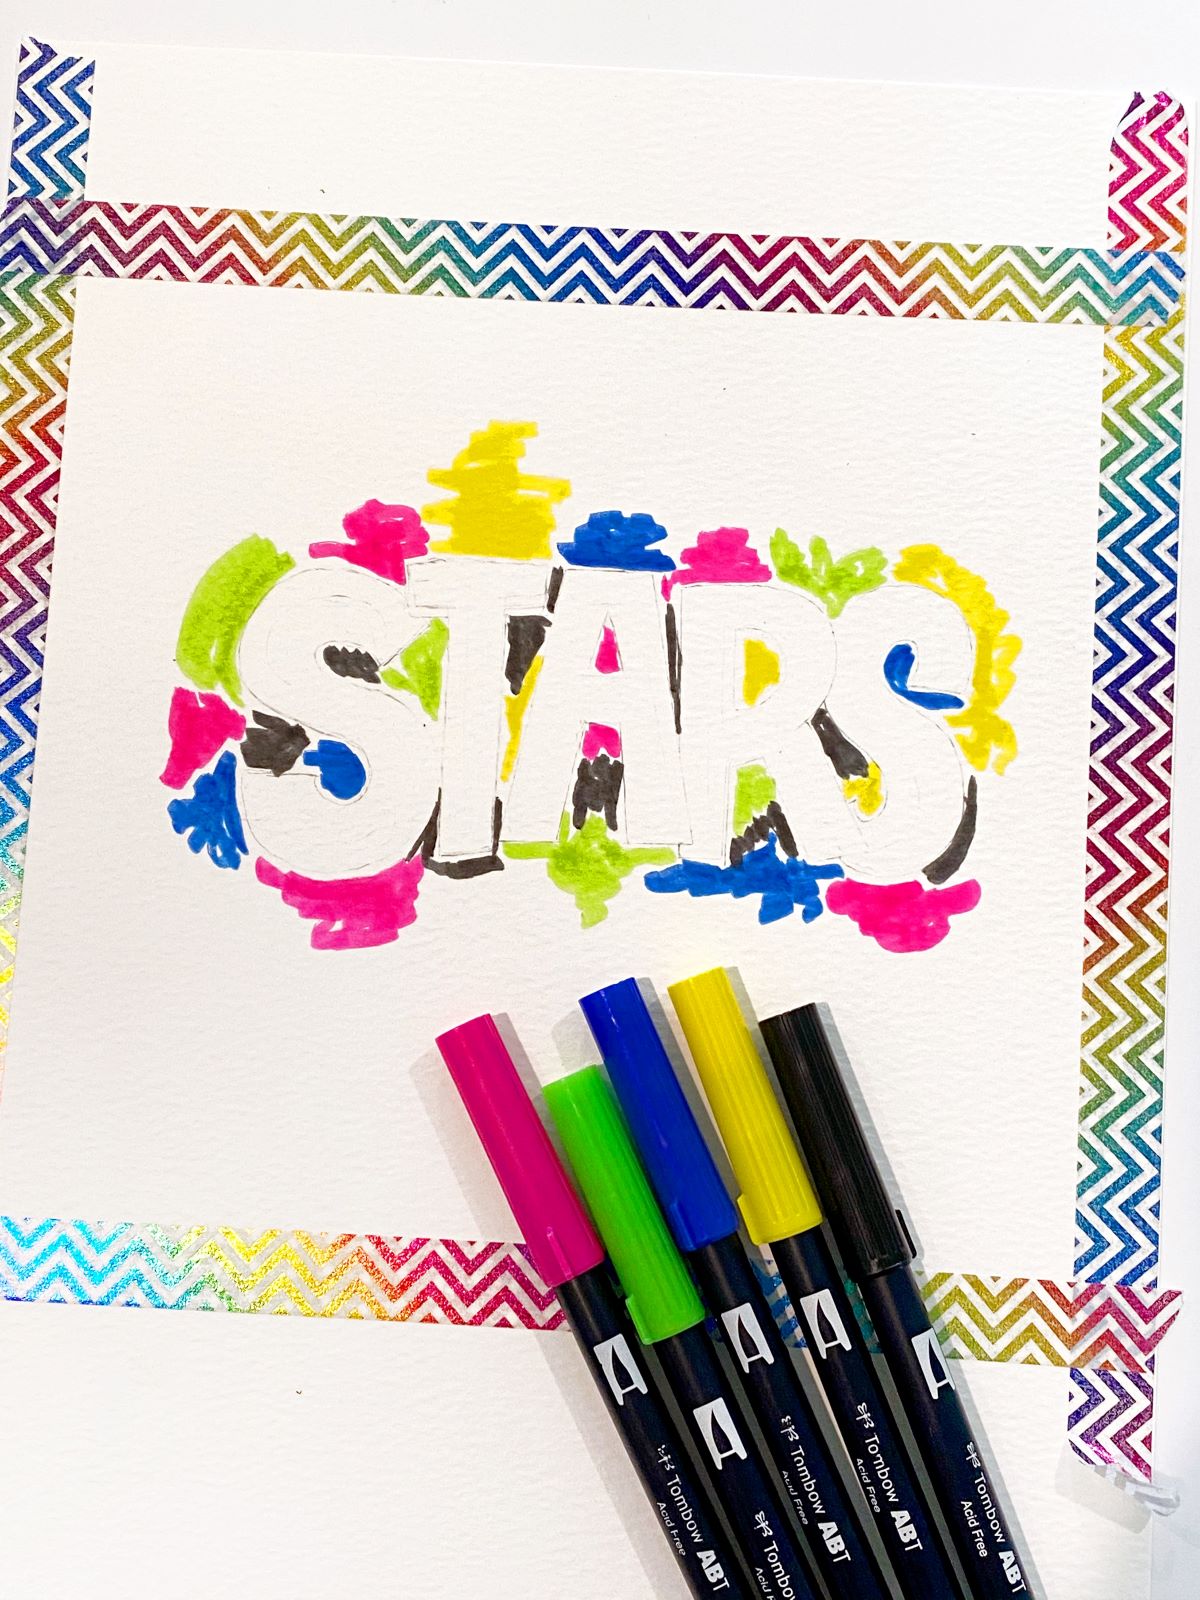
Next, add ink to the rest of the piece, covering all areas inside the washi tape section. Use black sparingly, since this color goes a long way!
STEP 3 – Add Water
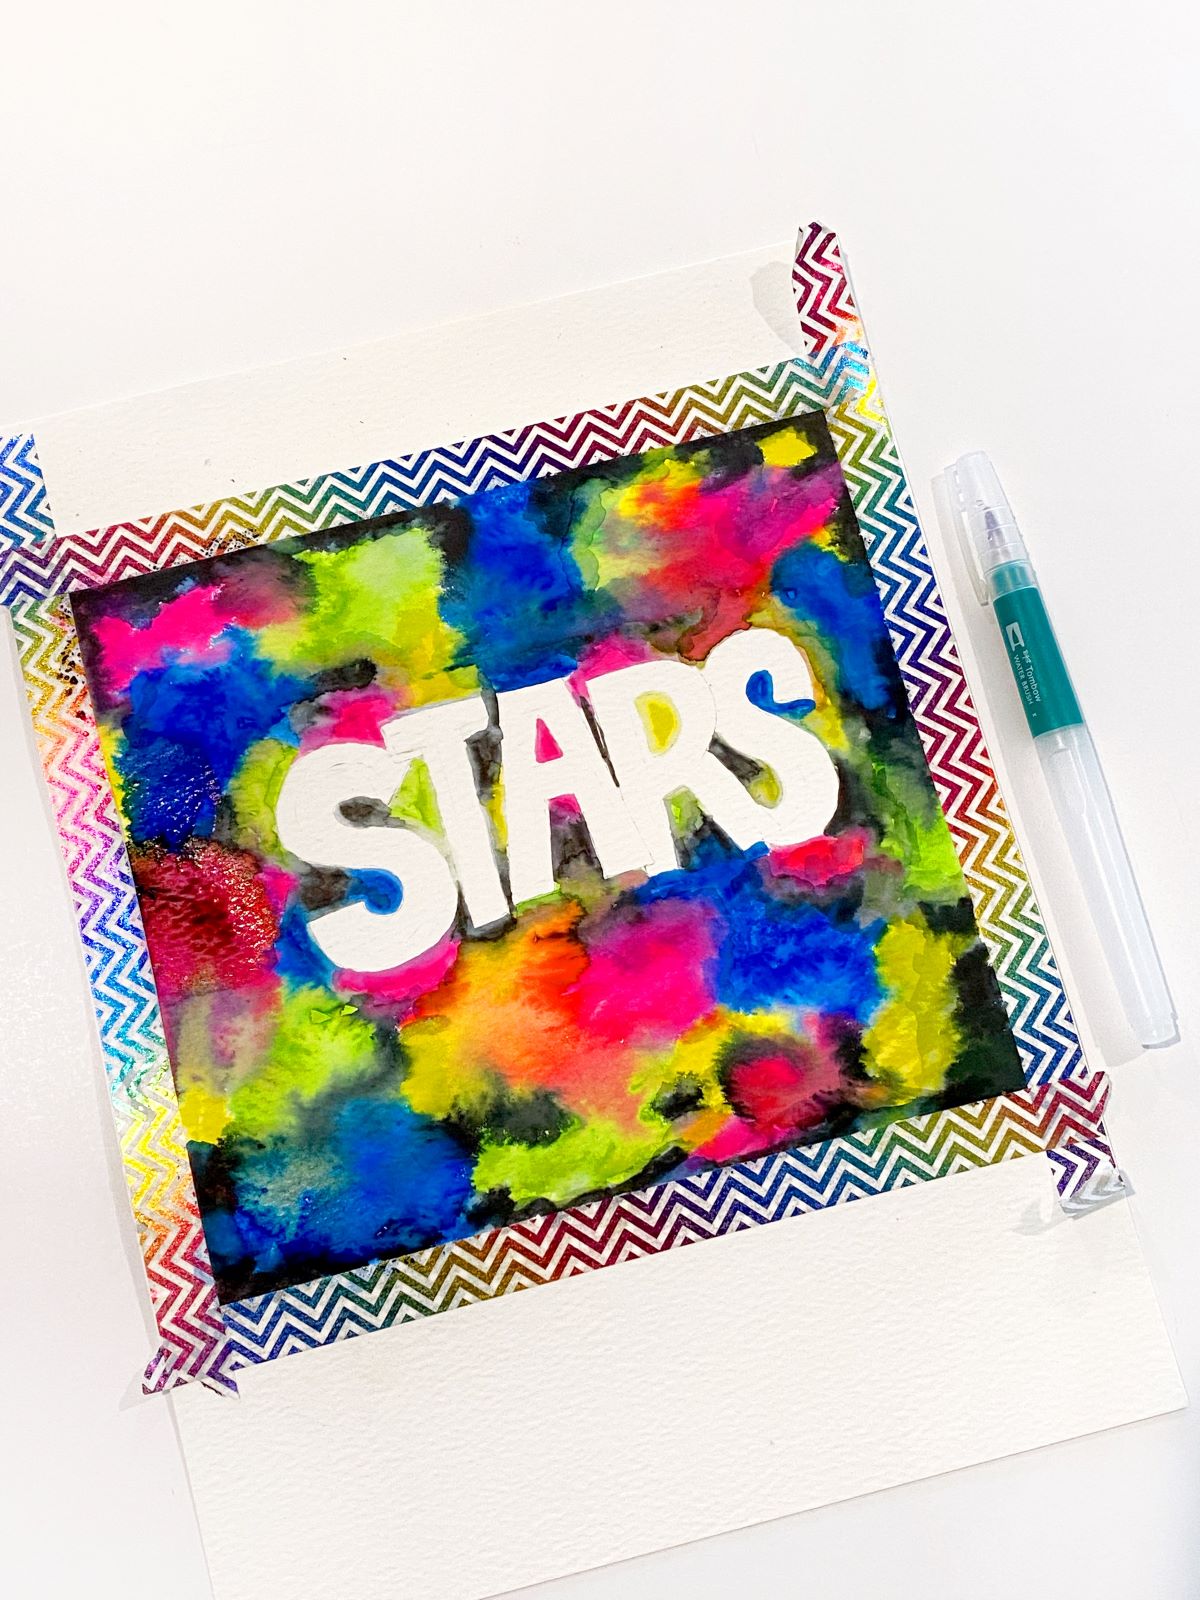
Using a mister, lightly spray the ink around the word “stars”. Then, use the Medium Water Brush to add more water and to combine the ink together. Let it dry completely.
PRO TIP: Do not blend all the colors together! Work with one color at at time and just lightly combine it with the color next to it. Using a paper towel to clean off the Water Brush also helps to keep the colors from mudding together. The key is to leave each color in tact so that you have those bright pops of color!
STEP 4 – Add Galaxy Elements
Using the MONO Twin Permanent Marker, add little stars and dots inside the letters. Then, trace each letter and add a shadow to the right hand side. This marker is perfect to use with watercolors because it’s permanent and it doesn’t bleed!
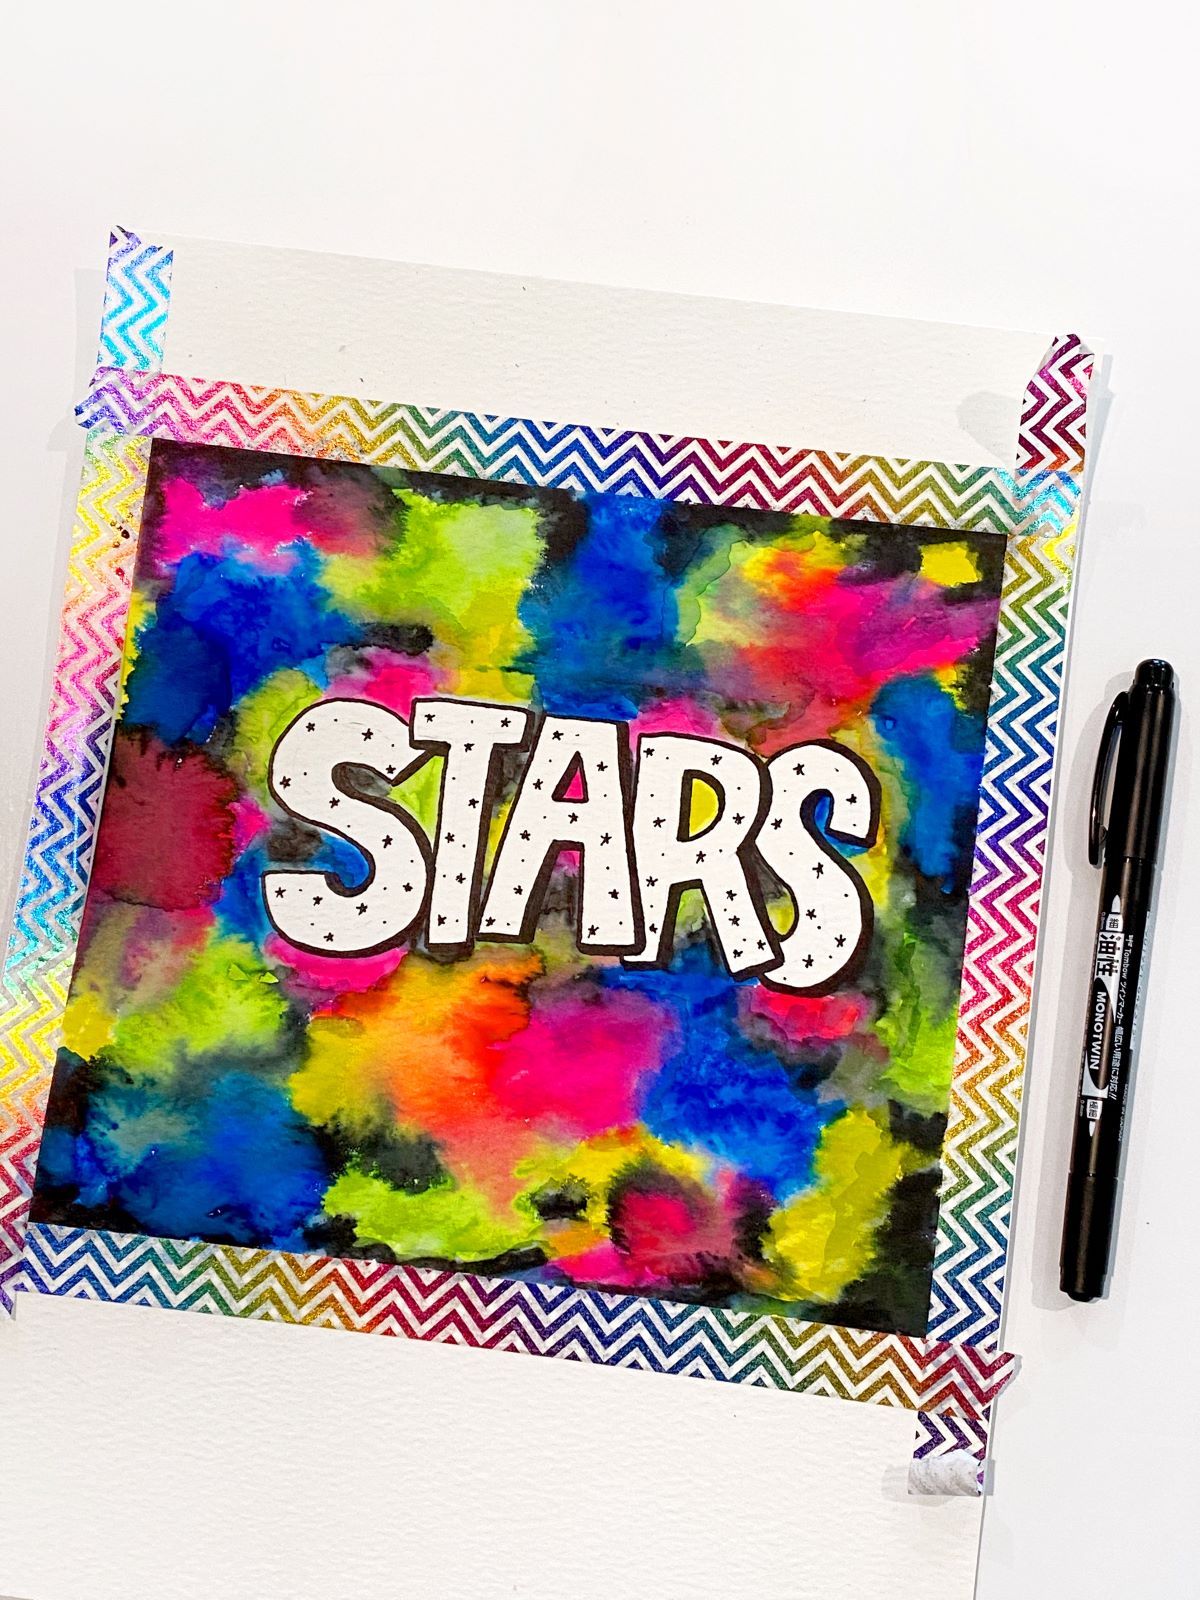
Next, use white paint to add paint splatter to the ink. My favorite way to do this is to put a little paint onto a firm toothbrush then use your finger to pull the bristles back and “spray” the page. I also use a white paint pen to draw stars and bigger dots into the galaxy and to draw lines around where the colors meet each other.
Lastly, just peel the washi tape off and your bright and colorful galaxy is done!
Thanks for following along! If you give this a try, be sure to tag us at @tombowusa and @thebrewtifulword so we can see your amazing work!
See you next time!
Mandy