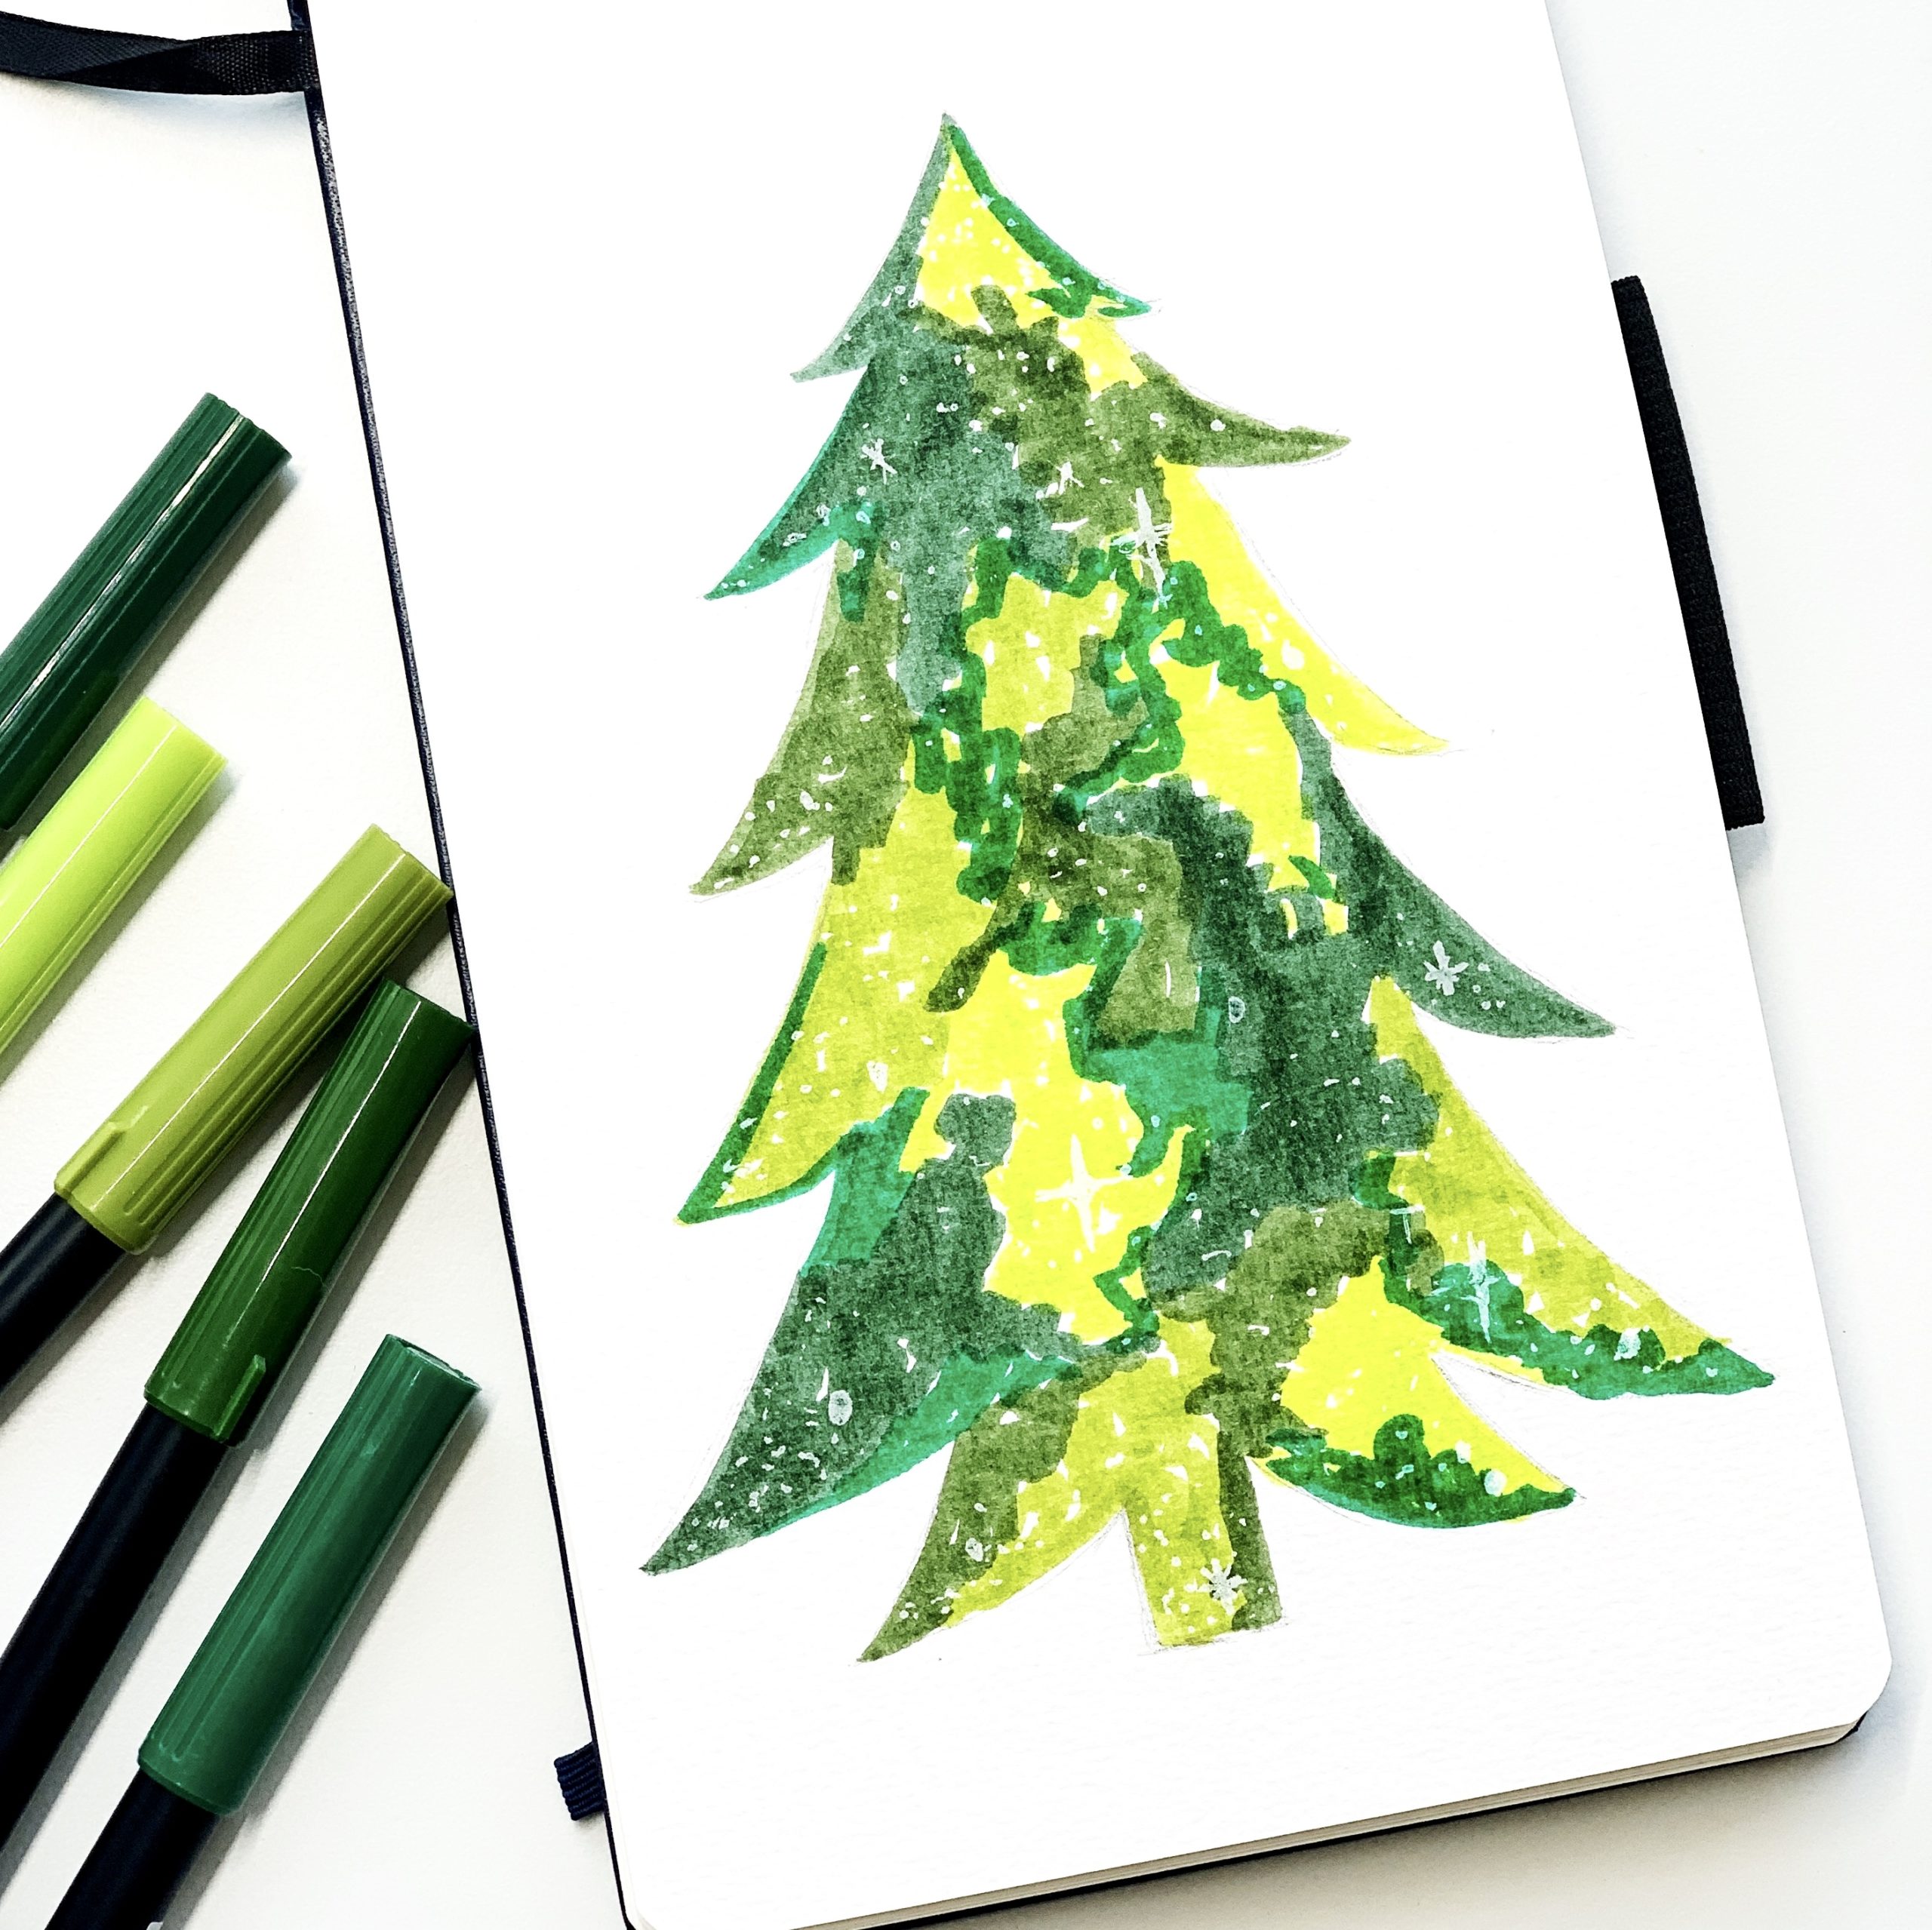
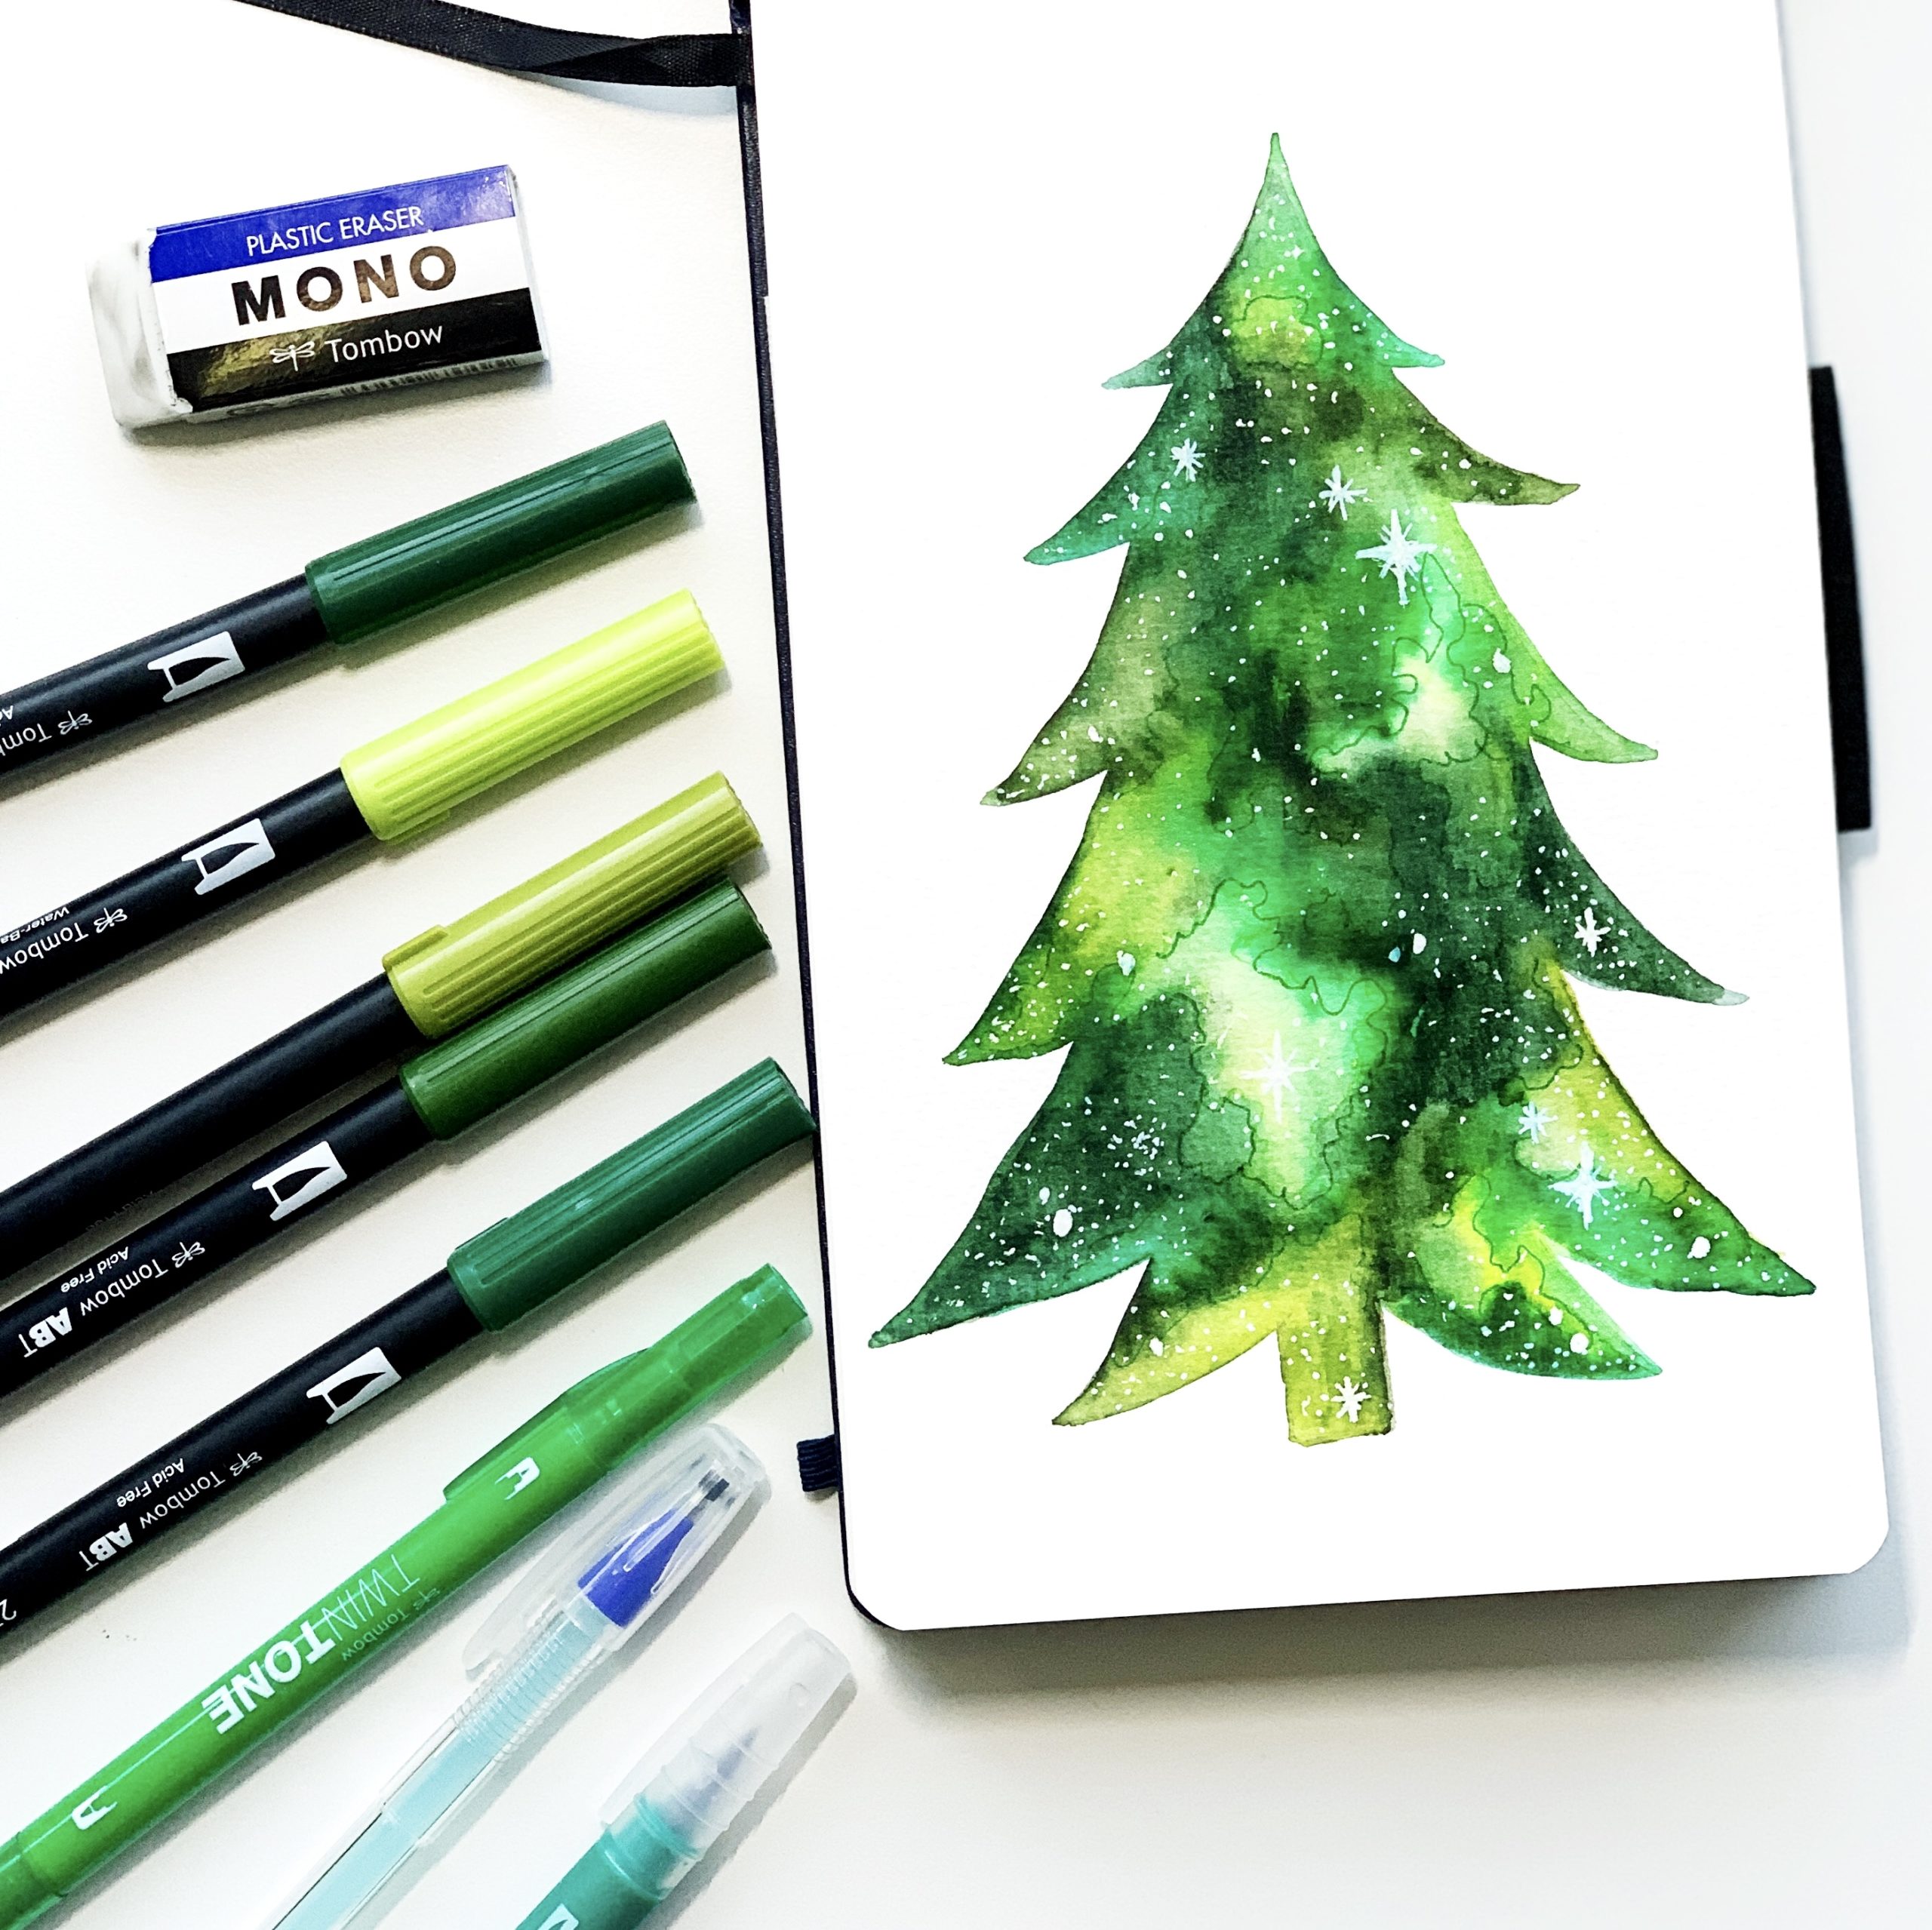
Hi friends, Adrienne from @studio80design here! This week, our projects are inspired by other Design Team members! I’ll be showing you a galaxy Christmas tree tutorial inspired by Katie’s galaxies from @studio.katie! If you’re familiar with Katie’s work, you know she’s the queen of galaxies! I wanted to bring that to Christmas for this tutorial. Let’s get started!
Materials you’ll need:
- Watercolor paper
- Tombow MONO Graph Mechanical Pencil
- Tombow MONO Glue Pen
- Tombow Dual Brush Pens in various green shades
- Tombow Medium Water Brush
- Water
- Tombow MONO Eraser
- Tombow TwinTone Marker, dark green
Step 1
The first step is to sketch out an outline of a Christmas tree using the MONO Graph Mechanical Pencil. If you don’t feel comfortable freehand sketching, you can print out a silhouette image, cut it out and trace along the image on your watercolor paper. I recommend using watercolor paper for this project since we’ll be using the Dual Brush Pens to watercolor and you’ll need thick paper to hold the paint!

Step 2
Use the MONO Glue Pen to draw small circles, stars, and dots inside your Christmas tree. This will act as a resistant and the ink/watercolor won’t be able to hit your page. They will look like our white stars when we’re done!
Step 3
Once the glue is dry on the page, it’s time to start adding ink from the Dual Brush Pens! Use one color at a time and scribble sections inside the Christmas tree, varying each color. I used five different colors of Dual Brush Pens. The great thing is you can use whichever greens you have, even if it’s only two!

Step 4
Start adding water to your Christmas tree using the Medium Water Brush and water. Start with the lightest colors and add water on top. When the water mixes with the ink, it will turn into watercolor! Go section by section, from light to dark, letting the colors blend together. Don’t work it too much or all the colors will blend together.

Step 5
Once the colors are how you like them, let the watercolor dry! Once it’s dry, you can erase any pencil marks with the MONO Eraser. Then, take a TwinTone Marker in dark green and use the fine tip to add in small scribbles inside the Christmas tree to add dimension! You can also use a white gel pen to add more stars if you feel like it needs it!

You’re done! I hope you found this galaxy Christmas tree tutorial helpful! Thanks @studio.katie for the inspiration! For more projects like this, make sure to follow me at @studio80design!
Check out these amazing galaxy projects by Katie!
- How to Color a Galaxy using ABT PRO Markers
- DIY Colored Pencil Galaxy
- DIY Bohemian Watercolor Galaxy Bookmarks
The article is written in an approachable way that nevertheless manages to convey its intended meaning. Fantastic job!
Pingback: Watercolor Christmas Tree: A Beautiful Art Tutorial