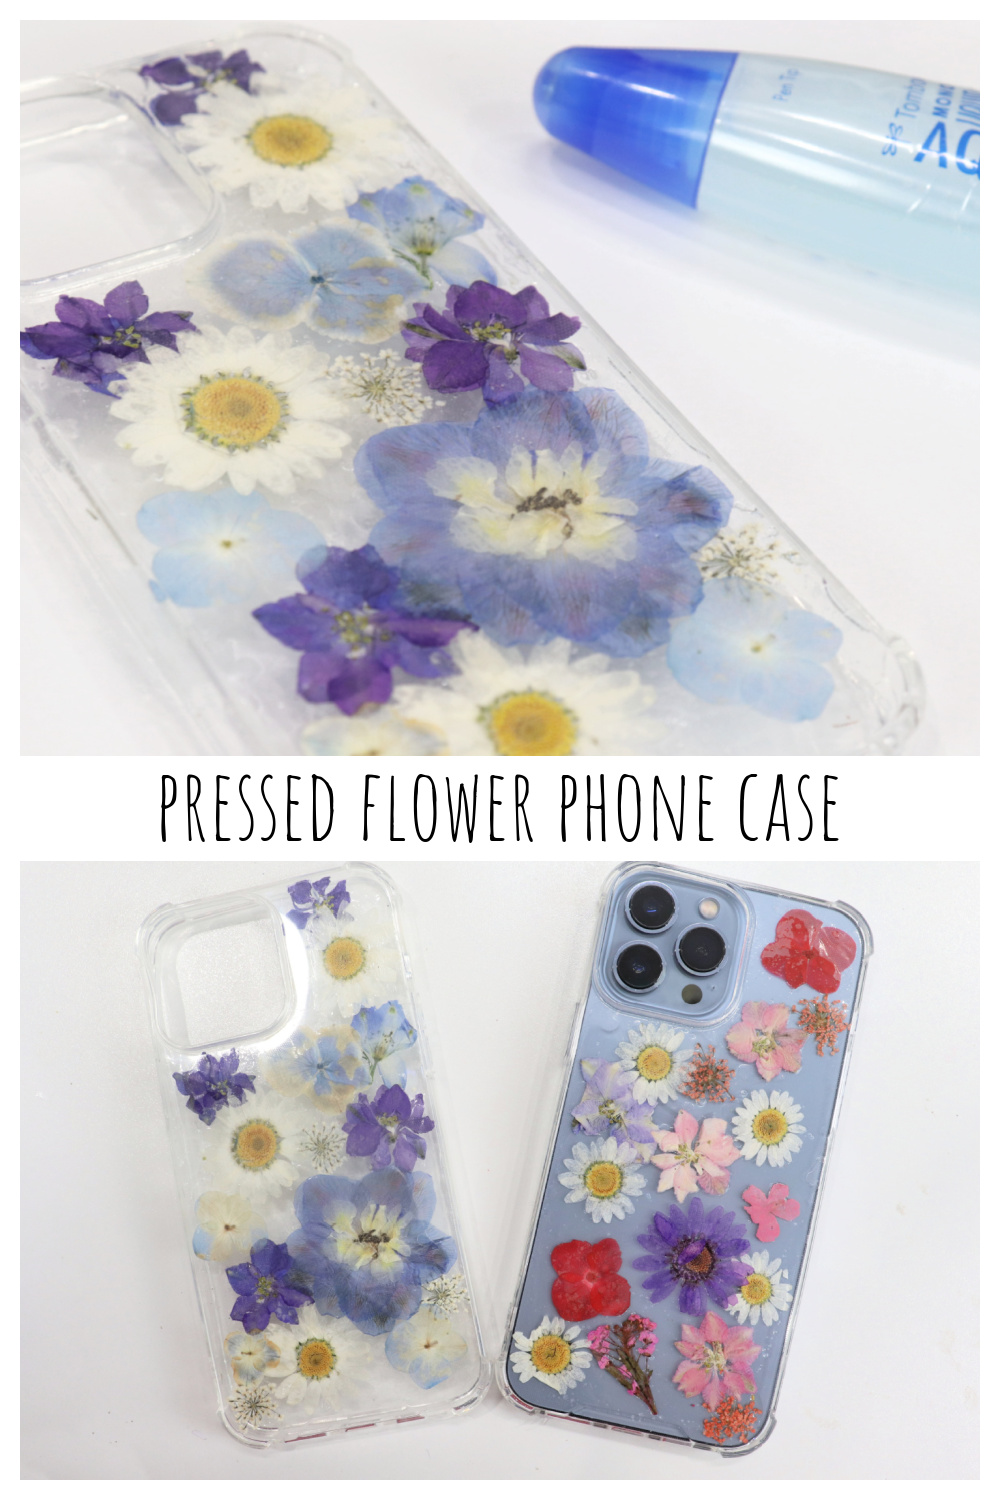
Nature is a wonderful source of inspiration for art, and using natural materials is a great way to bring the beauty of the outdoors into your next project. I’m Amy from Amy Latta Creations, and I’m excited to share a fun floral craft with you today. This Pressed Flower Phone Case is a quick and easy spring project anyone can make. It only requires a few basic supplies, and no special art skills. Just grab the materials below, and let’s get started!
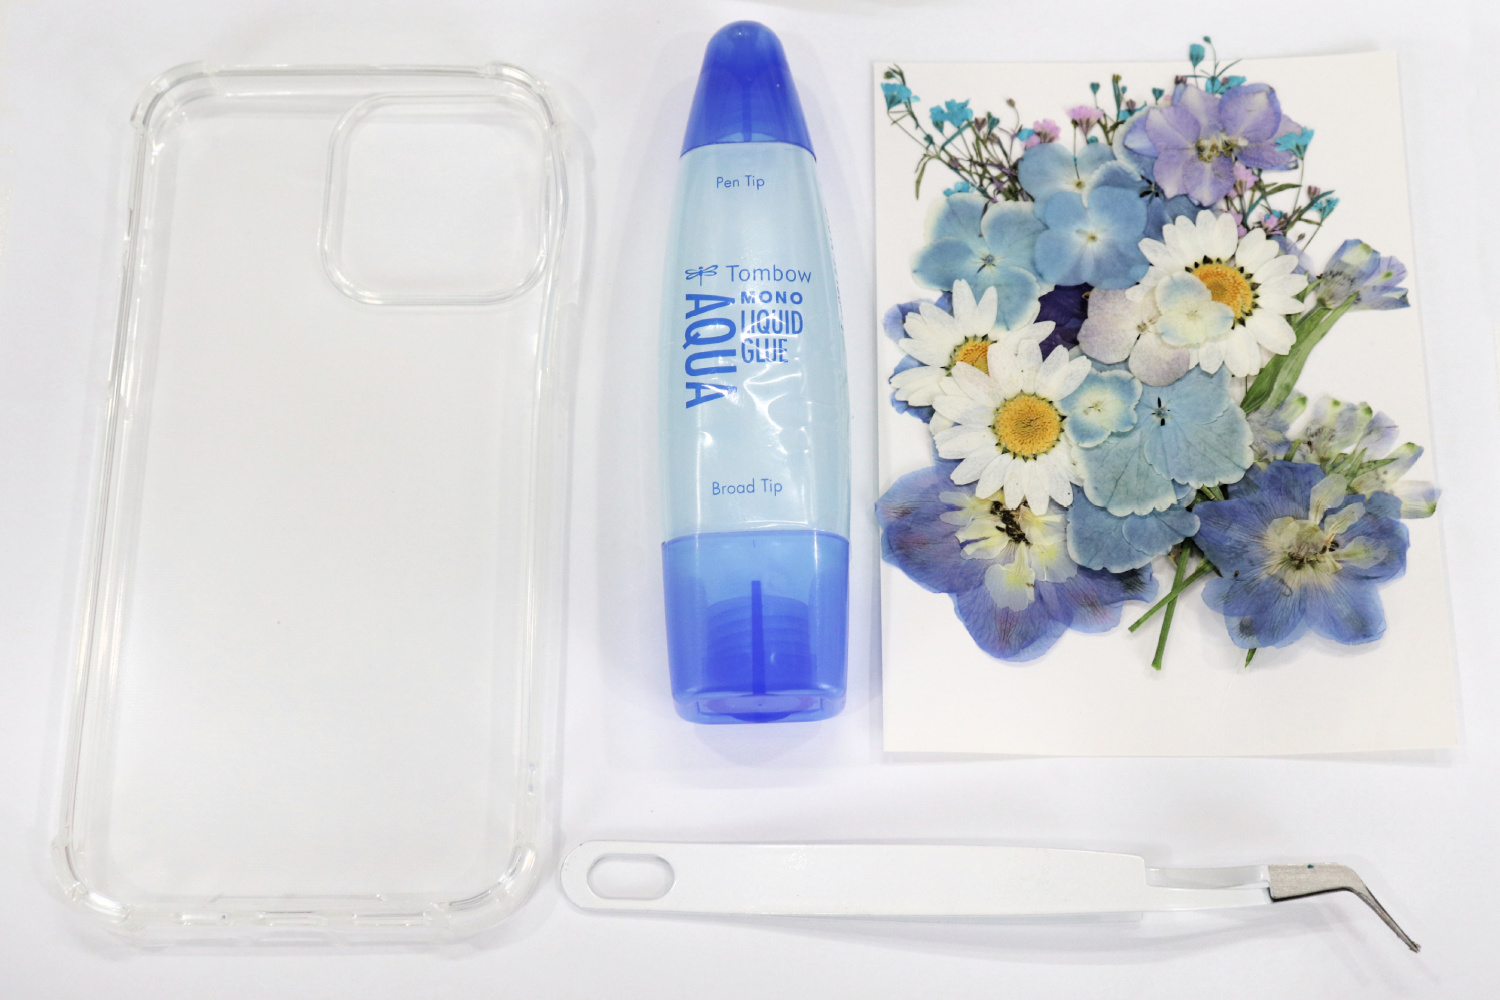
Materials
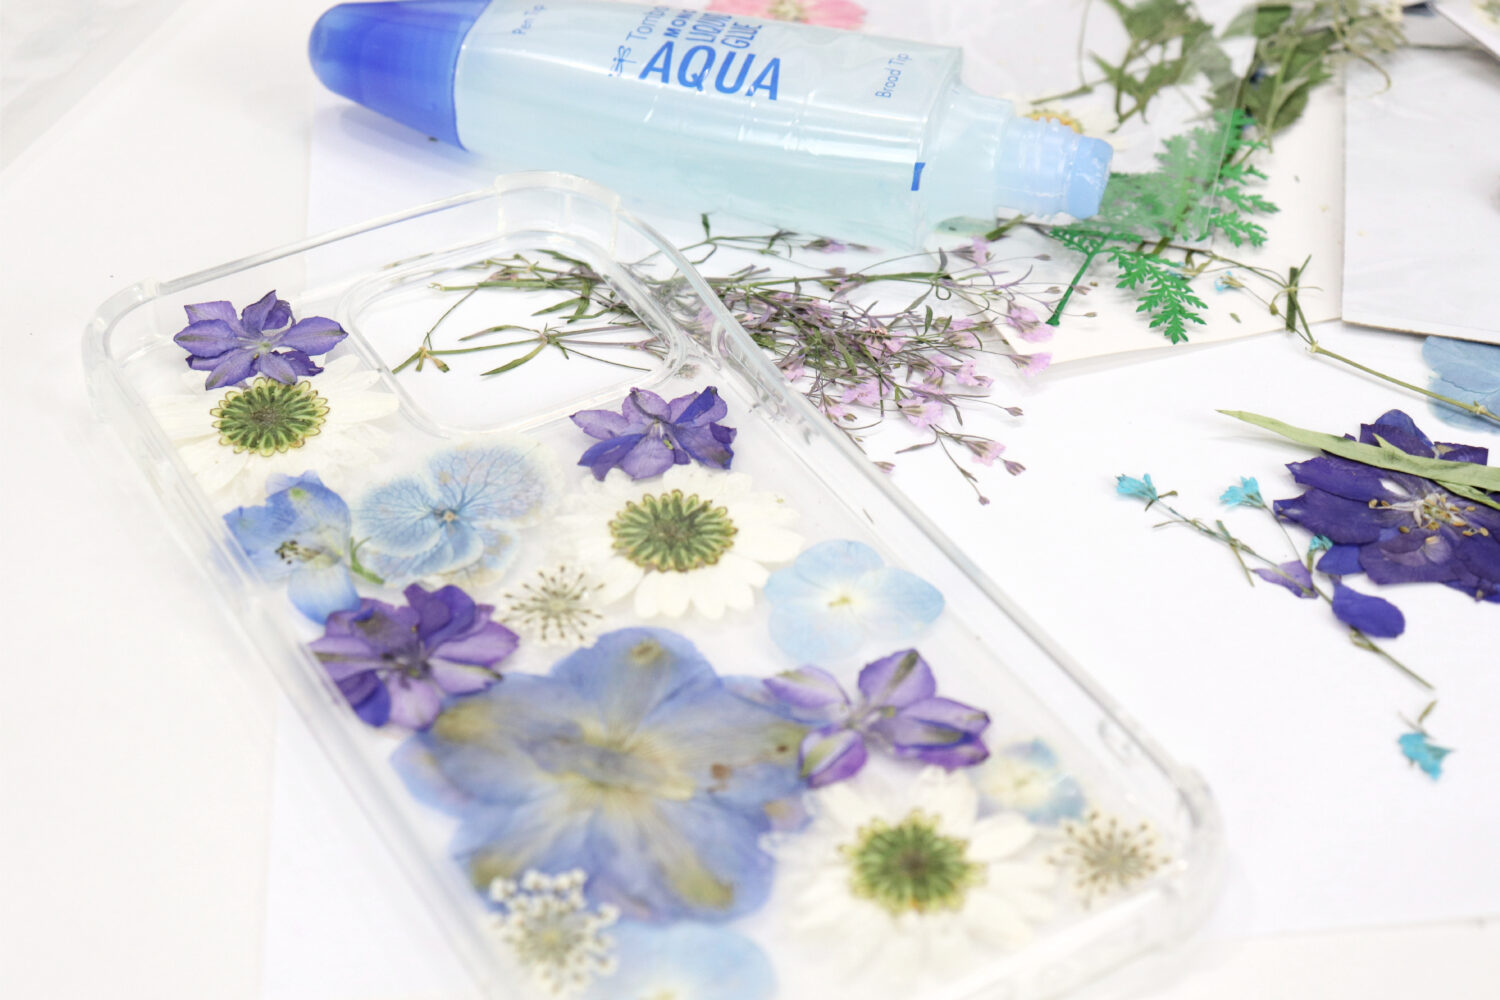
- clear phone case
- pressed flowers (you can press your own, or purchase them already pressed and dried)
- Tombow MONO Aqua Liquid Glue
- paintbrush
- tweezers
How to Make a Pressed Flower Phone Case
Choose your pressed flowers.
You can choose any combination of colors, sizes, and styles you like. Remember to consider the color of your phone, which will be the background.
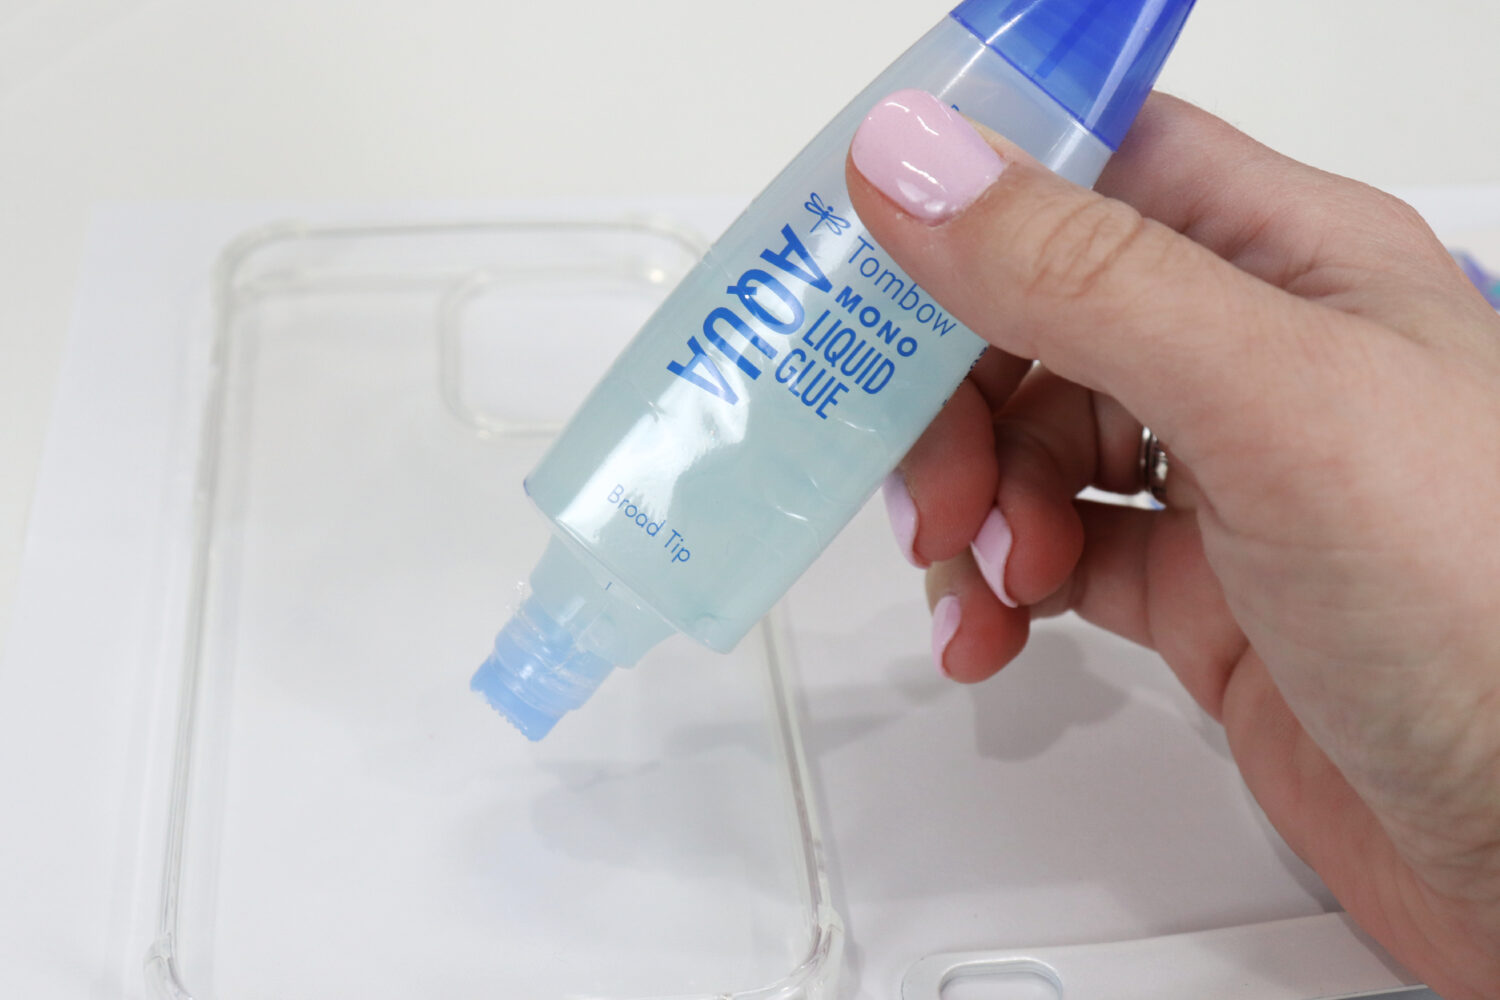
Apply a thin layer of Tombow MONO Aqua Liquid Glue to the inside of the phone case.
MONO Aqua Liquid glue is the perfect choice for decoupage-style projects, because it goes on and dries totally clear, and it’s acid free, so it won’t discolor your flowers.
Use tweezers to place flowers face down on top of the glue.
Pressed flowers are fragile, so make sure to work gently. If you do lose a petal, you can still place it in the glue where it would have been to repair the flower.
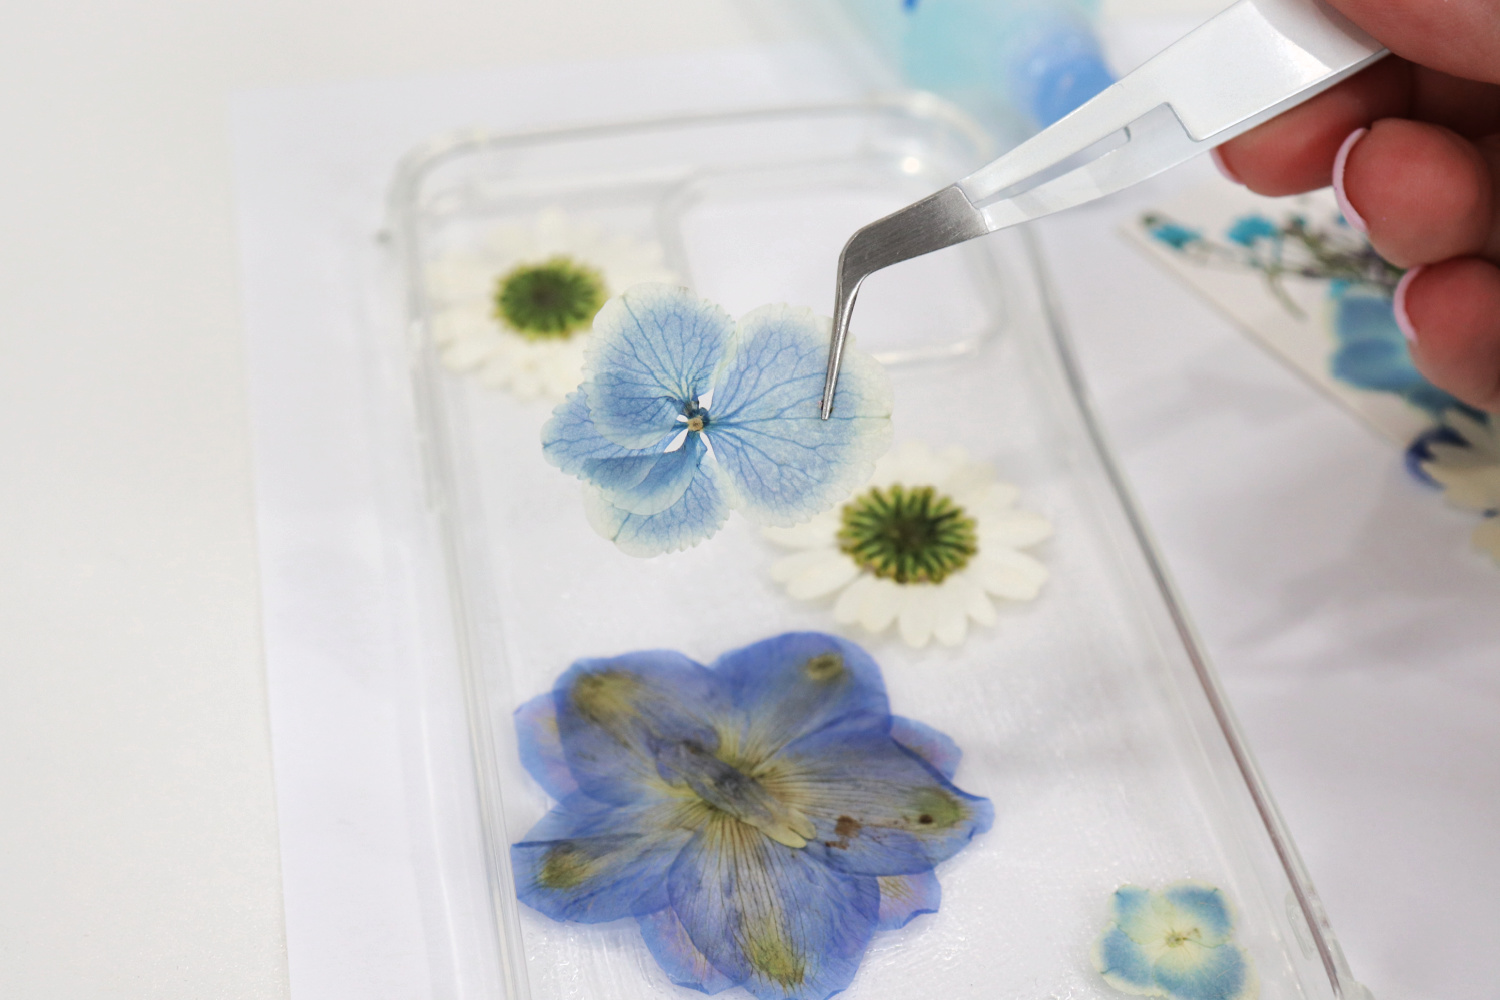
Continue placing flowers until you have the arrangement you want. The best part about this project is that there’s literally no wrong way to do it! You can use whatever flowers you like best and arrange them in any way.
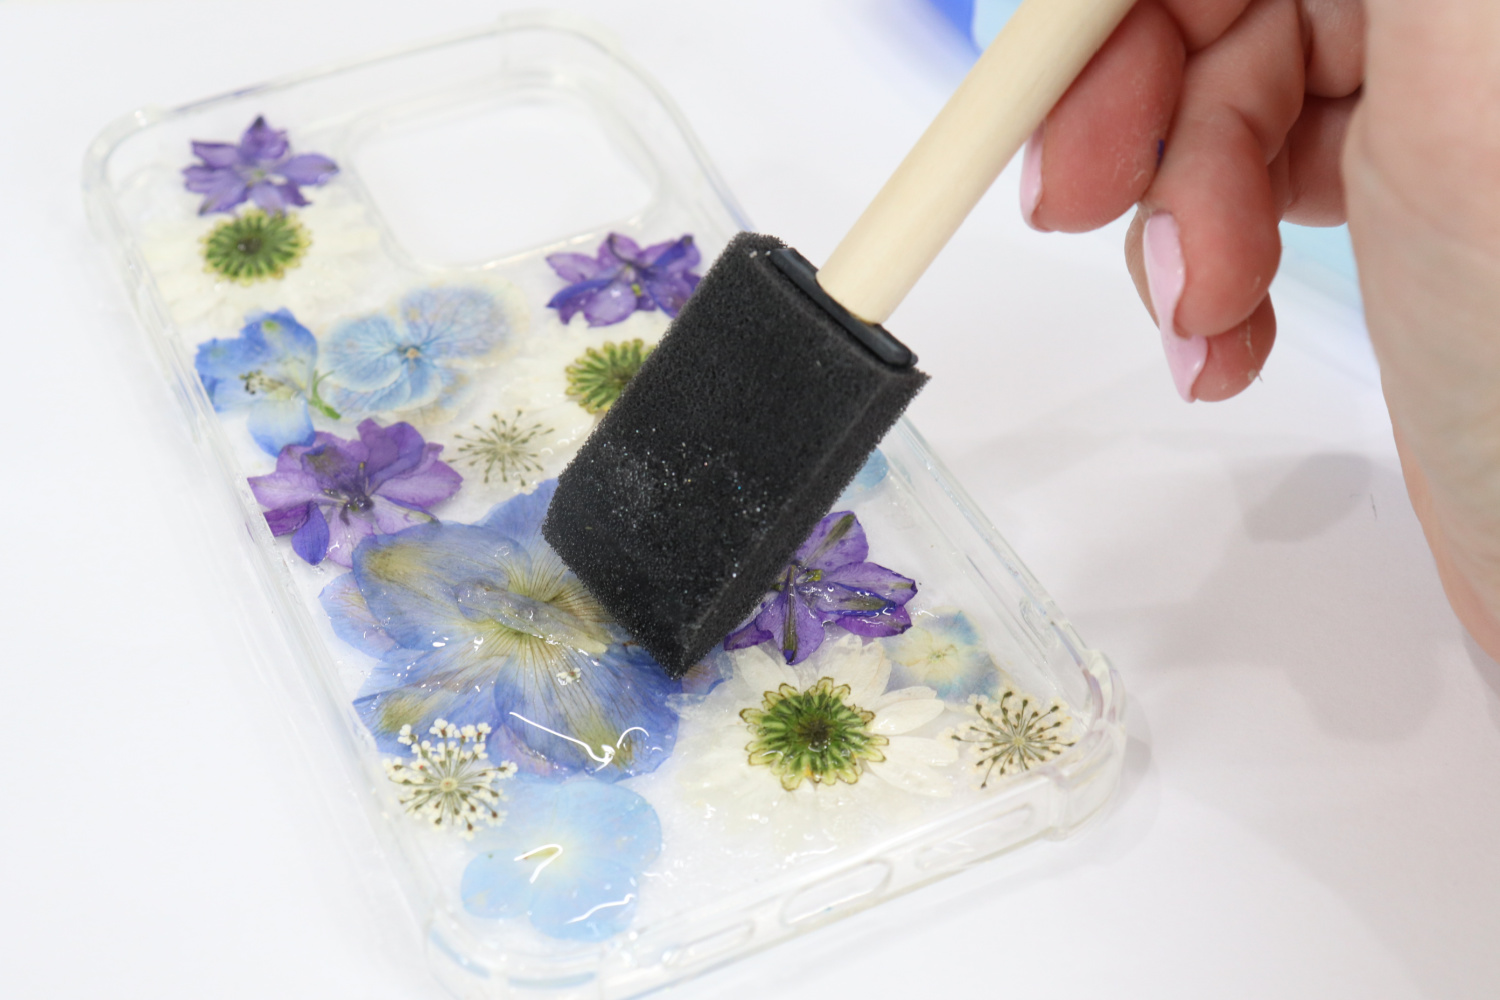
Apply a layer of glue on top of your flowers.
I like to squeeze a puddle of glue from the broad tip, then use a sponge brush to gently spread it out in all directions. This layer should be thick enough to seal the flowers in place.
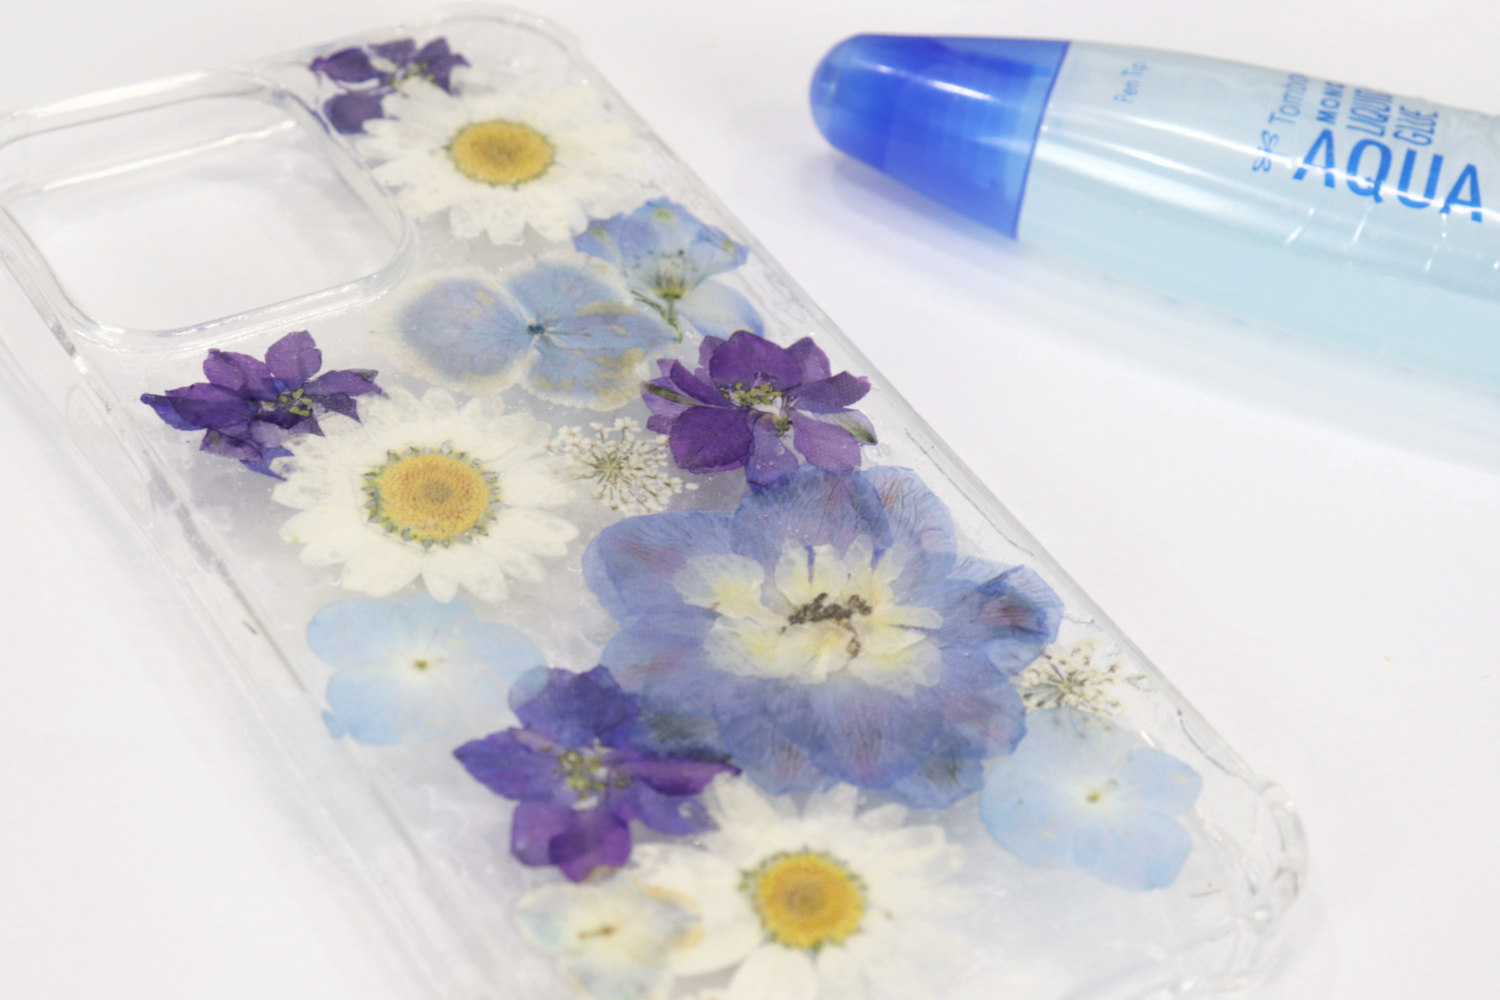
Let your project dry completely.
I recommend letting it dry overnight to make sure the glue has time to cure. Then, your phone case is ready to use and enjoy!
Crafting Tips
- You can try this technique on other surfaces, like clear acrylic keychains, decorative dishes, bookmarks, and more.
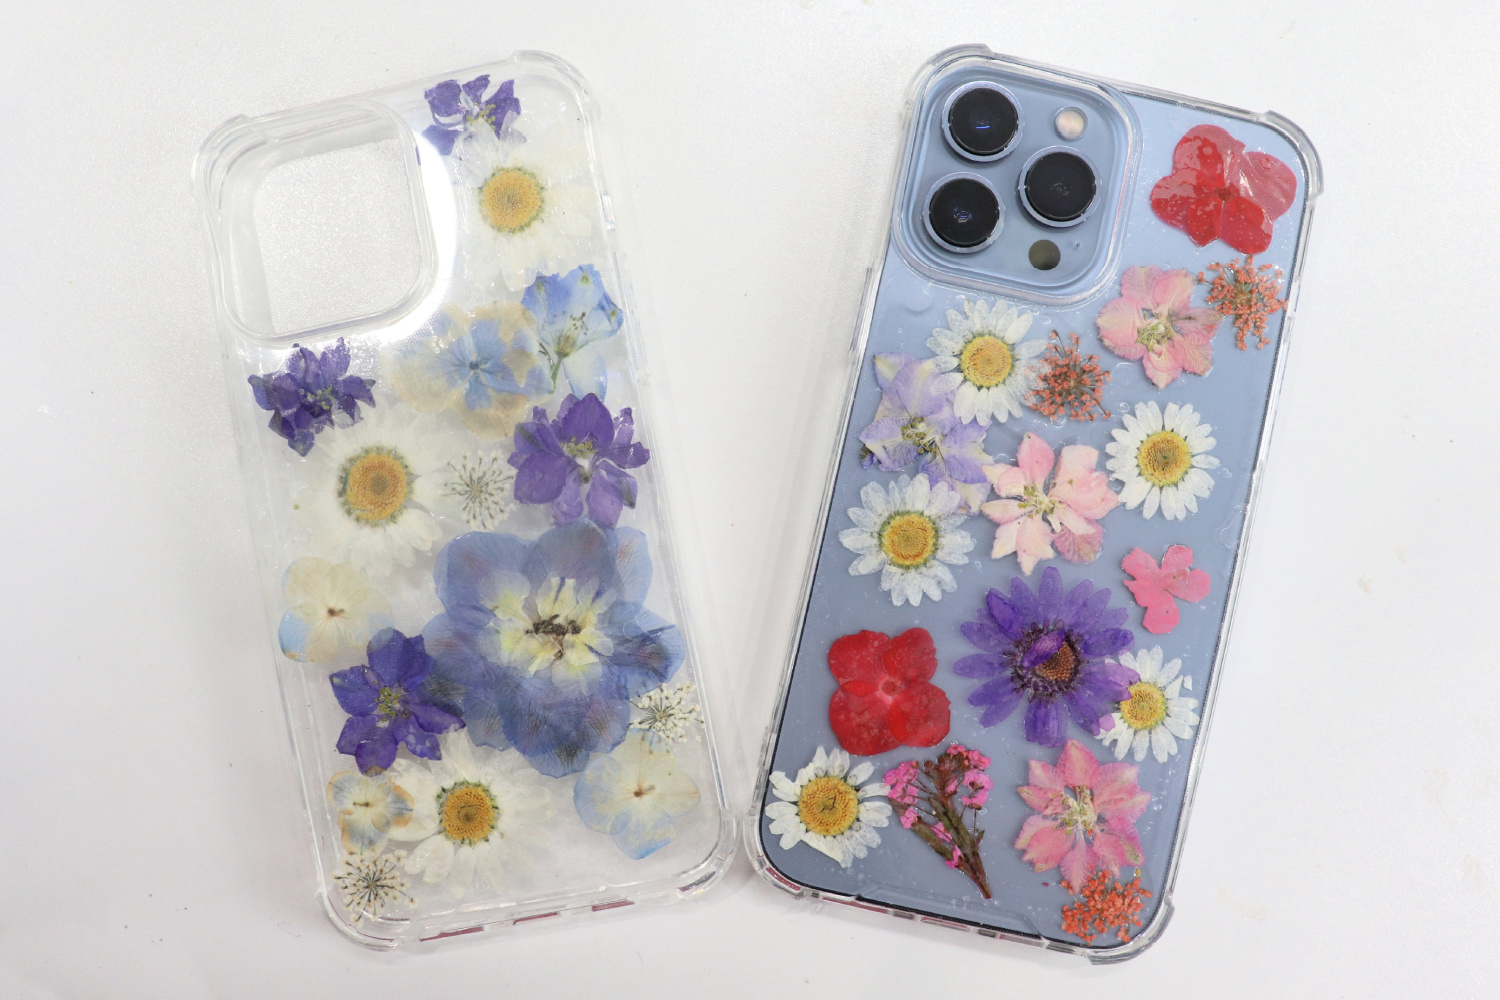
- Try experimenting with different mixes of sizes, colors, and types of flowers to find your favorite look.
If you try making your own Pressed Flower Phone Case, be sure to share your photos with us by tagging @tombowusa and/or using the hashtag #tombowusa so we can all be inspired by each other. Also, be sure to check out this Spring Banner with Rolled Flowers and Spring Watercolor Wreath tutorial for more seasonal ideas. Happy creating!
Pingback: DIY Pressed Flower Phone Case - Amy Latta Creations