Do you love the monoline badge trend? I’m Amy from Amy Latta Creations, and everywhere I look, I’ve been seeing these really cool, minimalist drawings of nature scenes in the shape of a circle. They’re typically not colored in, just shaded in some areas using lines. Here’s how you can try your hand at this trend and create your own set of Monoline Travel Coasters with your favorite Tombow supplies.
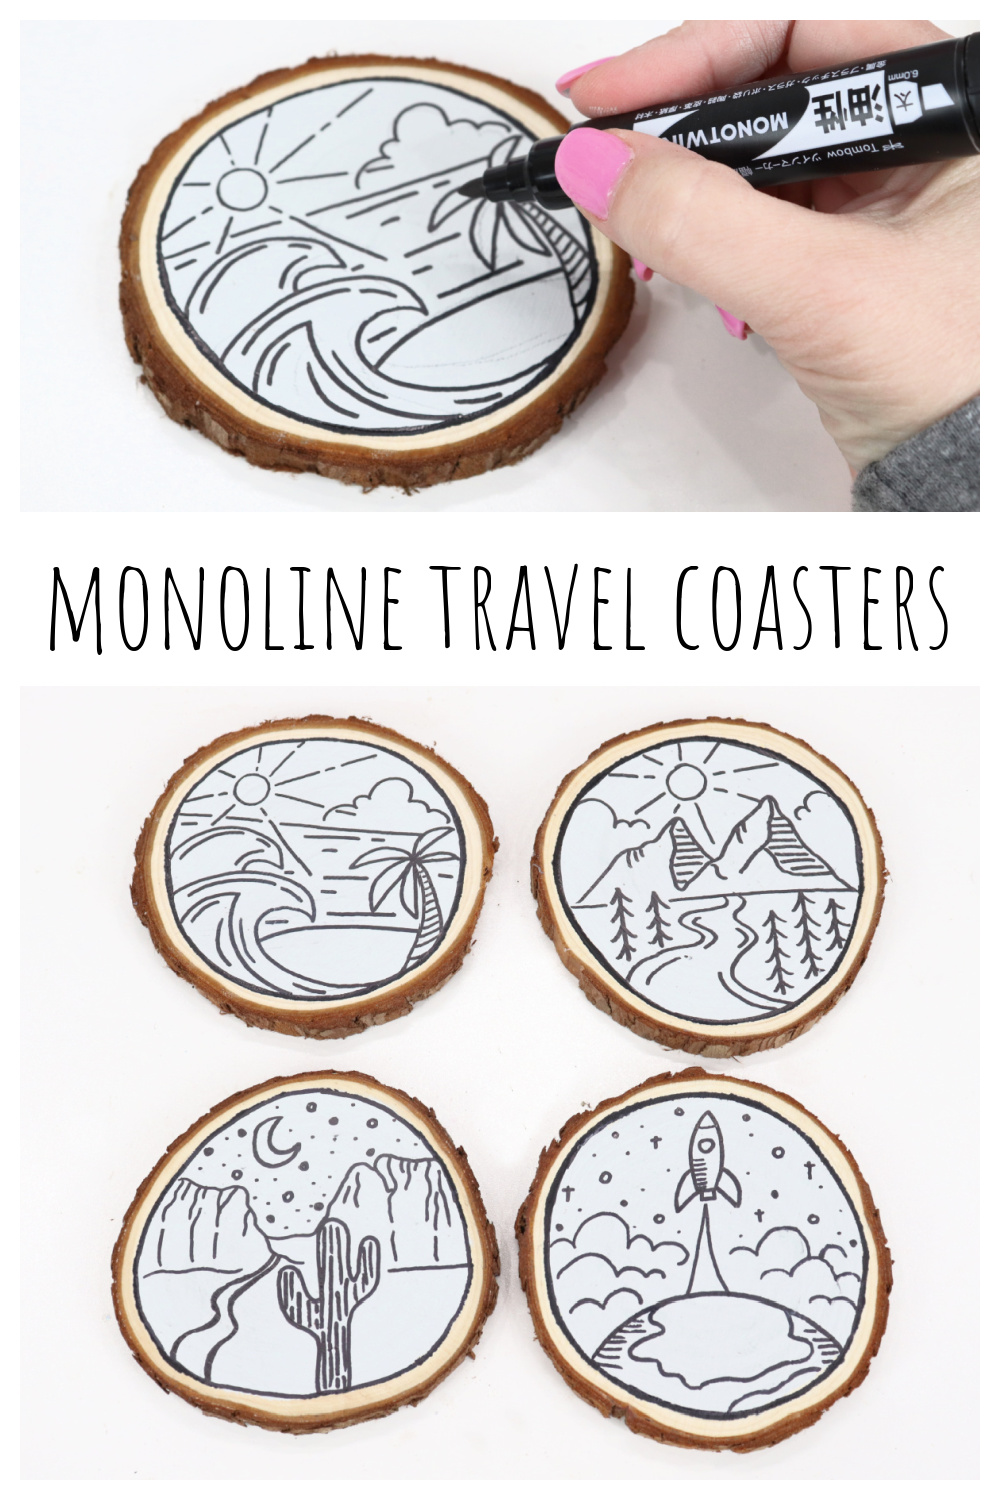
How to Make Monoline Travel Coasters
These coasters are so much fun to make, because each one is unique, and you can play around with creating all kinds of fun travel scenes. From the ocean to the desert to outer space, anything goes! Grab the supplies listed below, and let’s start crafting some one-of-a-kind decor.
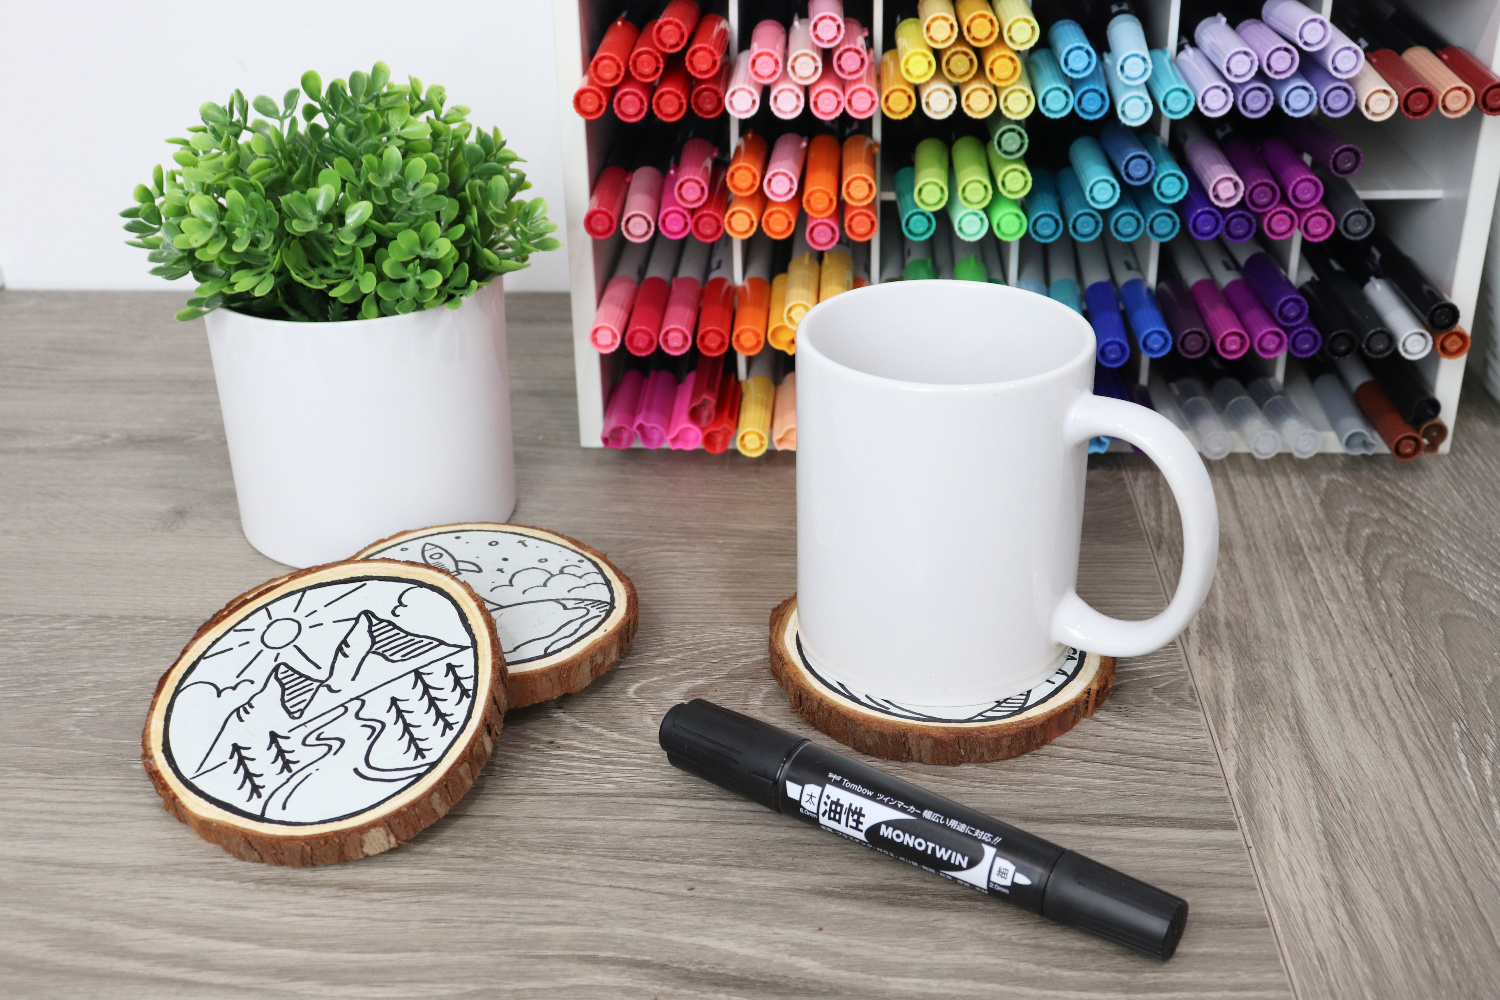
Materials
- 4” wood slices
- chalk paint, light grey or another light color
- paintbrush
- Tombow MONO Drawing Pencil
- Tombow MONOTwin Permanent Marker: Bold, Black
- Tombow MONO Eraser
- Tombow MONO Aqua Liquid Glue
Instructions
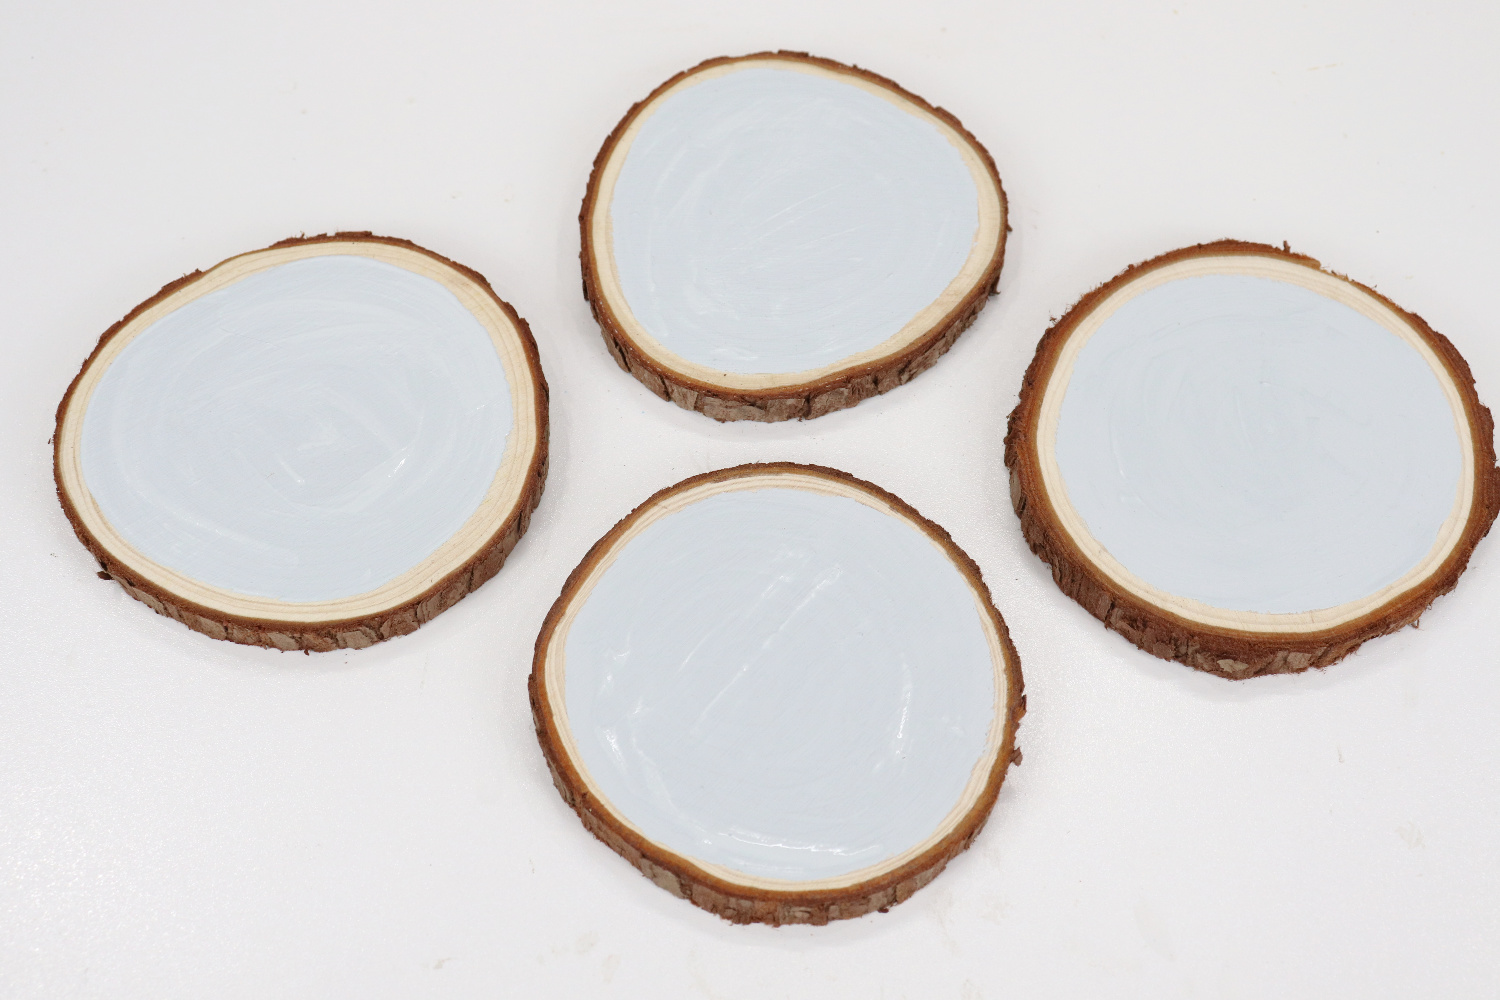
Step 1: Paint the center of each wood slice using chalk paint.
I like using chalk paint because of its matte finish. It works really well for creating a surface to draw on, unlike glossy paints. Let the paint dry completely before moving to the next step.
Step 2: Plan your travel scene.
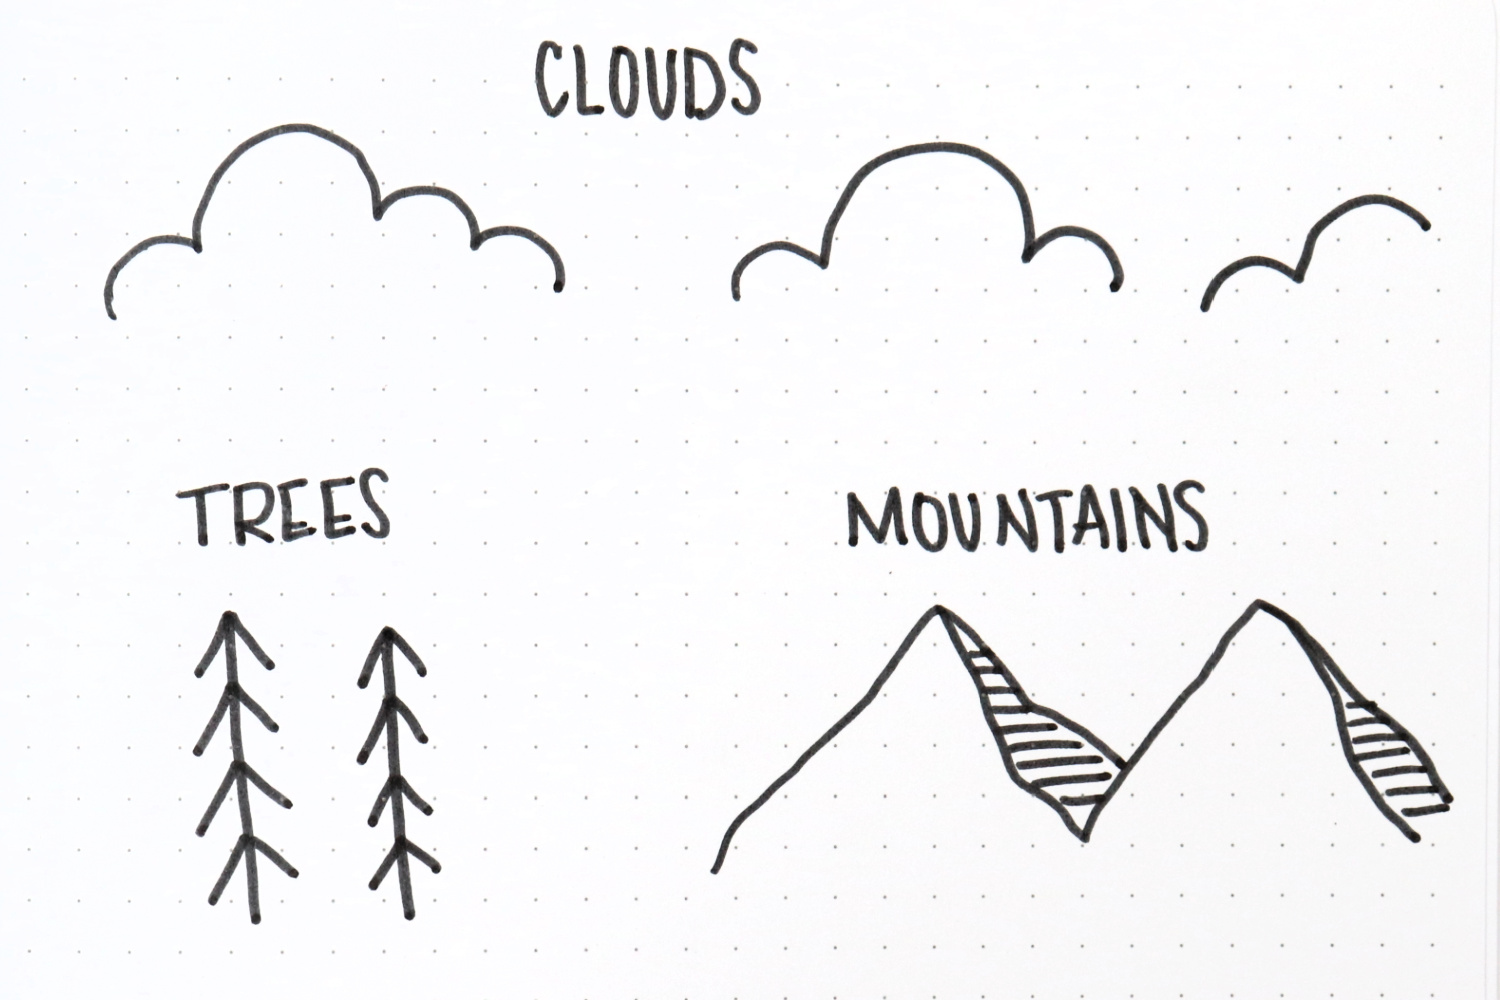
You can draw the same thing on all four coasters, or you can create a unique scene for each one. Here are a few basic elements drawn in the popular monoline badge style to get you started.
CLOUDS – Draw a series of bumps in varying sizes.
TREES – Sketch a vertical line, then make a series of upside-down “v” shapes starting at the top and going down the line.
MOUNTAINS – Doodle a few irregular pointed shapes and divide off a section on the side of each one. Fill in that section with horizontal lines to create dimension.
SUN – Draw a circle for the sun, then give it lines for the rays. Break some of the lines into smaller pieces.
MOON – Sketch a “c” shape, then draw another “c” inside to form a crescent.
STARS – Fill the night sky with a combination of dots, open circles, closed circles, and/or plus signs.
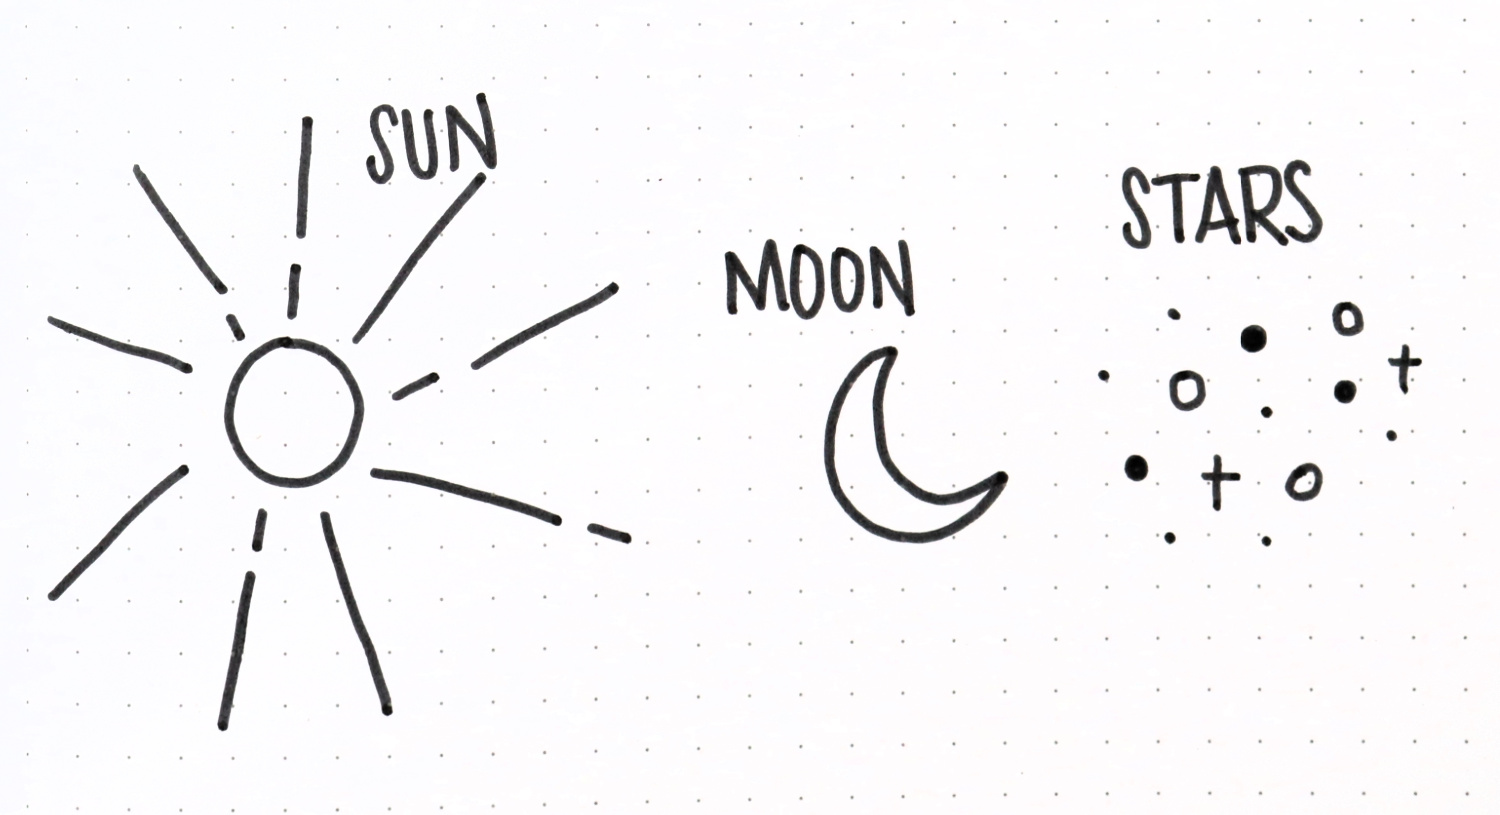
There are lots of other things you can include, like rivers, palm trees, waves, cacti, etc. depending on what kind of scene you’d like to create. For inspiration, you can search “monoline badge” on Pinterest or a search engine and find tons of examples.
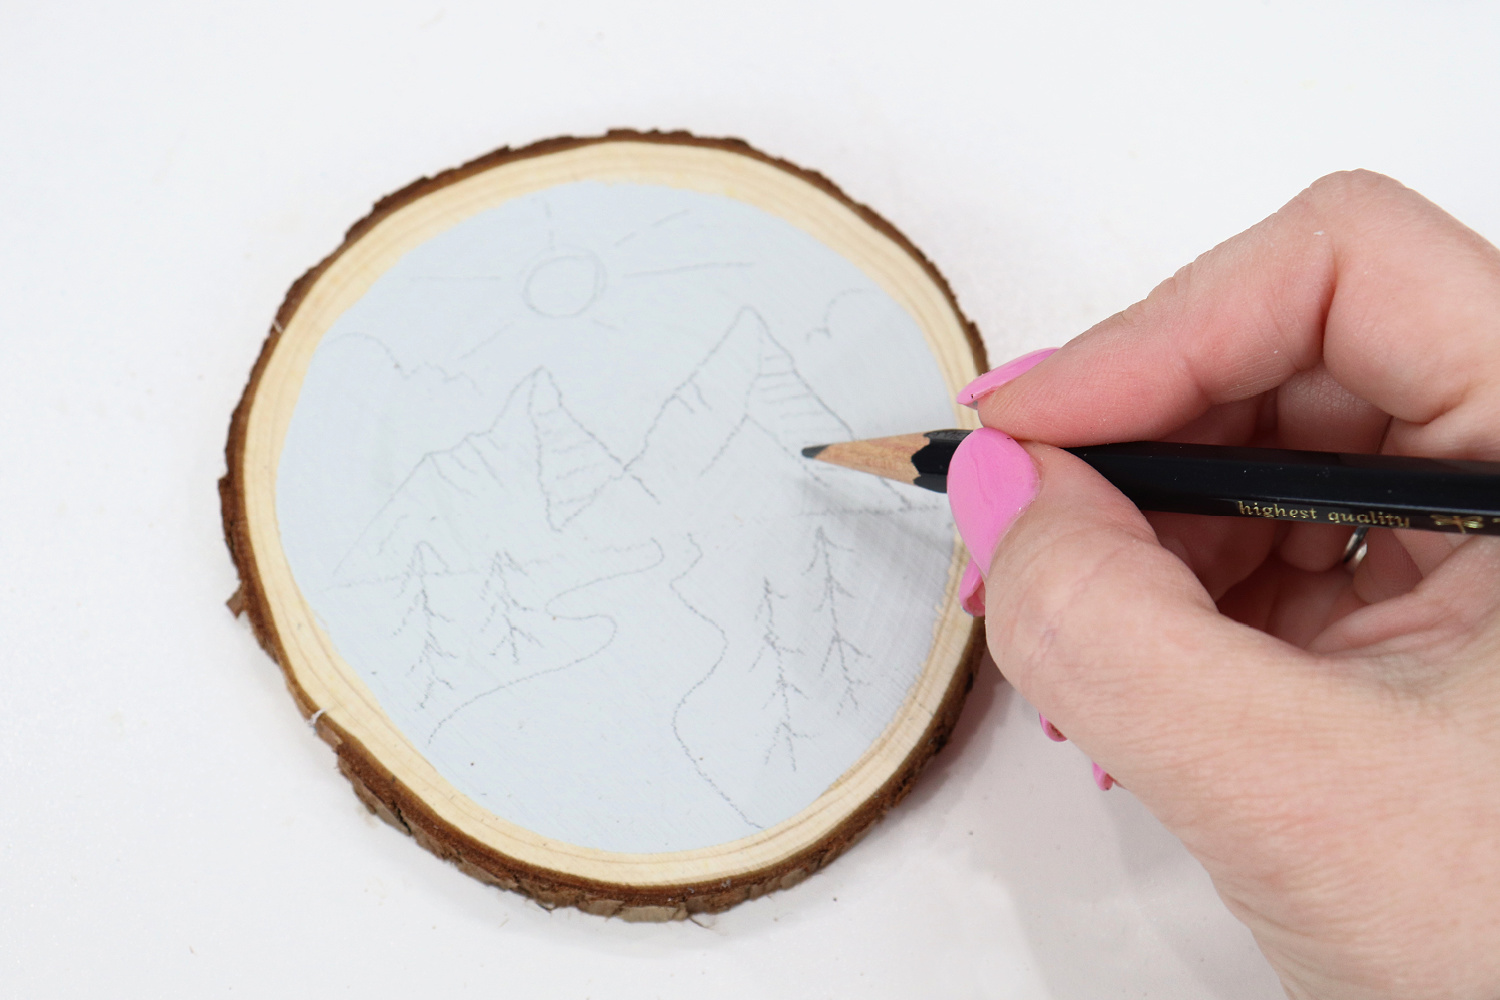
Step 3: Lightly sketch your design onto the coaster with a MONO Drawing Pencil.
You’ll want to erase this later, so try to keep the lines as light as possible by applying very little pressure as you draw.
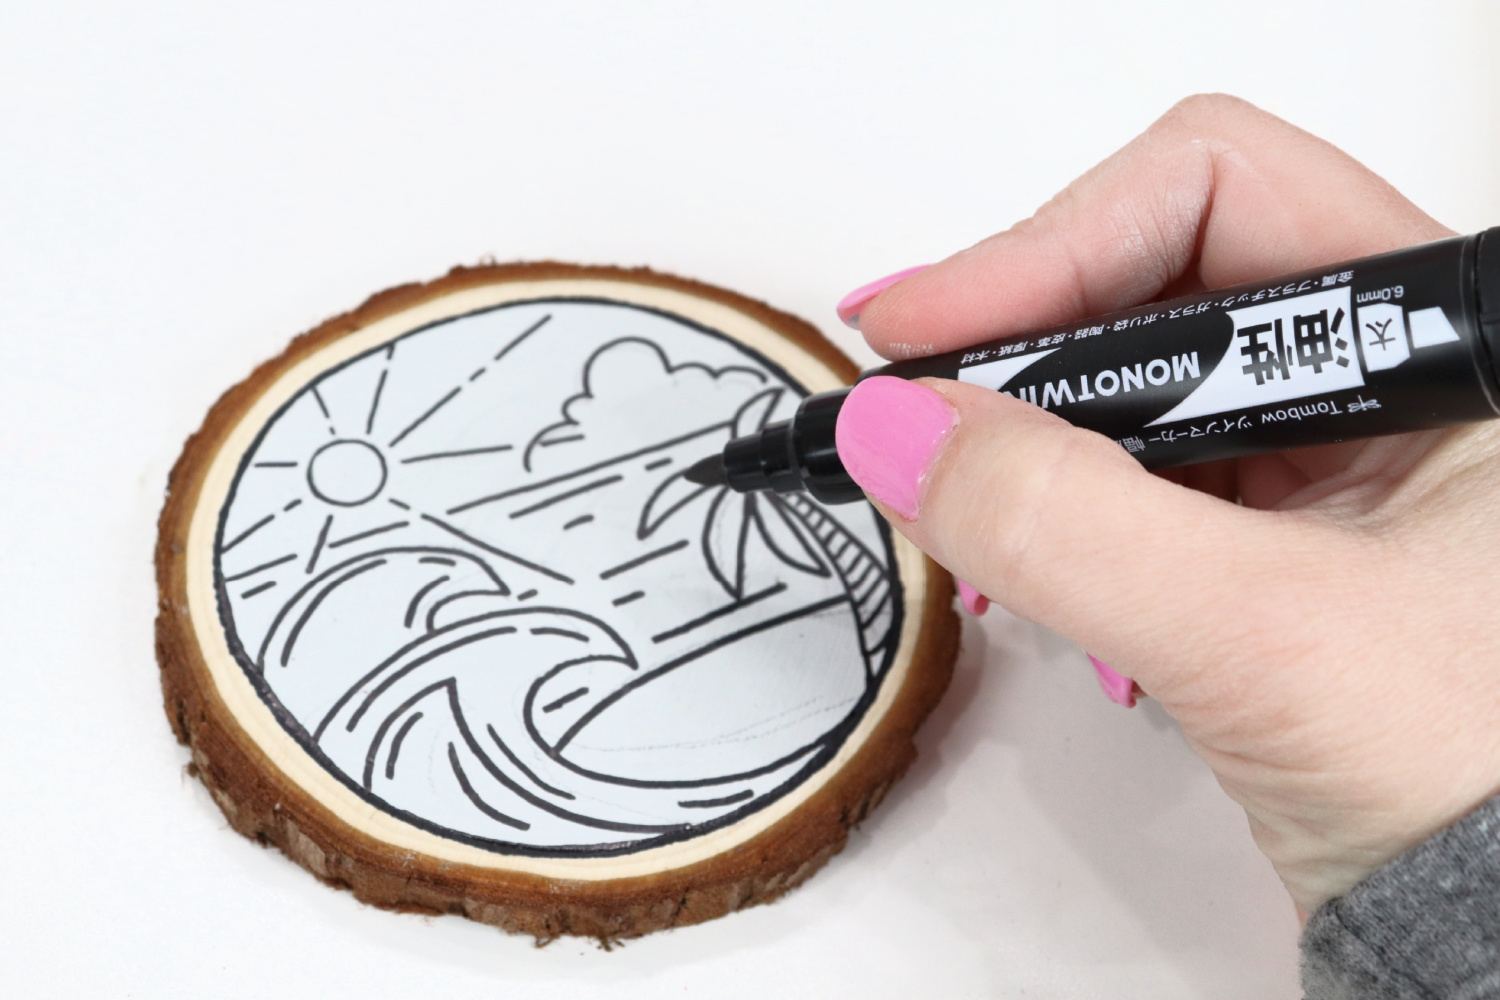
Step 4: Trace your lines with the fine tip end of the MONOTwin Bold Permanent Marker.
This 2 mm tip gives a consistent line thickness to the drawing that’s fine enough for detail but bold enough to create a striking image. (The other end of this marker is a chisel tip that’s fun to use for other project types, so it’s a great multi-purpose tool to have on hand.) The oil-based, permanent ink works on all kind of surfaces including paper, metal, plastic, glass, vinyl, porcelain, leather, and wood, so it’s the perfect choice for craft projects like this one.
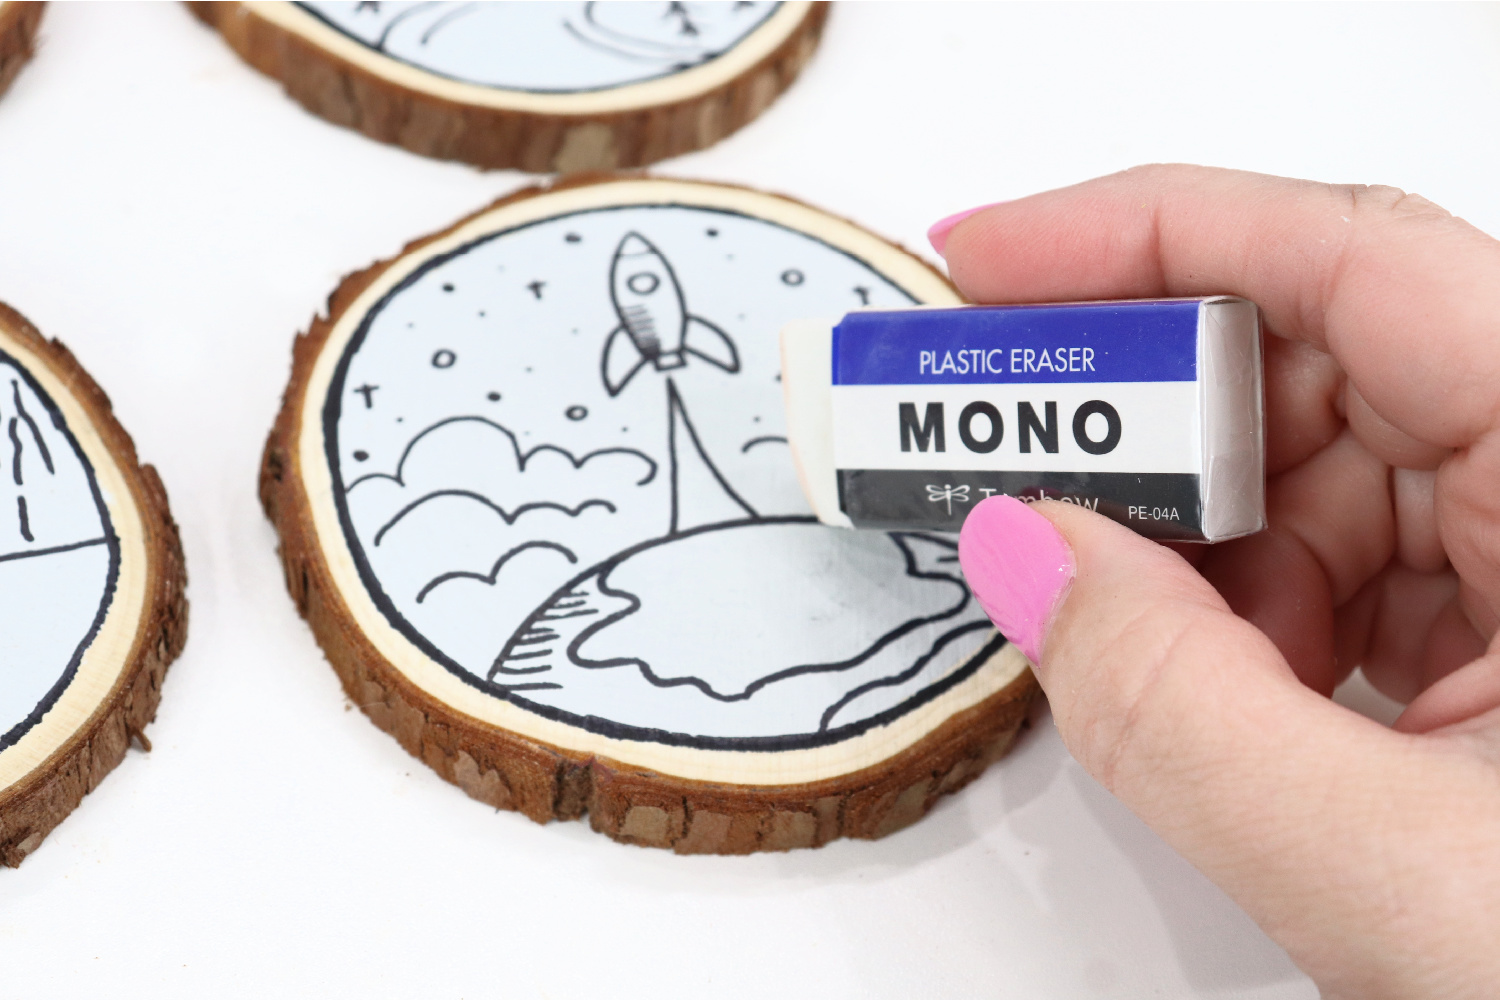
Step 5: Erase your pencil lines.
Once the ink is dry, it’s smear proof, so you can easily use a MONO Eraser to get rid of any marks from your pencil sketch that are still visible.
Step 6: Seal your coaster.
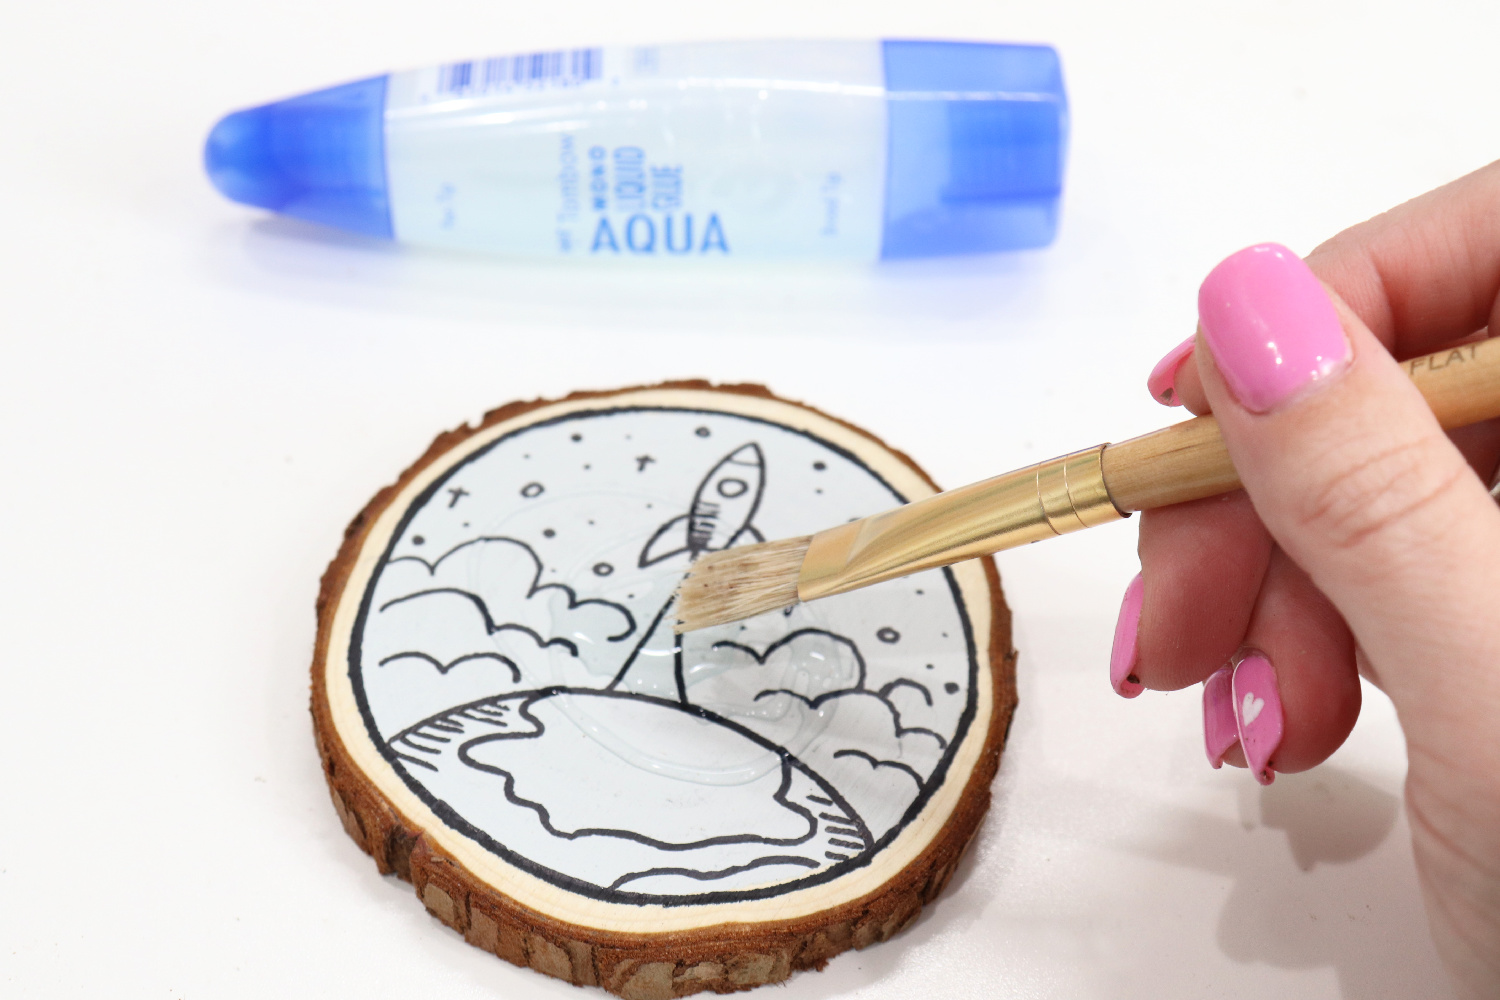
Although the ink itself is water-resistant, we still need to seal the coasters so that the chalk paint won’t scratch or chip off. Did you know that in addition to being an adhesive, Tombow MONO Aqua Liquid Glue works like a decoupage medium and a sealer? Apply a small puddle of glue to the surface and spread it out with a paintbrush to get a thin, even layer of coverage over the entire surface of the coaster.
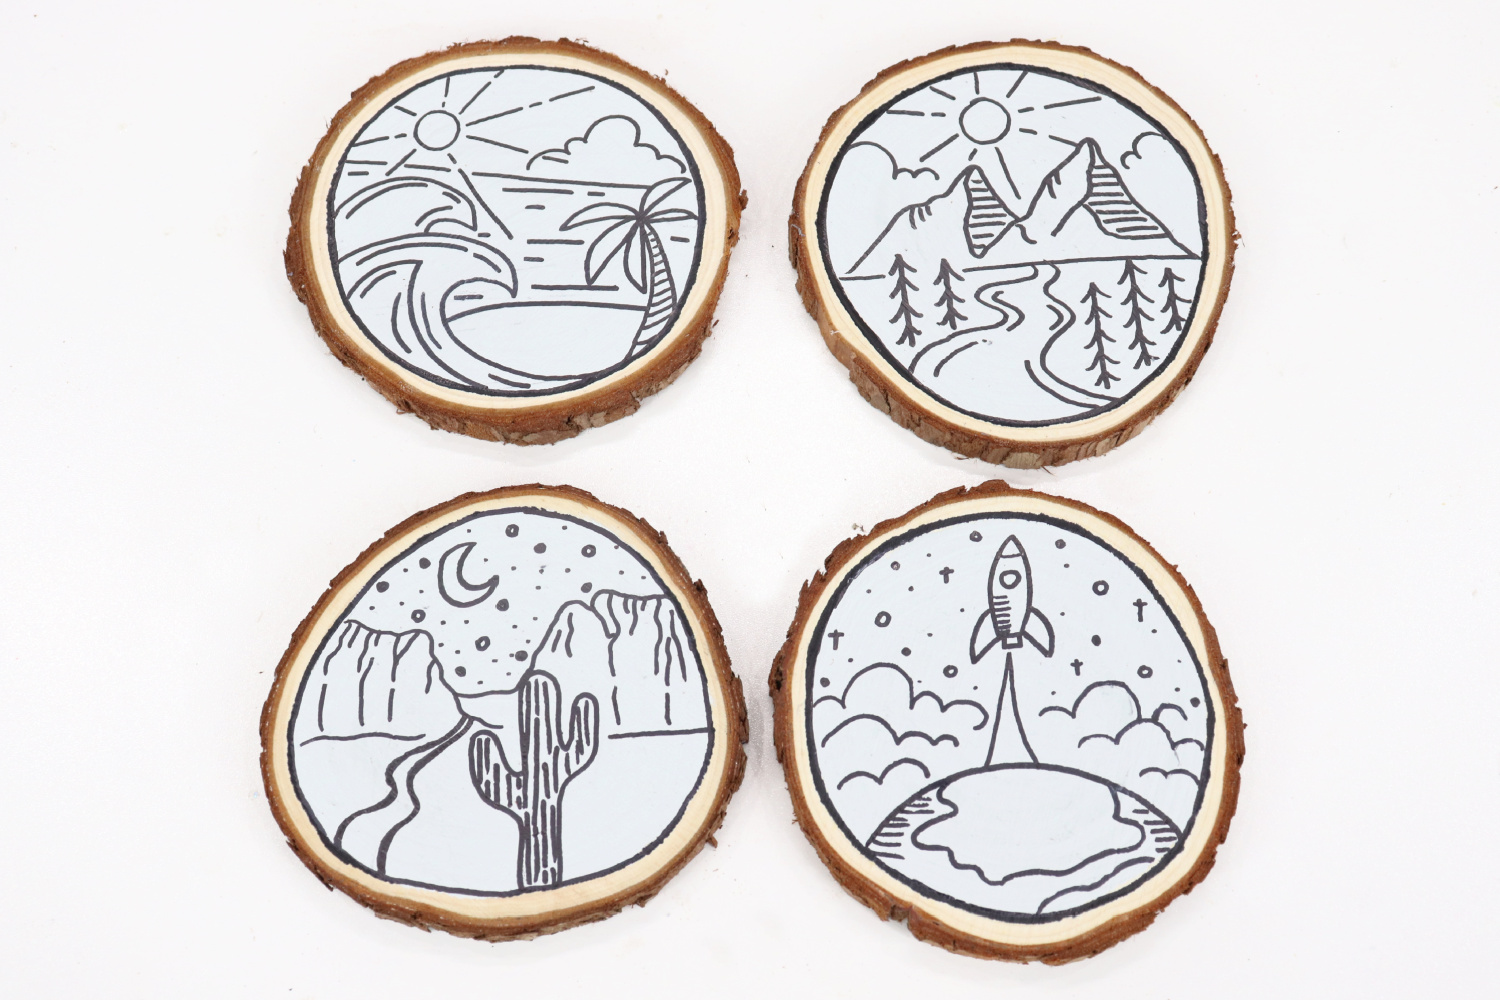
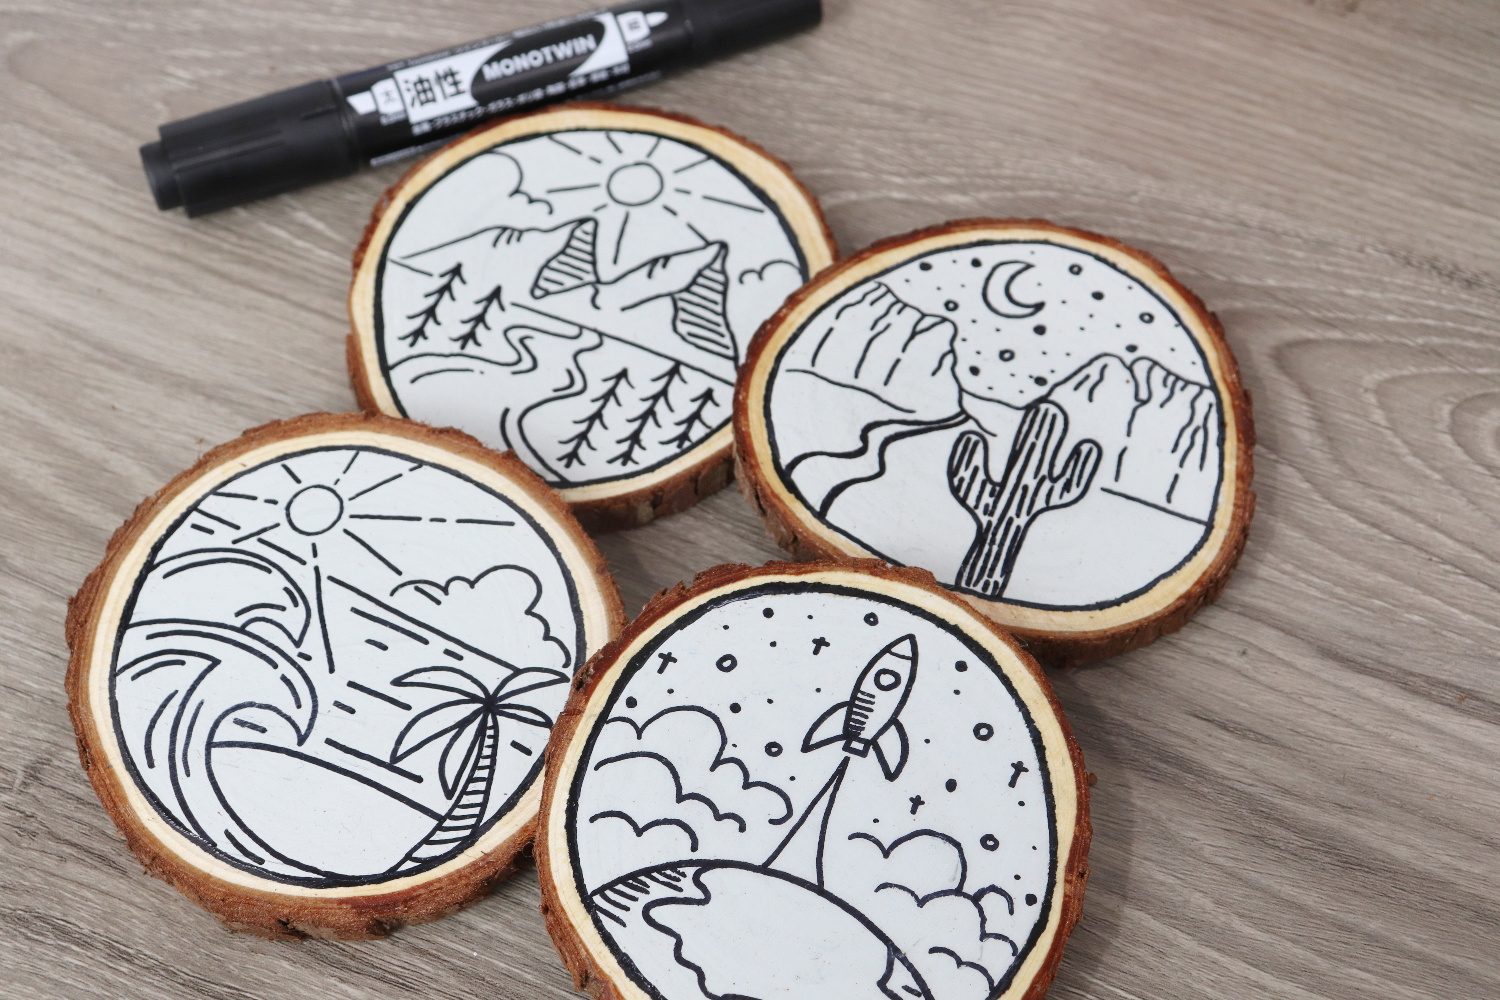
Once the glue is completely dry, your coasters are ready to use. Here are the four specific scenes I created: beach, mountain, desert, and space. Feel free to recreate these same images, or to come up with something entirely new for your coasters.
In addition to creating and keeping these for your own home, you can also make a set to give as a gift. You can personalize them based on specific places you’ve traveled by adding special landmarks. Another idea is to add the name of a location either on the back or as part of the illustration.
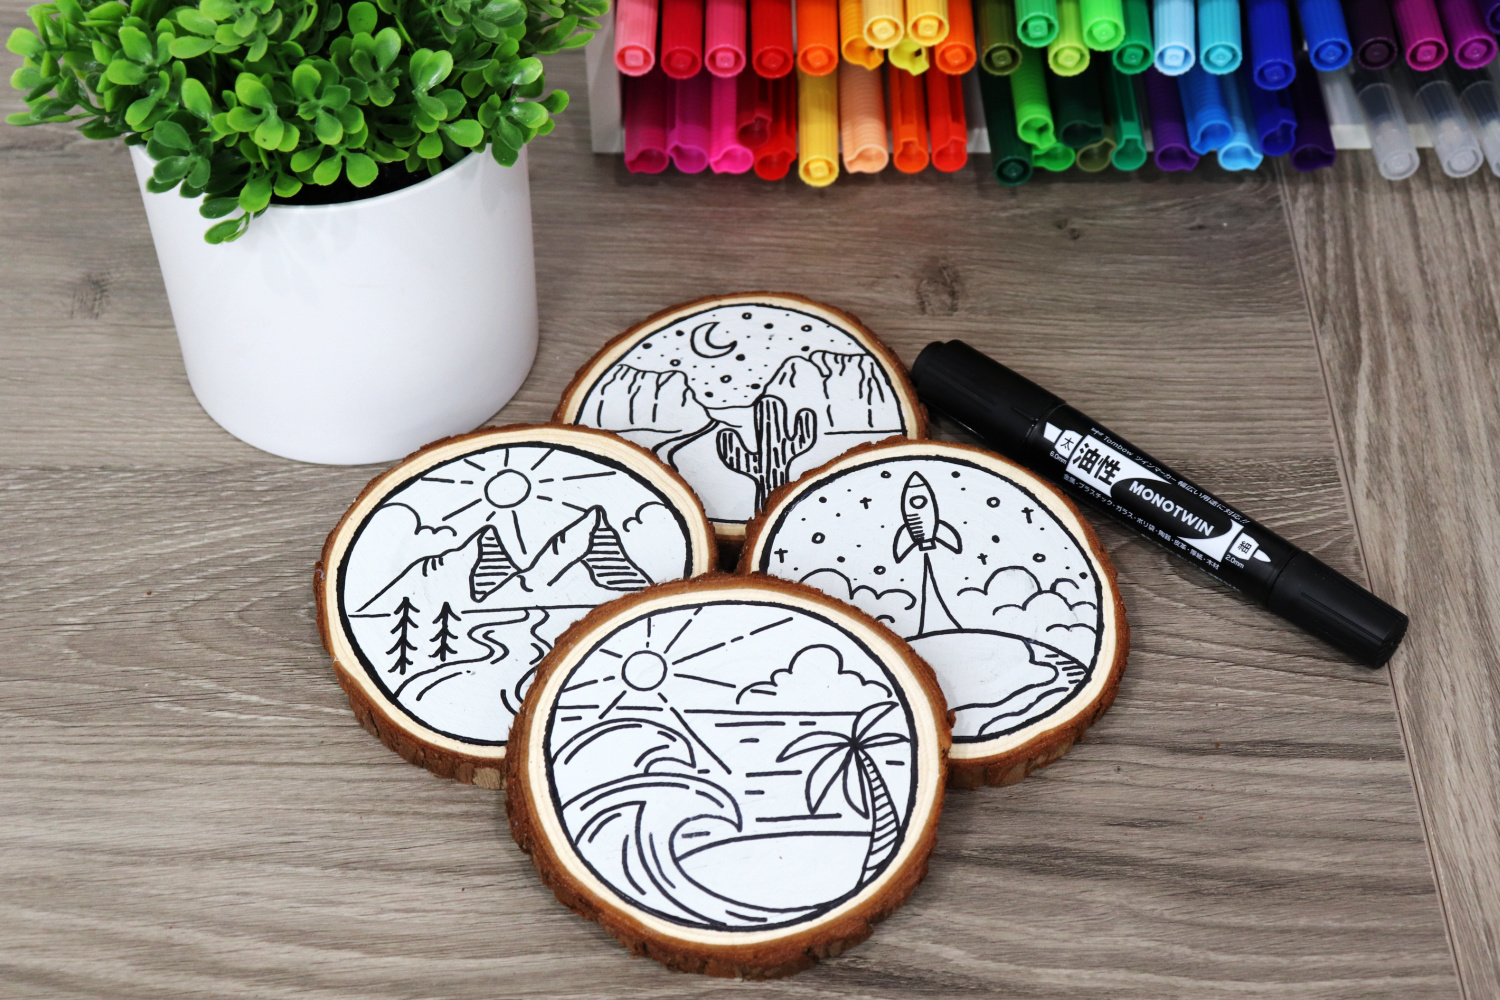
No matter what scenes you choose to draw, these are sure to be a hit! This project is so much fun, and it can easily be completed in an afternoon. If you give it a try, be sure to tag @tombowusa and @amylattacreations on social so we can see your project photos and inspire each other. We can’t wait to see what you create!
More Inspiration
If you liked this project, here are a few other tutorials you might enjoy:
Drawing 101 – Continuous Line Drawing
Whimsical Flower Doodles with MONO Drawing Pens
Inking Sketches with MONO Drawing Pens
Happy creating!
Pingback: Monoline Art Coasters - Amy Latta Creations