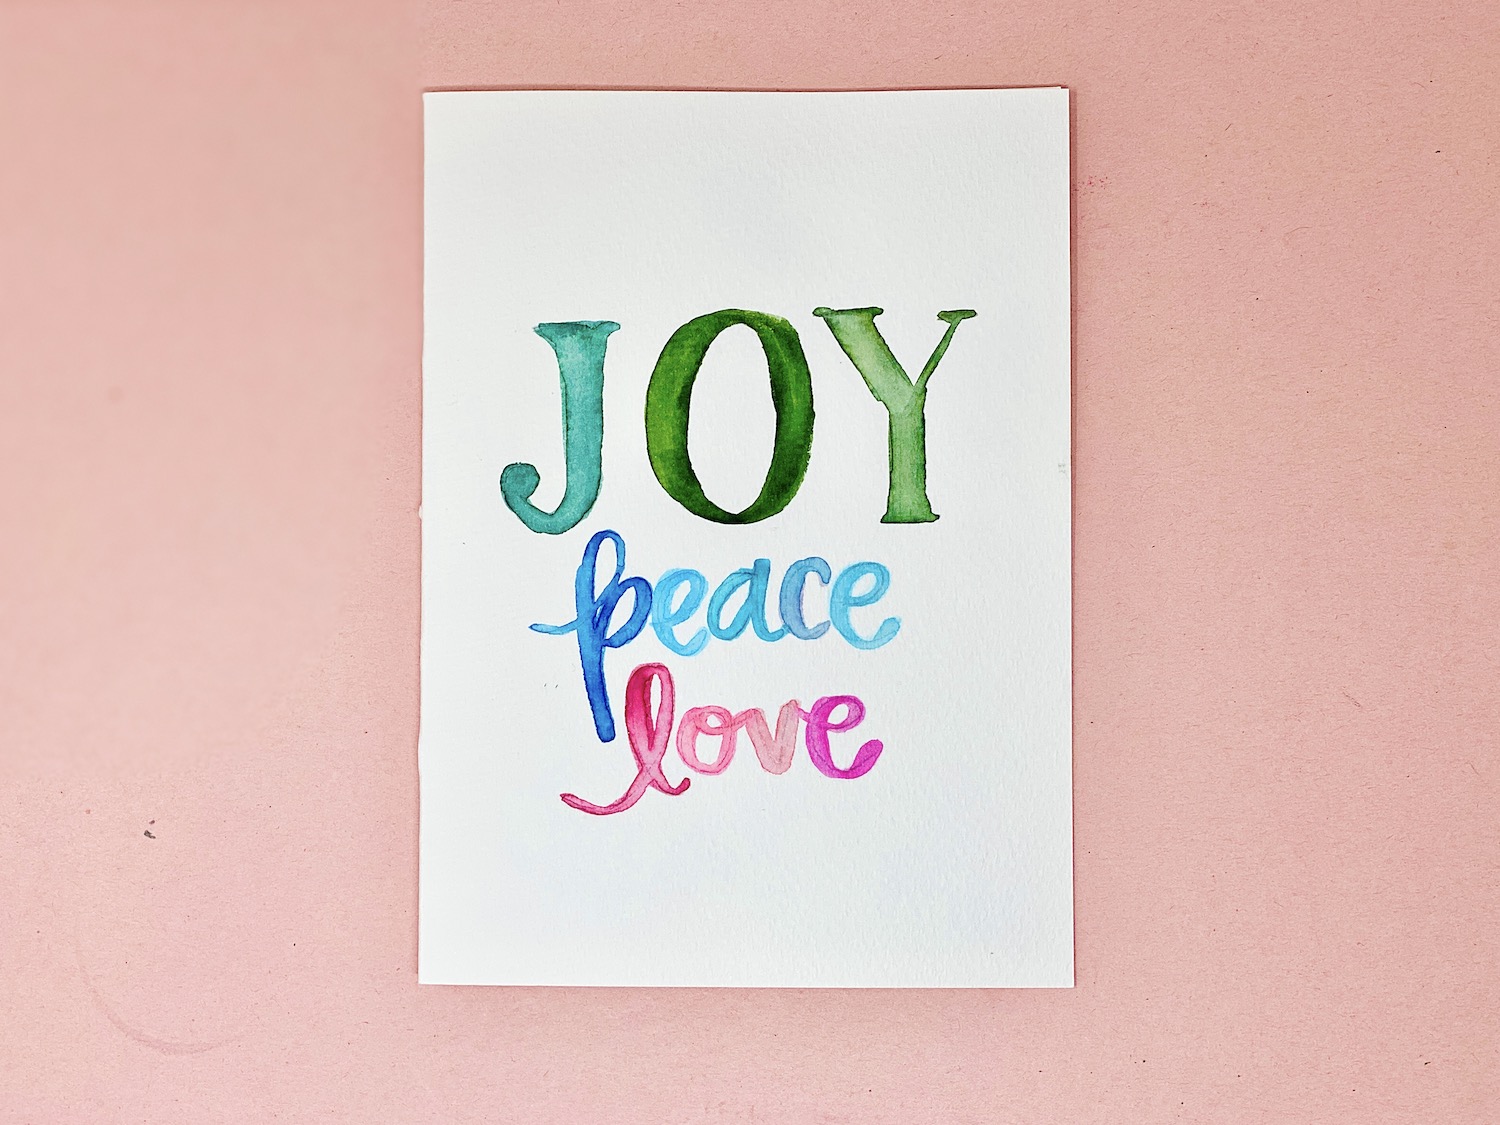
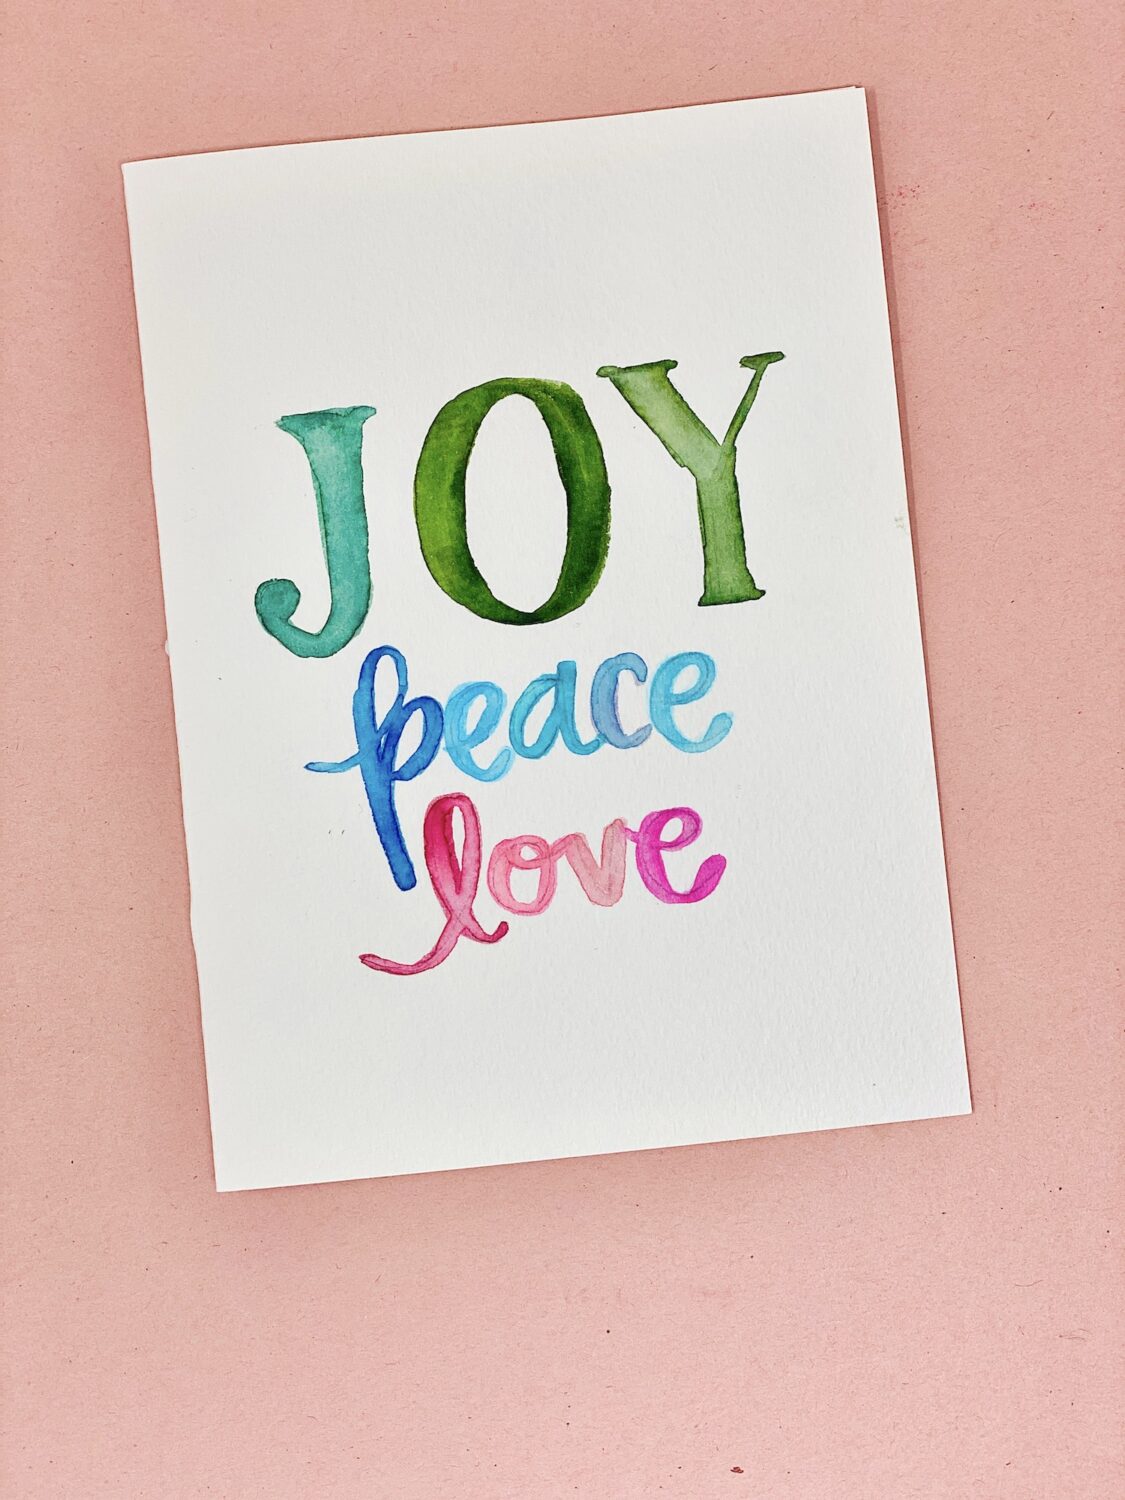
Hi Tombow Friends! This is Smitha Katti from the blog Smiling Colors, sharing a joyful holiday tutorial. The holiday season is a great time to use your favorite Tombow products to create handmade gifts for your friends and family. This Holiday Joy Peace Love Card Tutorial is colorful, modern and yet simple to recreate in bulk.
Supplies:
- Watercolor or Mixed Media Paper
- Dual Brush Pens
- MONO Eraser, Black, Medium
- MONO Graph Mechanical Pencil, Pastel, Coral Pink
Joy Peace Love Card Tutorial
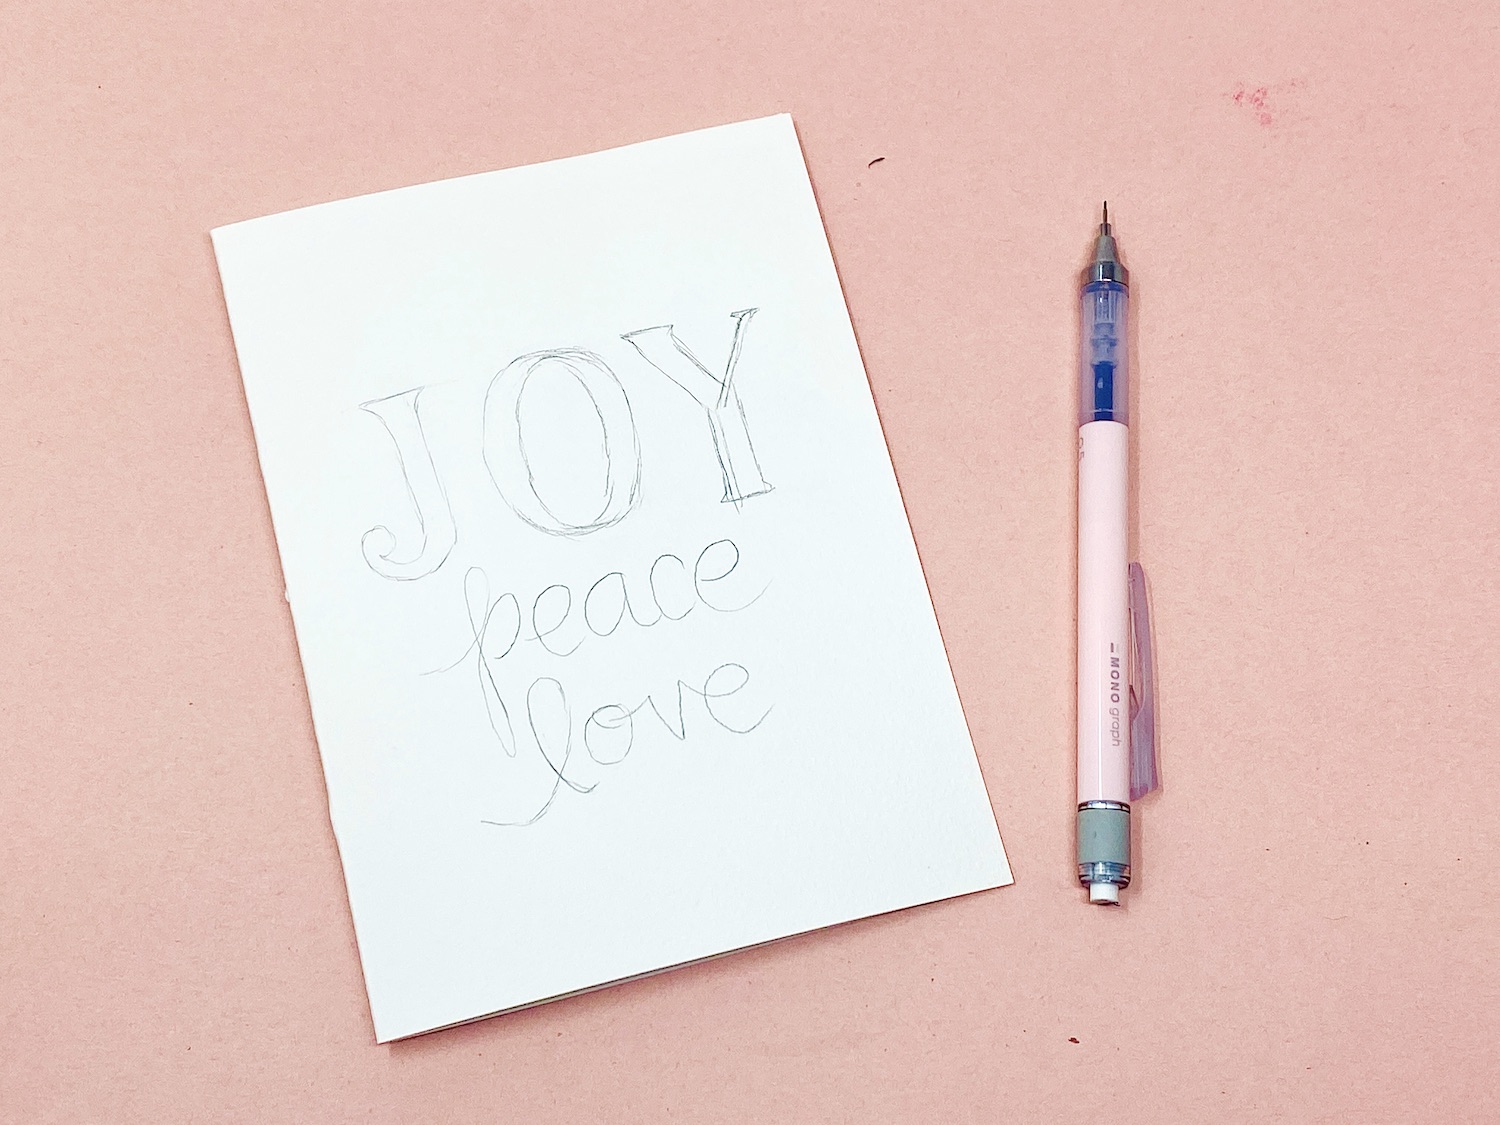
Step 1: Draw your letters
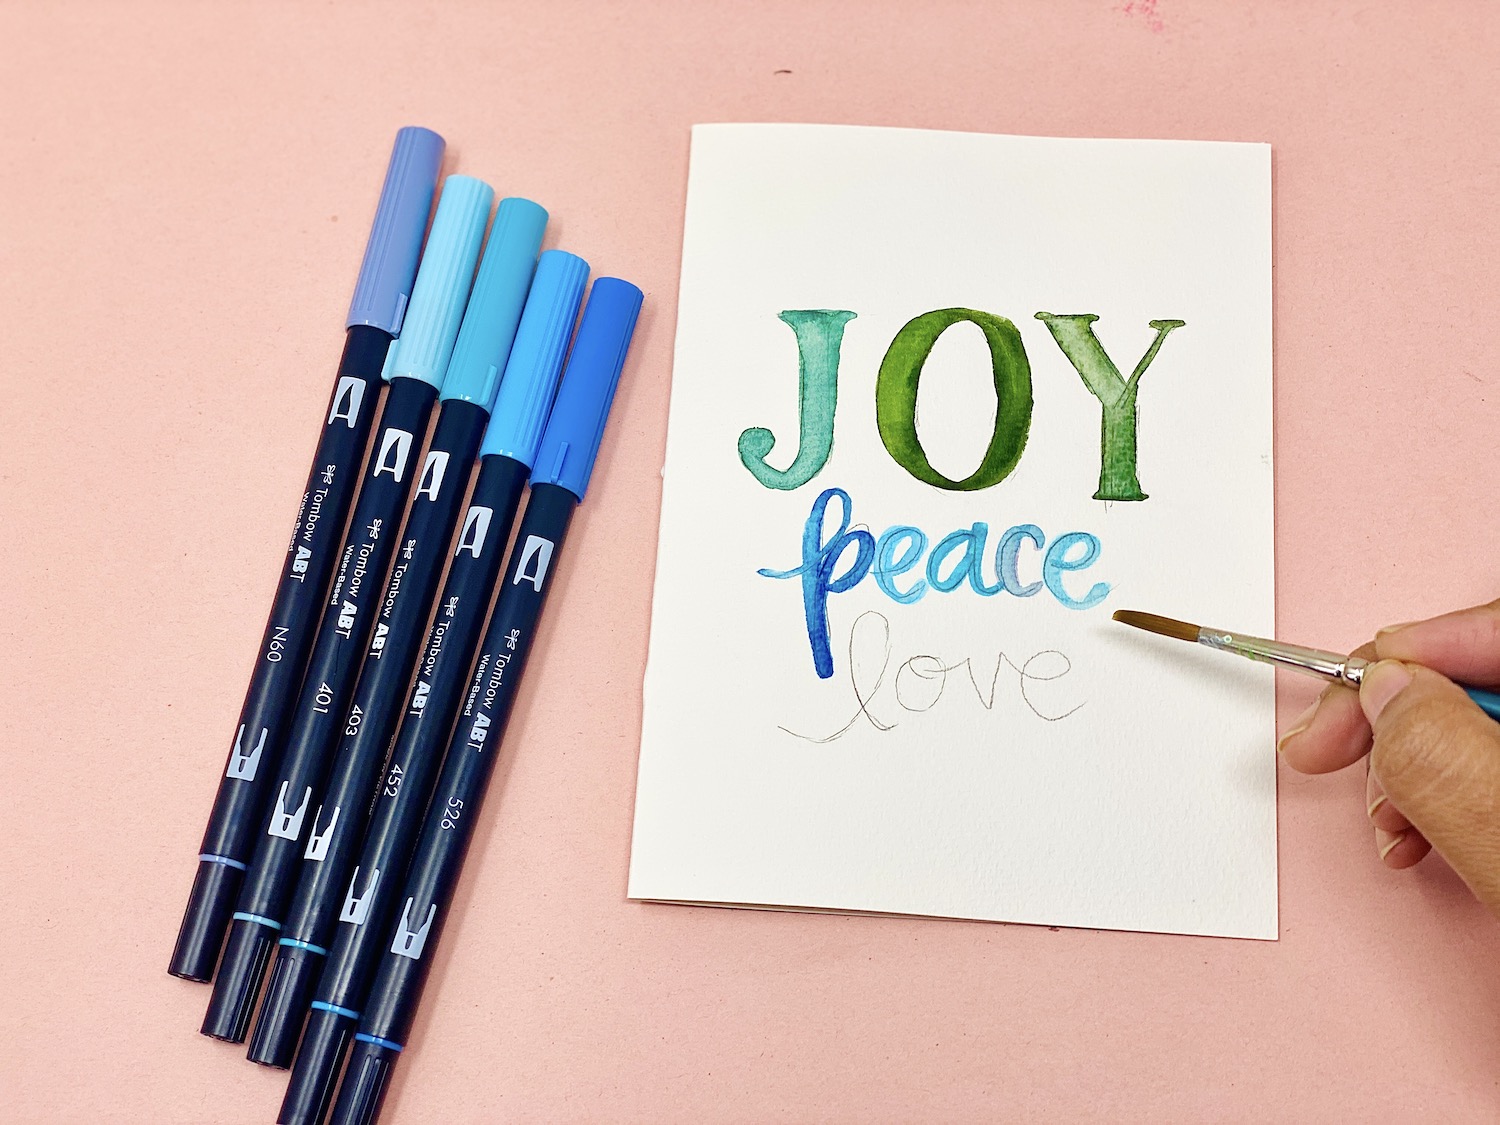
Using the MONO Graph Mechanical Pencil, I first drew out my letters onto the watercolor card. This helps me make sure that the alphabets are all of equal size, centered and have some design to them. The pencil can be easily erased, and will define the end design of the card. The MONO Graph Mechanical Pencil draws delicate lines that make great guilde lines without dirtying the paper.
Step 2: Add Color To The Words
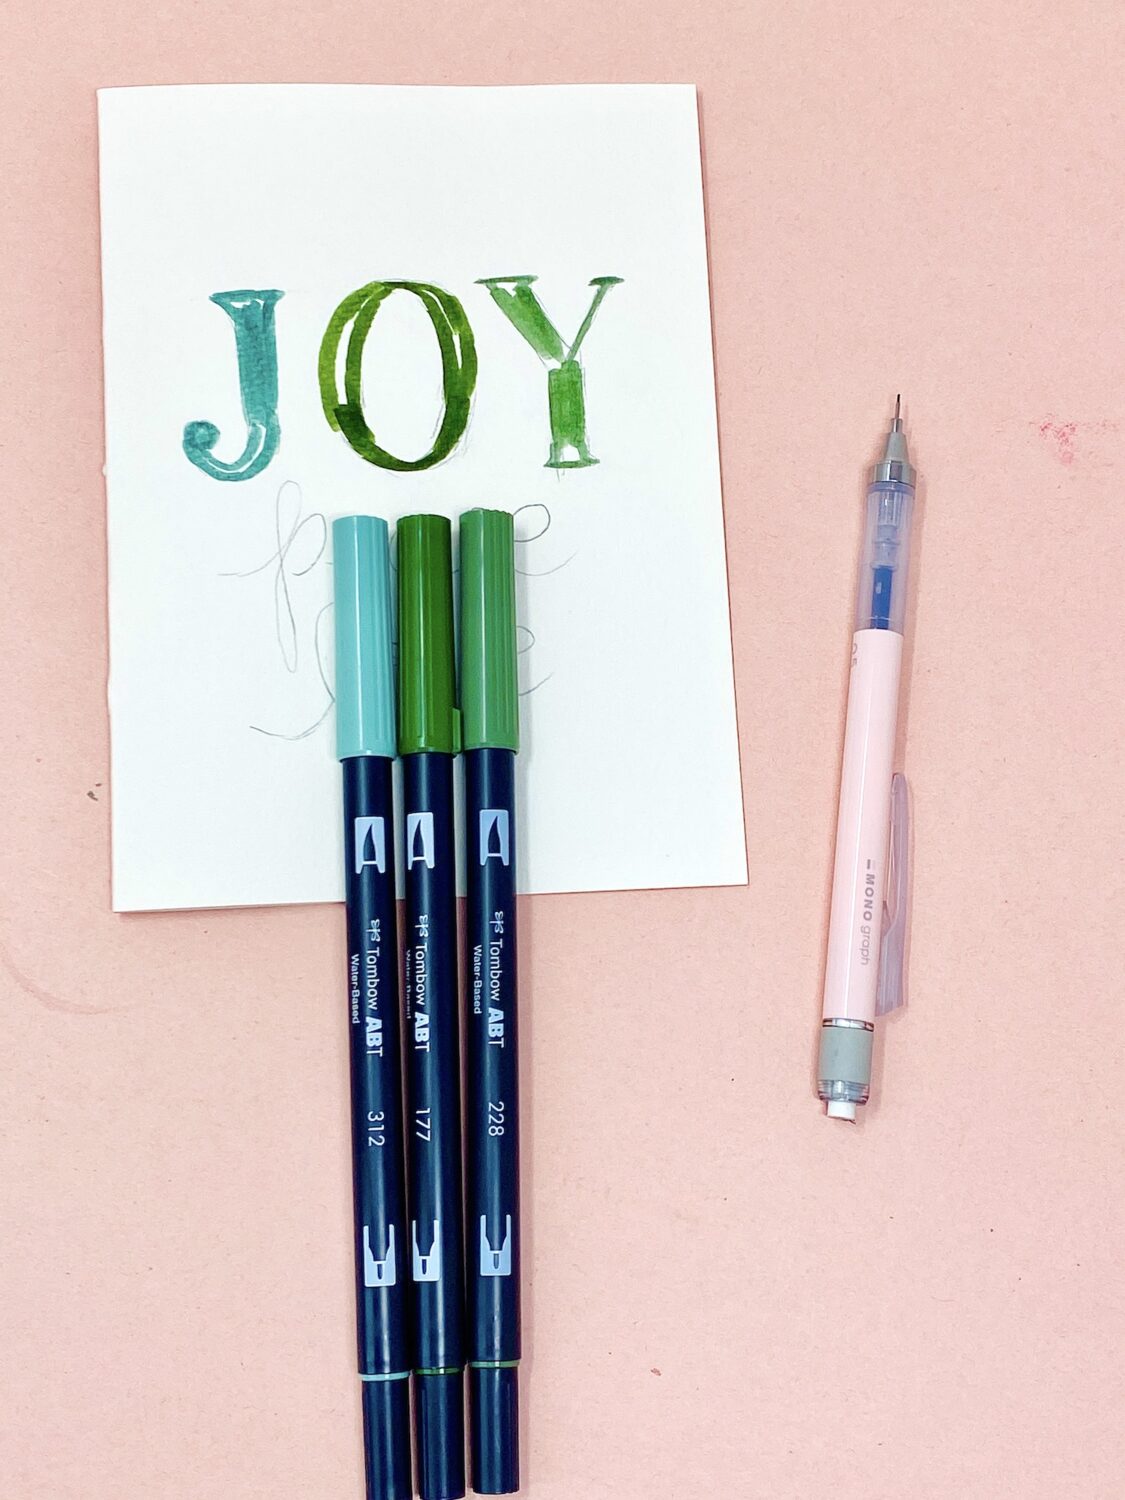
Now it’s time to choose colors! The Dual Brush Pens come in 108 colors, so there are many options to choose from. For the word joy, instead of using one color, I chose three different greens- this variation adds so much more interest to the final lettering!
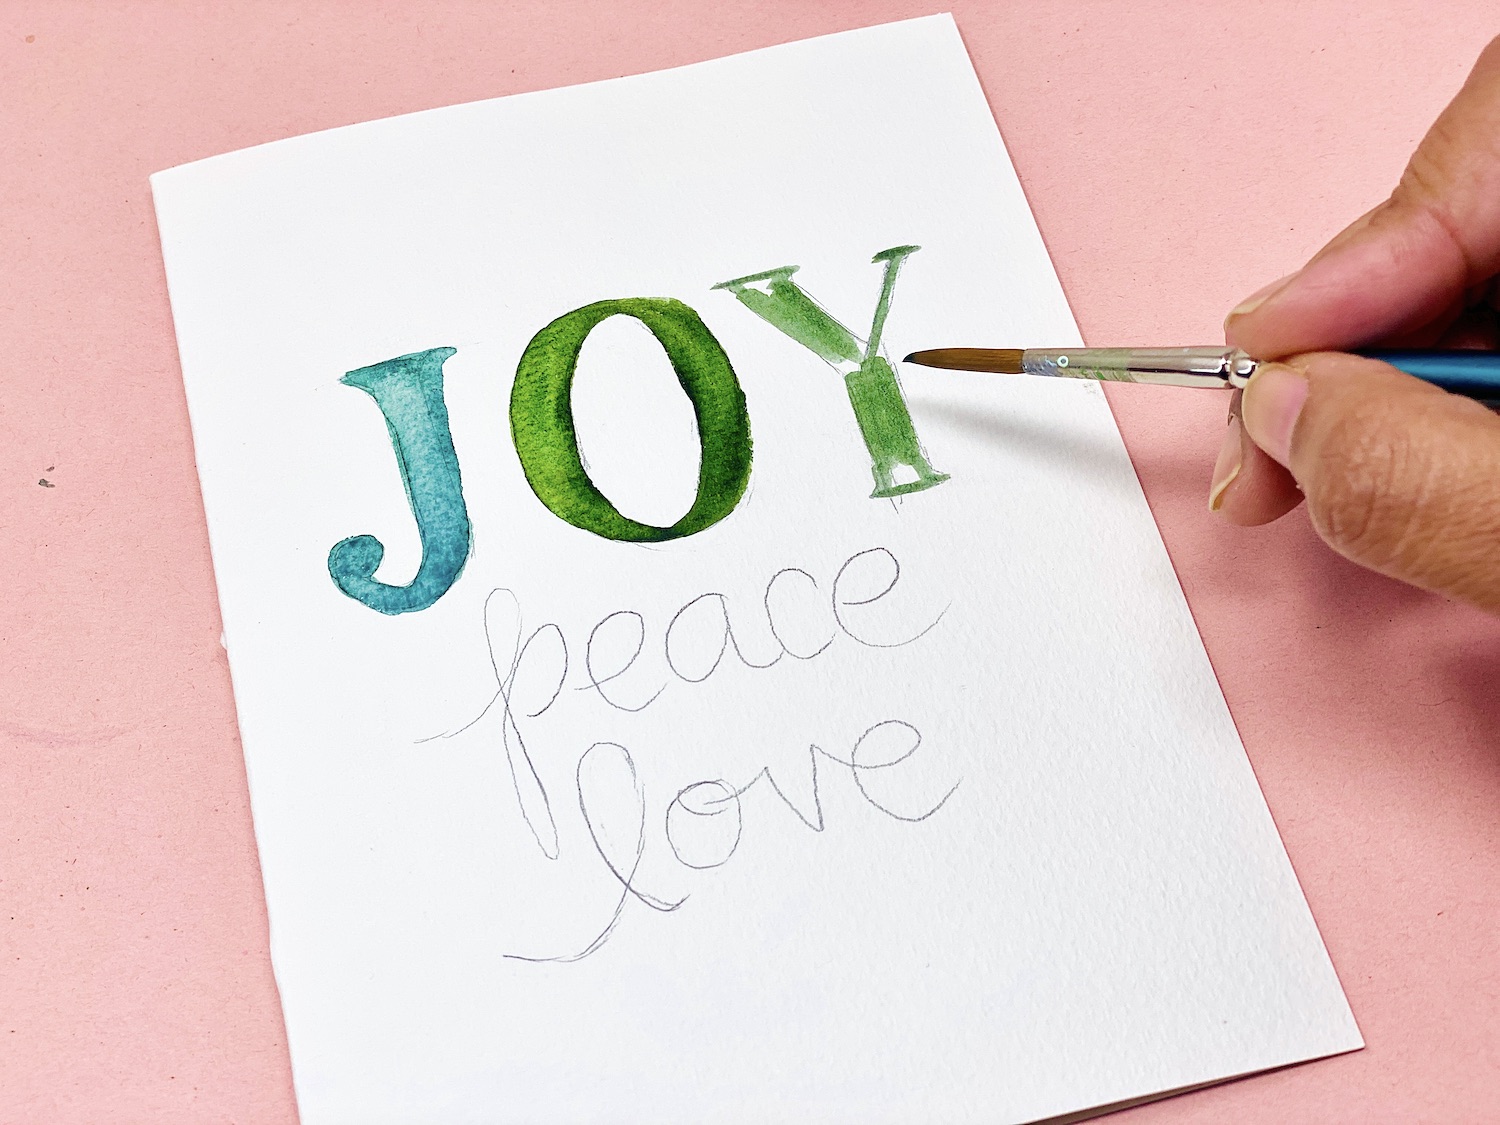
Apply marker color onto the watercolor paper using the brush tip of the marker. Then using a damp paintbrush, spread the marker color slowly to create a watercolor lettering effect. This watercolor effect adds an easy handmade touch to the card.
Step 3: Repeat With More Colors
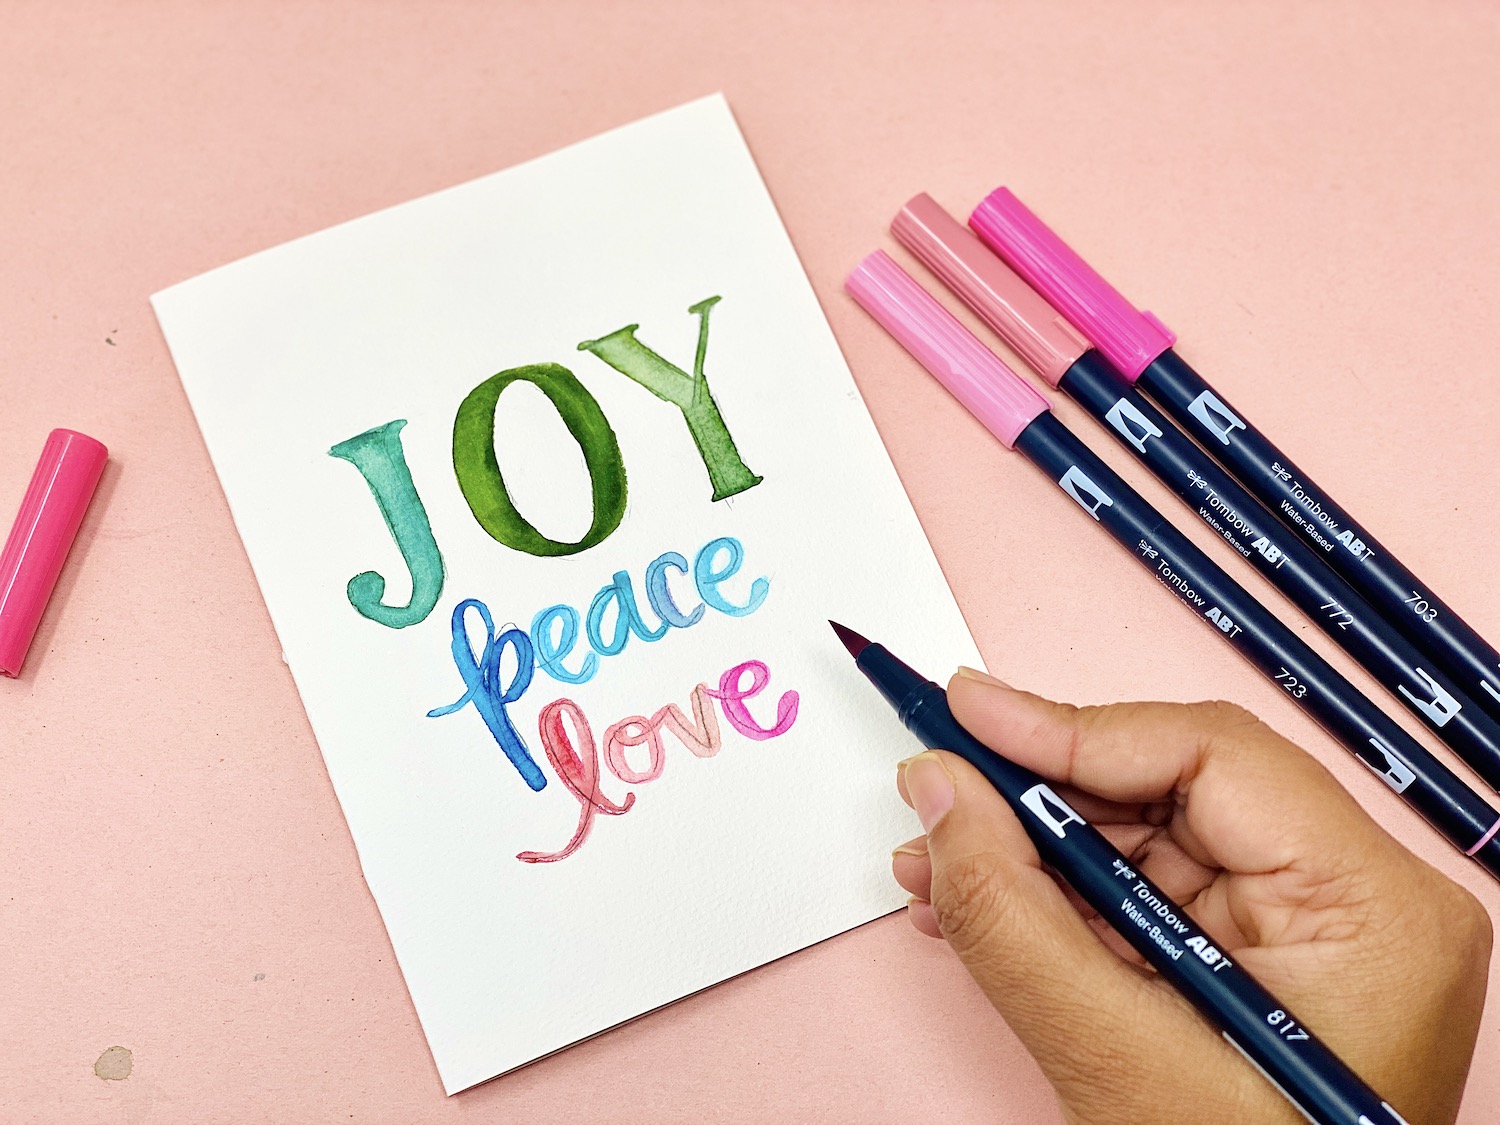
I repeated step 2 for the other words- using a different color family per word. The different blues look so beautiful in the word ‘peace’. It is okay if the pencil lines are being seen, we can erase them later.
Once the water has dried thoroughly use the MONO Eraser to gently erase the pencil lines that are underneath the watercoloring.
ALSO READ: Handmade Holiday Card Tutorial
