Last week our Design Team shared some fantastic rainbow-inspired projects on their Instagram accounts. And since they were so great, we had to share them with you here on our blog! Today we’re sharing 3 rainbow-inspired lettering projects and tomorrow we’ll be sharing 3 rainbow-inspired papercrafting projects!
Rainbow Splash Background by Jennie Garcia
To create this splash background add Tombow Dual Brush Pen ink to the Blending Palette, spray with water from the Spray Mister, then let drip onto watercolor paper. You can then push the color to create a splatter effect by using the Craftwell eBrush.
Once your colors have dried, you can add a quote on top using the Tombow Fudenosuke Hard Tip Brush Pen!
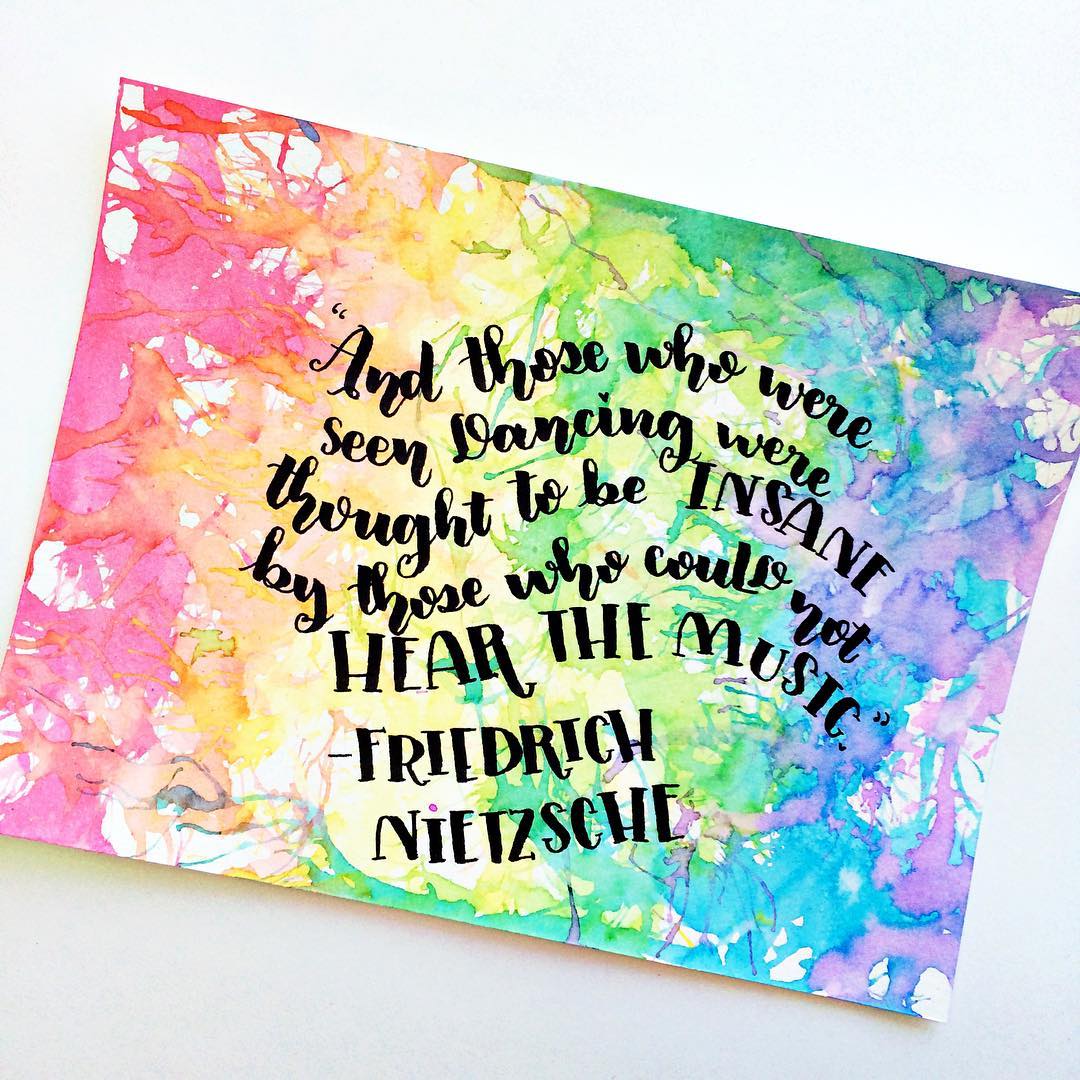
Make sure you follow Jennie on Instagram (@jenniegarcian)!
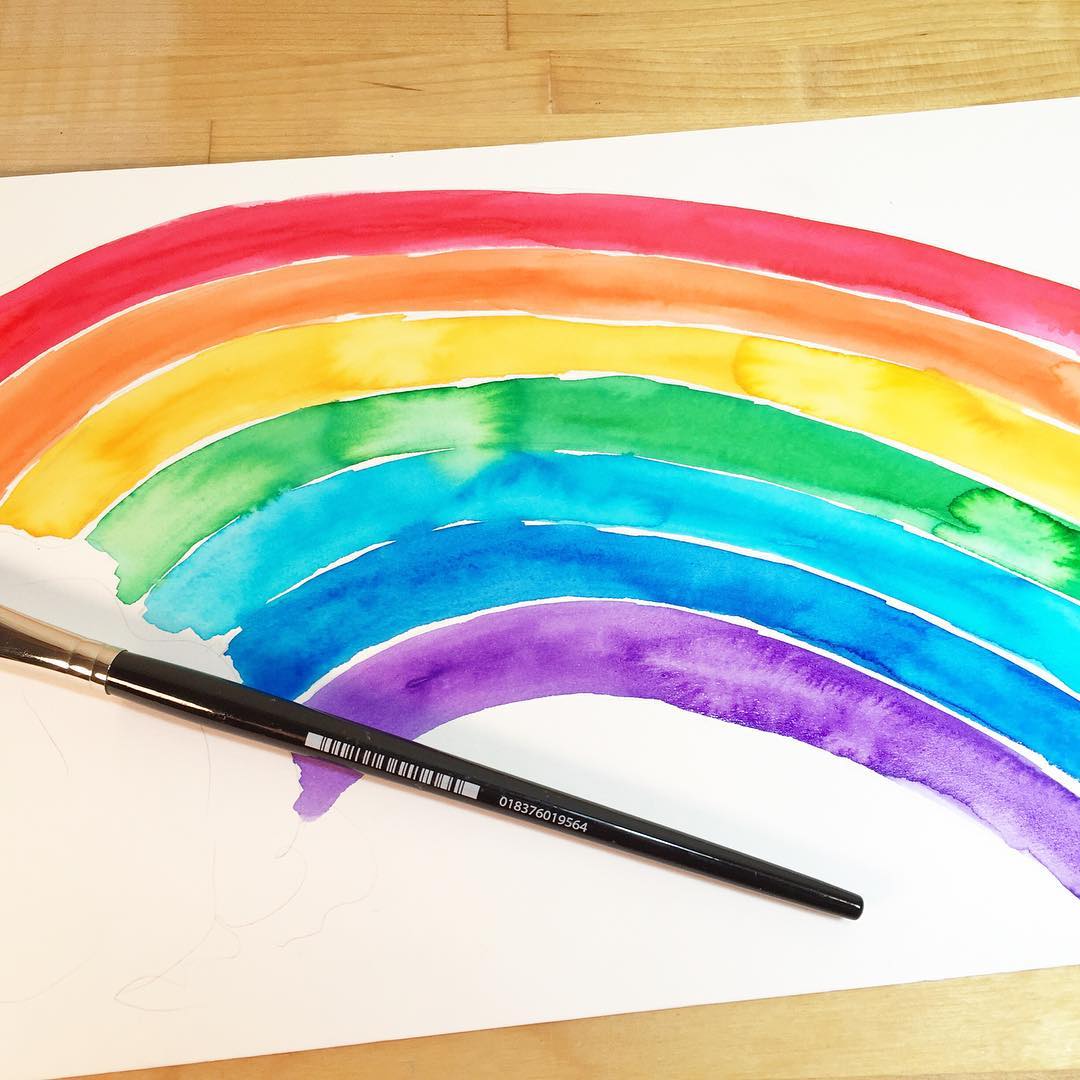
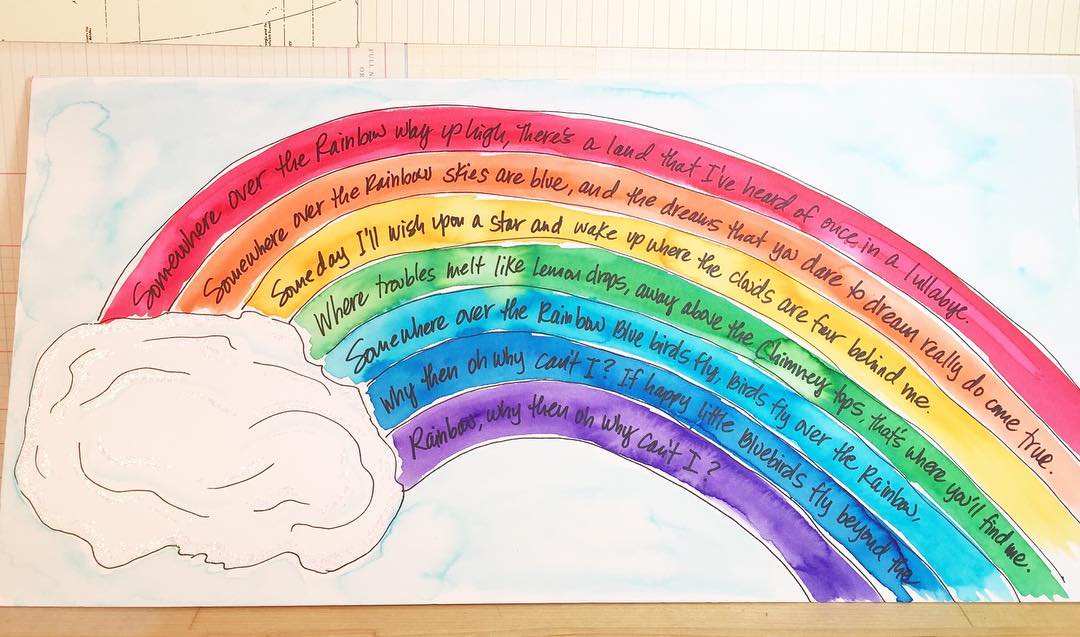
Handlettered Rainbow Quote by Beth Watson
To create a rainbow, first draw arcs with the brush tip of the Dual Brush Pens in red, orange, yellow, green, blue, indigo and violet shades. It is best to use watercolor paper for this. You’ll see why in the next step!

Use a watercolor paint brush and add water over the top of the colors you just added to your page. The colors will start to look like watercolor! Be careful not to blend the colors together or you may end up getting different shades than you are hoping for.
Next, write over the rainbow arcs using the Tombow MONO Twin Permanent Marker. You don’t need super fancy handwriting to make this look great! And since the MONO Twin has permanent ink, you don’t need to worry about waiting for the Dual Brush Pen ink to dry before you start writing.
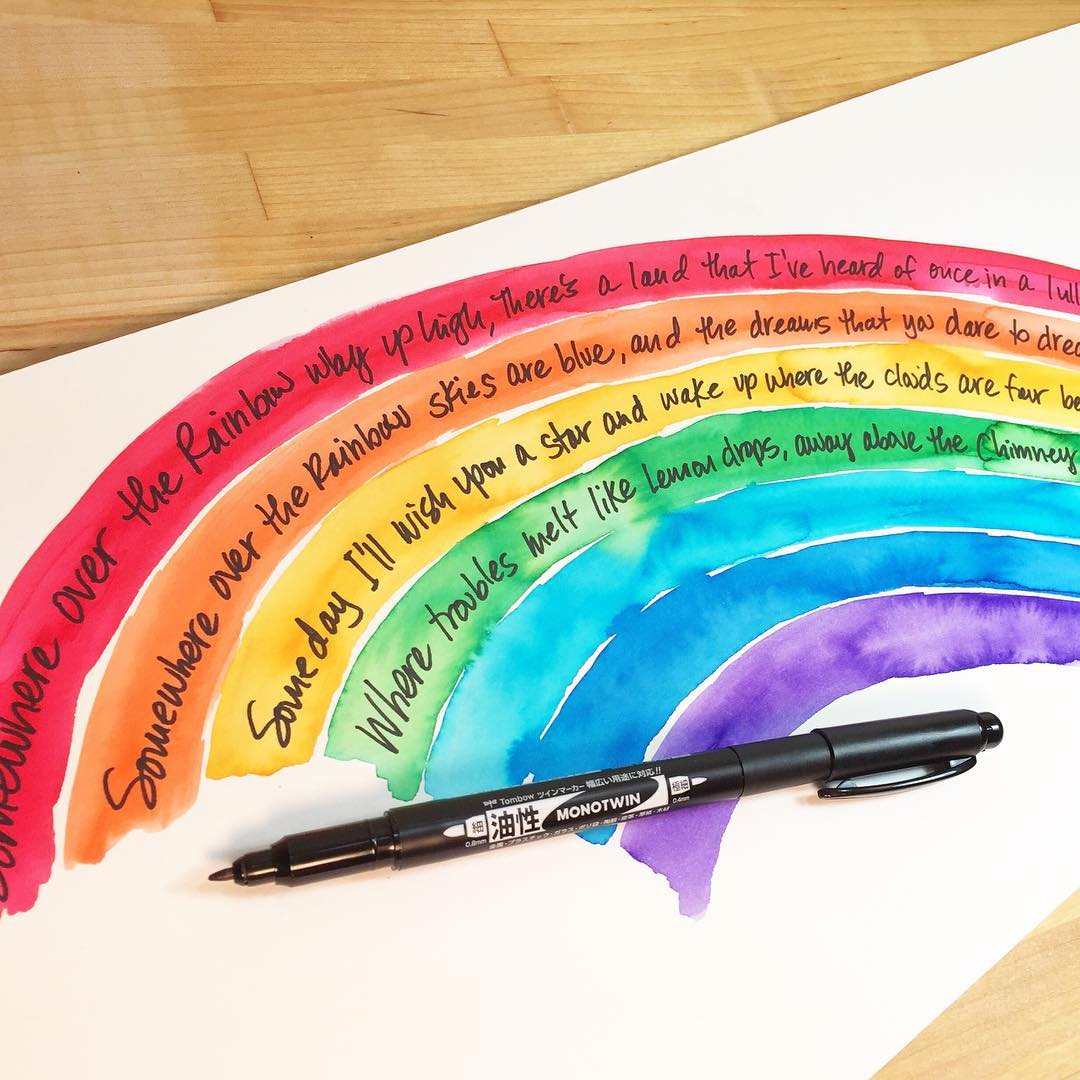
Next, draw a cloud with the fine tip of the MONO Twin and use the Tombow MONO Glue Pen to add glue in places where you want a little sparkle. Sprinkle fine glitter and you’ll get a fun, shimmery result!
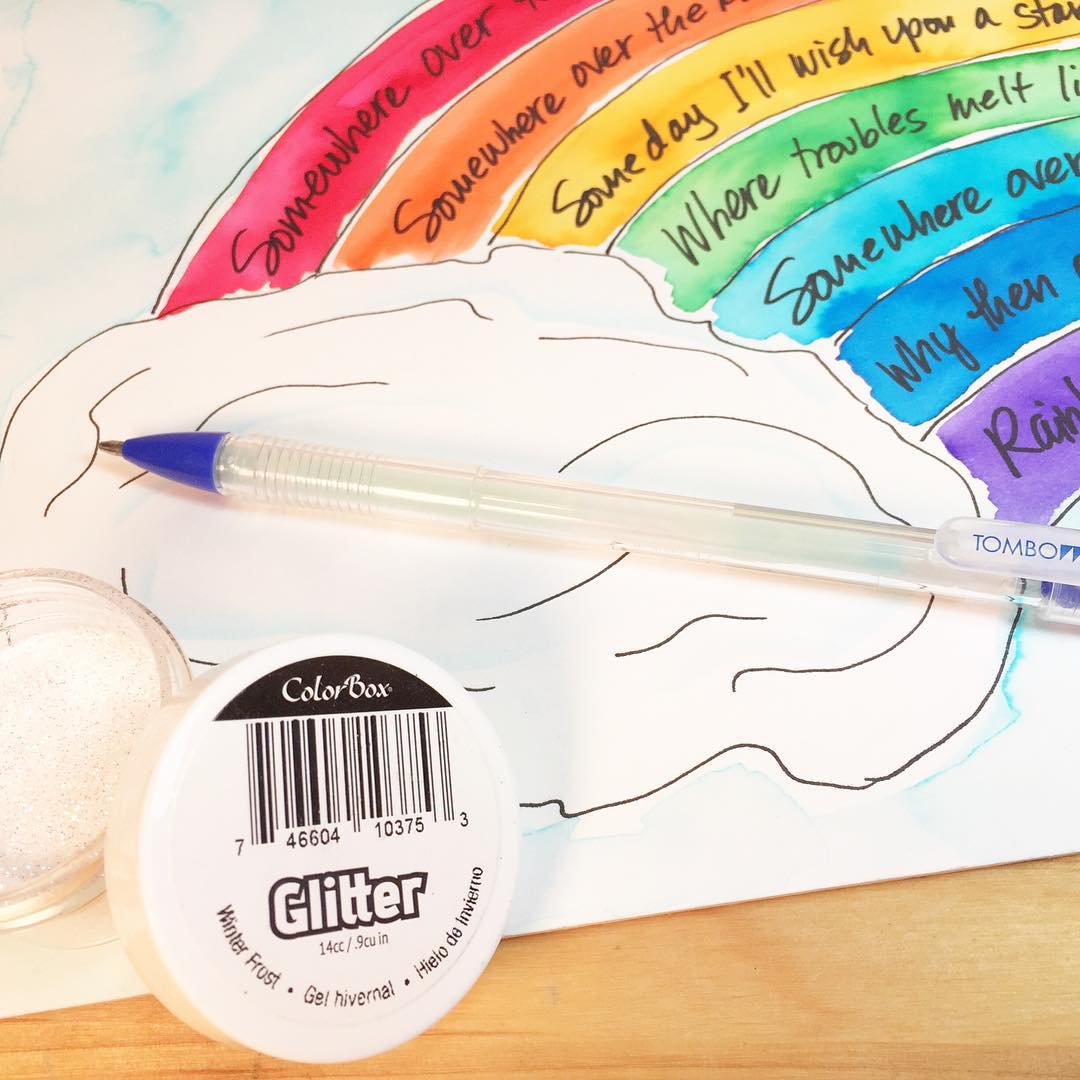
Lightly add in some blue to the background and you’re finished!
Make sure you follow Beth on Instagram (@beth3167)!
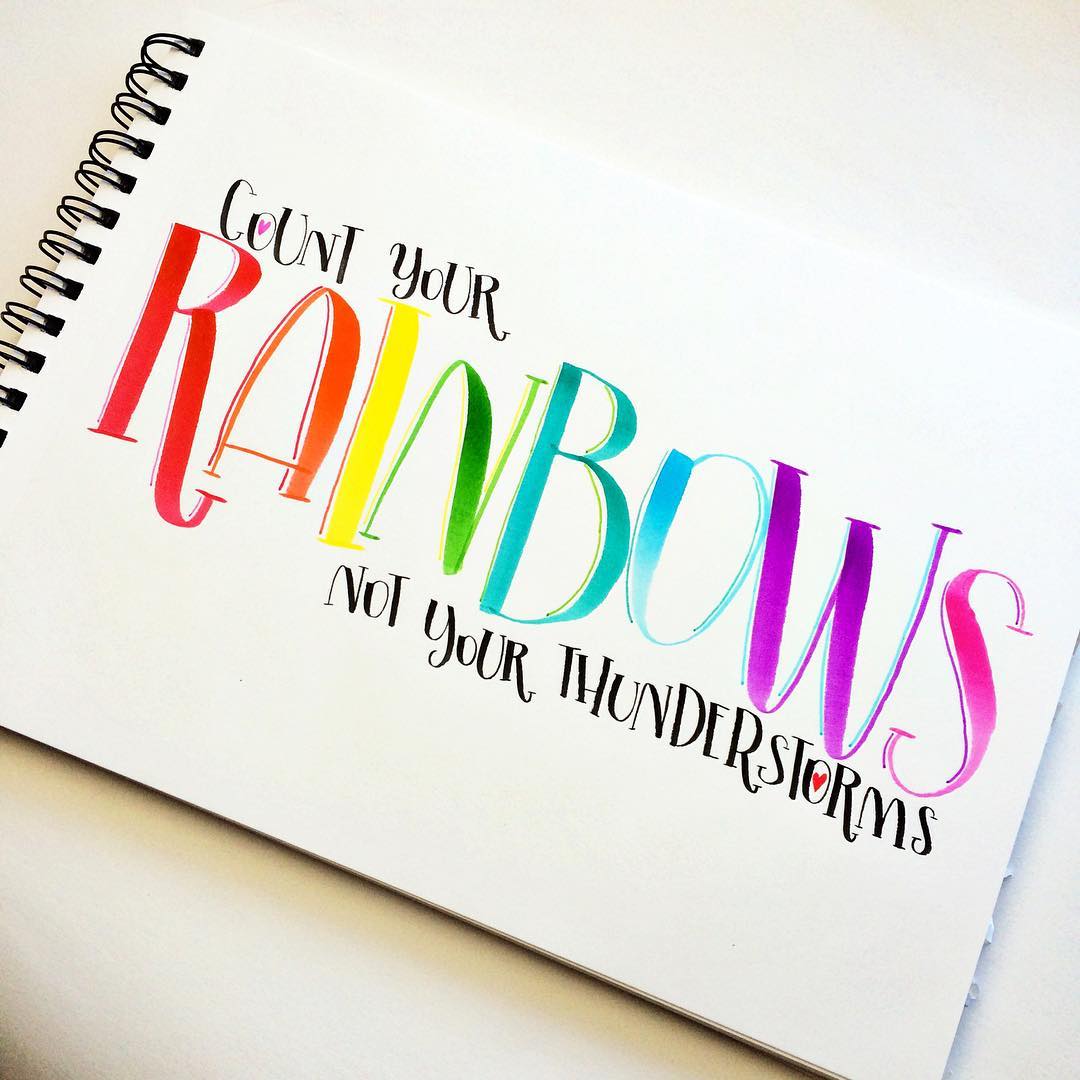
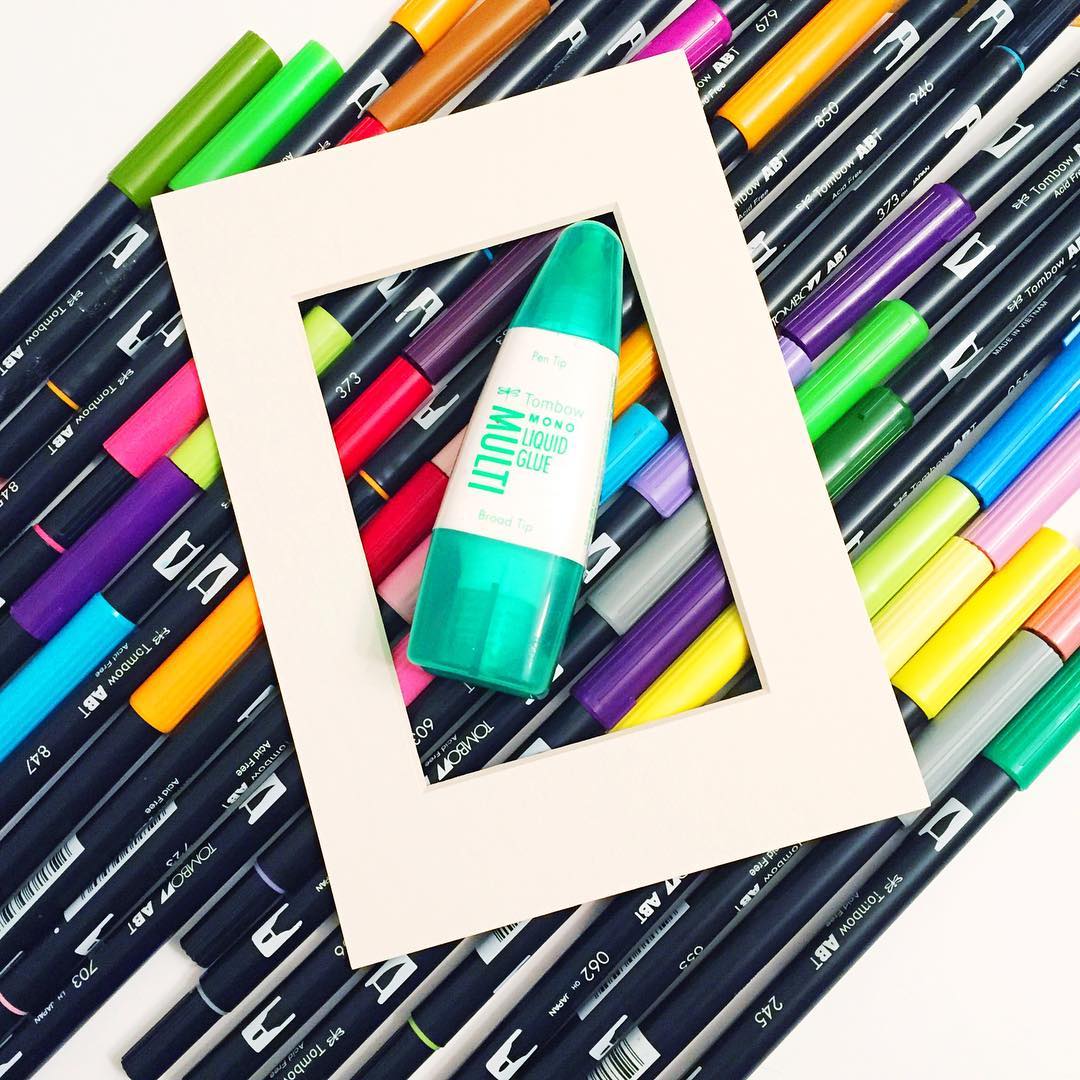
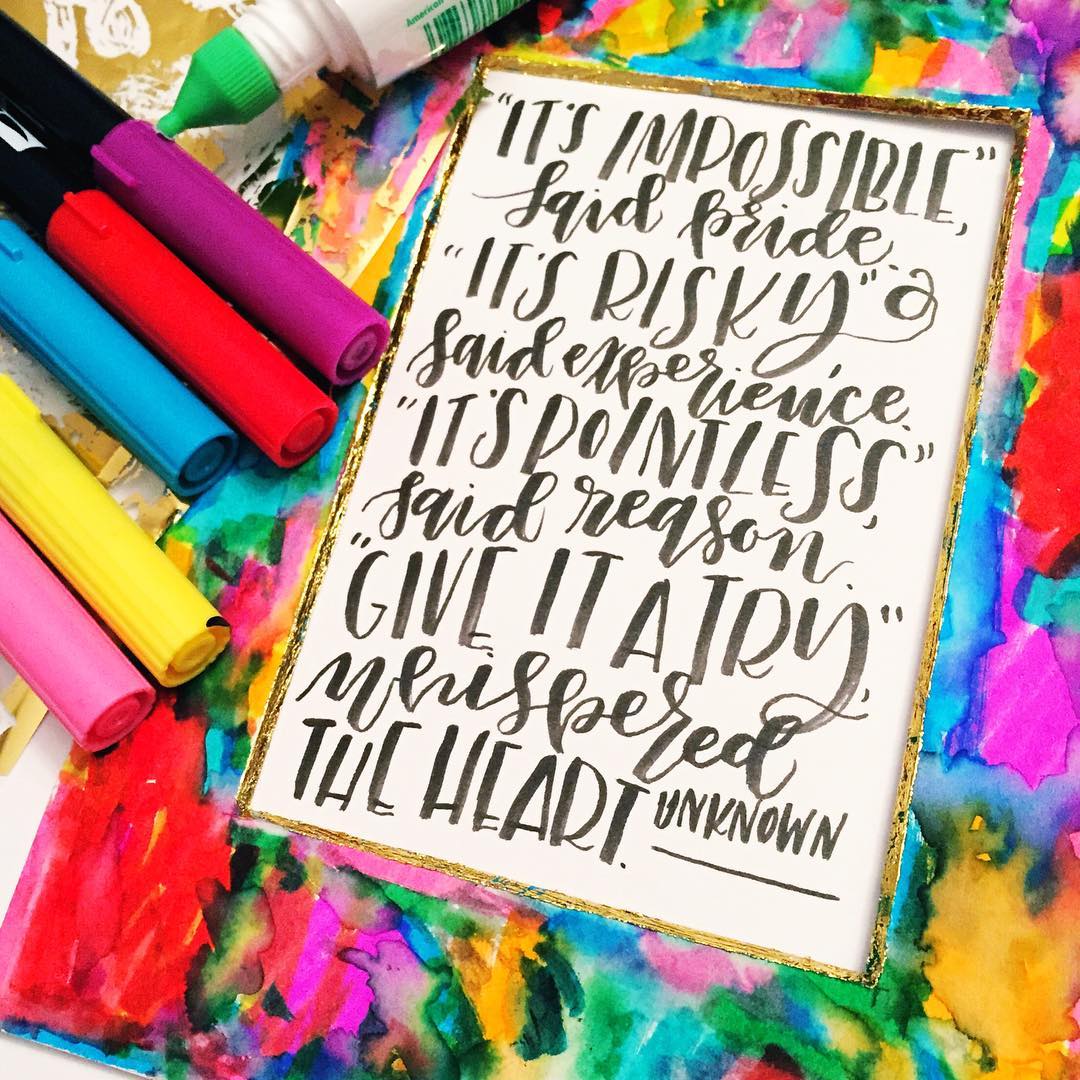
DIY Gold Foiled Rainbow Mat to Frame Your Lettering by Lauren Fitzmaurice
Gather up your supplies! To make this rainbow mat you’ll need your favorite Dual Brush Pens, Tombow MONO Multi Liquid Glue, a framing mat, and gold foil (any type of foil that doesn’t require heat to set will work).
Start by adding blobs of color with a variety of Dual Brush Pens all over your mat. Leave very little white space. Then, using a very small amount of water on a watercolor paint brush, move the color around. This will create a vibrant color effect!
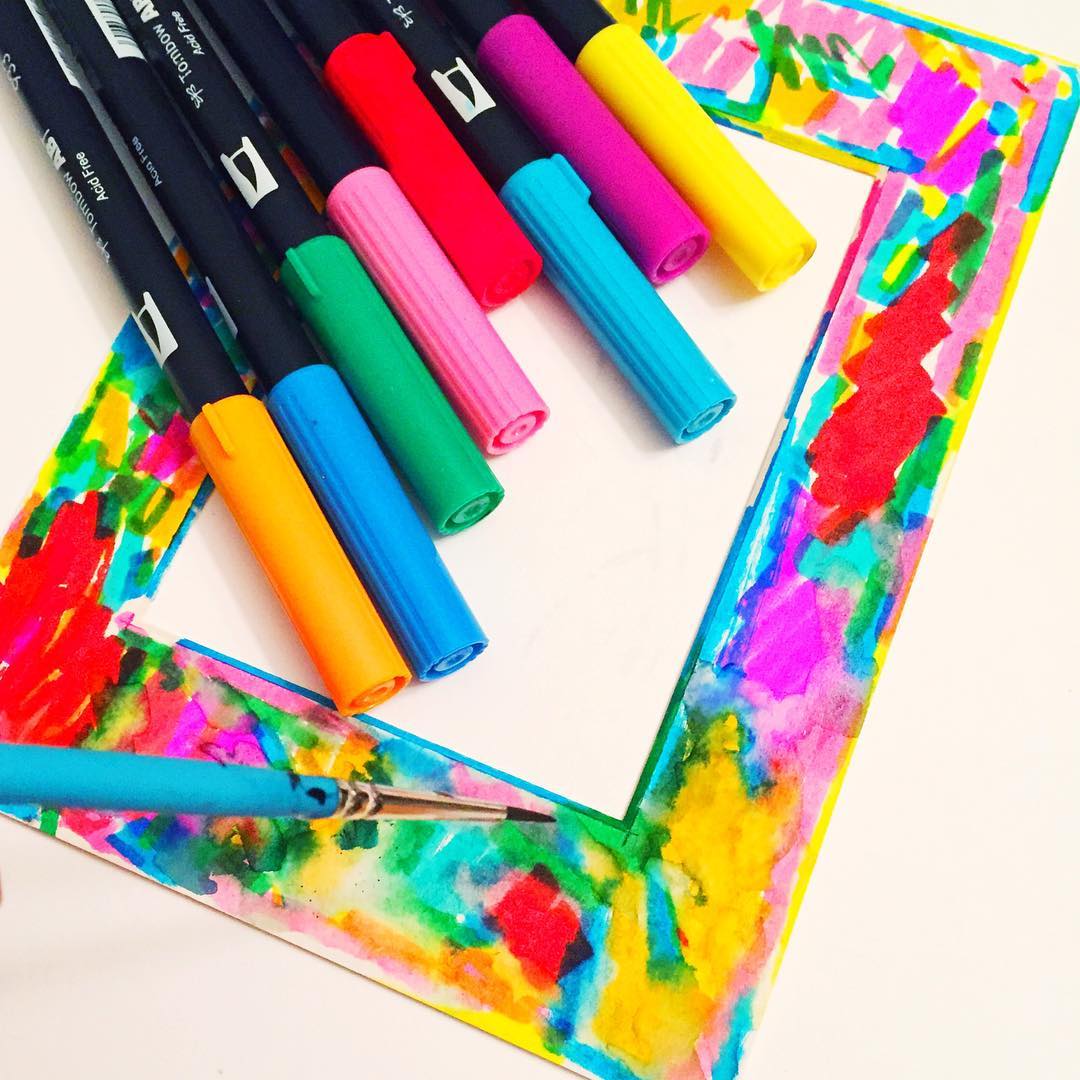
Once you’ve added all of the water to get a vibrant watercolor effect, you can apply foil around the beveled edge of the mat. Use the fine tip of the MONO Multi to apply the glue, then smooth out with a small brush. Let dry completely – you will know the glue is dry when it feels sticky (instead of wet) to the touch. Place your piece of foil over the areas with glue, gently rub over with your finger, then pull off for a beautiful foiled edge! Add a handlettered piece and put everything together in a frame for a one-of-a-kind decoration for your home, office or studio!
Make sure you follow Lauren on Instagram (@rendmadecalligraphy)!
Be sure to check back tomorrow for 3 more rainbow inspired projects, focusing on papercrafting!
Pingback: 3 Rainbow Inspired Papercrafting Projects - Tombow USA Blog
Where did you get your small hand dryer? Beautiful artwork!!!!