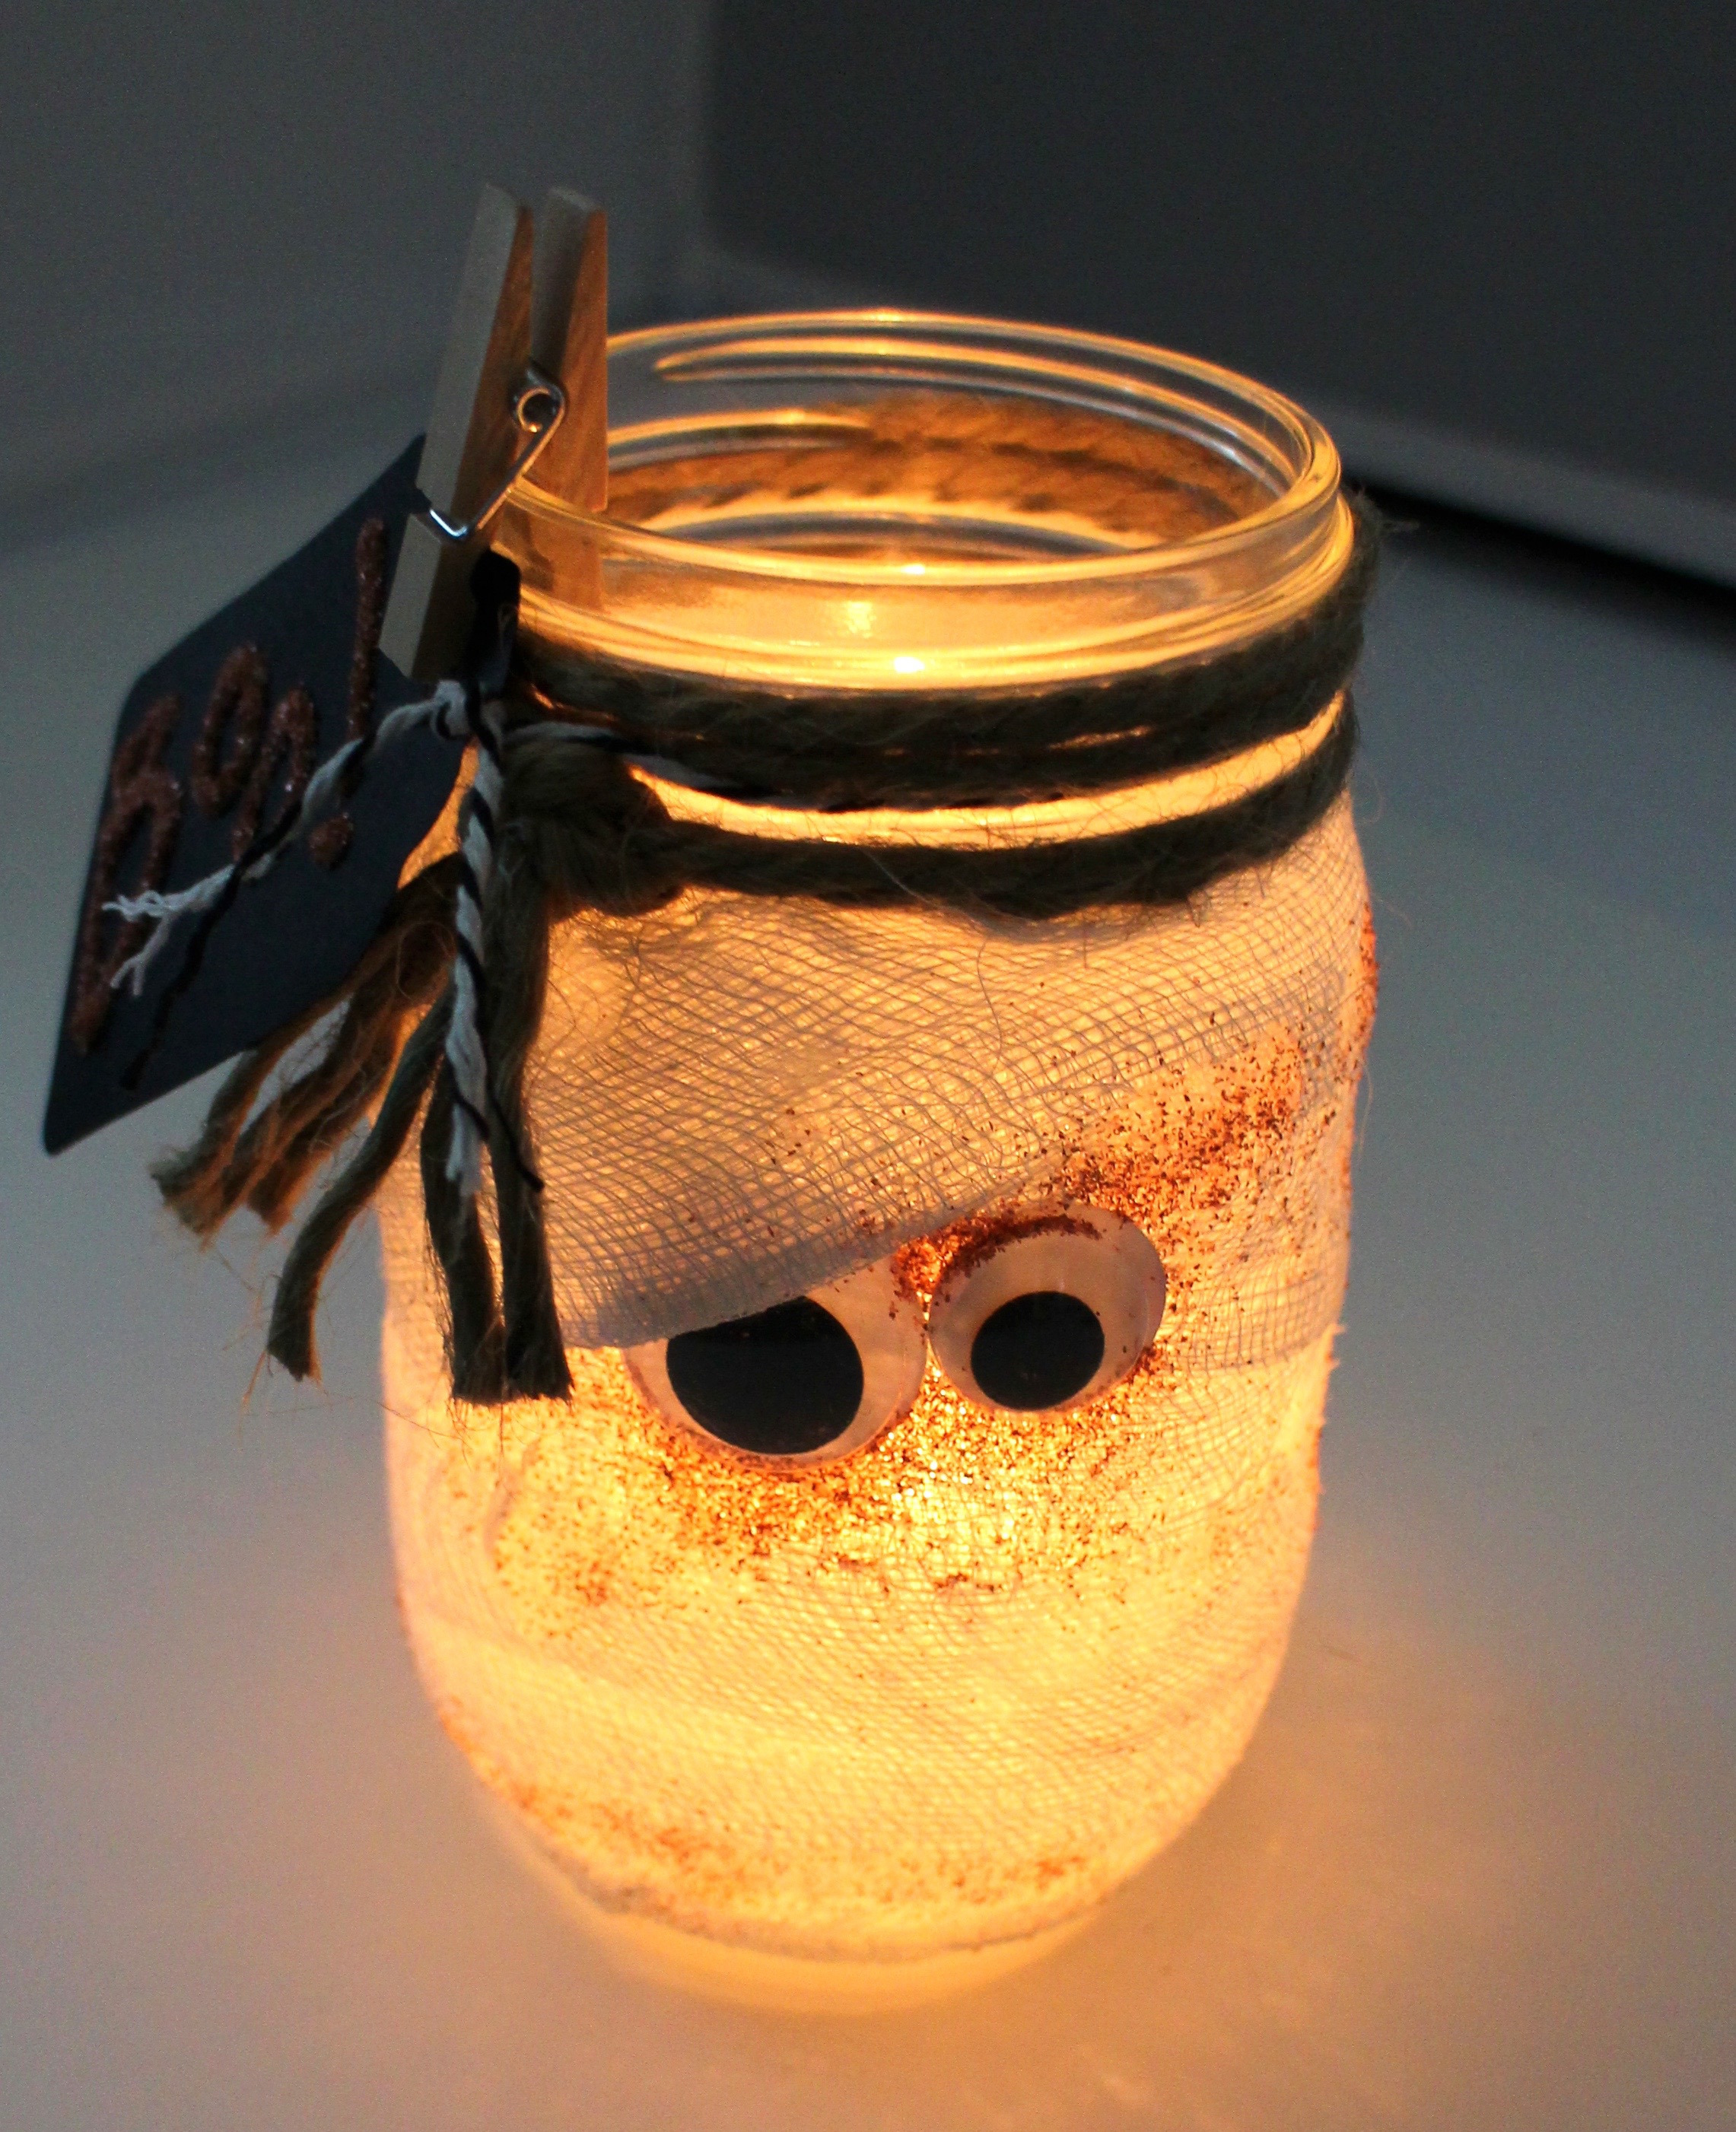
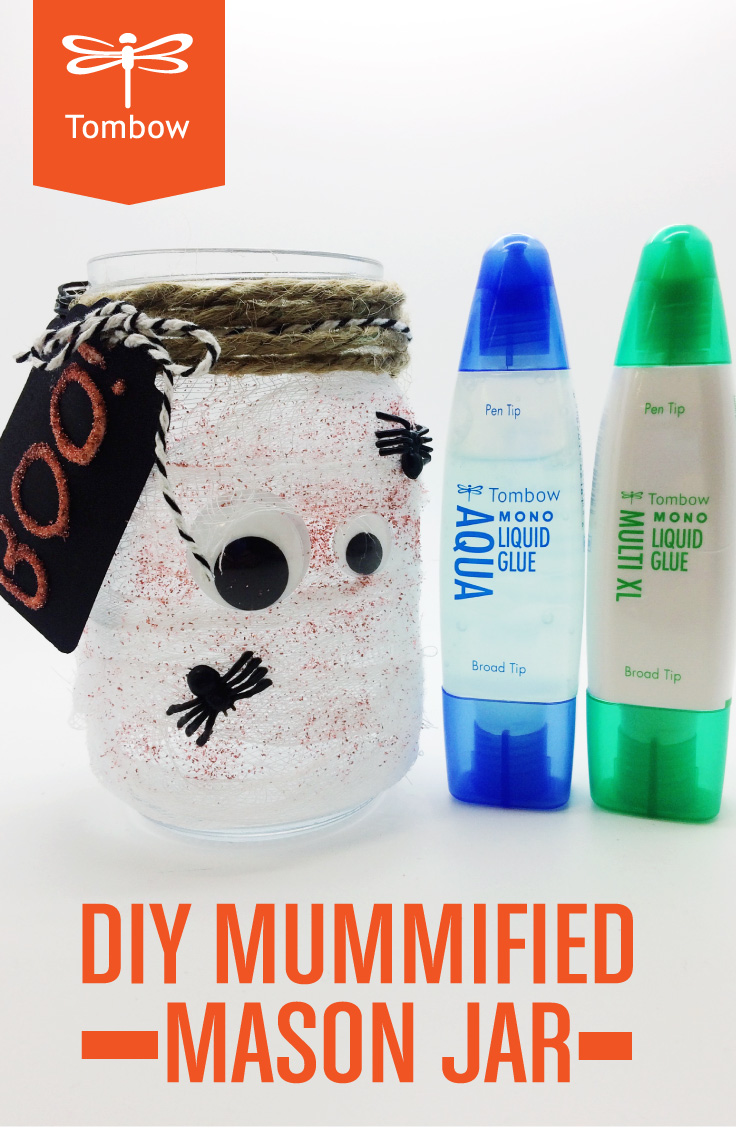
Yesterday the Tombow team participated in our first ever crafternoon, led by our Signature Designer Marie Browning! Marie taught us how to make this super easy and fun DIY Mummified Mason Jar using our new MONO Multi XL Liquid Glue and MONO Aqua Liquid Glue! The finished mummy jar can be used as a luminary, pencil jar or candy jar. Today we’re showing you how to you can create your own.
Mummified Mason Jar Materials:
- Tombow MONO Multi XL Liquid Glue
- Tombow MONO Aqua Liquid Glue
- Googly eyes
- Cheesecloth cut into 1.25″ strips
- Twine and jute
- Glitter
- Plastic spiders
- Blank Black tag
- Glass pint-size canning jar, any shape or style – approx. 5″ to 6″ tall
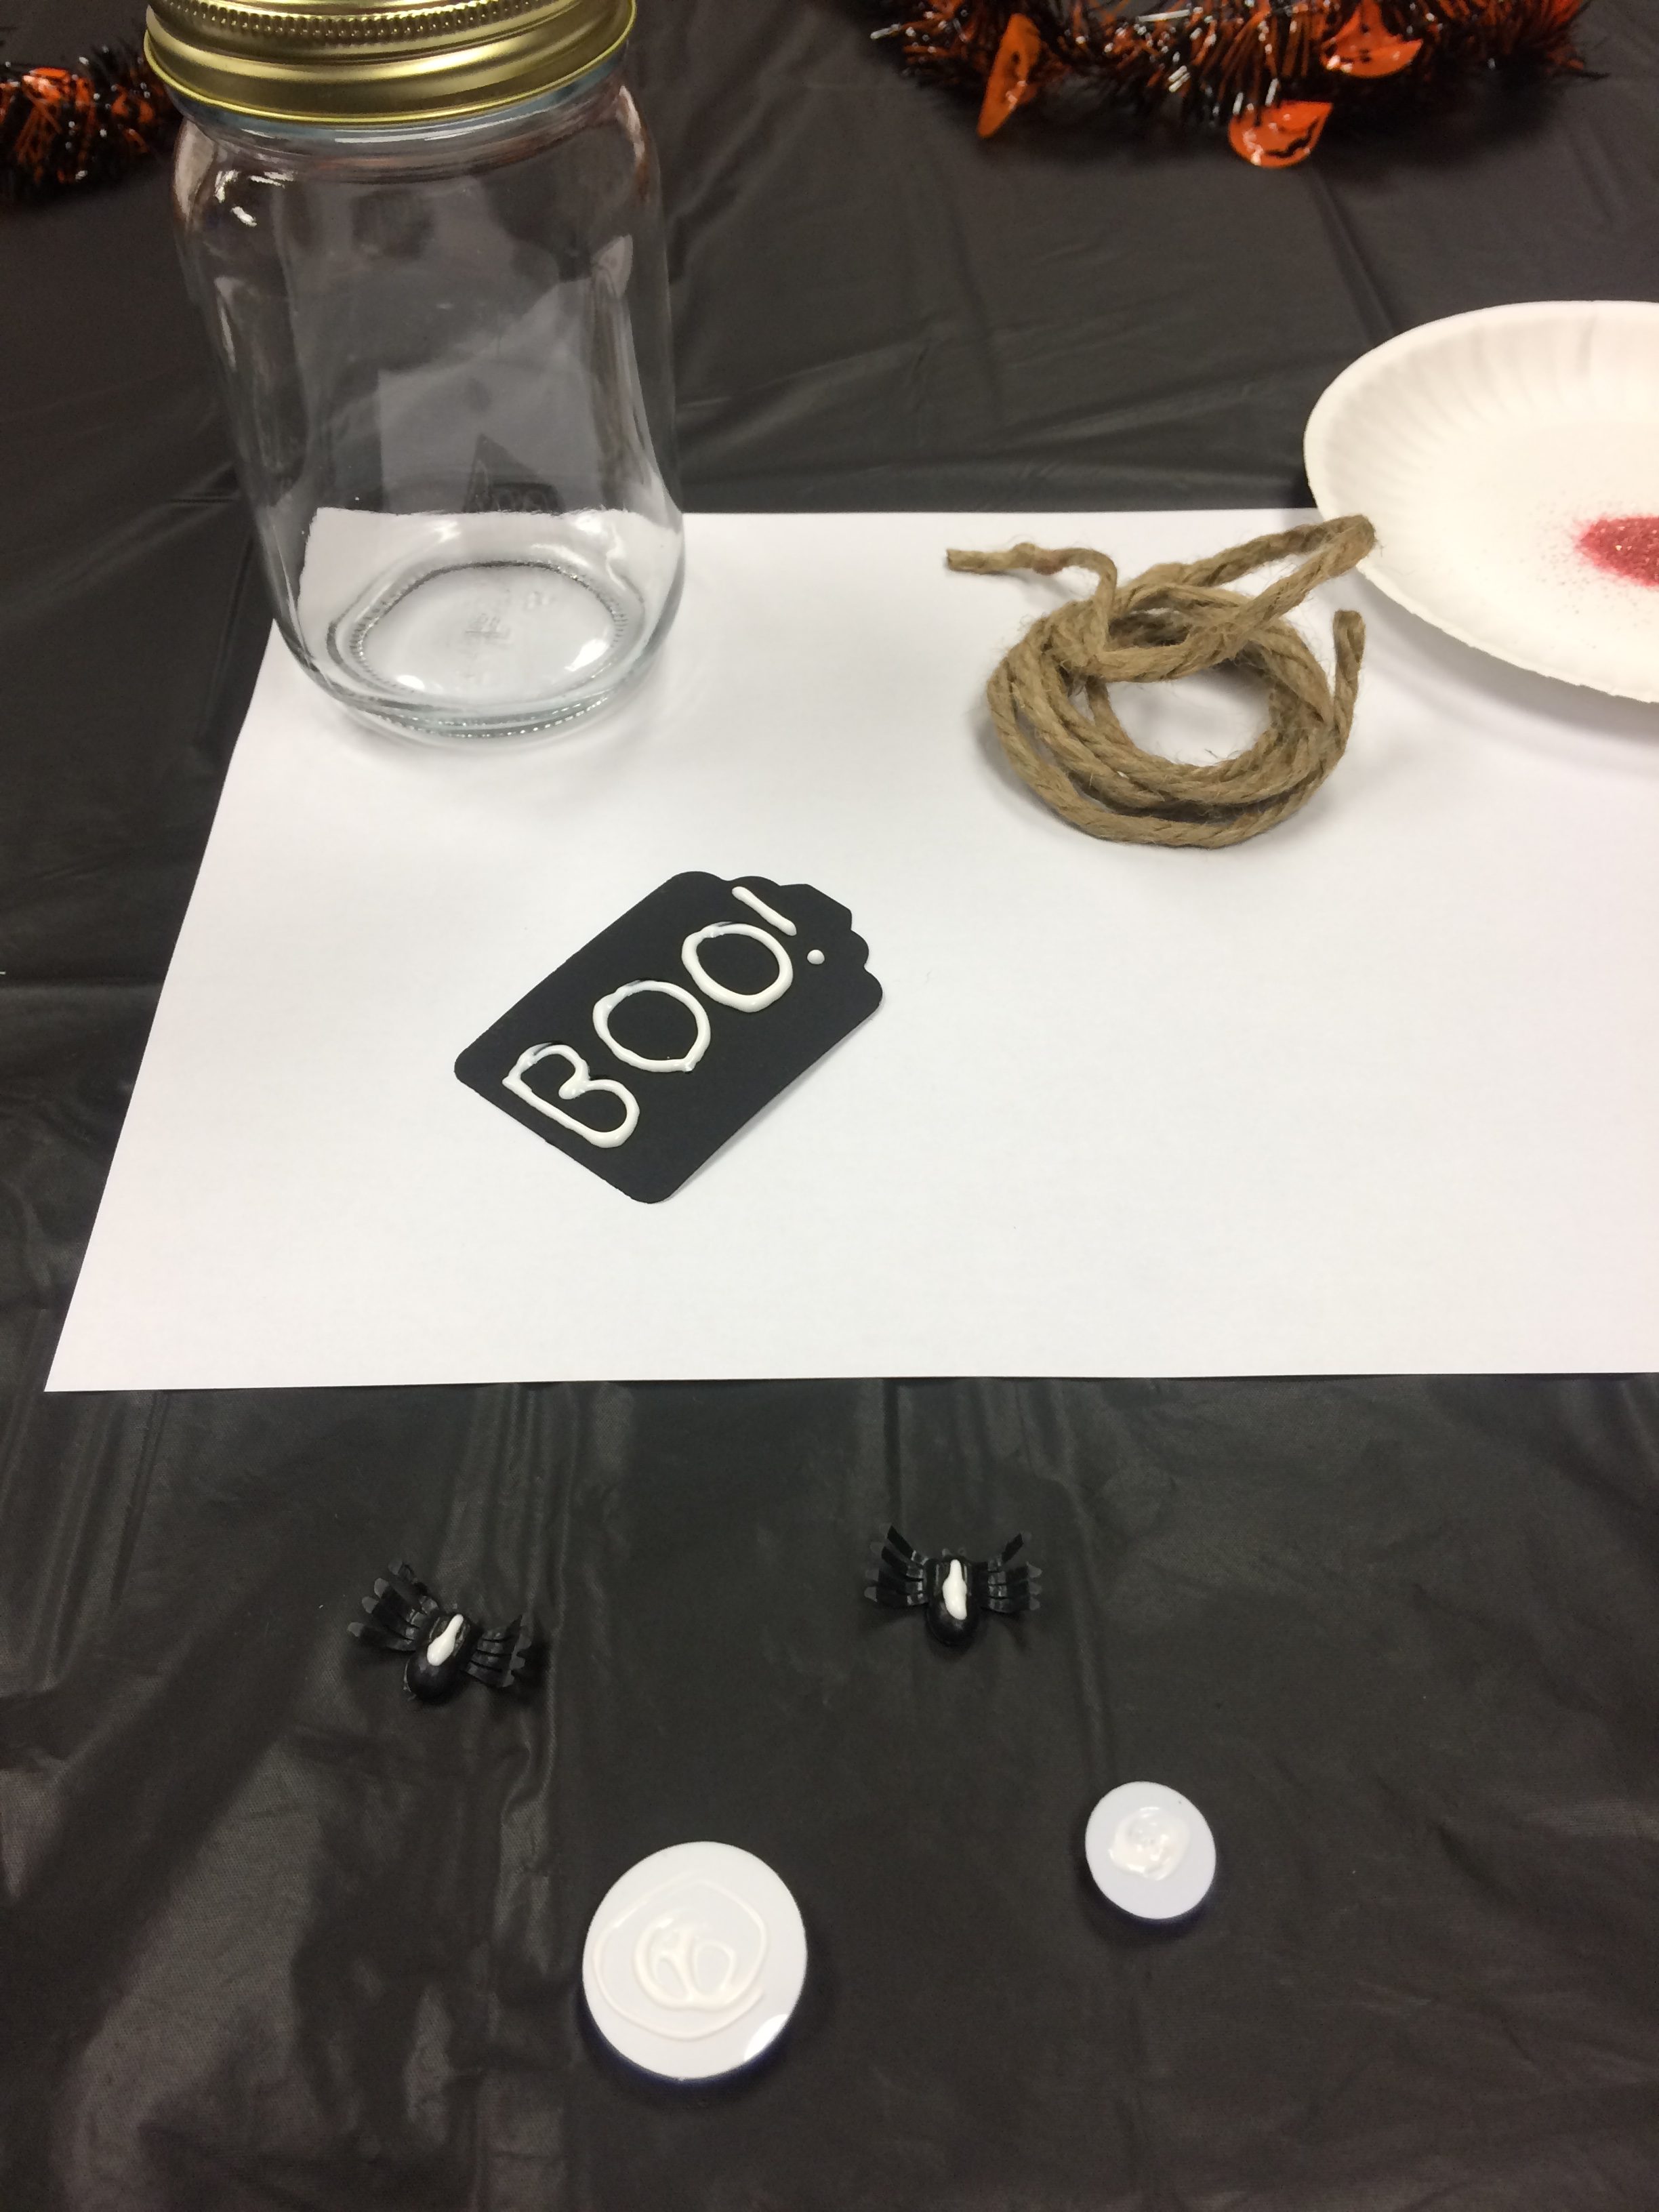
Step 1: Prepare the Embellishments
With the fine tip of the MONO Multi XL, write on the black tag and sprinkle with glitter. Set aside to dry. Then apply the glue to the backs of the googly eyes and spiders. Set aside to dry.
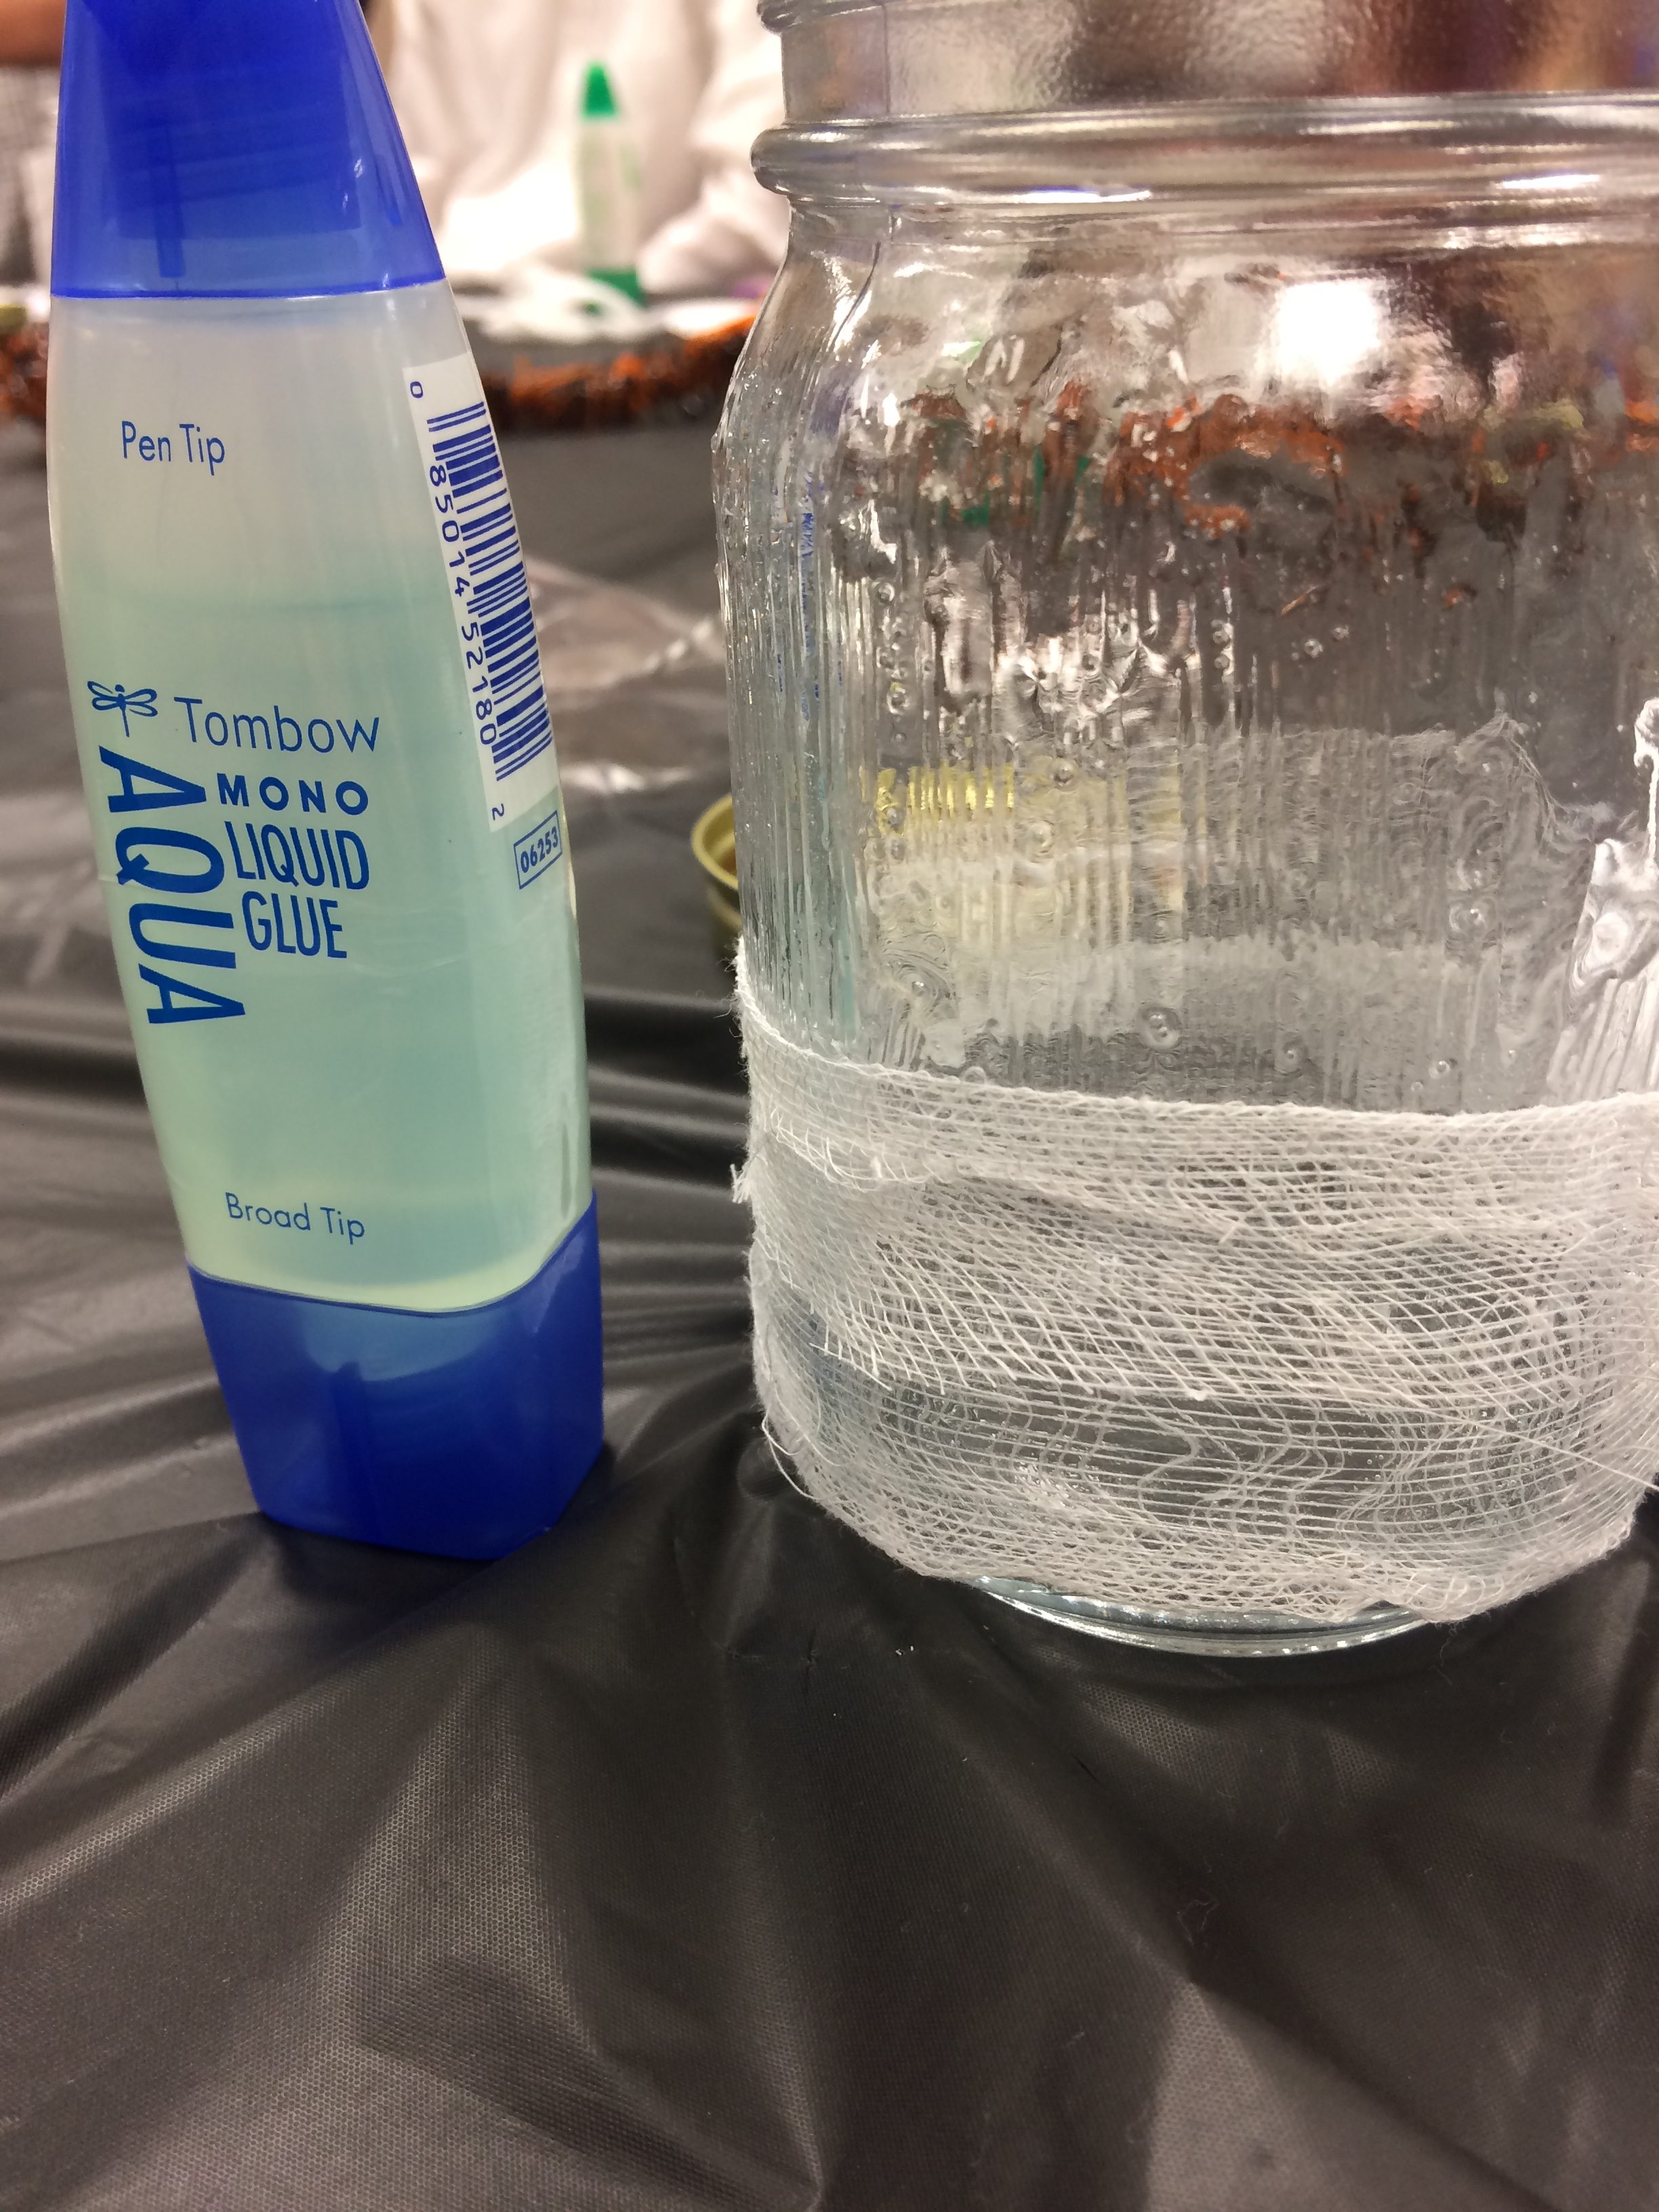
Step 2: Wrap the Jar
Using the broad tip of the MONO Aqua, cover the jar with glue. Wrap strips of cheesecloth around the jar. Attach the eyes and wrap more cheesecloth over the eyes.
Apply more MONO Aqua over the top of the cheesecloth and sprinkle on glitter. You can also use the fine tip of the MONO Aqua to apply glue in the area underneath the eyes, then add glitter for more definition.
Step 3: Add the Finishing Touches
Wrap the jute around the top of the jar and tie a knot to hold. Reclaim any excess glitter from the tag. Tie the twin around the top of the jar and attach the black tag. Press on the spiders to finish your mummified jar!
Pingback: Spiderweb Halloween Hoop Decor - Tombow USA Blog