Hi there, Beth here today to show you how to watercolor and doodle a dragonfly! We will be using a few of my favorite Tombow products!
The dragonfly has always been one of my favorite symbols, but did you know that Tombow in Japanese means dragonfly? Tombow officially starting using the dragonfly as their trademark in 1927. They are the symbol for Samurais in Japanese culture and they are known as a creature that never backs away. Samurais would put the mark of dragonfly on their armor, helmet and sword. One of the founding families of Tombow was a former Samurai family and used the dragonfly to show pride for that part of their family history. I love learning the history behind the companies and products that I use, don’t you?
I love creating watercolor backgrounds with Tombow Dual Brush Pens and it has become kind of an addiction for me – I’m creating and I just can’t stop – LOL! Now that I have collected a bunch of beautiful watercolor backgrounds and I want to start to use what I have, instead of creating more. Here’s how I made it…
STEP ONE:
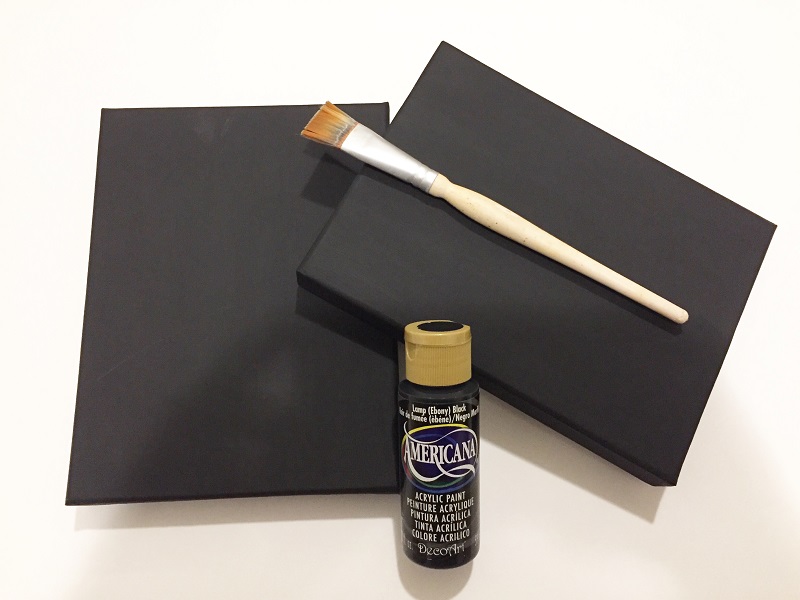
Paint gift box with black craft paint. Let dry and apply a second coat, if necessary.
STEP TWO:
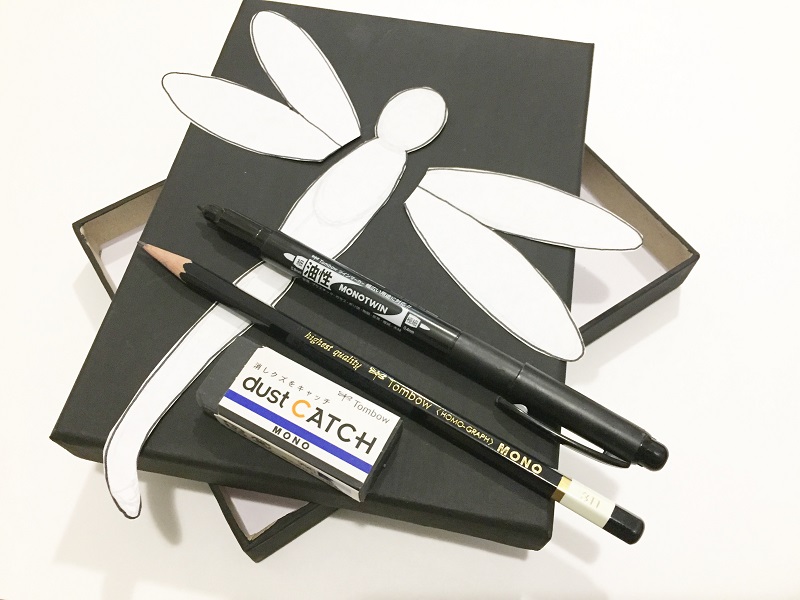
On plain paper with Tombow MONO Drawing Pencil, 3H sketch a dragonfly. Then ink an outline with the broad tip of the Tombow MONO Twin Permanent Marker. I have to say that I just LOVE the new Tombow MONO Dust Catch Eraser because it catches its own shavings instead of leaving them all over your project! Cut out the dragonfly with scissors and lay out on box top.
STEP THREE:
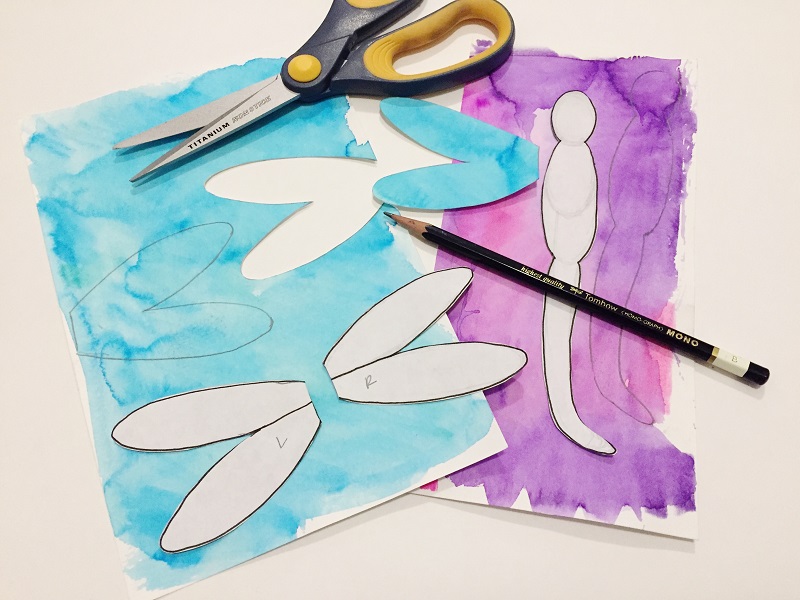
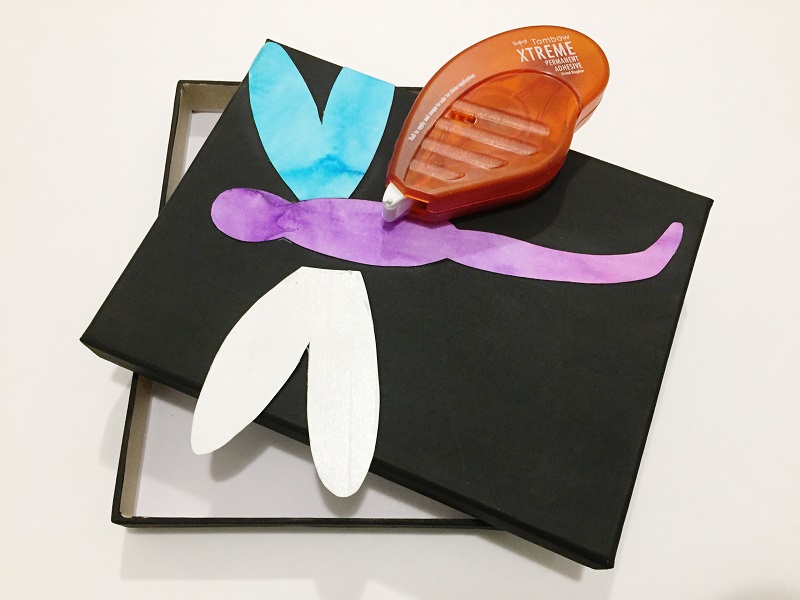
Place patterns on your watercolor papers and trace the wings on blue and the body on purple with the Tombow MONO Drawing Pencil, B. Cut out with scissors and dry fit on box lid.
STEP FOUR:
Once you are pleased with the composition, attach dragonfly to box lid with Tombow Xtreme Permanent Adhesive. The Tombow Xtreme is 5 times stronger than other adhesive runners, just remember to roll apply then swipe the tip to the side for a clean application.
STEP FIVE:
Using the broad and fine tip of the Tombow MONO Twin Permanent Marker draw doodles on the body and wings of the dragonfly. The variation of the thick and thin lines gives my project additional interest and depth.
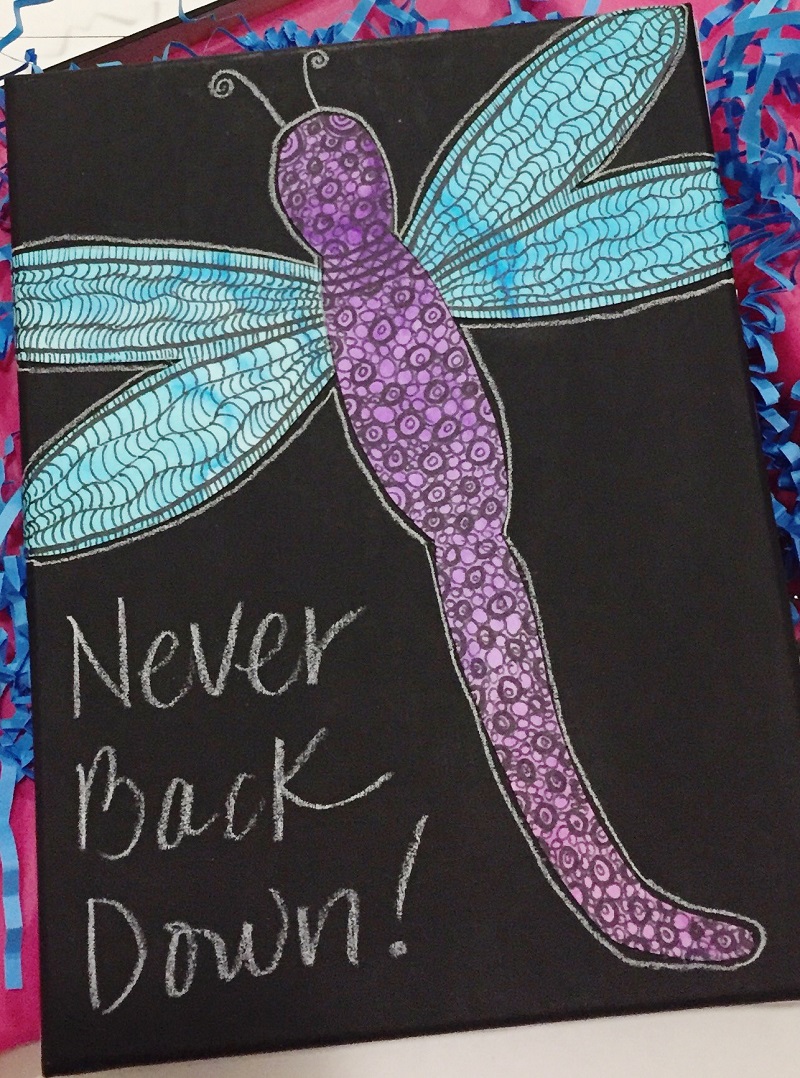
STEP SIX:
Embellish the Dragonfly box and add an inspirational message with a white drawing pencil. I love the contrast that this added to my project!
STEP SEVEN:
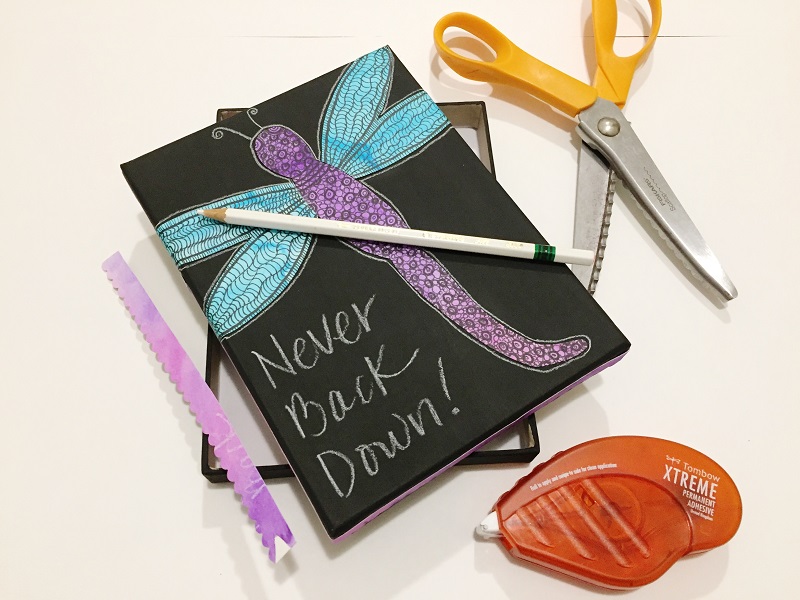
To finish the box cut 1/2″ wide borders from water colored paper with scallop shears. Apply to all sides with Tombow Xtreme Permanent Adhesive.
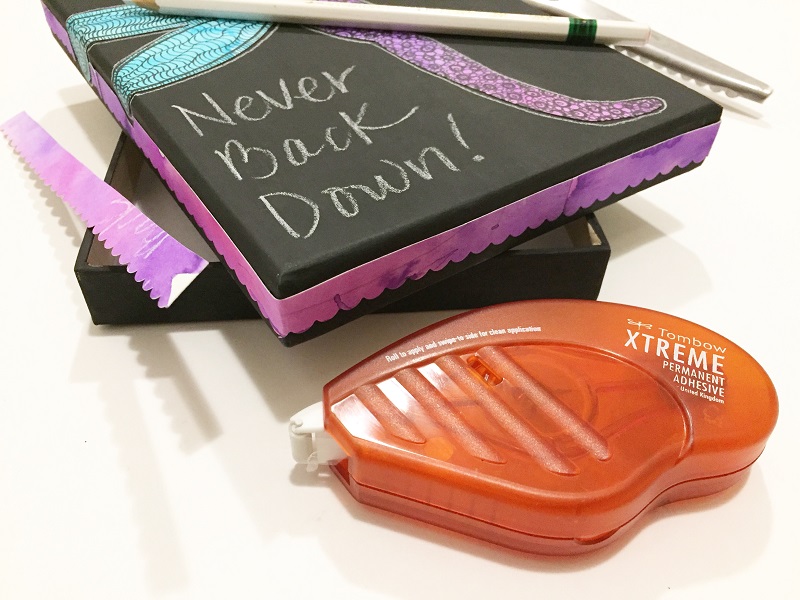
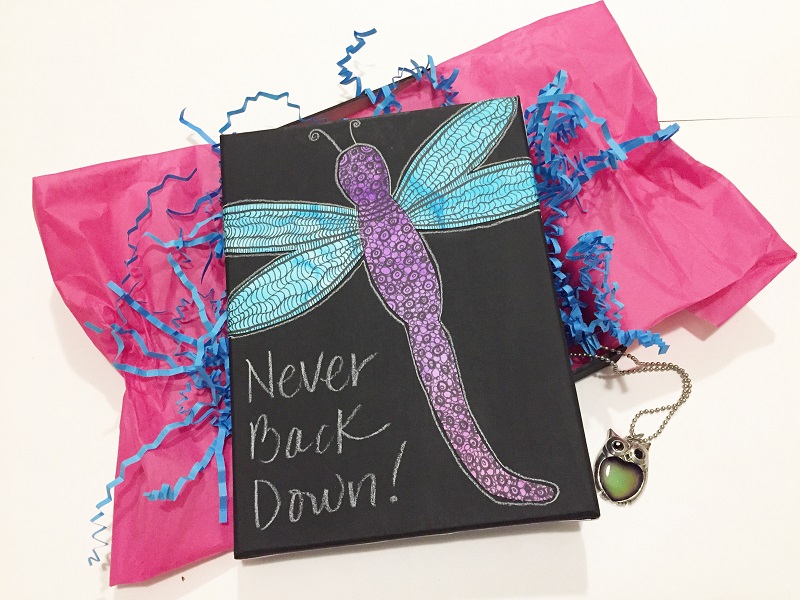
Now it’s time to fill your box with fun tissue, shredded paper and a keepsake for that special someone in your life. The dragonfly box and message would be a great gift for a graduate, so they always remember to Never Back Down!
I hope you have enjoyed my how to watercolor and doodle a dragonfly project today. For tutorials on the Tombow Dual Brush Pen watercoloring technique, please check out this Baby’s Room project HERE and this May Flowers project HERE. Then create YOUR Dragonfly project and tag Tombow on social media @TombowUSA or #TombowUSA
Thanks for stopping by! -Beth