Hey lovelies! It’s Lauren of @renmadecalligraphy, back to share lettering and craft tips and tricks with you! I’ve got 10 happy mail hacks that are perfect for making a creative envelope in less than 10 minutes. After this tutorial, you will be able to create a one of a kind piece of happy mail with some of my favorite supplies from Tombow USA!
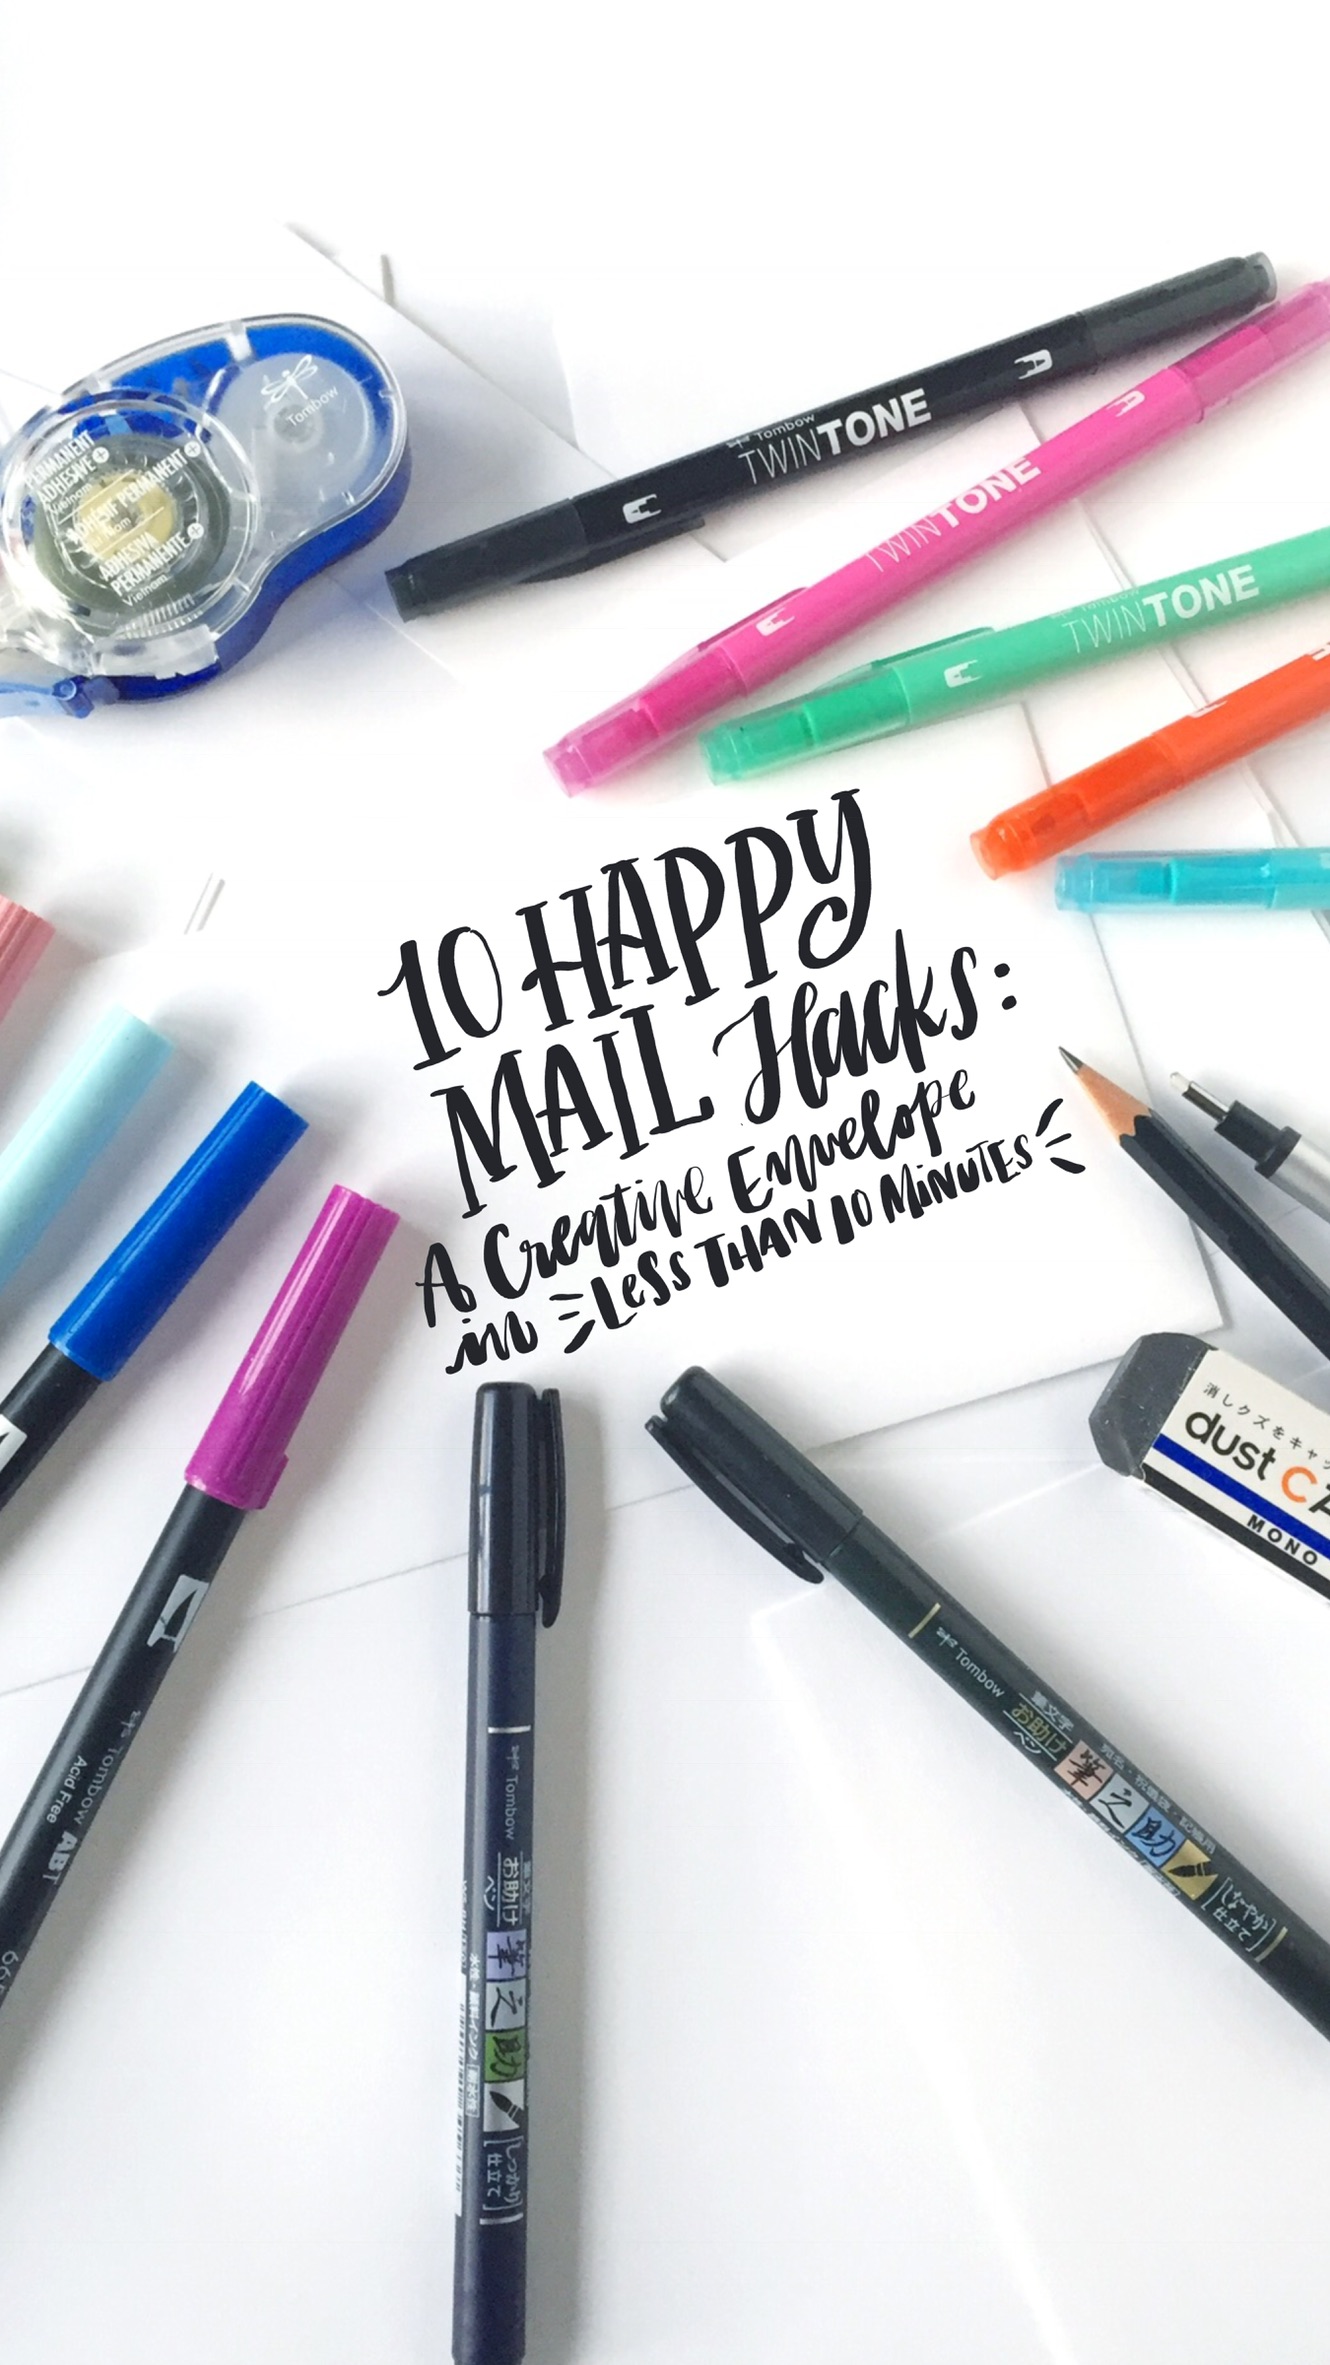
1. USE THE RIGHT TOOLS
So, you want to send a happy piece of mail? Tombow USA has you covered. Lettering tools and adhesives are perfect for quickly turning an envelope into a piece of art.
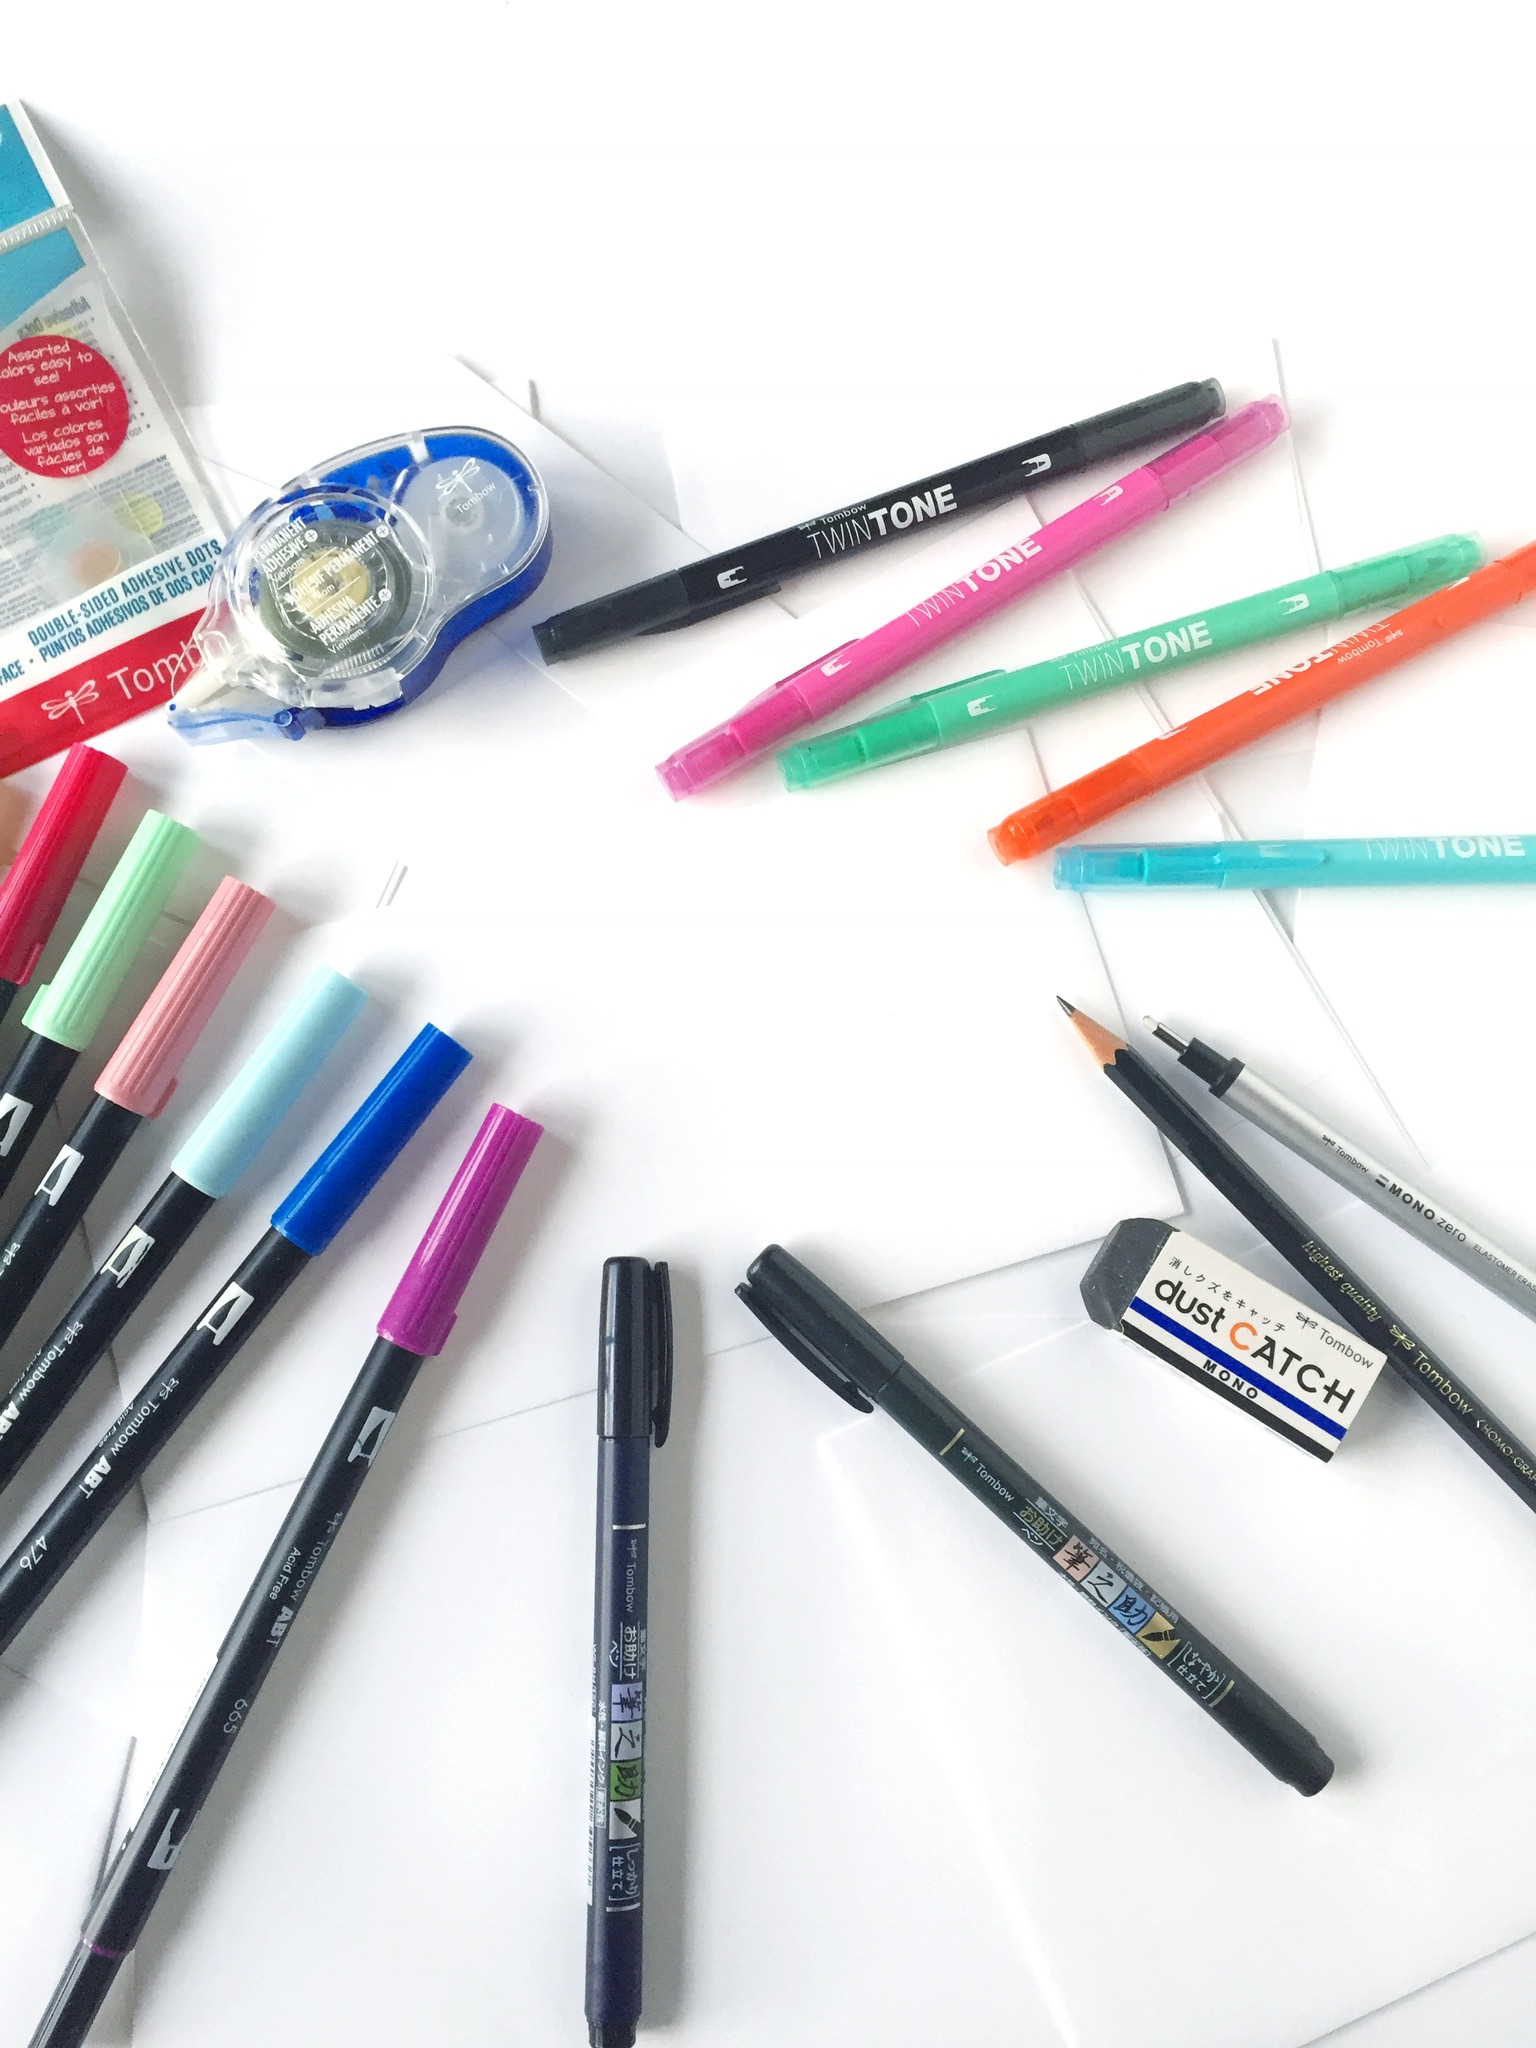
For a pretty, happy piece of mail you might want the following supplies:
- Light colored envelopes
- Tombow MONO Drawing Pens
- Tombow Fudenosuke Hard Tip and Soft Tip Brush Pens
- Tombow TwinTone Dual Tip Markers
- Tombow MONO Drawing Pencils
- Tombow MONO Zero Eraser
- Tombow MONO Dust Catch Eraser
- Tombow Dual Brush Pens
- -Mix Media Paper
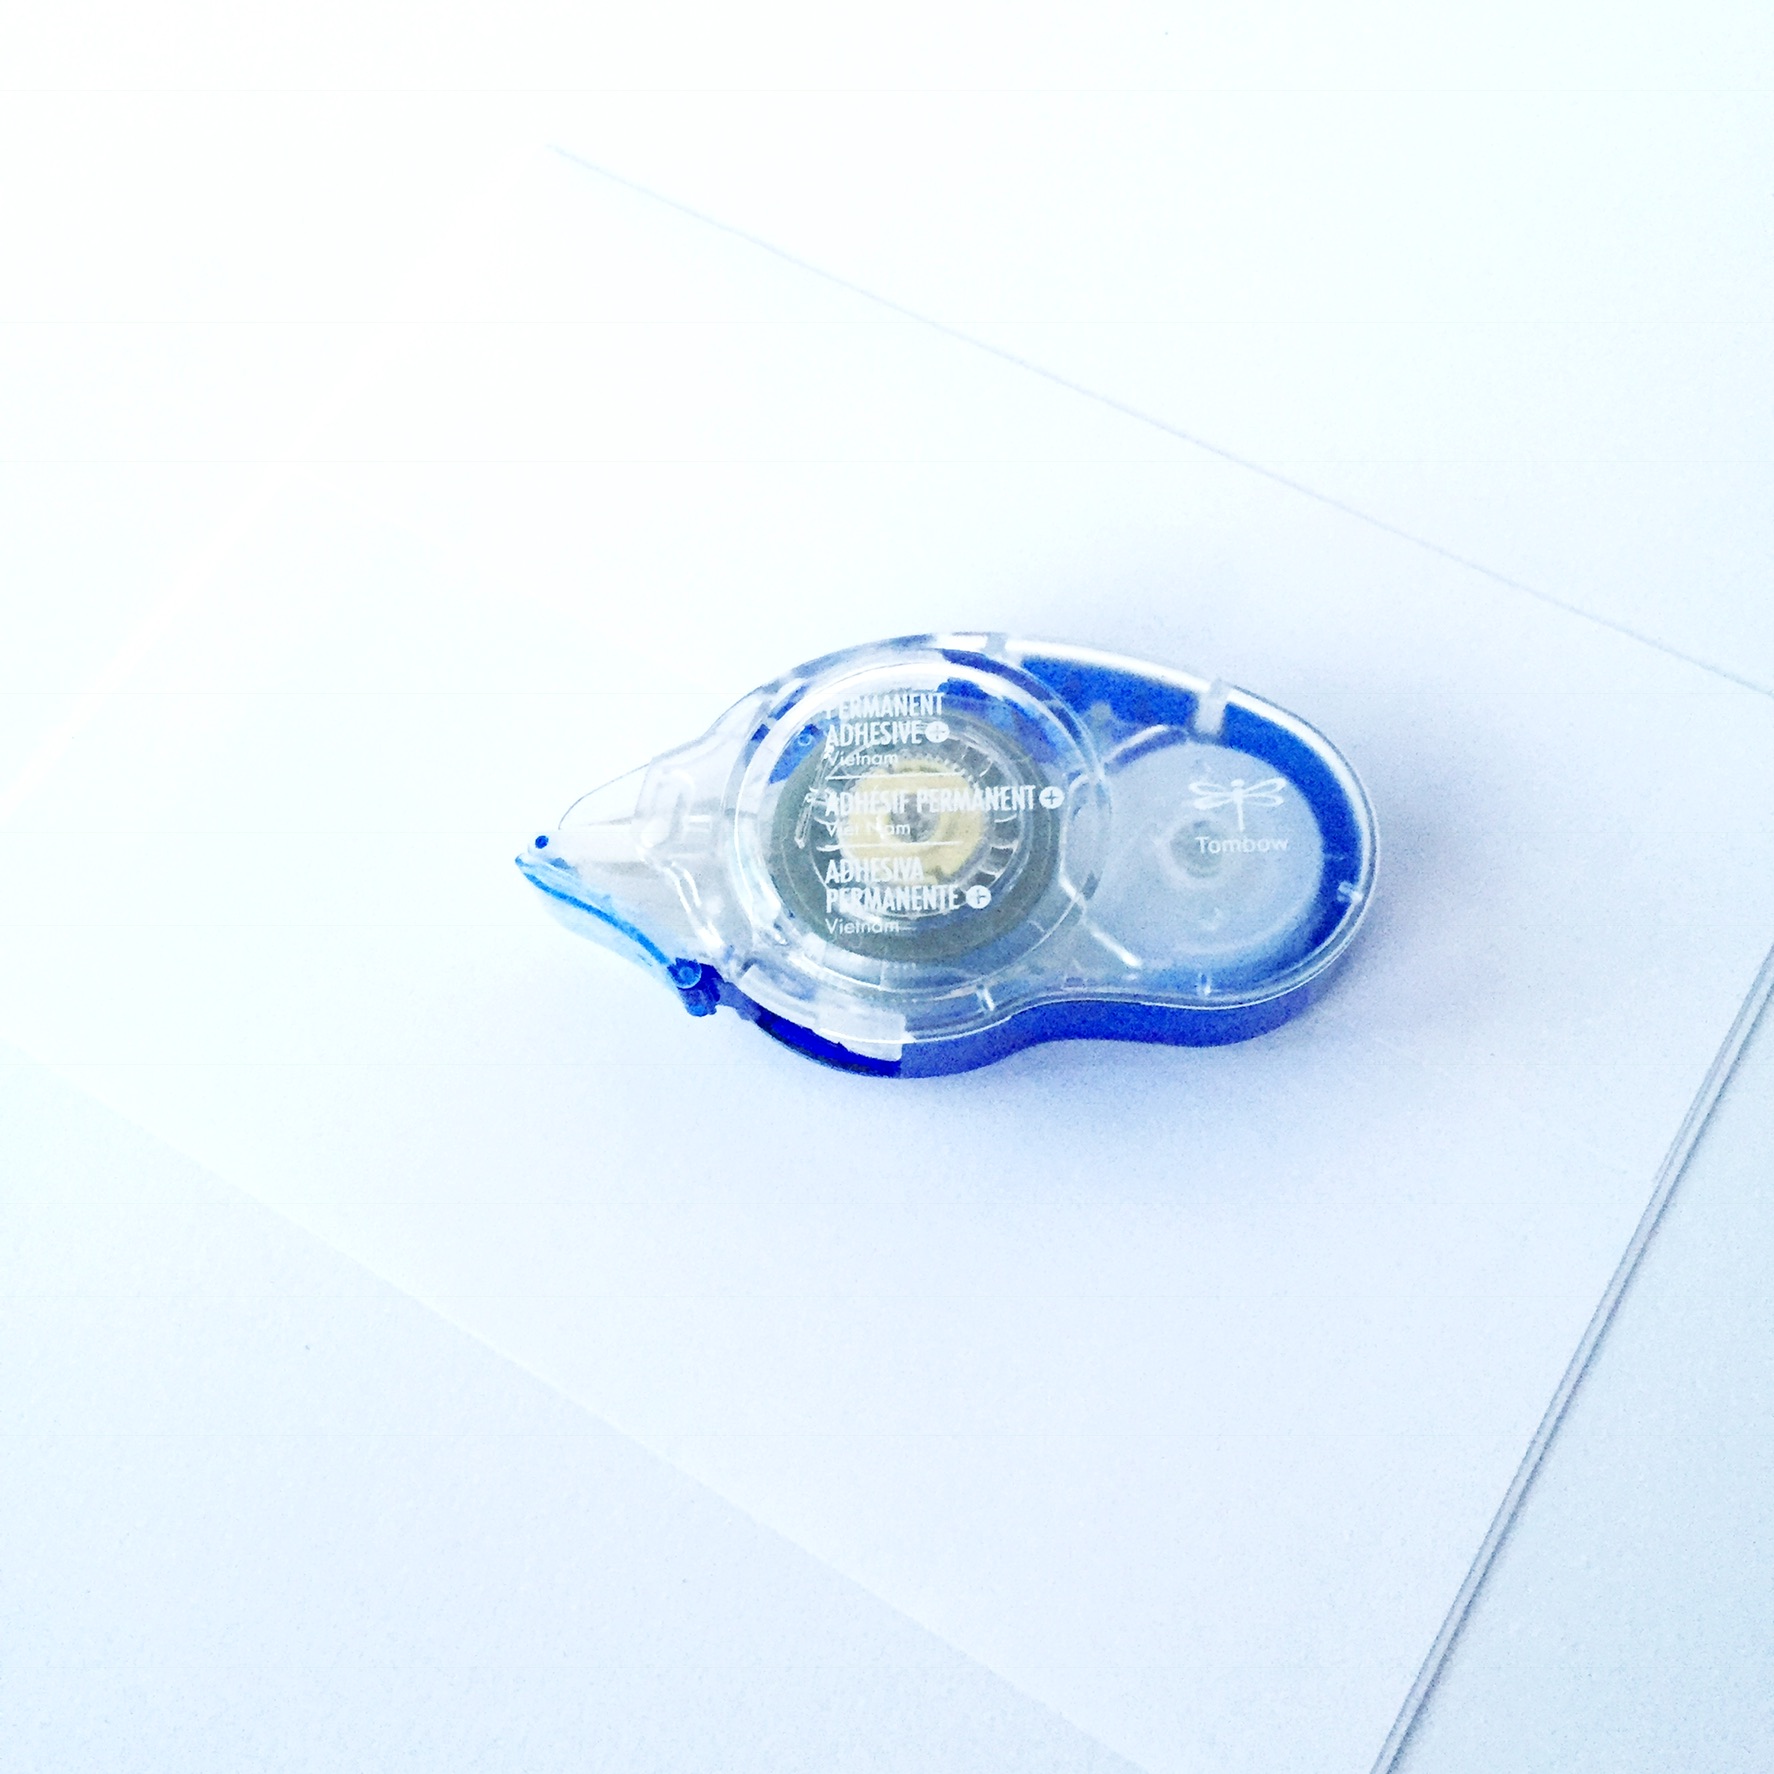
- Tombow MONO Permanent Adhesive +
- A light table (I use the Cricut BrightPad)
2. SKETCH AN ENVELOPE DESIGN
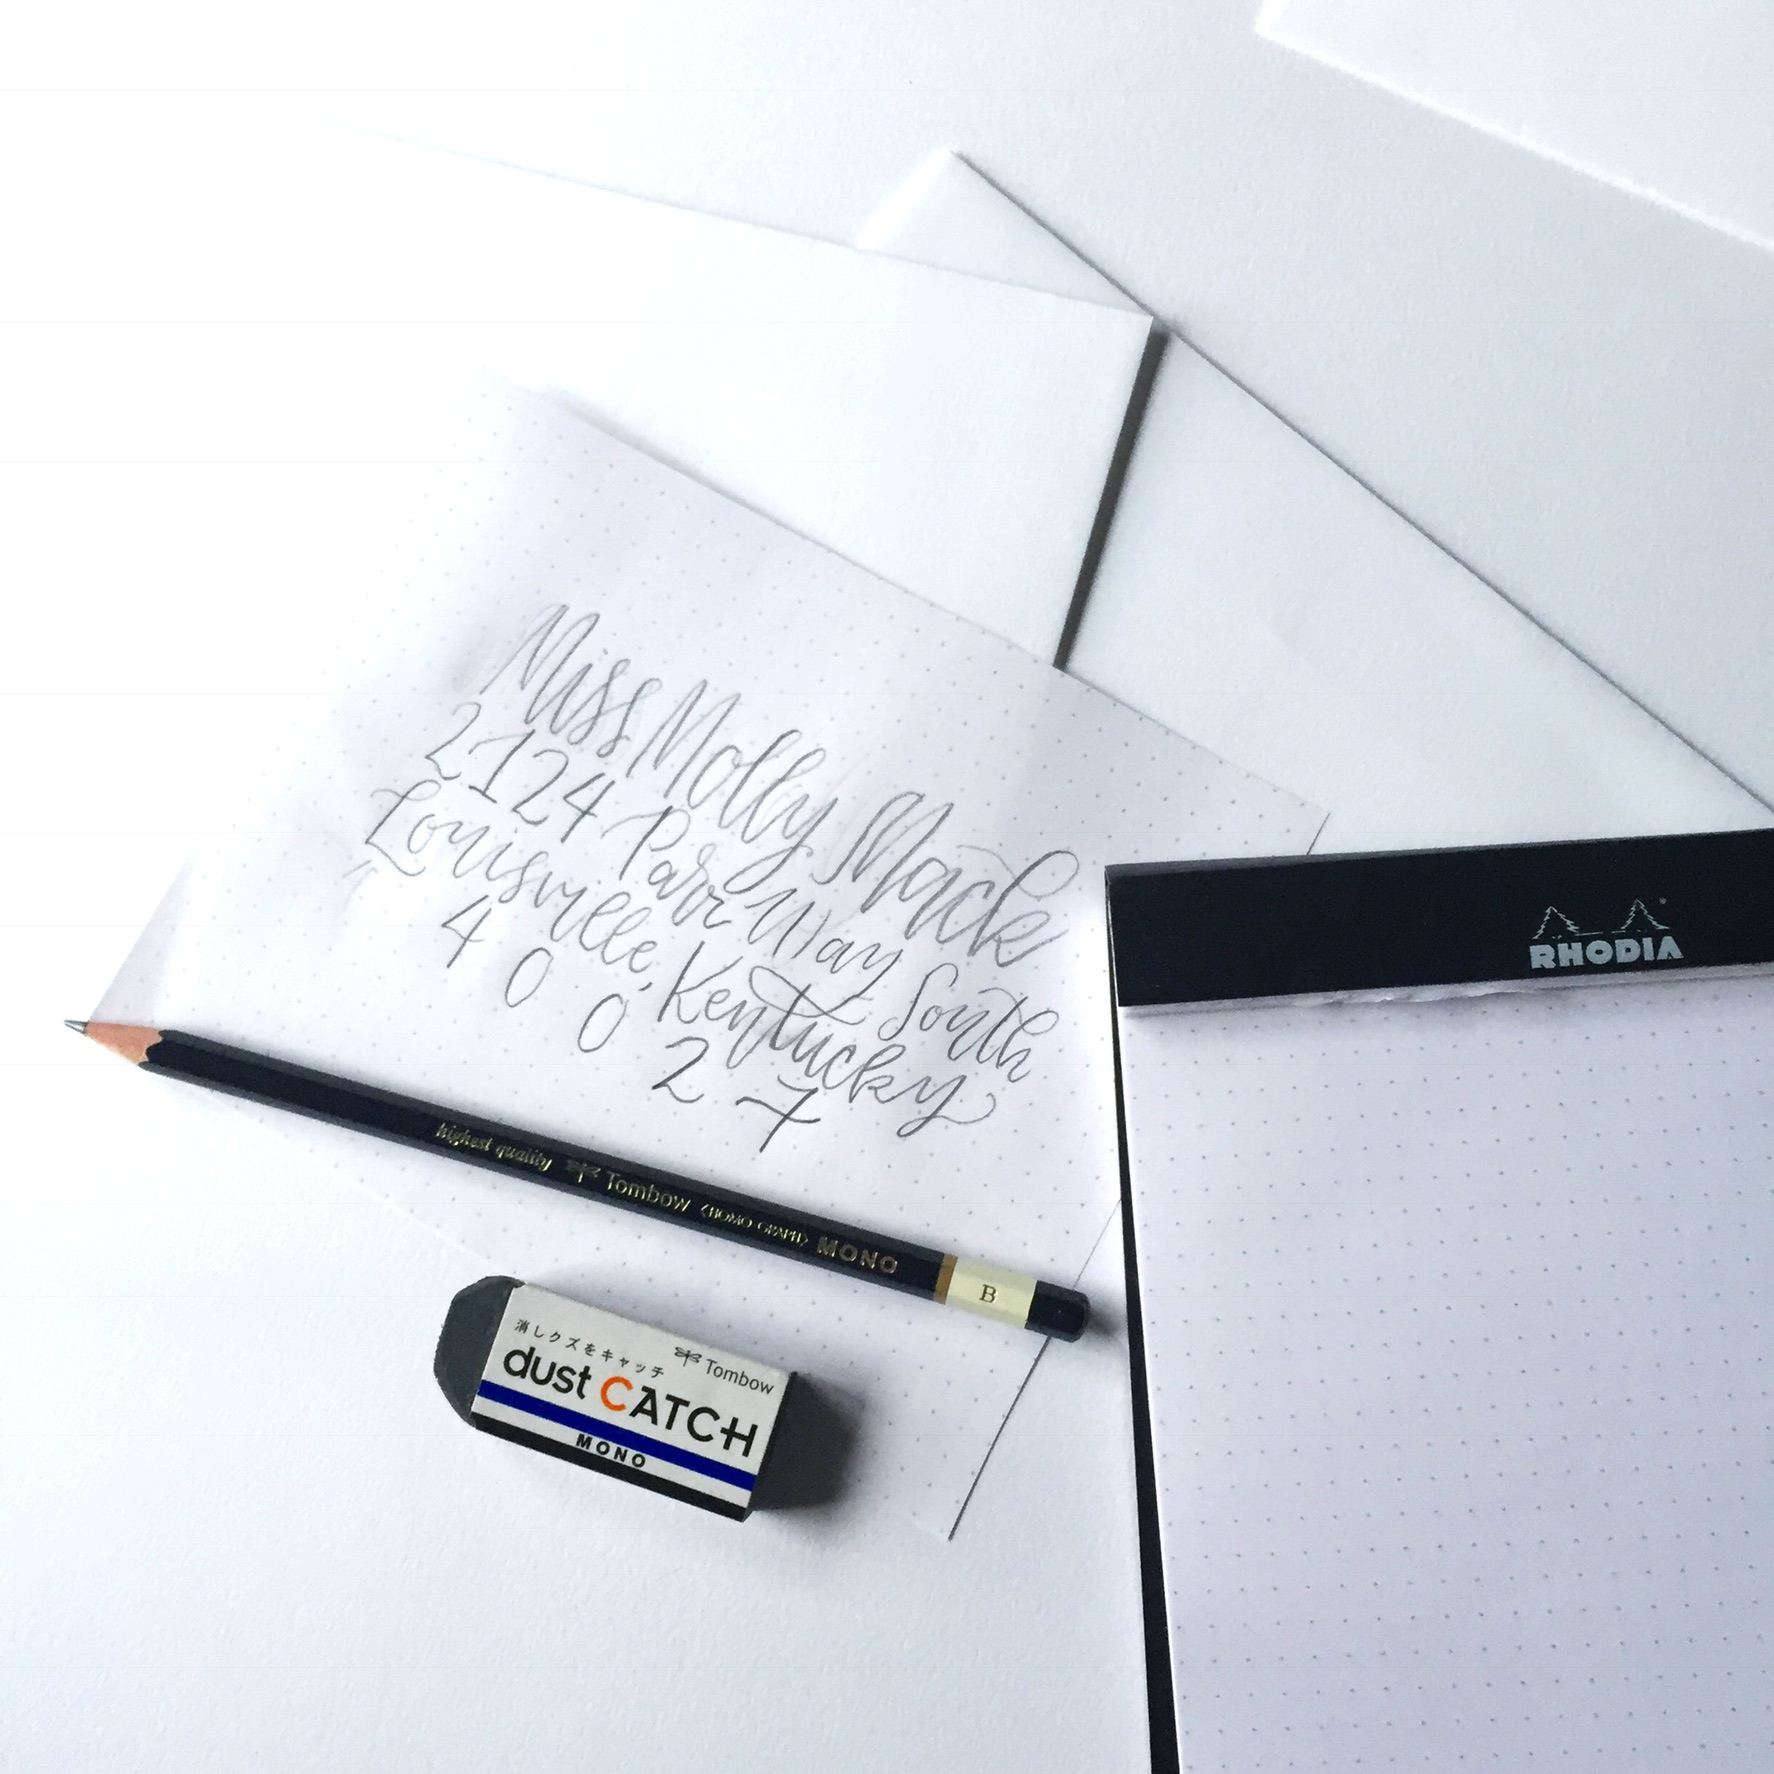
So when you start lettering your envelope, you may worry that your address won’t be centered, or you may be unsure that you aren’t writing the correct address. This can all be fixed if you simply write a pencil sketch with your Tombow MONO Drawing Pencil. I like to create a template for my envelope designs by cutting a sheet of Rhodia dot paper, sketching the address on the paper, and then sliding the paper template inside the envelope. When I make mistakes, I LOVE the Tombow MONO Dust Catch Eraser because it erases them and collects it’s own dust. So cool!
3. TRACE YOUR SKETCH USING A LIGHT TABLE
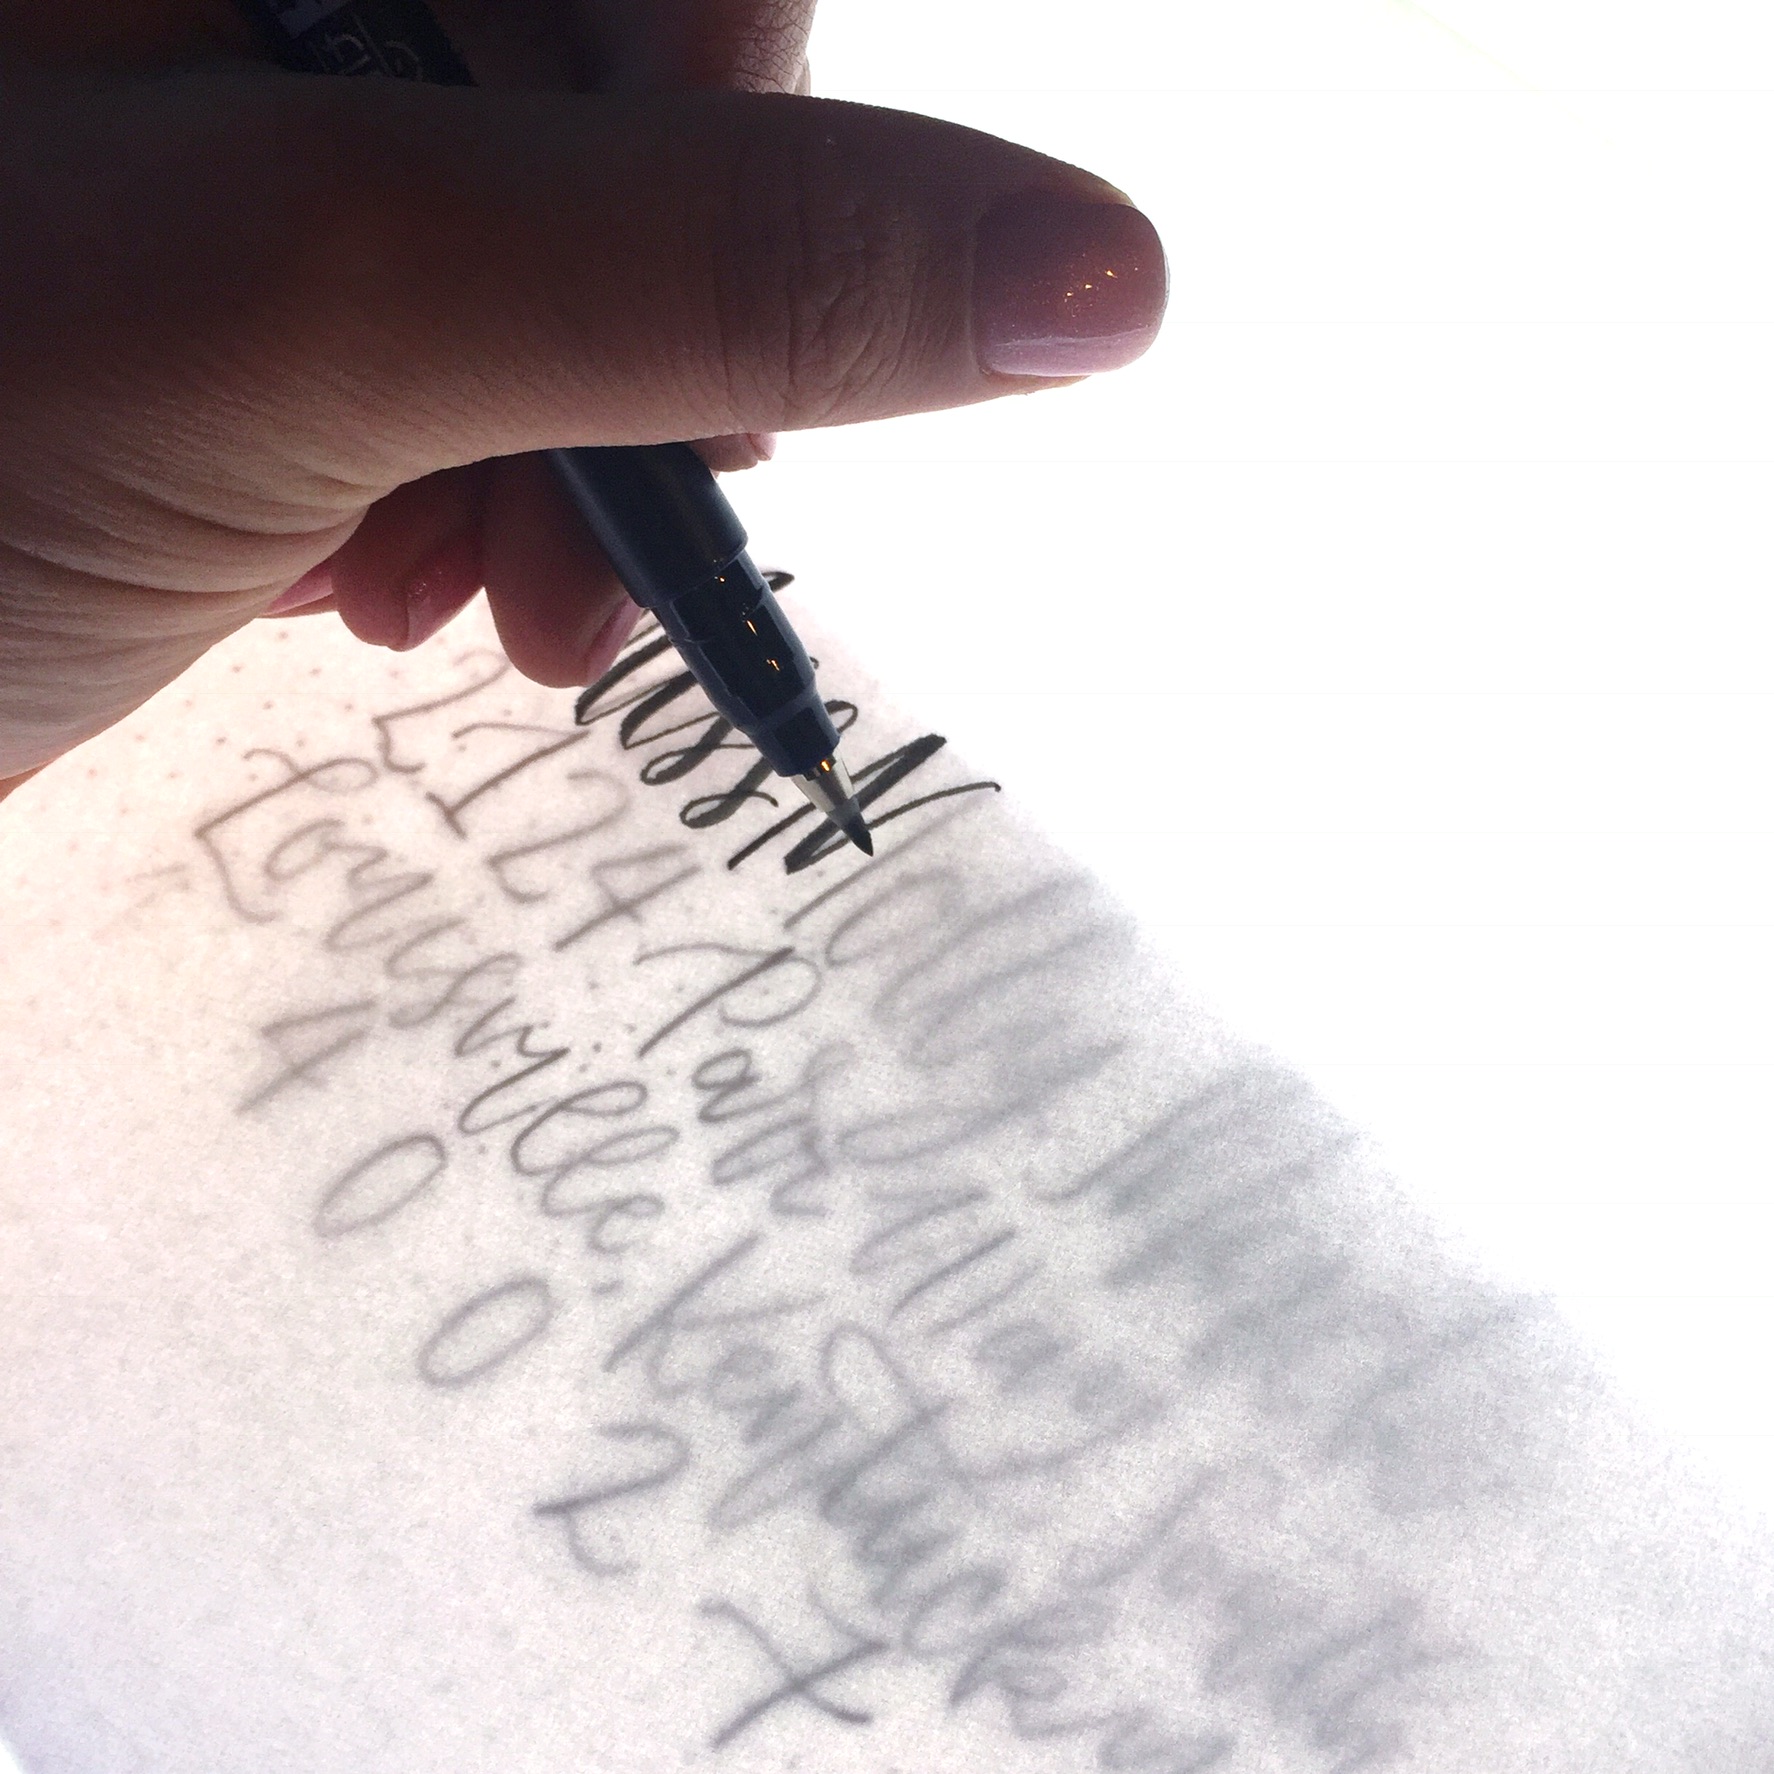
After creating your sketch, you may want to use it as a template, by placing it inside of the envelope and then placing your envelope on top of a light pad. Trace over it with any kind of pen that you prefer, like the Tombow Fudenosuke Brush Pens. This makes it so much easier to make sure that the address is written correctly and will fit on the envelope properly.
The final result is ready to keep by itself or add embellishments.
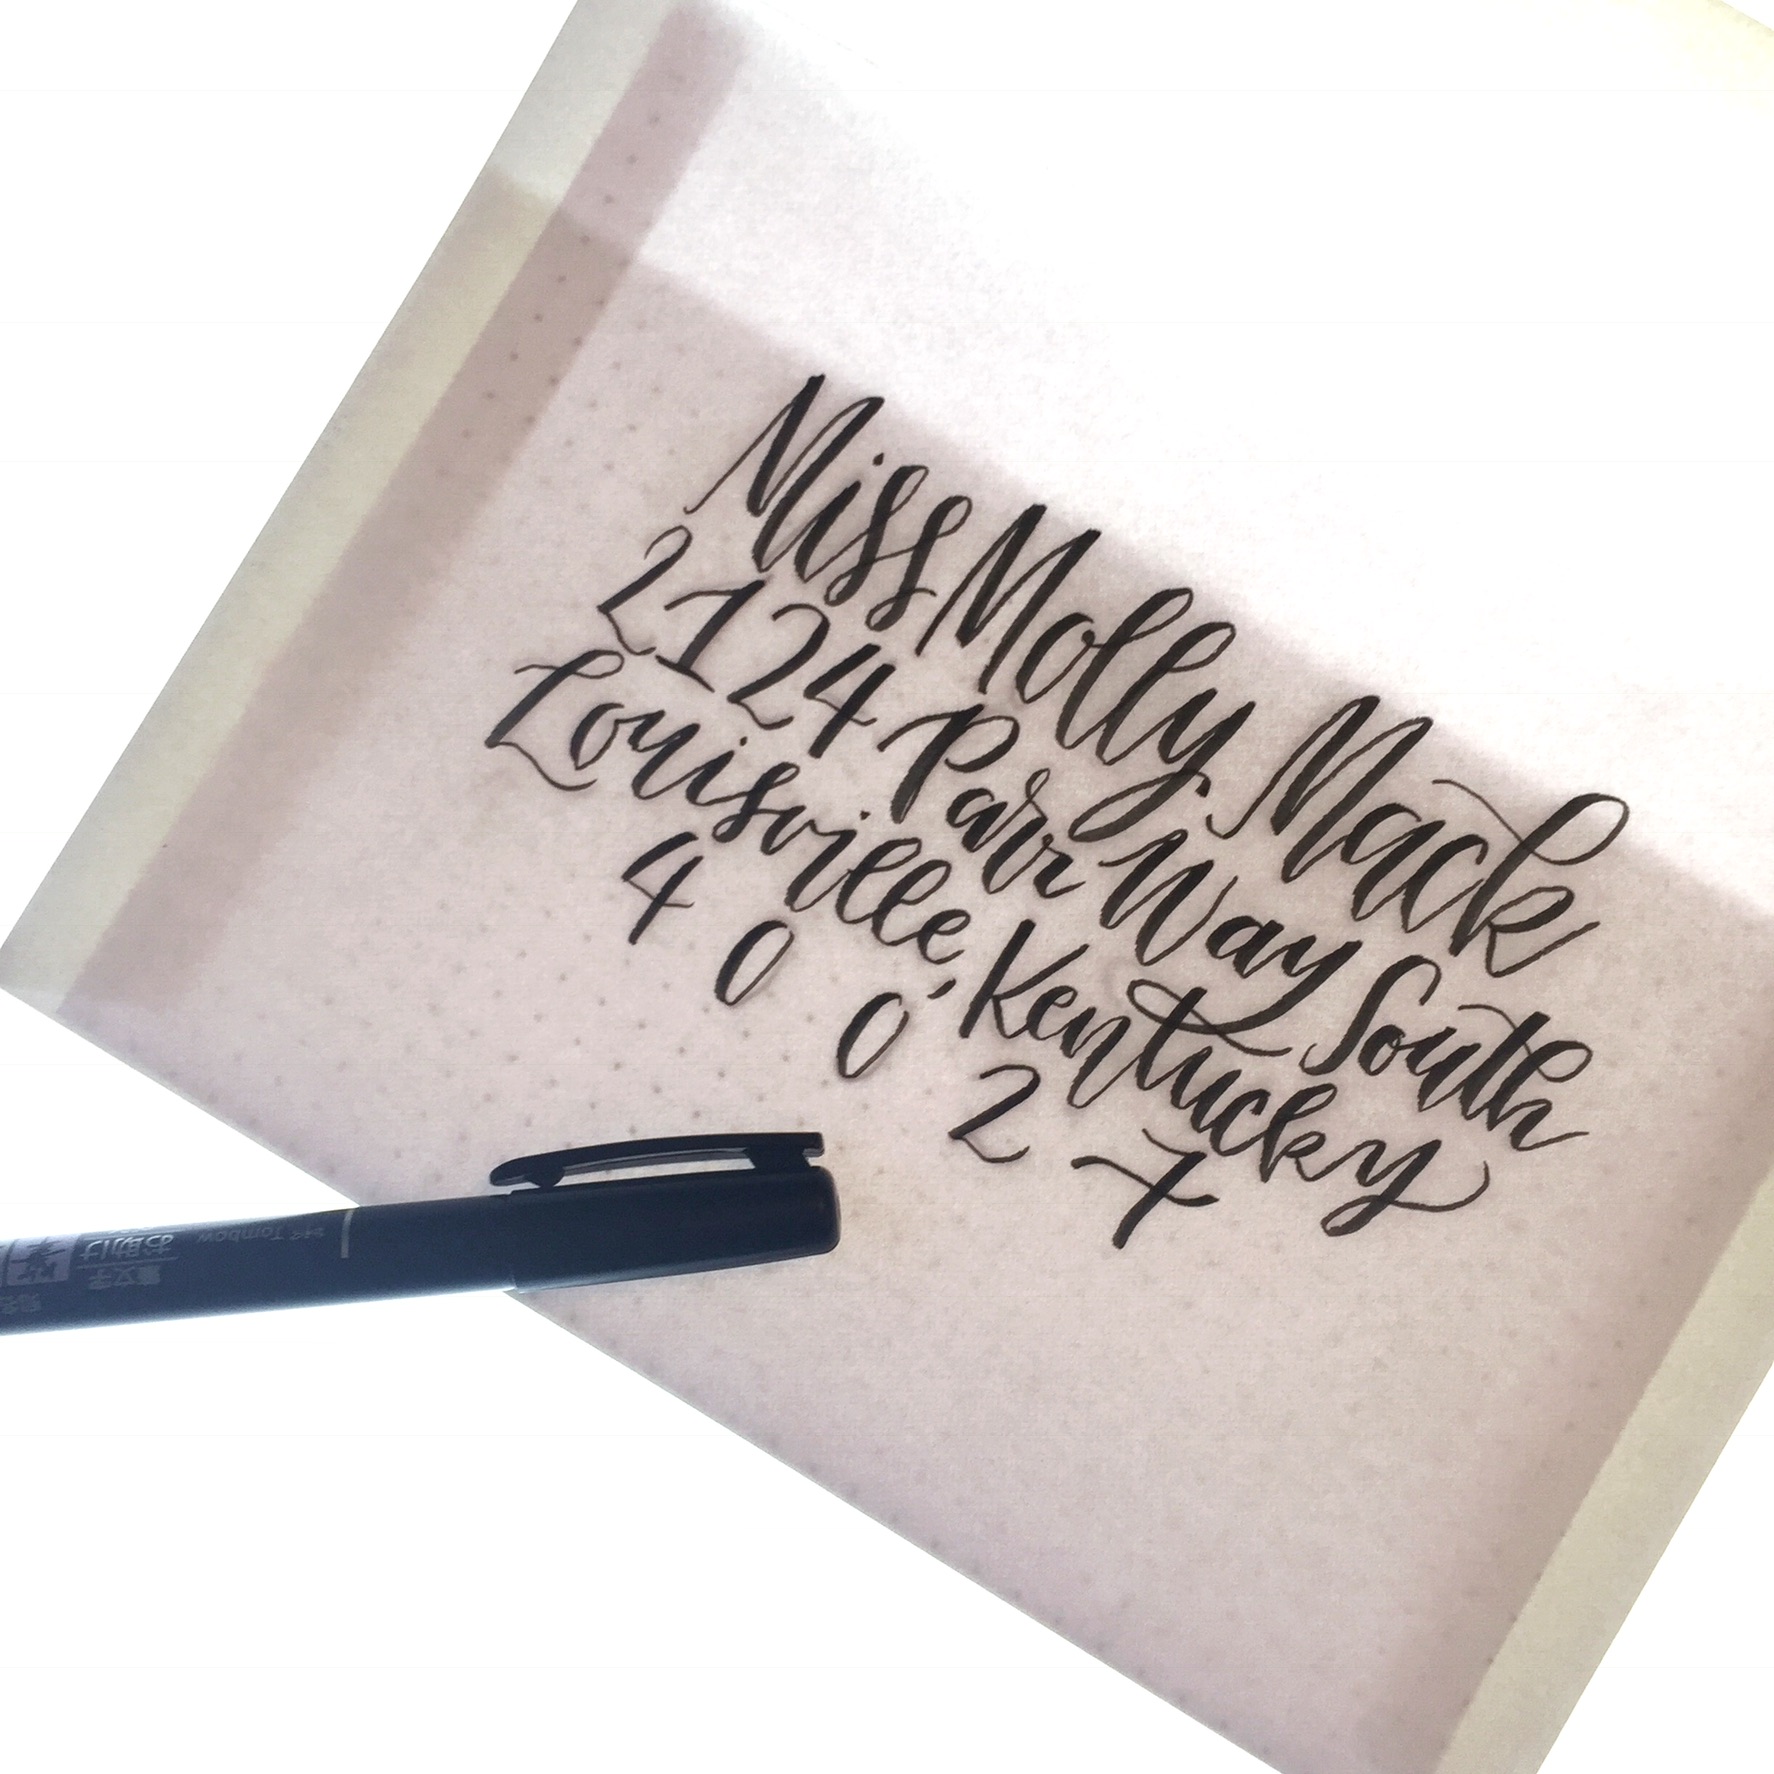
4. WRITE IN SIMPLE MODERN SCRIPT

You can write in a monoline or brush lettering in a simple modern style. To create monoline lettering, use the Tombow MONO Drawing Pen.
5. ADD AN ILLUSTRATION OR DOODLE
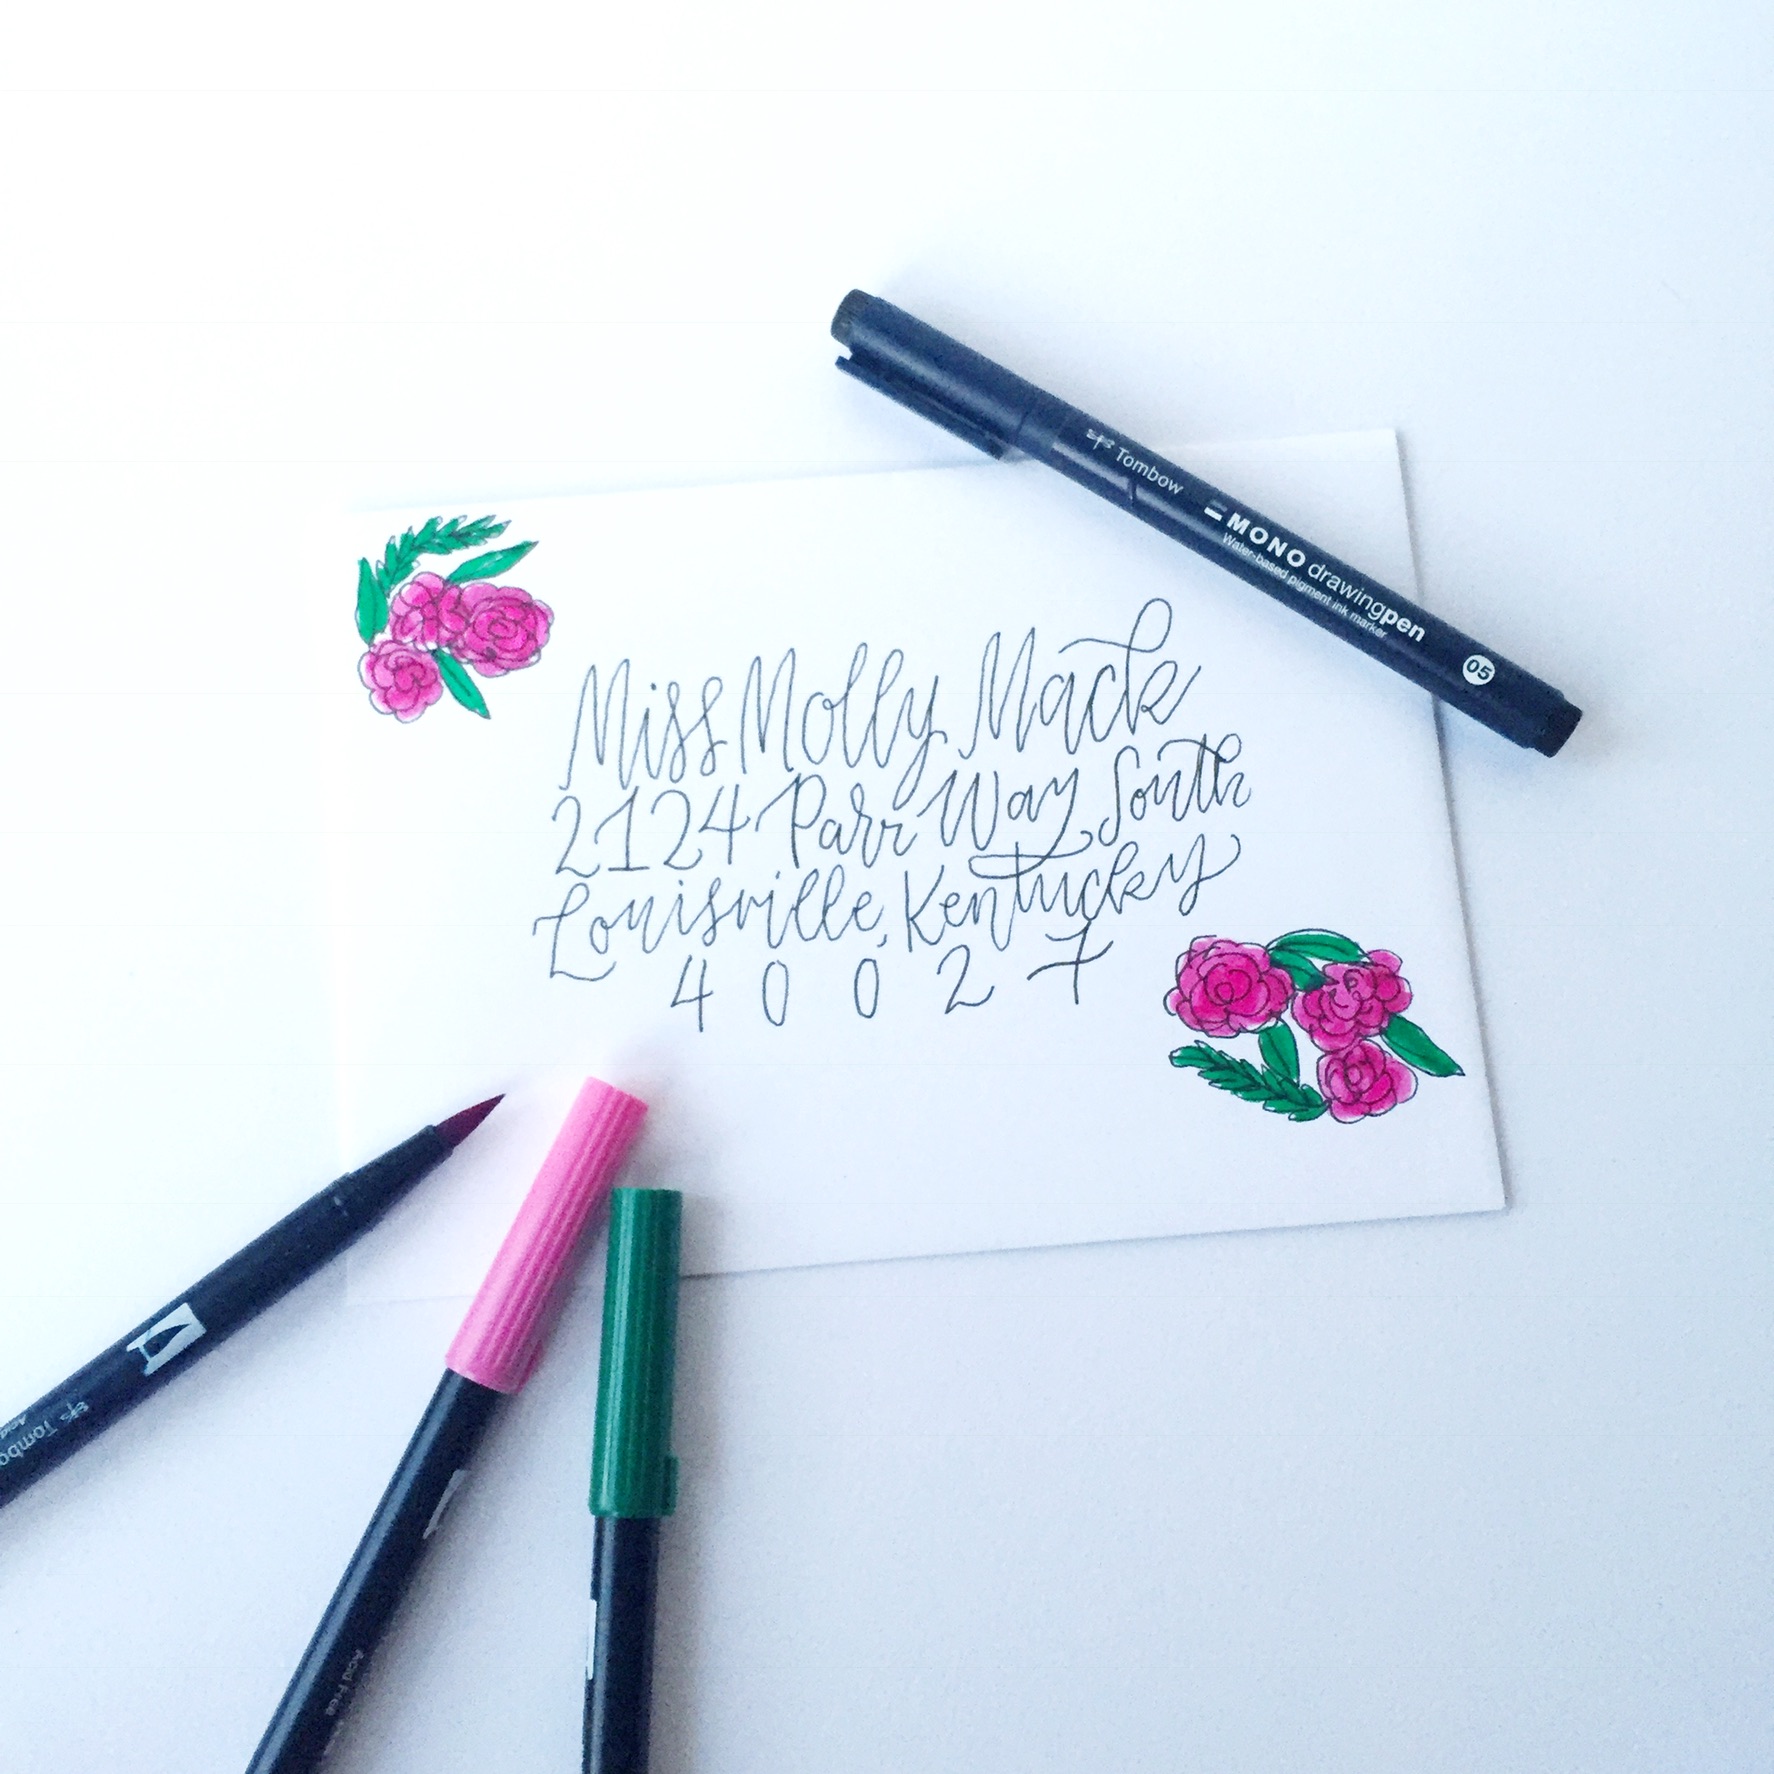
A plain envelope can be totally jazzed up with a simple illustration, like flowers. Draw them with the Tombow MONO Drawing Pen and then color them in with the Tombow Dual Brush Pens. Create illustrations that match the theme of your event or
6. MAKE A BRIGHT OR PATTERNED BACKGROUND

Fill in the background of your envelope with random brush strokes of some fun colors of Tombow Dual Brush Pens. You could also add fun patterns full of color to make a very unique piece of mail!
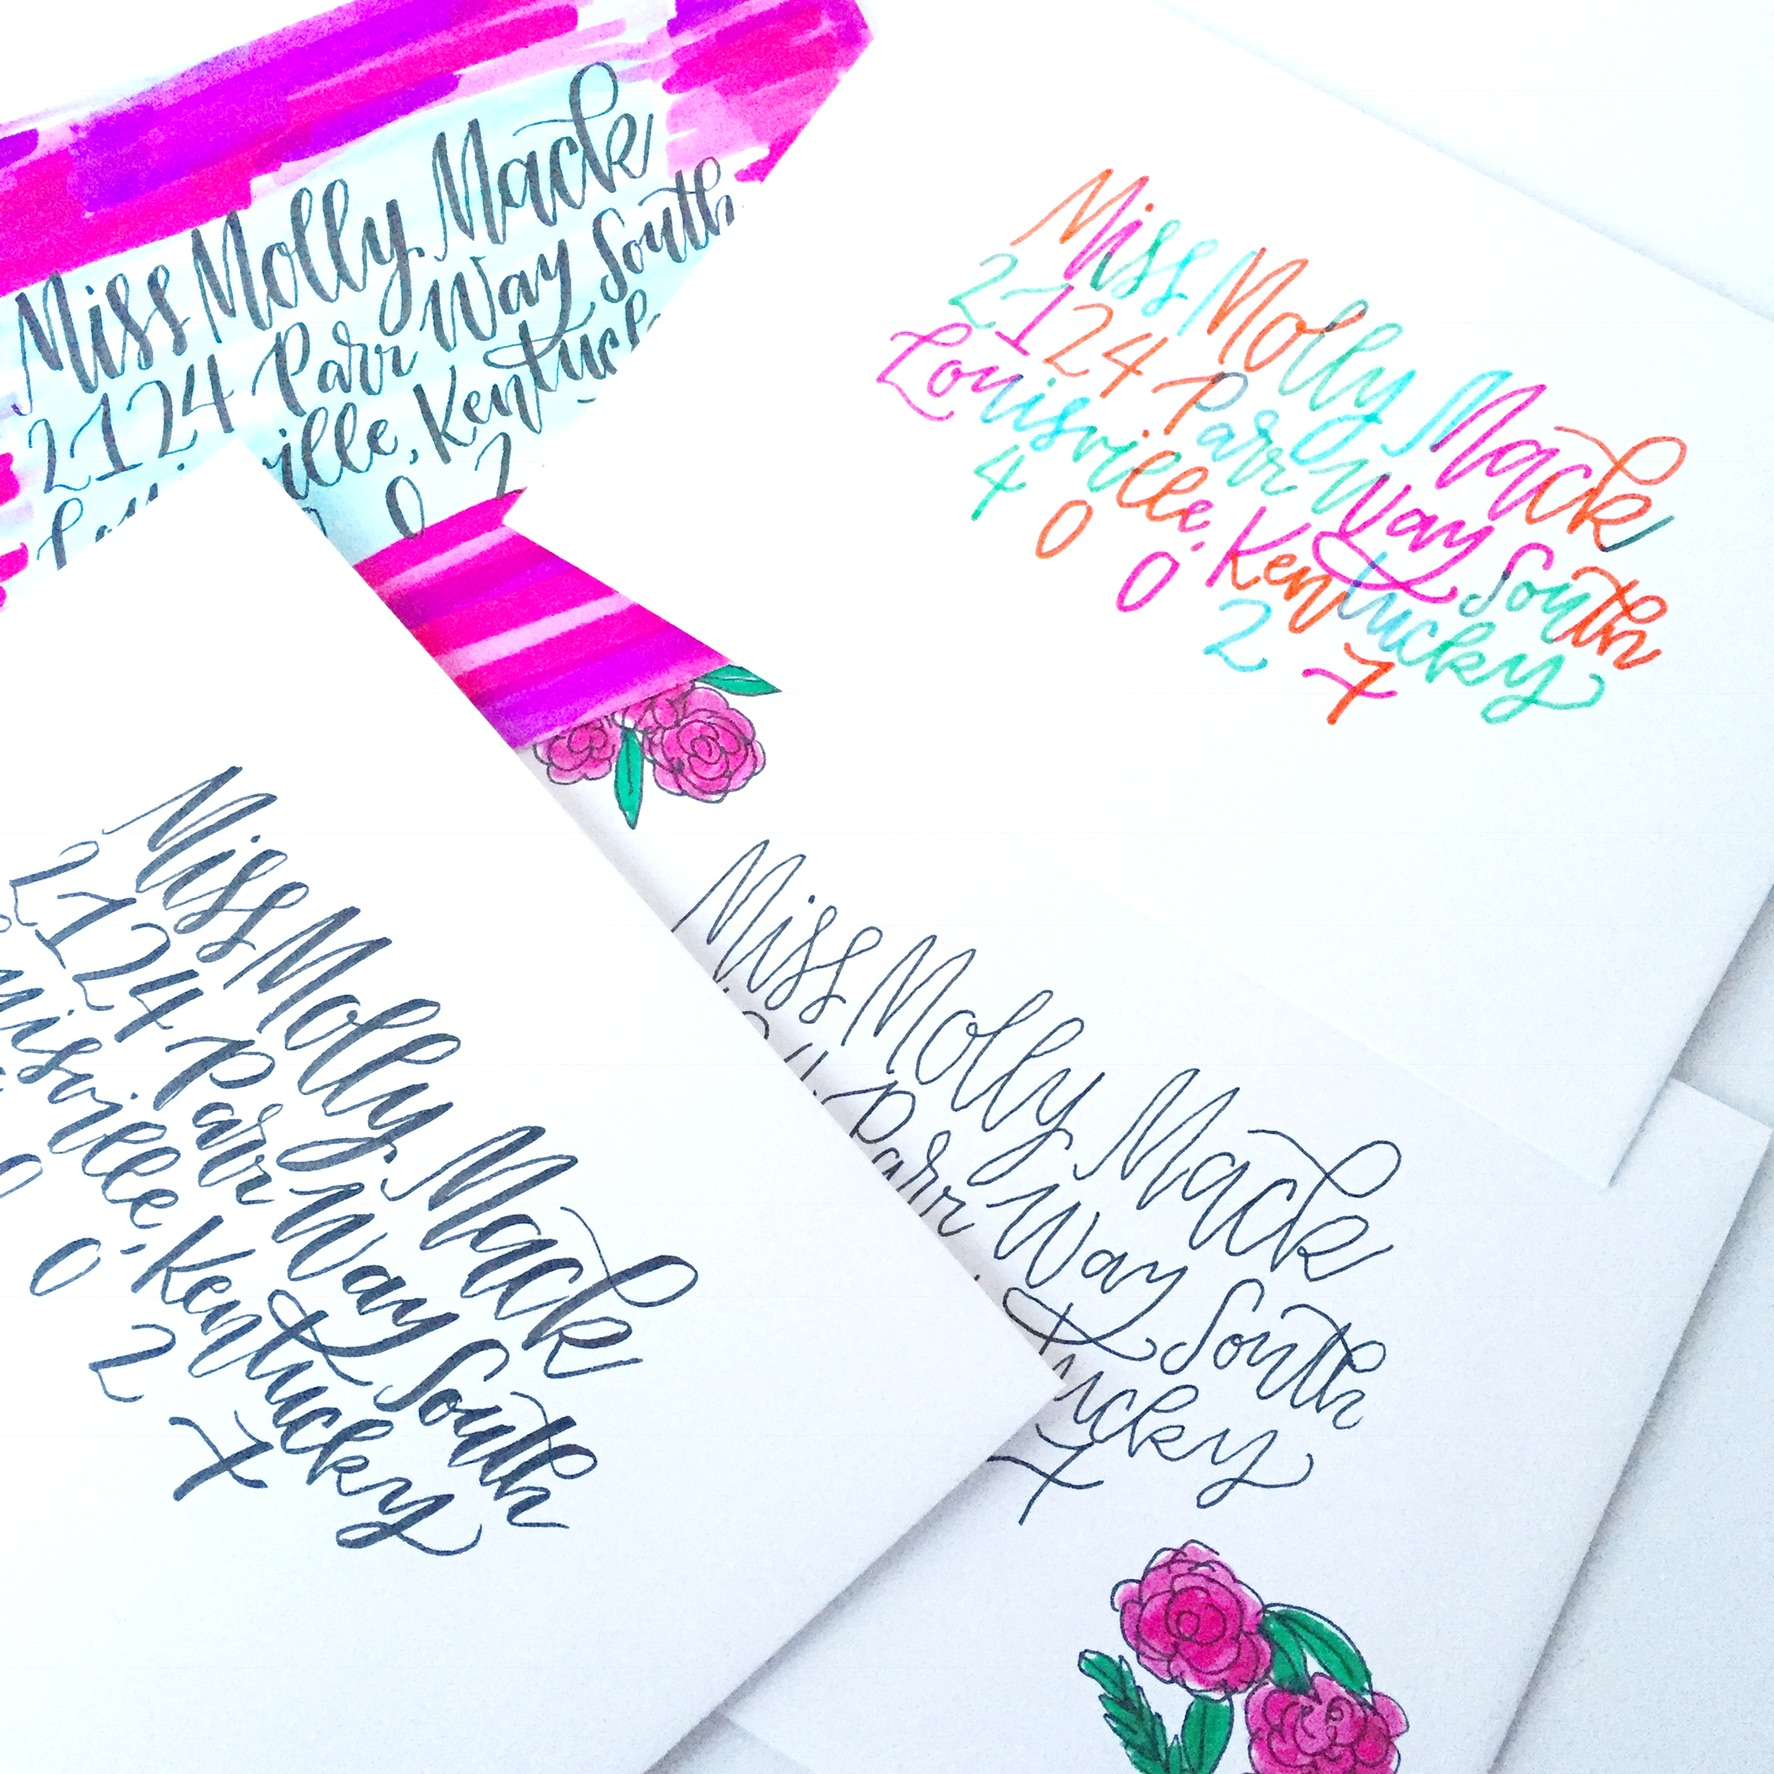
7. BE CREATIVE WITH COLOR
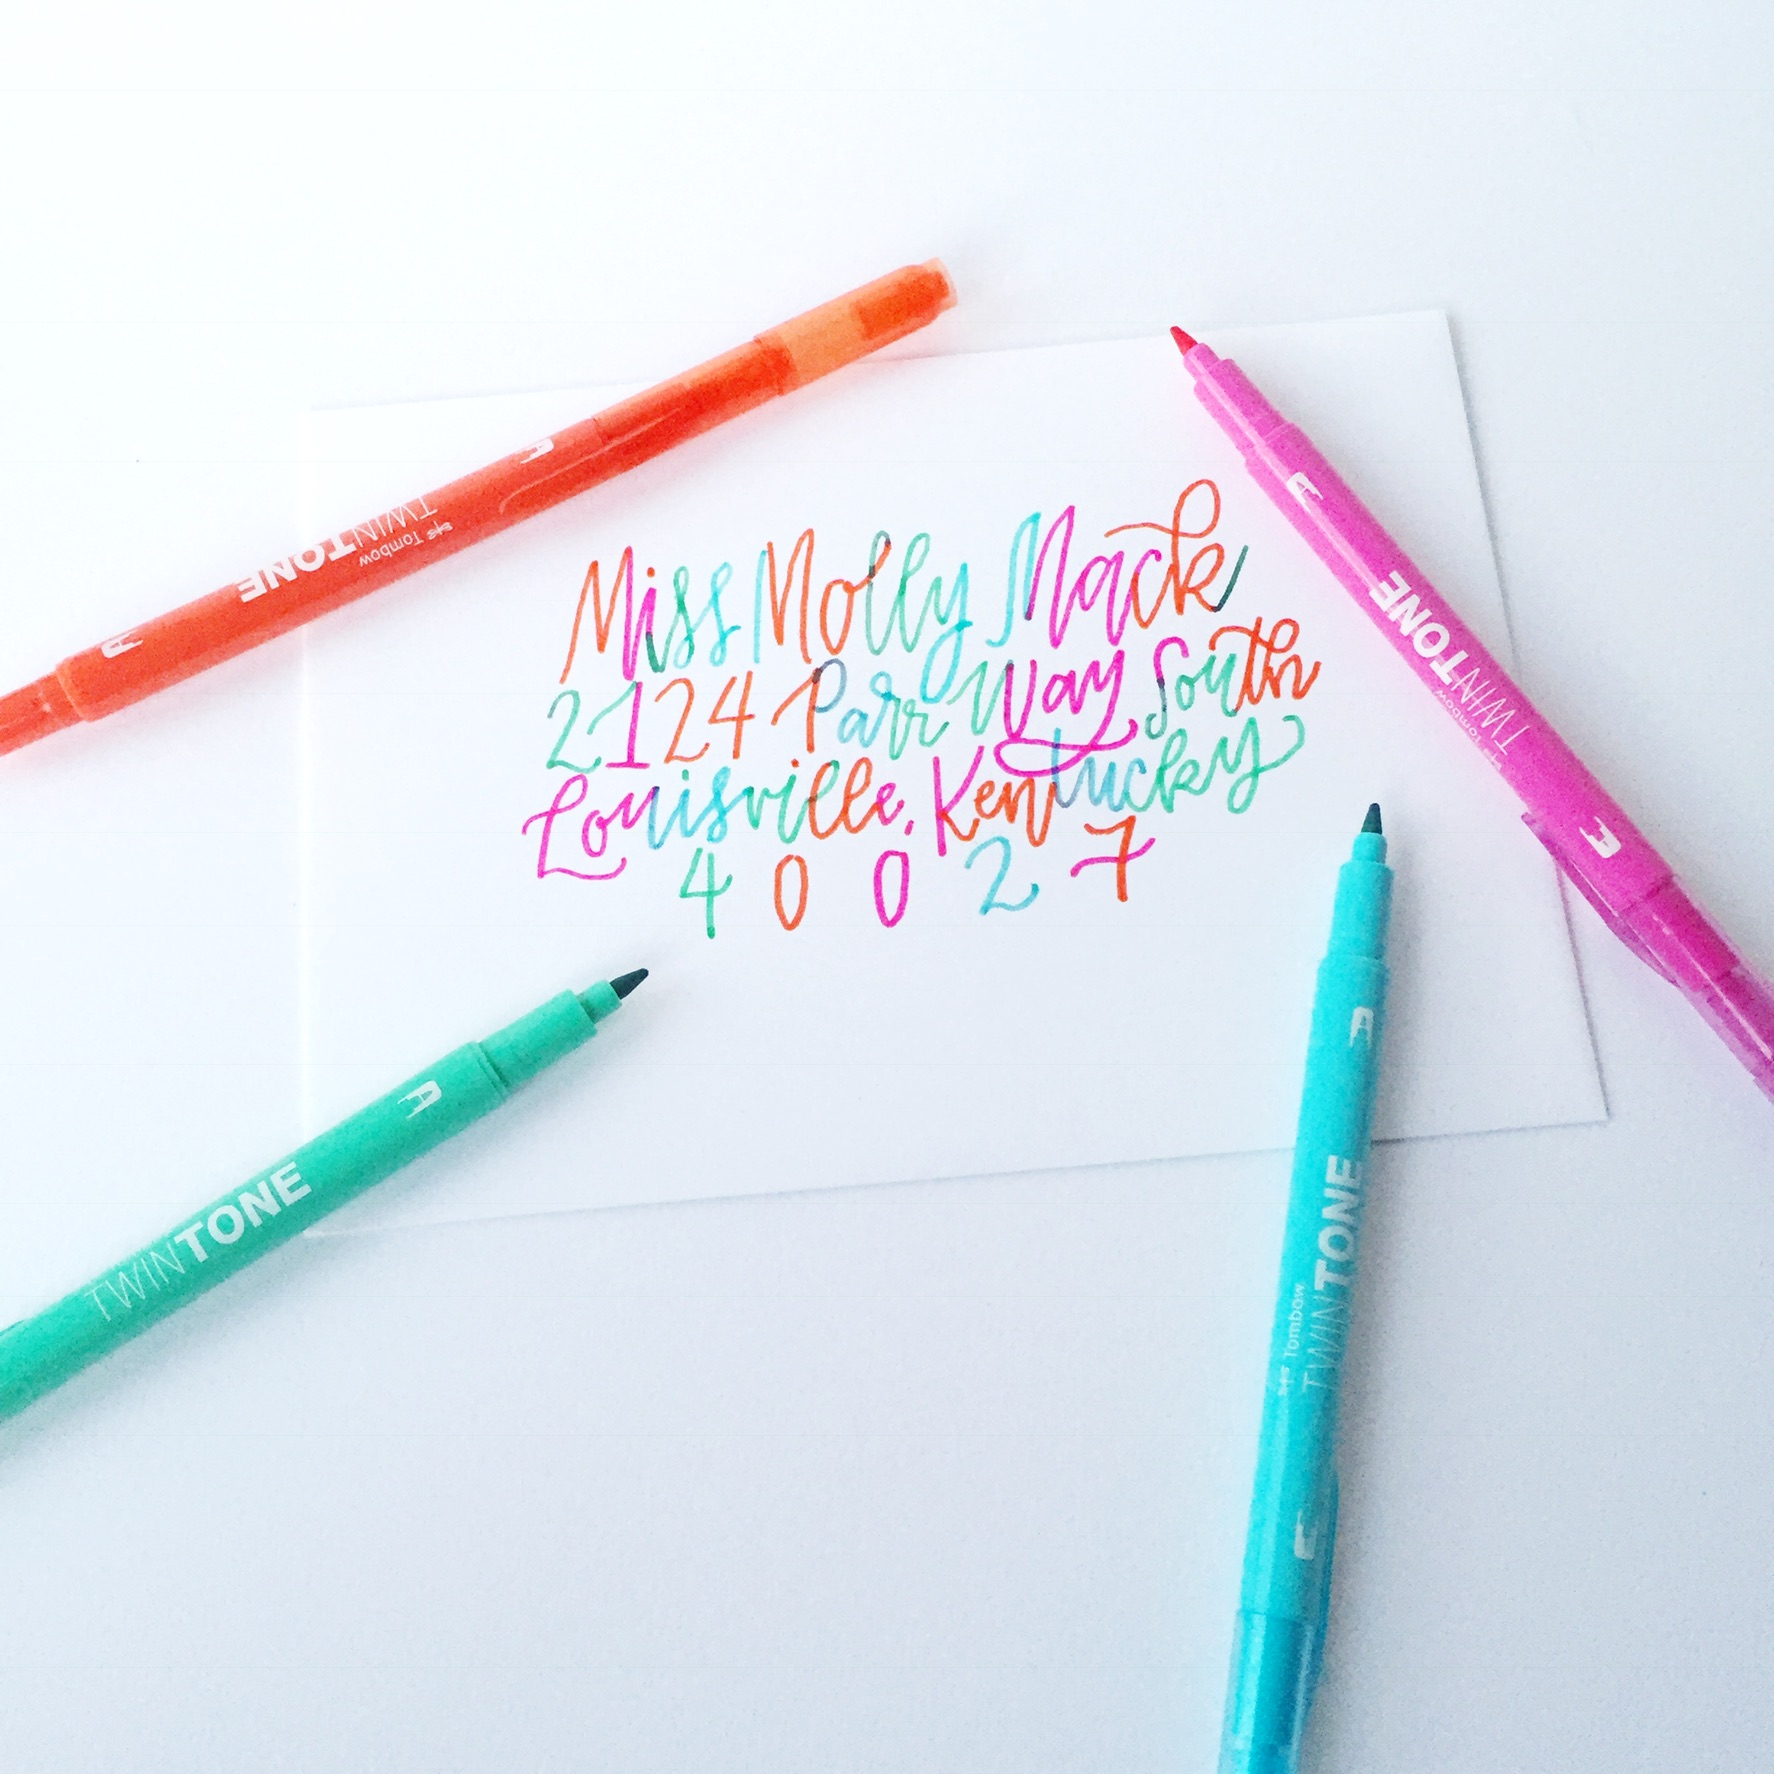
Another way to make a unique envelope is to play with colors on the actual lettering. I love the bold tip on the Tombow TwinTone Markers. Pick around 4 or 5 colors and do a stroke or two with each color and then alternate. It turns out being a fun and bright address that is also super creative looking.
8. USE ADHESIVES TO SEAL
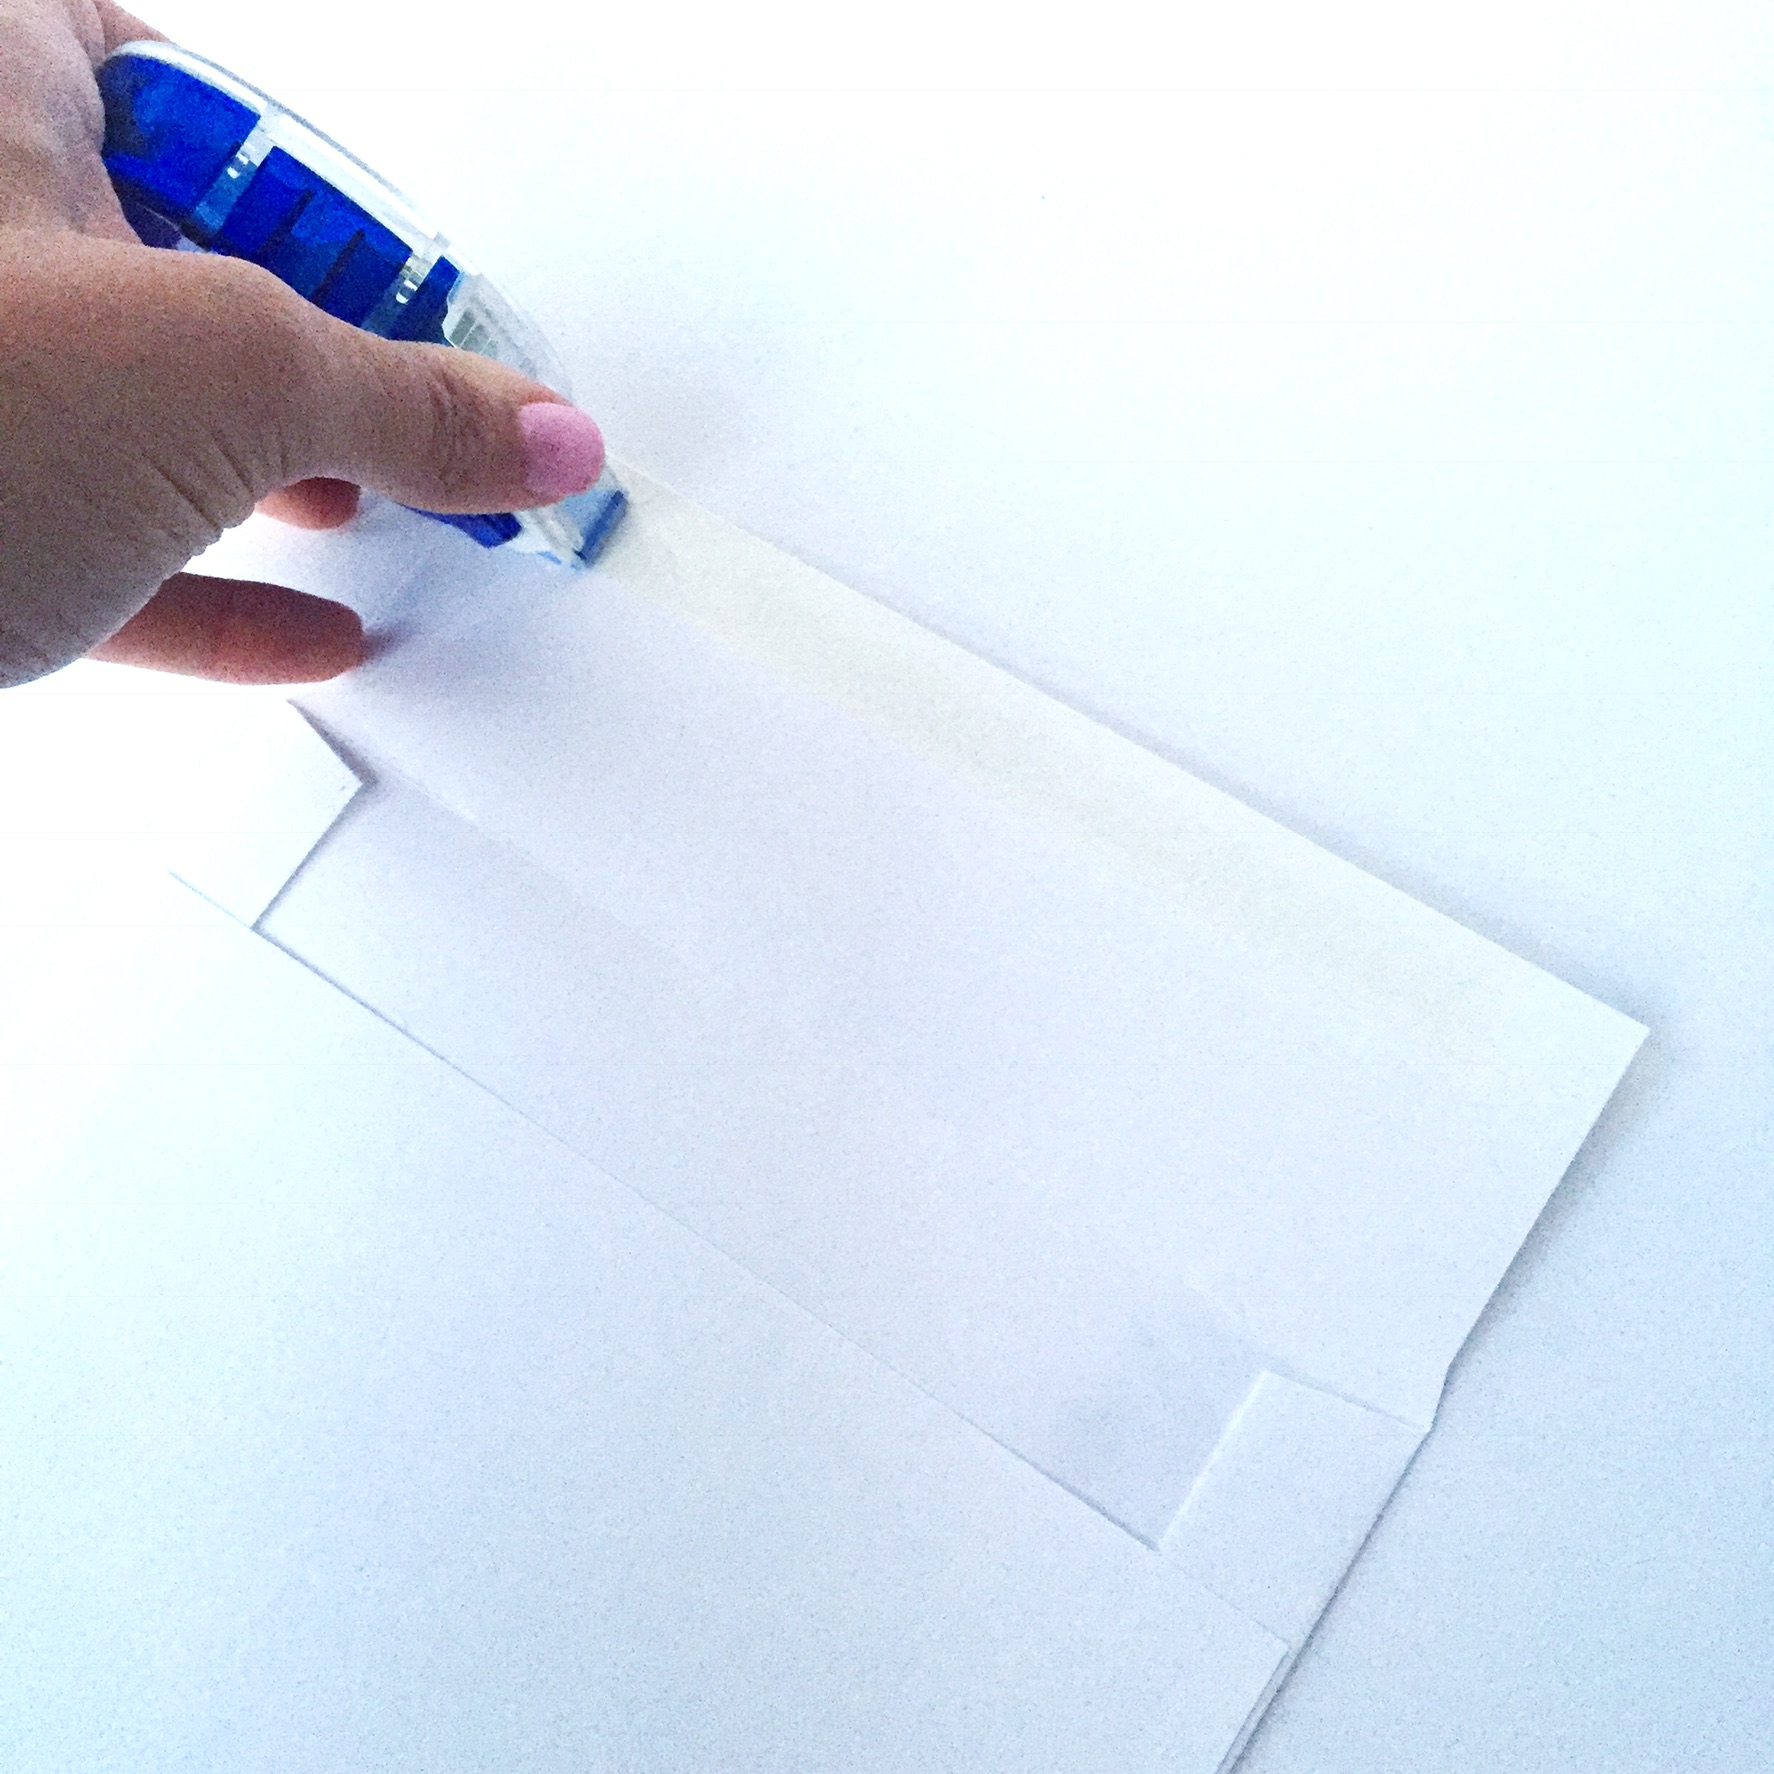
Don’t want to lick the seal or worried that the seal won’t stick? Use Tombow MONO Permanent Adhesive+ to seal the envelope. Simply run the tape runner over the edge to apply the adhesive and then firmly press the flap down to close the envelope.
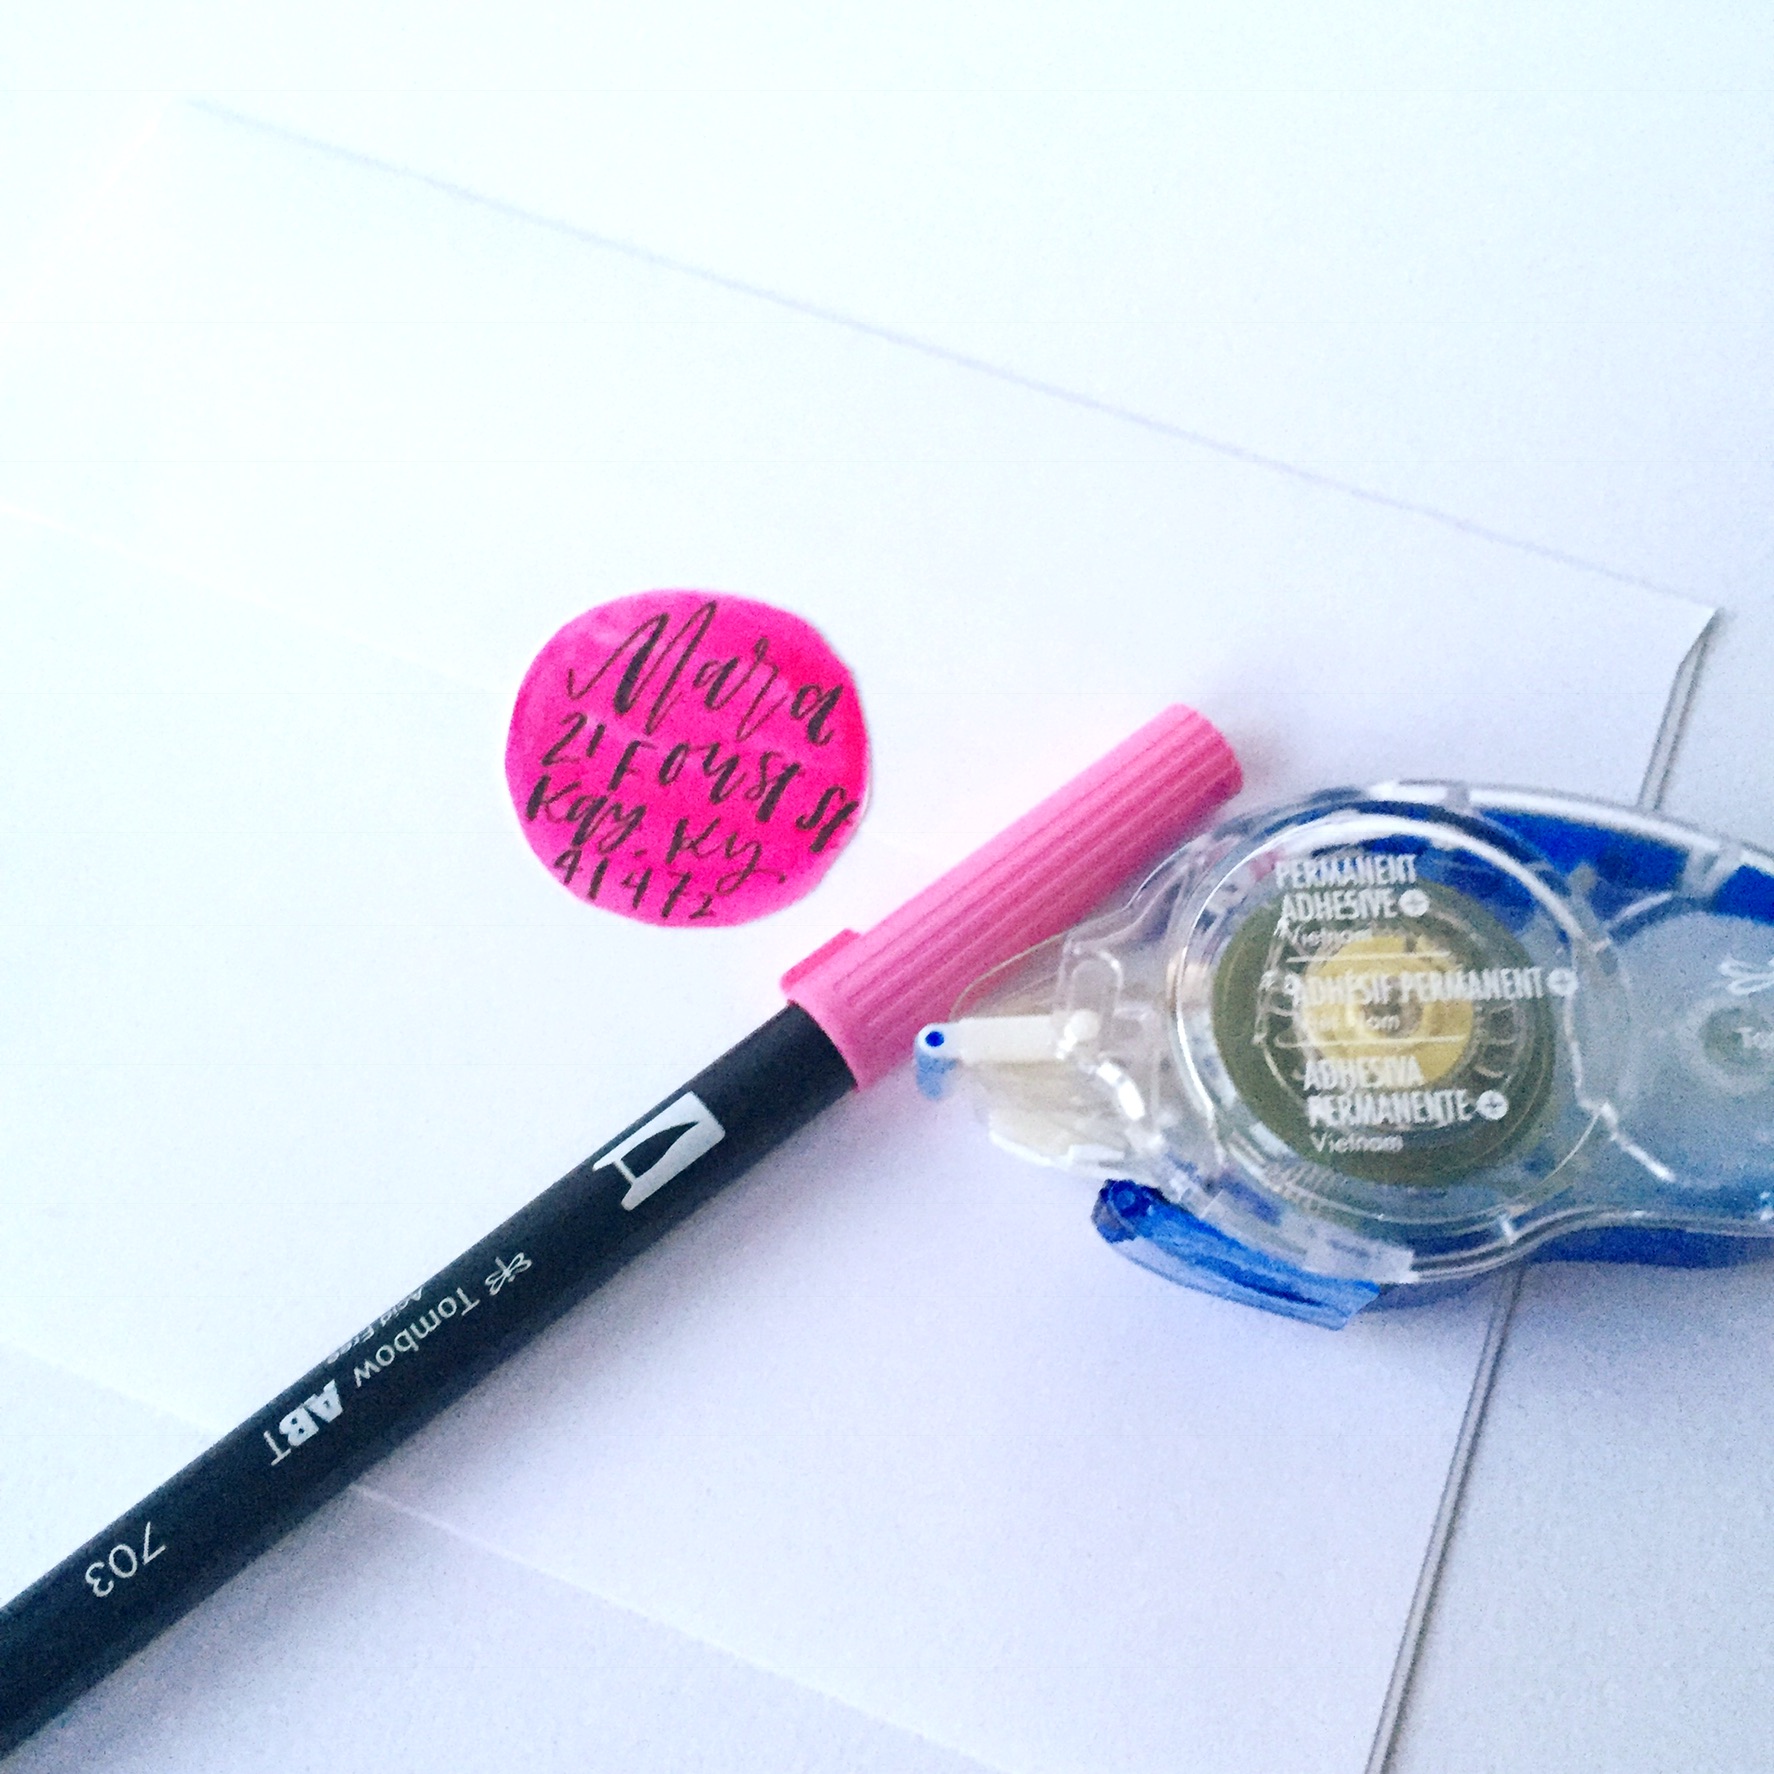
9. CREATE A RETURN ADDRESS SEAL
Break out the mix media paper and create your own return address label that can also act as an envelope seal sticker. Draw a small shape with Tombow Dual Brush Pens and then write your name and address on it and cut out the shape.
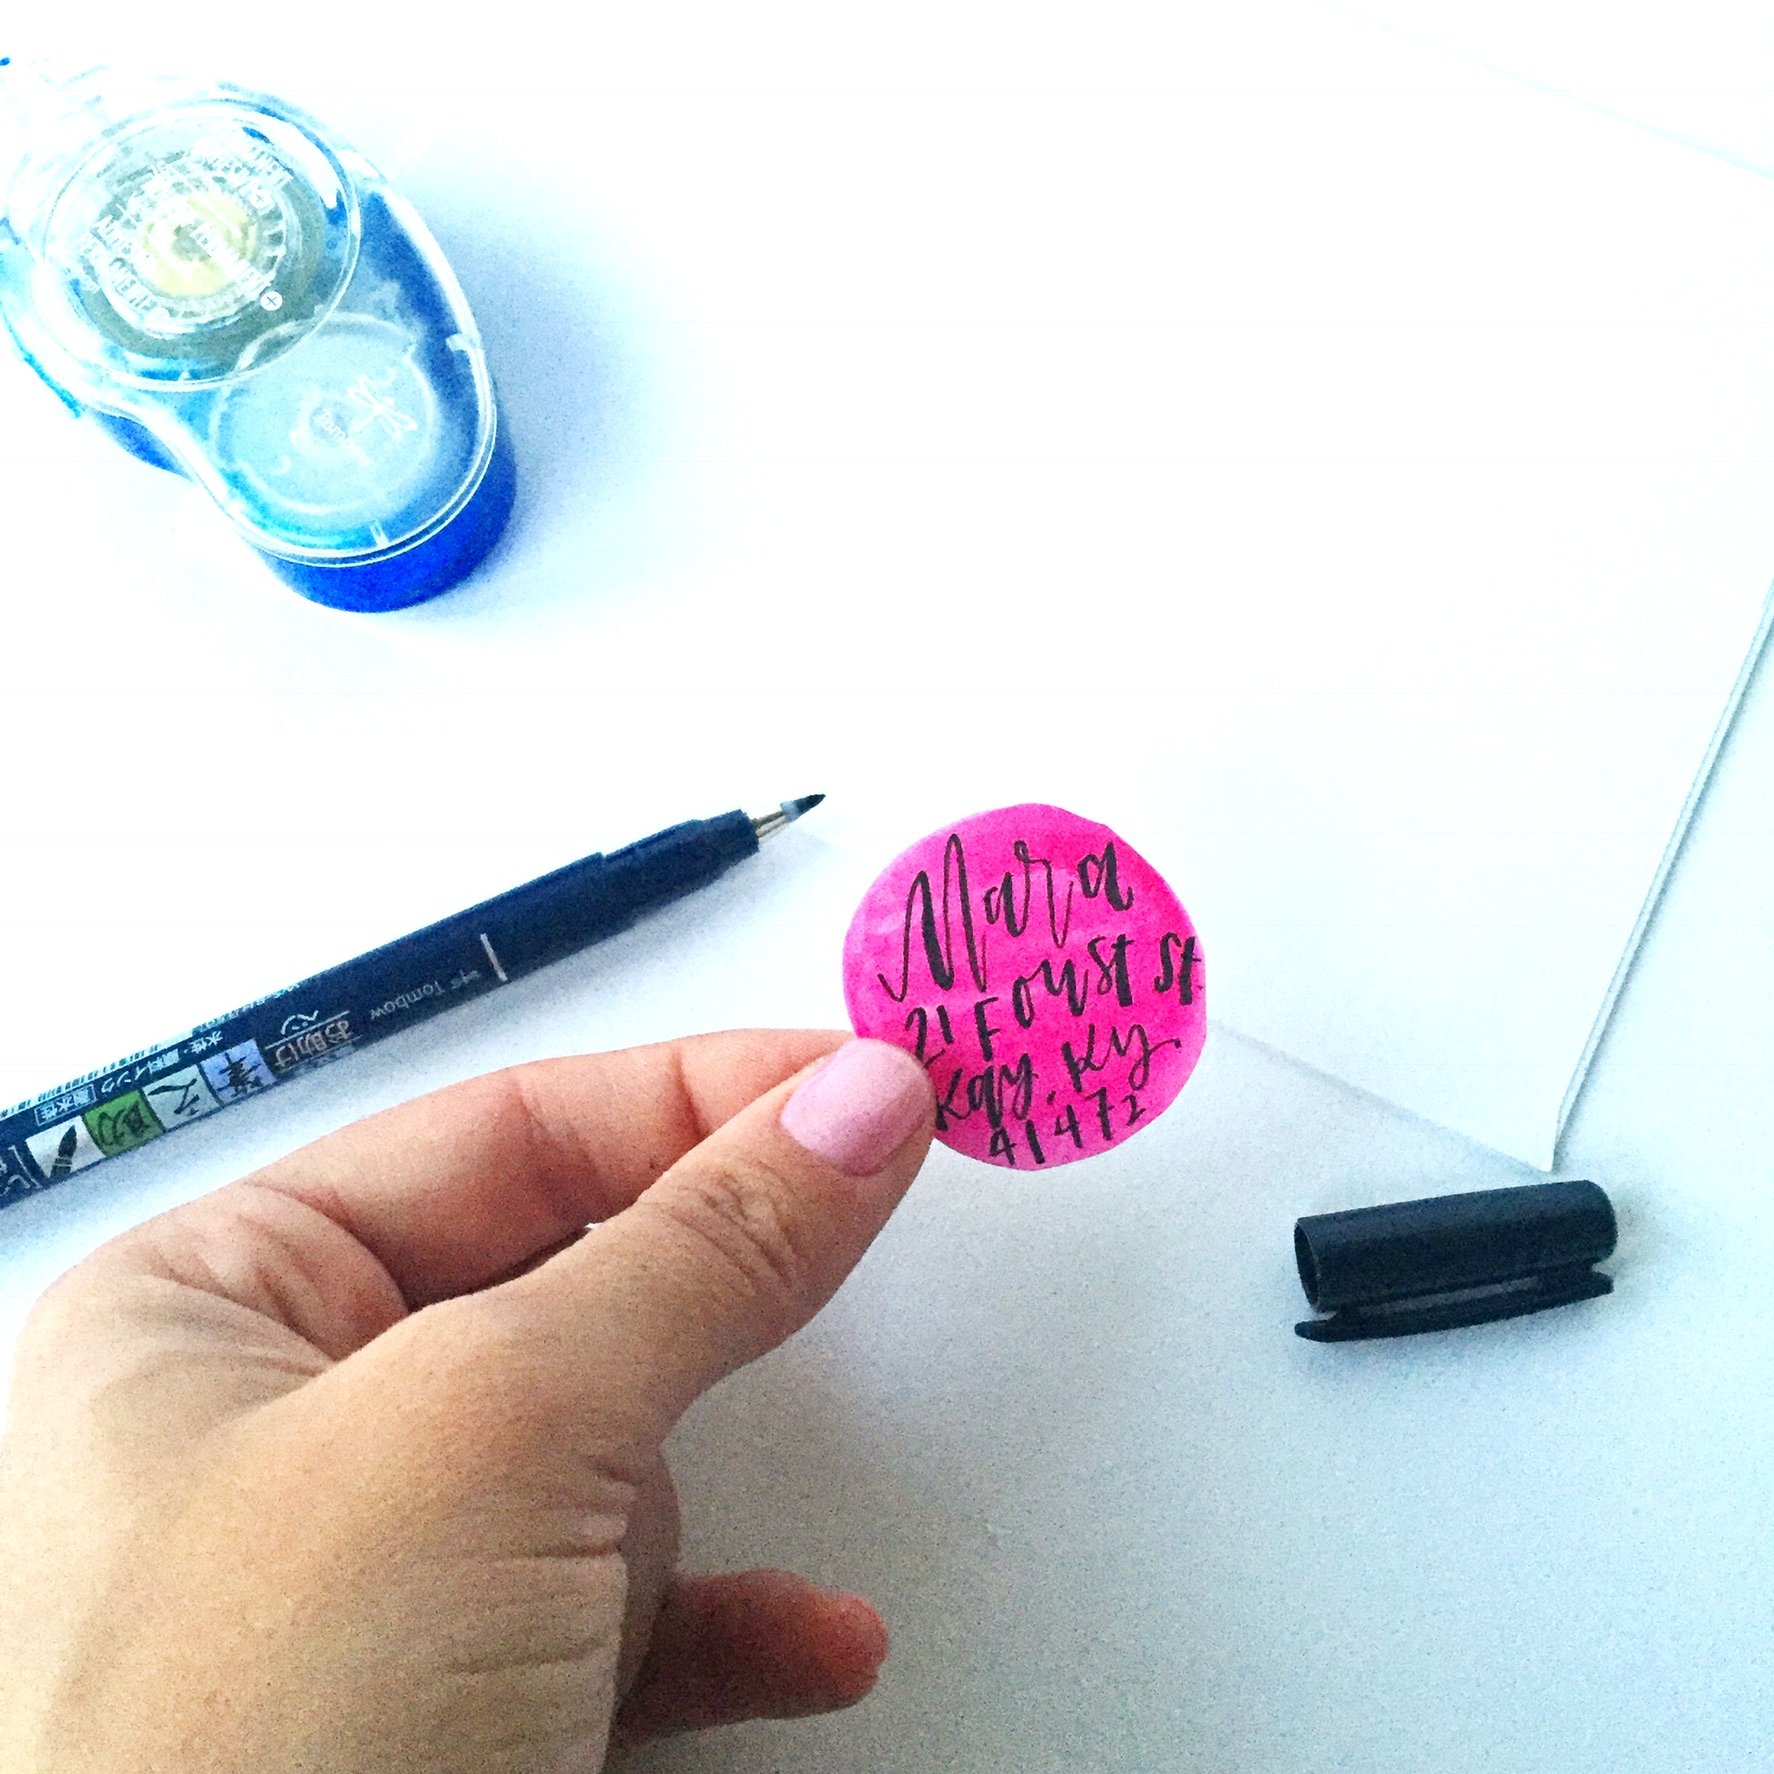
Attach the label with Tombow MONO Permanent Adhesive+.
10. THINK OUTSIDE THE ENVELOPE
There are literally no limits to where your creativity could take you when creating a quick and fun piece of happy mail! What will you create? No matter what it is, remember to think outside of the envelope and create a piece of art, all your own.
Thanks, so much for stopping by and checking out this tutorial for happy mail! Take a few minutes some time in the next week to create a fun and creative piece of happy mail for someone near and dear to your heart. For more lettering tips and tricks check out my blog at renmadecalligraphy.com.
Happy Lettering!
Ren
Pingback: Three Ways to Inspire Others with Cursive Writing - Tombow USA Blog
Pingback: Simple Envelope Liner Tutorial - Tombow USA Blog