Hello friends! It’s Smitha here today showing you how I made these cute embellished happy mail envelopes.
I am a big believer of sending happy snail mail to my friends, because I personally love receiving mail from others! And I always like to jazz up my envelopes to make them look special.
This takes just a few minutes but adds such a huge impact to the final mail you send out, and I will show you two ways how I did it today.
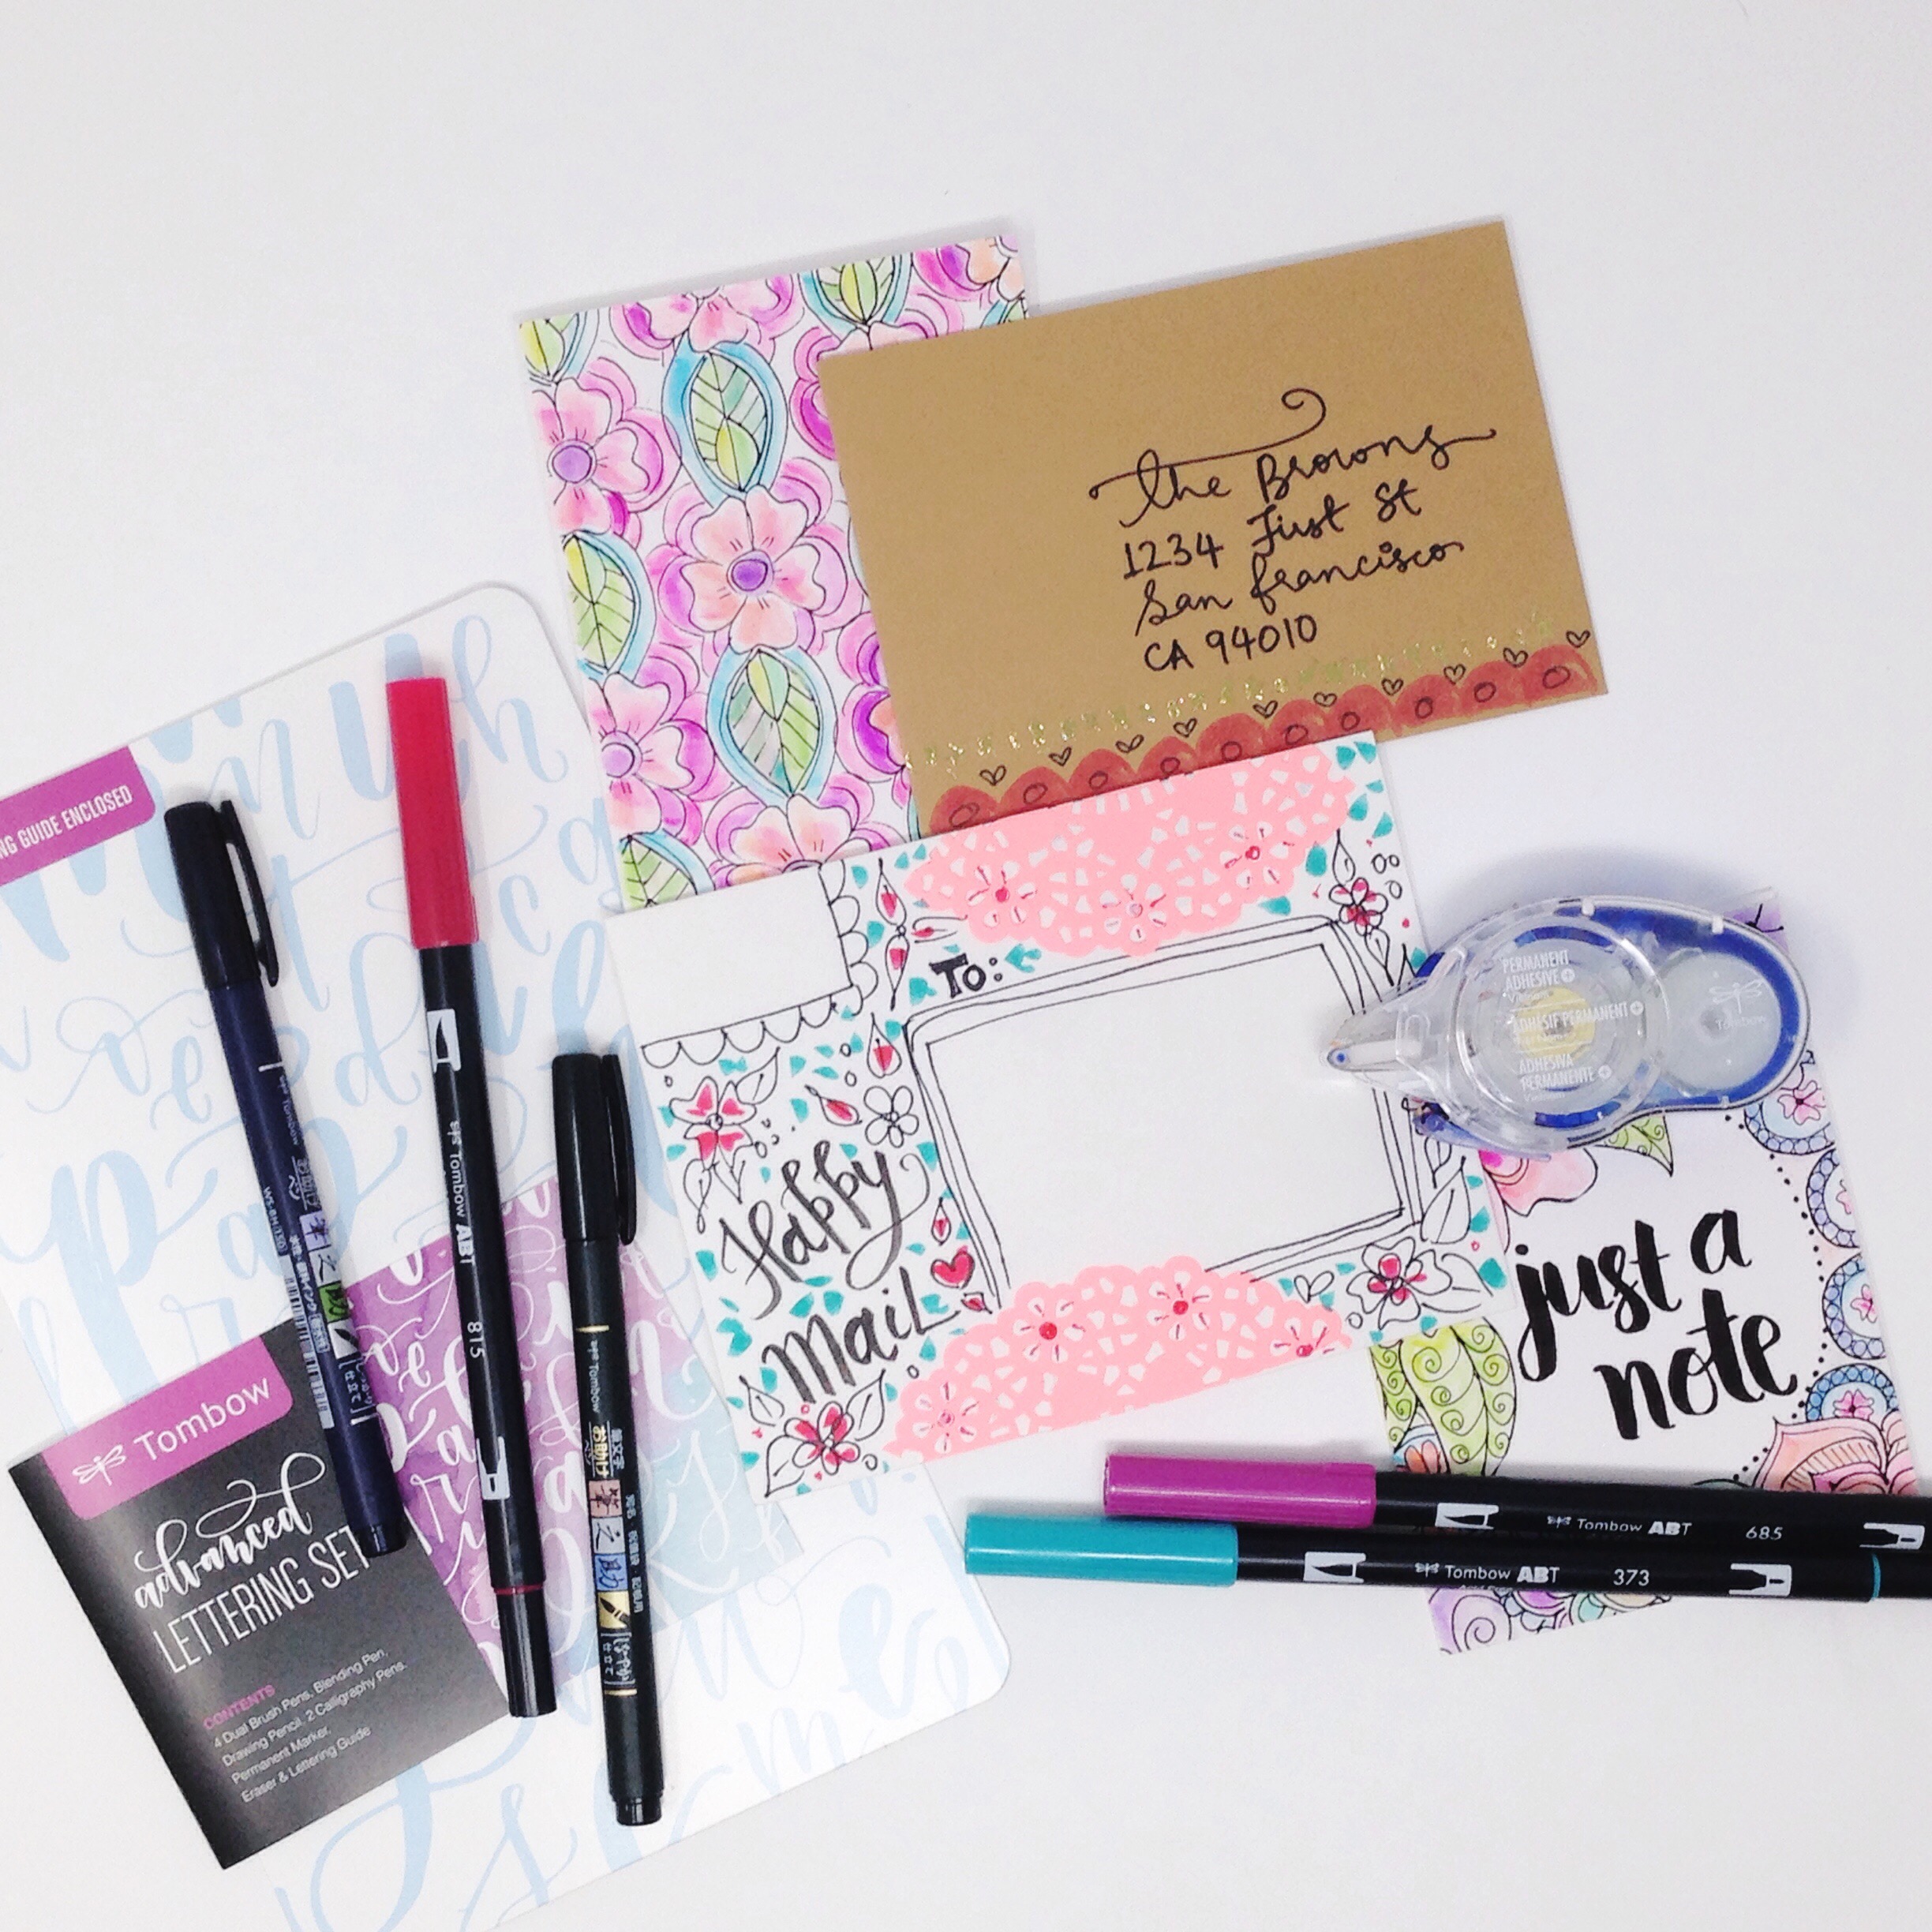
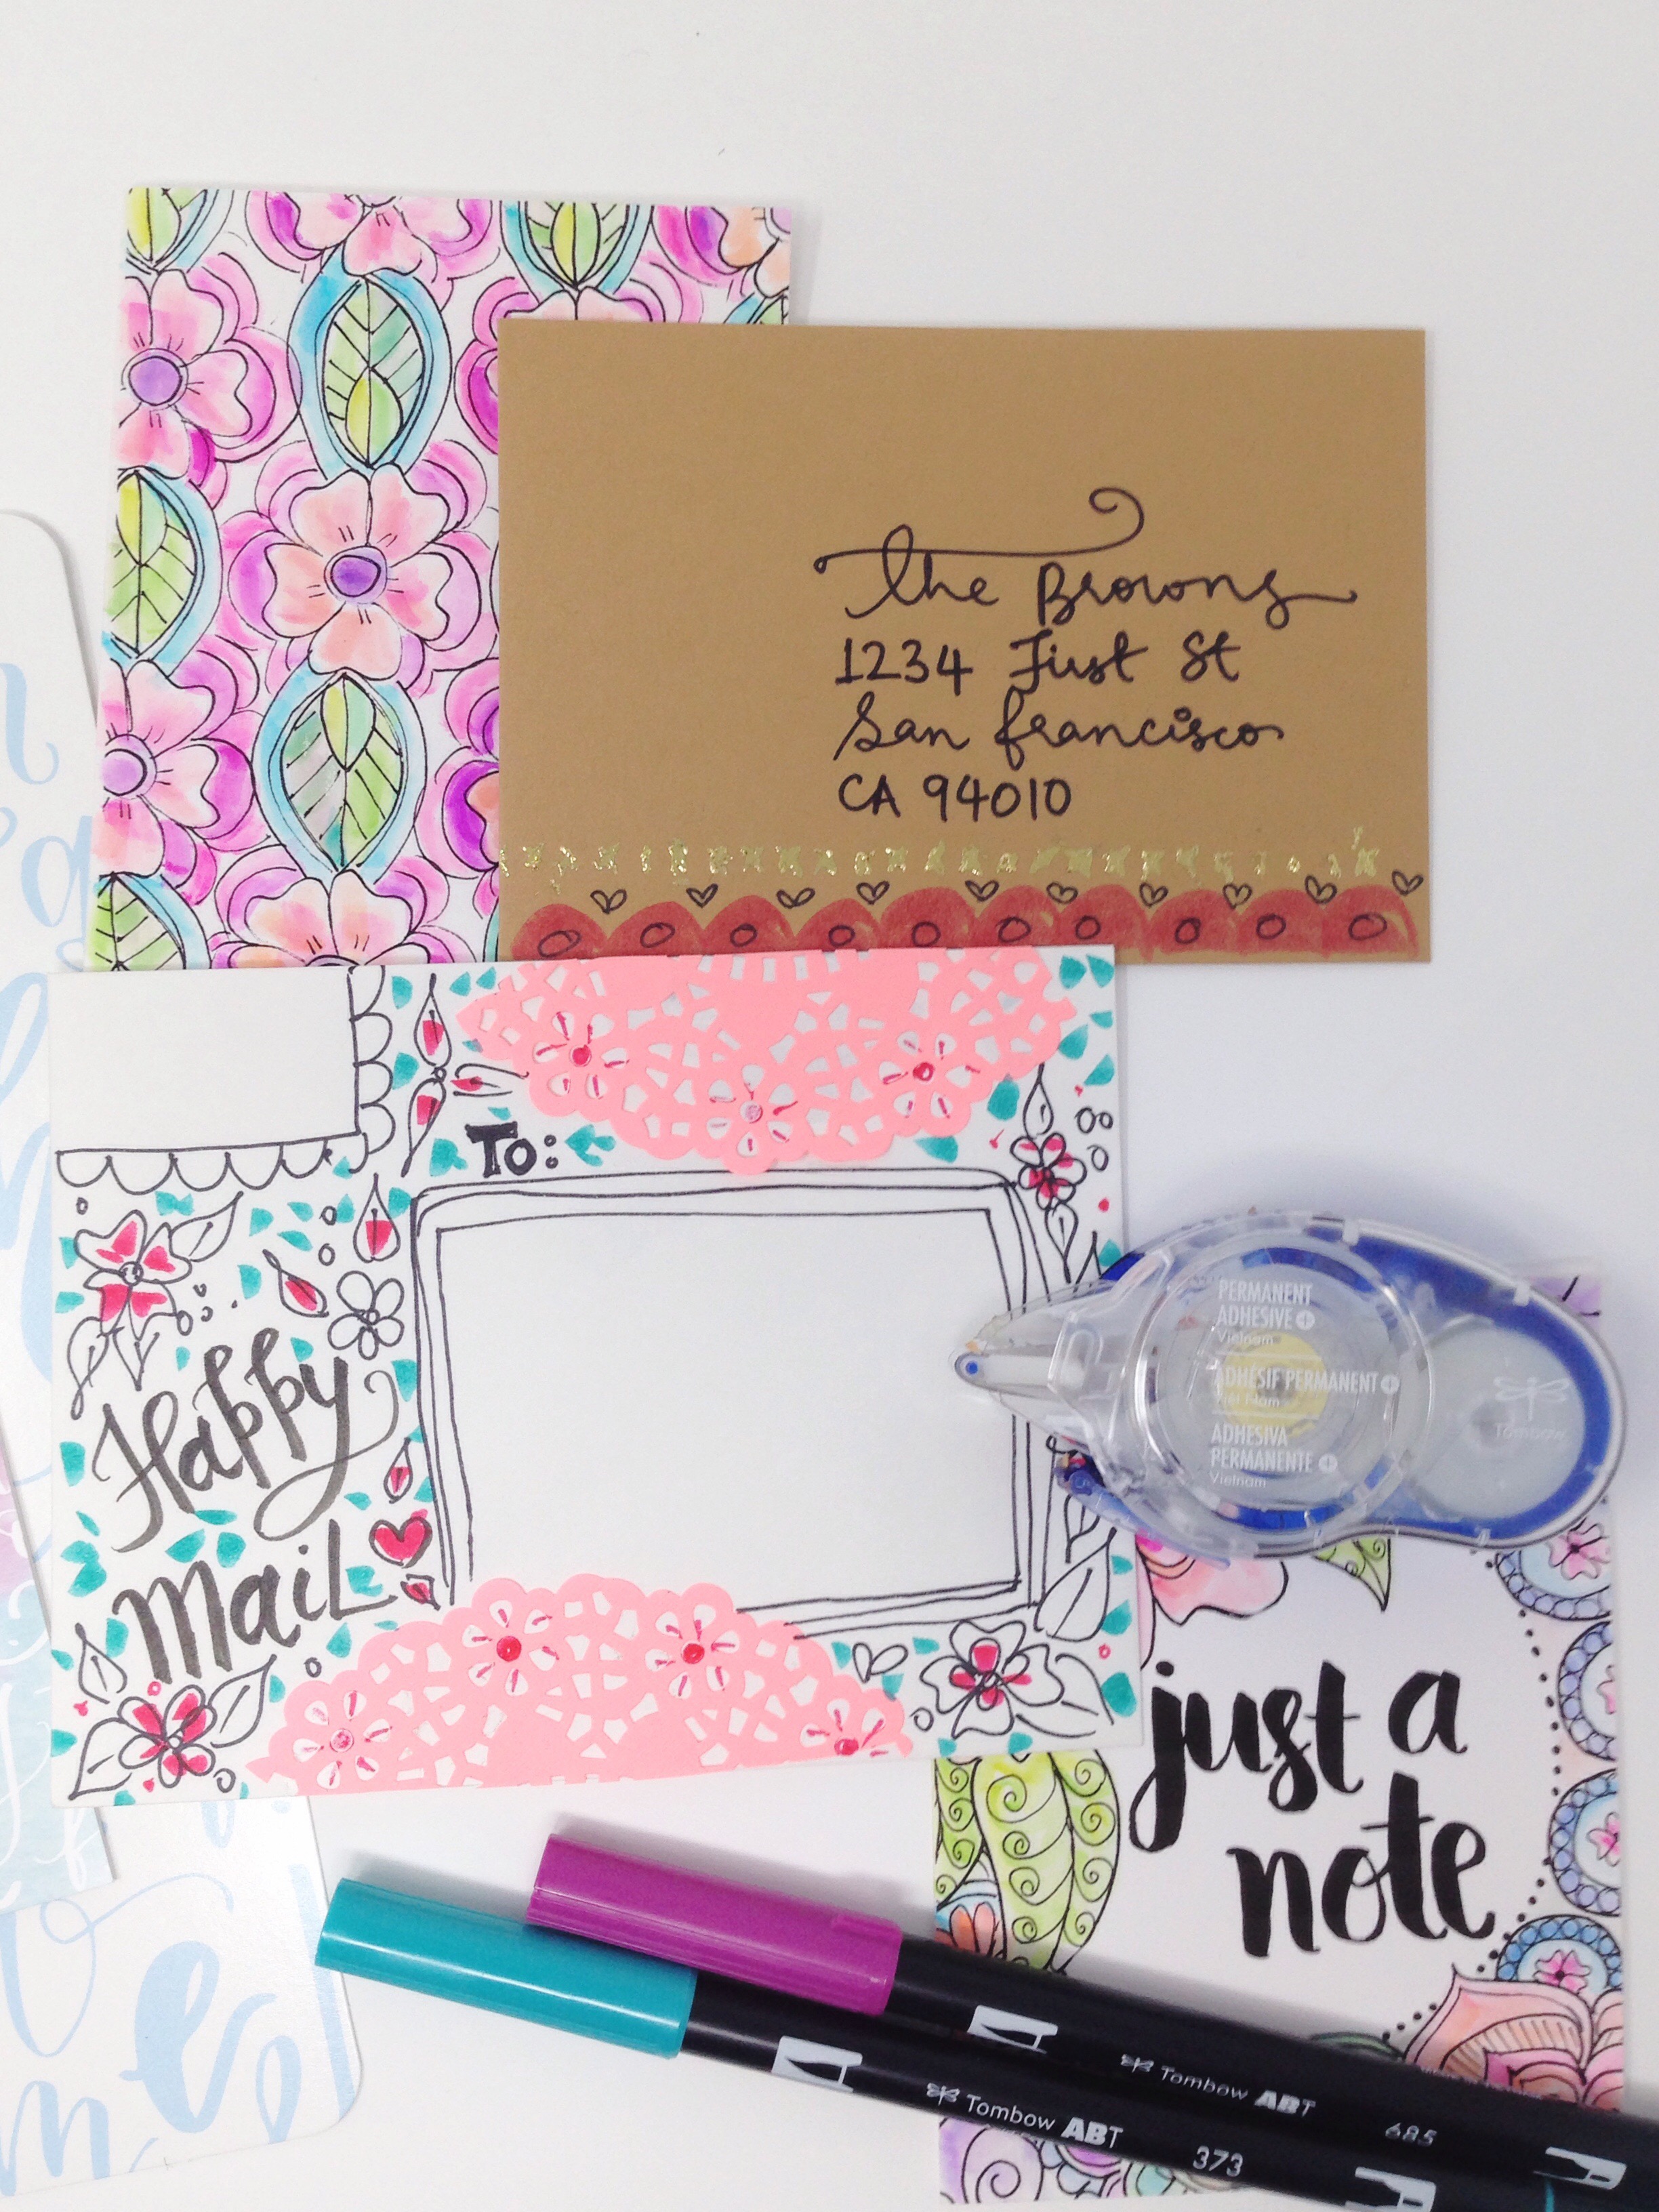
In a previous post of mine, I have shown you how I colored in these notecards and you can check that out here. To match these notecards, I have two blank envelopes that we will now embellish!
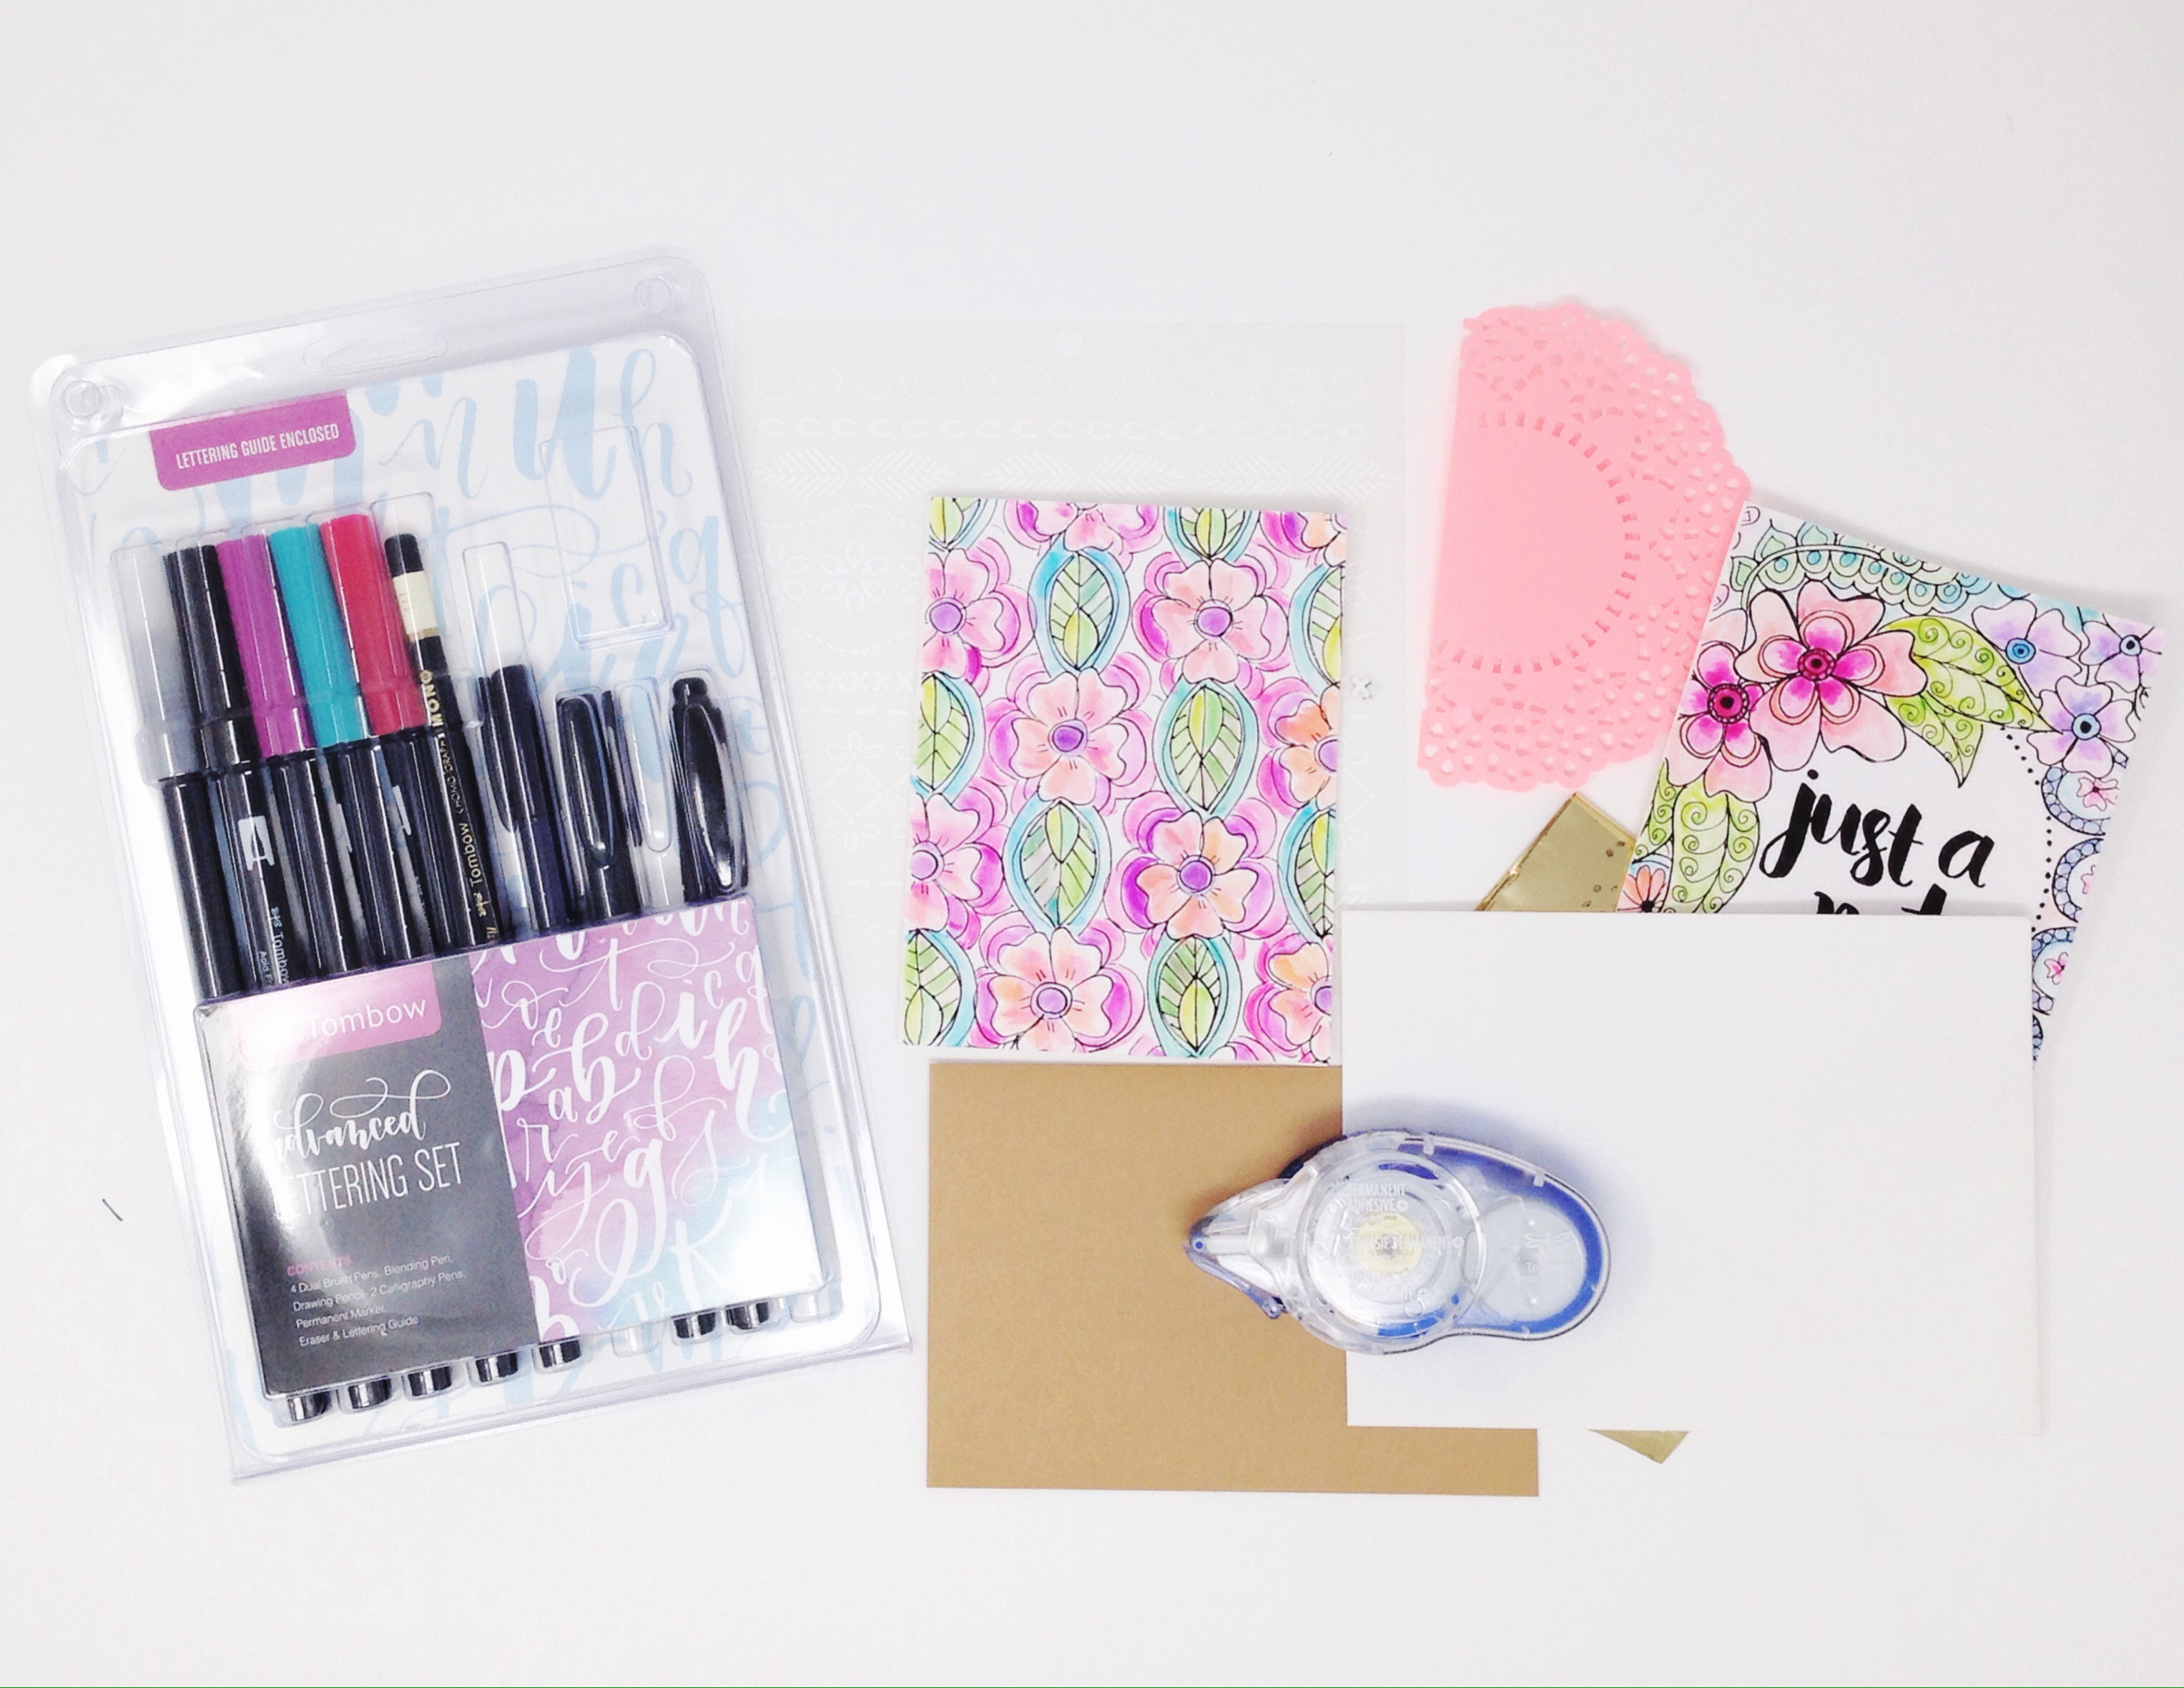
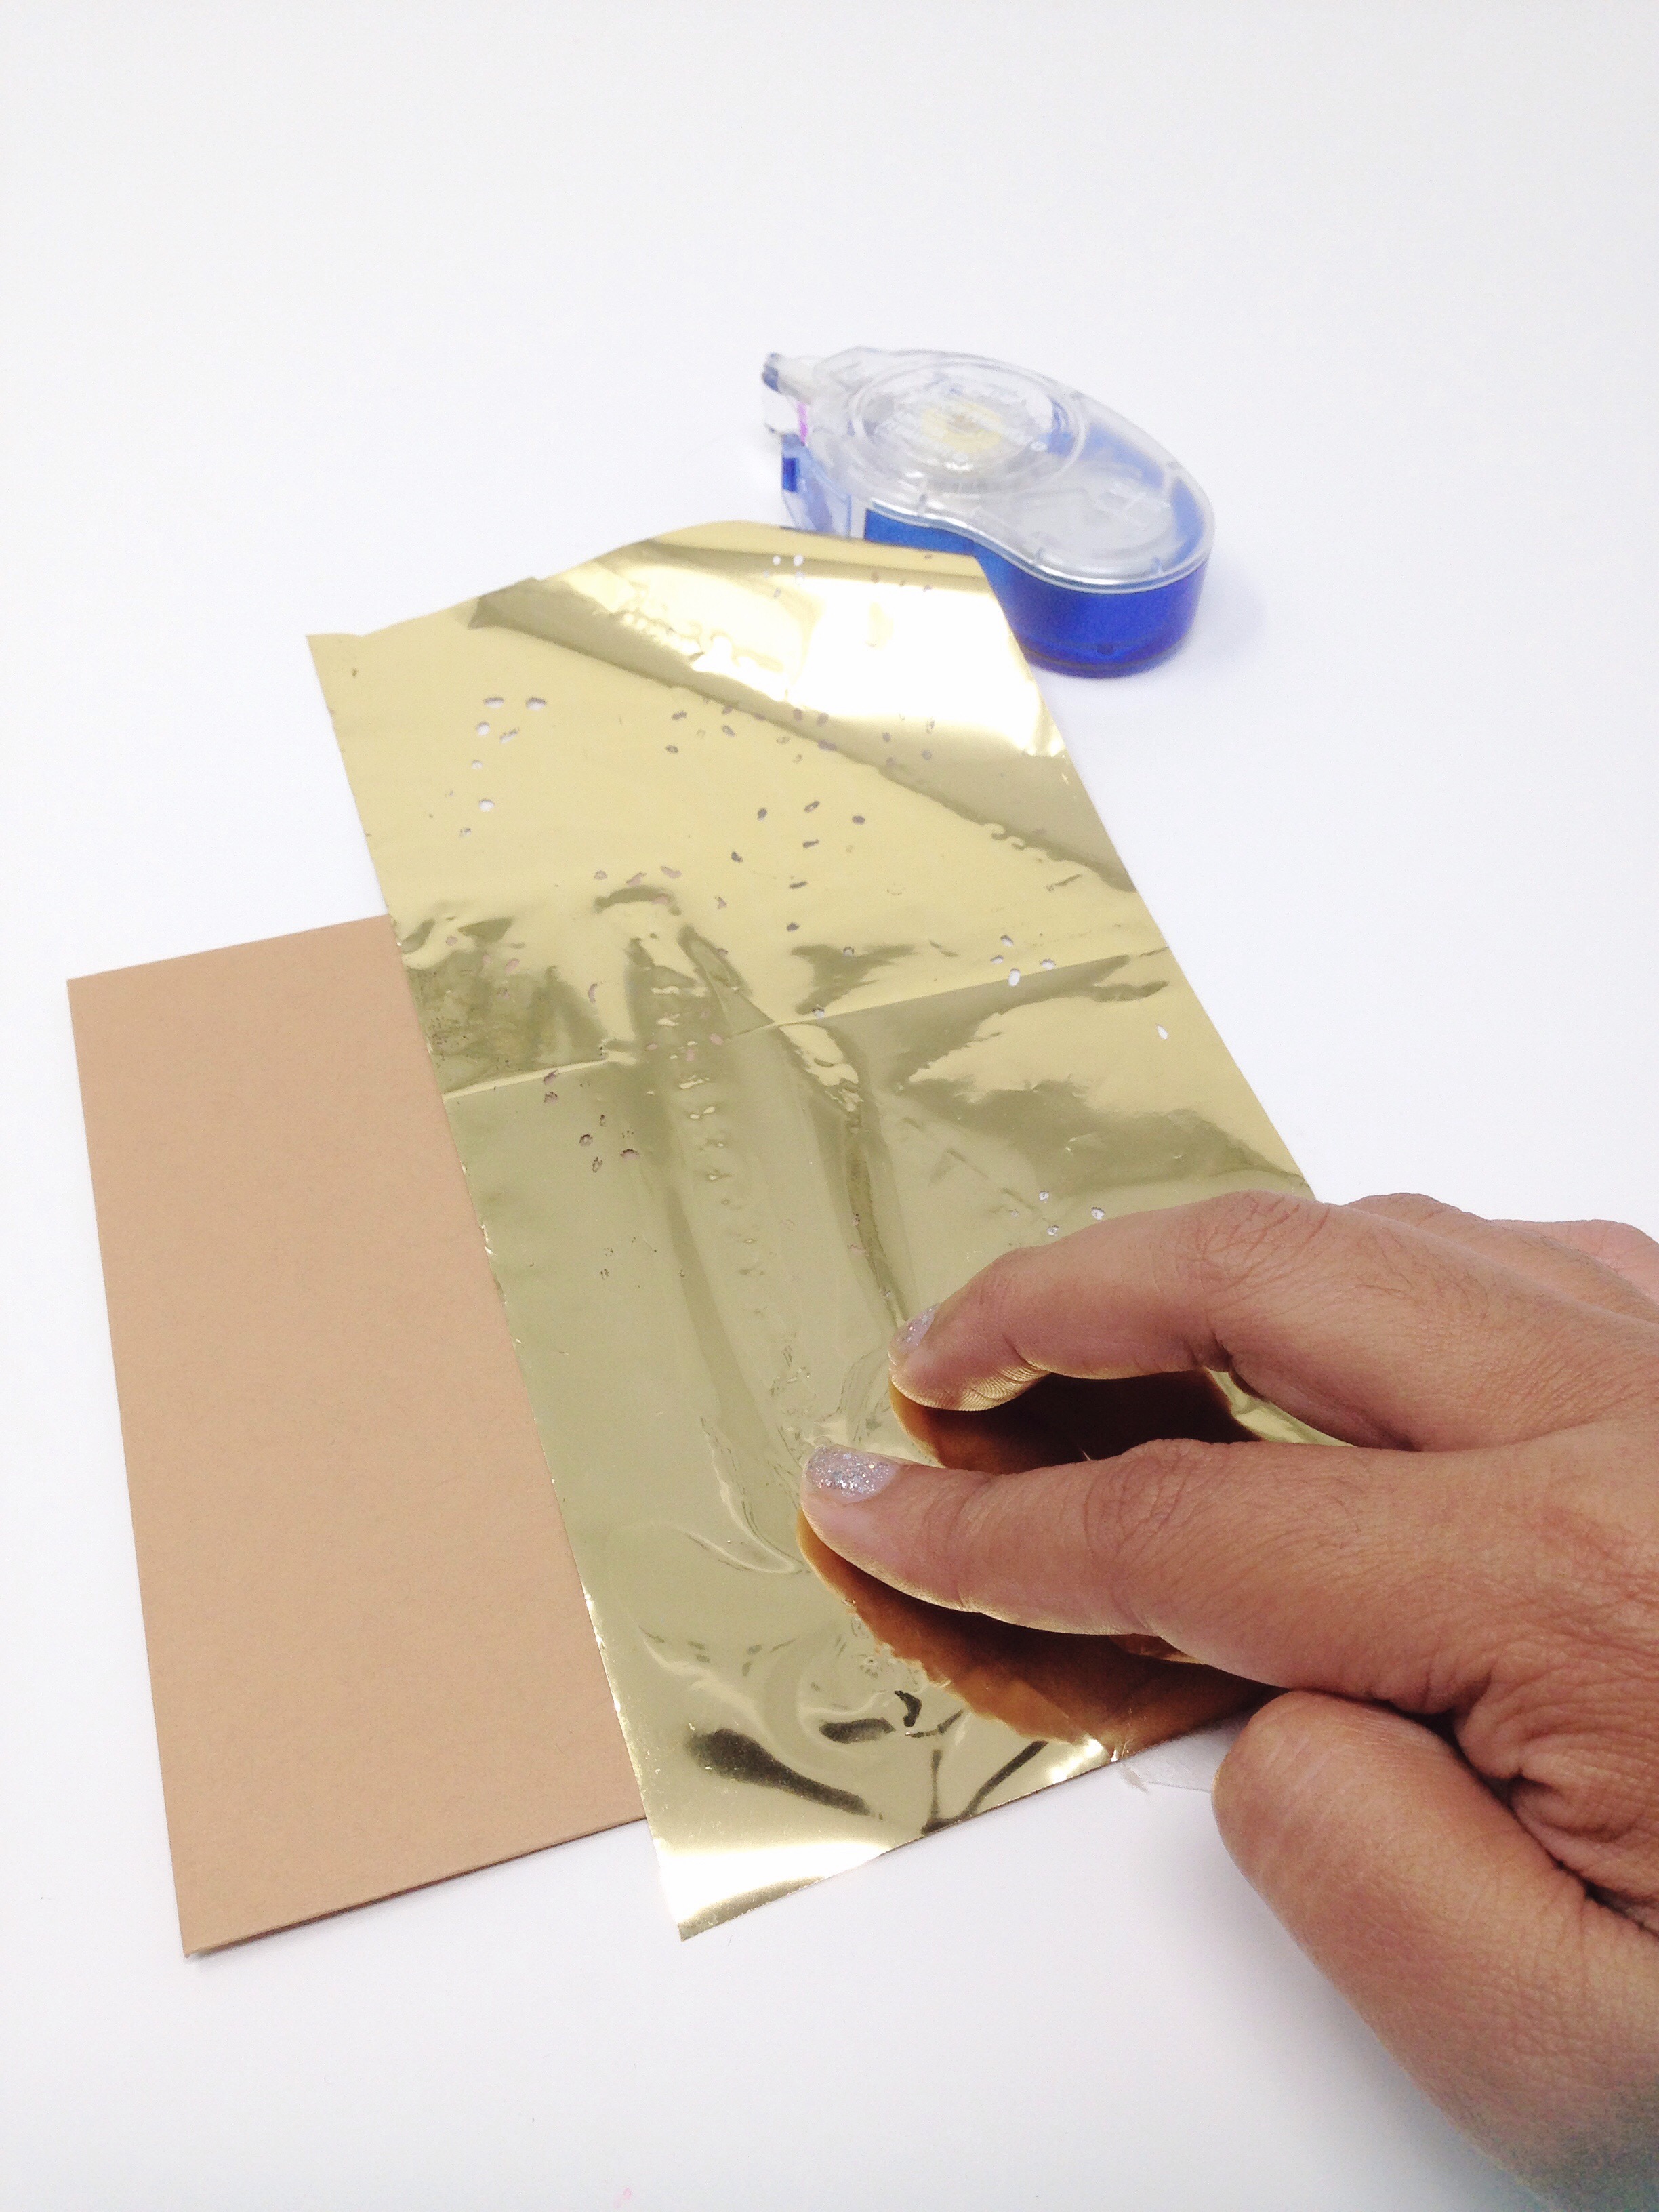
For this first envelope, I wanted to add a a touch of gold foiling, because who wouldn’t want to receive something shiny in the mail right?
To do this, I placed a stencil on top of my envelope and then ran the MONO Adhesive+ Permanent tape runner over it.
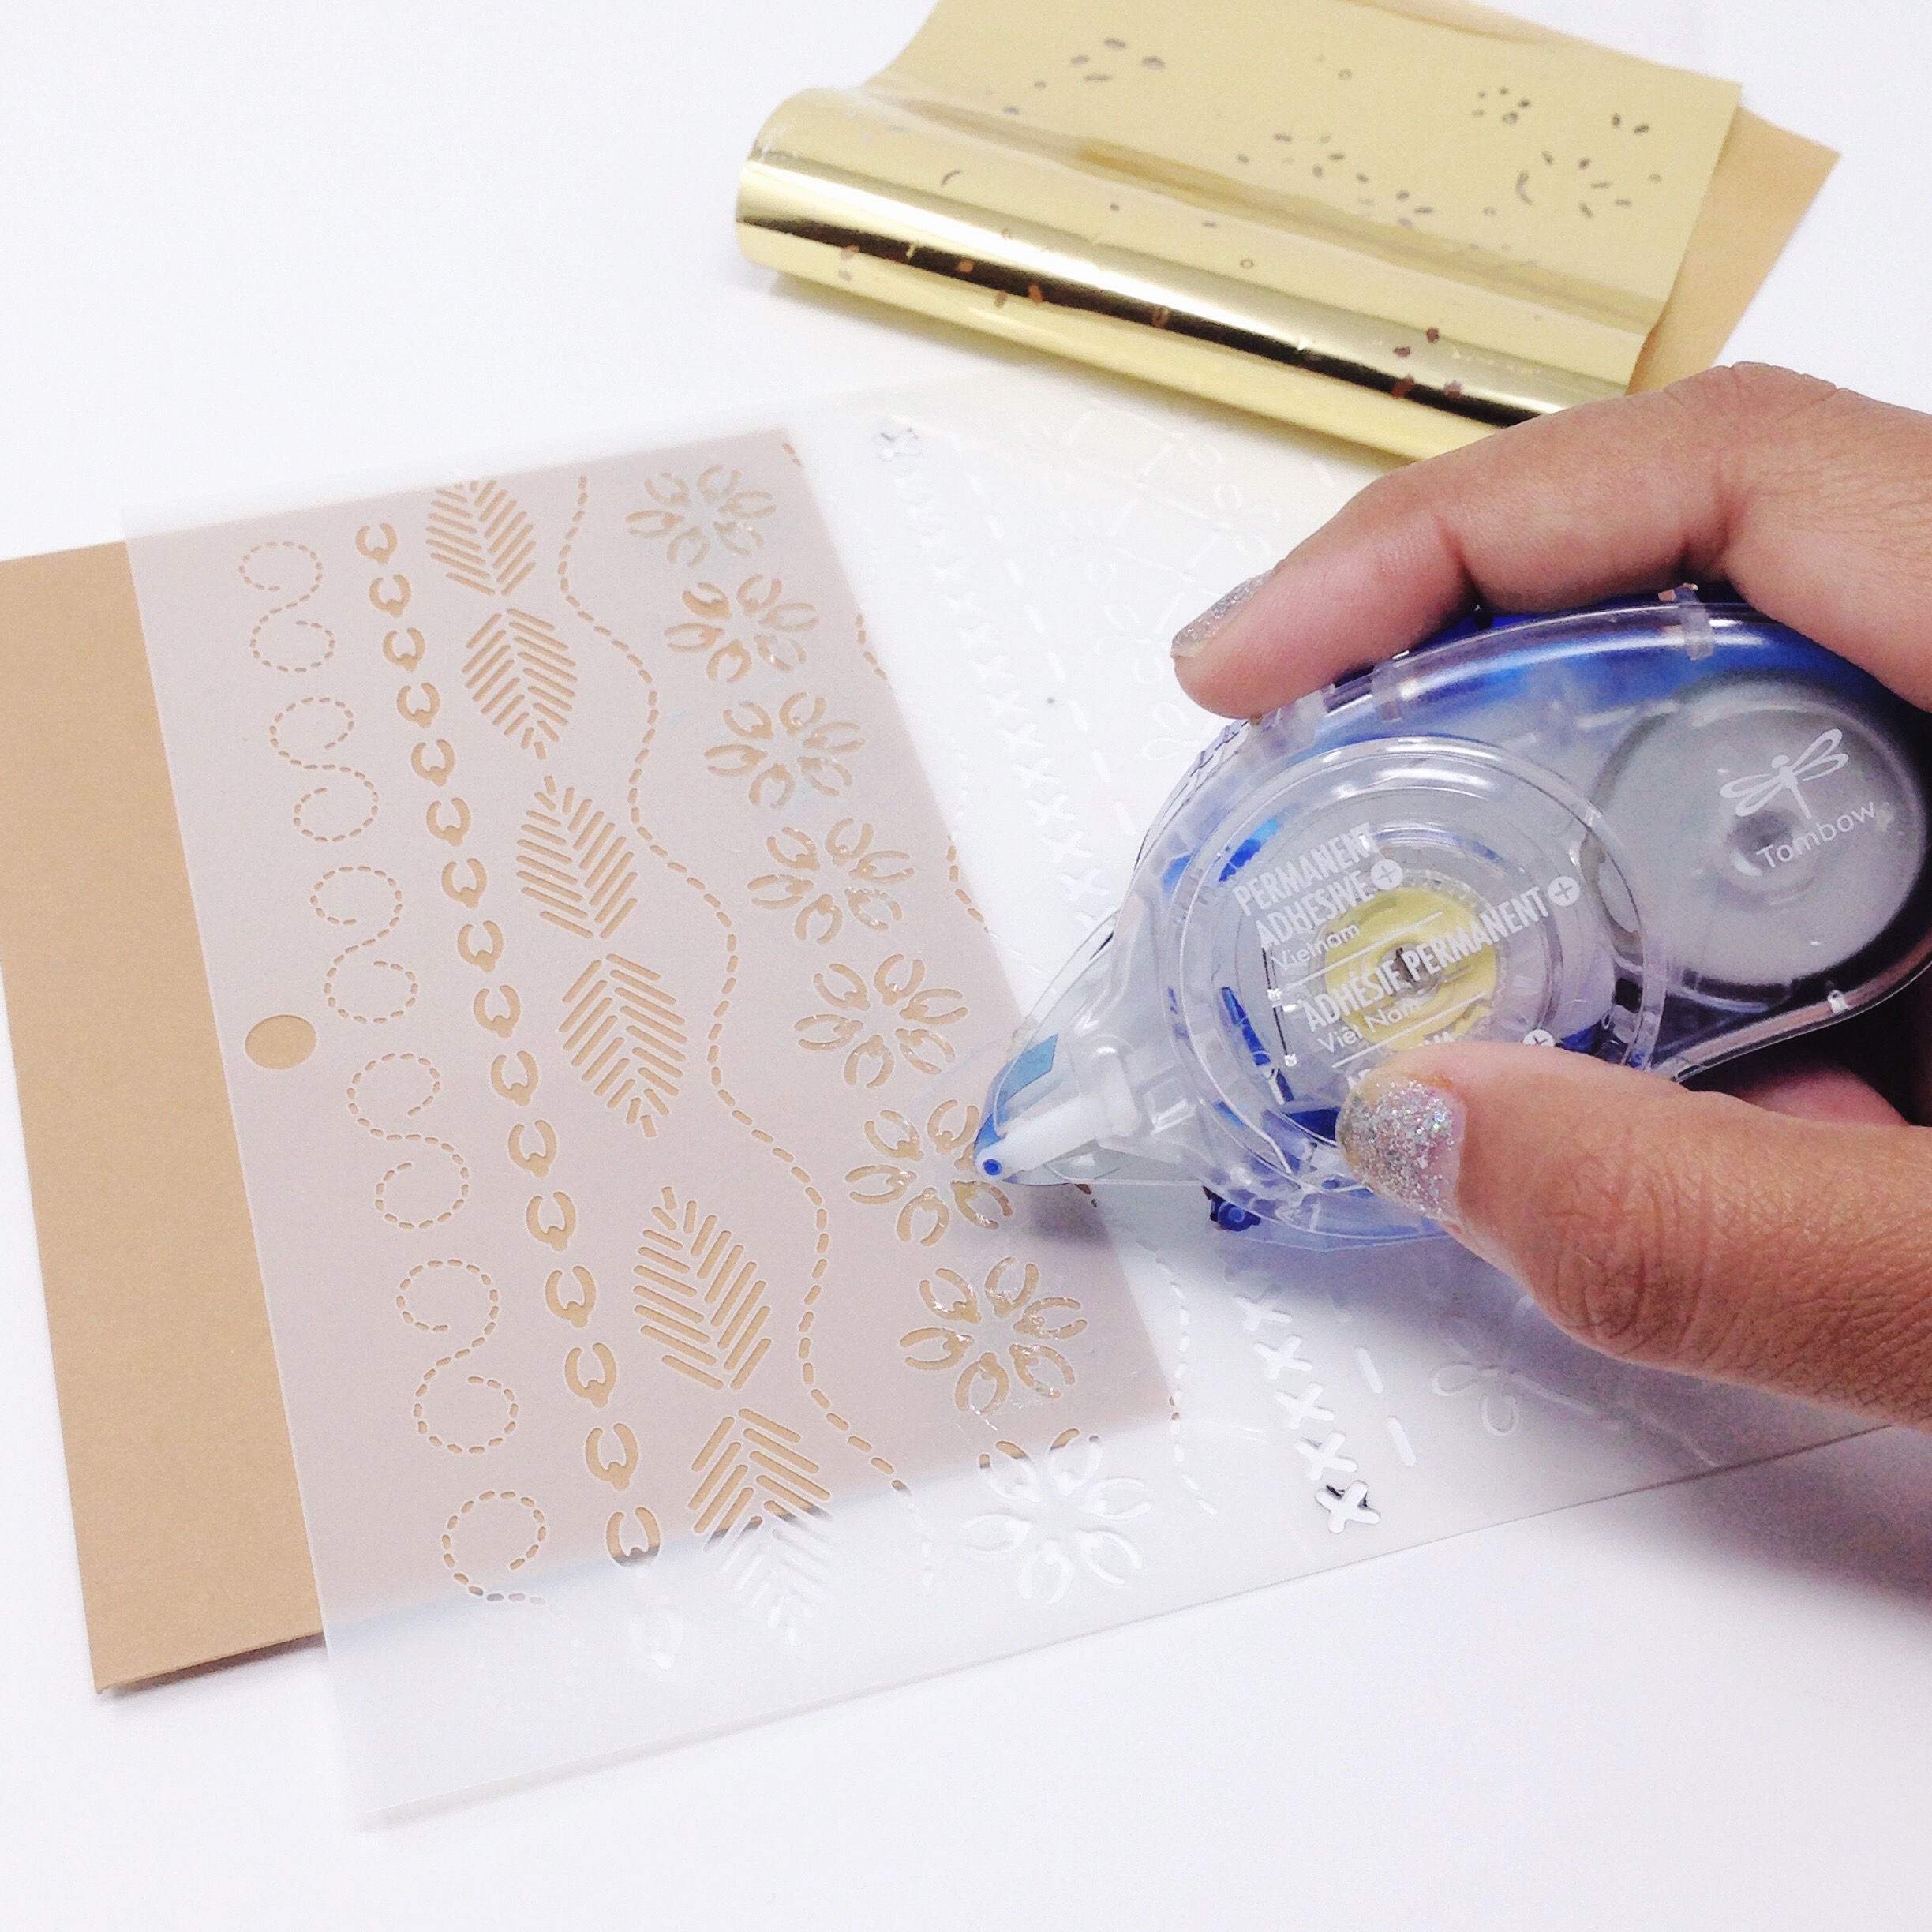
I then carefully lifted the stencil up to reveal the adhesive pattern beneath. This method works nicely for simple patterns that are not too fussy. You can use your fingertip to rub the excess adhesive off of the stencil at the end. Here today I am using just the cross stitch pattern of the stencil.
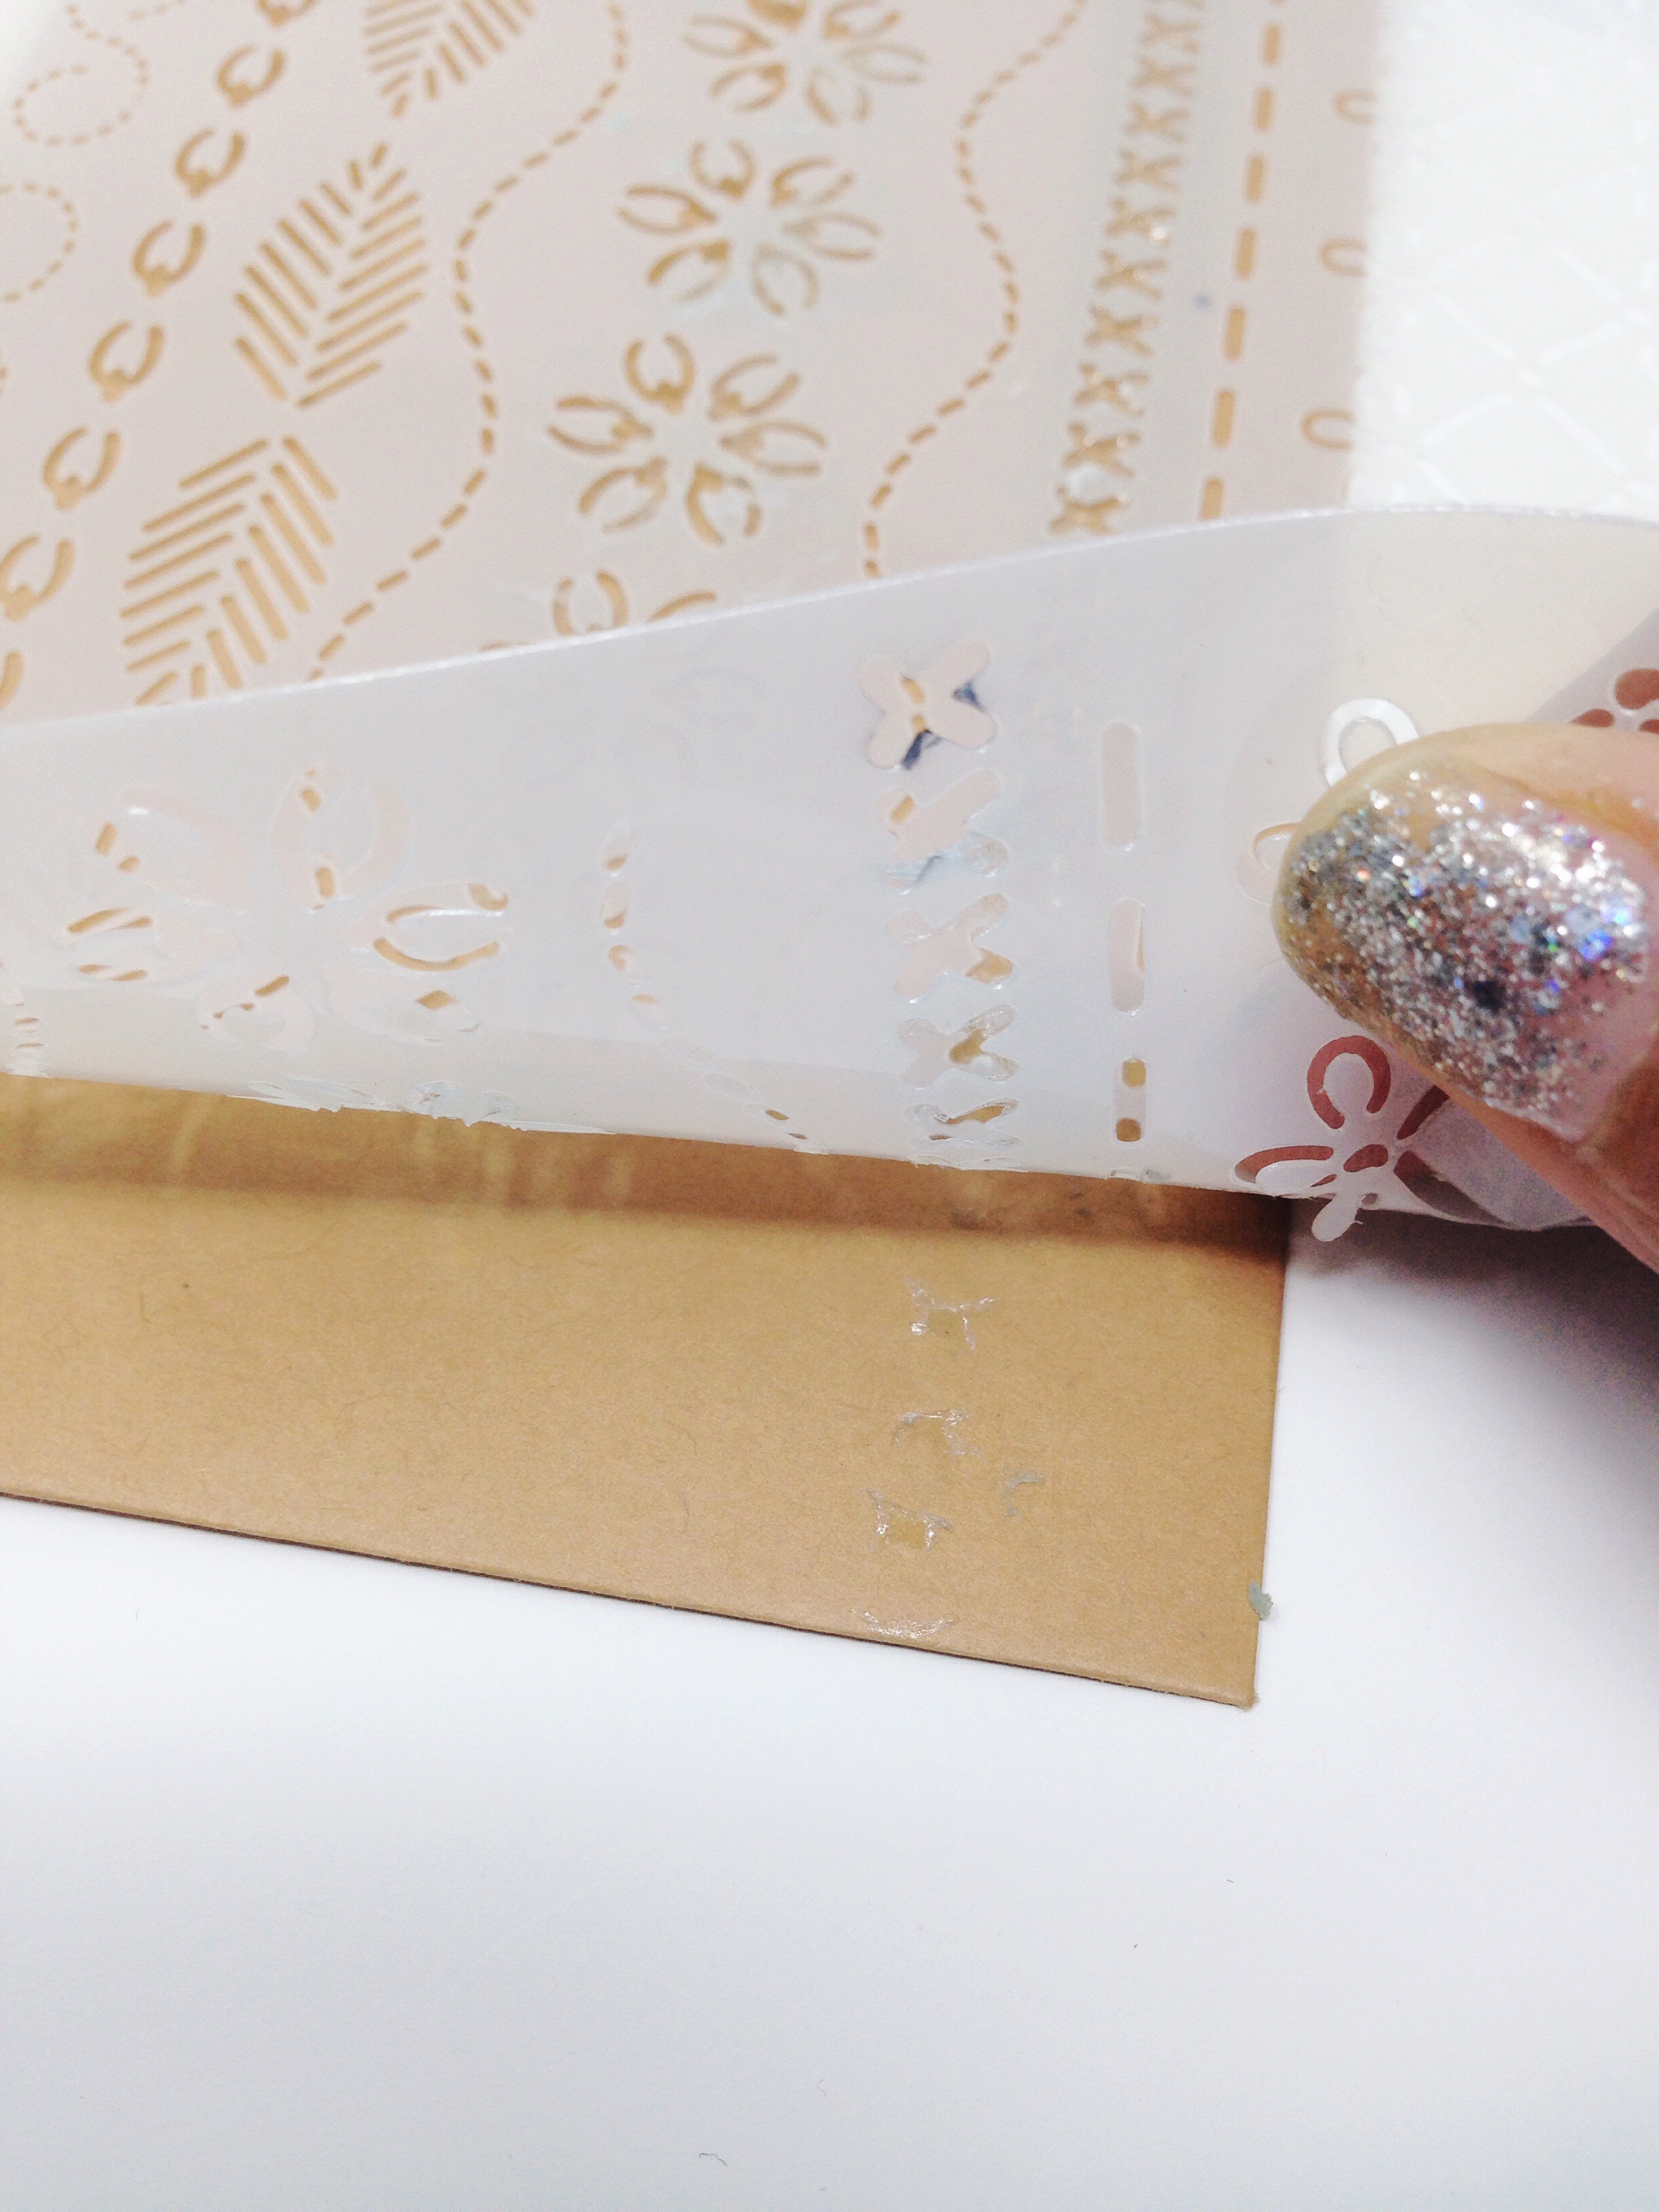
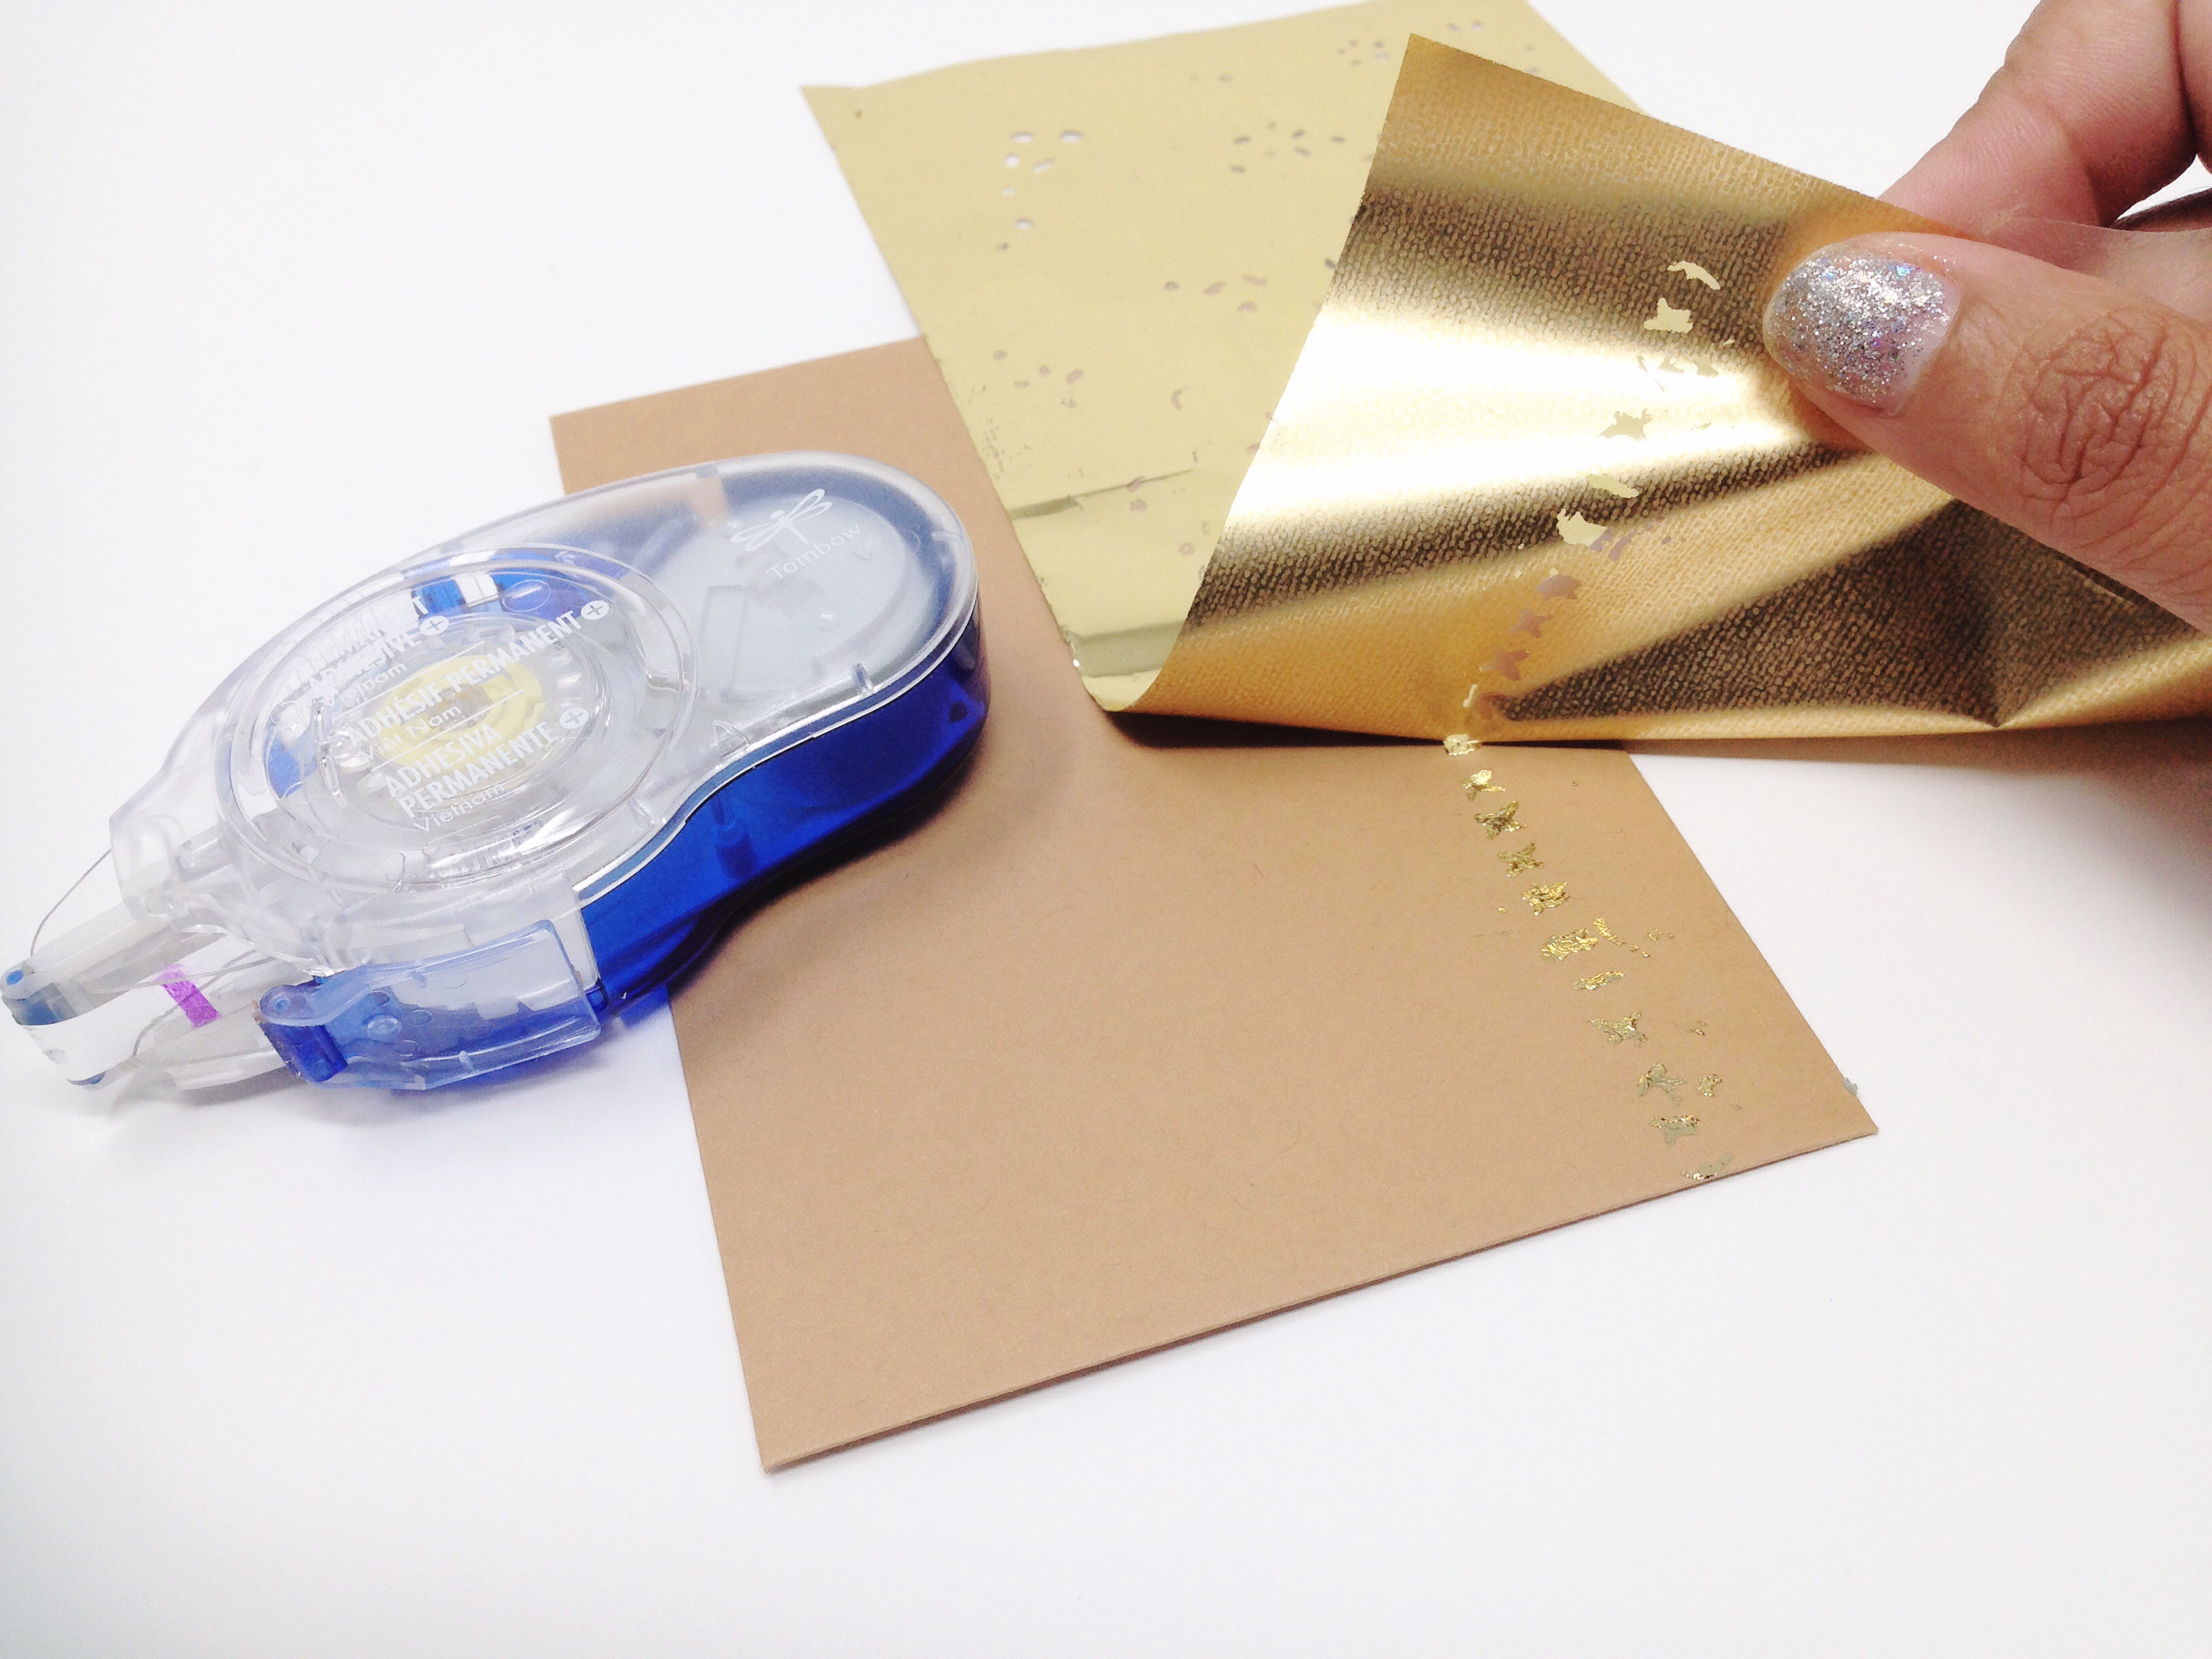
I then place a sheet of Gold Foil on top of the adhesive. I place the foil shiny side up and then press it down firmly and kinda burnish it in nicely with my fingers.
I gently lift the foil off to revel the pattern beneath. You can’t really see how beautiful this looks in the photo below, it is really hard to capture it in a photo. Because we used the tape runner, there is no need to wait for the glue to dry and this process takes like 3 or 4 minutes only.
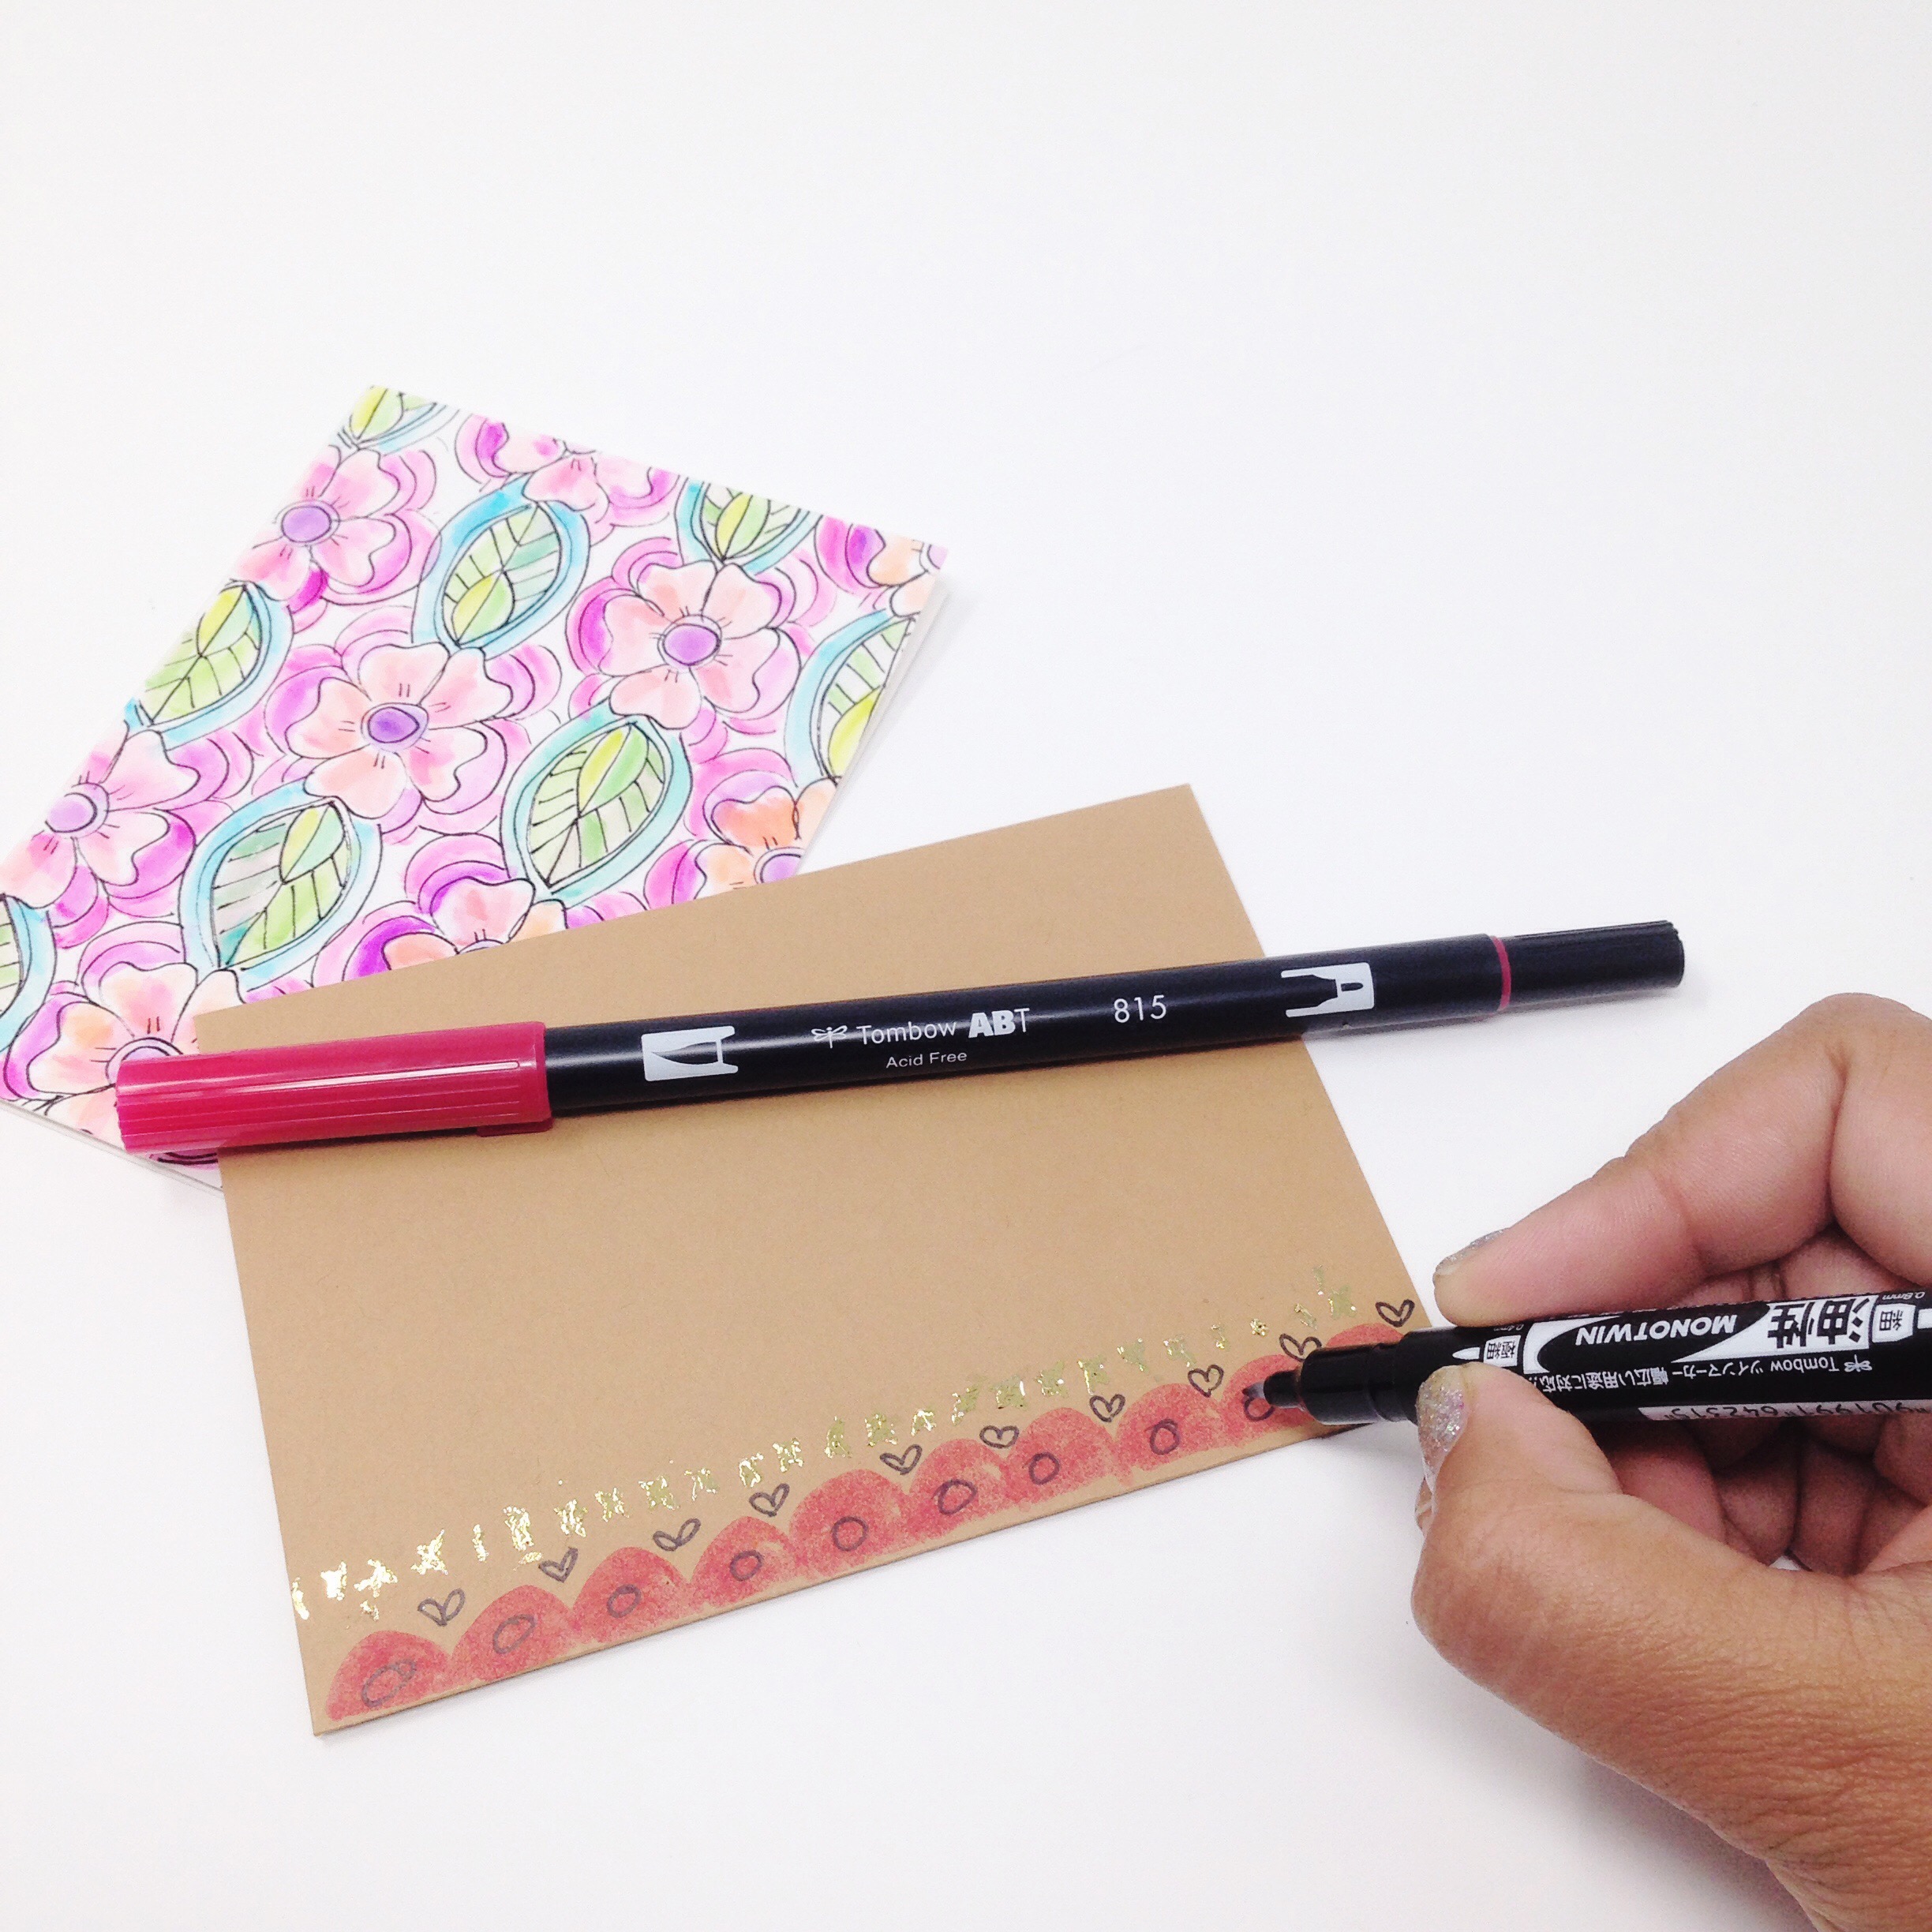
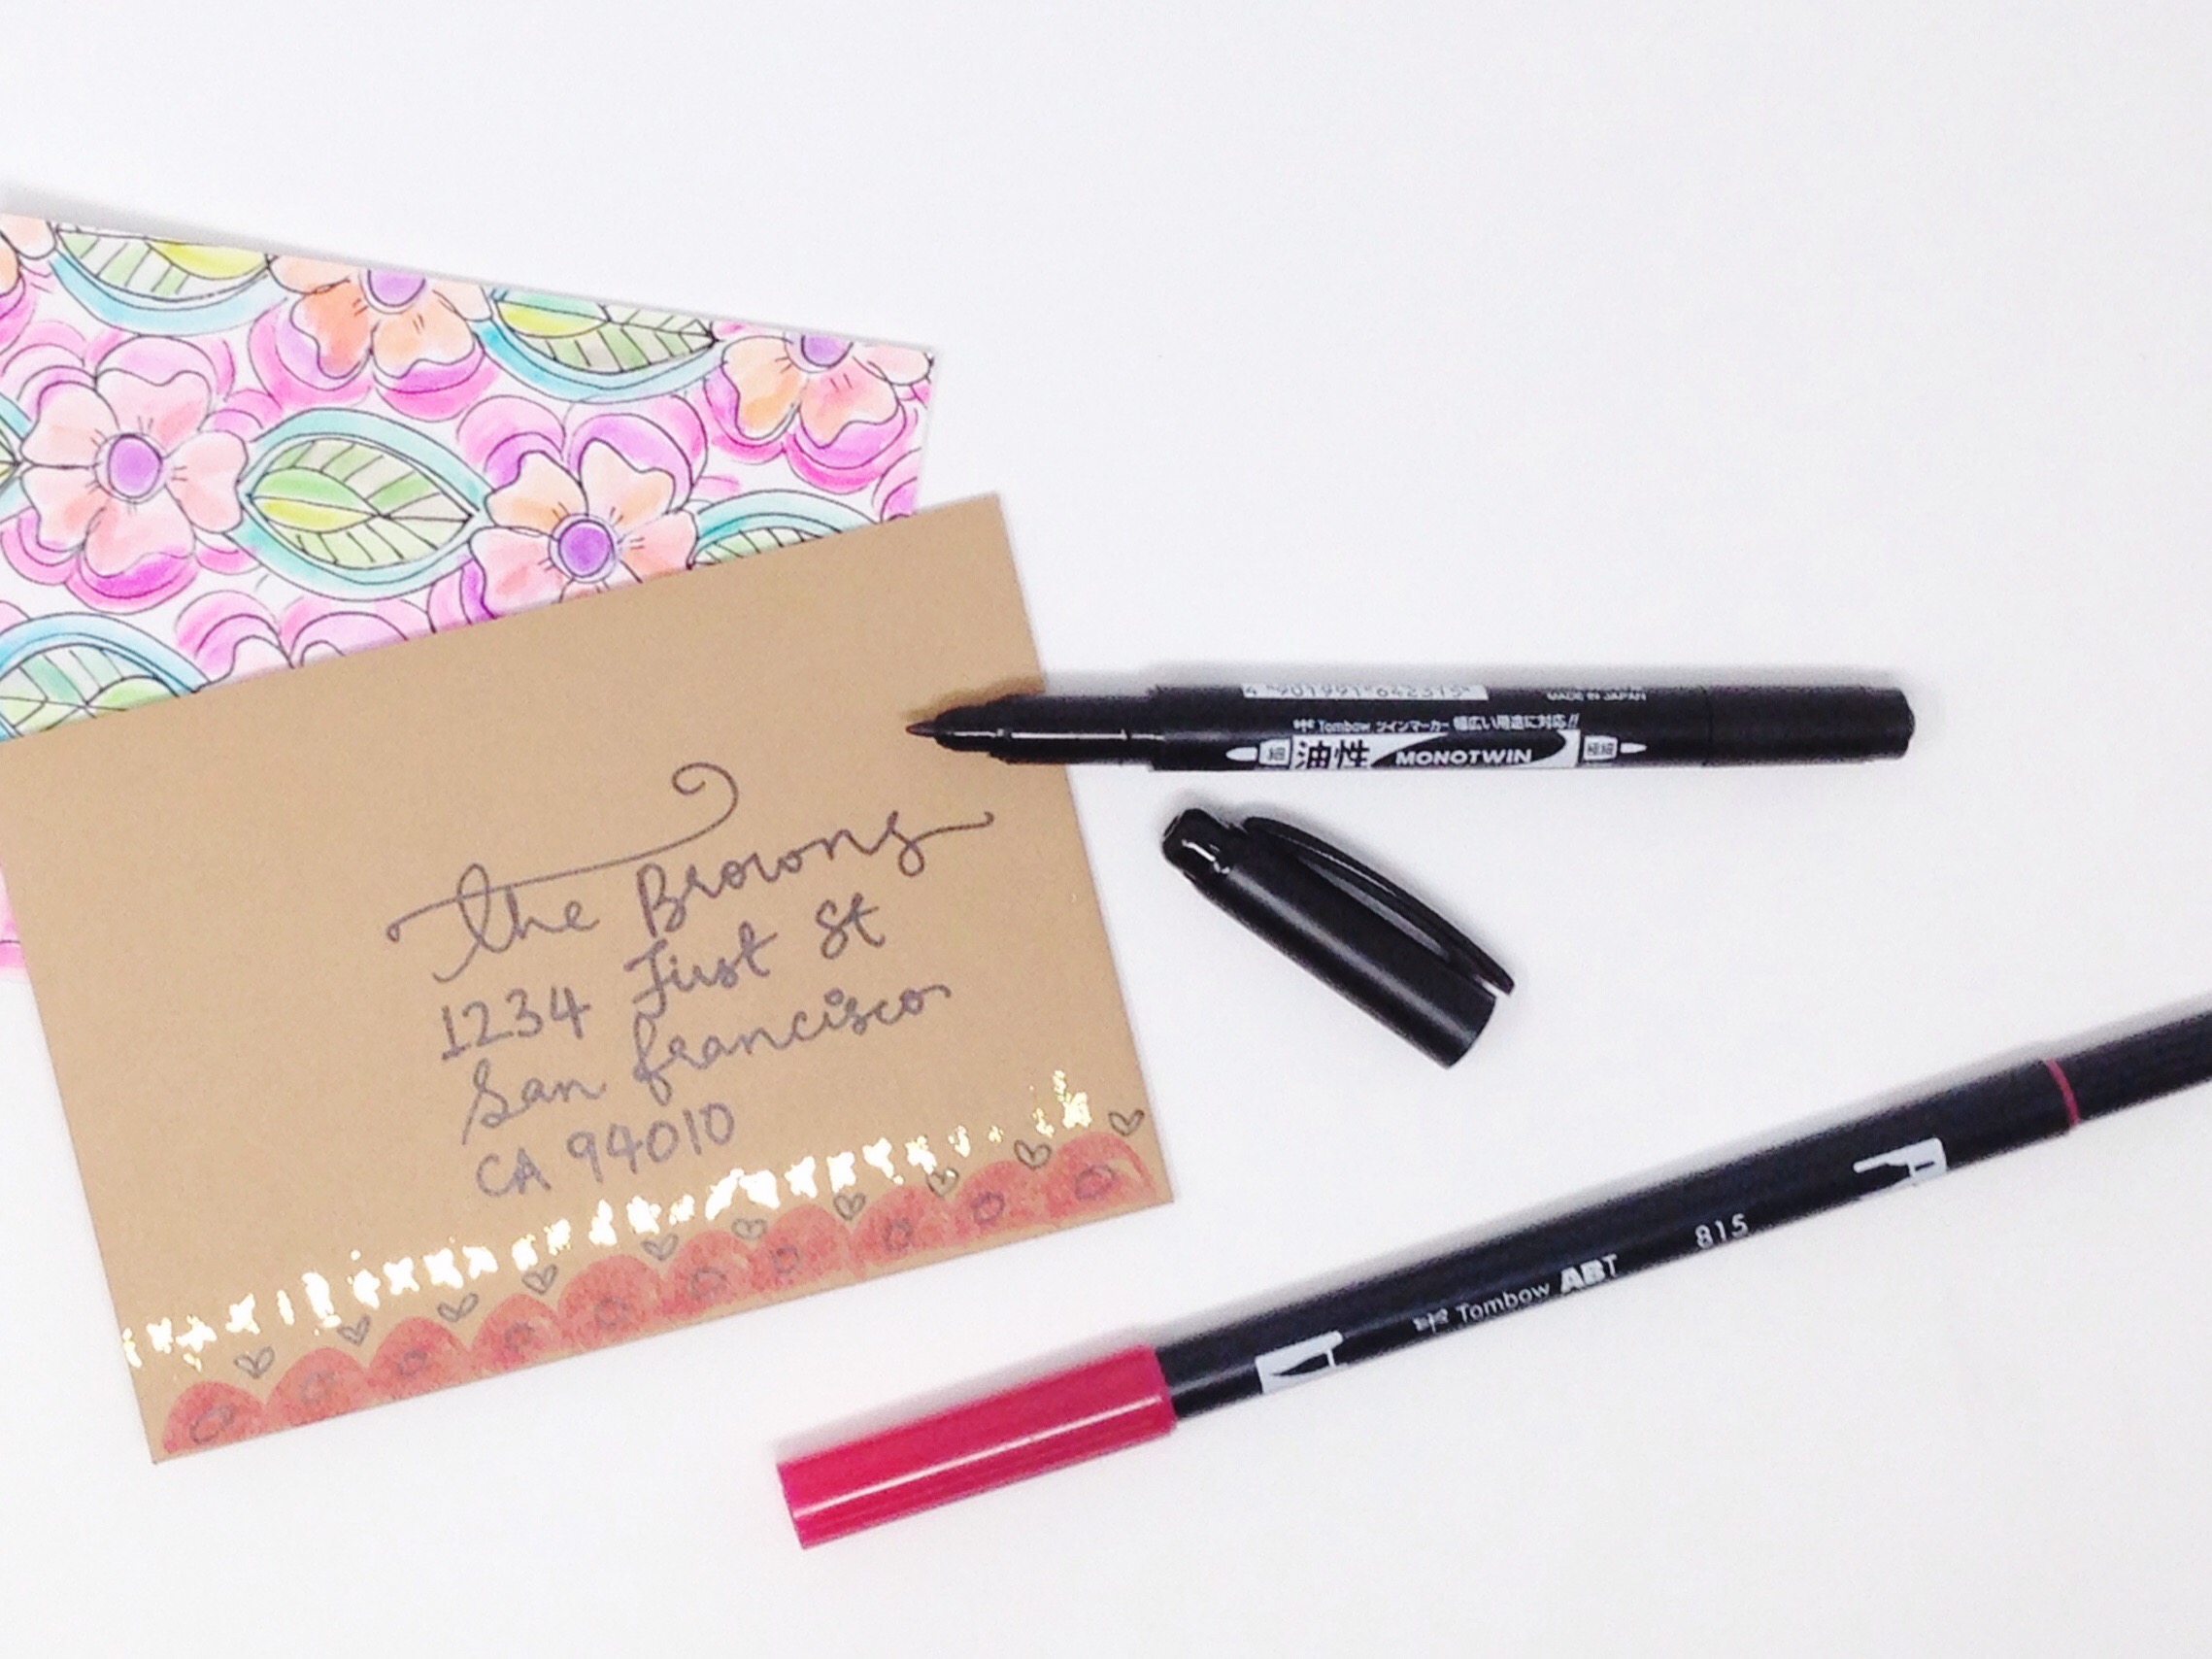
I then used the Mono Twin Permanent Marker to doodle a few designs and add my recipient address. This pen is waterproof and I know for sure that ink won’t smudge easily in the mail. I also added some color with the Dual Brush pen included in the Advanced Lettering Set.
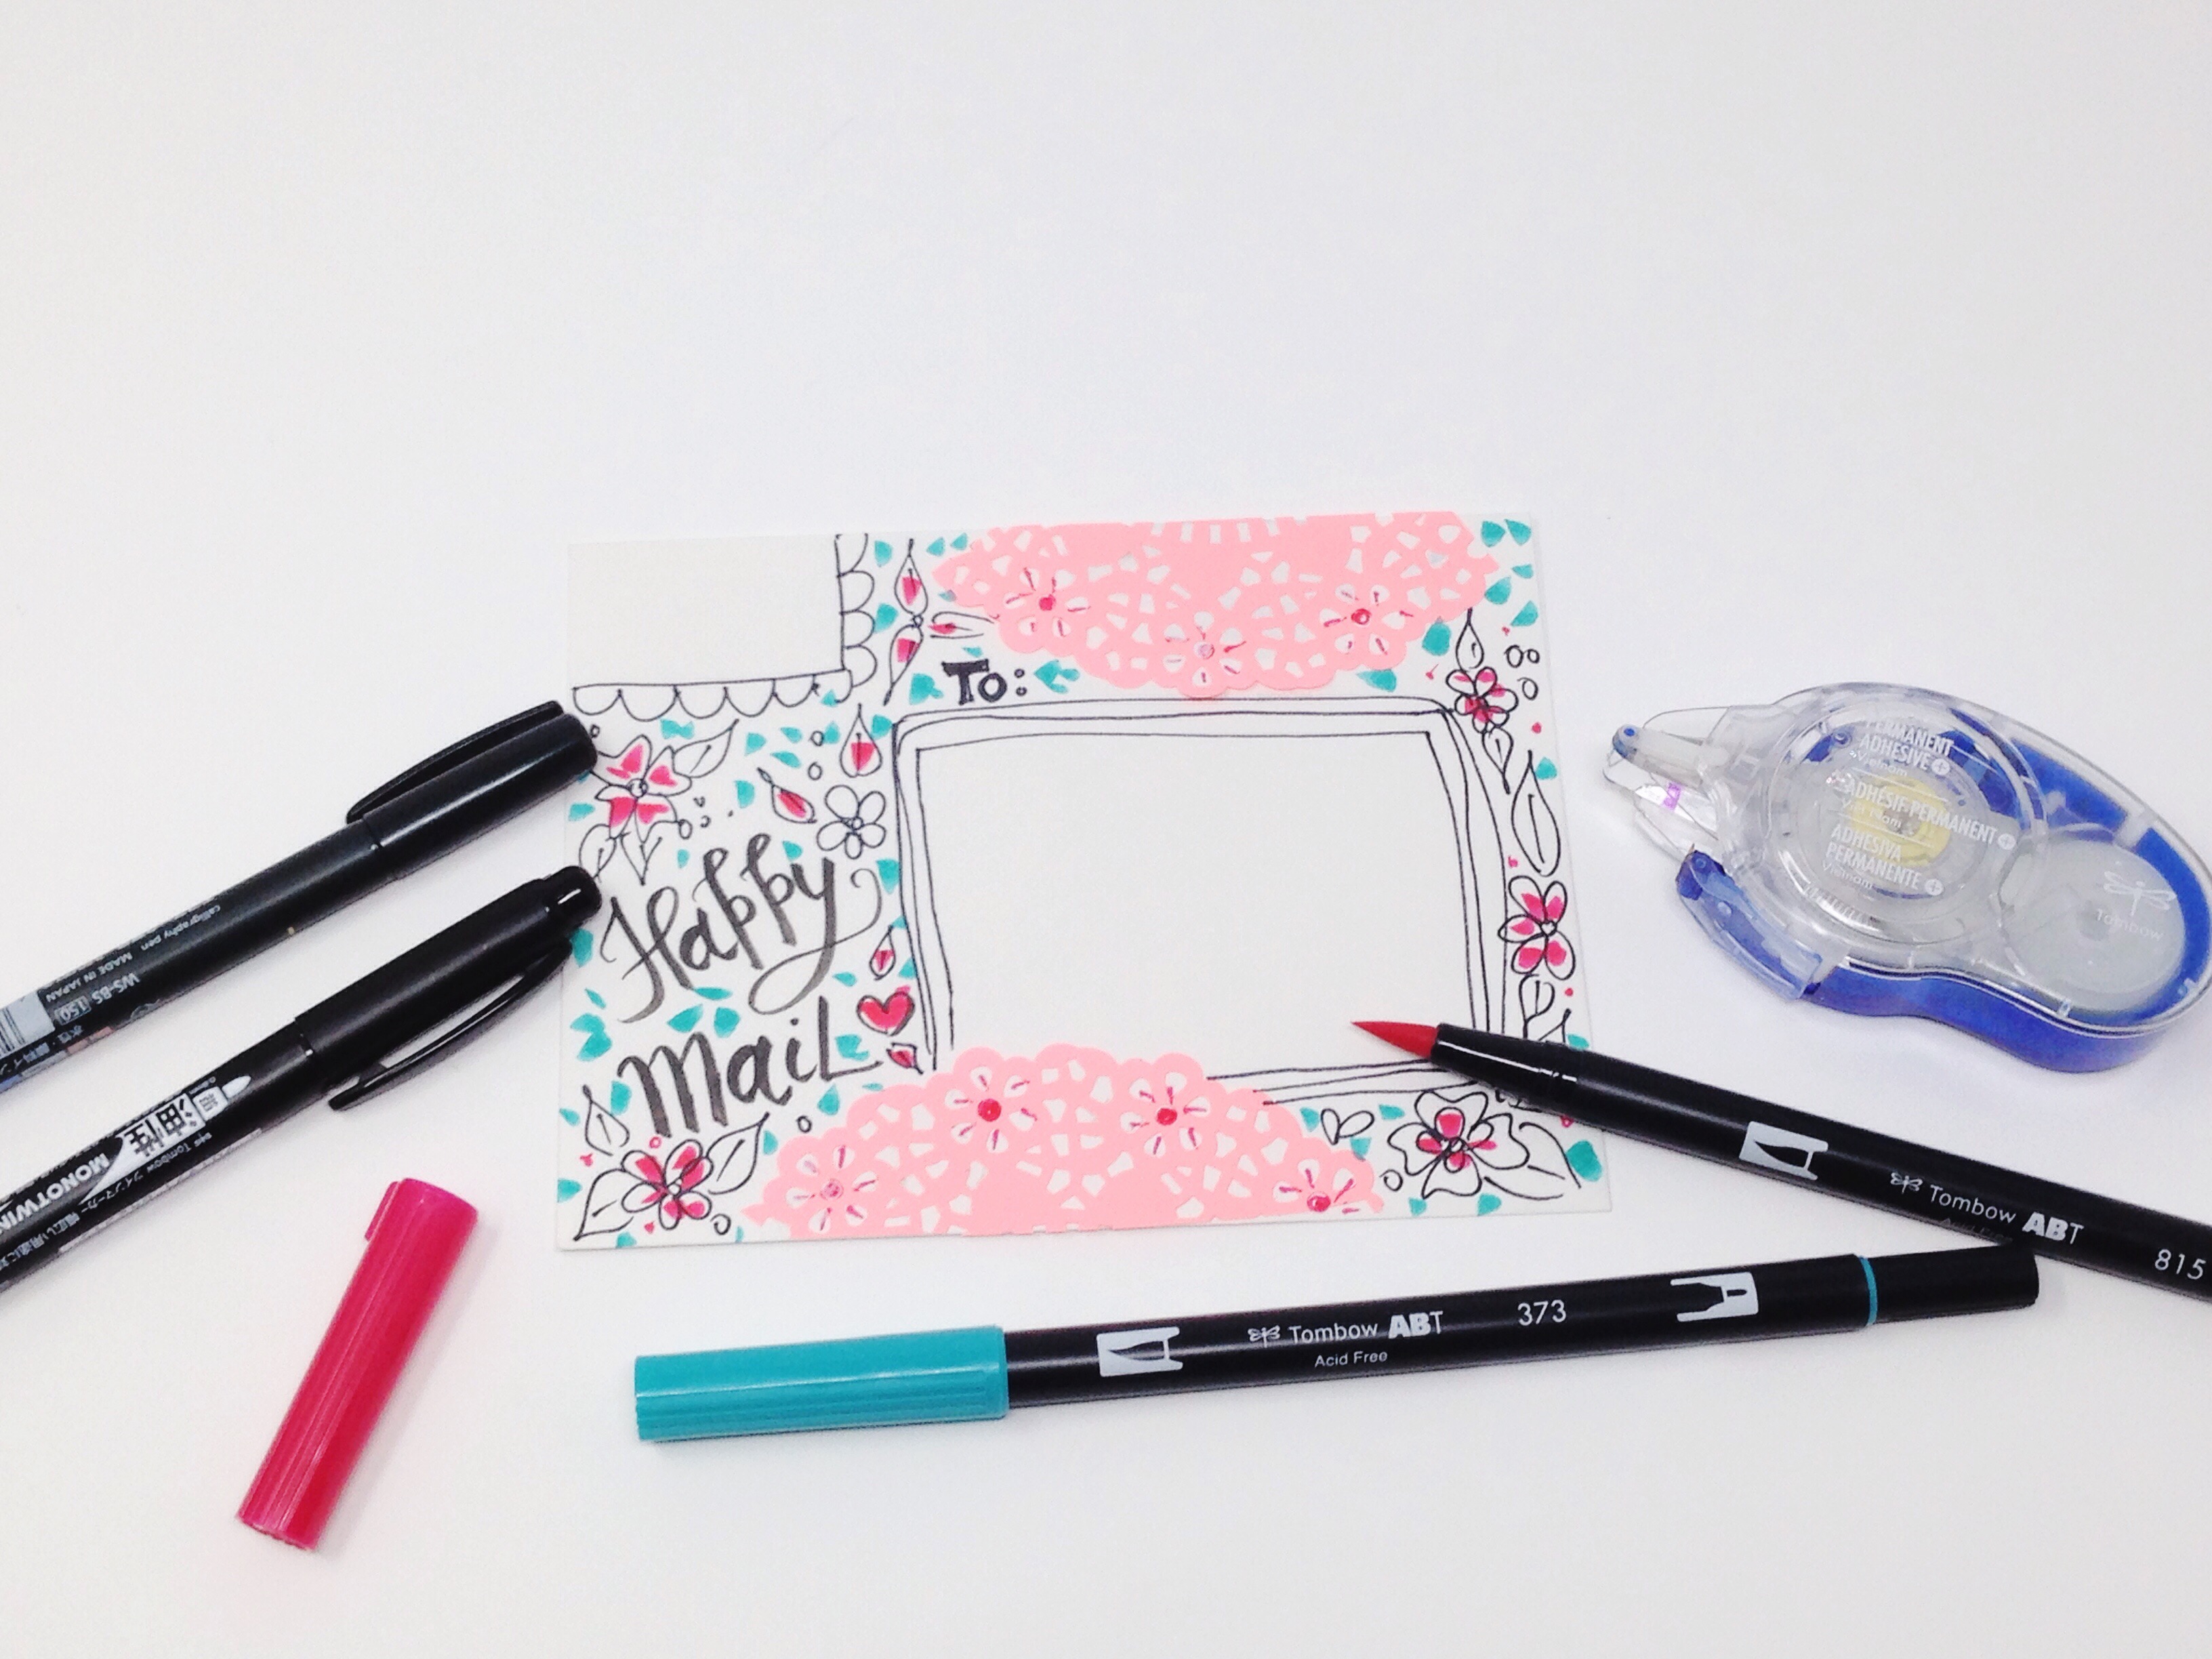
To decorate this second envelope, I wanted to use this pretty pink paper doily to add a touch of whimsy. I trimmed the doily to a smaller piece and then adhered it using the MONO Adhesive+ Permanent tape runner again. This tape runner is so easy to use and perfect for this task!
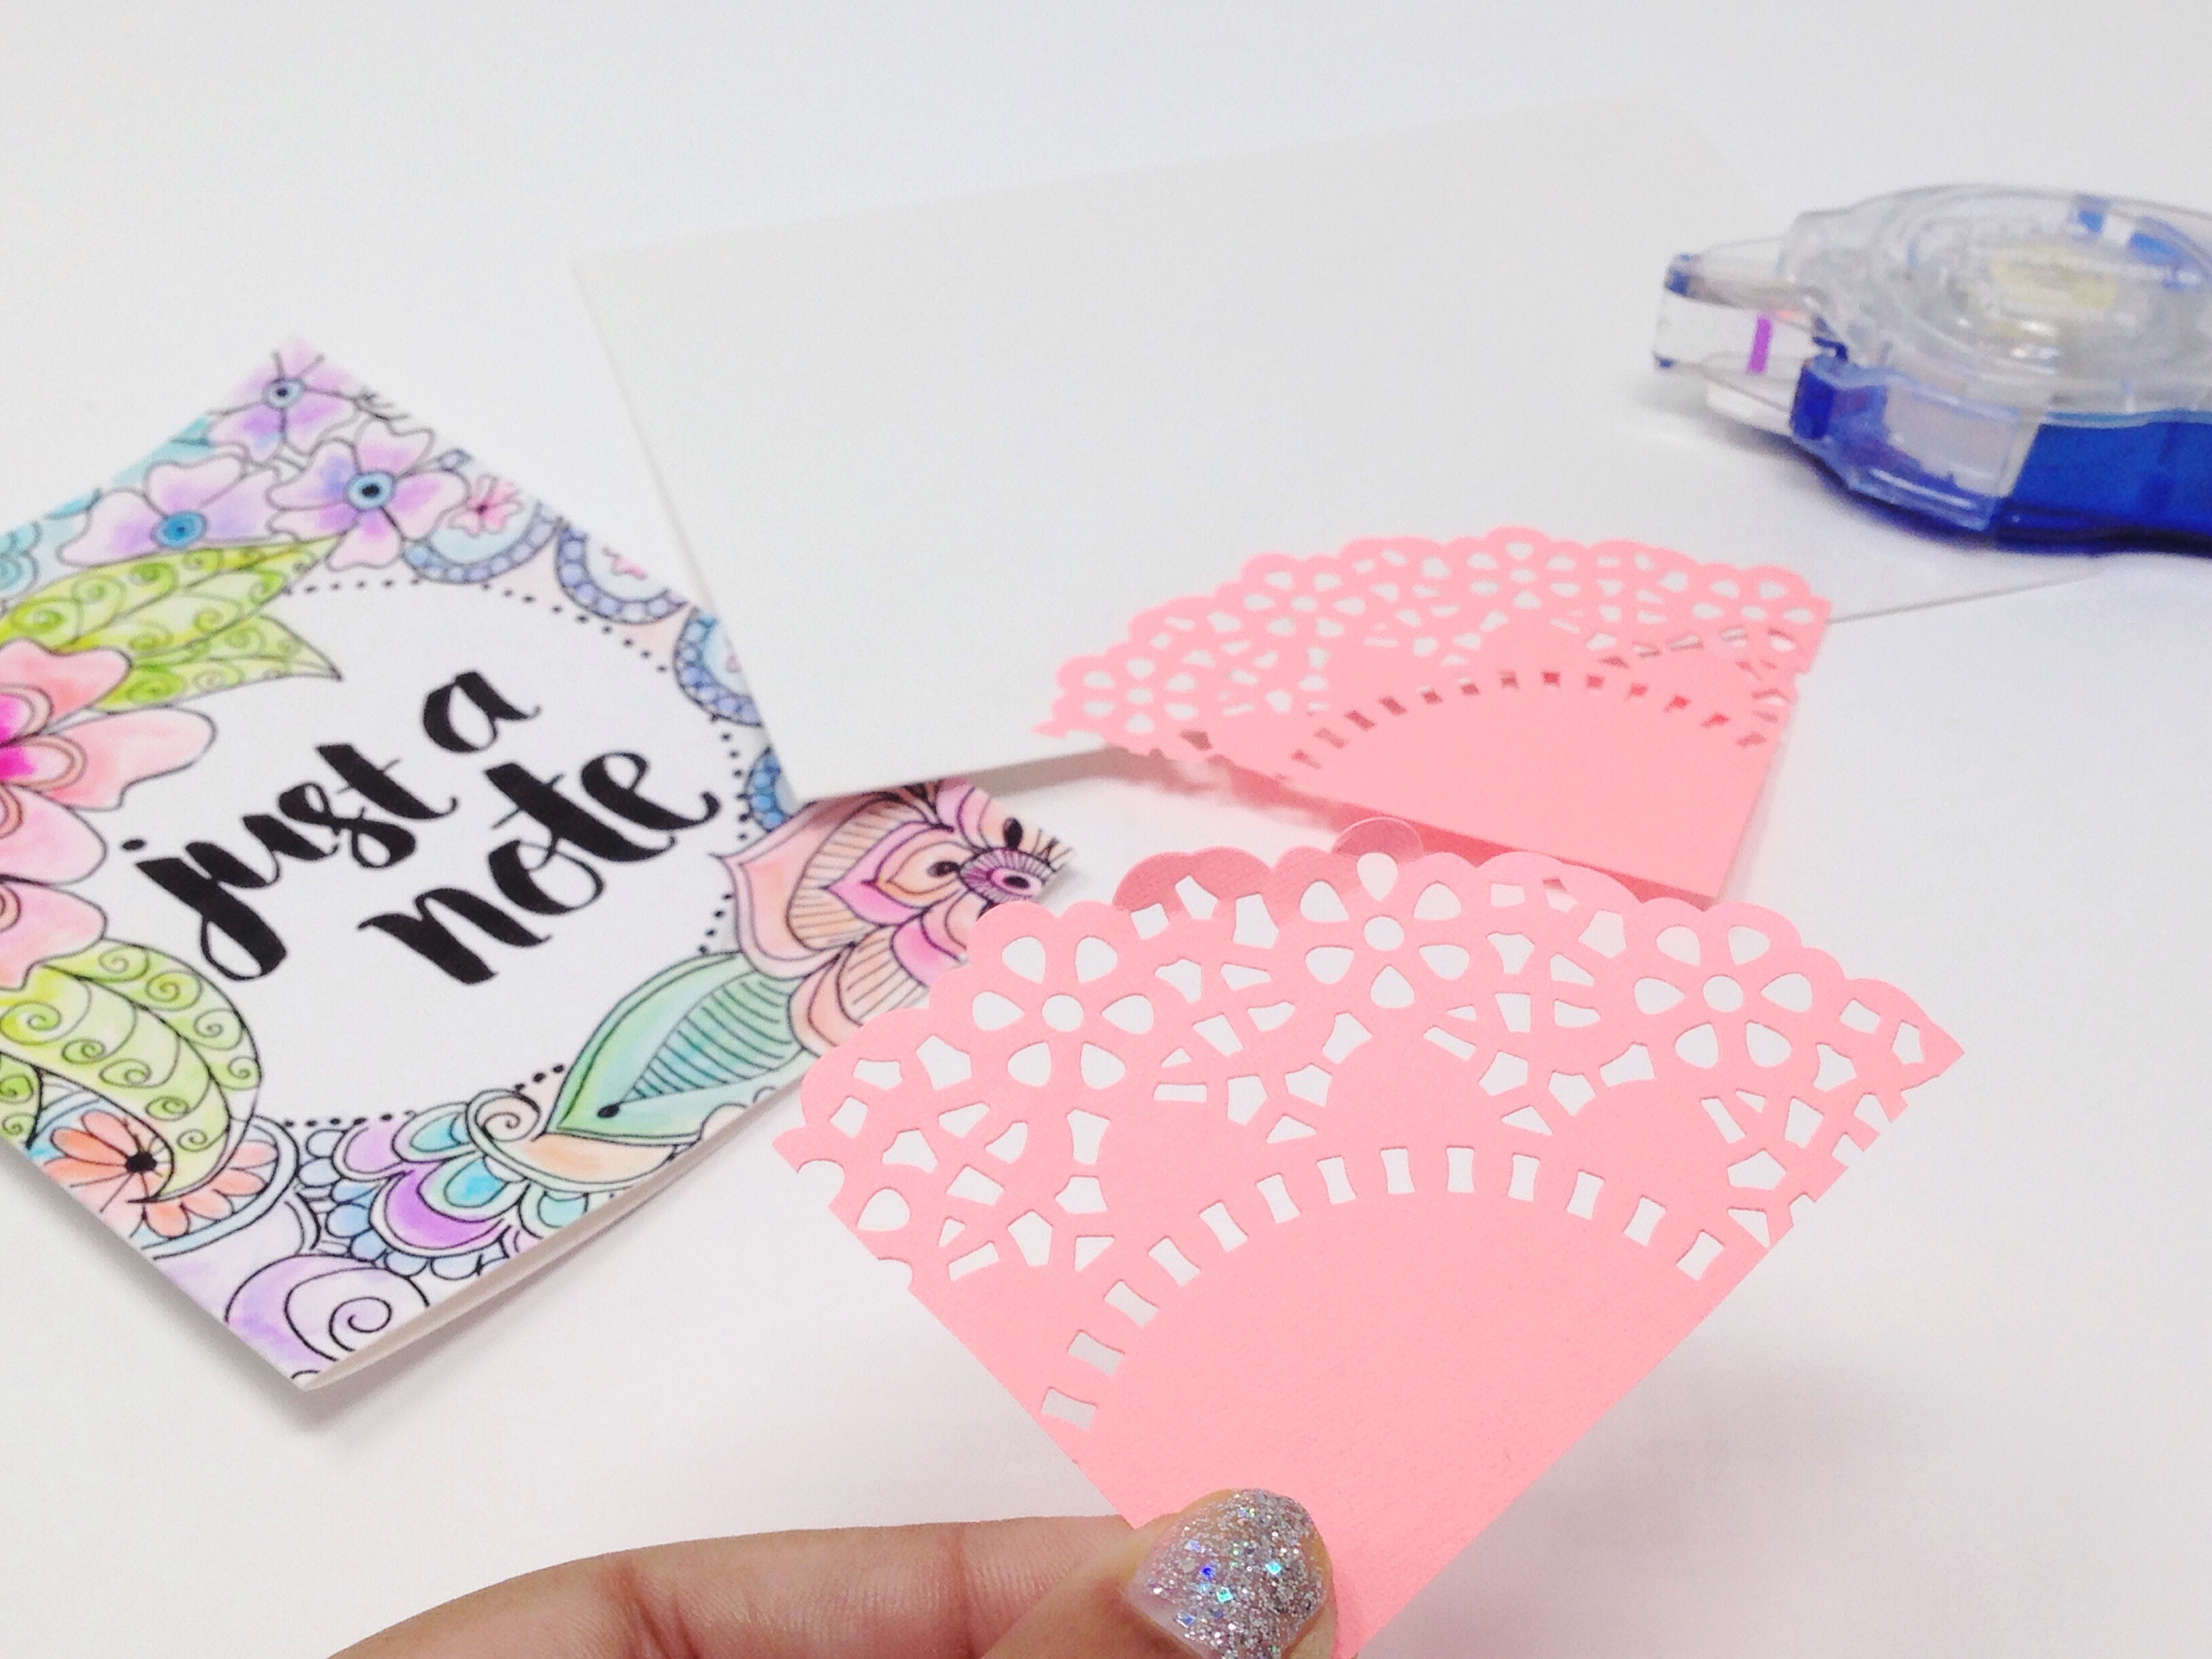
Around the doily, I lettered in the words “Happy mail” with the Fudenosuke Brush Pen. I love how that turned out! I then doodled tiny flowers all over the envelope front to create a completely unique one of a kind piece of mail that is sure to make someone smile!
And here is how my envelopes look all embellished and ready to make someone smile! Let me know in the comments below if you make cards or happy mail items too! Who do you send them to?
Thanks for crafting along with me today friends! See you again soon!