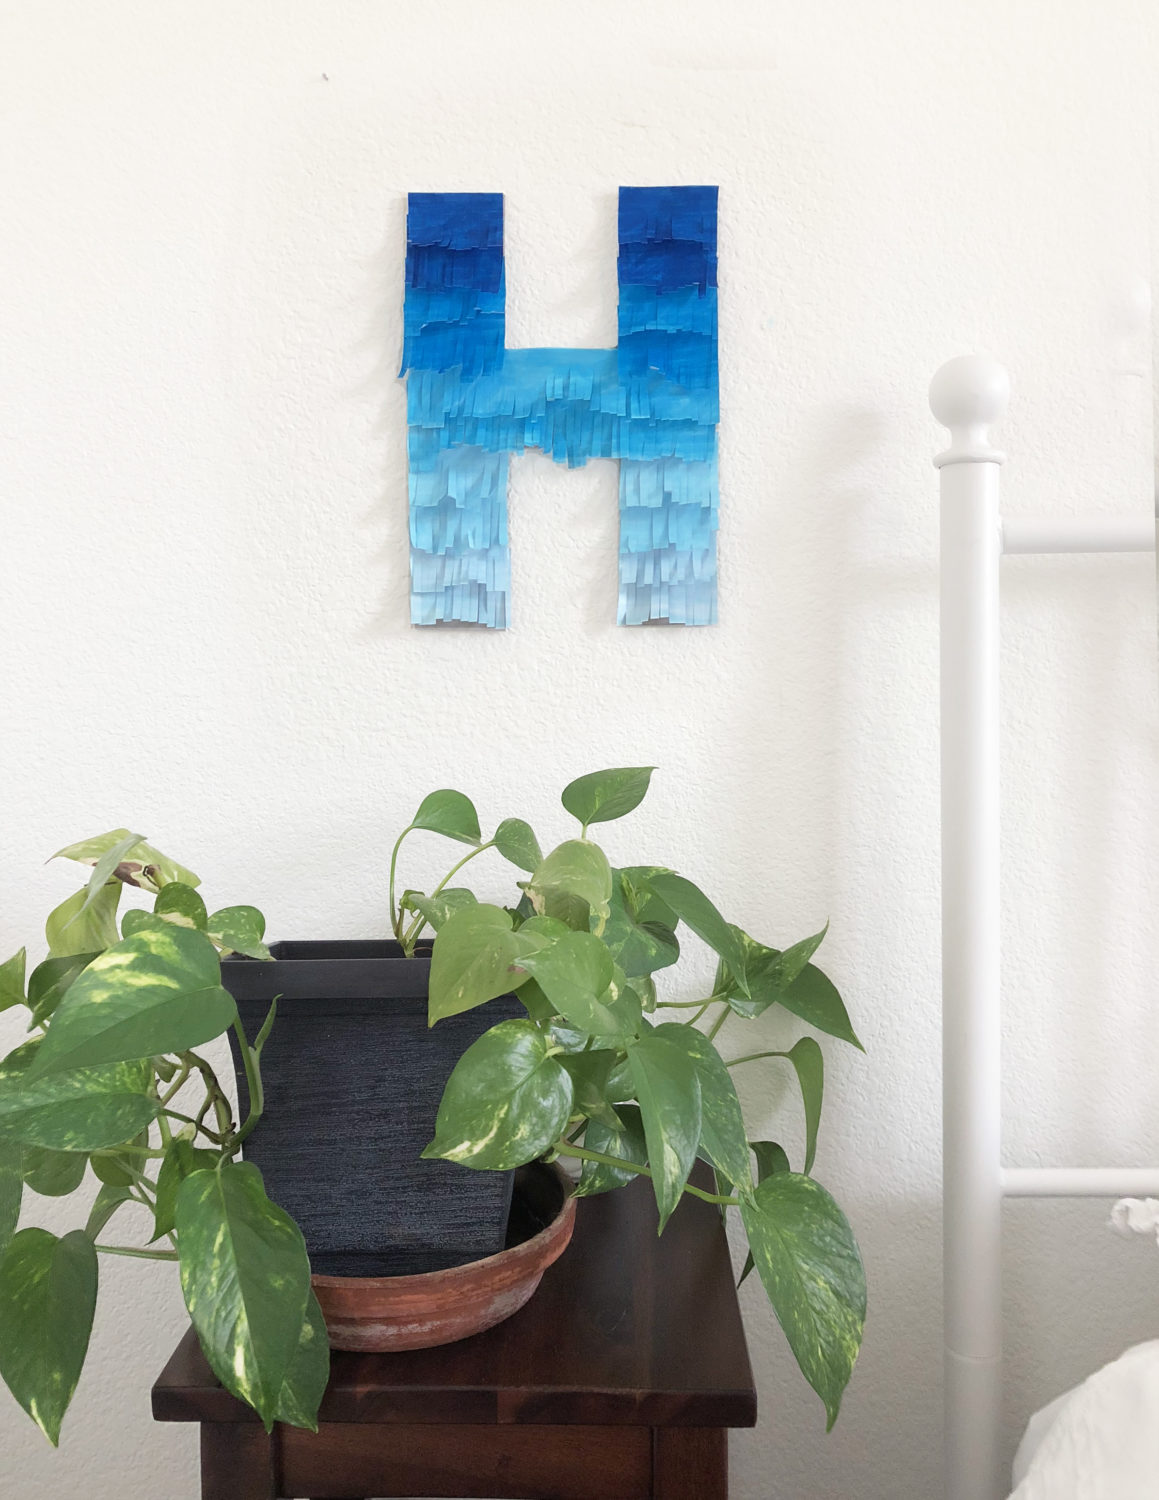
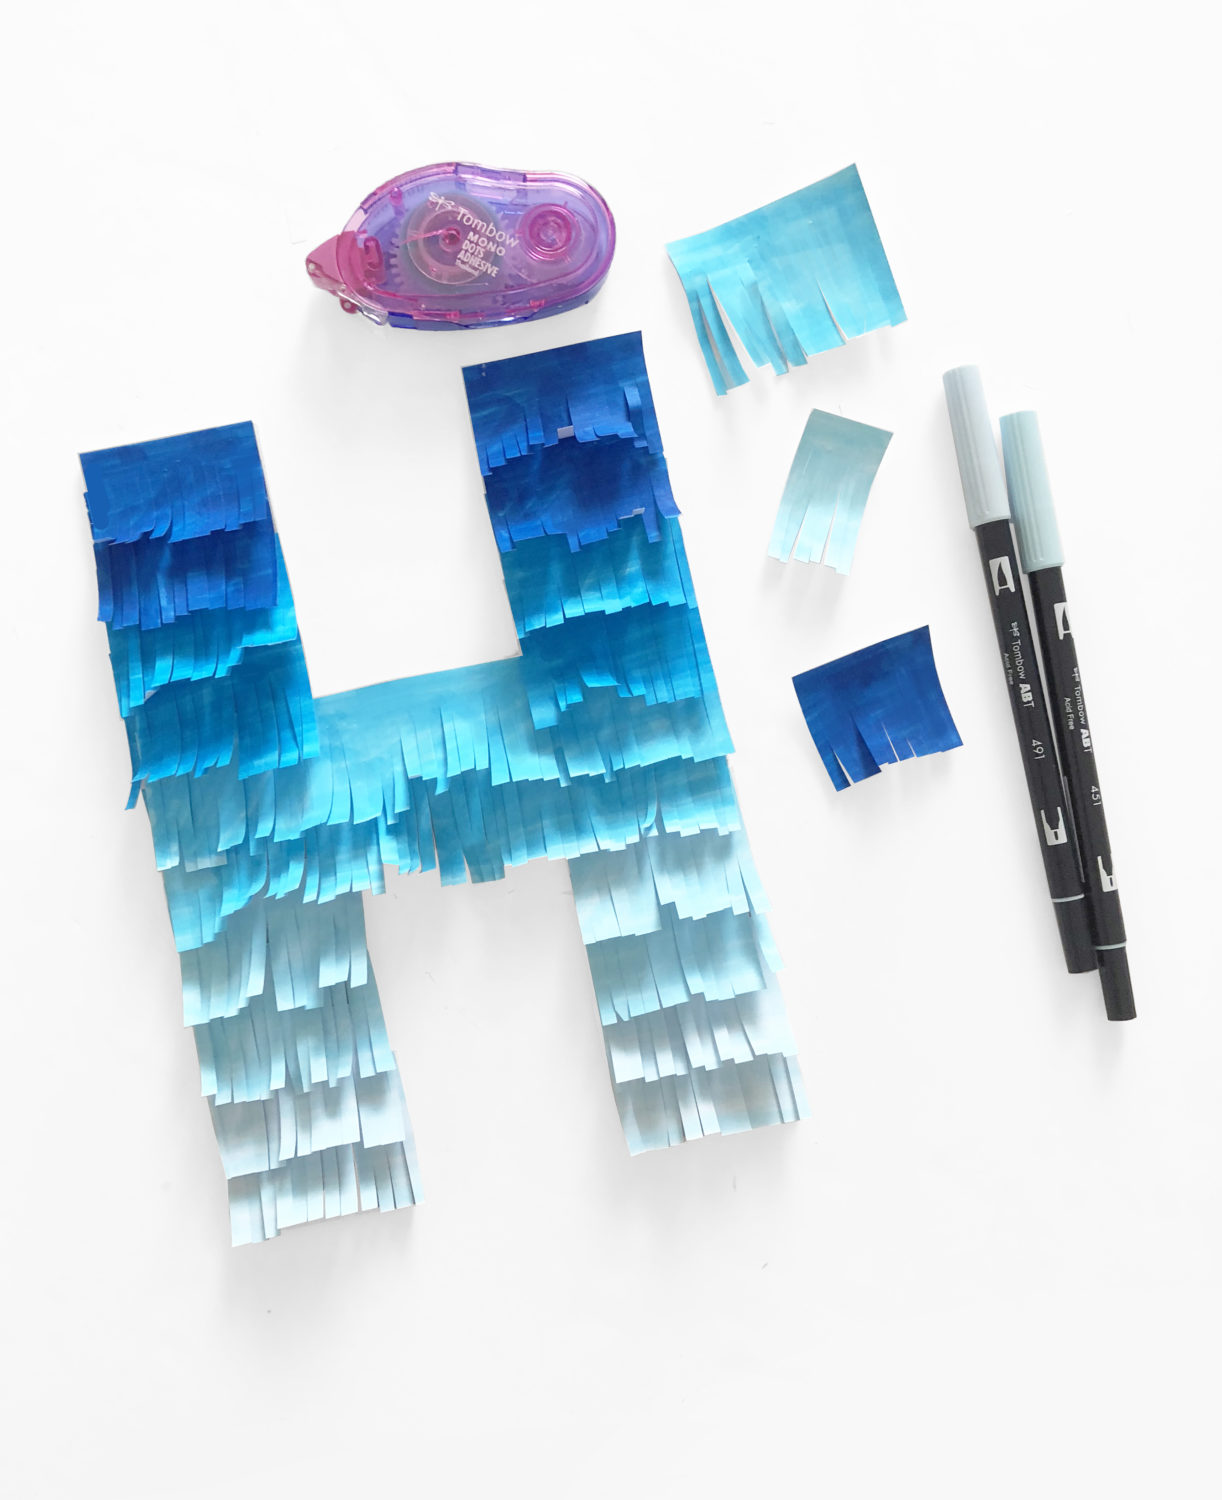
Hi everyone! It’s Bonnie here from Archer and Olive. One of the best parts of motherhood is getting to decorate my little boy’s room! Handmade decorations are abundant in his room and today I’m going to show you how to create this ombre fringe letter.
Supplies:
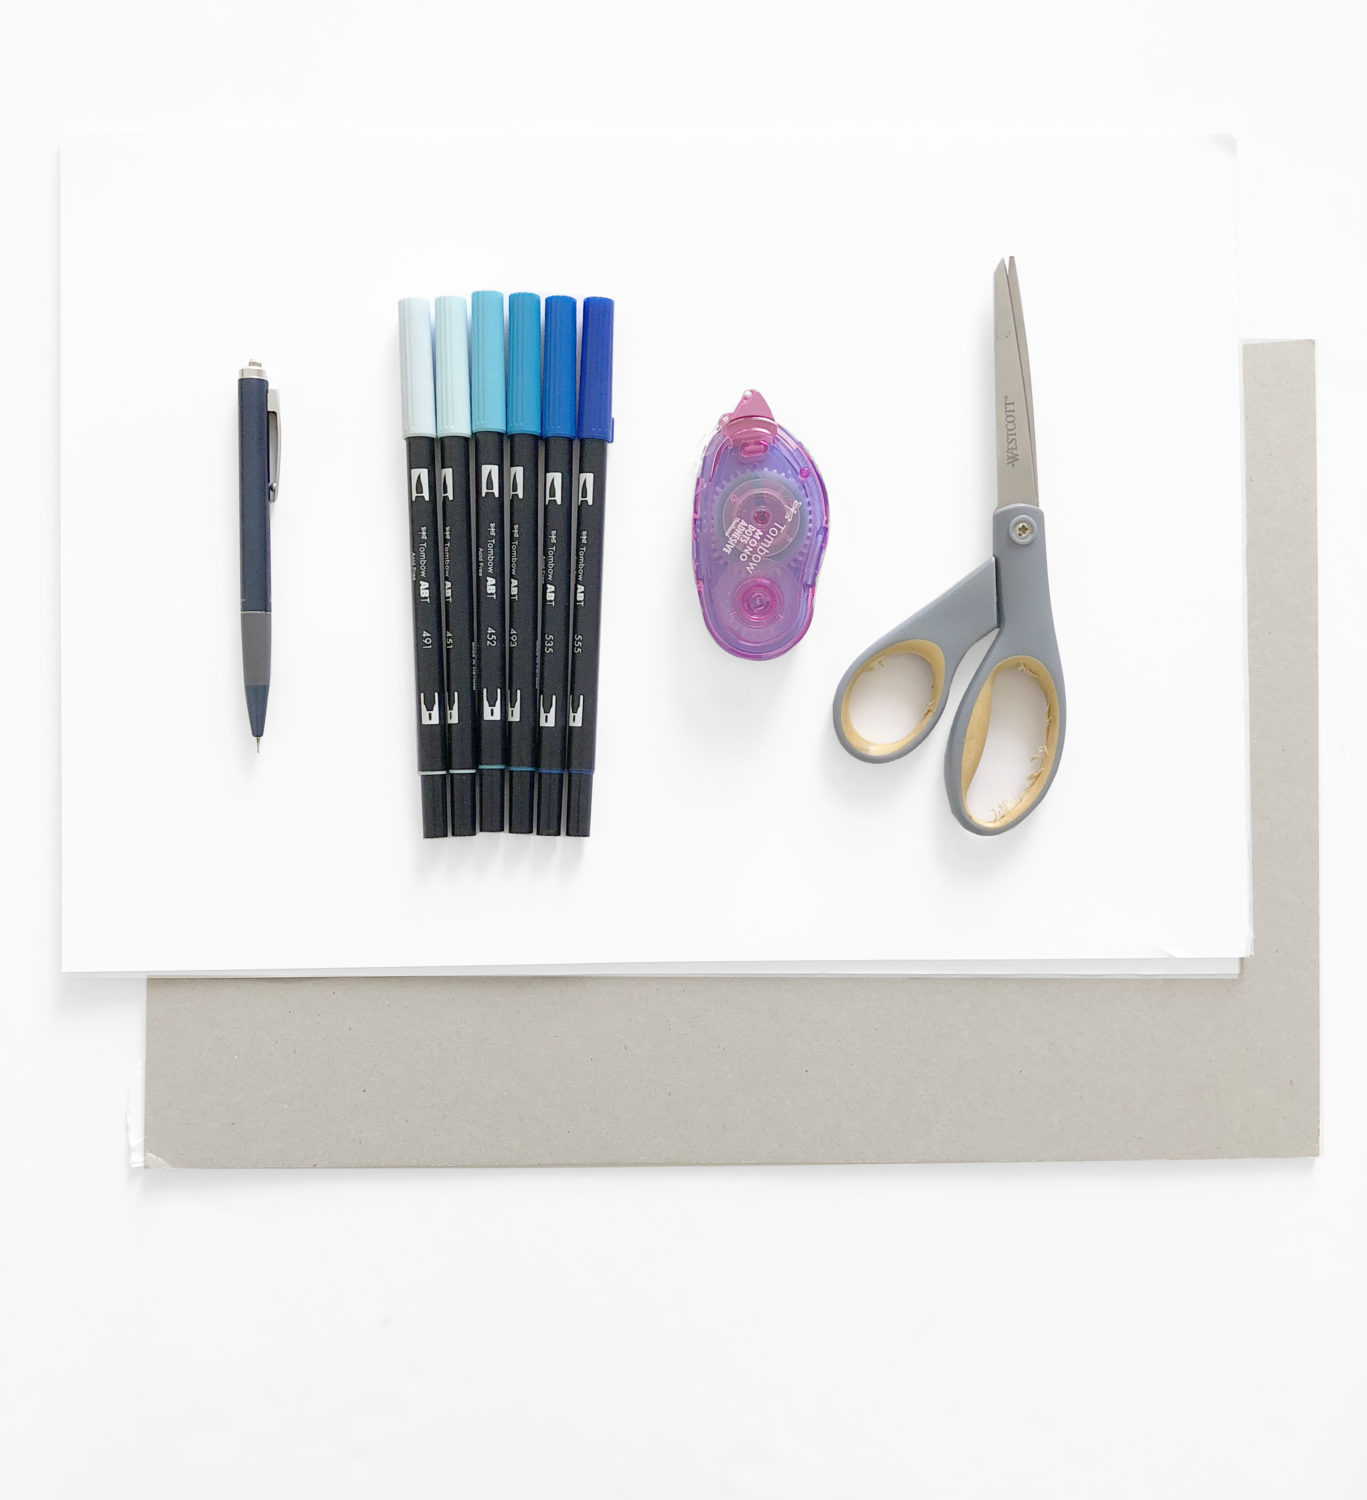
- Tombow Dual Brush Pens in your favorite shade
- Tombow MONO Dots Adhesive
- Tombow Mechanical Pencil
- Cardboard
- Scissors
- Paper
Step 1:
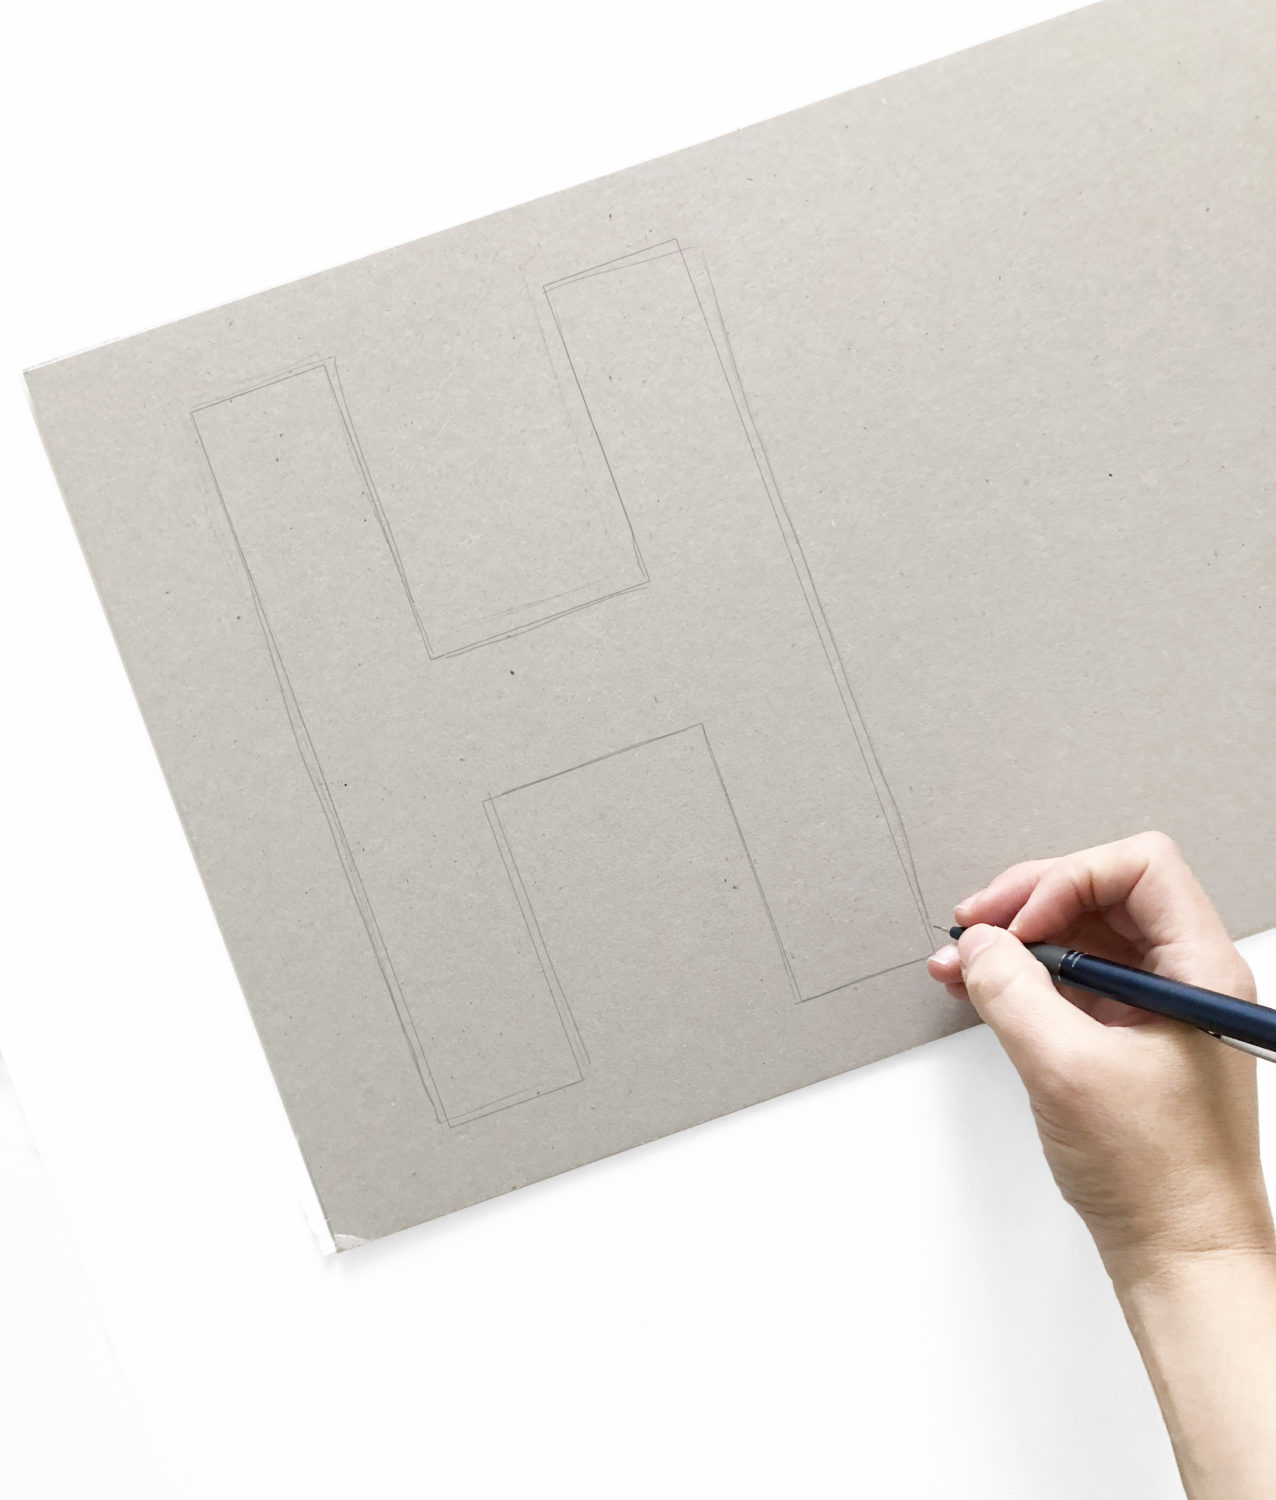
Draw your letter on cardboard. If you aren’t comfortable free-handing letters, print one out on an 8.5 x 11″ sheet of paper, and trace it on your cardboard.
Step 2:
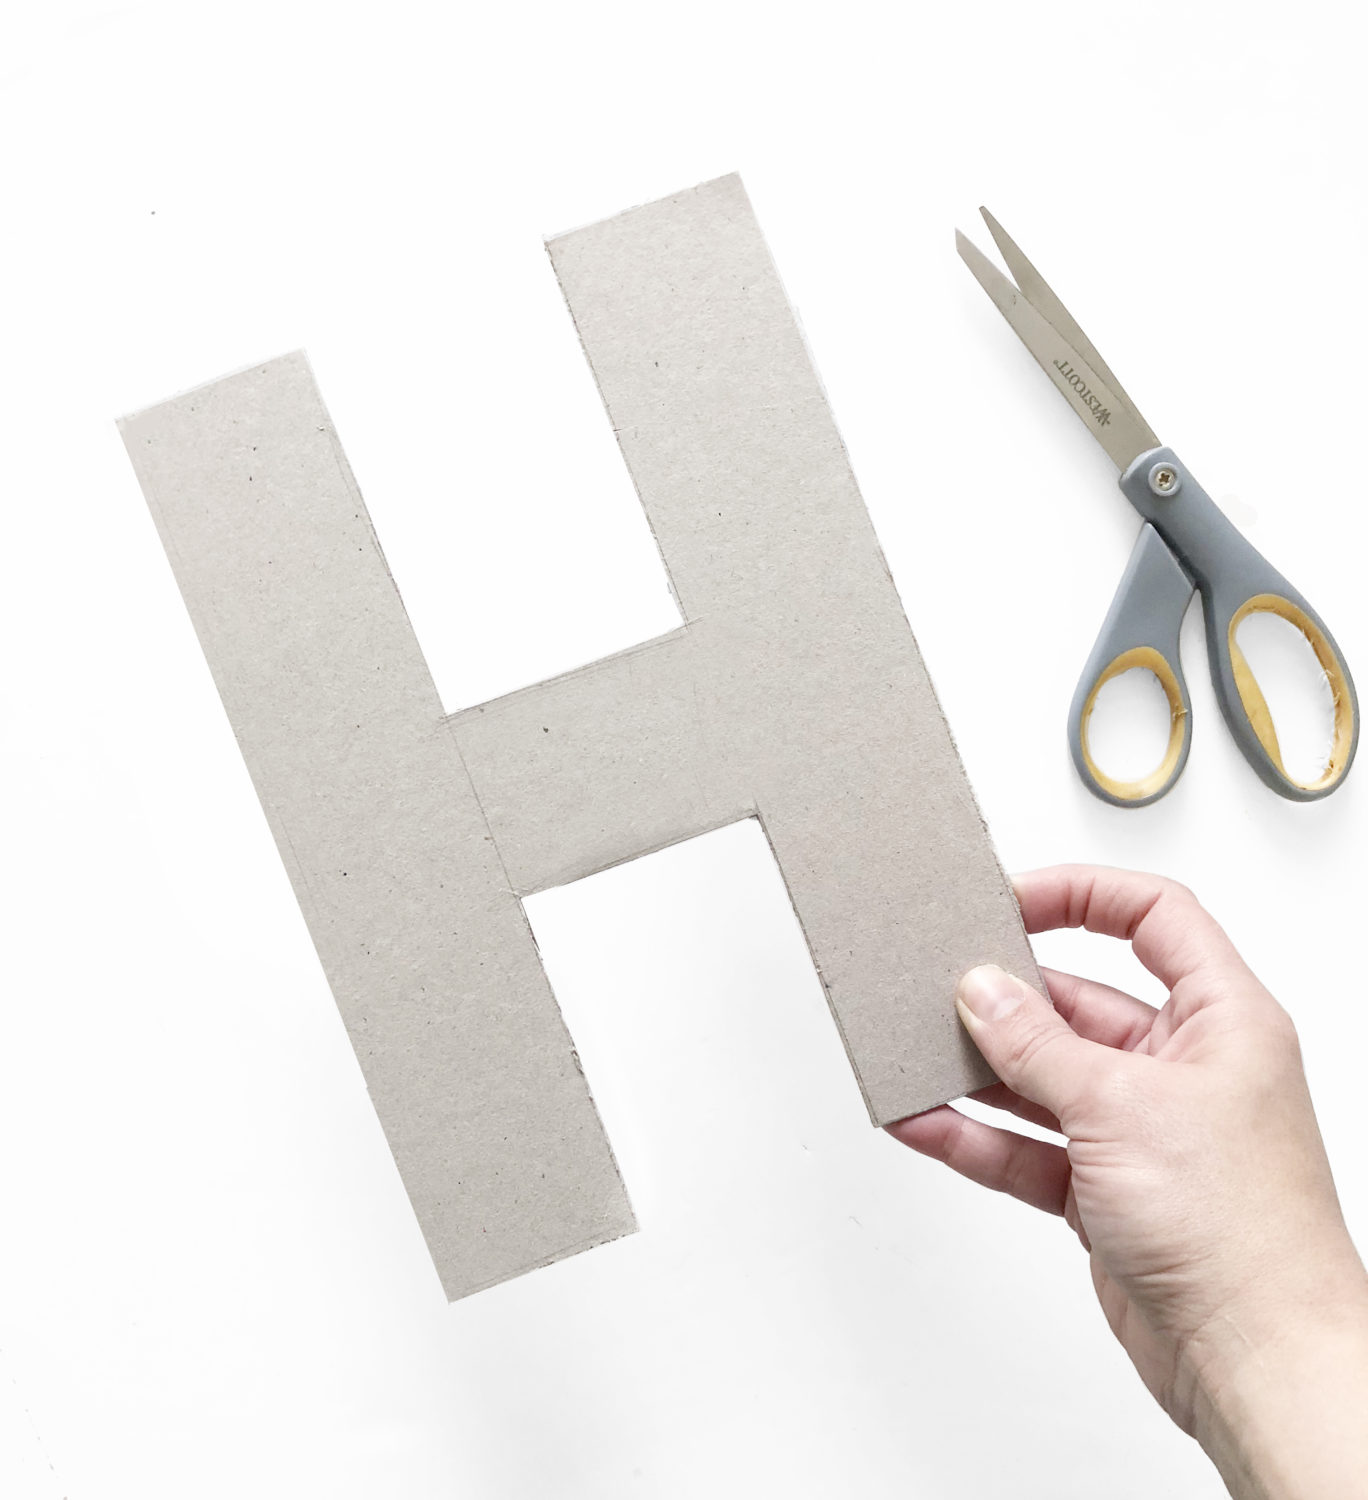
Cut out your letter.
Step 3:

On a sheet of paper, with your Dual Brush Pens, color rectangles of each shade that will appear on your letter.
Step 4:
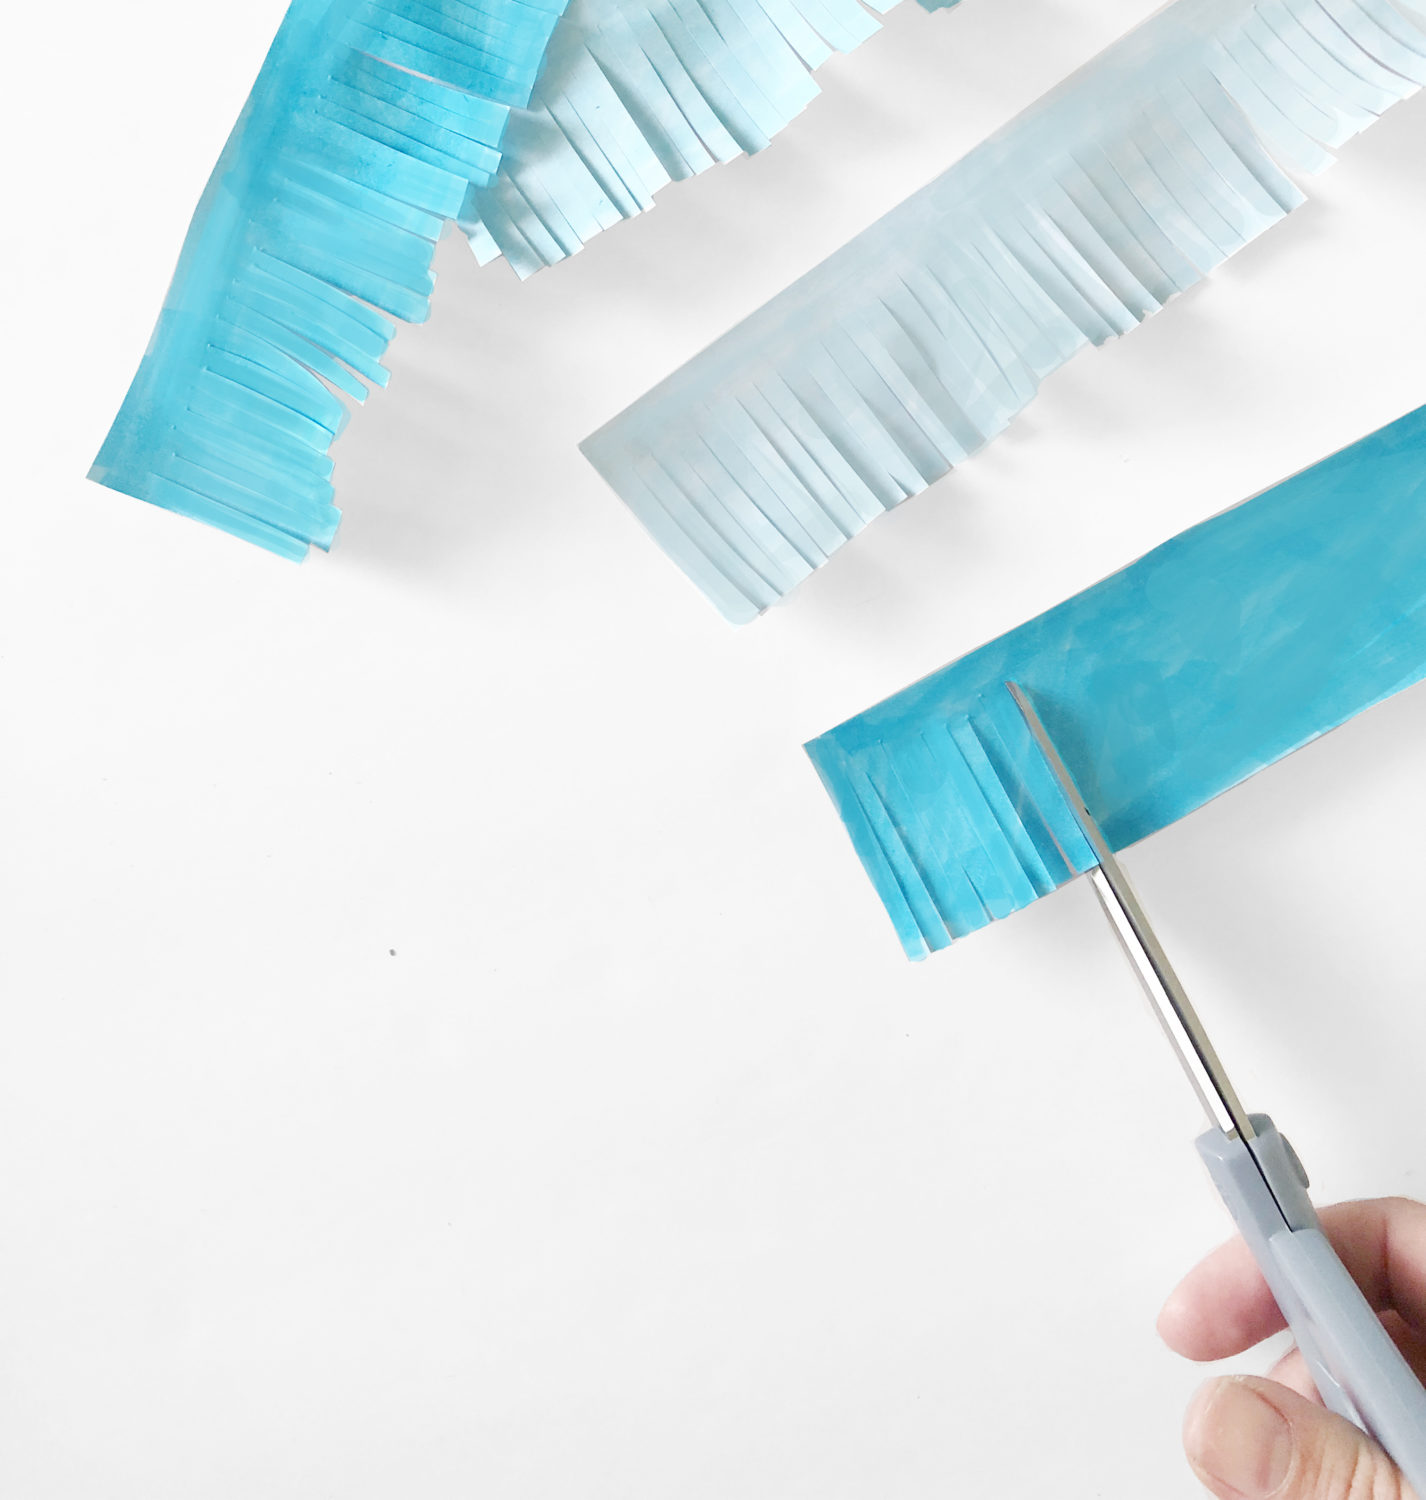
Cut out each rectangle. Cut slits about 1/16 to 1/8 of an inch apart to create the fringe. Make sure you leave about 1/4 of an inch uncut at the top.
Step 5:
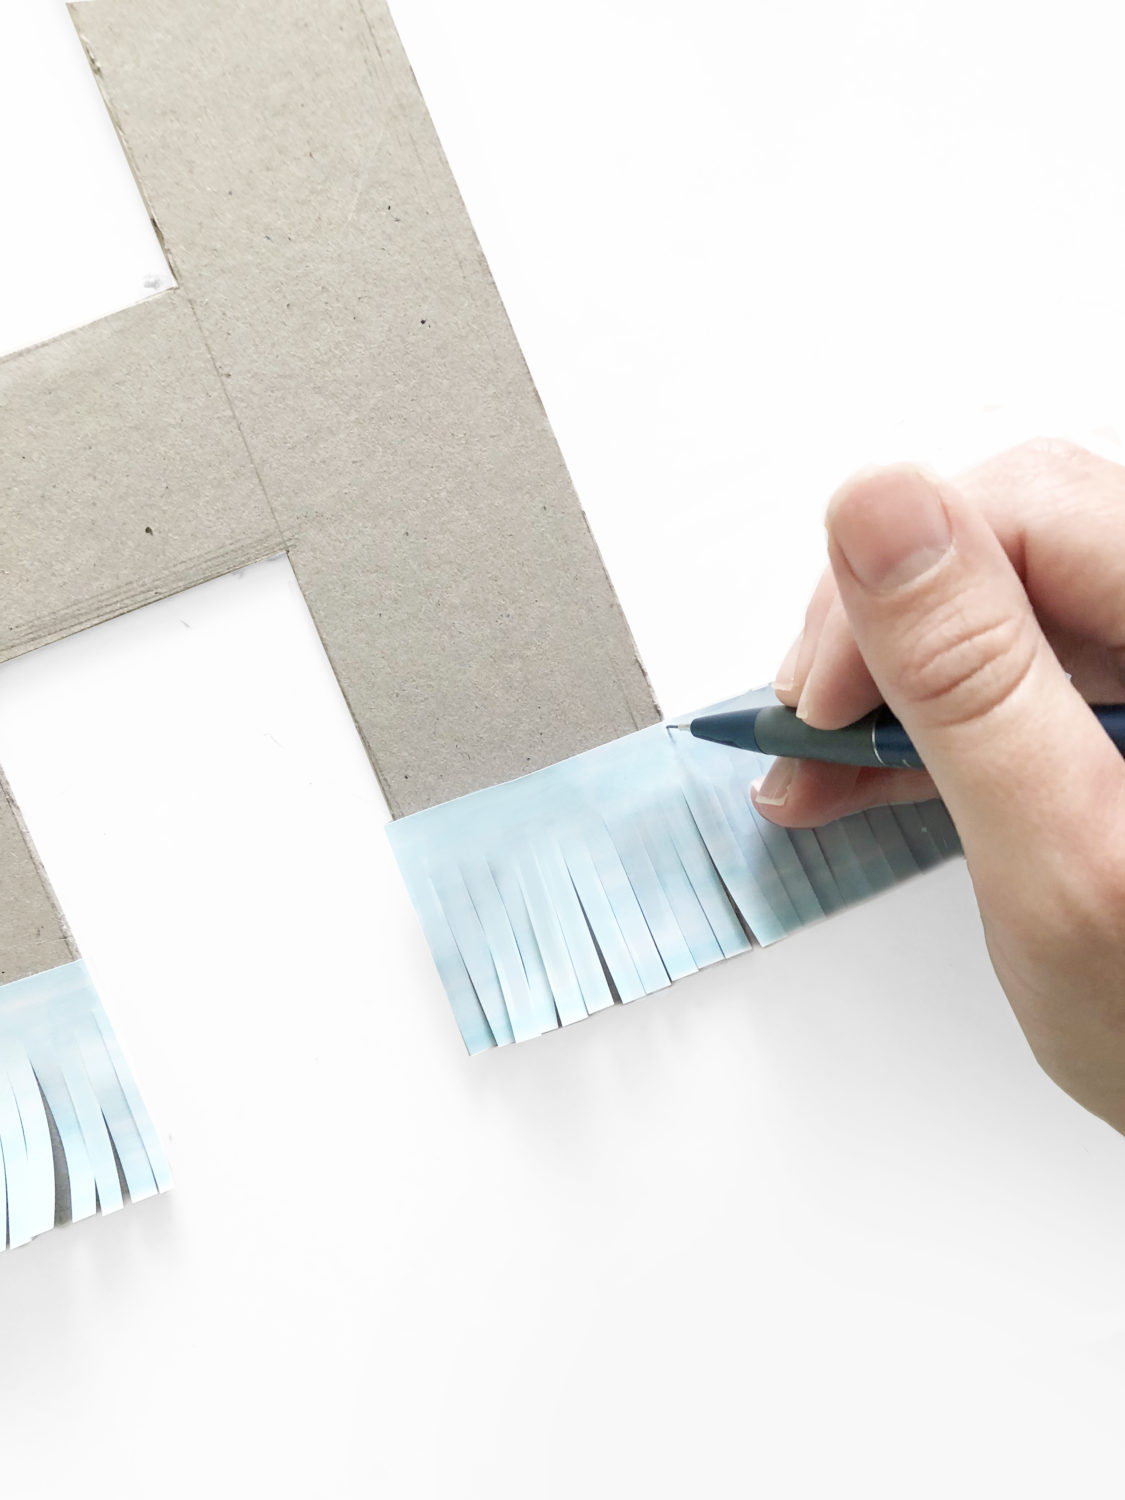
Place the fringe on top of your letter and measure the length you need.
Step 6:
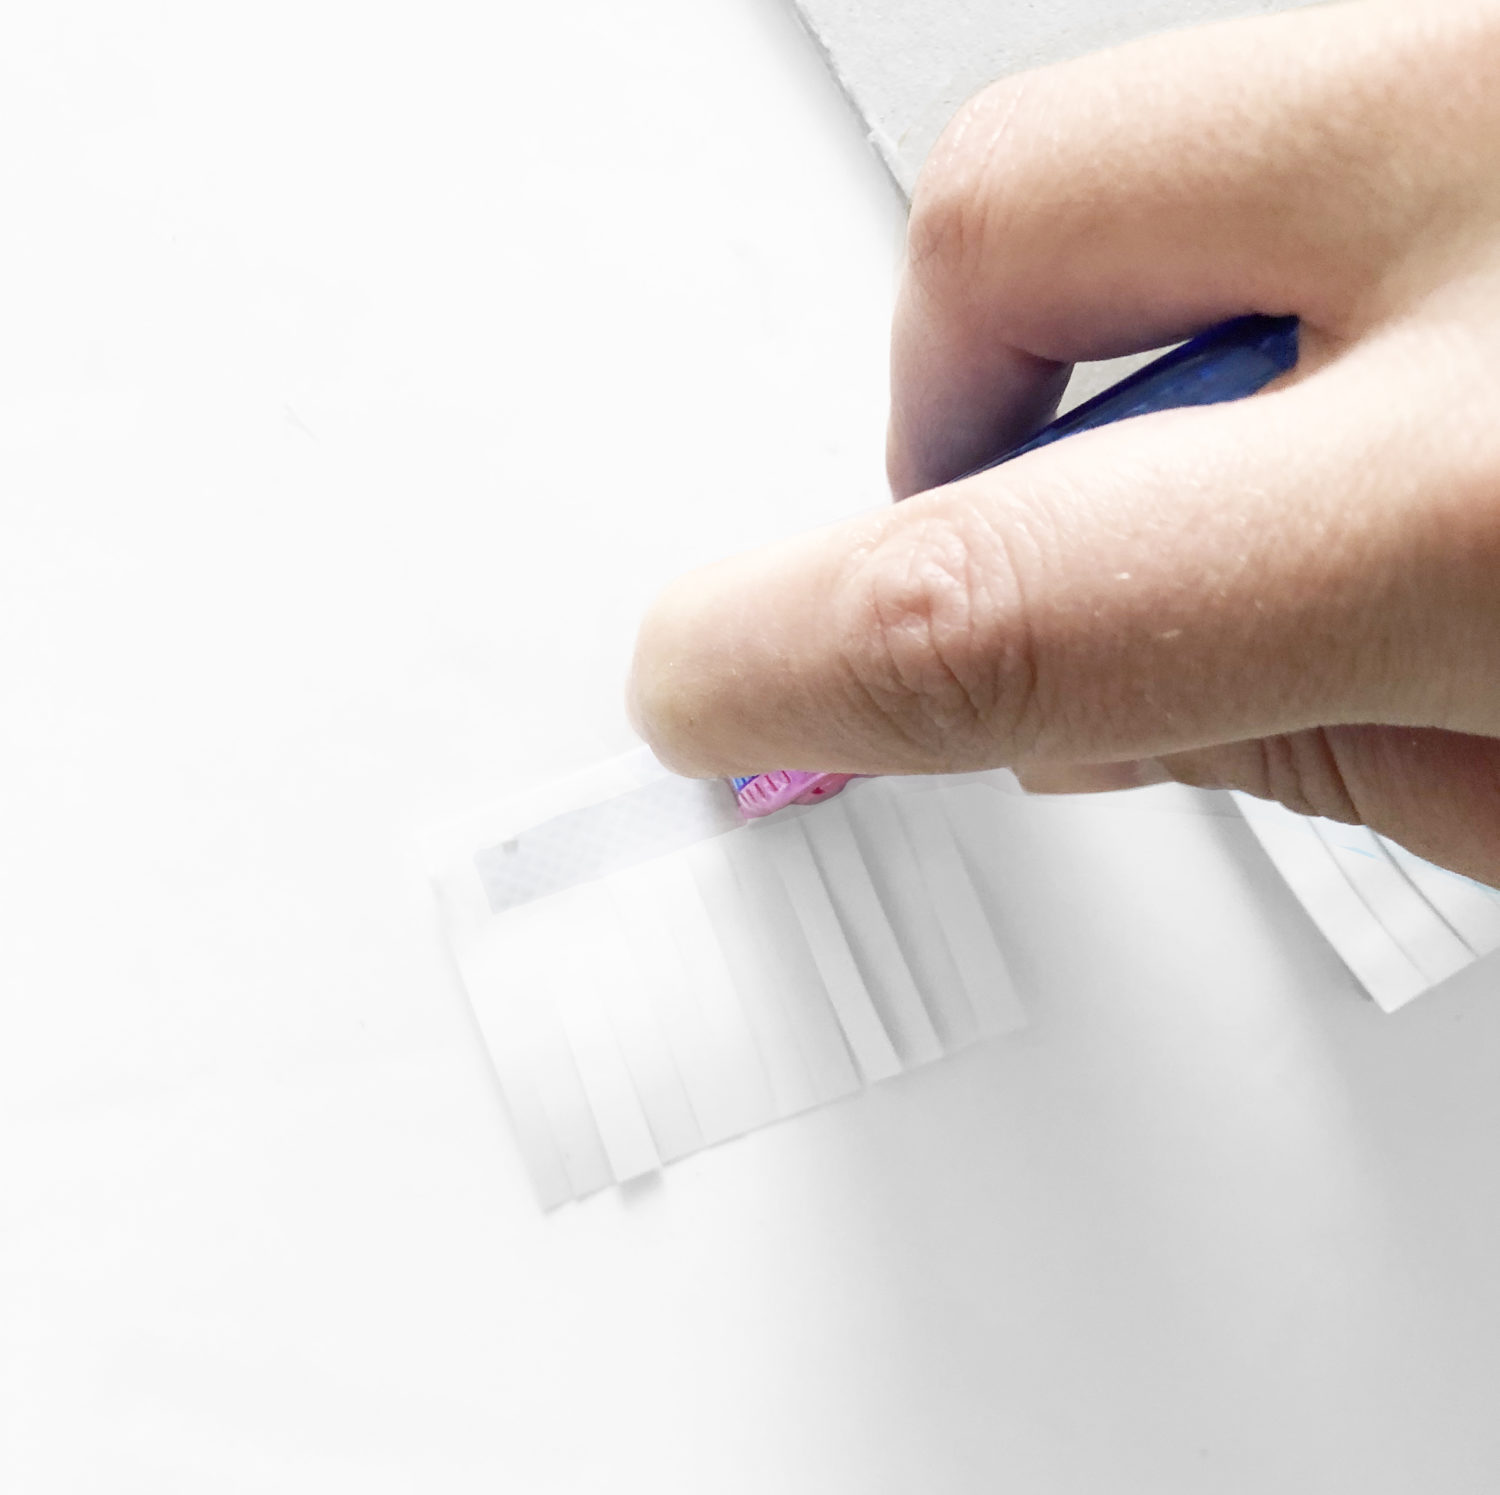
Add Tombow MONO Dots Adhesive to the backside of your fringe. This adhesive is initially re-positionable, so you can lift and reposition if needed. After a few minutes, the bond will become permanent so you don’t have to worry about the fringe falling off!
Step 7:
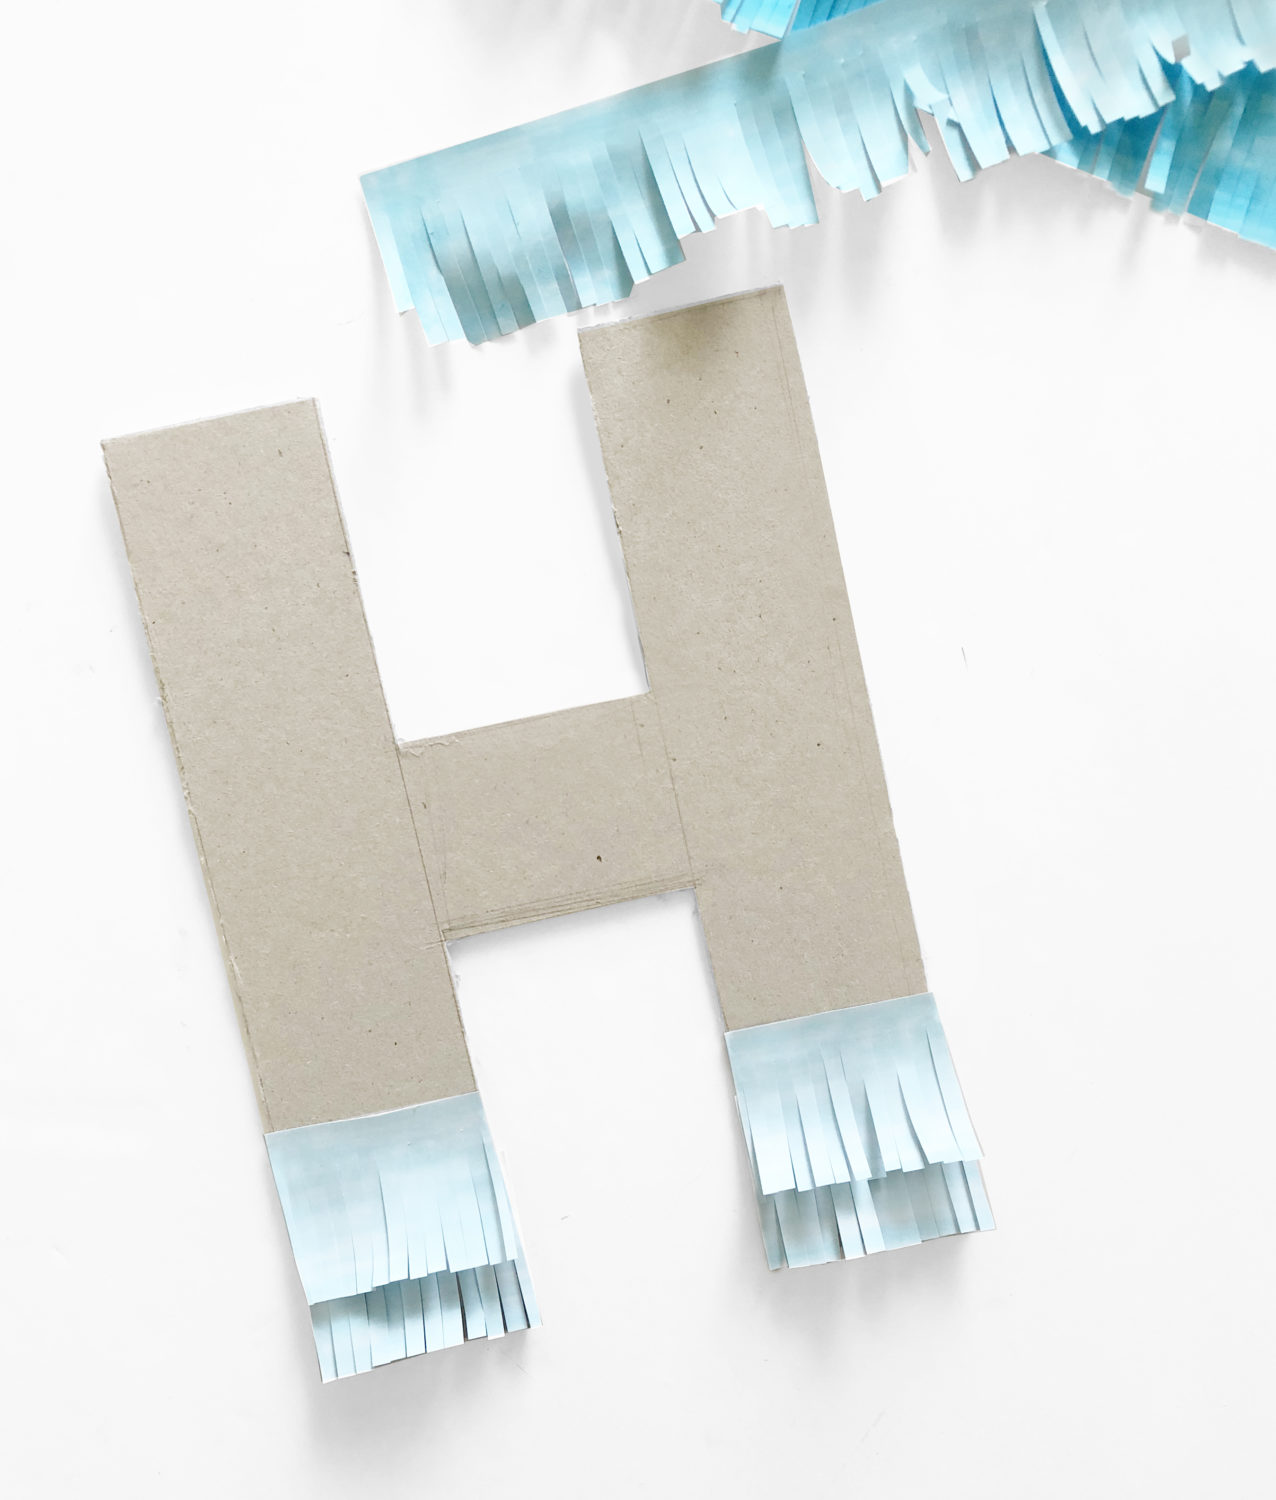
Adhere the fringe to the letter. There will be two rows of fringe in each color. Overlap the fringe pieces by about 1/2.
Step 8:
Continue adding the fringe, until all your colors have been applied.