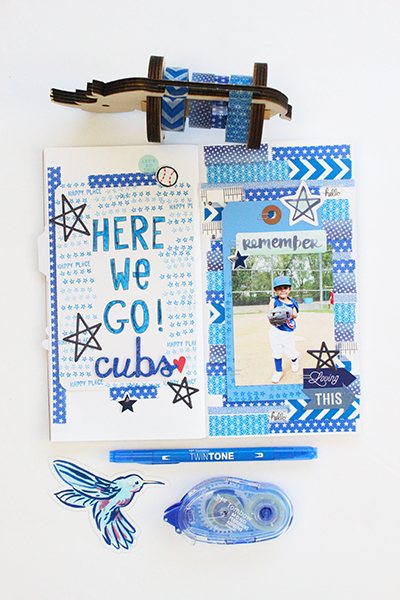
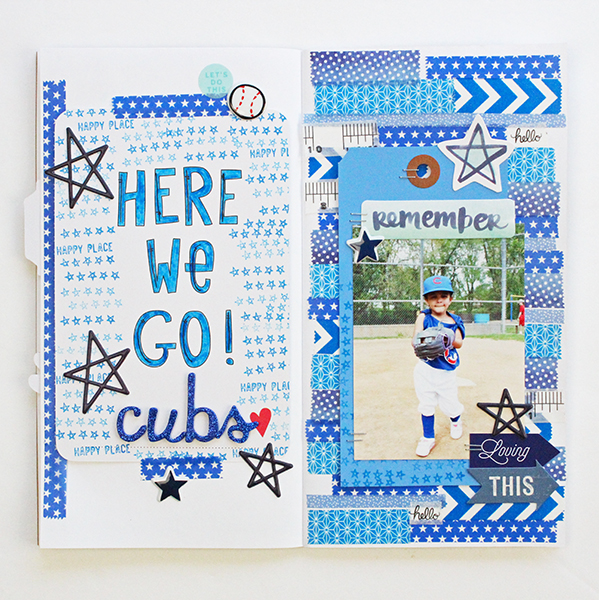
Hello Tombow Fans! This is Jennie! This week we are taking a trip on a rainbow. It’s my turn to guide you through blue. I’m going to teach you how to make an easy washi tape background. I made a traveler’s notebook spread. But you could use this idea for a scrapbook layout, a card or to make you own embellishments like alphabet die cuts.
Materials:
- Traveler’s Notebook
- Tombow MONO Permanent Adhesive
- Washi Tape
- Tombow TwinTone Dual Tip Markers
- Embellishments
- Tombow Xtreme Adhesive

Step One:
Use only one washi tape. Cut small pieces and place them randomly on the page. Choose another one and repeat the process. Repeat the process until the page is full. I also used black and white washi tape in some of the areas.
Step Two:
Use the Tombow Xtreme Adhesive to glue the tag on the washi tape background. This is a difficult texture to glue on so this is the best adhesive for the job.
Step Three:
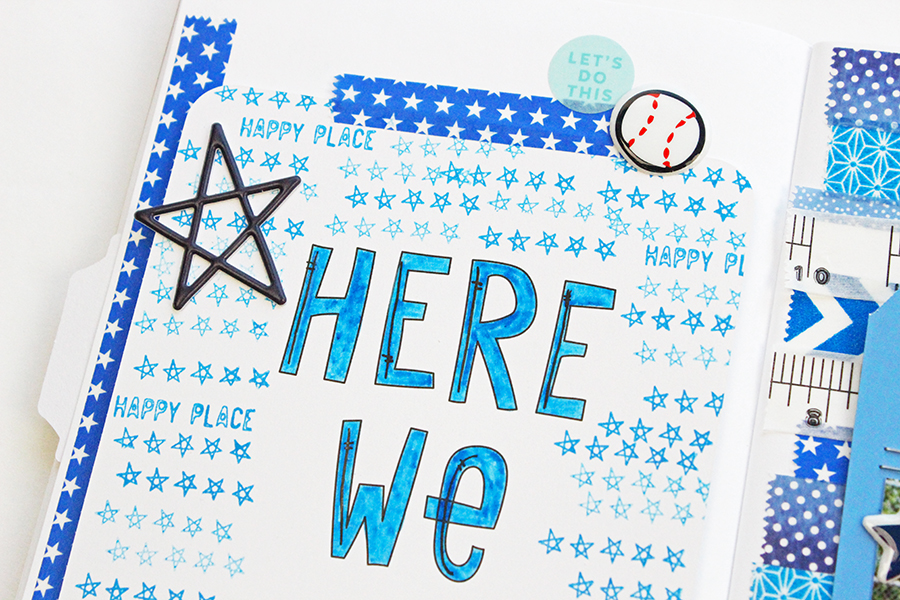
Using the Tombow TwinTone Dual Tip Markers I colored the letters in the 4×6 Project Life Card. I used the Tombow MONO Drawing Pen 03 to draw lines to add texture.
Step Four:
Stamp around the card to add an extra detail.
Step Five:
Finally add Embellishments around the page. I used a mix of Amy Tangerine’s products and stickers from Target. Also glue the embellishments with the Tombow MONO Permanent Adhesive.
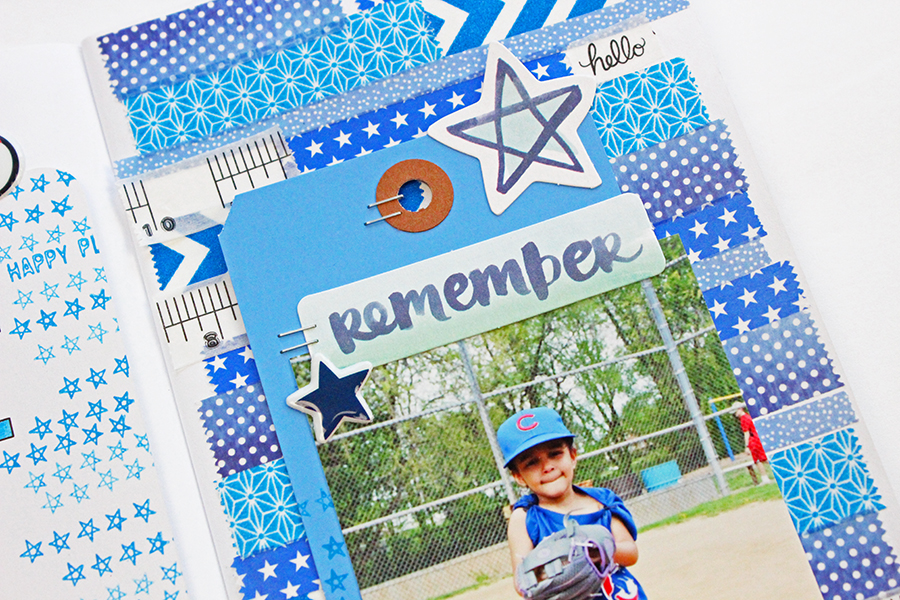
I thought it was going to be hard to create a project using only blue but finding this photo boosted my creativity!
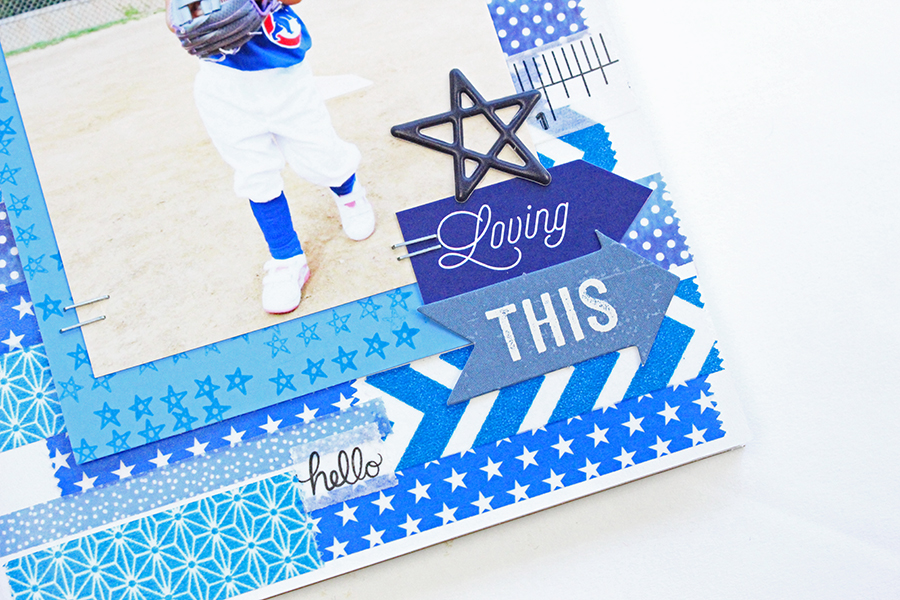
Make sure you use that washi tape! Every crafter has many rolls waiting to be used! I hope you enjoyed these pages!

Pingback: How to Make a Washi Tape Gallery - Tombow USA Blog