Hey Tombow Fans! This is Jennie and today I’m going to share with you 7 Easy Ways to Make DIY Alphabet Letters! Take out your die cutting machines! We are going to start super basic.
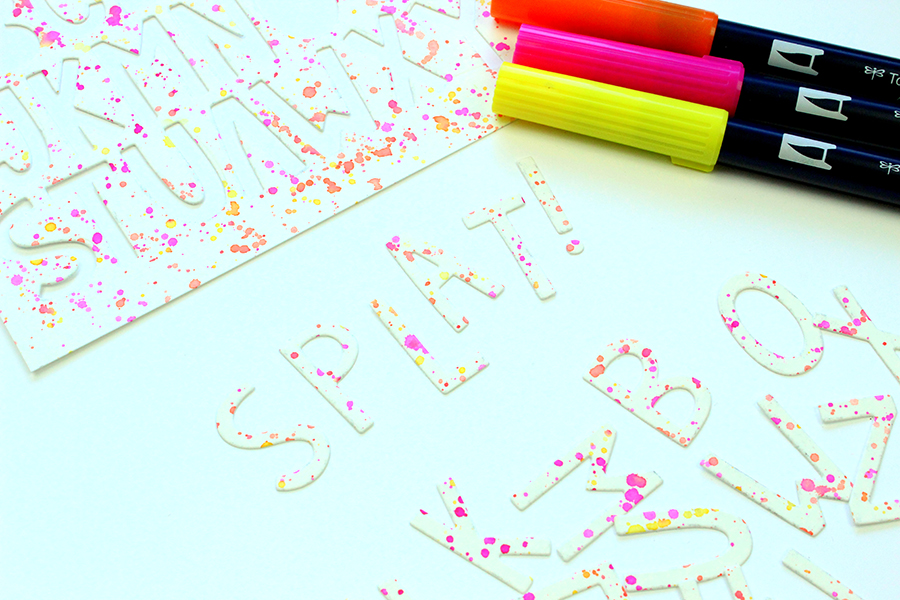
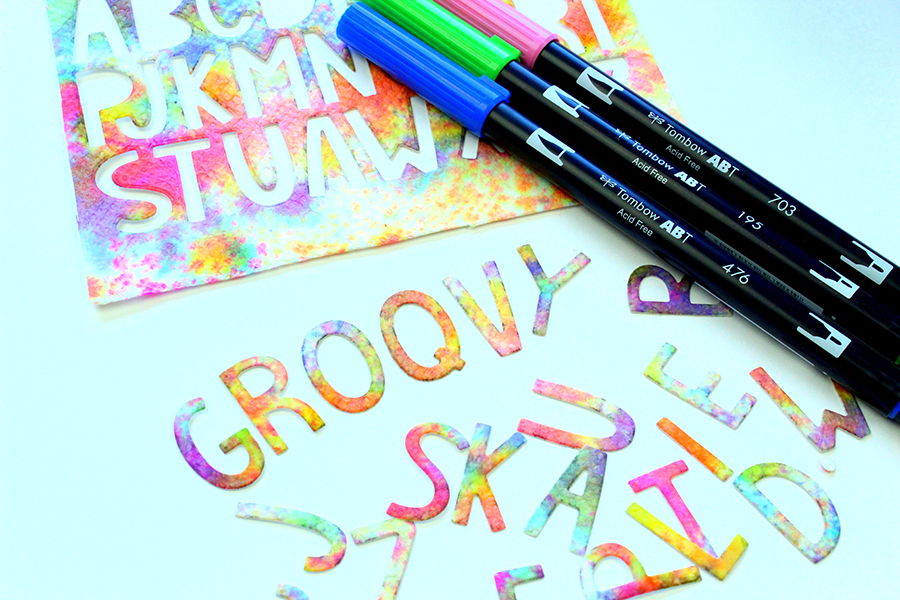
DIY Alphabet #1: Blending Kit + Dual Brush Pens + Watercolor Paper
I love to make splash backgrounds with the Tombow Blending Kit and Watercolor Paper. Just scribble ion the Tombow Blending Palette using the Tombow Dual Brush Pens, spray water with the mister and place the paper on top. Depending on how much water you put on the Blending Palette the effect will be a lot different. You could try to recreate the same formula to create the same effect and every time it will be different. Let it dry and die cut it with an alphabet die.

DIY Alphabet #2: Blending Kit + Dual Brush Pens + Watercolor Paper + Watercolor Brush
This technique is very subtle. Just scribble with the Tombow Dual Brush Pens on the Blending Palette, spray a little water and pick it up with a watercolor brush and hit the brush to create splatters on the page.
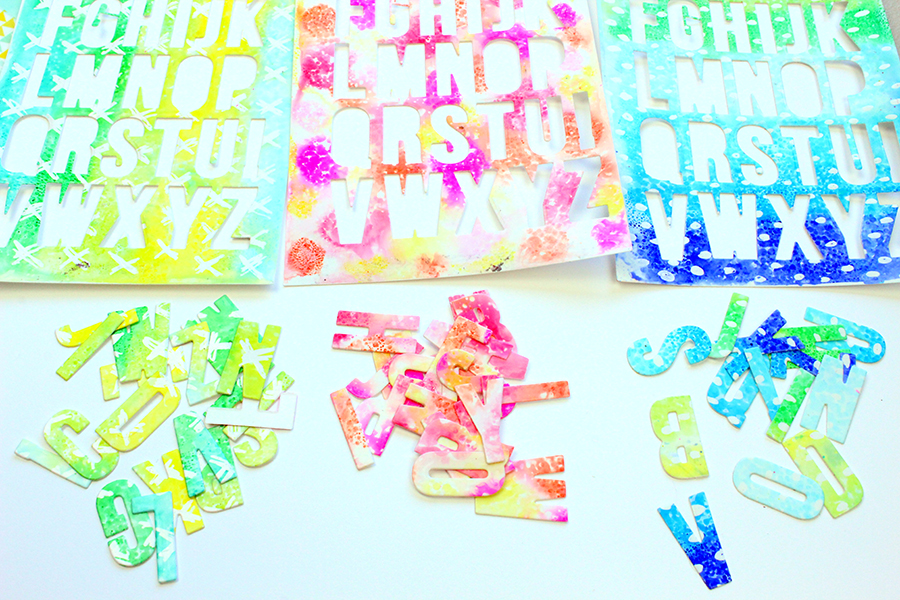
DIY Alphabet #3: Blending Kit + Dual Brush Pens + Photo Paper
This technique is similar to the first one. This is a splash technique on photo paper. The photo paper picks up the color immediately and stays where it was placed first. If you make a pattern it will transfer to the photo paper almost exactly as you drew it. In the paper on the center I made circles and sprayed water until I saw small drops. If you don’t want to see little circles use a lot of water.
DIY Alphabet #4: Blending Kit + Dual Brush Pens + Photo Paper + MONO Glue Pen
This technique is a variation of the last one. Draw a pattern using the Tombow MONO Glue Pen. Let the glue dry. Scribble on the palette, spray water and pick up the color with the photo paper.
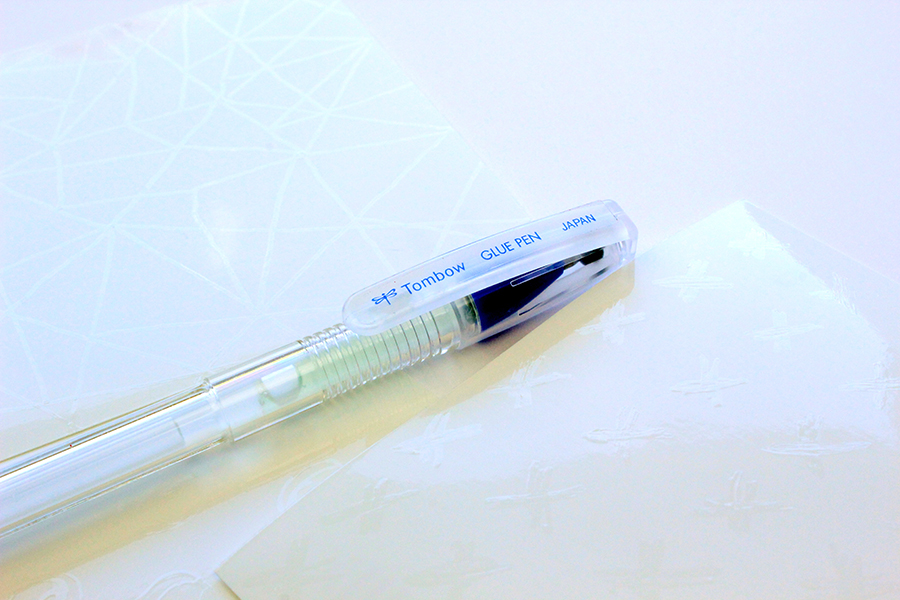
You can try many fun patterns with the MONO Glue Pen.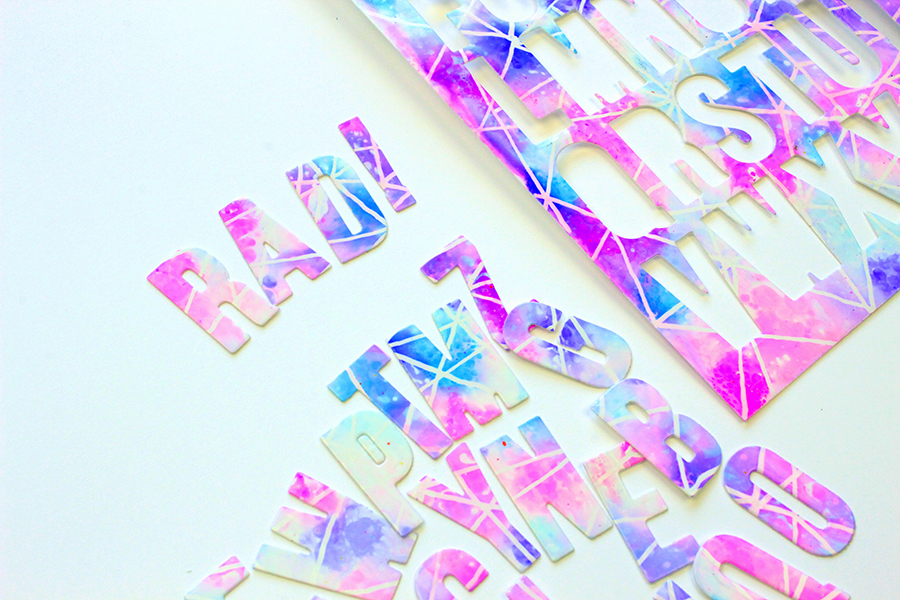
In this one I just drew circles.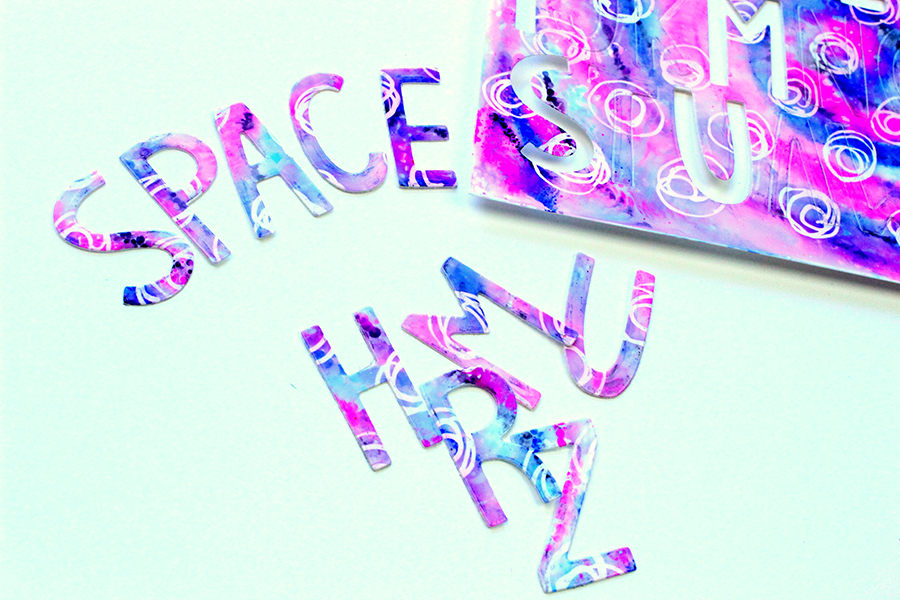
DIY Alphabet #5: Blending Kit + Dual Brush Pens + Paper Towel + MONO Aqua Liquid Glue +Watercolor Paper
This is the paper towel I used to clean the Blending Palette. Let it dry. I used the broad tip of the Tombow MONO Aqua Liquid Glue to apply glue on a piece of watercolor paper. I put the paper towel on top and let it dry. When I’m sure it’s dry I die cut it.
DIY Alphabet #6: Cork + Stamps + Inks
Stamp on the cork. Let it dry. Just in case use a tissue paper between the cork and the die. My ink stained my die and it was really hard to clean. It also depends on the type of ink you use.
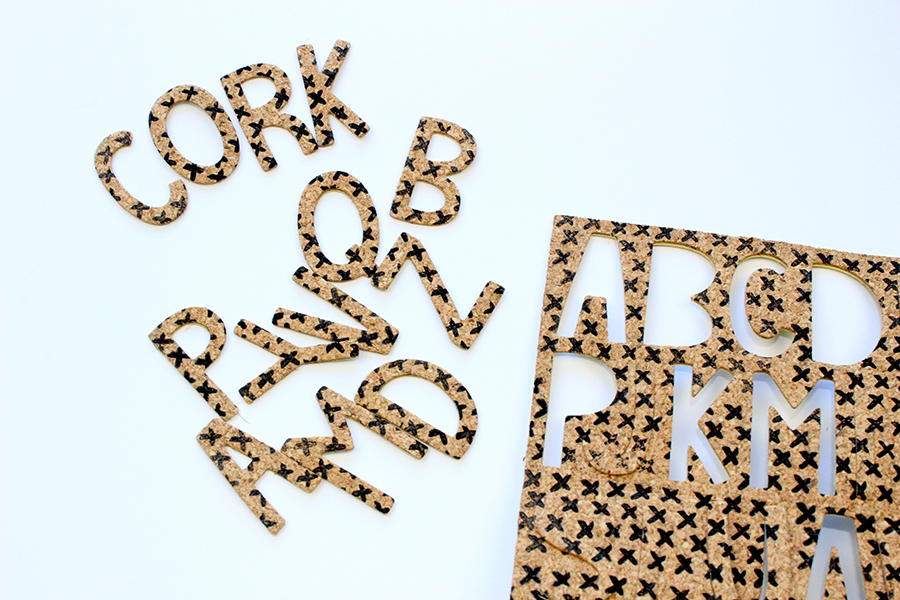
Use small repetitive patterns, something that you can see once you cut the letters. 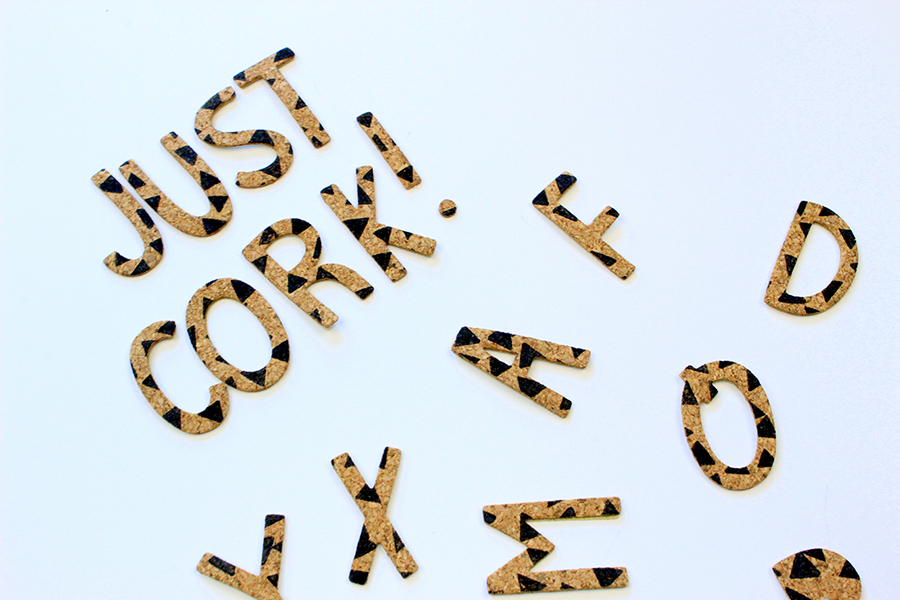
DIY Alphabet #7: Washi Tape + Cardstock
Just align strips of washi tape on a piece of cardstock and die cut. For these letters I placed the washi in a vertical pattern.
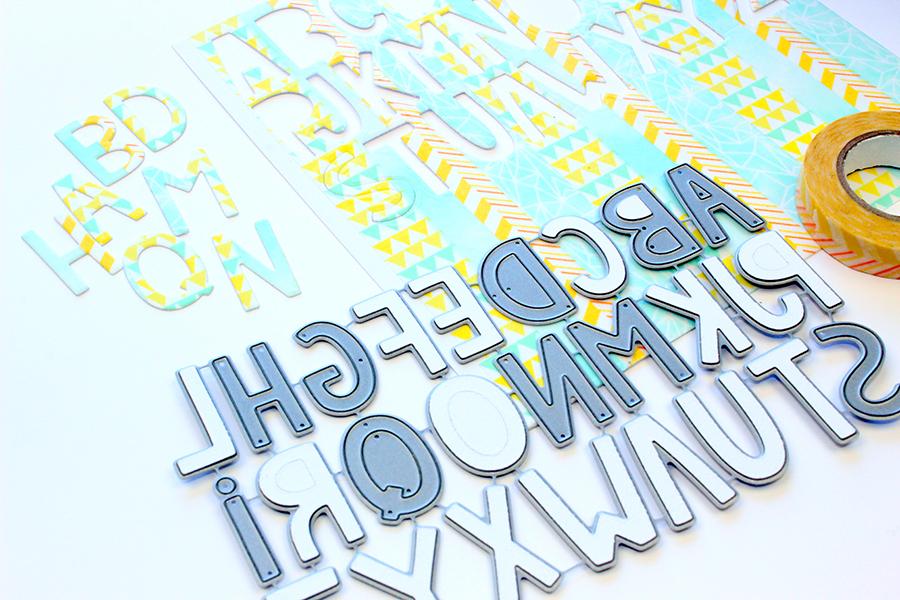
In this piece of paper I used skinny washi and lots of different colors and patterns. I placed the washi horizontally. 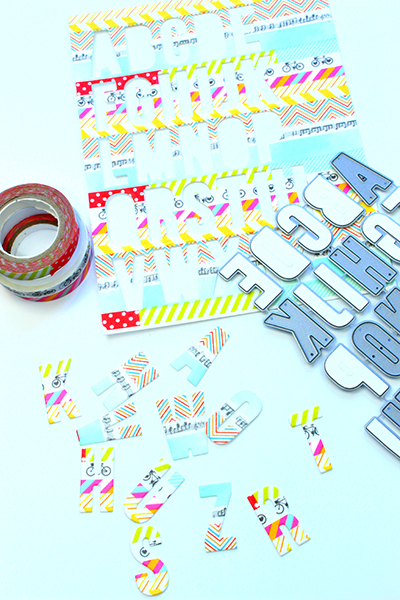
A little advice, run your dies through your manual die cutting machine a few times. If it’s a really thick material consider running it 5 times or more. Have fun with your DIY Alphabet Letters! Let me know which one is your favorite! If you try it make sure you share it with me on social media. I’m @jenniegarcian on Instagram!
Pingback: Make An Easy Washi Tape Background! - Tombow USA Blog