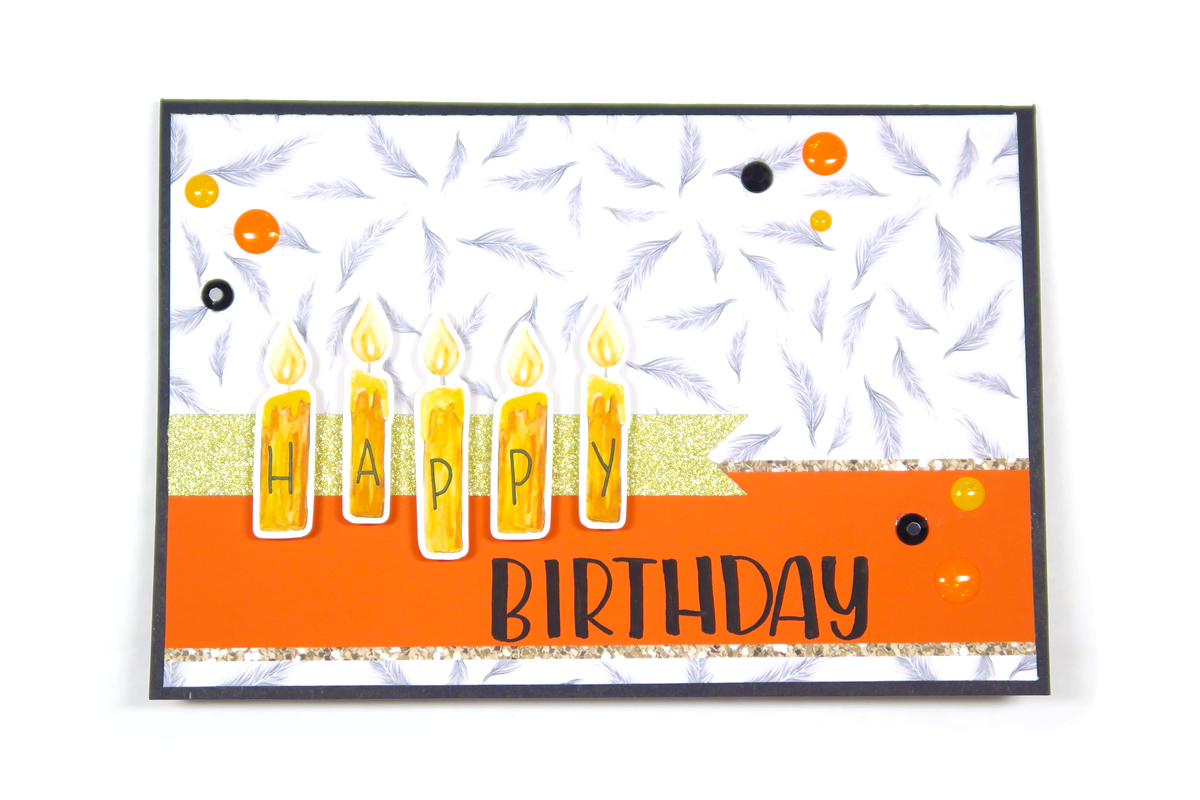
Hi crafty friends! Dani from PopFizzPaper here today sharing how to diy an easy birthday card! I’m using my Scary Harry Halloween collection today because I think the candles work perfectly for a magical birthday card! I’ve included a process video at the end of this post if you want to see this card being created. Let’s get started!
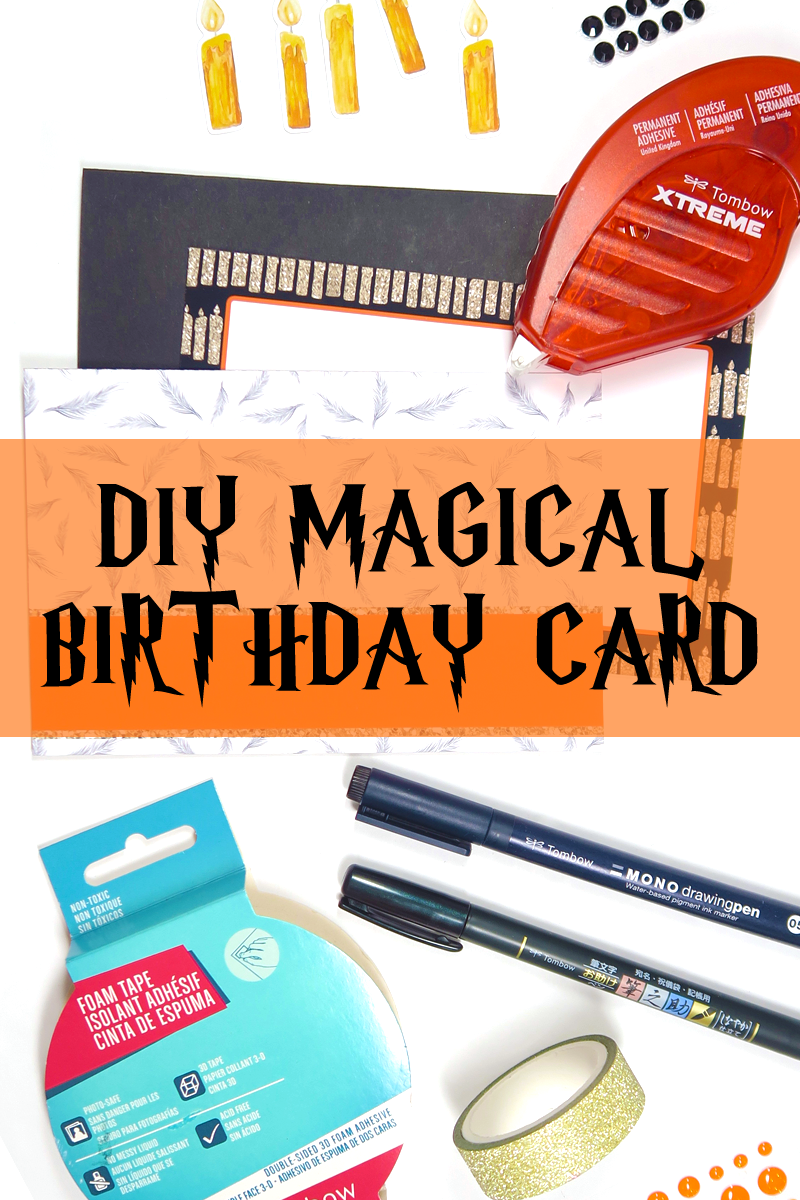
SUPPLIES:
- Tombow MONO Drawing Pen in 05
- Tombow Foam Tape
- Scary Harry Halloween digital collection
- Black cardstock
- Tombow Fudenosuke Brush Pen, soft tip
- Tombow Xtreme Adhesive
- Washi tape and enamel dots
STEP ONE
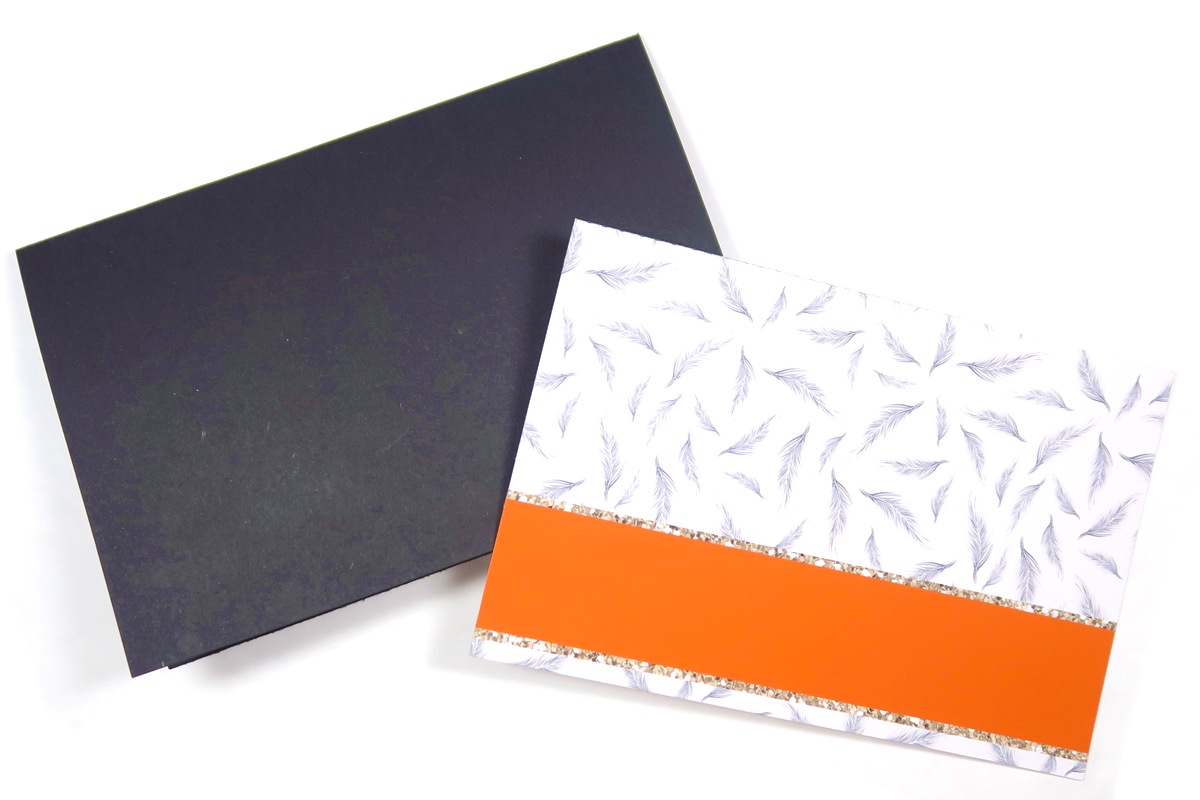
To get started, cut your cardstock to 6.25″ x 8.25″, then score and fold along the long side. This will become the card base. Next, print off one of the 4×6 journaling cards from the Scary Harry Halloween collection. I chose the one with a wide orange strip along the bottom so I have room to add my card sentiment.
STEP TWO
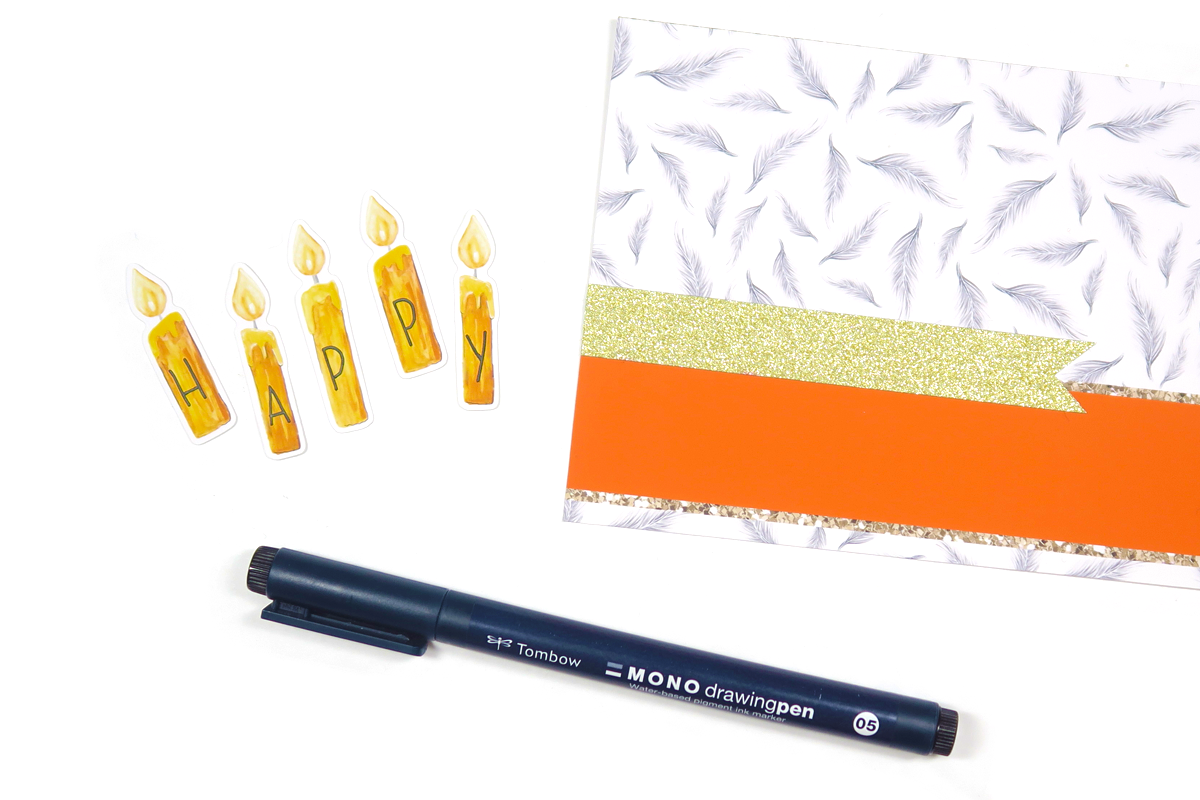
Also print and cut out the candle images from the elements sheet included in the collection. I wrote out “HAPPY” on the candles with the Tombow MONO Drawing Pen in 05, since I want my card to say Happy Birthday. If you want, add a strip of washi tape to your card for some extra sparkle.
STEP THREE
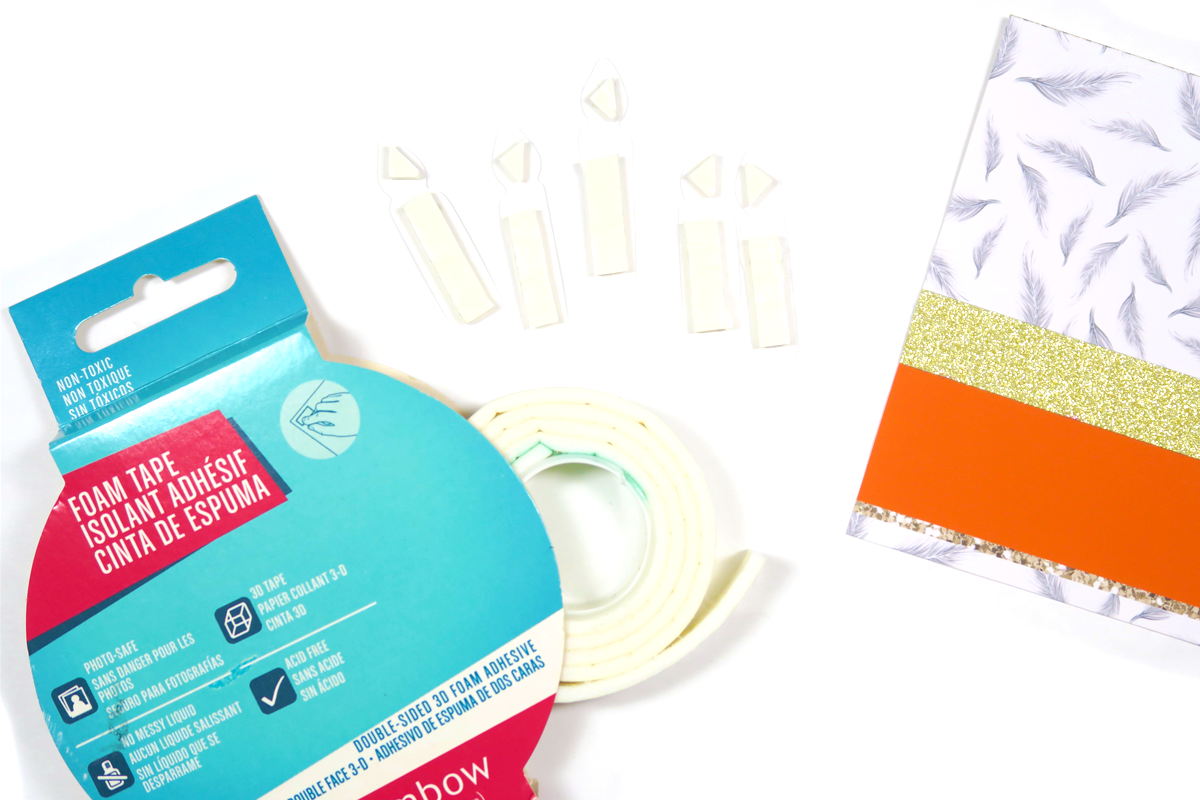
Next, let’s get these magical candles floating! The Tombow Foam Tape is perfect for creating dimensional embellishments on the front of cards, so I added small strips of the Foam Tape behind my candles. I love this adhesive because I can cut it down to any width or shape I need. It also works great on top of glitter washi, which is notoriously hard to glue things down on to!
STEP FOUR
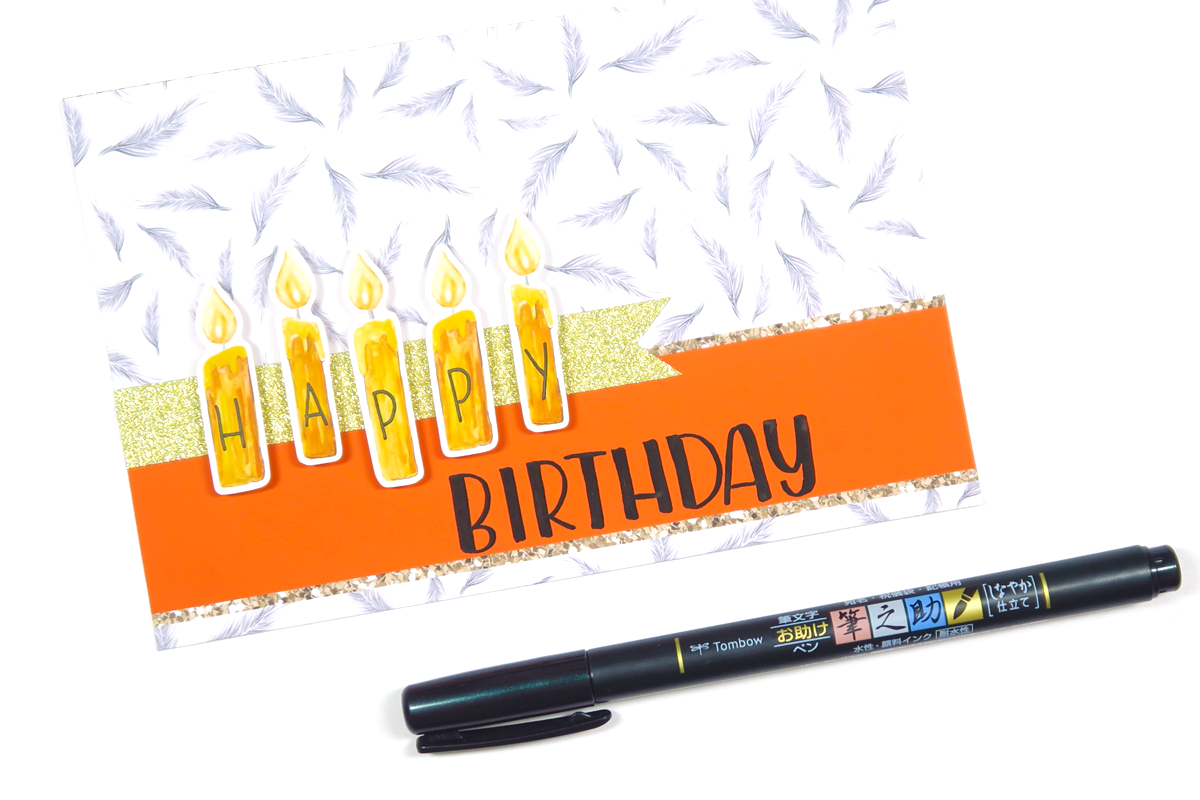
The card is coming together! See how fun the floating candles are? I think they tie in nicely, too, with the floating feather pattern on the journal card. But now it’s time to finish up the sentiment! I used the Tombow Fudenosuke Calligraphy Pen in the soft tip to letter “BIRTHDAY.” If you’re an amazing letterer, I bet you could make this super fun!
STEP FIVE
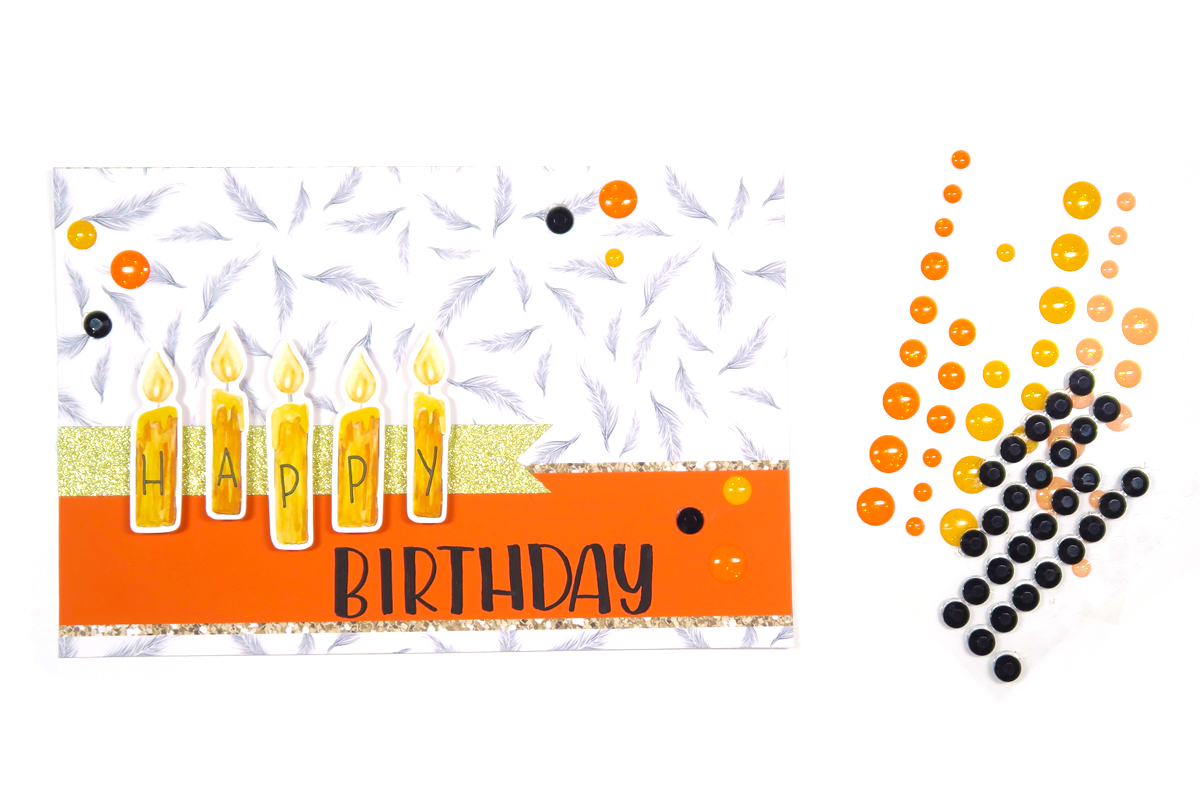
Let’s finish embellishing this card front! I pulled some enamel dots and gemmies from my stash in matching colors. The black gems coordinate with the black lettering, the dark orange is perfect match for the orange on the card, and the golden yellow looks lovely with the candles. I love how it’s all coming together!
STEP SIX
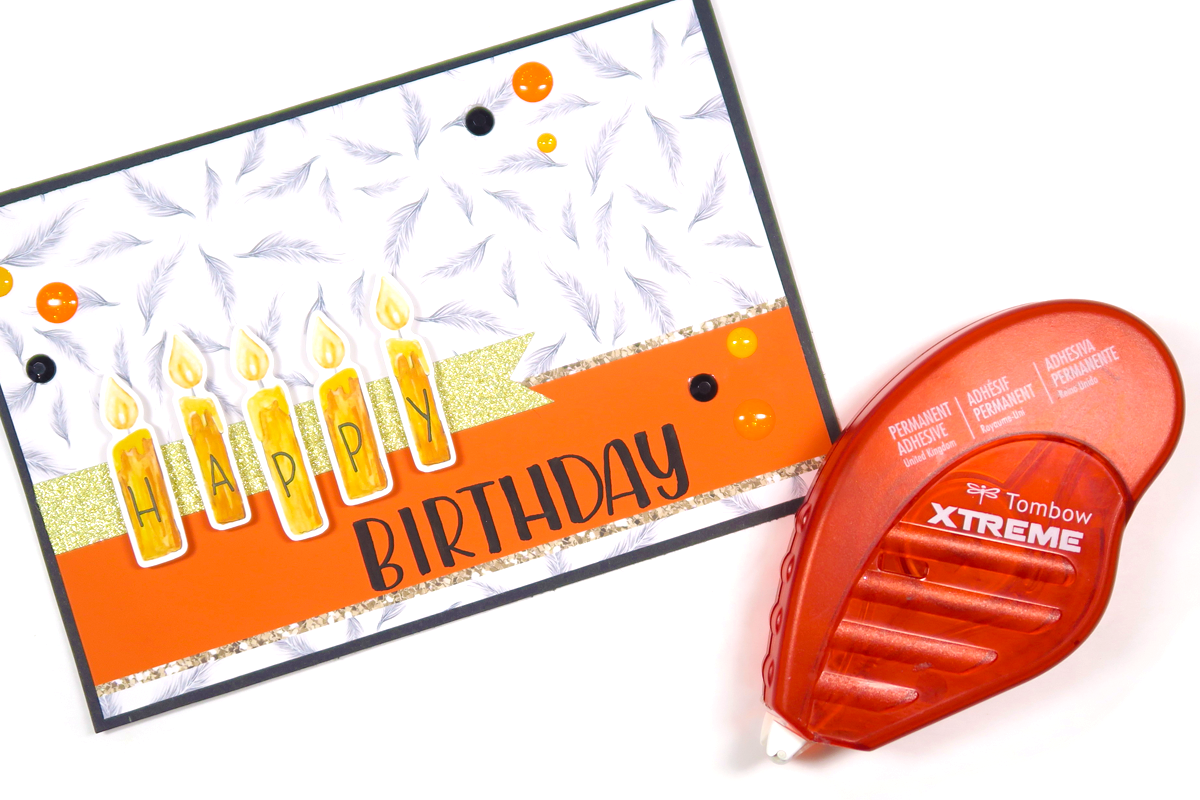
Time to assemble the card! I always reach for my Tombow Xtreme Adhesive to glue front card panels onto the bases because I know it will not budge – good to know for projects that need to survive the mail! I also added another 4×6 journal card to the inside of my card for a space to write, which you can see in the video below.
Thank you so much for following along with my magical card tutorial today! For more cardmaking inspiration, check out this autumnal card by Marie, then see my post about the best adhesives for cardmaking. See you next time!
