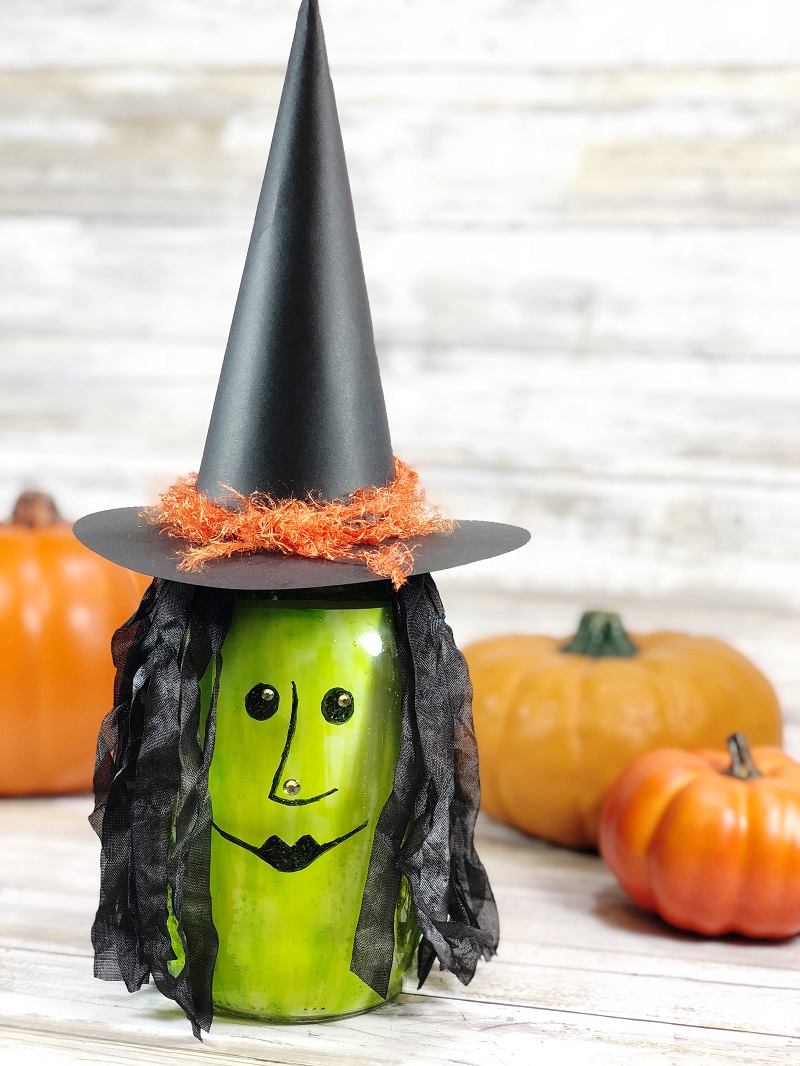
Good morning y’all! Beth with @creativelybeth checking in today to share a fun DIY Witch Mason Jar Lantern project to celebrate Halloween! This quick and easy project goes together is just a few hours. Scroll down to see all the steps and make a witch of your own today!
Here’s What You Will Need to Create a DIY Witch Mason Jar Lantern:
- Tombow Dual Brush Pens – N15, 173 and 195
- Tombow MONO Aqua Liquid Glue
- Tombow Xtreme Permanent Adhesive
- Tombow MONO J Drawing Pencil – 2H grade
- Tombow Blending Kit
- Tombow MONO Twin Permanent Marker
- Mason Jar – quart size
- Hug Snug Seam Binding Ribbon (8 yards); Black Cardstock; Paint Brush; Scissors; Ruler; Rhinestones (green); Fibers (orange);
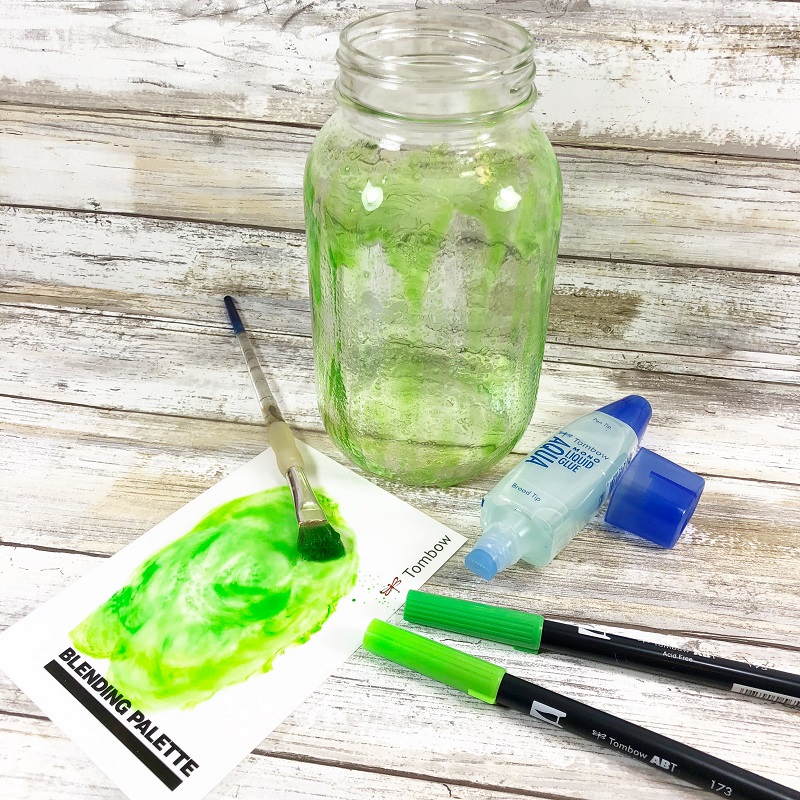
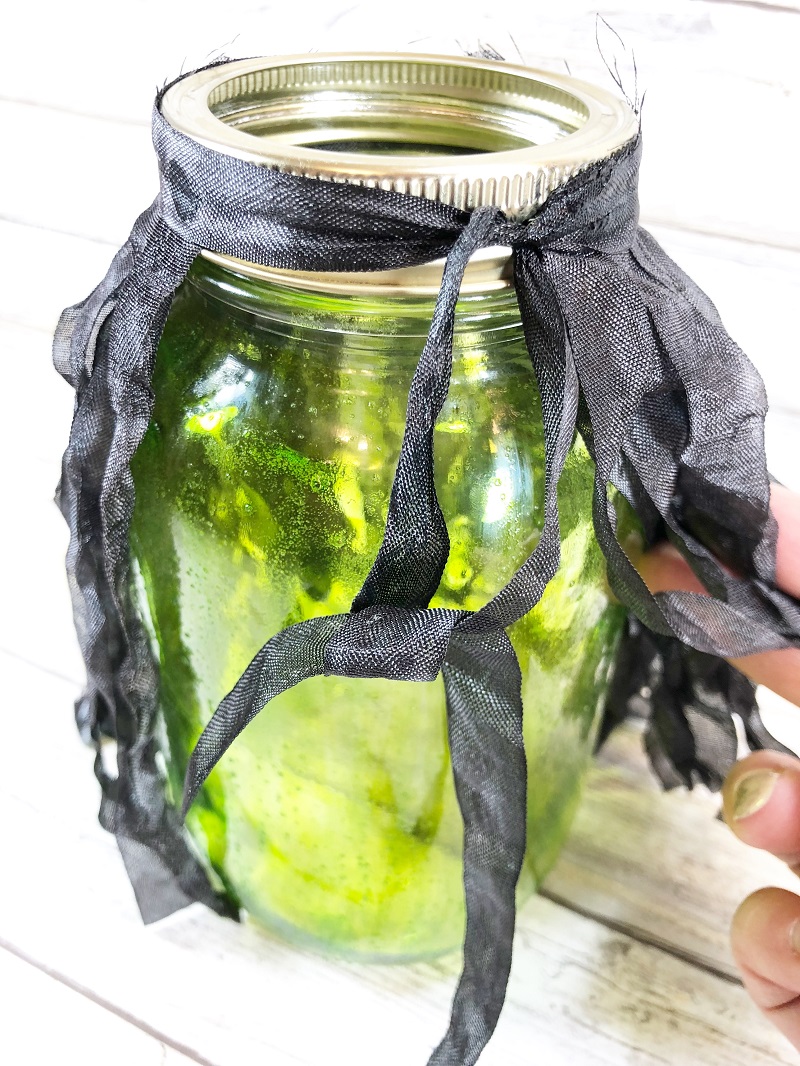
STEP ONE:
Randomly scribble Dual Brush Pens 173 and 195 on the Tombow Blending Palette, then add a quarter size dollop of MONO Aqua Liquid Glue, mix and apply to the outside of the mason jar with a paint brush. Set aside to dry. Apply additional coats, if necessary.
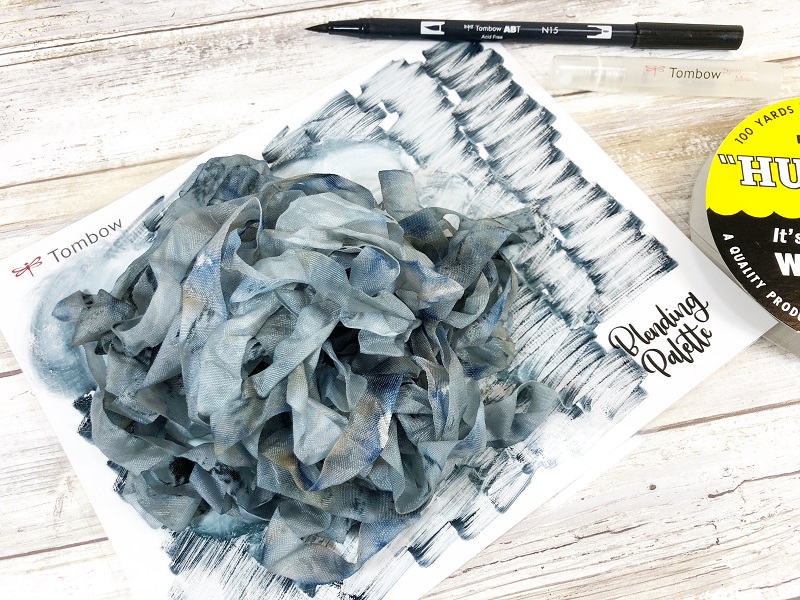
STEP TWO:
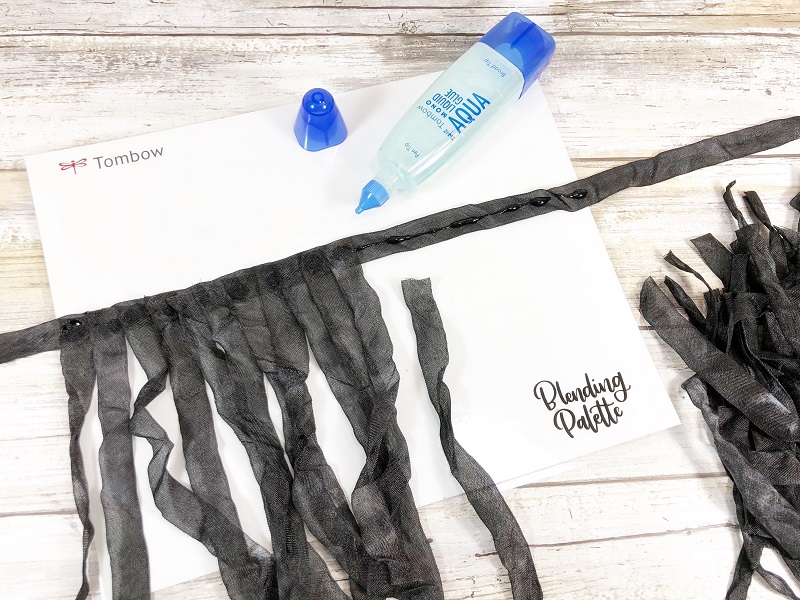
Measure out 8 yards of seam binding. Scribble Dual Brush Pen N15 on the XL Blending Palette, spray with the Spray Mister then scrunch the seam binding into the color. Repeat as needed until you obtain the correct color. Use a glove or plastic bag to prevent transferring the ink color onto your hands. Set aside to dry.
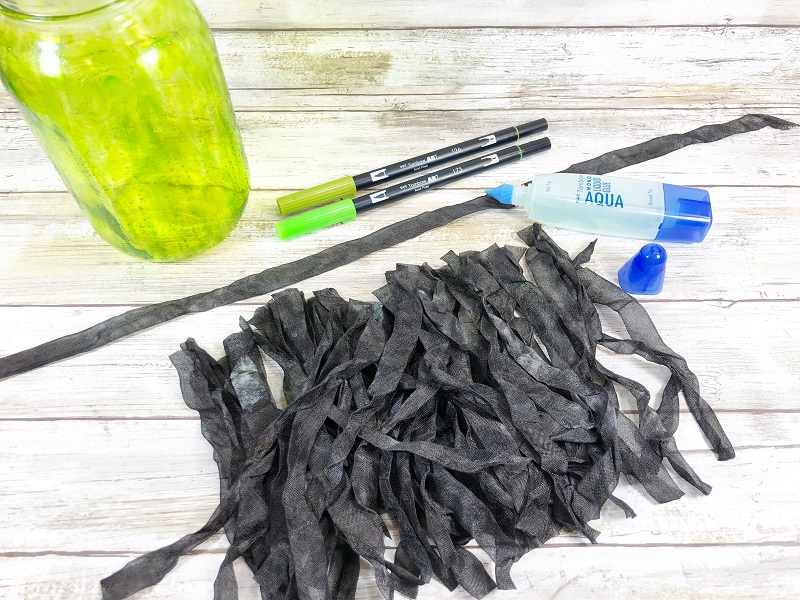
STEP THREE:
Measure and cut one length of the dry seam binding ribbon to 24″ long and then cut thirty lengths to 7″ long.
STEP FOUR:
Measure around the neck of the mason jar and subtract 2-inches for the face. My jar neck was 9-inches, so I attached the short lengths of seam binding to a 7-inch length of the seam binding with MONO Aqua Liquid Glue. Allow glue to dry and attach a second row of short lengths over top of the first row.
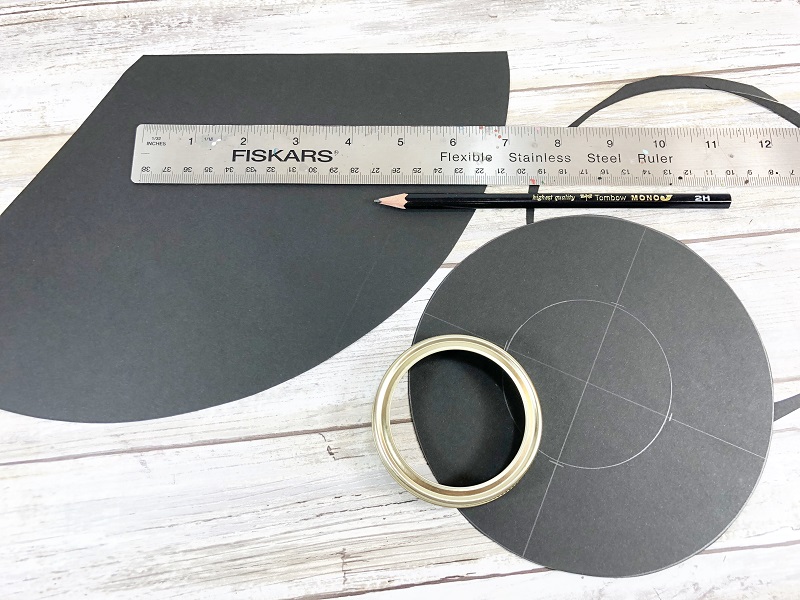
STEP FIVE:
Measure and cut a 6-inch circle of black cardstock. Plot out the center, trace the jar lid rim and cut out with a craft knife on a self-healing mat. Measure and cut a 6-inch by 12-inch triangle from black cardstock that will become the witch’s hat.
STEP SIX:
Once dry, tie the witch’s hair around the neck of the jar, with the knot to the side.
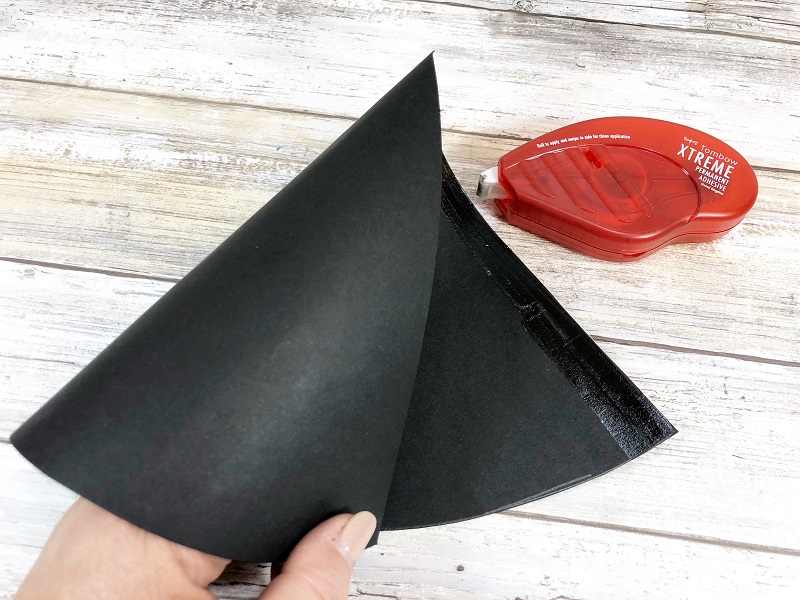
STEP SEVEN:
Apply Tombow Xtreme Permanent Adhesive to the edge of the triangle, remember to roll and then swipe the tip to the side for a clean application. Roll cardstock loosely, then fit to the neck of the jar and attach permanently. Place the cone on the jar as the hat and then pace the brim of the hat.
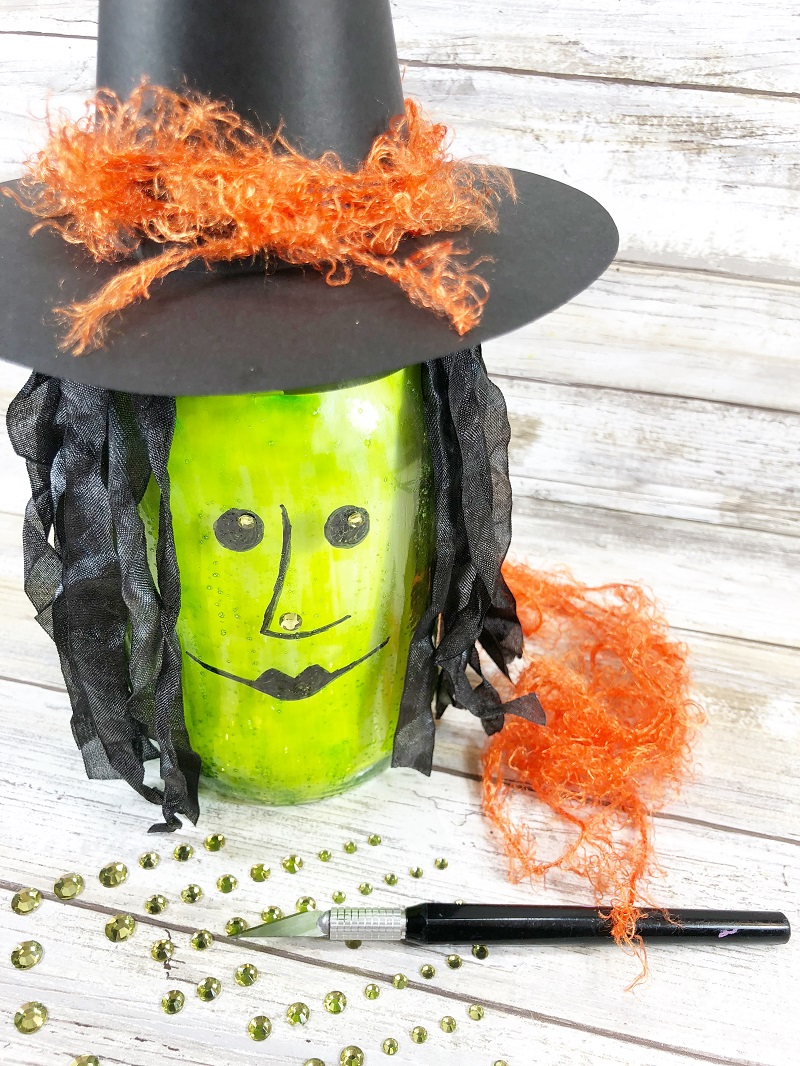
STEP EIGHT:
Draw features on to the jar front with MONO Twin Permanent Marker. Attach small green rhinestones to each eye as a highlight and a medium one as a wart on the witch’s nose. Embellish hat with orange fibers.
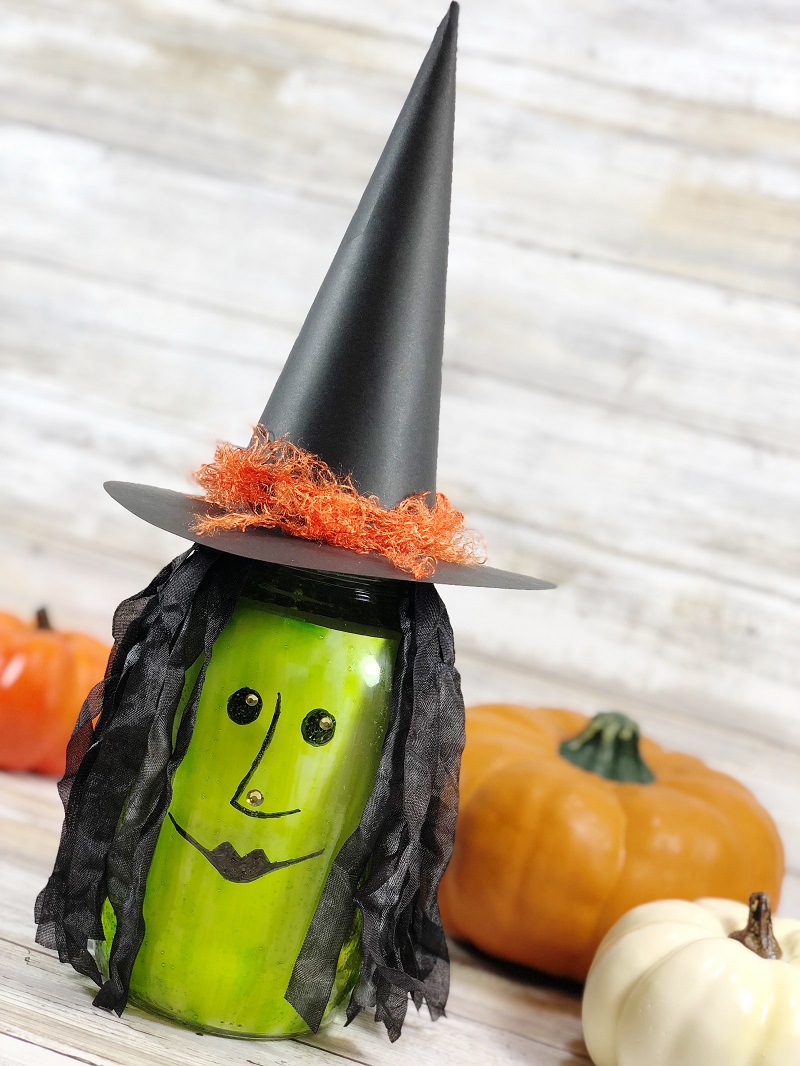
Here is a detail shot of the finished DIY Witch Mason Jar Lantern. Insert a battery operated tea light and create some spooky fun decor this Halloween.
I hope you have enjoyed my Halloween decor project today and that it will inspire you to showcase YOUR Tombow creativity! Follow @tombowusa on Instagram for tons more inspirational project ideas.
Thanks for stopping by!
Creatively, Beth