Good morning Yy’all! Beth from @creativelybeth here to share a tutorial to create hand lettered Happy New Year star decor! This quick and easy project took just under 30 minutes to complete, so you still have plenty of time to create and decorate!

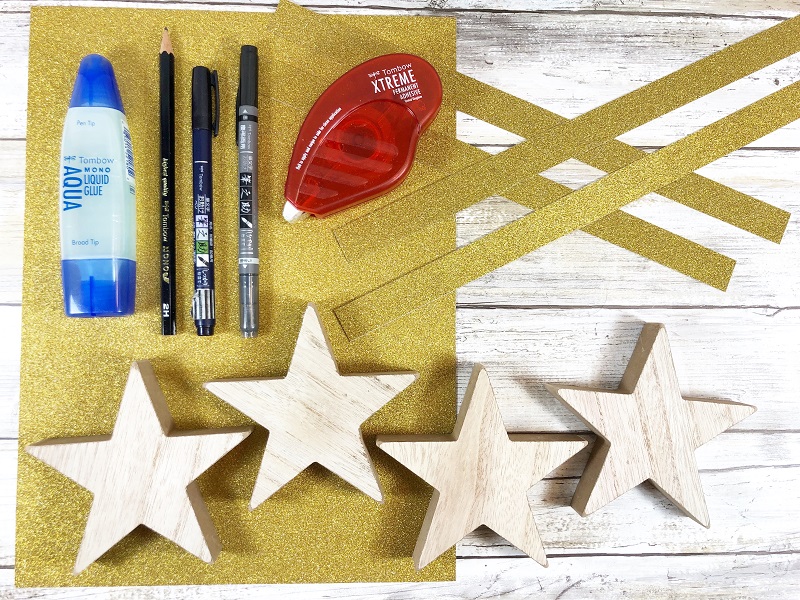
Here’s what you will need to create Hand Lettered Happy New Year Star Decor:
- Tombow Fudenosuke Brush Pen, Twin Tip
- Tombow Xtreme Permanent Adhesive
- Tombow MONO J Drawing Pencils, 2H and 4B grades
- Tombow MONO Dust Catch Eraser
- Wooden Stars (I found mine at the Target Dollar Spot)
- Gold Glitter Scrapbook Paper, Paper Trimmer, Scrap Paper, Scissors
Step One
Measure and cut strips of gold glitter cardstock as wide as the wooden stars are thick. Apply Tombow Xtreme Permanent Adhesive to the back of the strips of cardstock, remembering to roll to apply and swipe the tip to the side for a clean application.
Step Two
Carefully wrap the glitter cardstock strips around the outside edge of each star, matching edges and trimming with scissors where needed.

Step Three
Trace stars on to scrap paper with a MONO J Drawing Pencil 2H. Sketch out the words HAPPY NEW YEAR 2019 and hand letter with the Fudenosuke Brush Pen, Twin Tip. I always like to practice before I begin to letter on my final project.

Step Four
Scribble on the back of the scrap paper stars with a MONO J Drawing Pencil 4B grade, which has a nice sift lead. Line up the wooden stars and then trace over the lettering with a MONO J Drawing Pencil 2H grade, which has a harder lead.
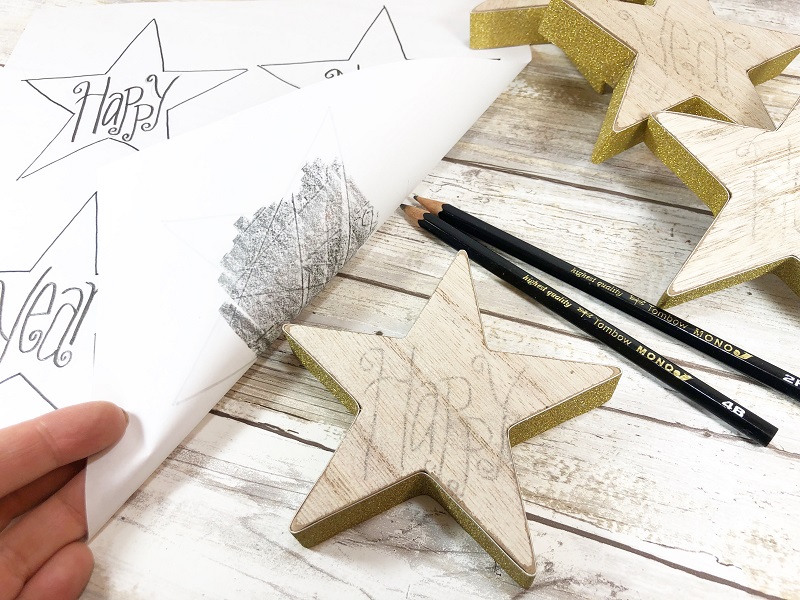
Step Five
Using the black tip of the Fundenosuke Brush Pen, Twin Tip hand letter the words HAPPY NEW YEAR 2019. One word on each star.

Place on your mantel or buffet table to add some sparkly decor to your New Year’s Eve celebration this year! If you enjoyed my hand Llettered Happy New Year Sstar decor tutorial today and are looking for more inspiration, check out this New Year’s Eve Paper Chain by Dani or New Year’s Eve Confetti Poppers by Lauren!
Thanks for stopping by!
Creatively, Beth