Hi crafty friends! It’s Dani from @popfizzpaper sharing a foiled envelope tutorial today! My tips and tricks today make this a quick and easy project to create, and really dresses up a simple envelope. Make sure to watch the process video at the end of this post to see just how easy this project is to create. Let’s get started.
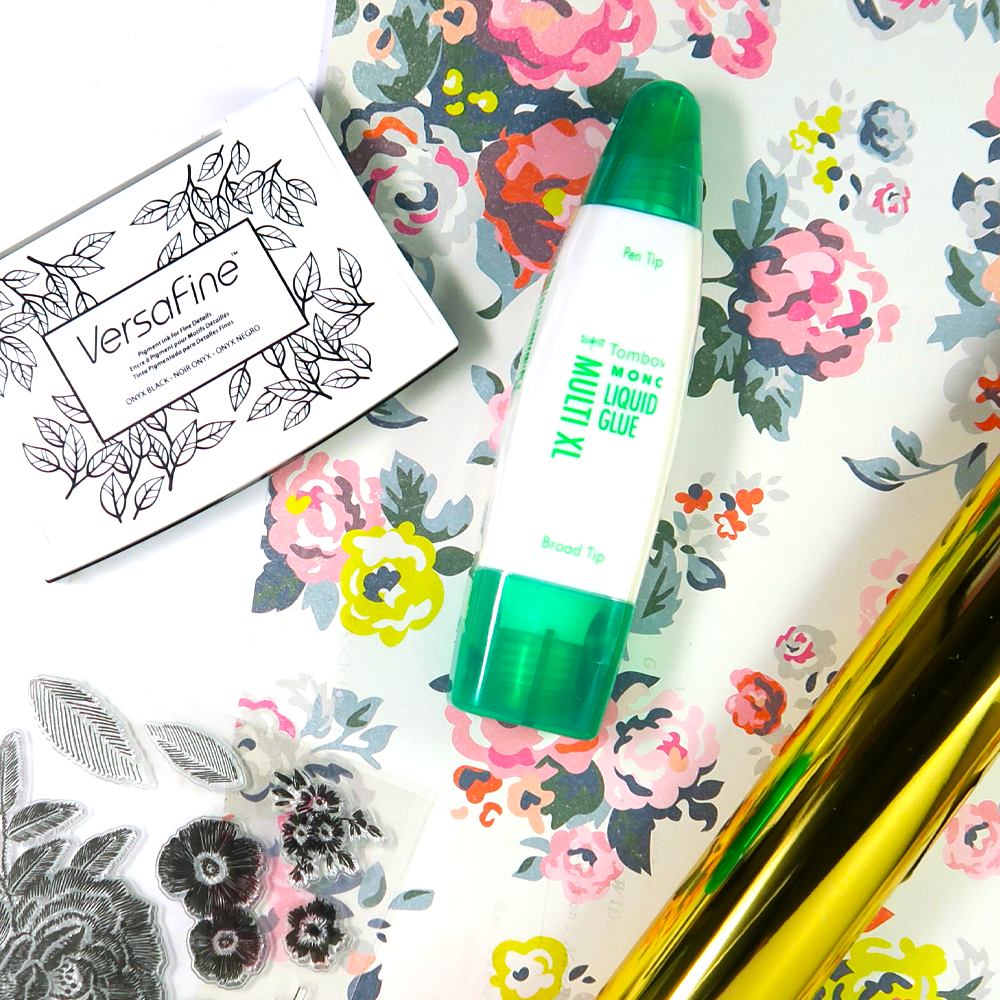
SUPPLIES:
- Cardstock (patterned or plain)
- Envelope punch board
- Pre-made envelopes (optional if you don’t want to make your own!)
- Tombow MONO Multi XL Liquid Glue
- Precision tip bottle
- Stamp and ink
- Foil transfer sheet
- Tombow MONO Twin Permanent Marker
STEP 1
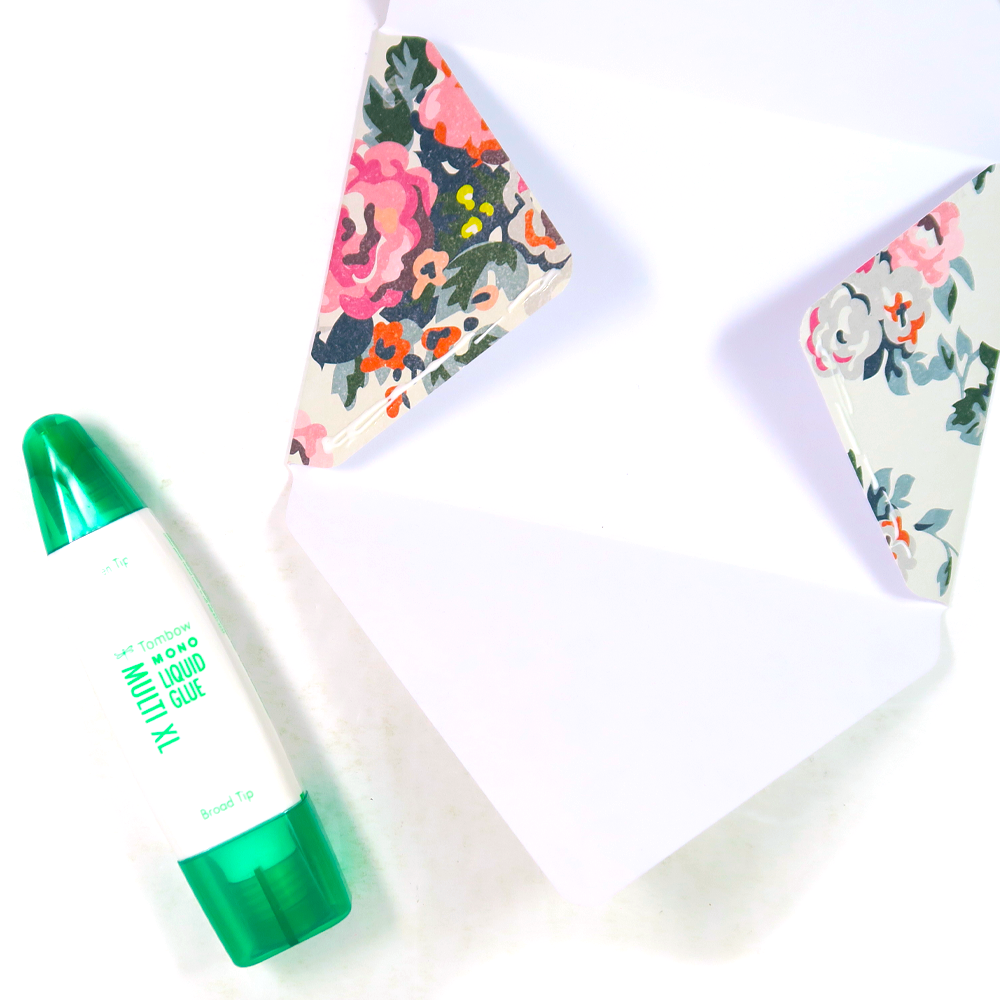
First, let’s create our envelope! Use an envelope punch board or a template to create the shape and score lines for your envelope. If you prefer to use pre-made envelopes, that’s ok, too! I wanted my pattern paper to coordinate with the floral stamp I’m using, so I created my own. Once your envelope is ready to be assembled, use the Tombow MONO Multi XL Liquid Glue to adhere the flaps of the envelope closed then set aside to dry for a little bit.
STEP 2
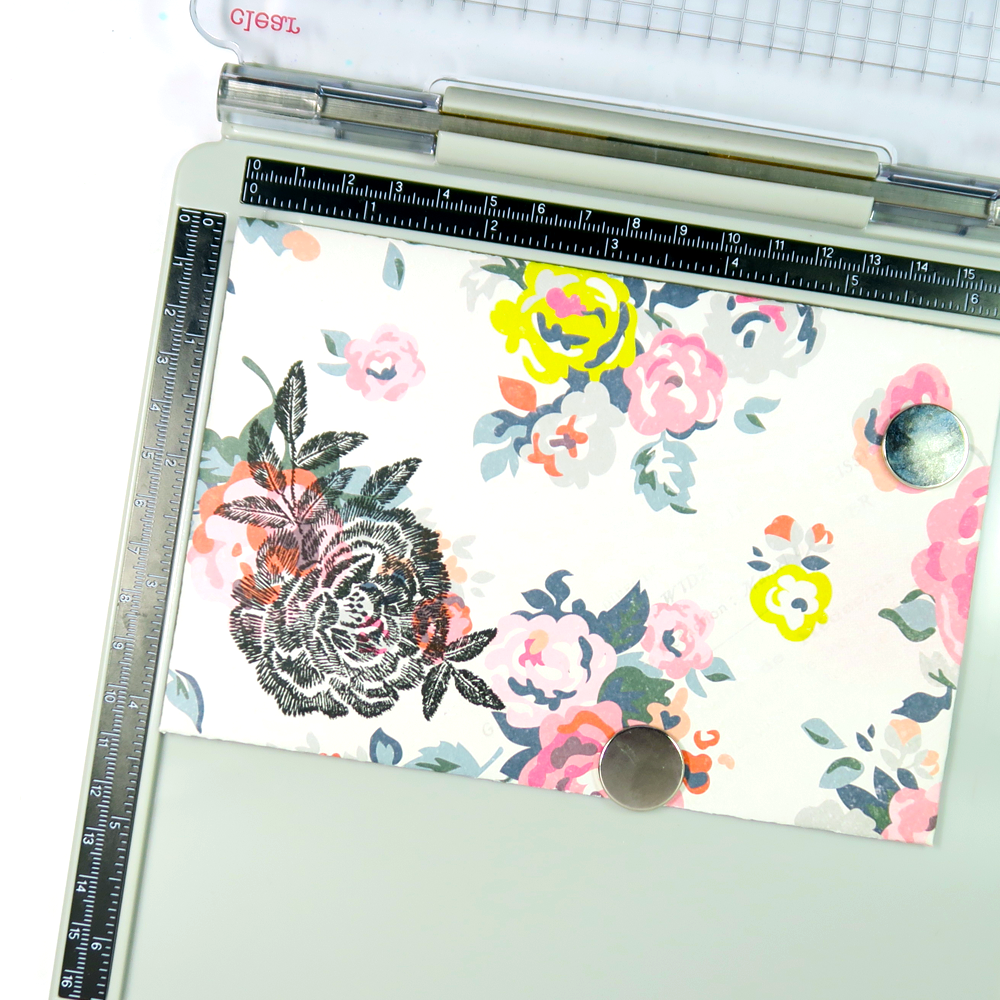
Time to get stamping! Use whatever stamp you’d like and any color of ink. I’m using this embroidery flower stamp and black ink. Go ahead and ink up your stamp and press it onto the front of your envelope. Make sure to leave room for addressing the envelope! I’m using a stamp press for my stamping today, but a regular acrylic block would work just as well.
STEP 3
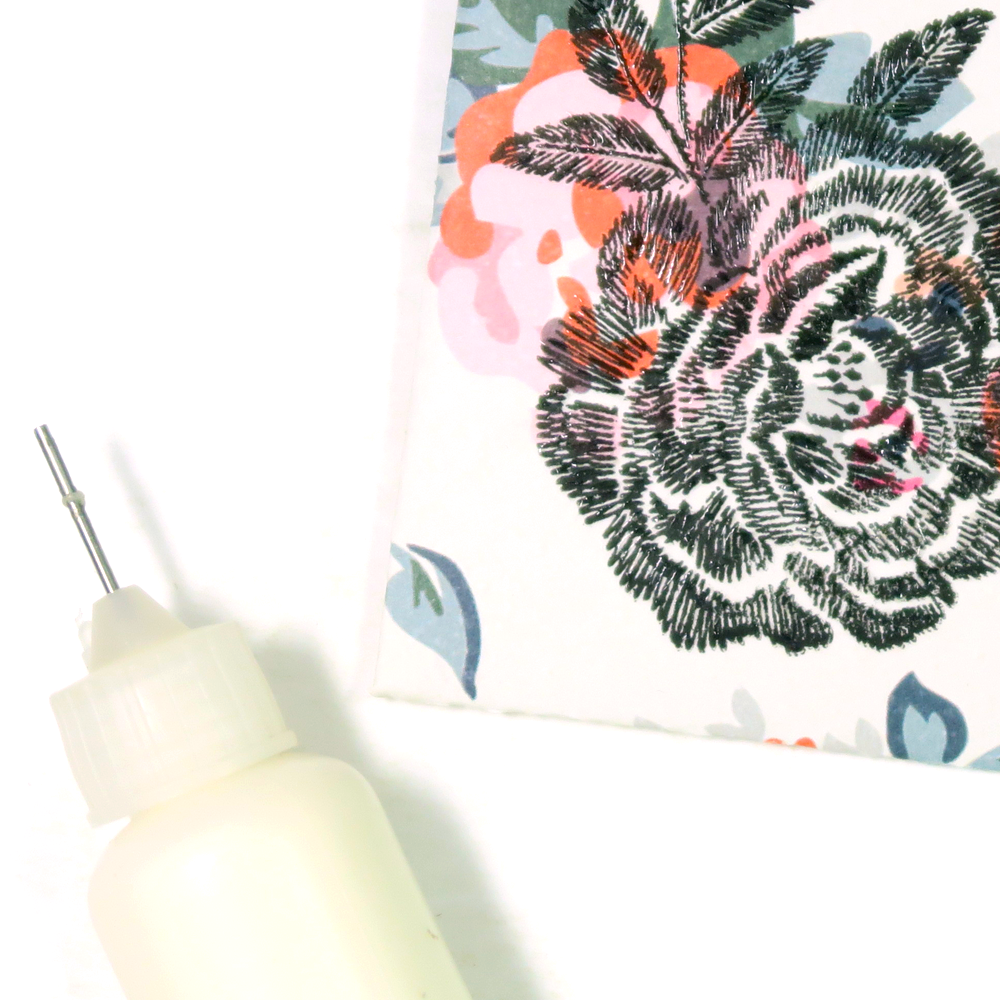
We’re going to be using adhesive to add our foiling today, but here’s my secret tip! Fill up a precision tip bottle with the Tombow MONO Multi XL Liquid Glue, then use it to apply fine strokes of glue to your stamp. The small tip on the MONO Multi XL applicator is great for small work, but I like using a precision bottle for very delicate details, like the stitched effects of this stamp. You can apply a little glue to just the details, or a lot like I did above. It’s up to you and how much of your original stamped image you still want to see. Once your glue is applied to the stamped image, set aside to dry. The glue should be completely clear and a bit sticky to the touch when it’s ready for the next step.
STEP 4
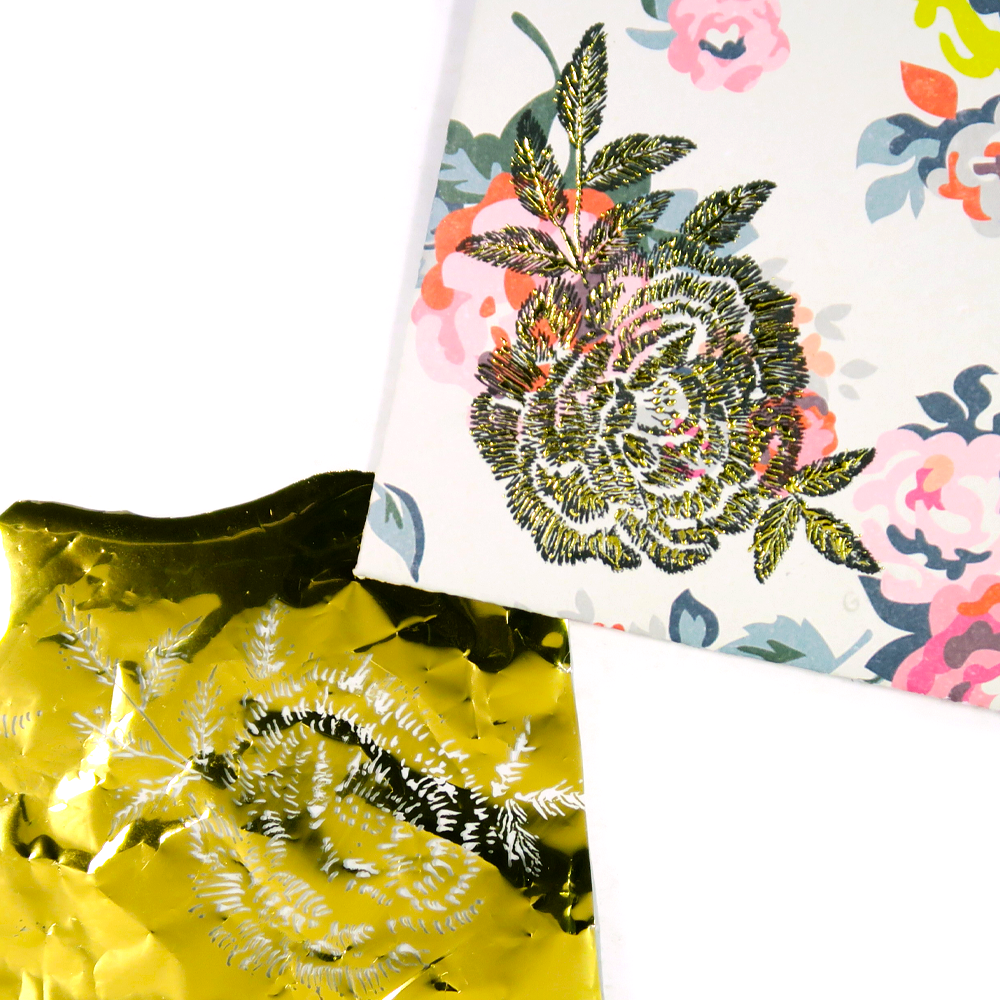
Now let’s add foil! I’m using a gold foil transfer sheet today, but any color foil would be nice, especially if you want it to coordinate with your envelope pattern. Press the foil sheet on top of where you applied the Tombow MONO Multi XL glue and burnish the foil with your finger. Rub gently, but make sure to cover all the surfaces of the glue. The foil should peel up easily once all the glue is fully covered. Isn’t the final effect so pretty?
STEP 5
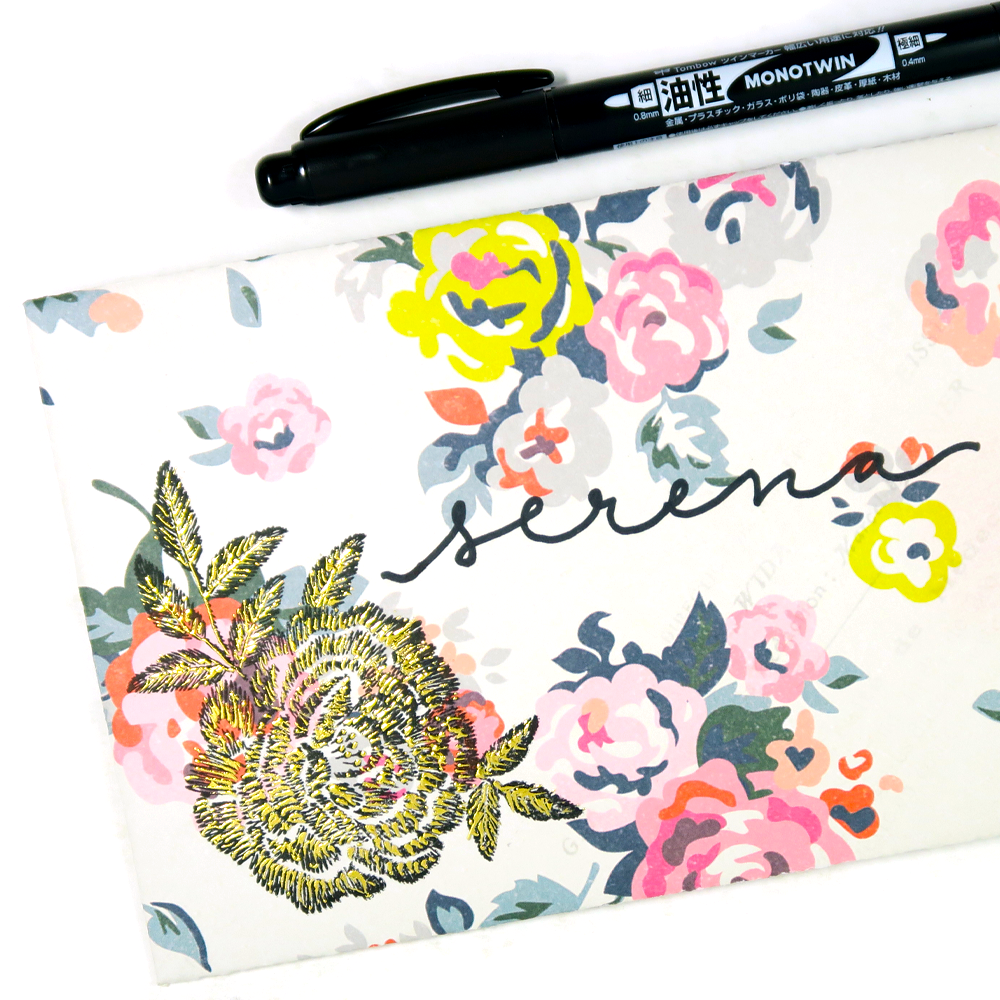
Final step! All that’s left is to address the envelope. I’m using the bold tip of a Tombow MONO Twin Permanent Marker to write my friend’s name. The black color coordinates with the bits of black stamping that’s still visible, and the bold writing stands out nicely from the patterned paper. But the shiny gold is definitely my favorite part of the foiled envelope!
See how easy that was? Thank you so much for following along with my foiled envelope tutorial today! For more handmade card tips and tricks, check out this Simple Cardmaking Tips post by Jennie and my Best Adhesives for Cardmaking post. Don’t forget to watch my process video above and I will see you next time!
Pingback: 3 Ways To Use Tombow Markers and Whimsy Stamps - Tombow USA Blog