Hi friends! It’s Dani from @popfizzpaper here today sharing a super easy trick for drawing the perfect banner every time! Let’s get started!
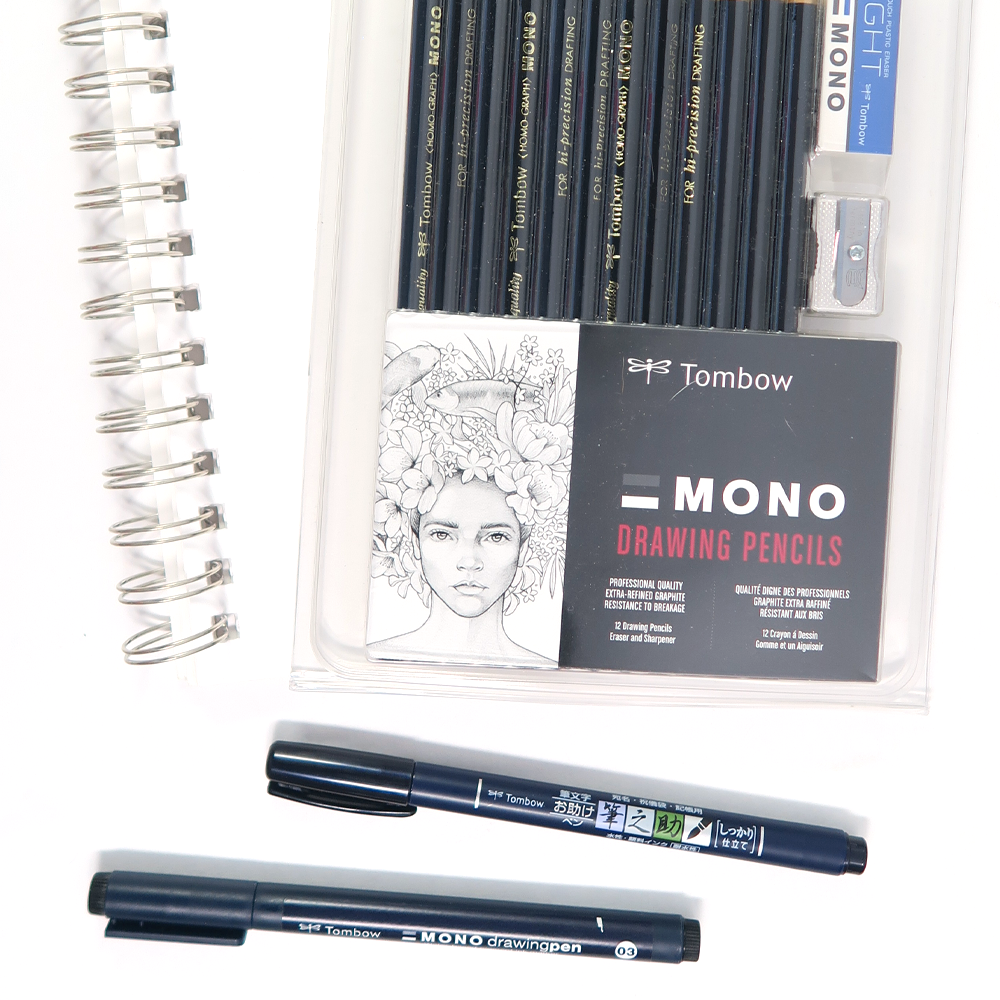
SUPPLIES:
- Tombow MONO Drawing Pencils
- Tombow MONO Light Eraser
- Sketchbook
- Washi tape
- Tombow MONO Drawing Pen
- Tombow Fudenosuke Brush Pen
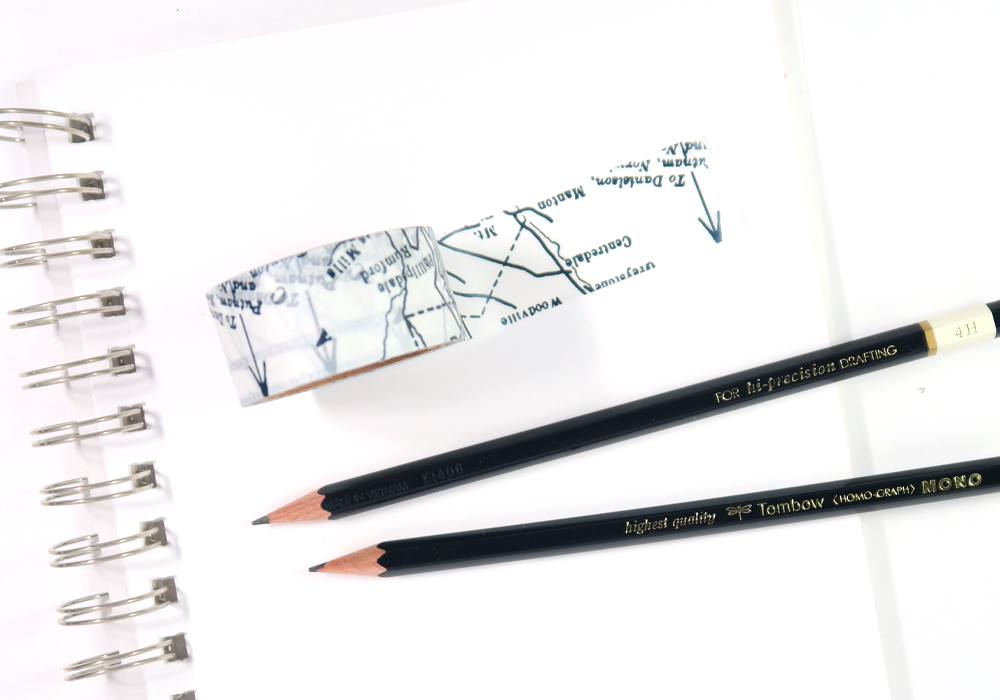
STEP 1
First, get a roll of washi tape and rip off a section that is about 3 inches long. Take two of the Tombow MONO Drawing Pencils and make sure the points line up while holding the pencils side by side. Once they’re even, washi tape the pencils together at the point where you’ll be gripping them.
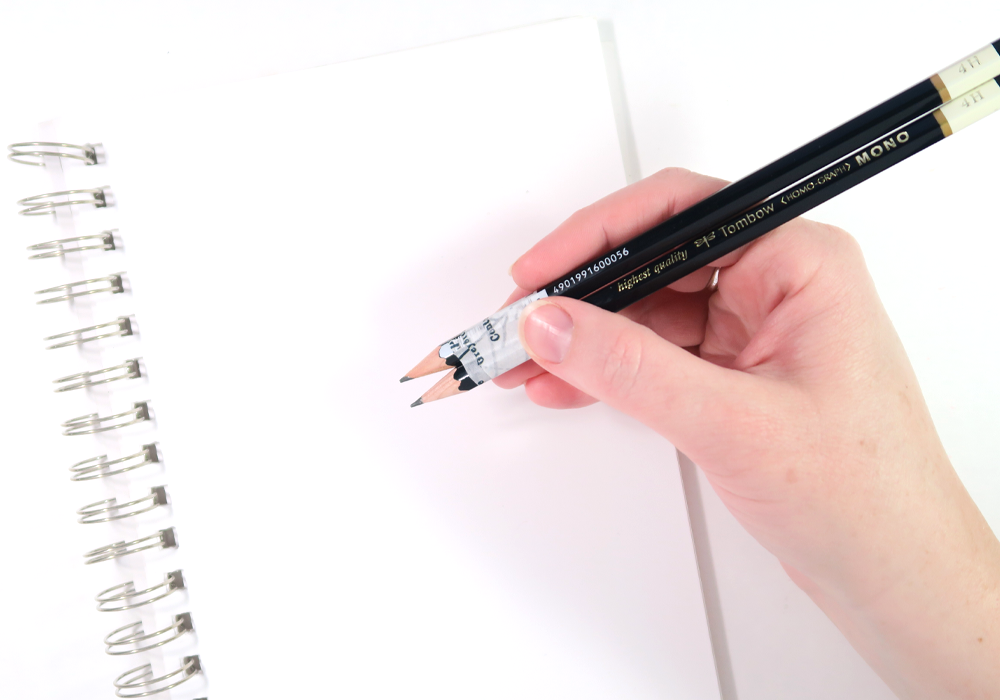
STEP 2
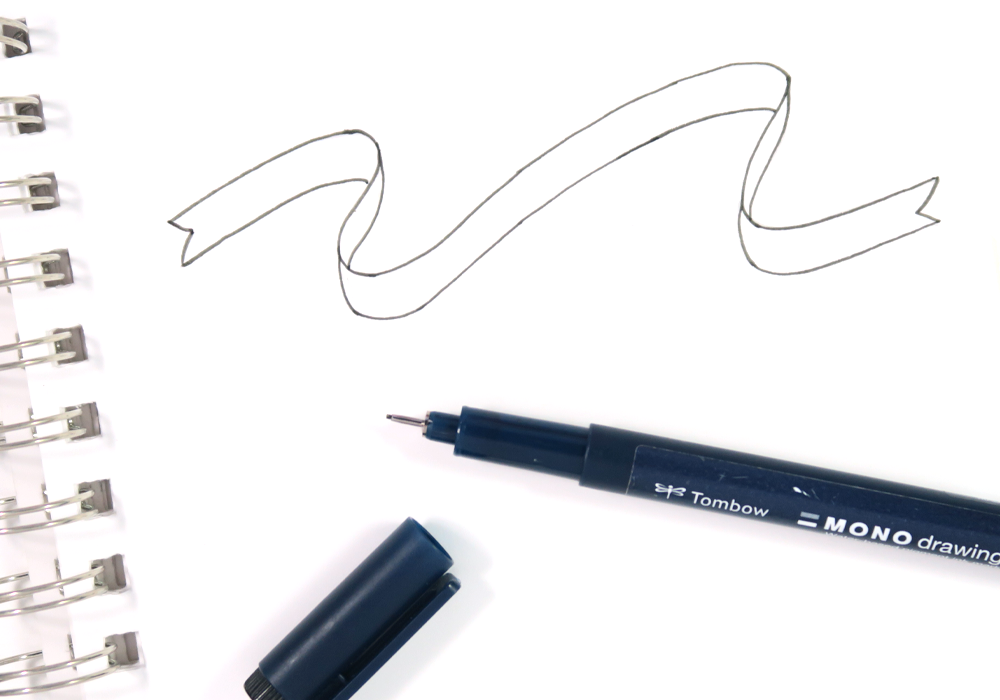
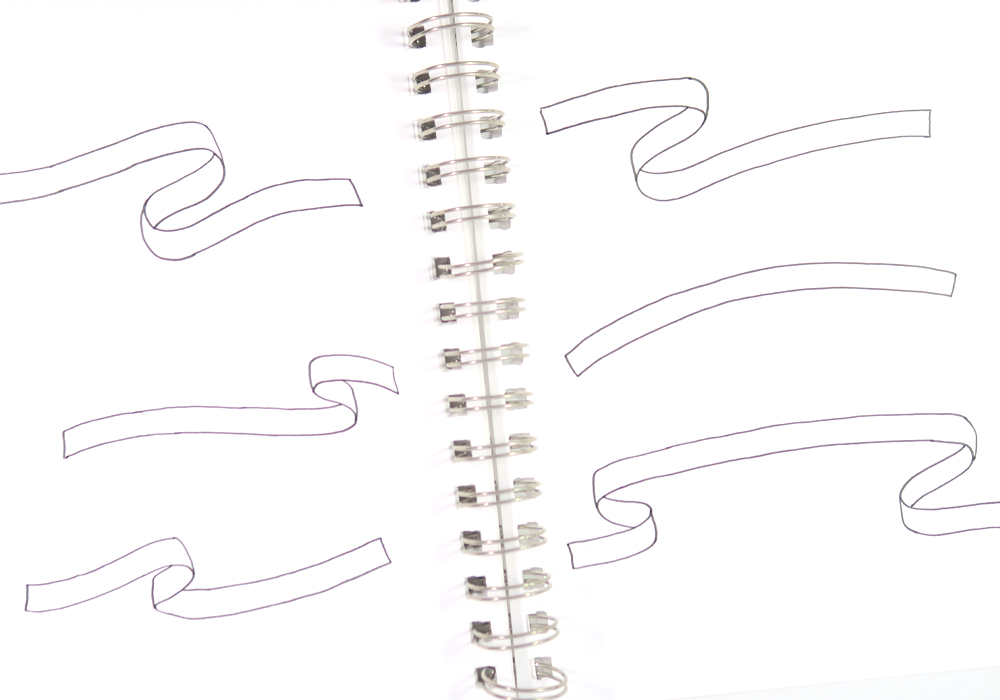
Hold your pencil pair so that both points are touching the paper. Tthen start drawing banners! See how evenly spaced your lines are? Experiment with loops, waves, folds, and flips.
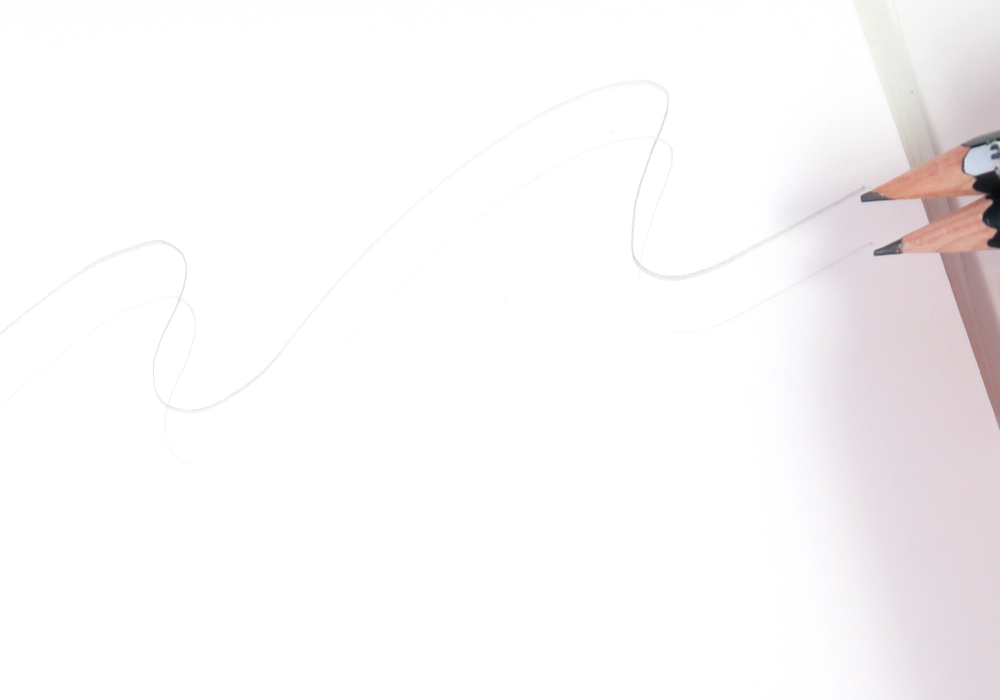
STEP 3
When you’re happy with your penciled banner, use a Tombow MONO Drawing Pen to ink it. Erase any leftover pencil marks with the Tombow MONO Light Eraser.
STEP 4
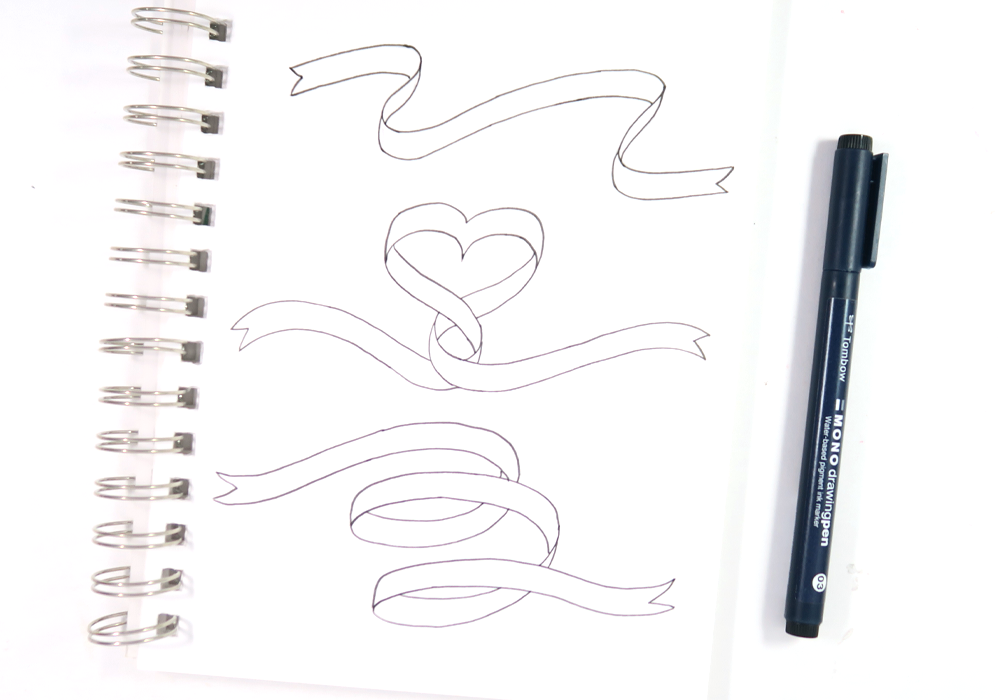
Keep drawing and playing around with your banners! Can you make the loops twist and turn? Have you tried making corkscrews or specialty banner shapes?
STEP 5
Lastly, I have to mention how these banners are the perfect size for small lettering. I can imagine them on wedding stationery, framed lettered pieces, in planners and art journals, and so much more. How would you use these banners in a project? For lettering, I suggest the Tombow Fudenosuke Brush Pen or the MONO Drawing Pens. The colorful Tombow TwinTone Markers would be fabulous too!
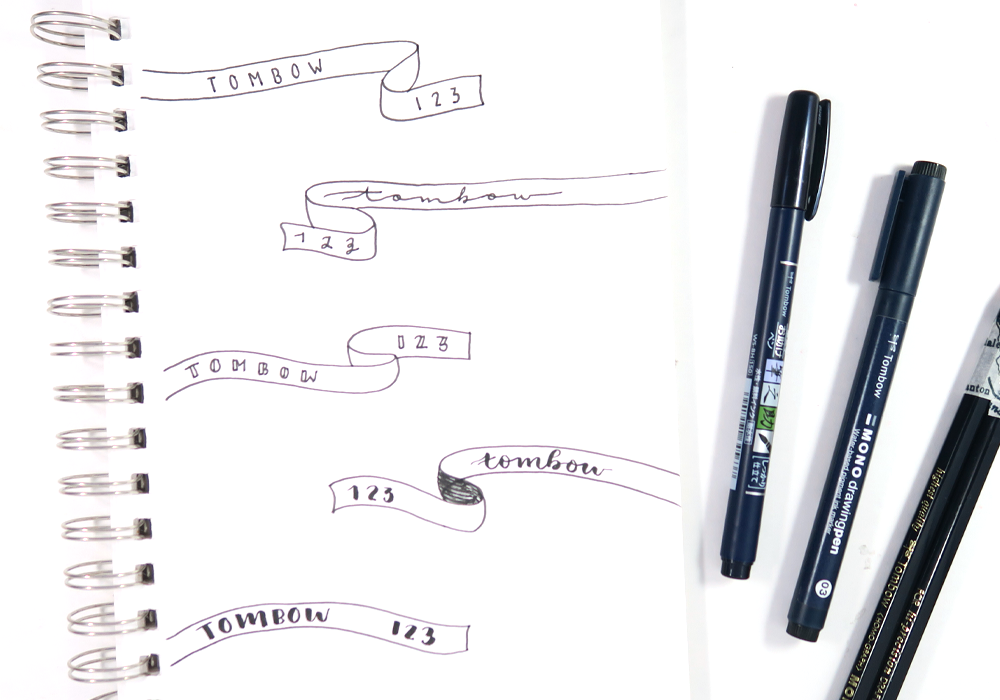
See how easy those were to create! Thank you so much for following along with my perfect banner tutorial today! To learn how to add amazing shading to your banners, check out this Ribbon Lettering post by Marie. I will see you next time!
I’ve done this using a rubber band. For wider banners, fold a tissue or napkins between the pencils.
This is a great tip.