Hey friends, Serena here from @SerenaBeeCreative! Today, we will be creating a handmade watercolor card set. Let’s get started!
Supplies
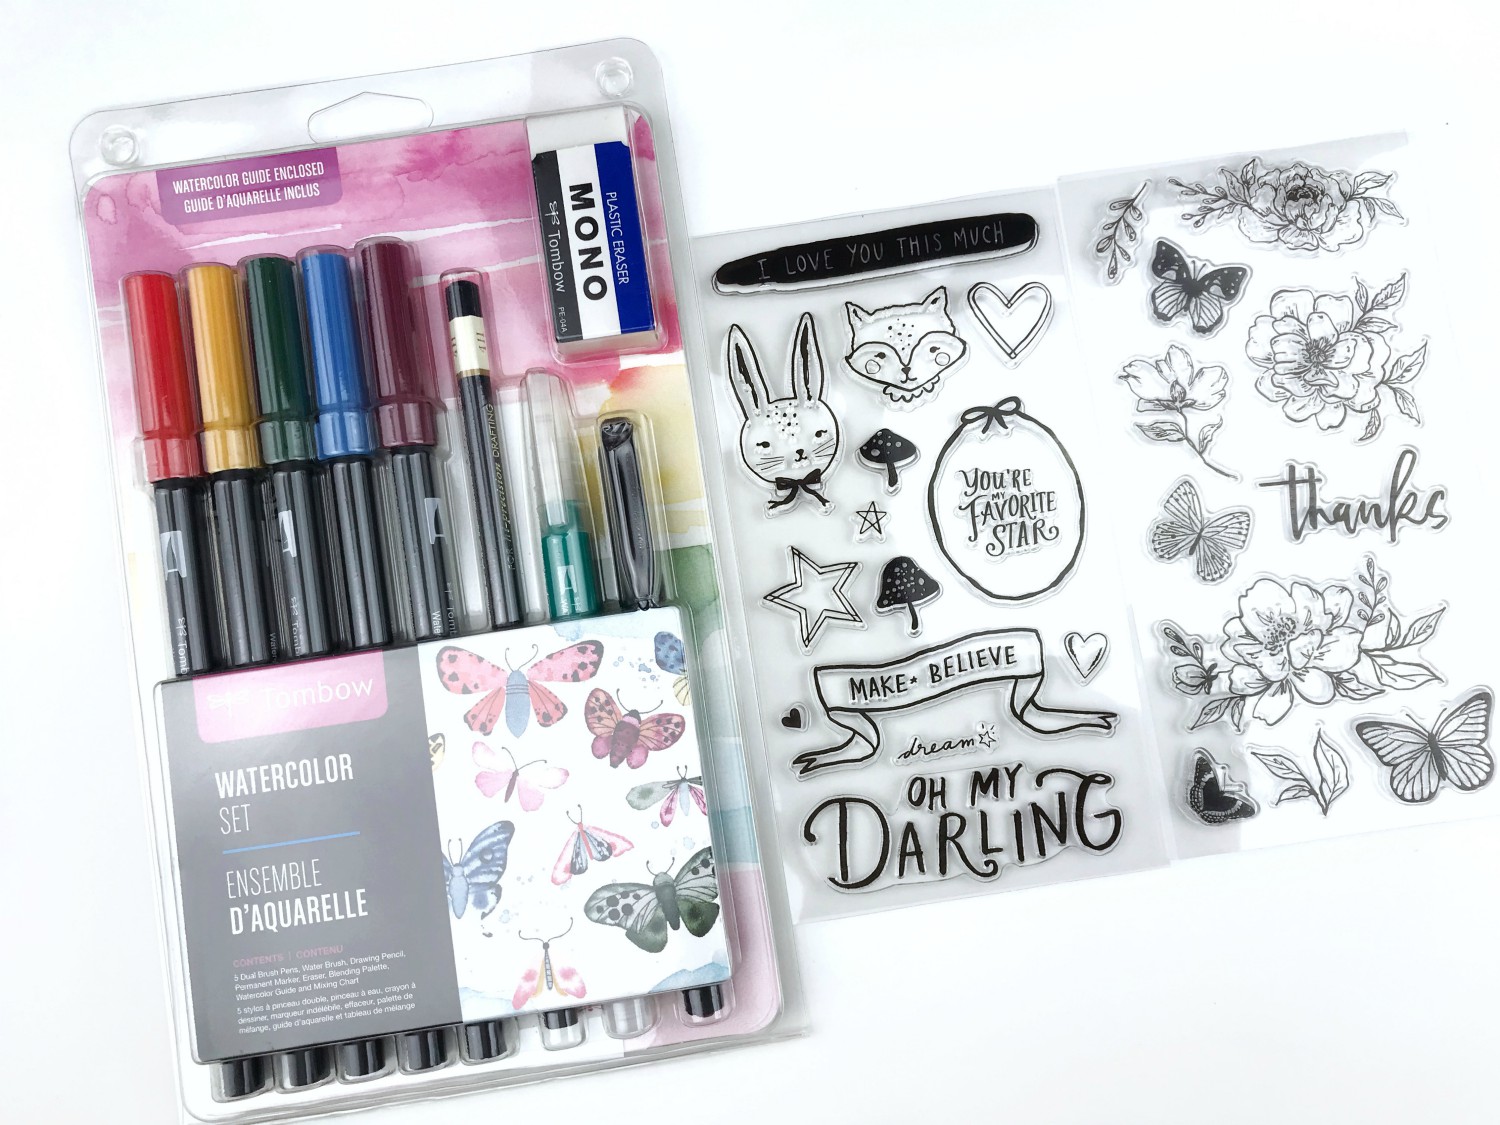
- Tombow Watercolor Set
- MONO Adhesive + Permanent
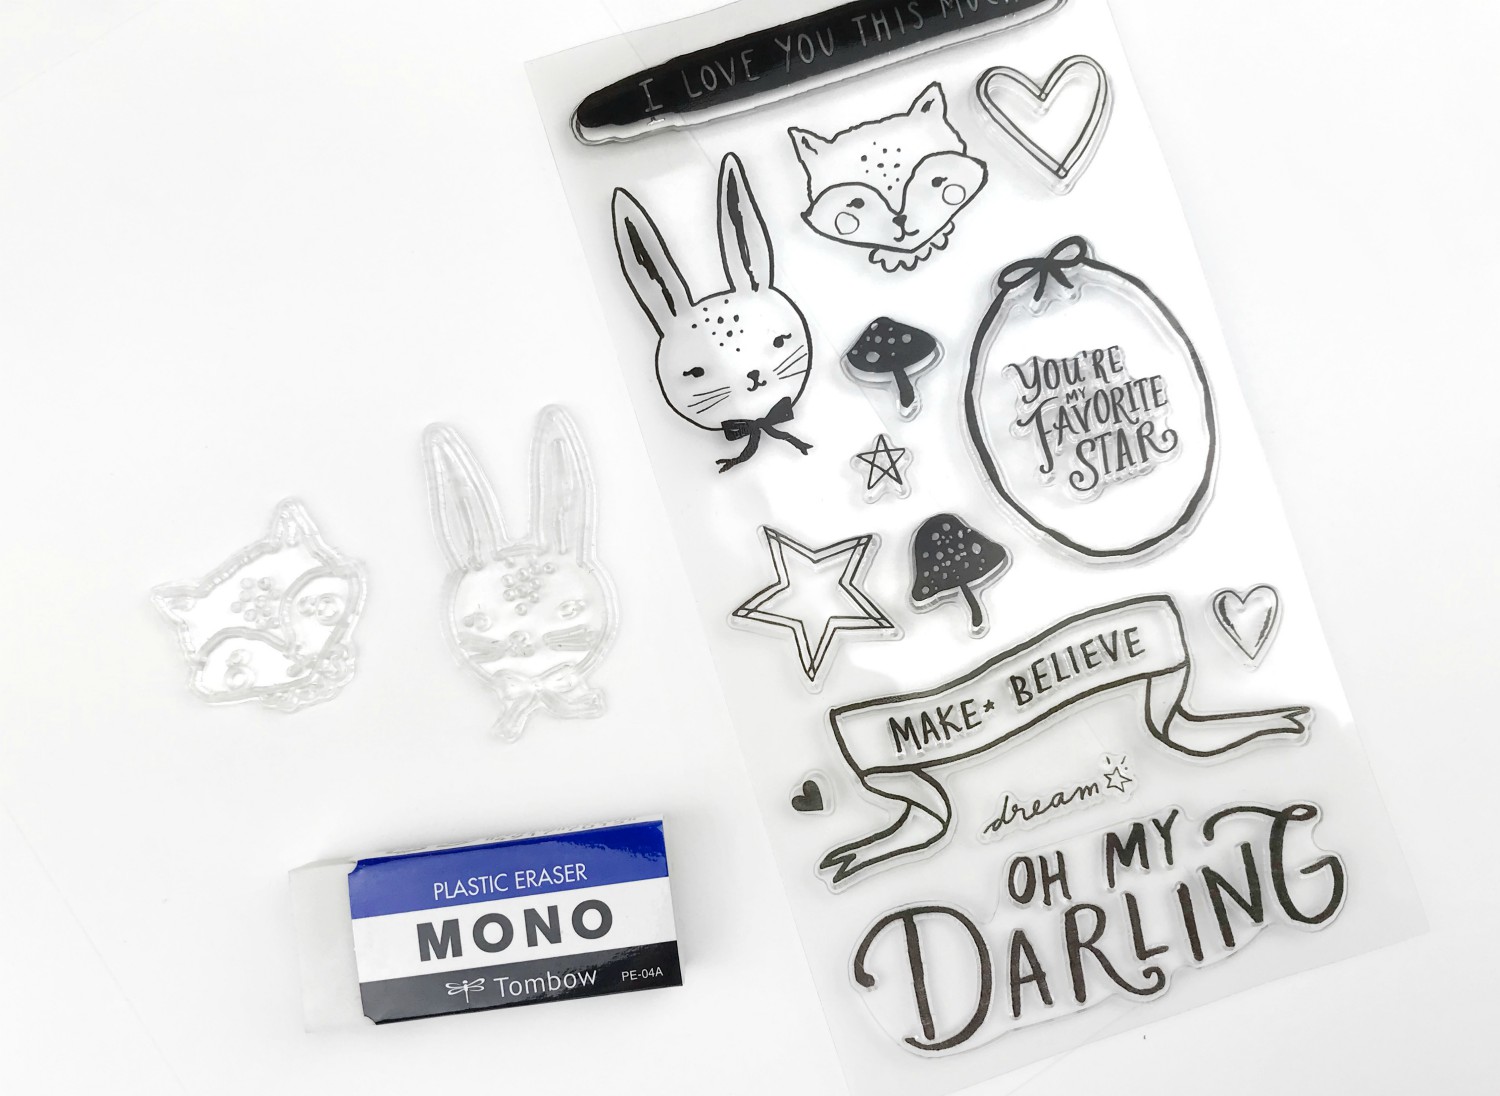
- Stamps
- Waterproof stamping ink
- Watercolor paper/mixed media paper
- 3×3 card bases
Step 1
All you’re going to need to complete this handmade watercolor card set can be found in the Watercolor Set. To begin, we will color in the stamp images. I’m using the Magical Forest stamp set from Crate Paper and the 5th & Monaco set by Pink Paislee. The first step when using new stamp sets is to prime the stamps with an eraser. The MONO Eraser found in the Watercolor set is perfect for this.
Rubbing the MONO Eraser lightly over your new stamps will help remove any excess oils or residue left over from manufacturing. This will help you get a clear impression when stamping.
With your stamps primed, ink them up and stamp on some watercolor or mixed media card stock.
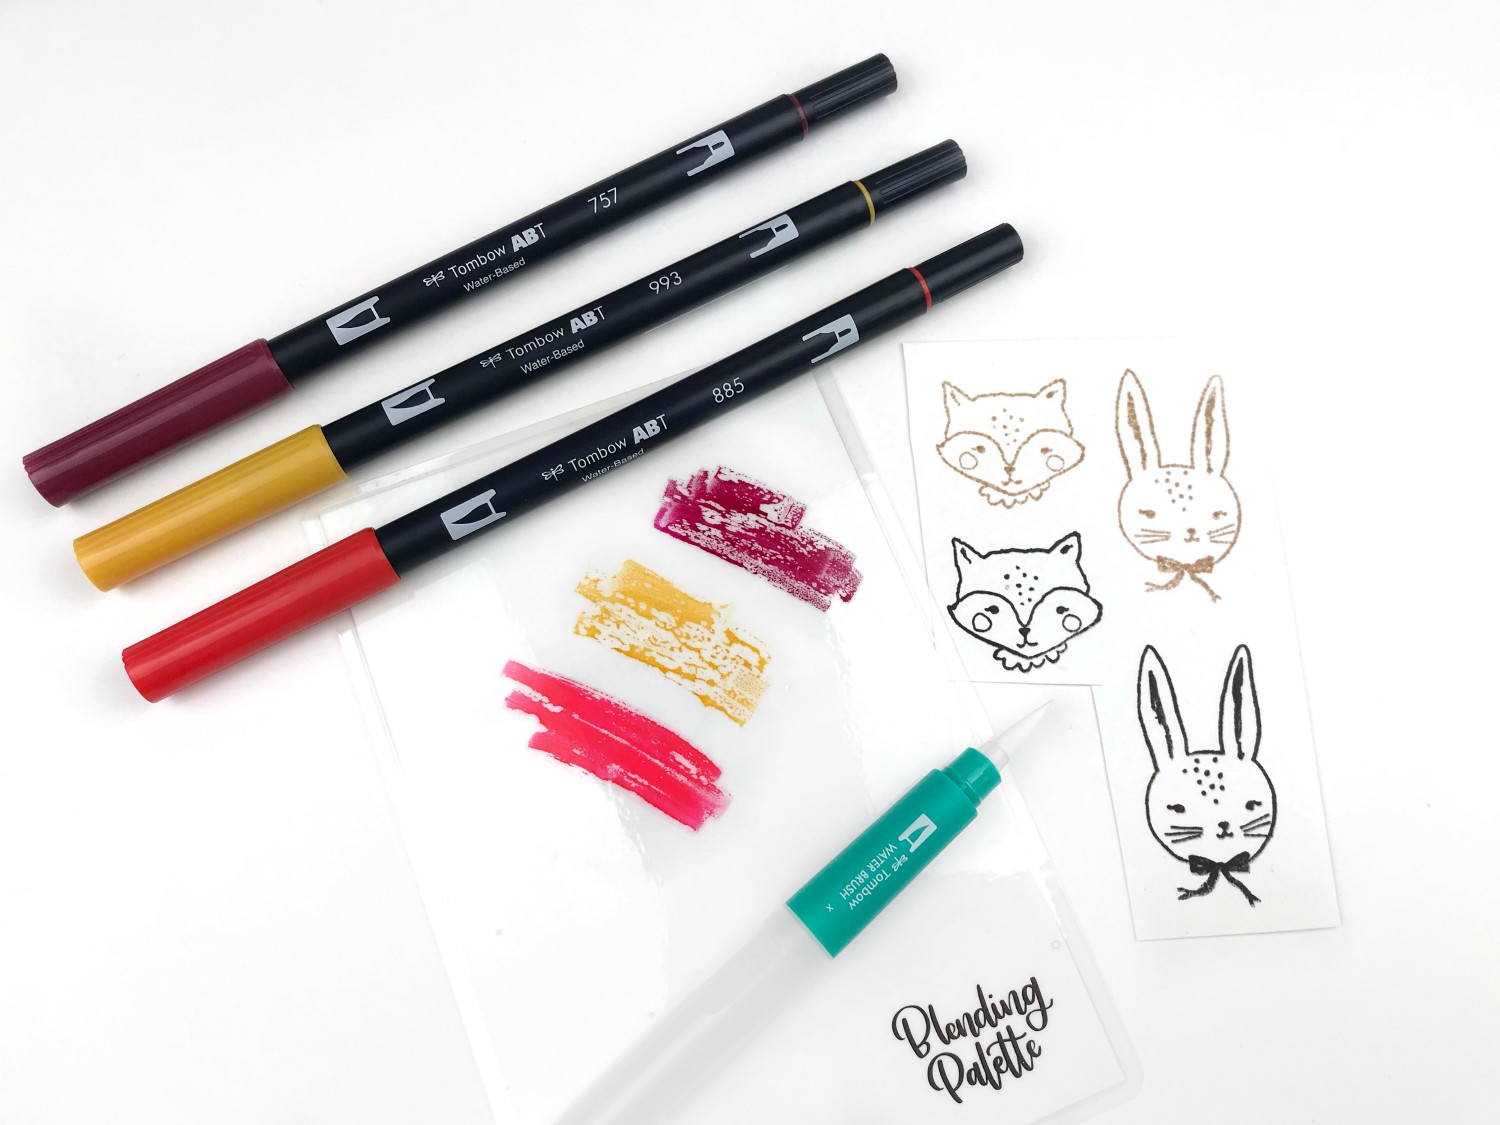
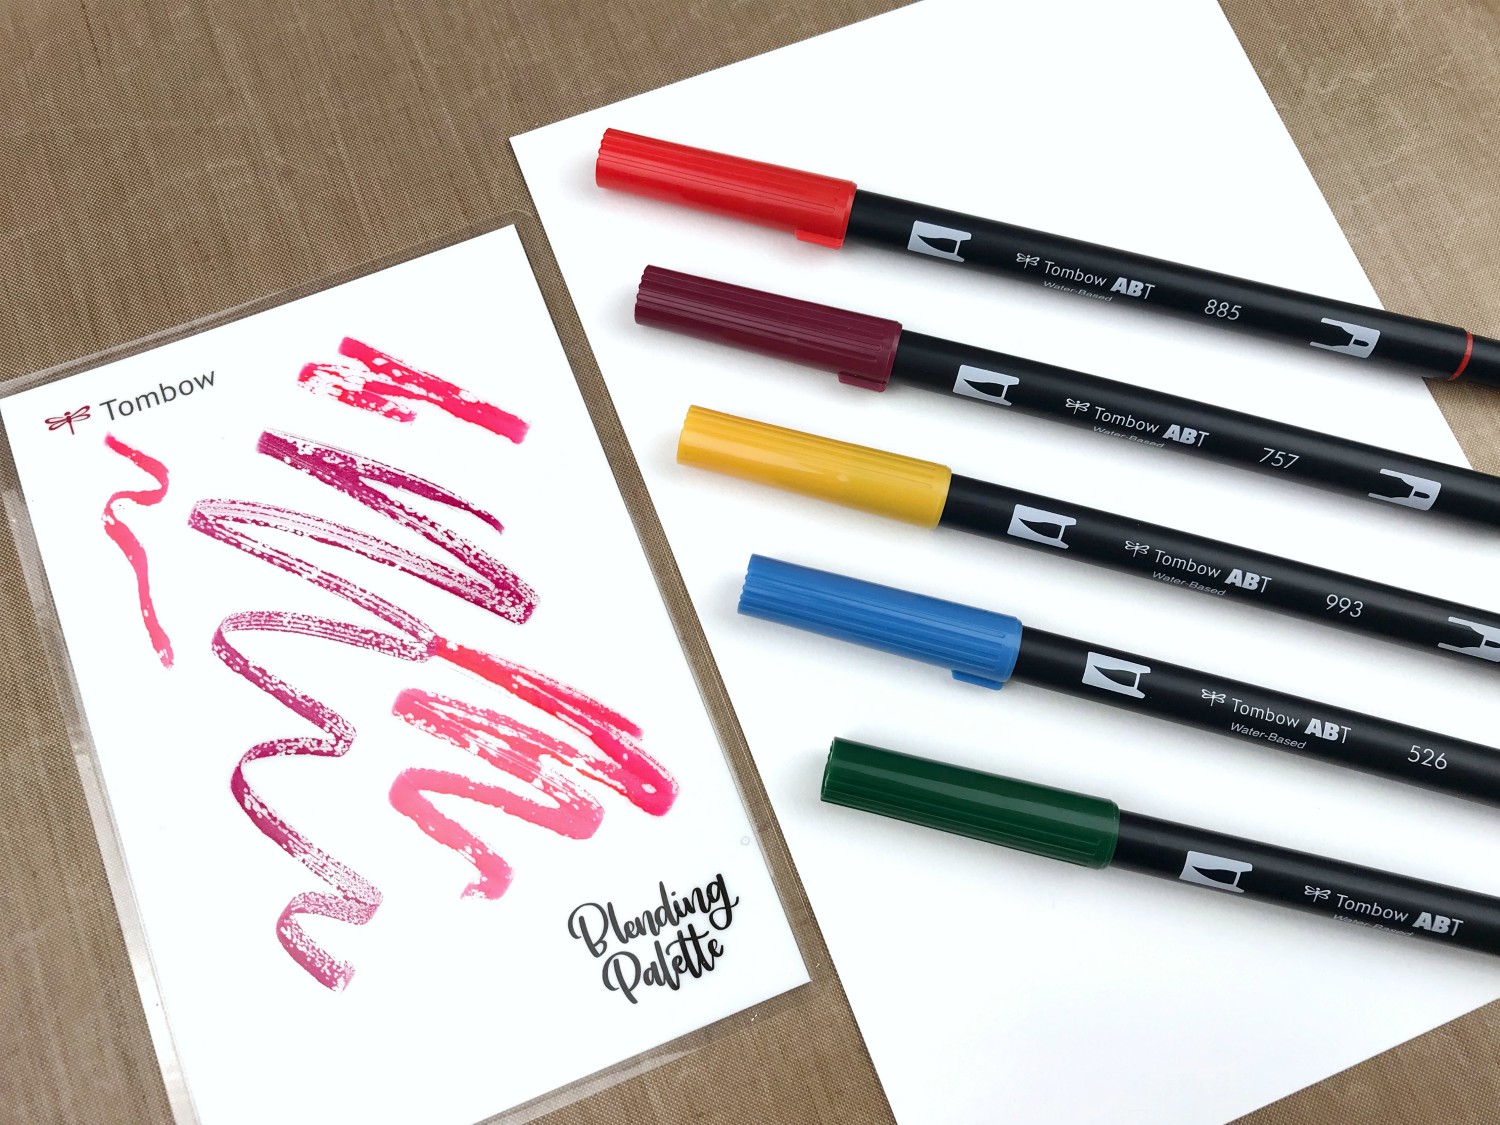
Next, scribble your colors onto the Blending Palette (provided in the Watercolor Set). Begin coloring your images by picking up the color from your Blending Palette with your Water Brush (also provided in the Watercolor Set). Have fun creating new colors by blending your Dual Brush Pen colors together.
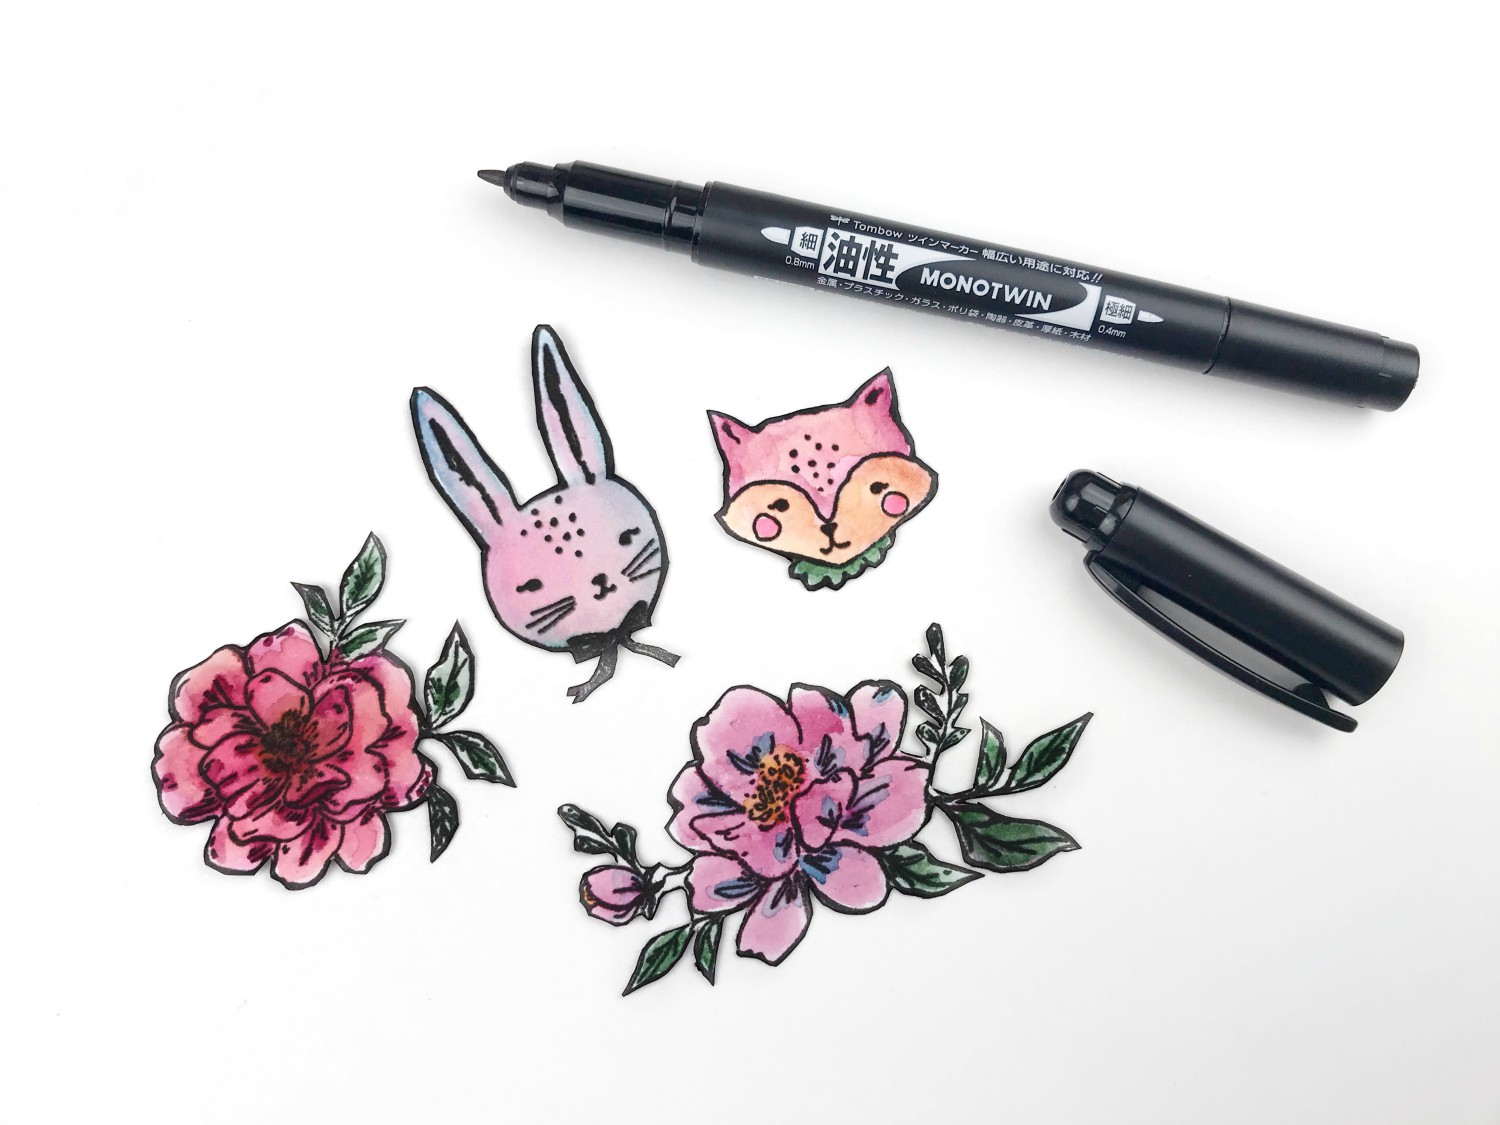
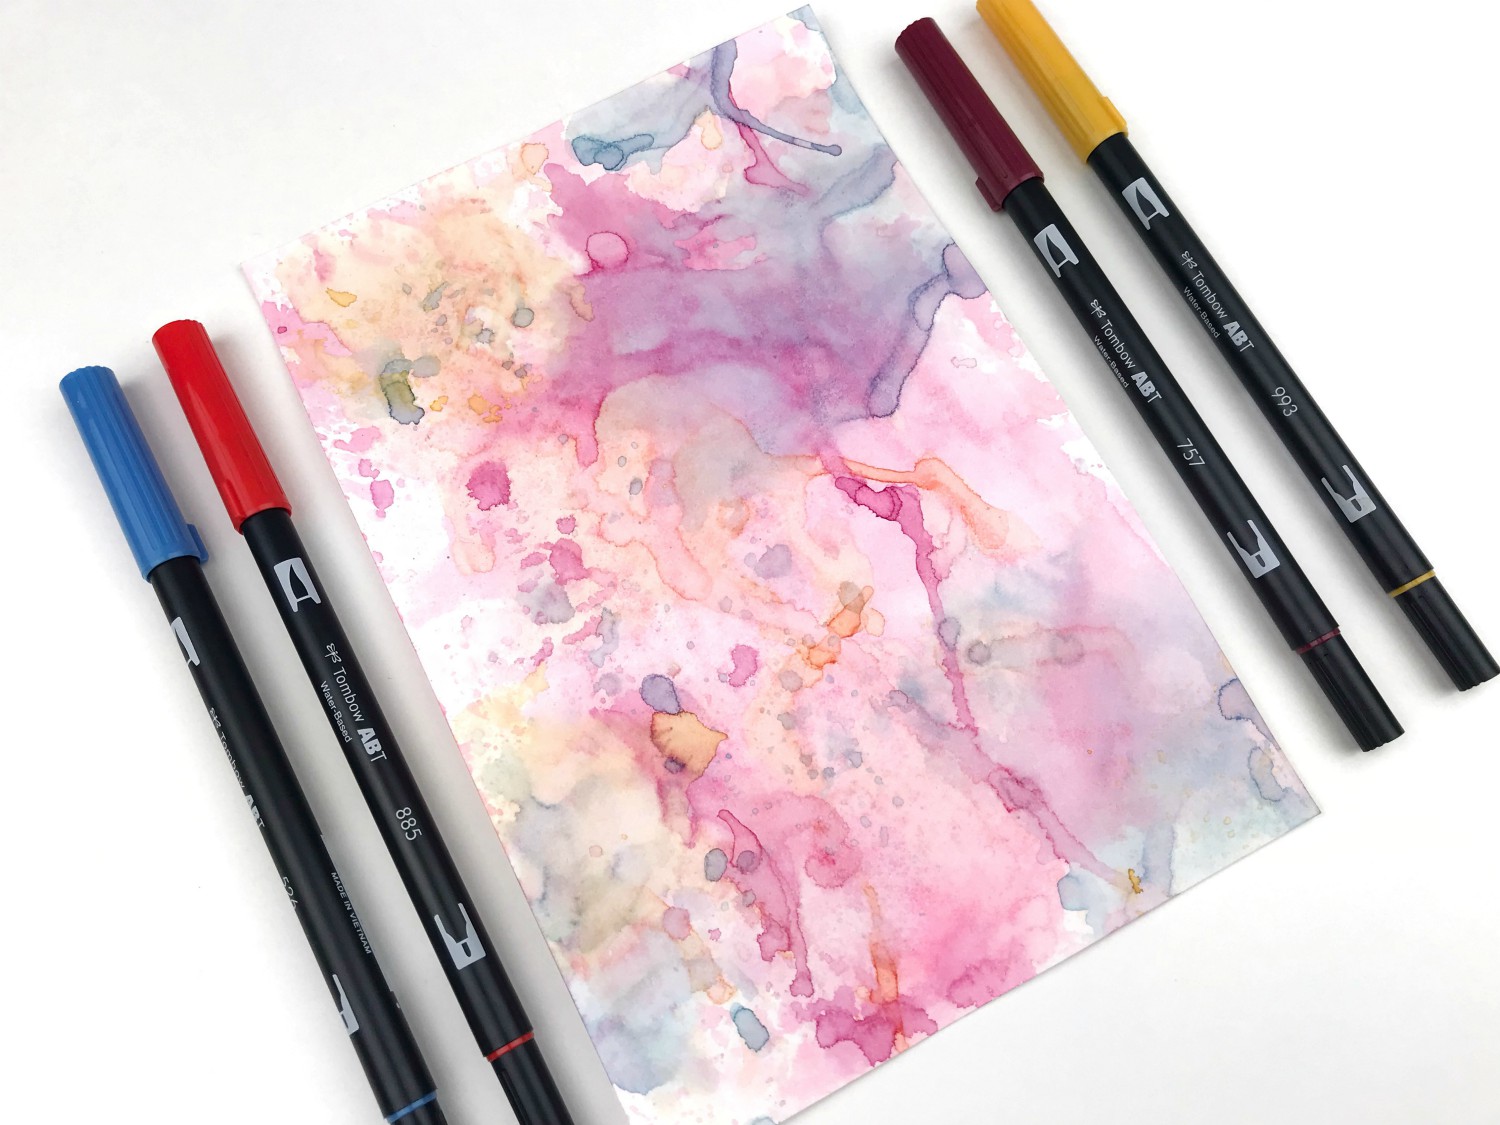
I created a reddish brown for the fox by blending Dual Brush Pen colors 757 (port red) and 993 (chrome orange) together. I also blended Dual Brush Pen colors 885 (warm red) and 526 (true blue) together to color in the bunny.
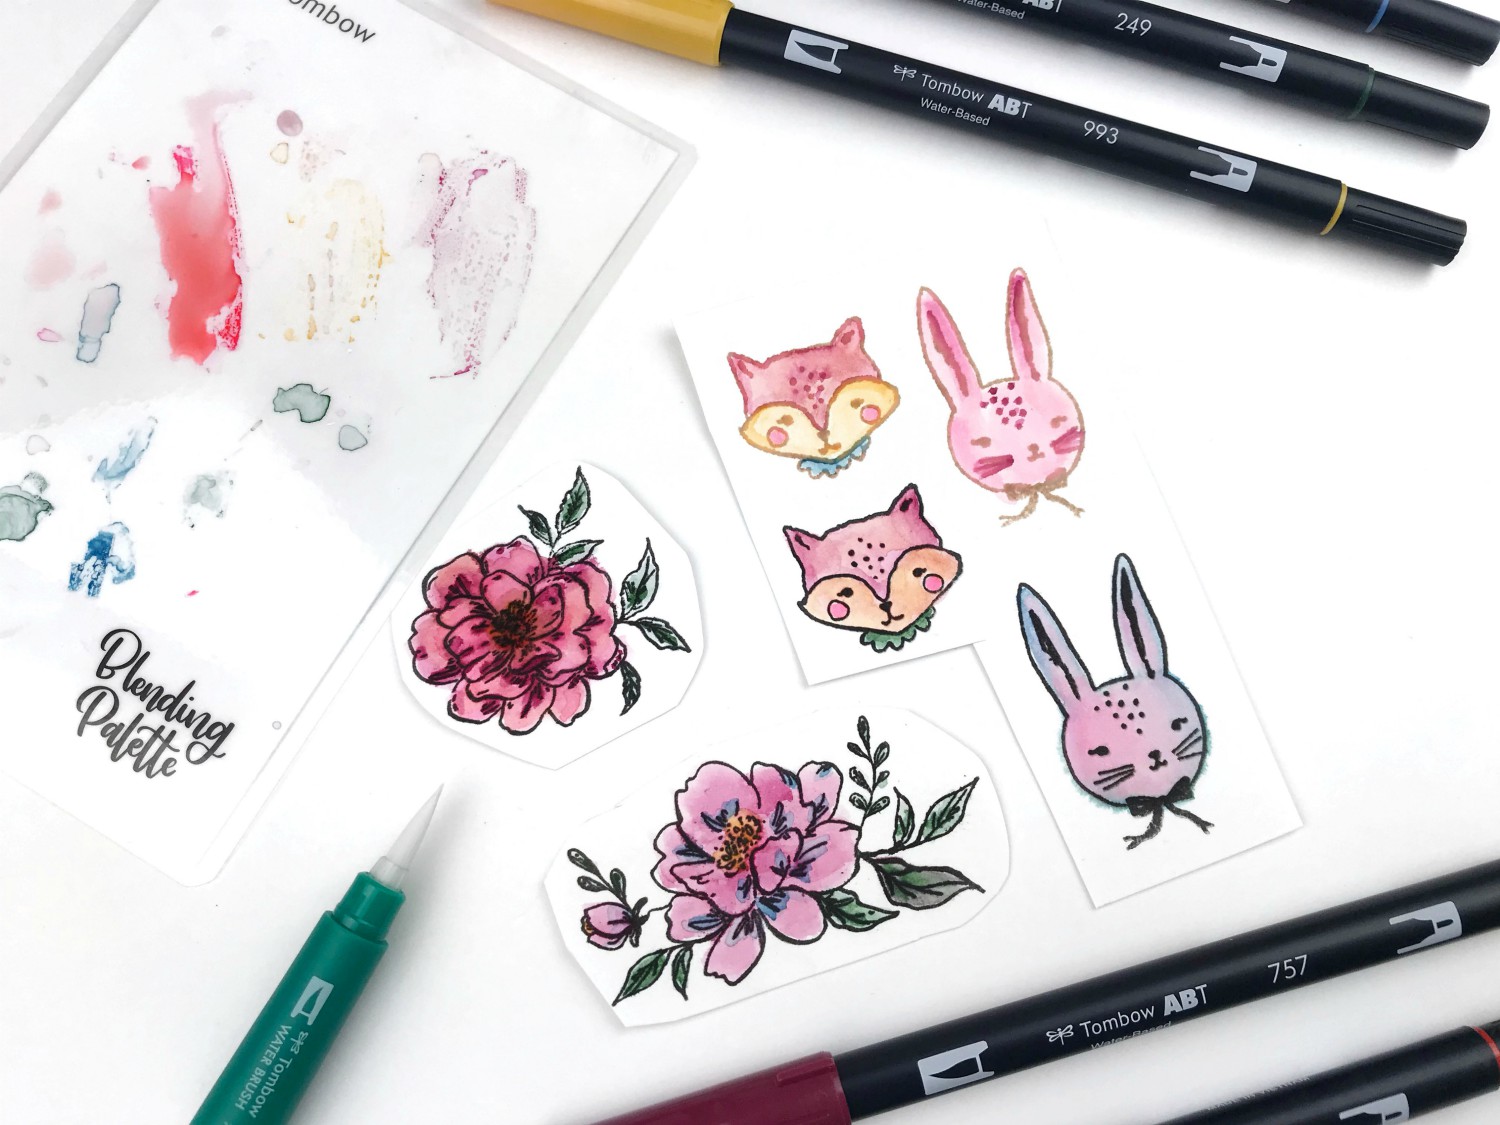
Once you are done coloring, it is time to fussy cut your images out. Using the broad tip of the MONO Twin Permanent Marker, blacken the edges of your stamped images to give them a finished look and to hide the white edges from cutting.
Step 2
Now that you have your images colored, cut and ready to go, it is time to create the backgrounds for our handmade watercolor cards.
I’m starting with Dual Brush Pen colors 757 (port red) and 885 (warm red) to lay on my base color. Spray your colors with some water and smoosh your Blending Palette onto your paper. Continue to build up your background by adding more colors once your layers are dry.
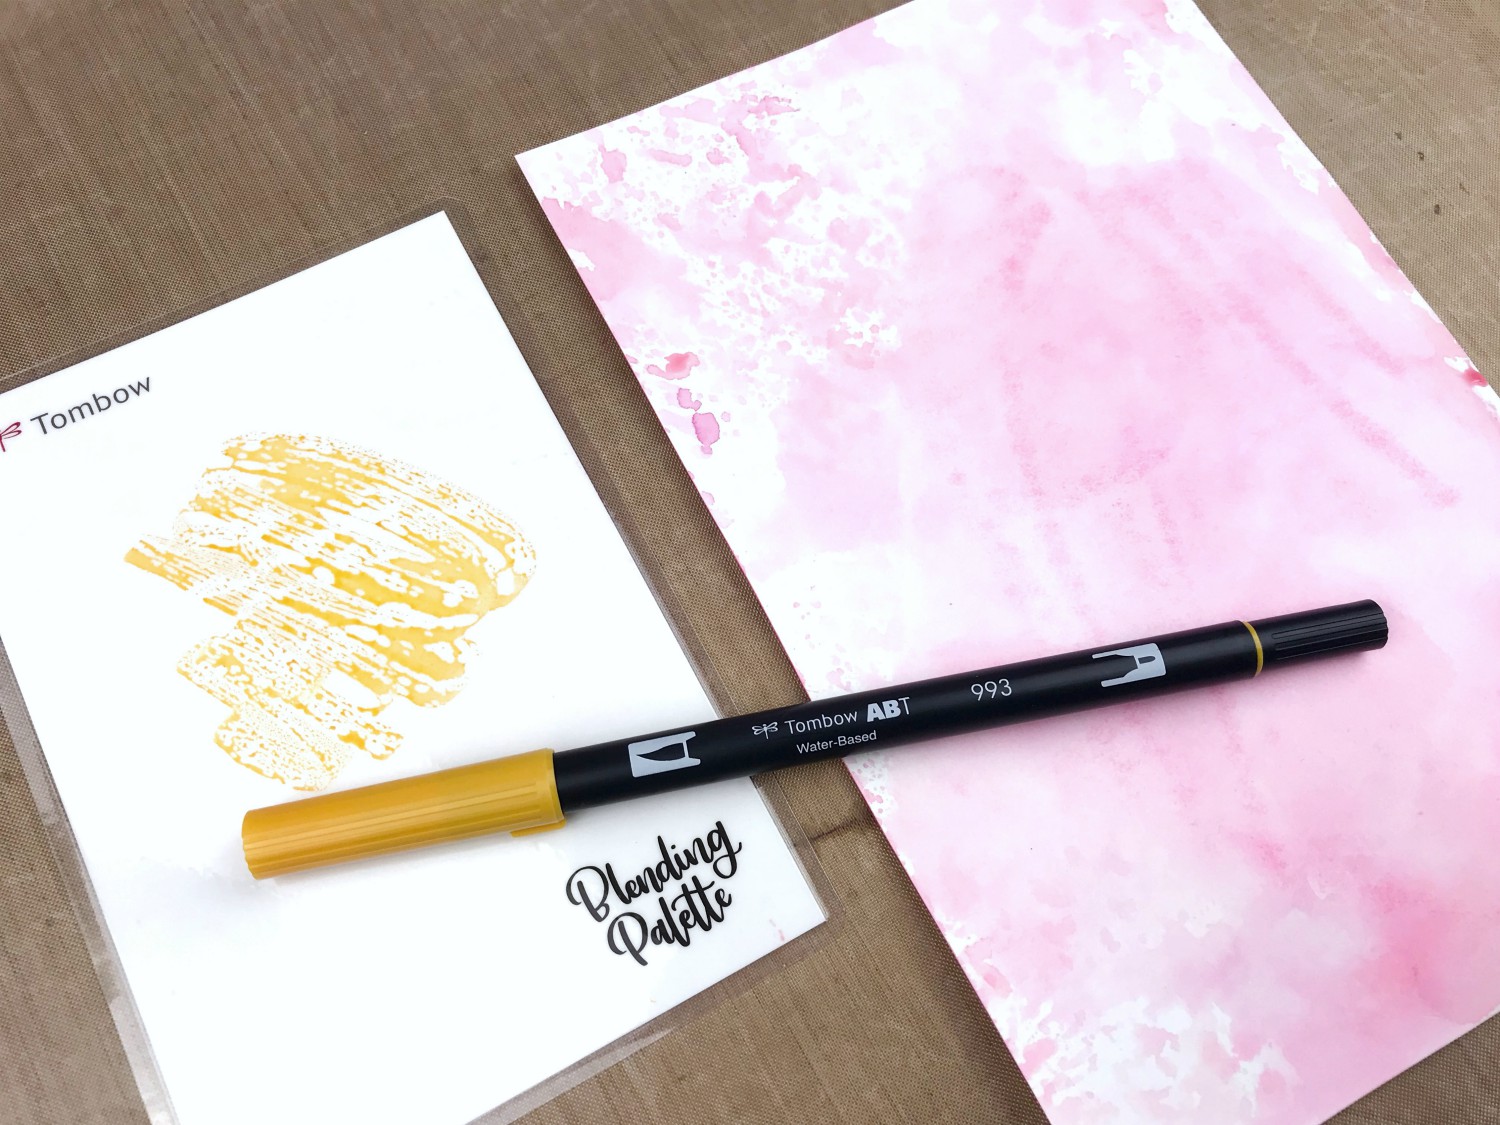
Next, I added Dual Brush Pen 993 (chrome orange). The last color I layered on top was 526 (true blue).

When your layers are dry, you will be left with a beautiful layered watercolor background that will match perfectly with your stamped images.
Step 3
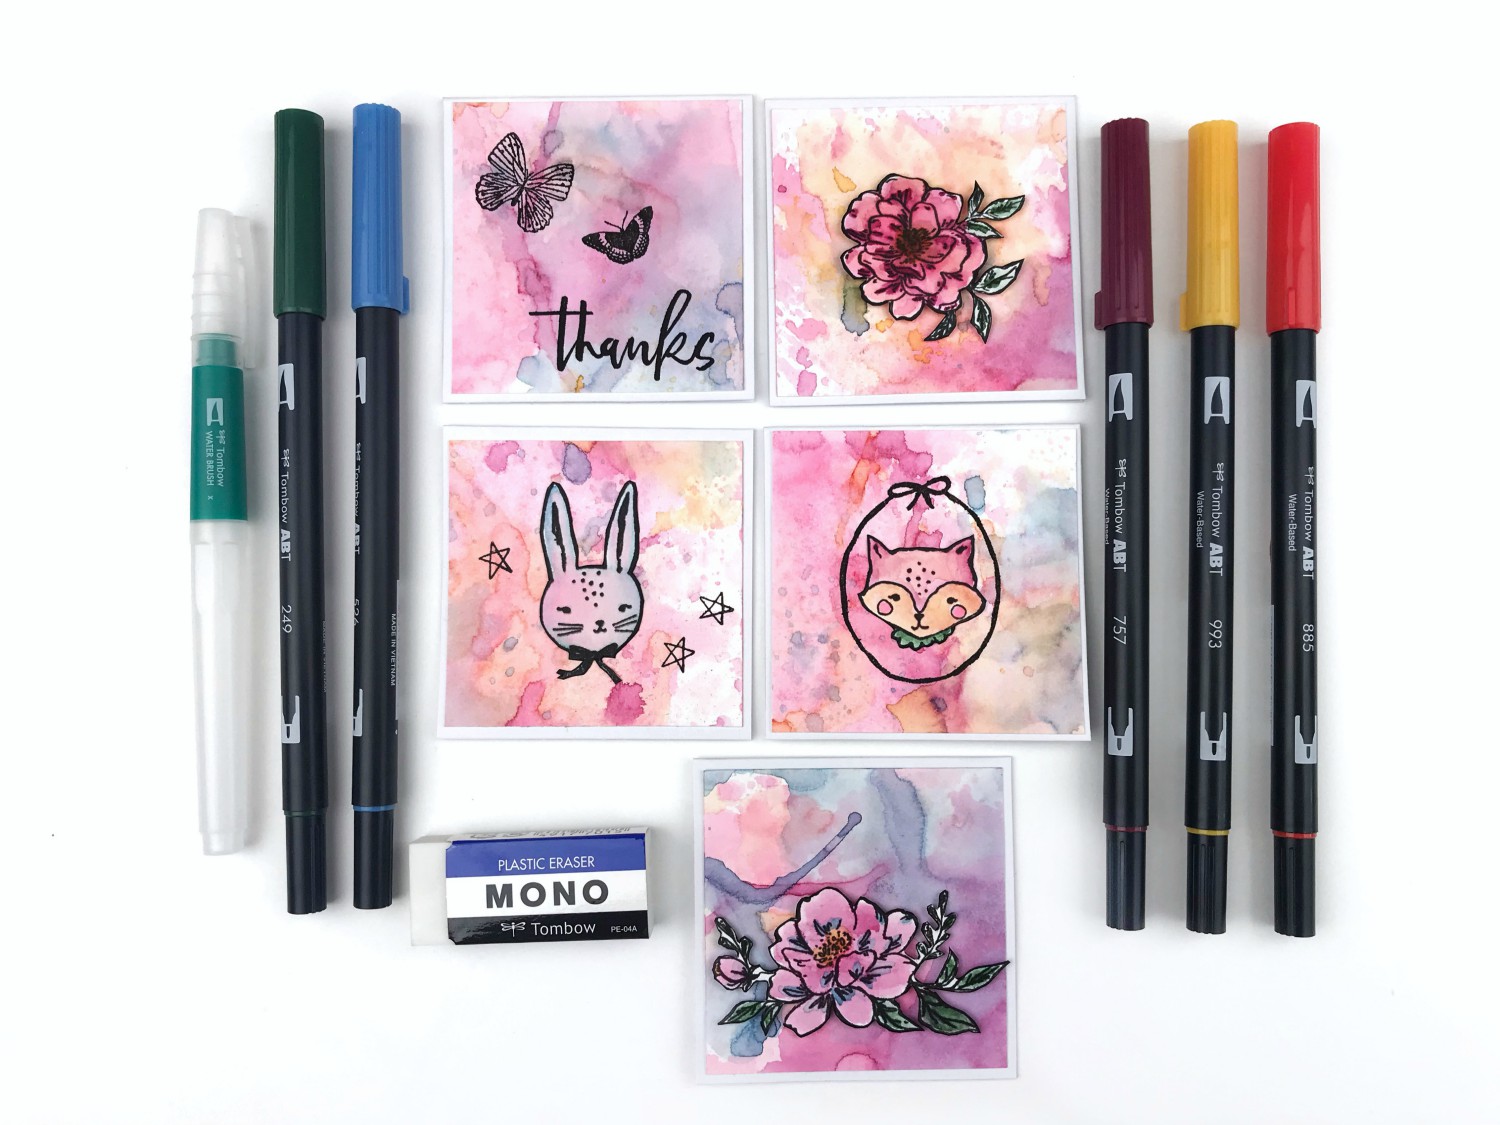
Now it’s time to build up your cards. To create my watercolor card set, I’m using 3×3 card bases. You can make your card sets any size you’d like.
Cut your watercolor background into panels and mat them on your card bases using the MONO Adhesive + Permanent. This adhesive is strong enough to make sure your watercolor backgrounds lays flat. Continue to build up your card fronts as you see fit.
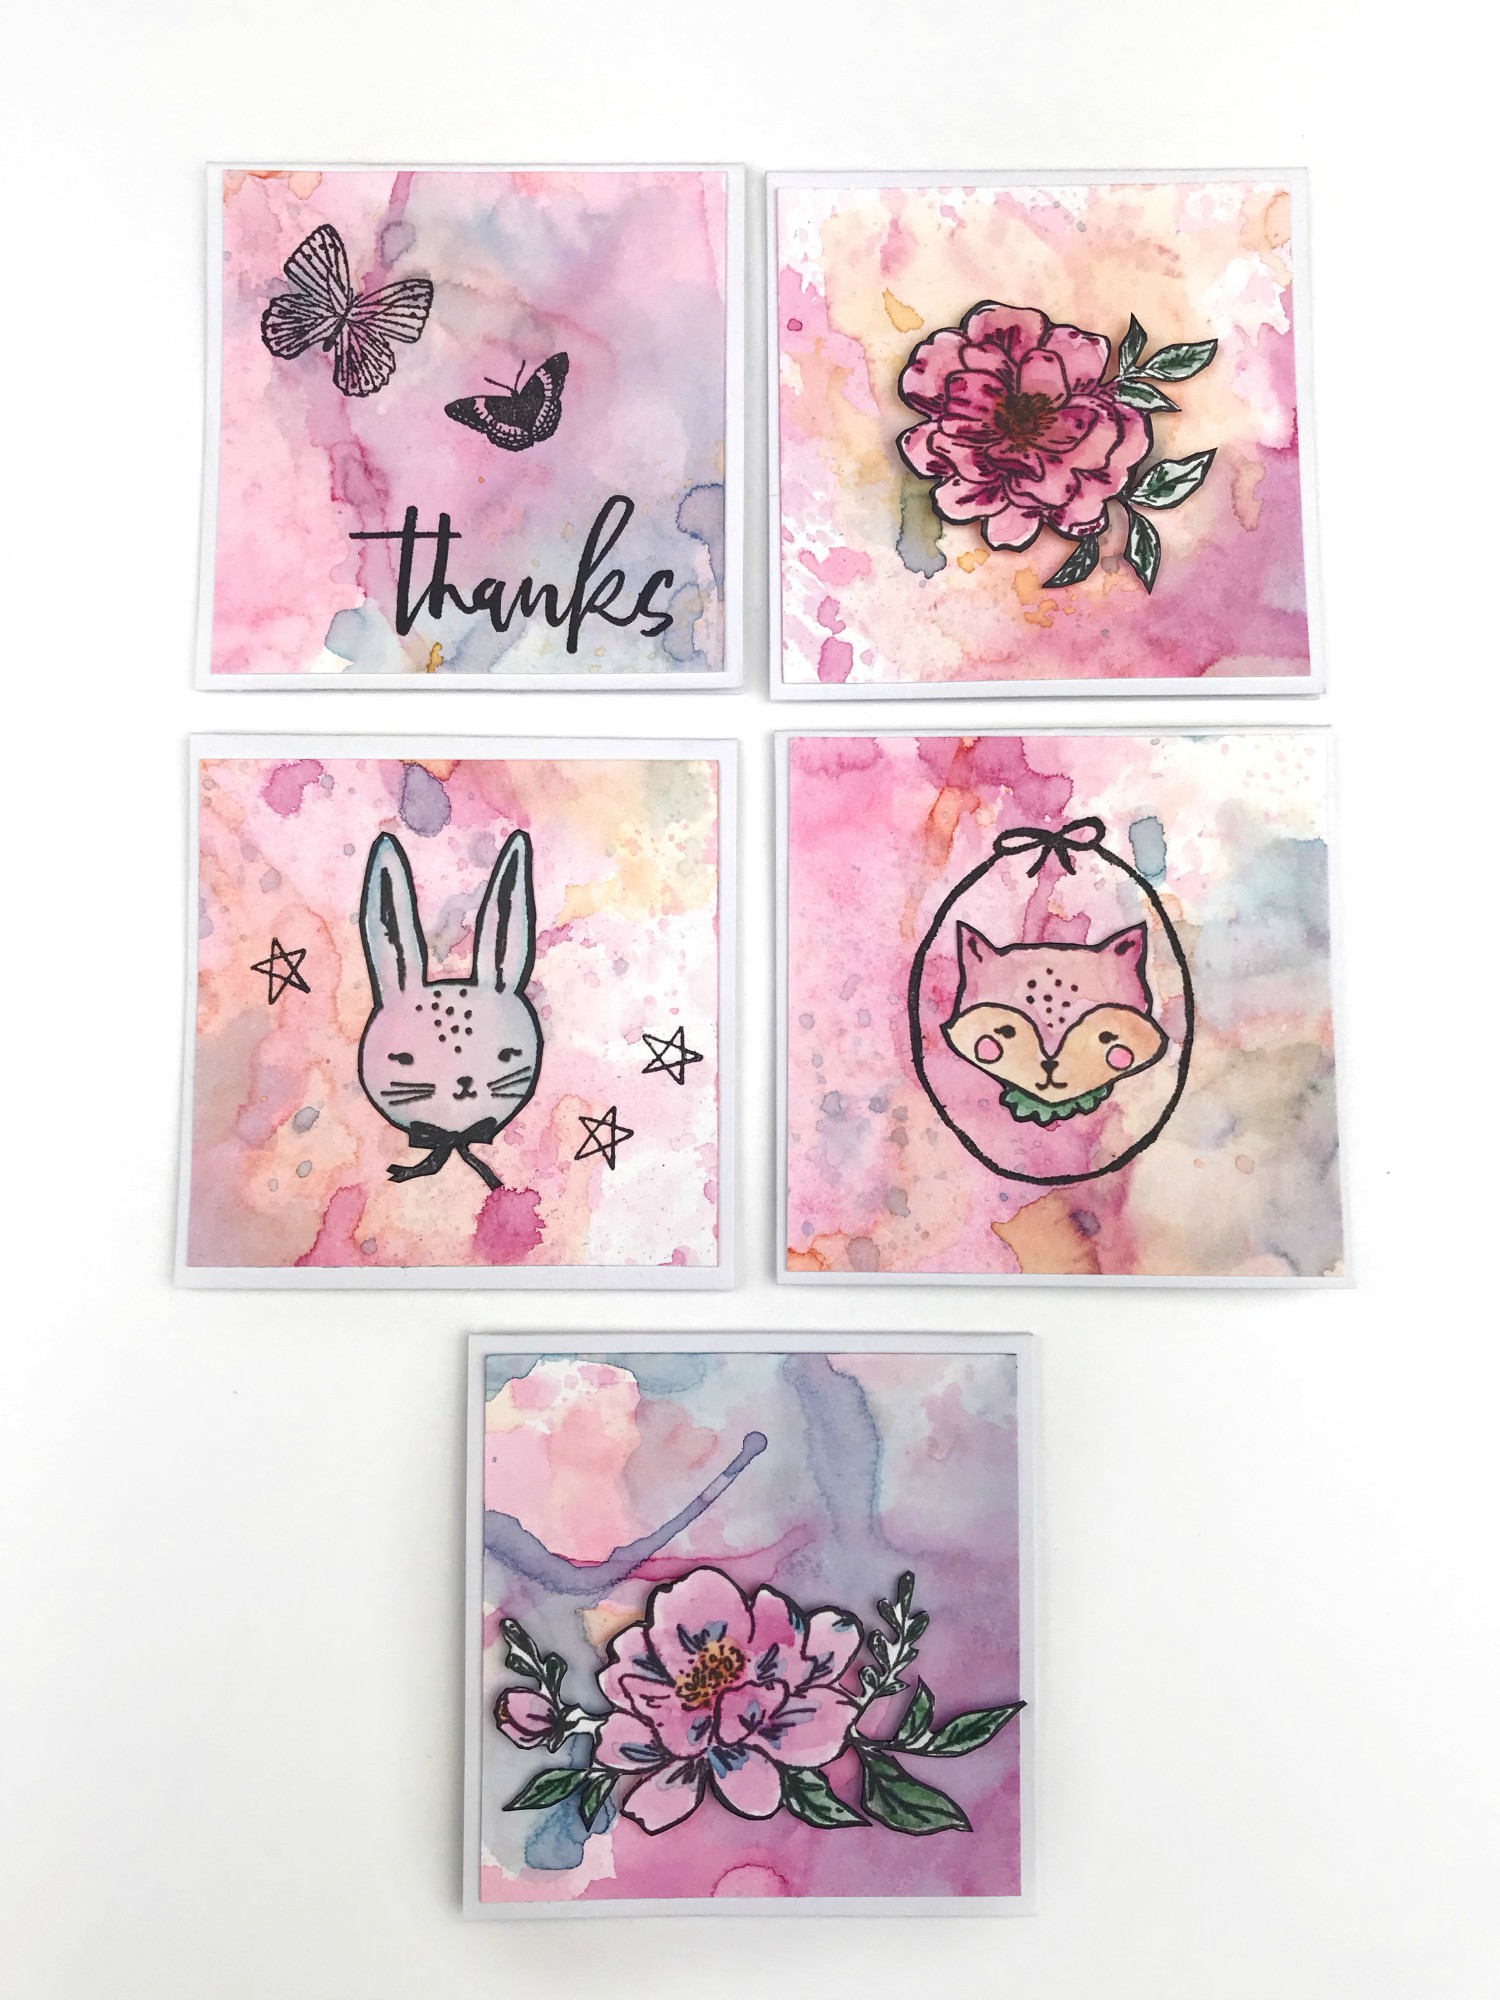
I hope you enjoyed this tutorial on how to create a handmade watercolor card set. This makes the perfect little gift to brighten up someone’s day.
If you create your own card set, please tag @serenabeecreative and @tombowusa.
For more watercolor inspiration, check out my tutorial on Watercolor Valloween Cards
If you’d like to see more from me, check out my Youtube channel or join my Crafty Rebelles Community!
Much love,
Serena Bee