Have you heard about the talented artist by the name of Ernie Barnes? If not, then I’m excited to share him with you.
Hey, I’m Danielle from sprinklesozeal and I will be showing you how to create curved lettering inspired by Ernie’s artwork. Ernie’s style and unique use of movement catapulted him into stardom and solidified him as a renowned artist. He used his talents to not only convey the beauty of being black but to share the Black experience with mainstream culture. I’m honored to create this curved lettering technique to celebrate his legacy and the impact that he had on so many artists. Alright, let’s get started!
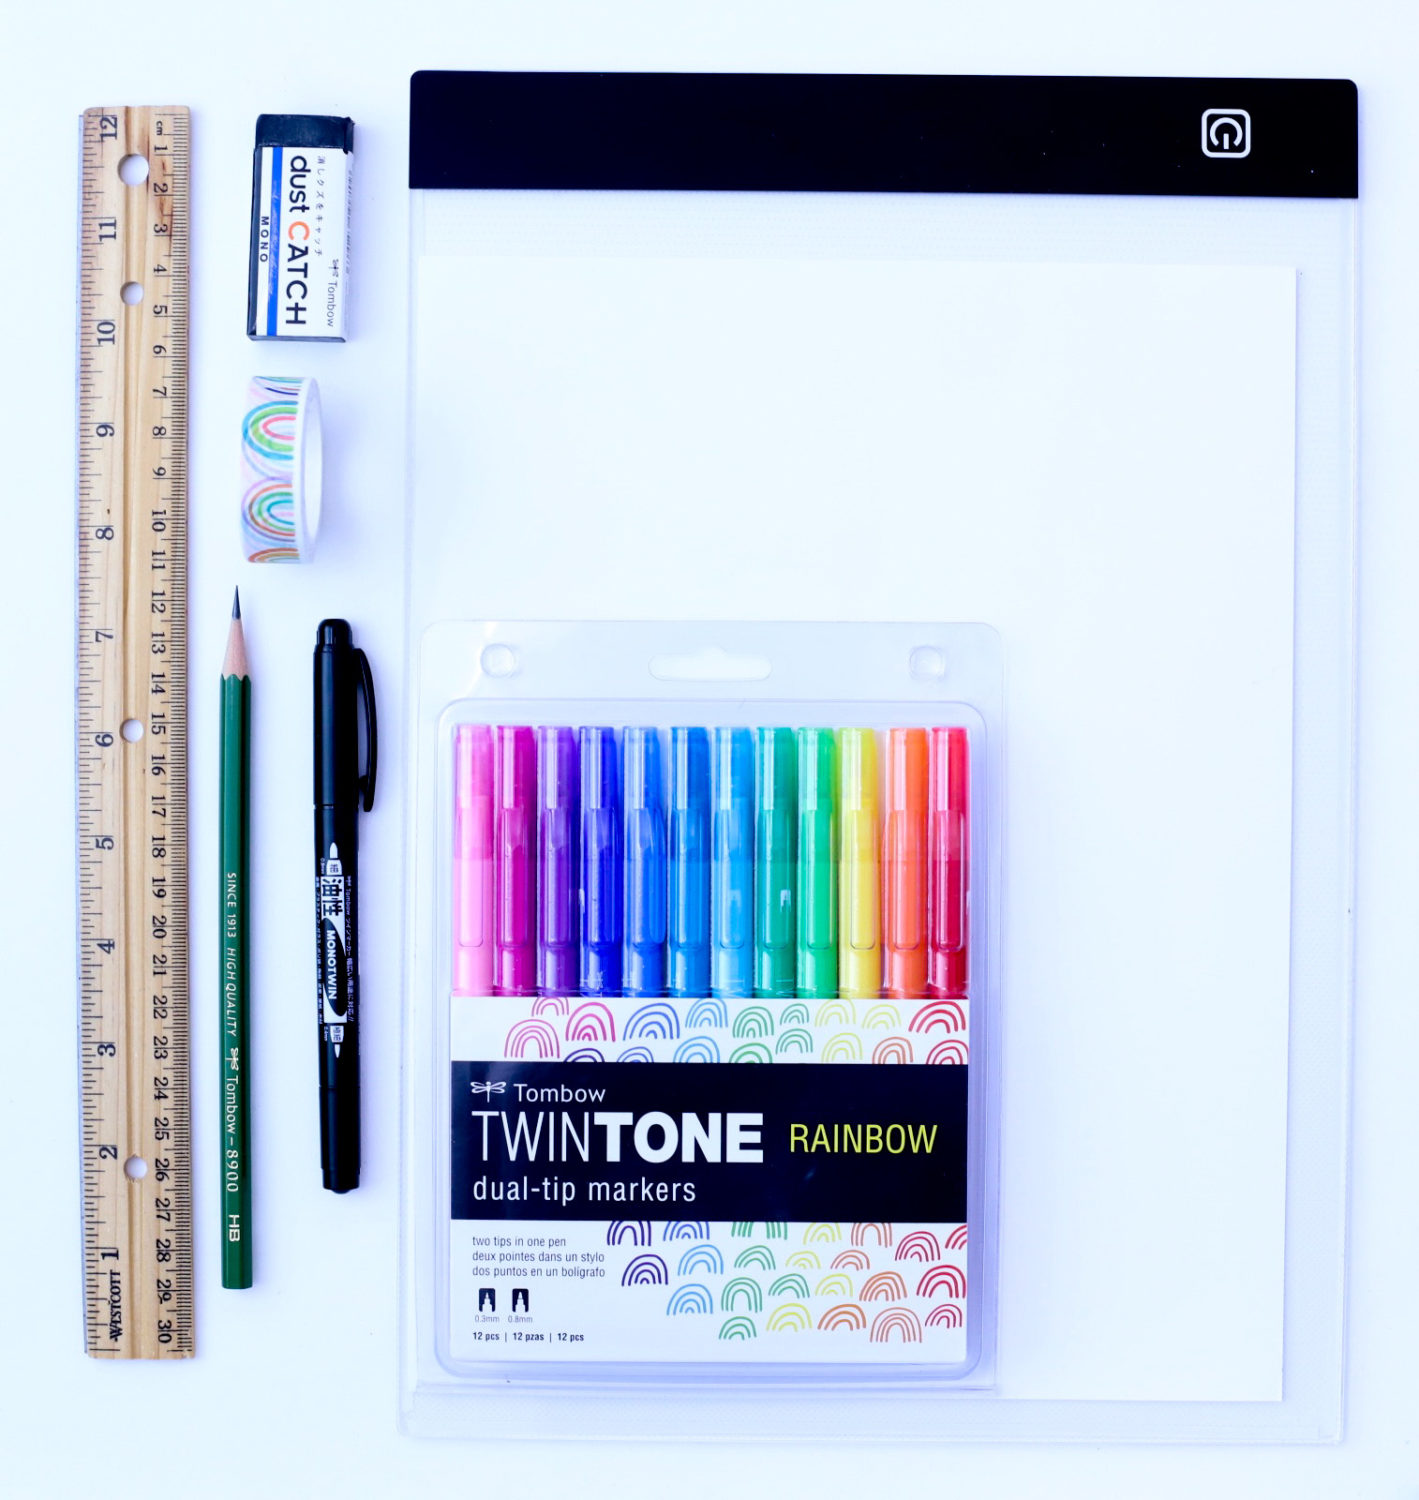
Materials
- Tombow 8900 Drawing Pencils, HB
- Tombow TwinTone Marker Set, 12-Pack Rainbow
- Tombow MONO Dust Catch Eraser
- Tombow MONO Twin Permanent Marker
- Ruler
- Printer paper
- Lightbox
- Washi Tape
Directions:
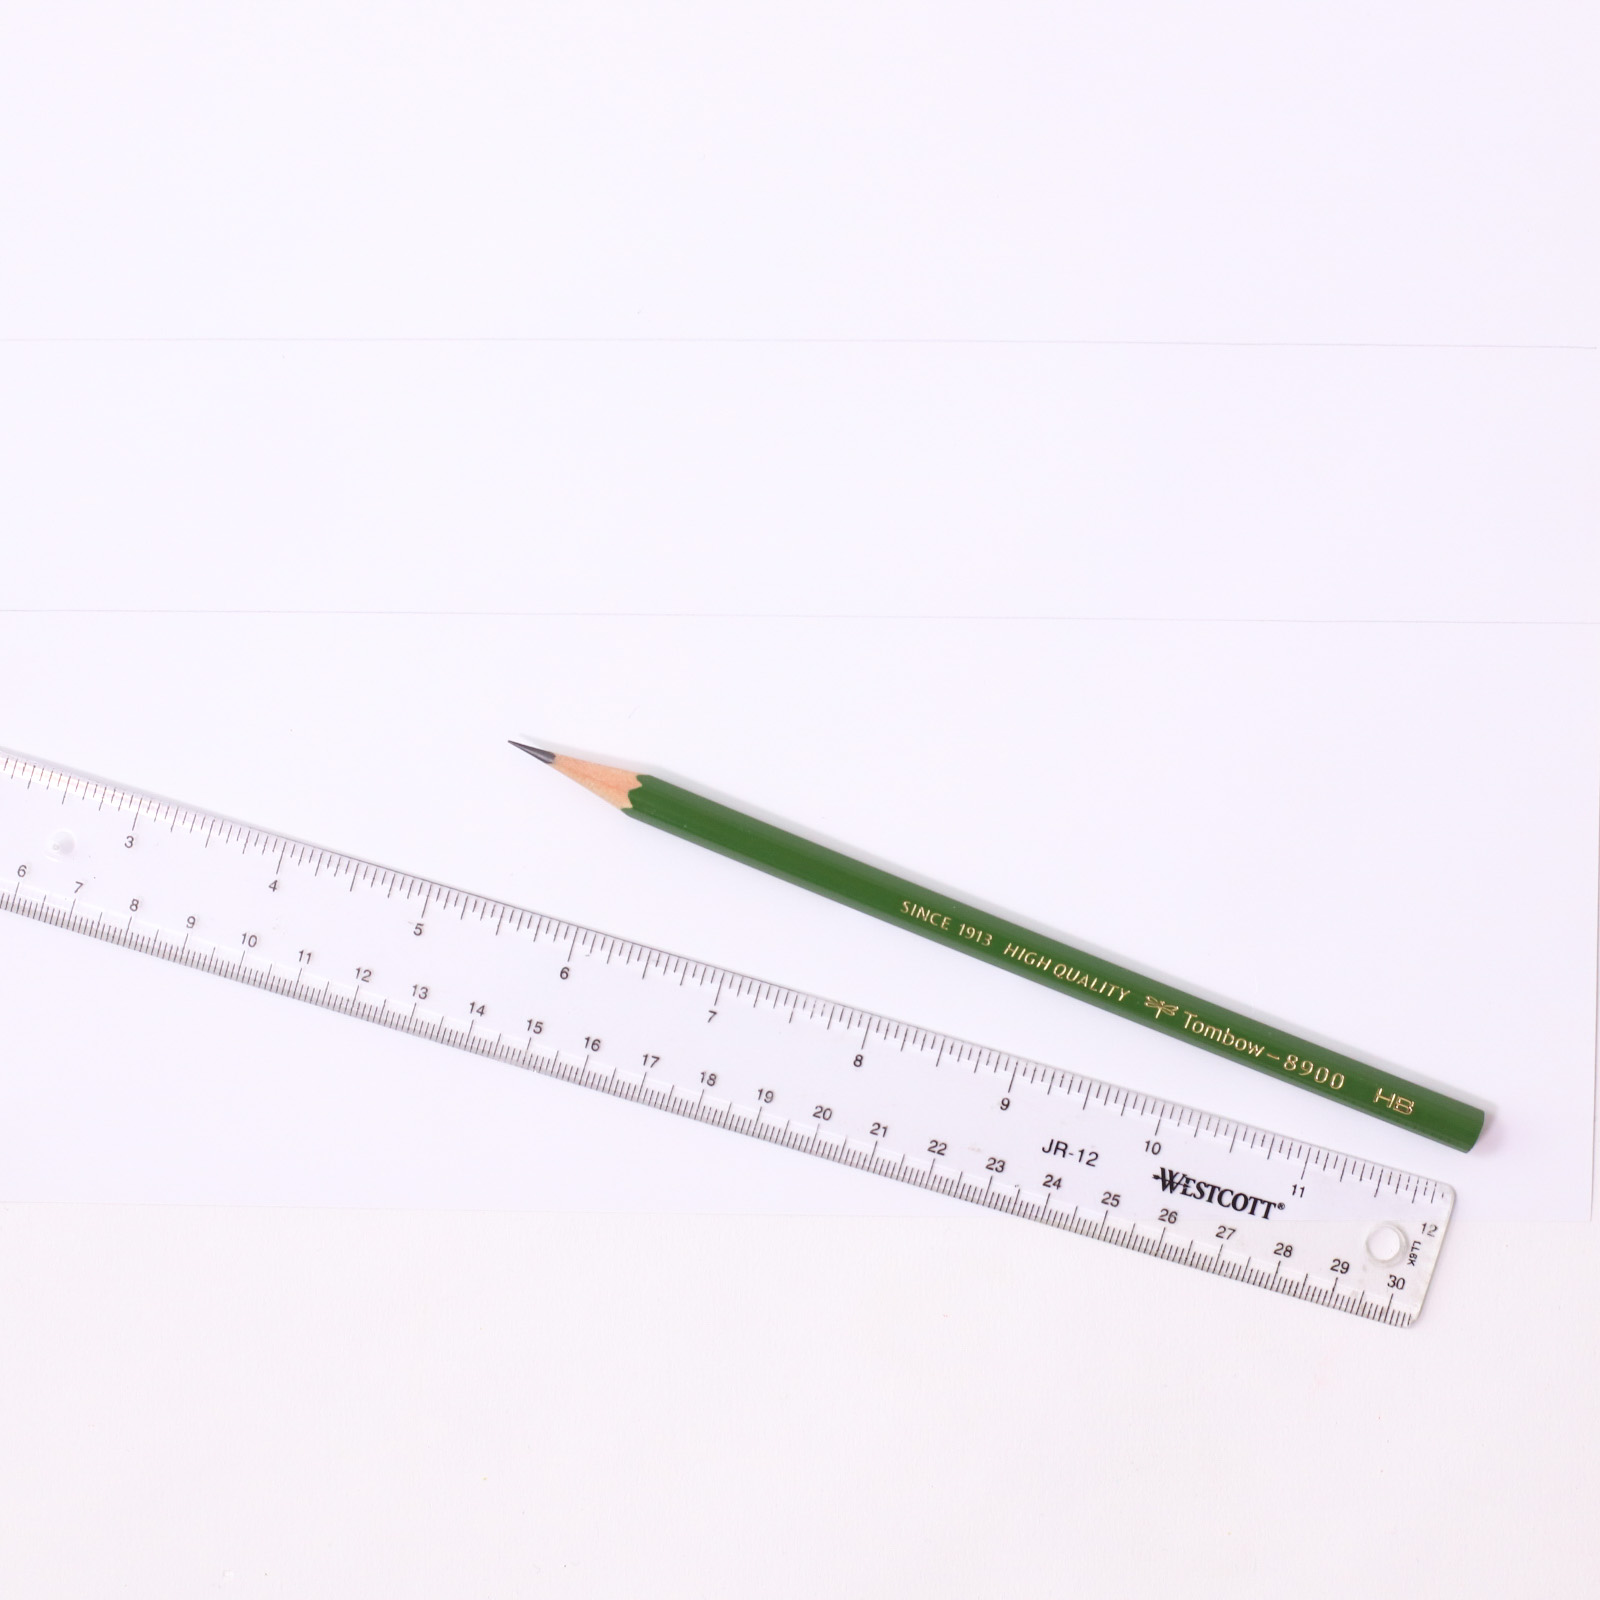
Step 1. Draw Two Horizontal Lines
Turn your printer paper lengthwise and draw two horizontal lines in the middle using the Tombow 8900 HB Drawing Pencil. I have about two inches of space in between my lines, but you can make your lettering as wide or as narrow as you want. I recommend using a ruler for this step so you can keep your lines straight. The 8900 Drawing Pencils are my go-to pencils for my sketch work because I can create a range of light and dark strokes.
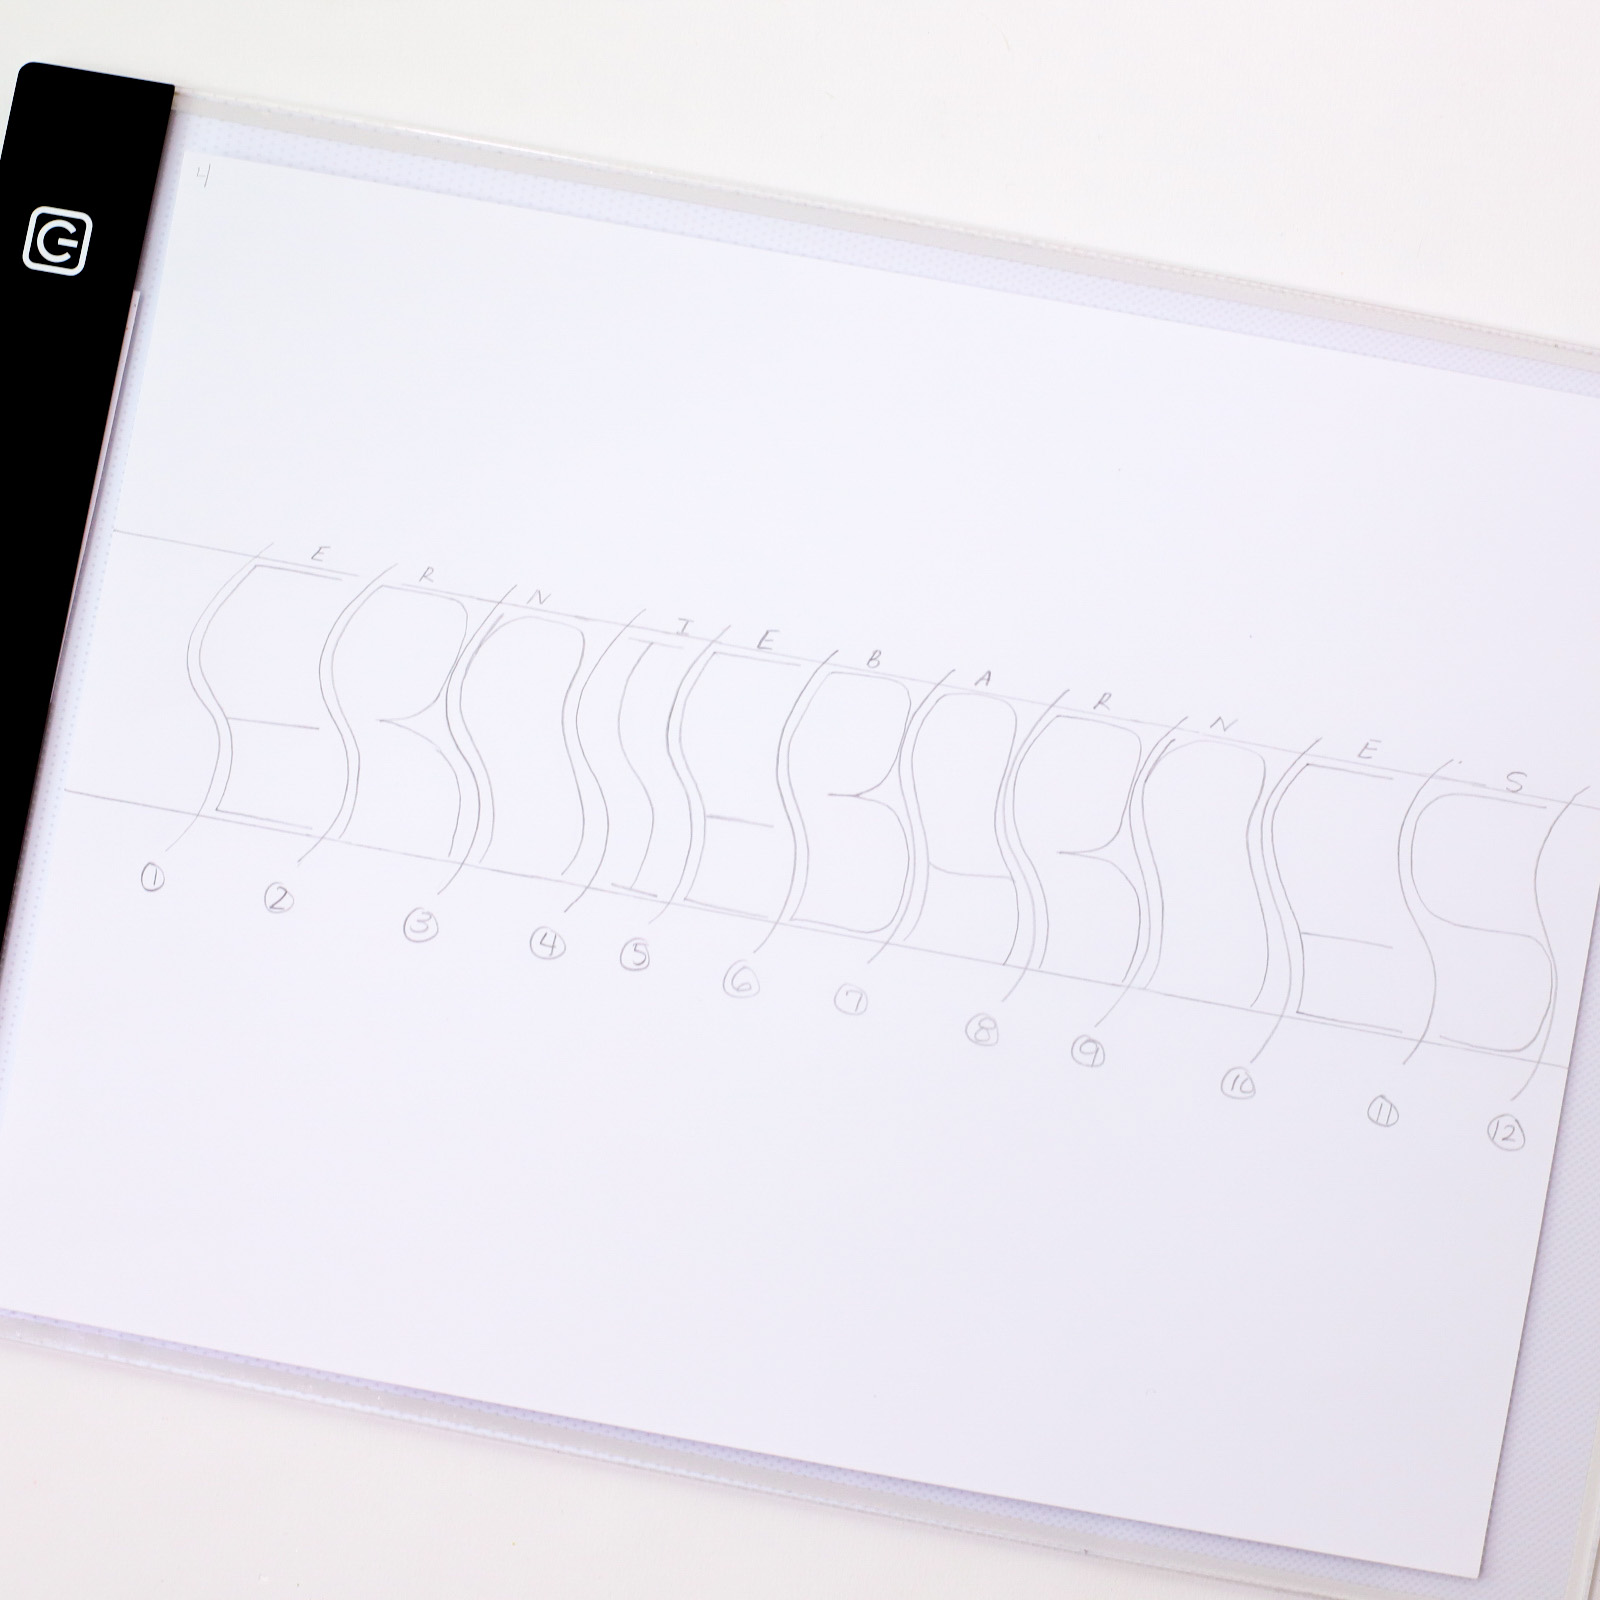
Step 2. Choose A Word.
Take a moment to think about the word or name that you want to use. After you’ve chosen it, count how many letters are in the word. The number of letters will determine how many curved lines you will need for your piece. I will need eleven S-shaped curves plus an extra one on the end to create Ernie’s full name.
Step 3. Add S-Shaped Curves to Convey Movement.
Use your 8900 HB Drawing Pencil to lightly sketch the S-shaped curves. You can make the curves as deep as you want, but make sure the lettering is readable.
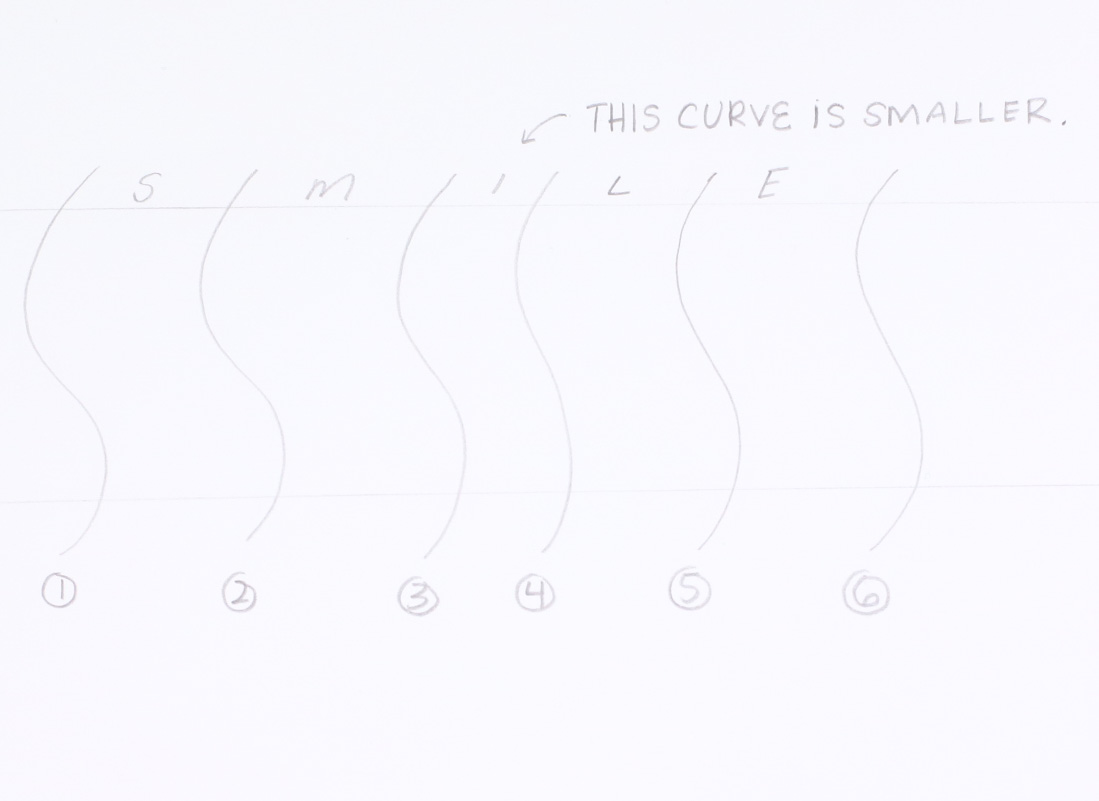
Quick Tip: Draw the individual letters on top of each curved section. This will help you to remember the basic form of the letter and how to adjust the spacing.
While creating the curves, remember that letters like “I” may need to be moved closer. Here’s how the word “Smile” would be sketched to make sure the I and M are spaced correctly. As you can see, the curved lines that house the “I” have different spacing than the rest of the letters.
Step 4. Fill in the Letters
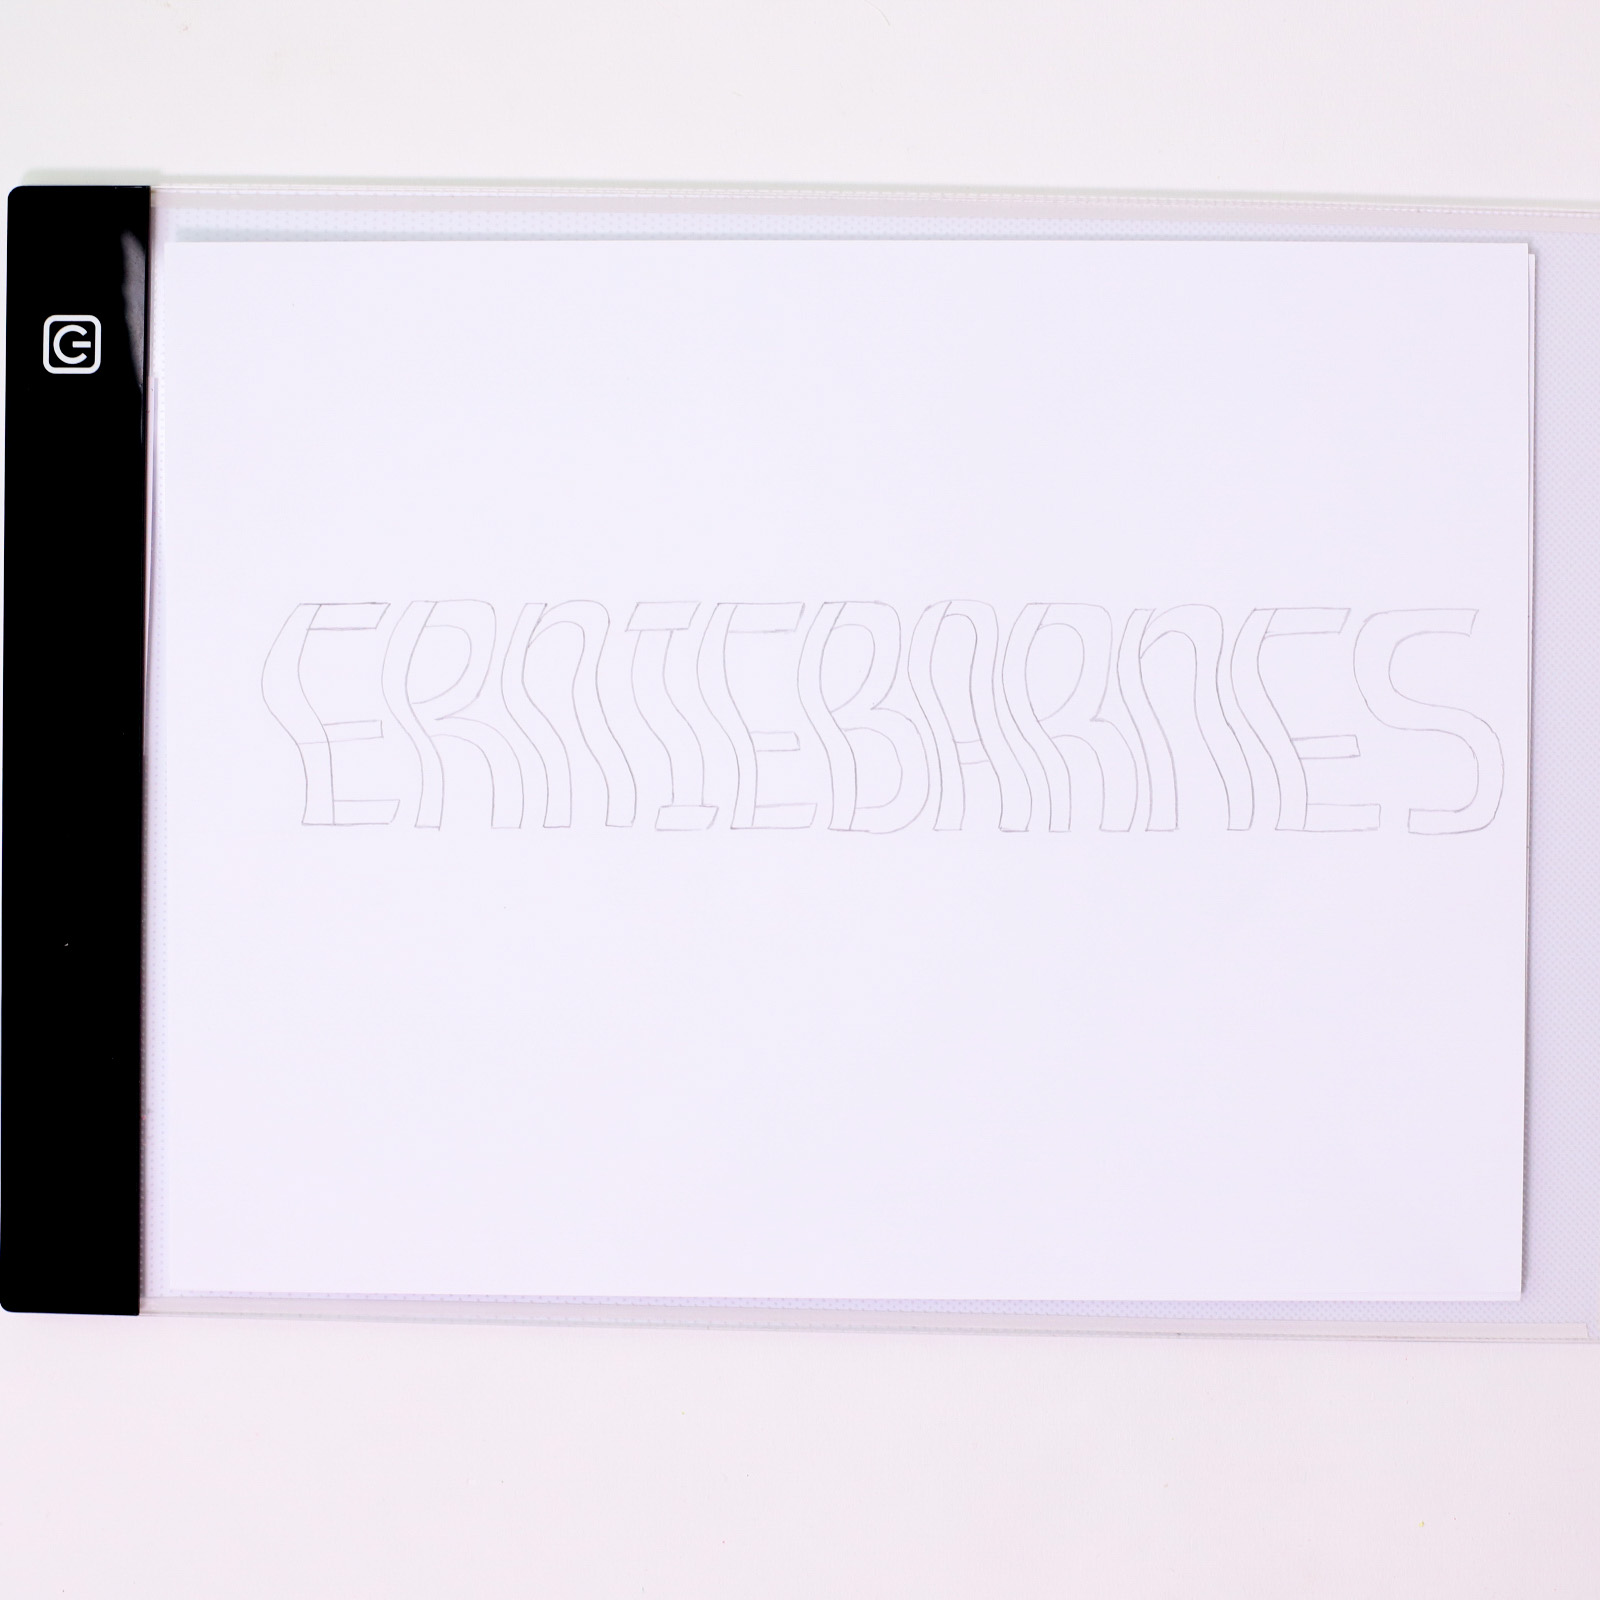
After you’re done drawing the S-Shaped curves, lightly sketch your letters while making sure to follow the curves as a guide. I found that a lightbox helped me a lot with all of the retracing. You can totally use your window during the daytime if you don’t own one.
Step 5. Add Weight to the Letters
Now you’re going to increase the weight of each letter. Take another piece of printer paper and place it on top of your first sketch. Repeat step four using a lightbox. It’s not necessary to draw the guides again, so only focus on the letters. Remember to keep your pencil strokes light, so you can erase them easily.
 This step is probably the most tedious because you’re moving back and forth between tracing on the lightbox. I like to do it this way because my first sketch usually has several eraser marks from the changes. I’m a big fan of the MONO Dust Catch Eraser because it doesn’t tear into my paper and leaves my projects free from eraser debris.
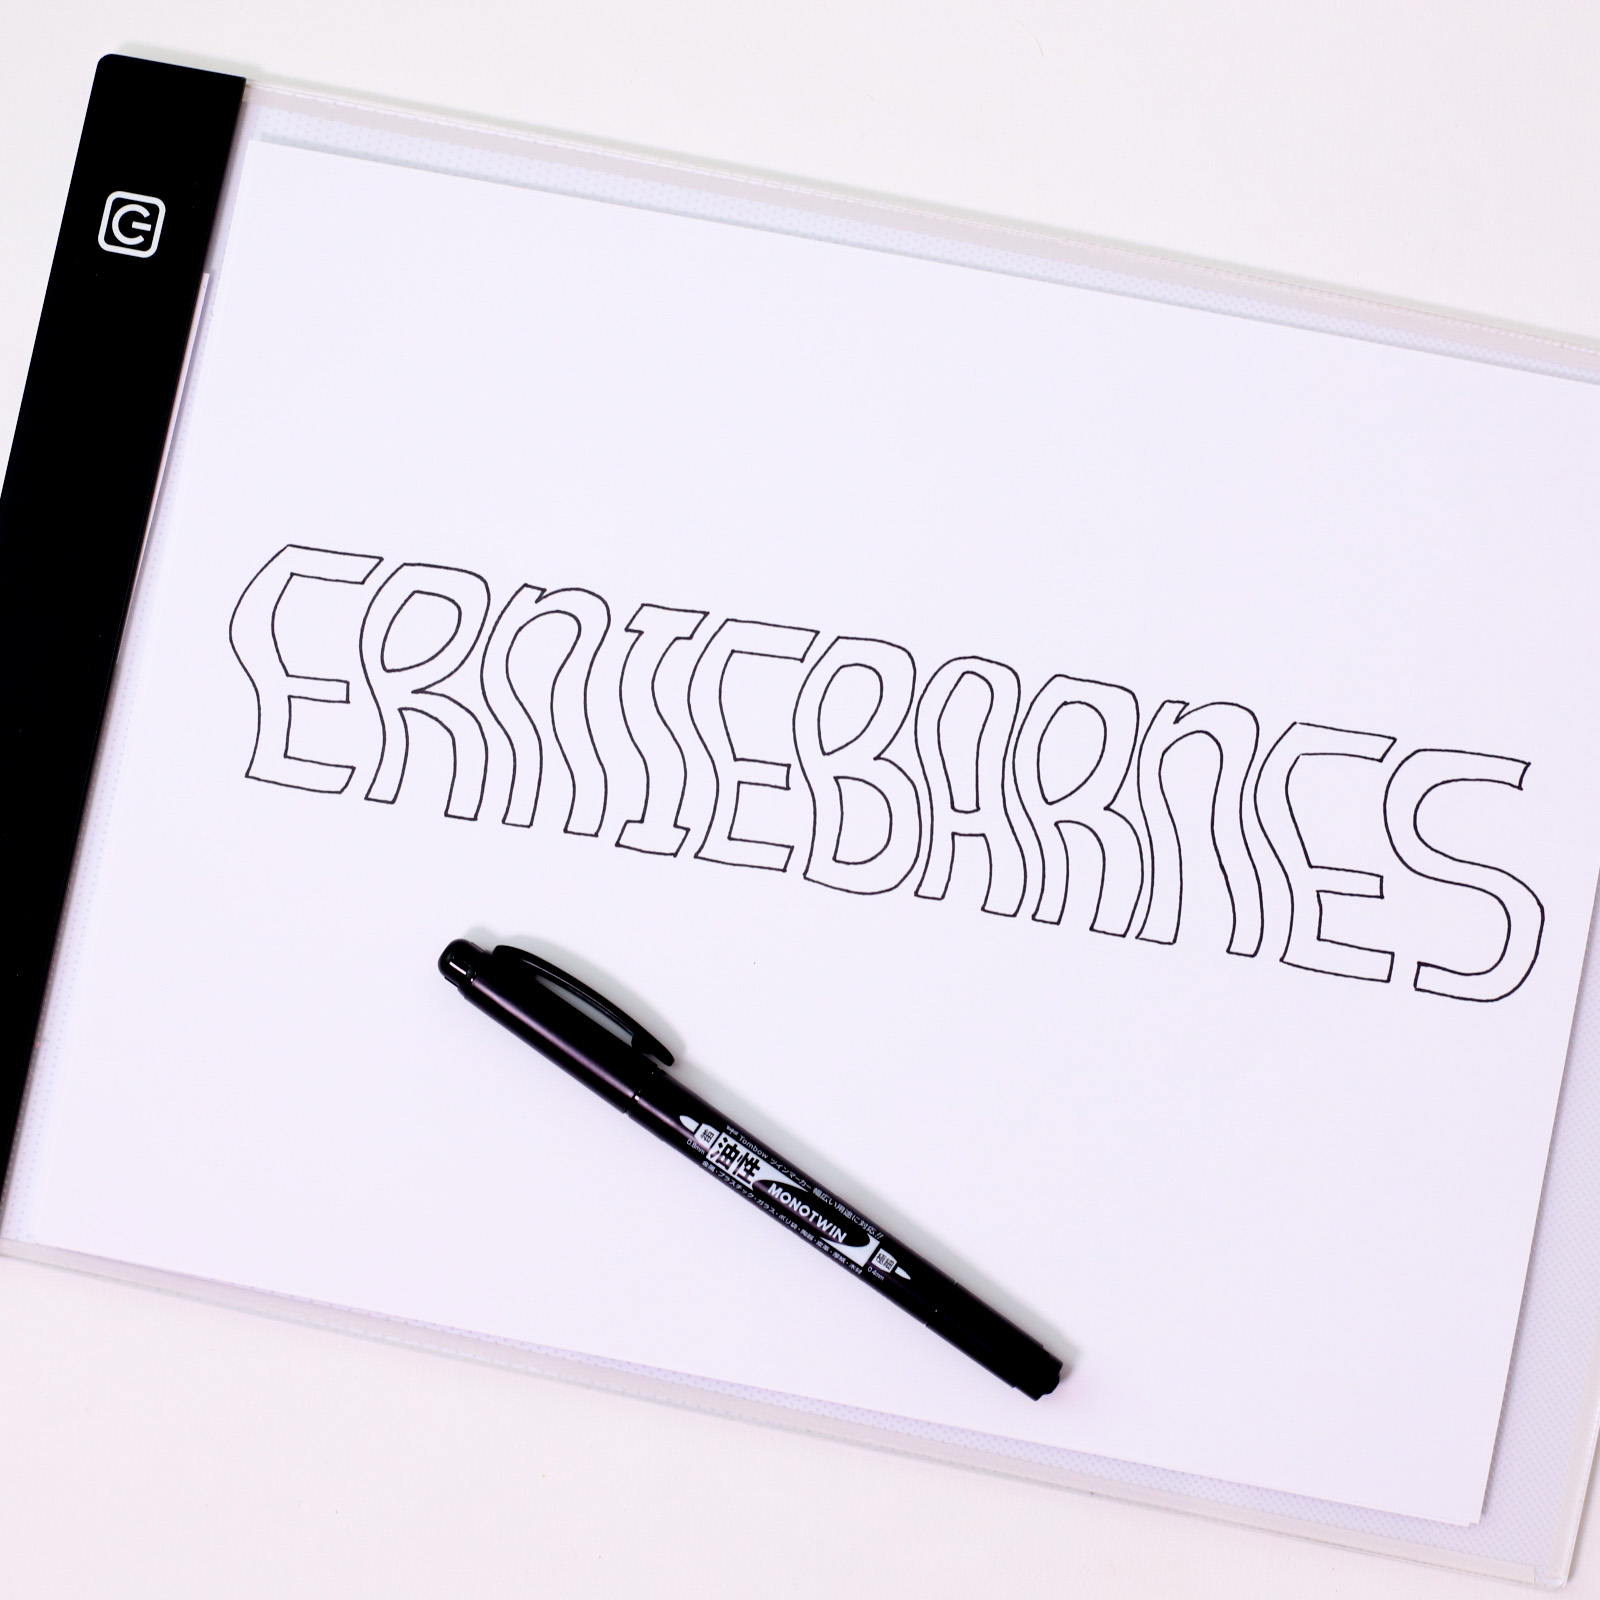
I created one more copy using my MONO Twin Permanent Marker, but this is optional.
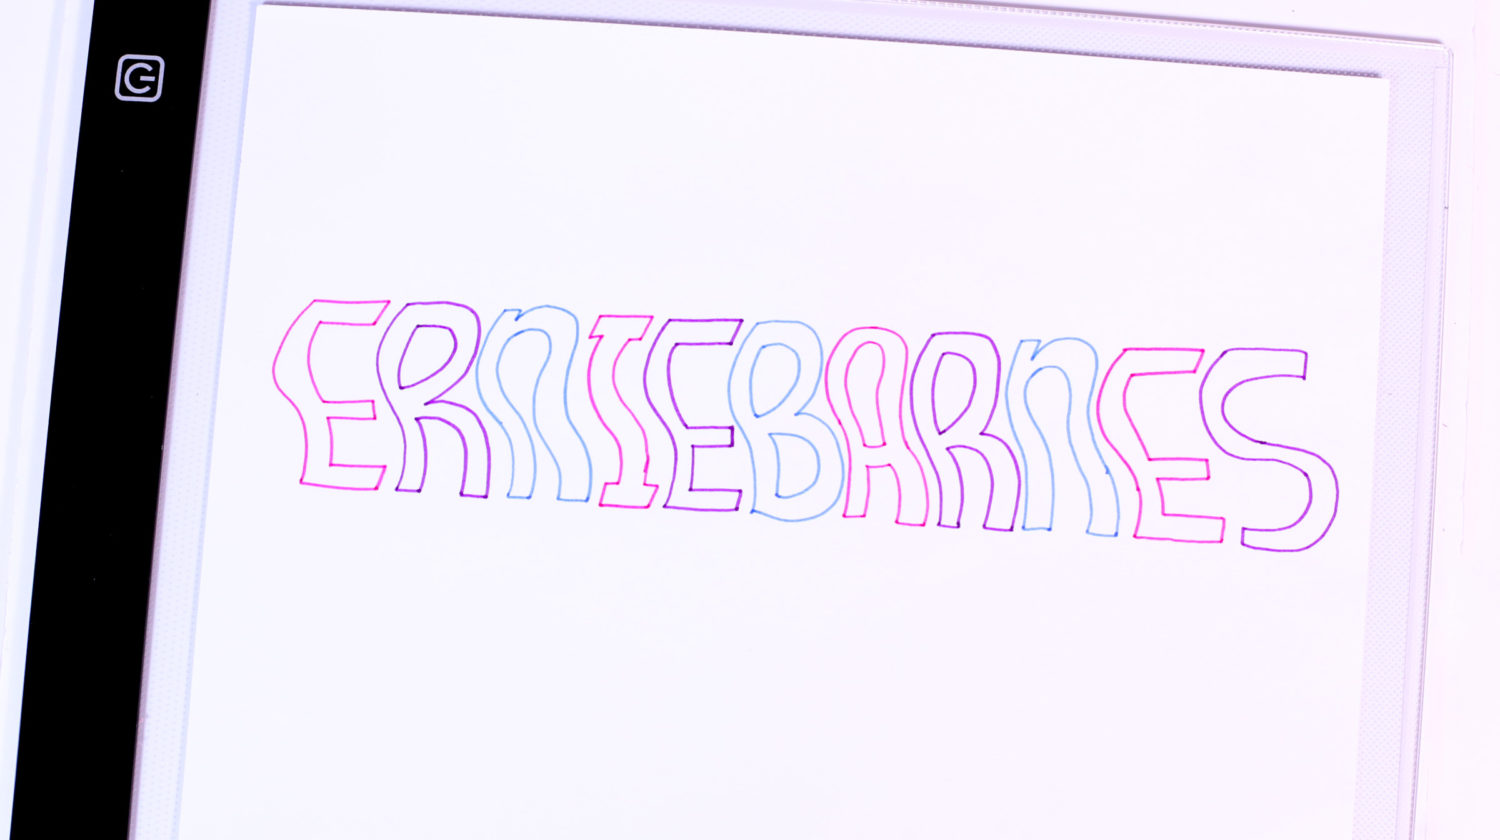
Step 6. Color
Use any color marker from the TwinTone Marker 12-Pack to trace your word one more time. Since Ernie was known for his vibrant and deep colors, I decided to choose Fuchsia Pink, Violet, and Prussian Blue from the TwinTone Rainbow 12-Pack. I enjoyed using the TwinTone Markers for this piece because they worked well on printer paper and provided crisp lines.
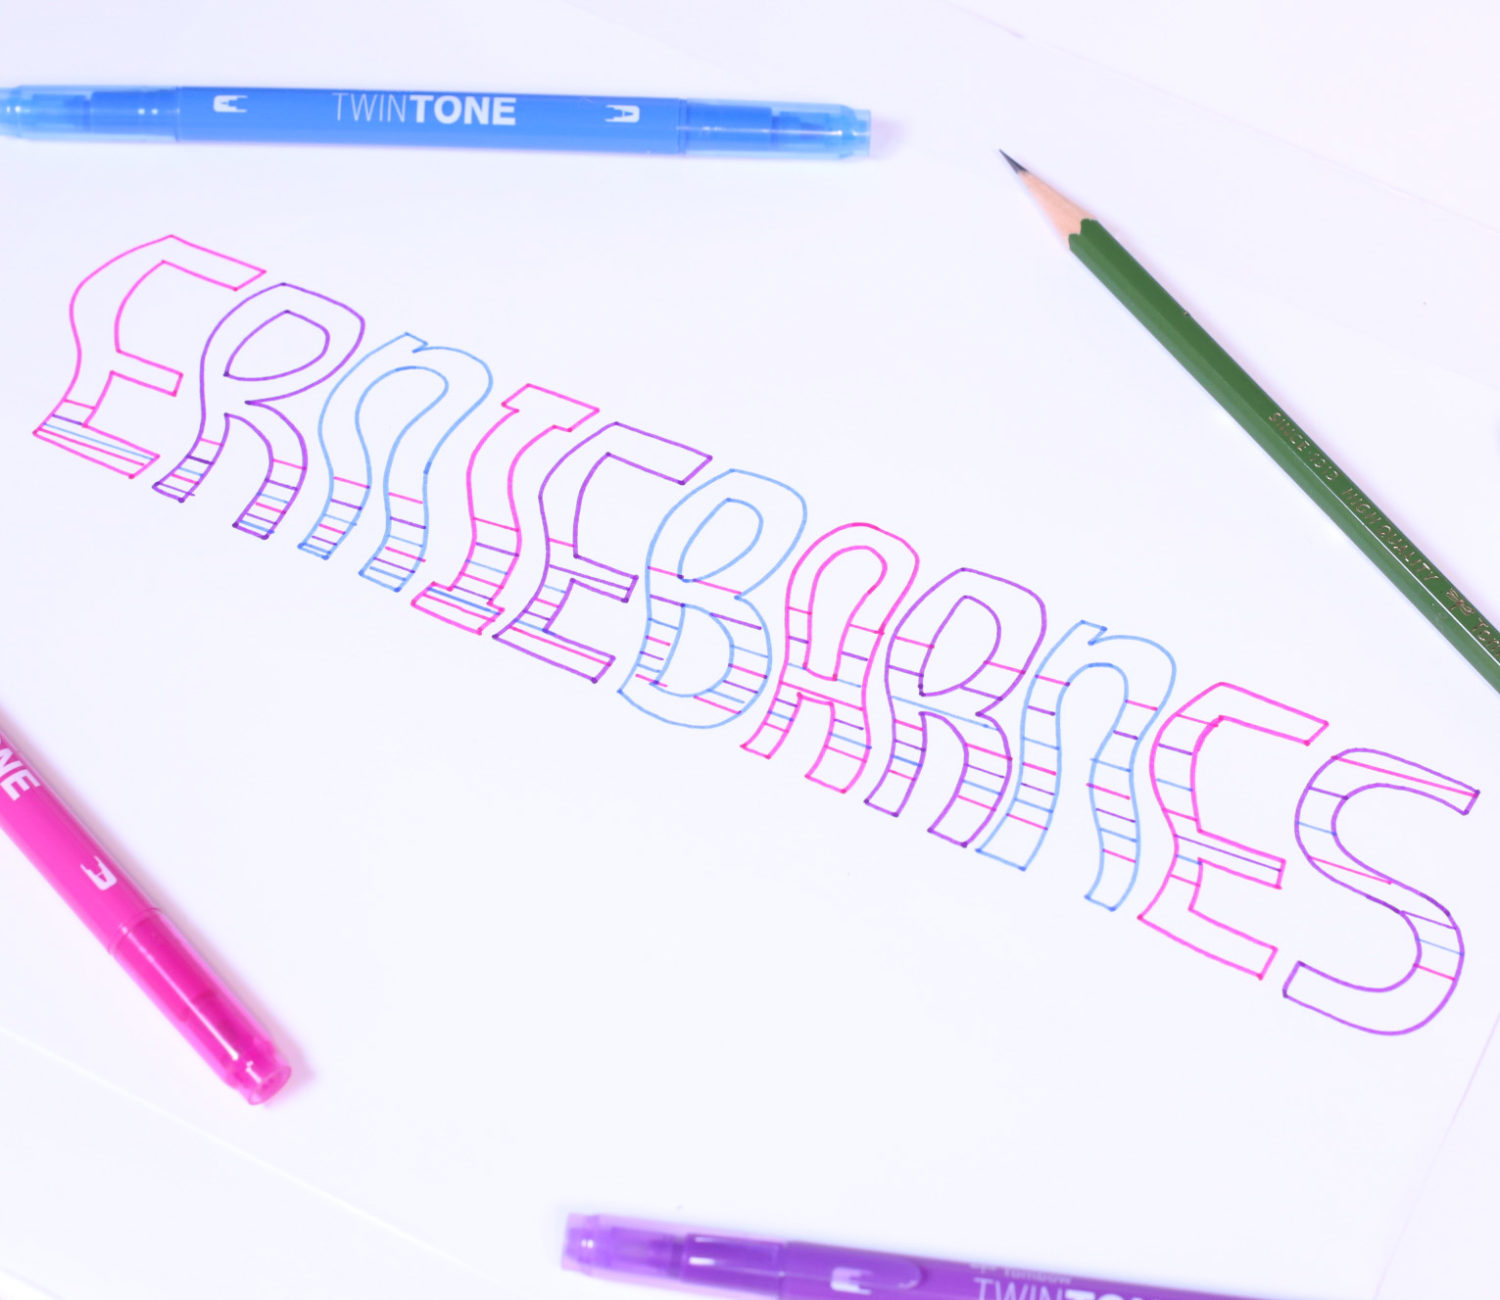
Step 6. Add Details
The curved lettering stands out on its own, but I added some angled line work to jazz it up a bit. You can totally do the same by adding line work or some extra doodles as long as it doesn’t take away from the piece.
Here are some additional close-up photos.
I hope that you enjoyed this tutorial on curved lettering. If you’re looking for other cool ways to letter, check out Ali’s Slime Hand Lettering in Five Easy Steps or Marcella’s Stitched Lettering Tutorial . As always, if you decide to create this style, tag Tombow USA and myself (@sprinklesofzeal) so we can see your awesome work. Oh, and be sure you check out Ernie Barnes’s website to learn more about his style and art.
-Danielle