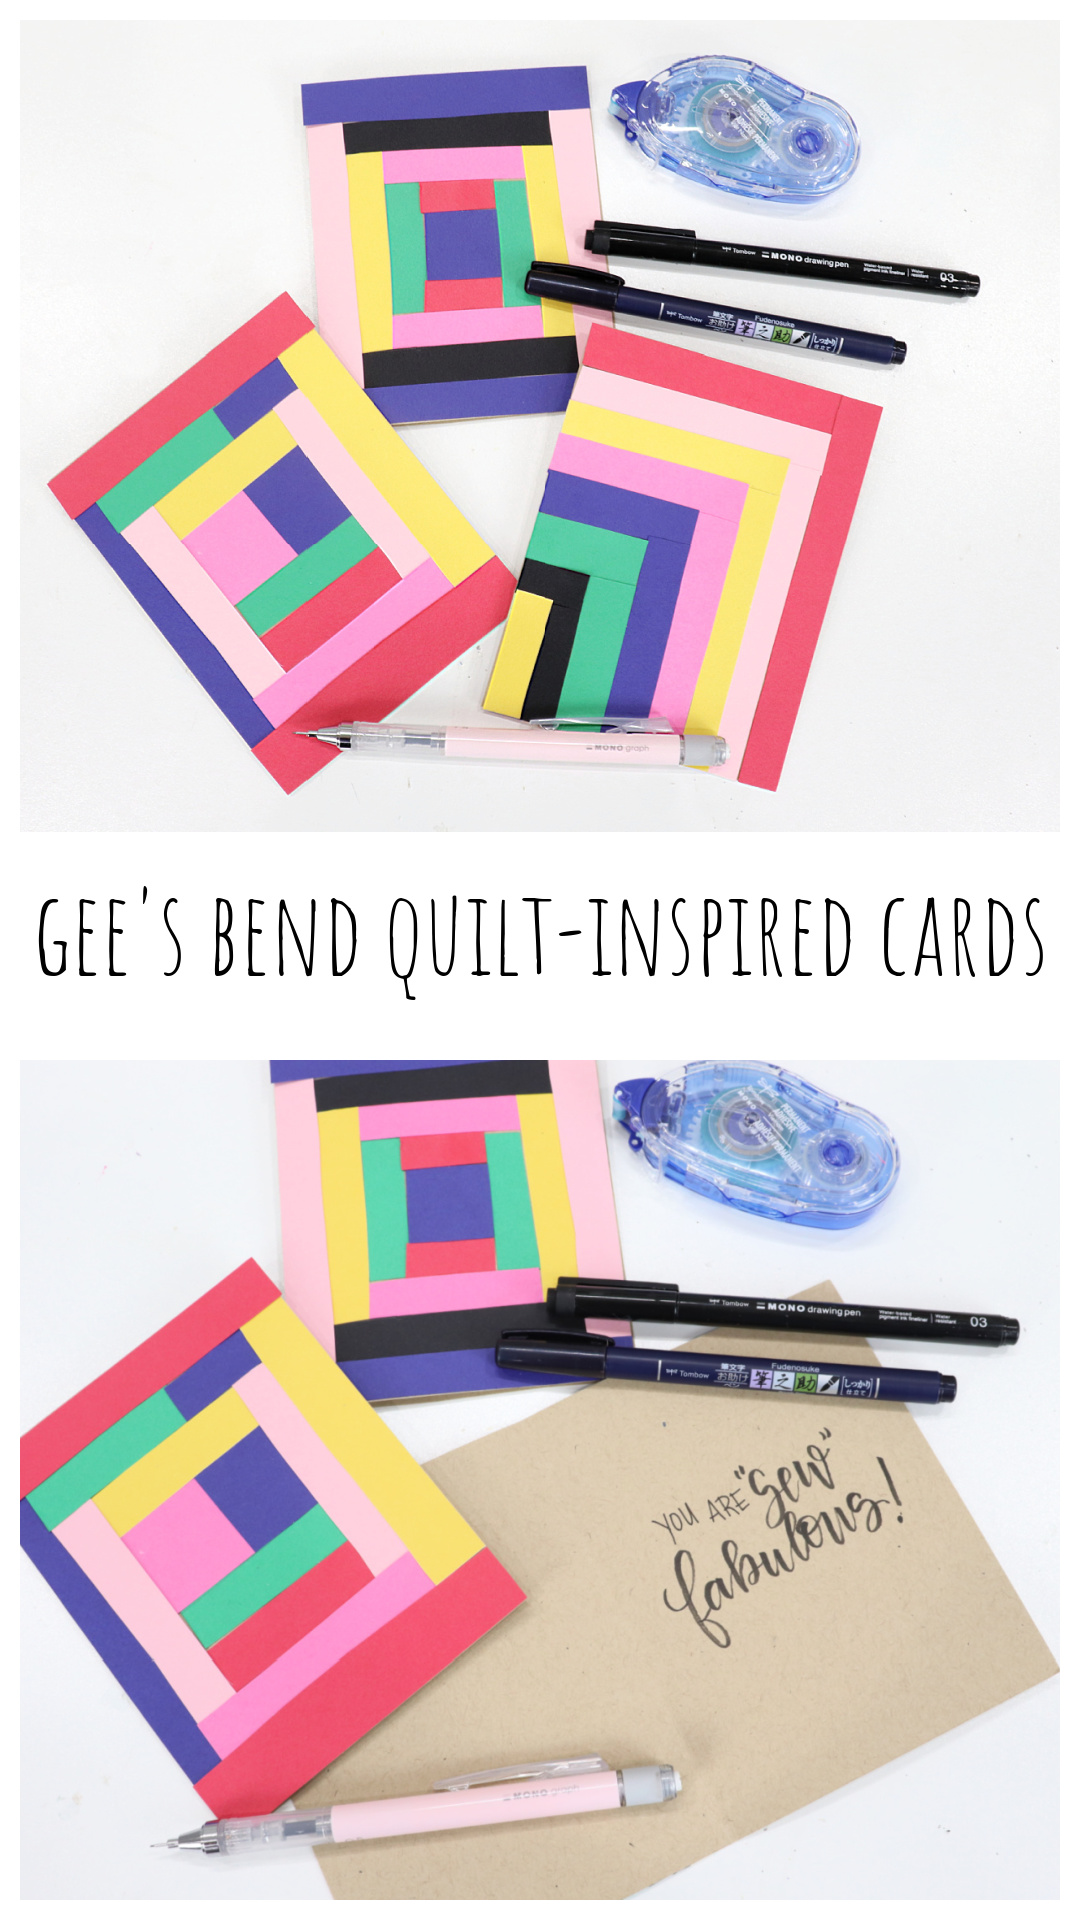
March is full of things to celebrate! Not only is it the start of spring in the United States, it’s also Women’s History Month, National Craft Month, and National Quilting Month. I’m Amy, from Amy Latta Creations, and as a quilter myself, I’m thrilled to share this fun project that will get you crafting while paying homage to a very special group of women from Gee’s Bend, Alabama, whose colorful geometric quilts have been called “some of the most miraculous works of modern art America has produced.” These Gee’s Bend Quilt Inspired Cards are fun to make, and each one will be a unique creation.
What are the Gee’s Bend Quilts?
Since the beginning of the 19th century, women living in the isolated rural community of Gee’s Bend, along the Alabama River, have been quilting and passing their skills down through the generations. These African-American women with little resources began piecing together whatever strips of cloth they could find, including old clothing and textiles, to create bedcovers for their families. Influenced by Native American and African textiles, and isolated from the trends of classical quilt-making, these women developed a distinctive style. Their quilts are minimalistic, vibrant, and geometric, with the feel of an abstract painting rather than a measured, careful pattern. The Gee’s Bend Quilts are among the most significant visual and cultural African-American contributions to art history in the United States, and the women who make them are still going strong. Each Gee’s Bend Quilt is still unique and individually produced, just like the quilt inspired cards we’ll be making to honor them.
Materials
- Tombow MONO Adhesive Permanent
- Tombow MONO Graph Mechanical Pencil
- Tombow Fudenosuke Brush Pen, 2-pack
- Tombow MONO Drawing Pen, 03
- Ruler
- Cardstock, assorted colors
- Scissors
How to Make Gee’s Bend Quilt Inspired Cards
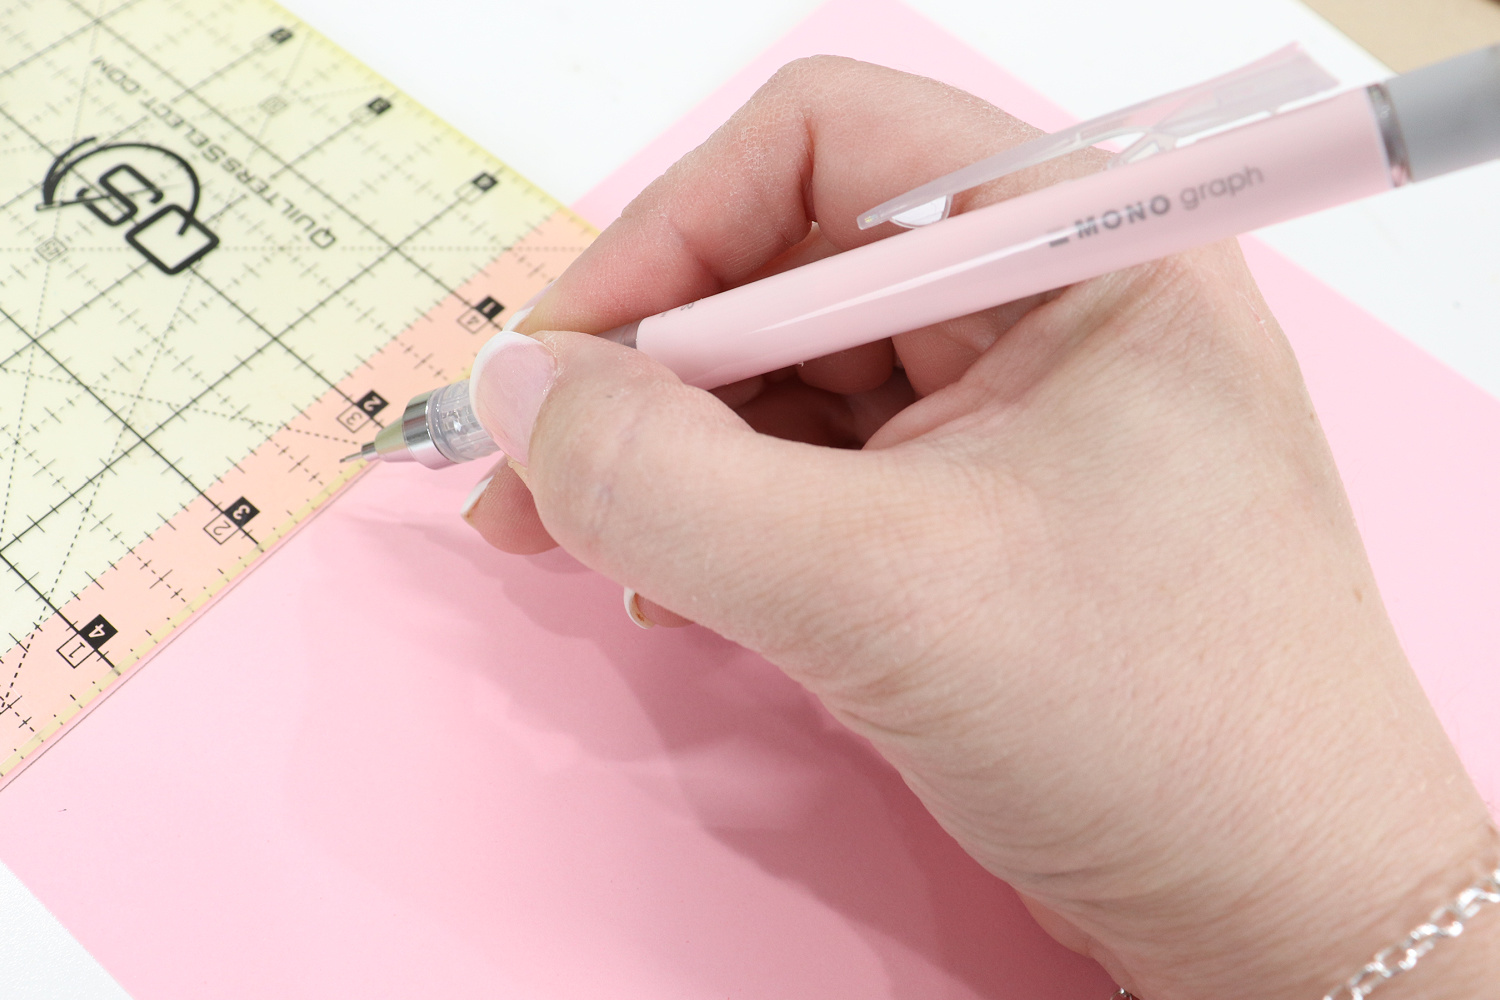
1.Draw lines on your colored cardstock to mark 1/2” strips.
Use a ruler and your MONO Graph pencil to divide your cardstock into sections that are 1/2” wide. I used red, blue, green, yellow, black, dark pink, and light pink cardstock for my cards, but you can use whatever colors you like.
2.Cut your cardstock into strips using the lines as a loose guide.
Part of the beauty of the Gee’s Bend Quilts is actually their imperfection. If you look at examples, you’ll notice that the stripes and squares of fabric are not perfectly straight; instead they have a distinctive handcrafted feel that comes from being made without rotary cutters and templates. Allow yourself the same freedom, cutting your strips by hand and letting them be imperfect.

3.Cut a piece of white or kraft-colored 8.5 x 11” cardstock in half and fold it to form your card.
You should have two pieces of cardstock that are 8.5” x 5.5.” When folded, your card will measure 4.25” x 5.5.” Each piece of cardstock will make two card bases.
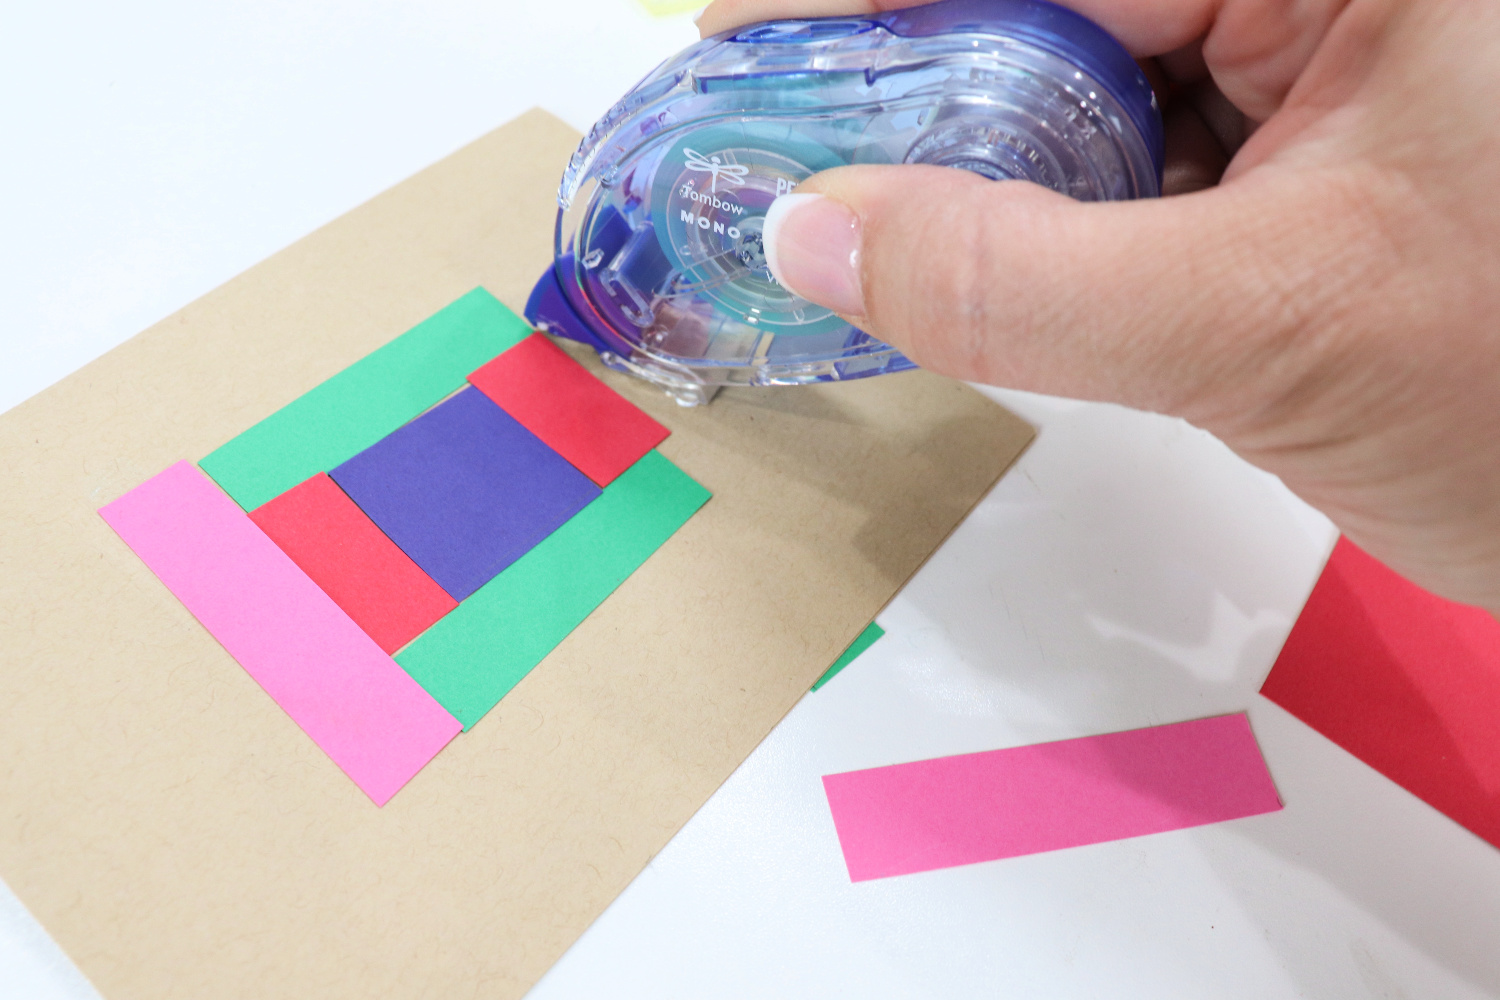
4.Trim your colored strips and use MONO Adhesive to attach them to the card front in a geometric pattern.
You can do this in any way you like. I’ll share how I created these three specific patterns below, but feel free to come up with your own ideas as well. There’s no wrong way to do it! Remember that perfection is not the goal, so it’s okay if pieces overlap and/or have a bit of space in between.
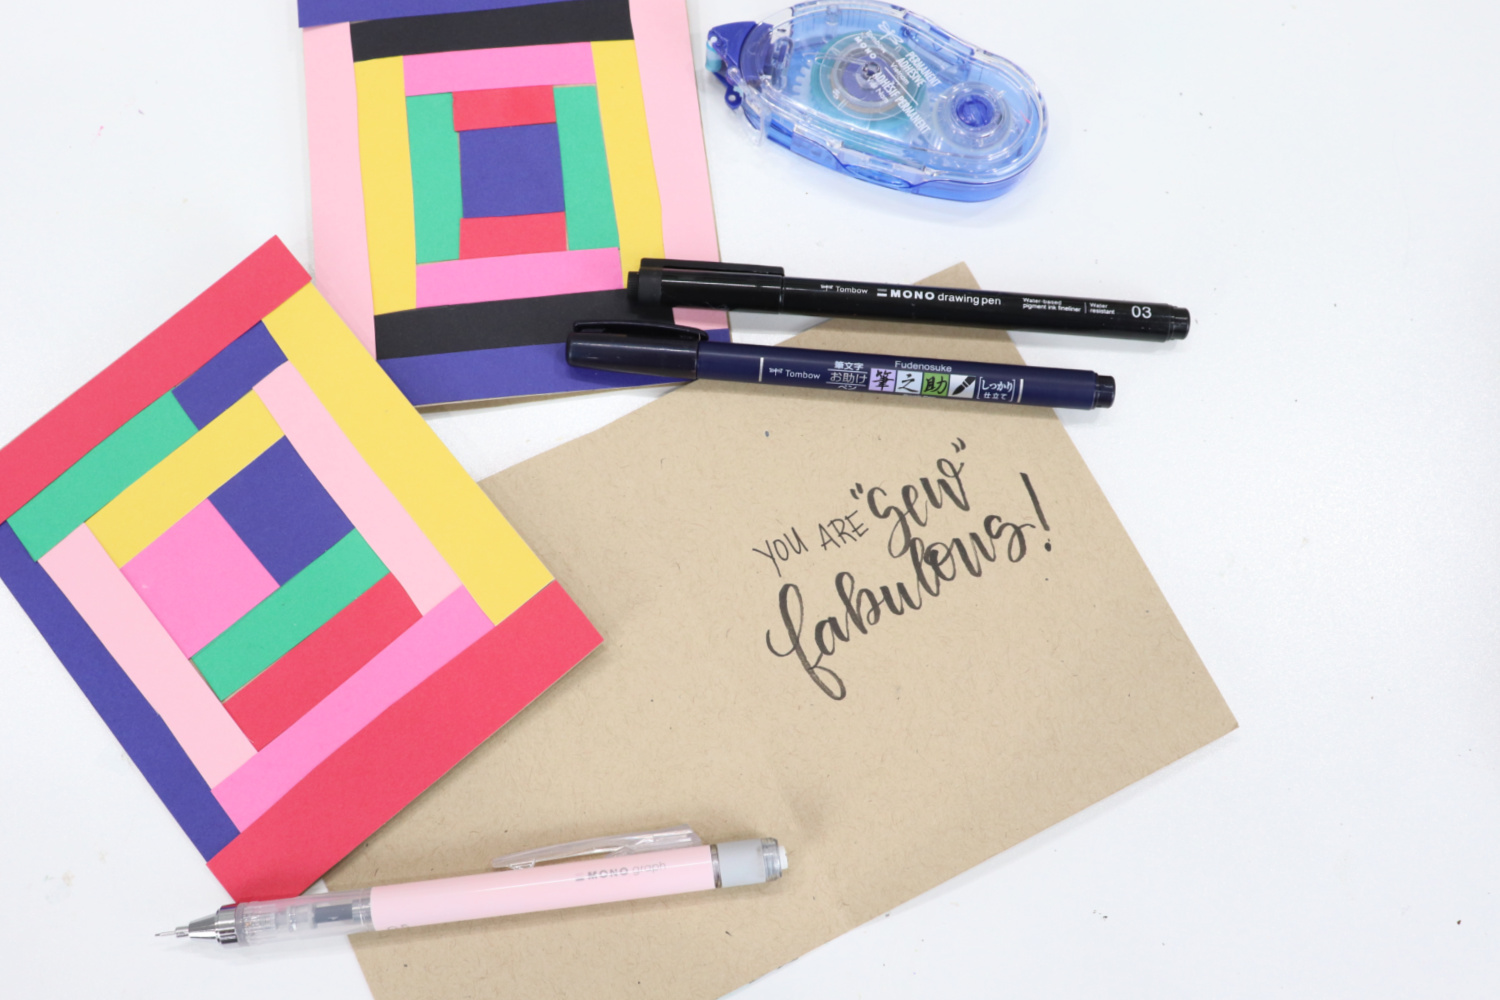
5.Write a message inside the card.
Because I can’t resist a good sewing pun, I used the MONO Drawing Pen and Fudenosuke to hand letter phrases like, “you are ‘sew’ fabulous” and, “love you to pieces.” The joy of a handmade card is that you get to write whatever you want inside, so you can choose your own favorite messages to personalize your cards.
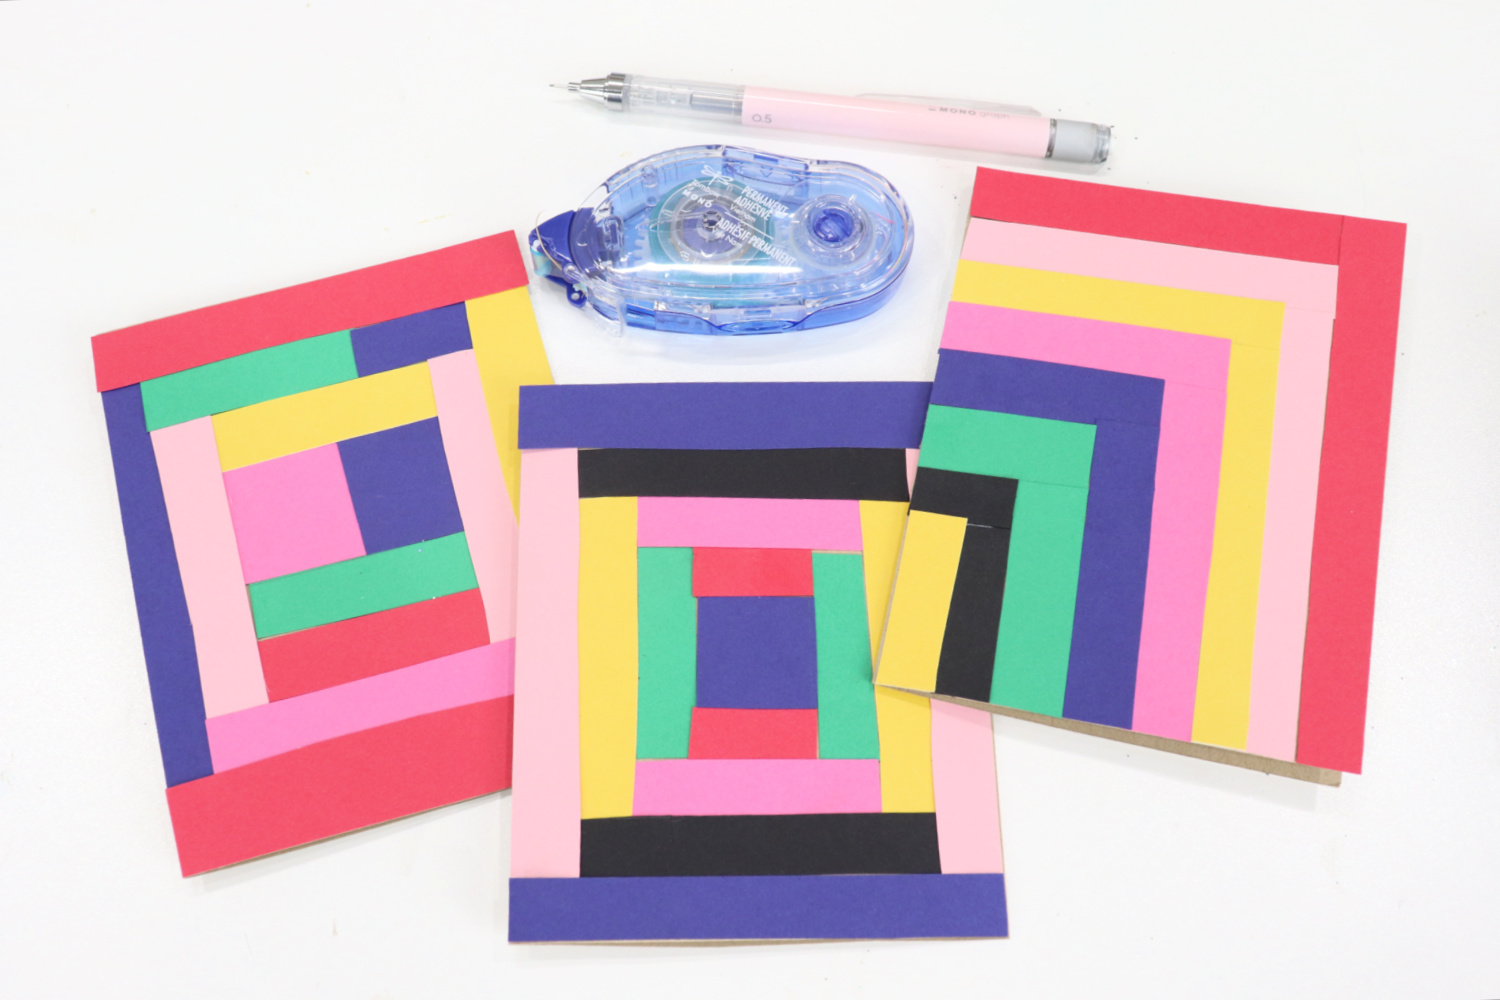
That’s all there is to it! I took inspiration directly from three Gee’s Bend Quilts/quilt squares to create my designs. Here are more specific instructions for how I laid out each pattern.
Concentric Squares
To start this pattern, I cut a 1” square of blue cardstock and adhered it in the center of the card. Next, I cut two 1” long pieces from my 1/2” wide red cardstock strip and adhered them to the top and bottom of the square. Then, I cut two 3” long pieces from my strip of green and adhered them on the sides. I repeated the same process (in quilting, this is called sashing), working my way outward to create frames around the original square. If you end up with a bit of the card base showing, but not enough space for another layer, just trim off the extra.
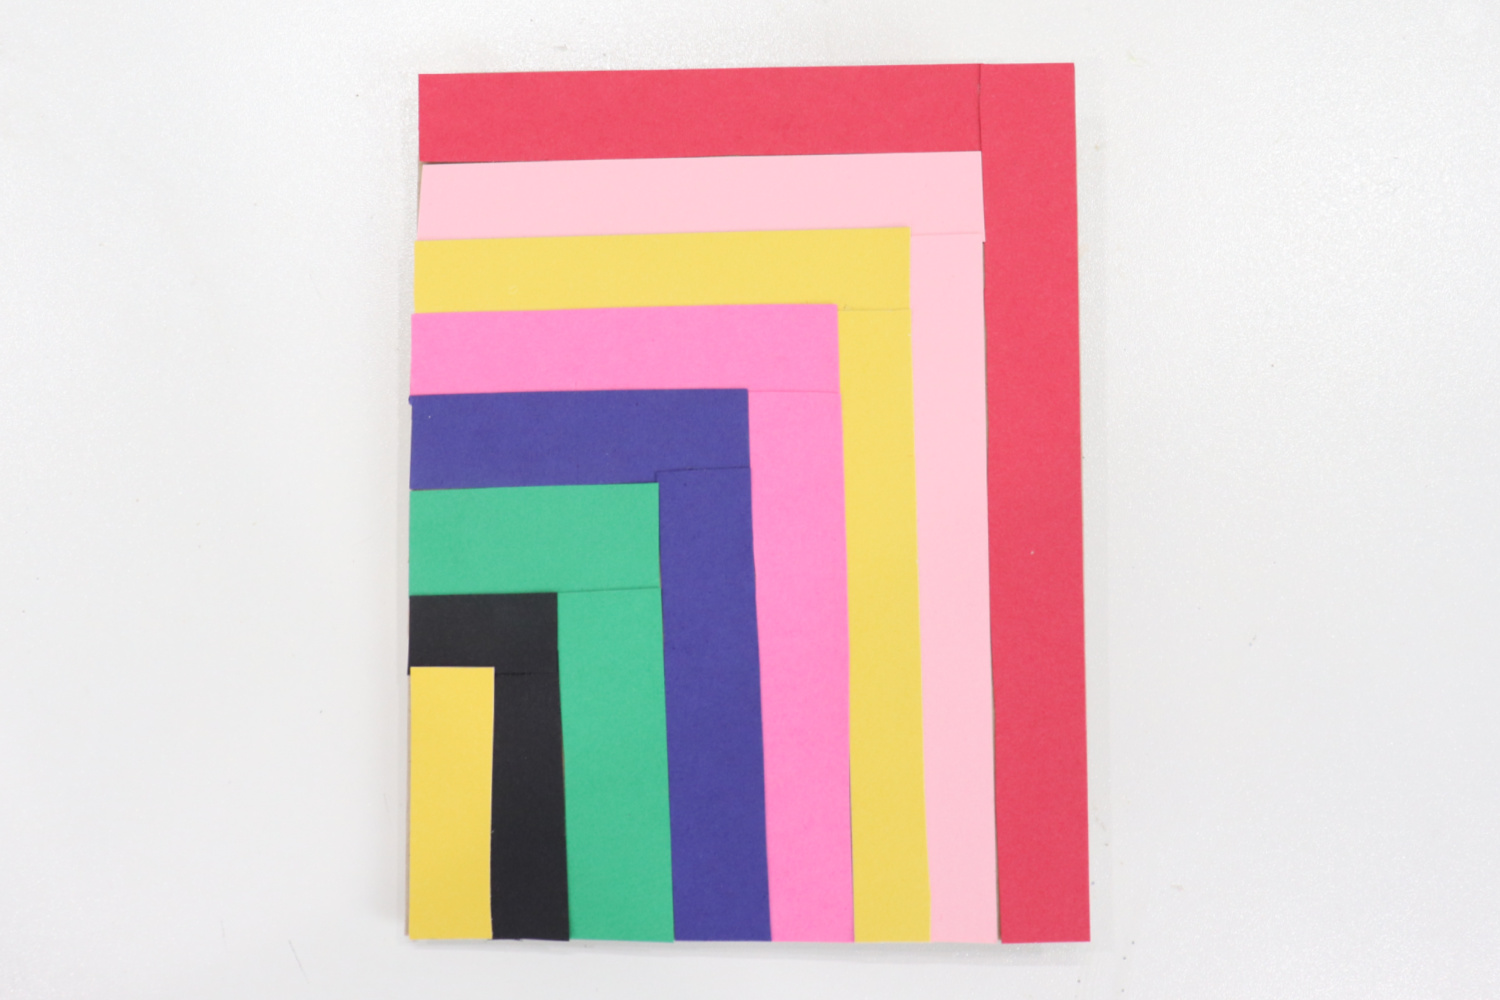
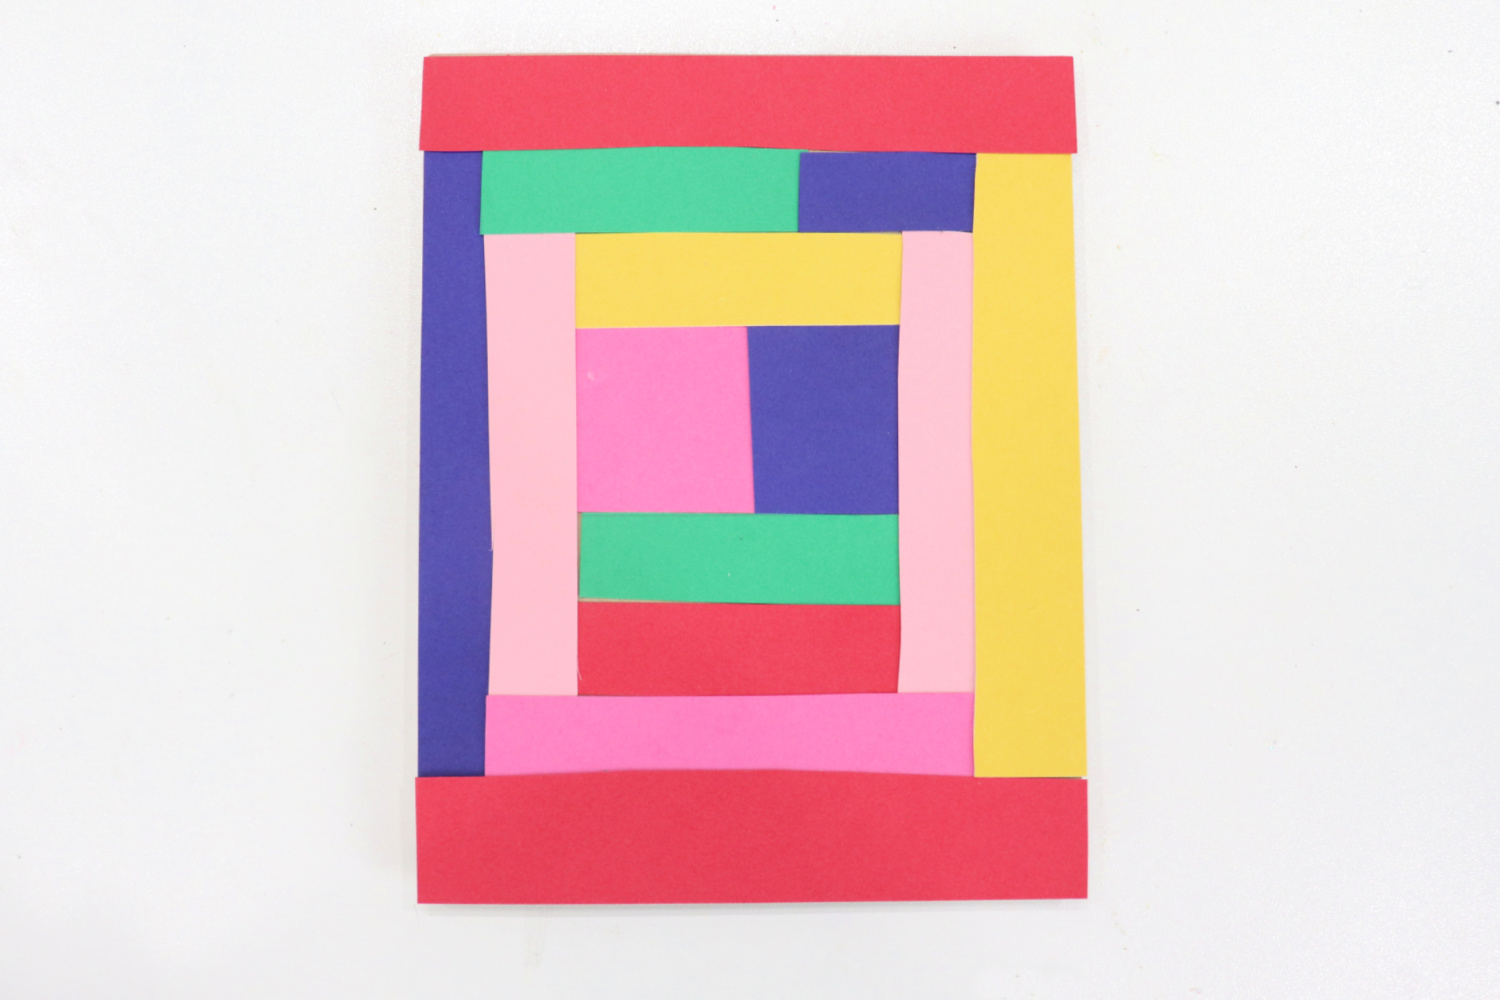
Quarter Log Cabin
For this pattern, I started on the outside and worked my way in. I took a 1/2” x 5 1/2″ red strip and adhered it to the right edge of my card. Then, I put another red strip across the top edge and trimmed it to fit. Next, I placed two pink strips inside the red ones, trimming them to the size of the card front. I continued on with the yellow, dark pink, blue, green, and black layers. Finally, I cut a piece of yellow cardstock to fit in the remaining space in the bottom left corner.
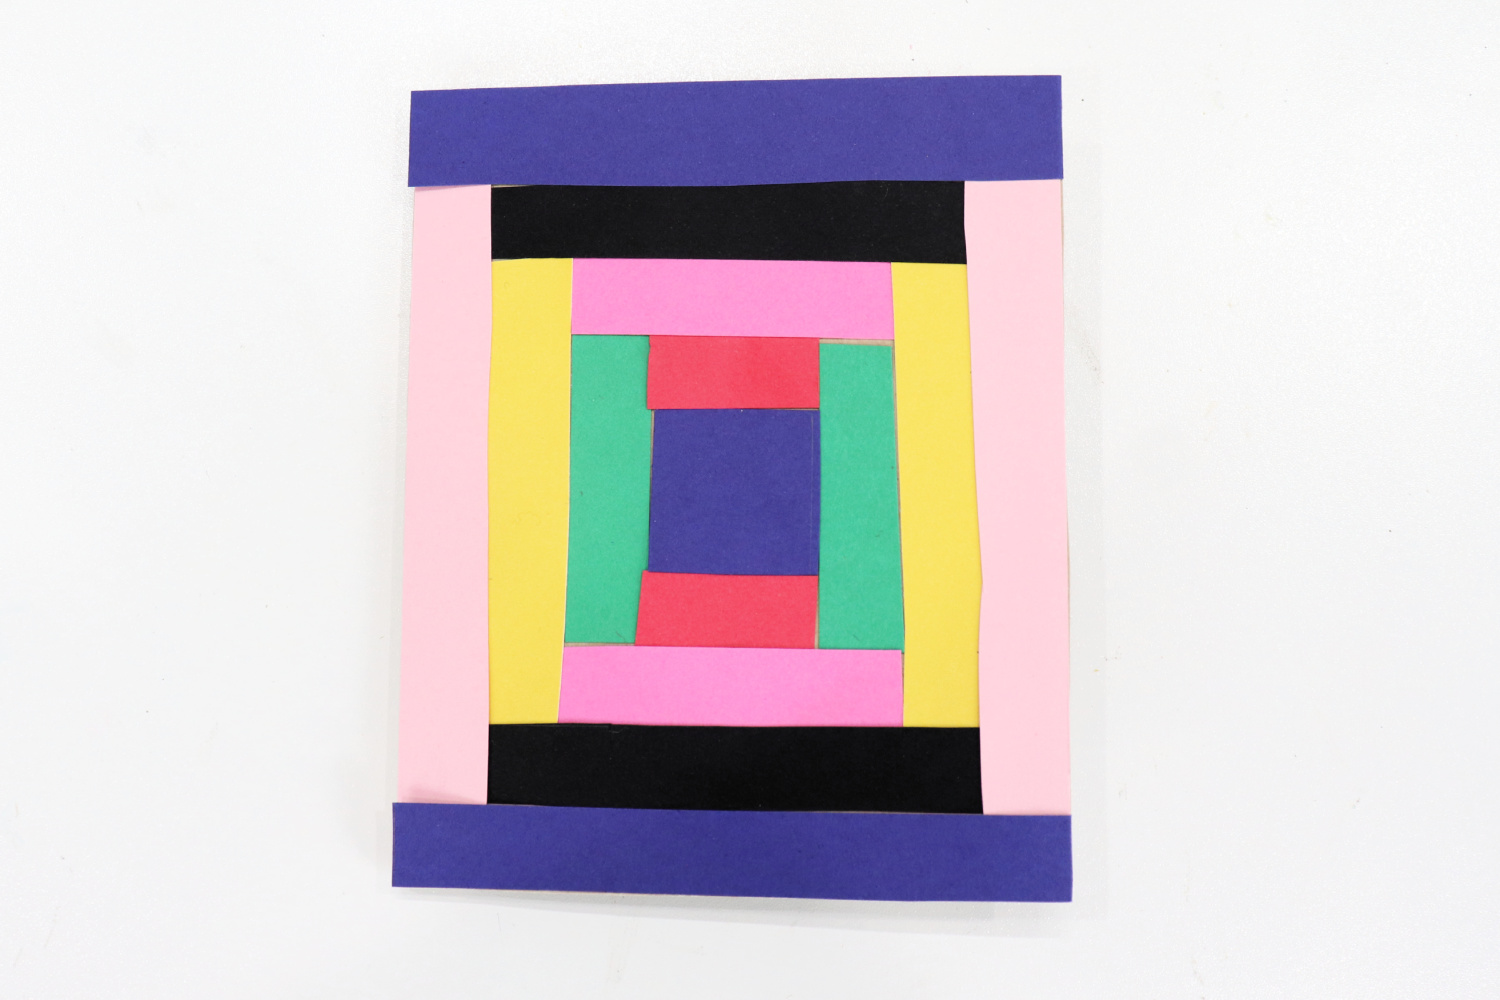
Adapted Housetop
This one is a bit more freeform. I started with two 1” squares (pink and blue) and a green strip to form the center block. Then I repeated the sashing process I used for the Concentric Squares pattern to form a series of frames around the center. For the second to last frame, rather than using a full green strip across the top, I cut the green shorter and used a short blue strip to cover the rest of the space.
These are just a few design ideas to get you started creating your own cards inspired by the amazing and colorful quilts of Gee’s Bend. I had so much fun creating these, because each one felt like putting together a puzzle. I hope that learning about these quilters inspires you to embrace the imperfections of your own work and to make whatever you can with whatever you have. The women of Gee’s Bend are a great reminder that no matter what resources or what formal training you do or don’t possess, you can still create incredibly beautiful things.
If you enjoyed this project, here are a few other card-making tutorials you may want to check out.
Leopard Card Inspired by Emma Hall
How to Start Making Handmade Cards
Be sure to tag @tombowusa and @amylattacreations if you share your work on social media so that we can all be inspired by each other. I can’t wait to see what you create. Happy crafting!