Hi Tombow Friends! This is Jennie with a witch illustration I made using the Tombow Dual Brush Pens. They just turned 40! For 40 years they have been helping people create beautiful projects!
Supplies:
- Tombow Dual Brush Pens
- Mixed Media Paper
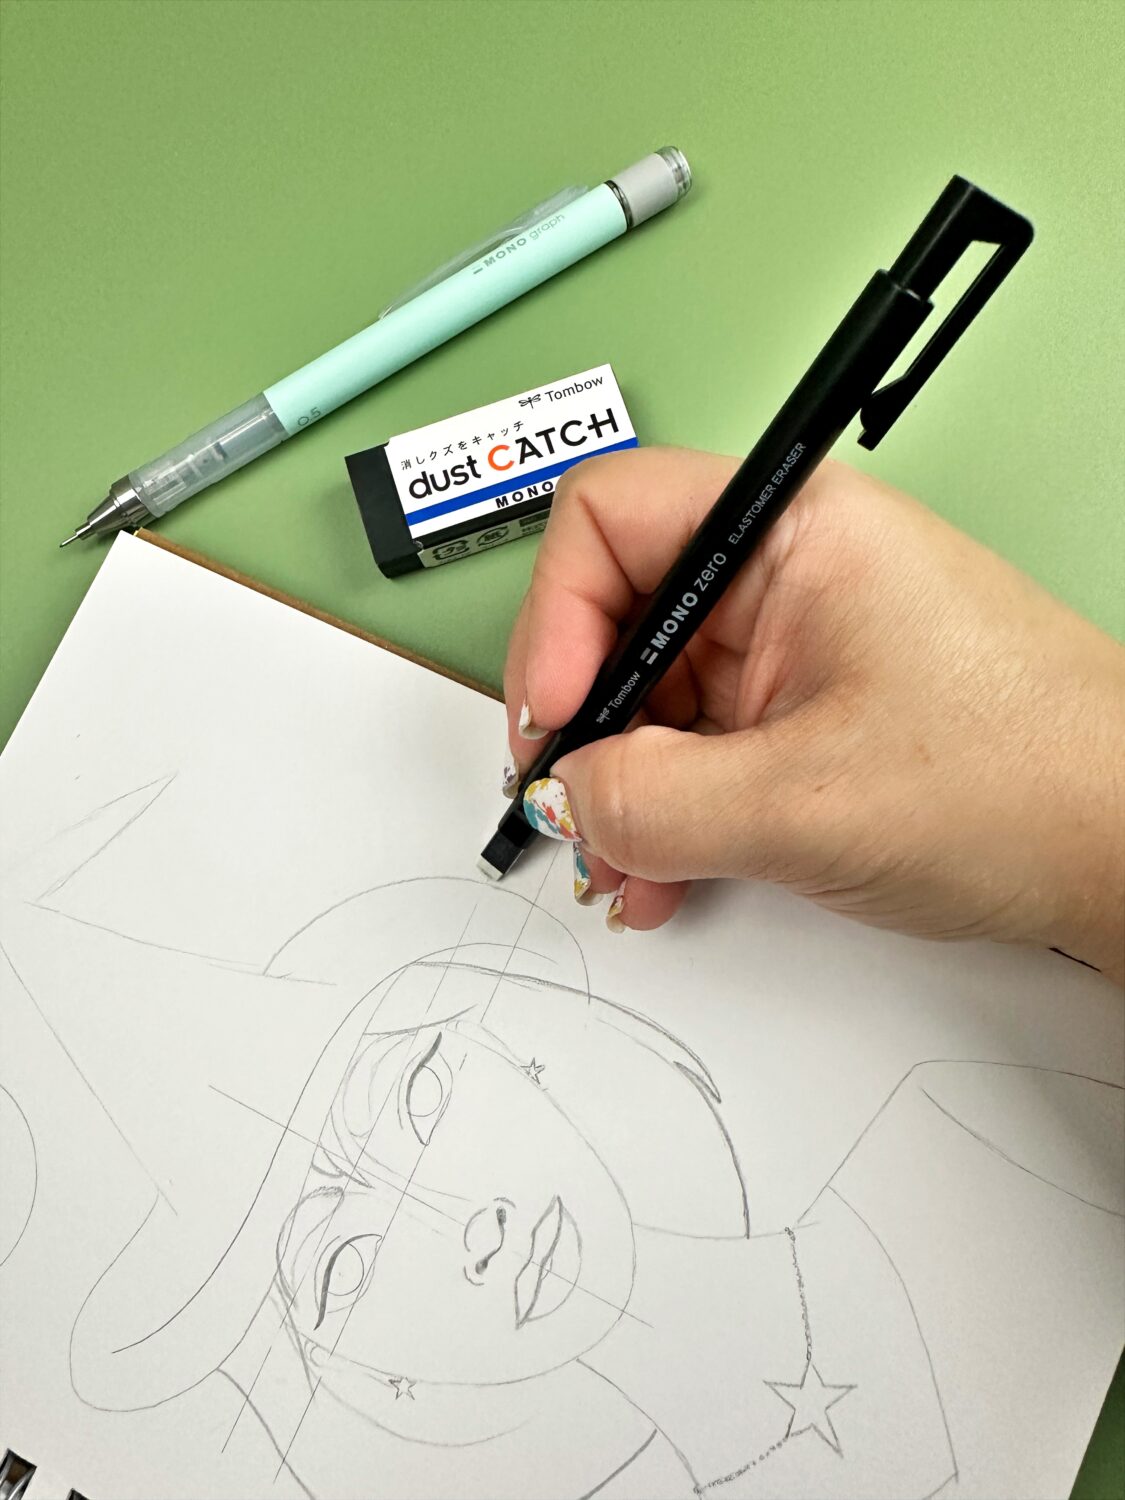
- Tombow MONO Graph Mechanical Pencil
- Erasers– I used the Tombow MONO Dust Catch Eraser and the Tombow MONO Zero Rectangular Eraser
- Tombow MONO Drawing Pens
Step #1: Sketch your image!
I used the Tombow MONO Graph Mechanical Pencil to sketch my illustration. My favorite eraser is the Tombow MONO Dust Catch Eraser, but for small details and mistakes I like to use the Tombow MONO Zero Rectangular Eraser. It helps me erase guidelines easily.
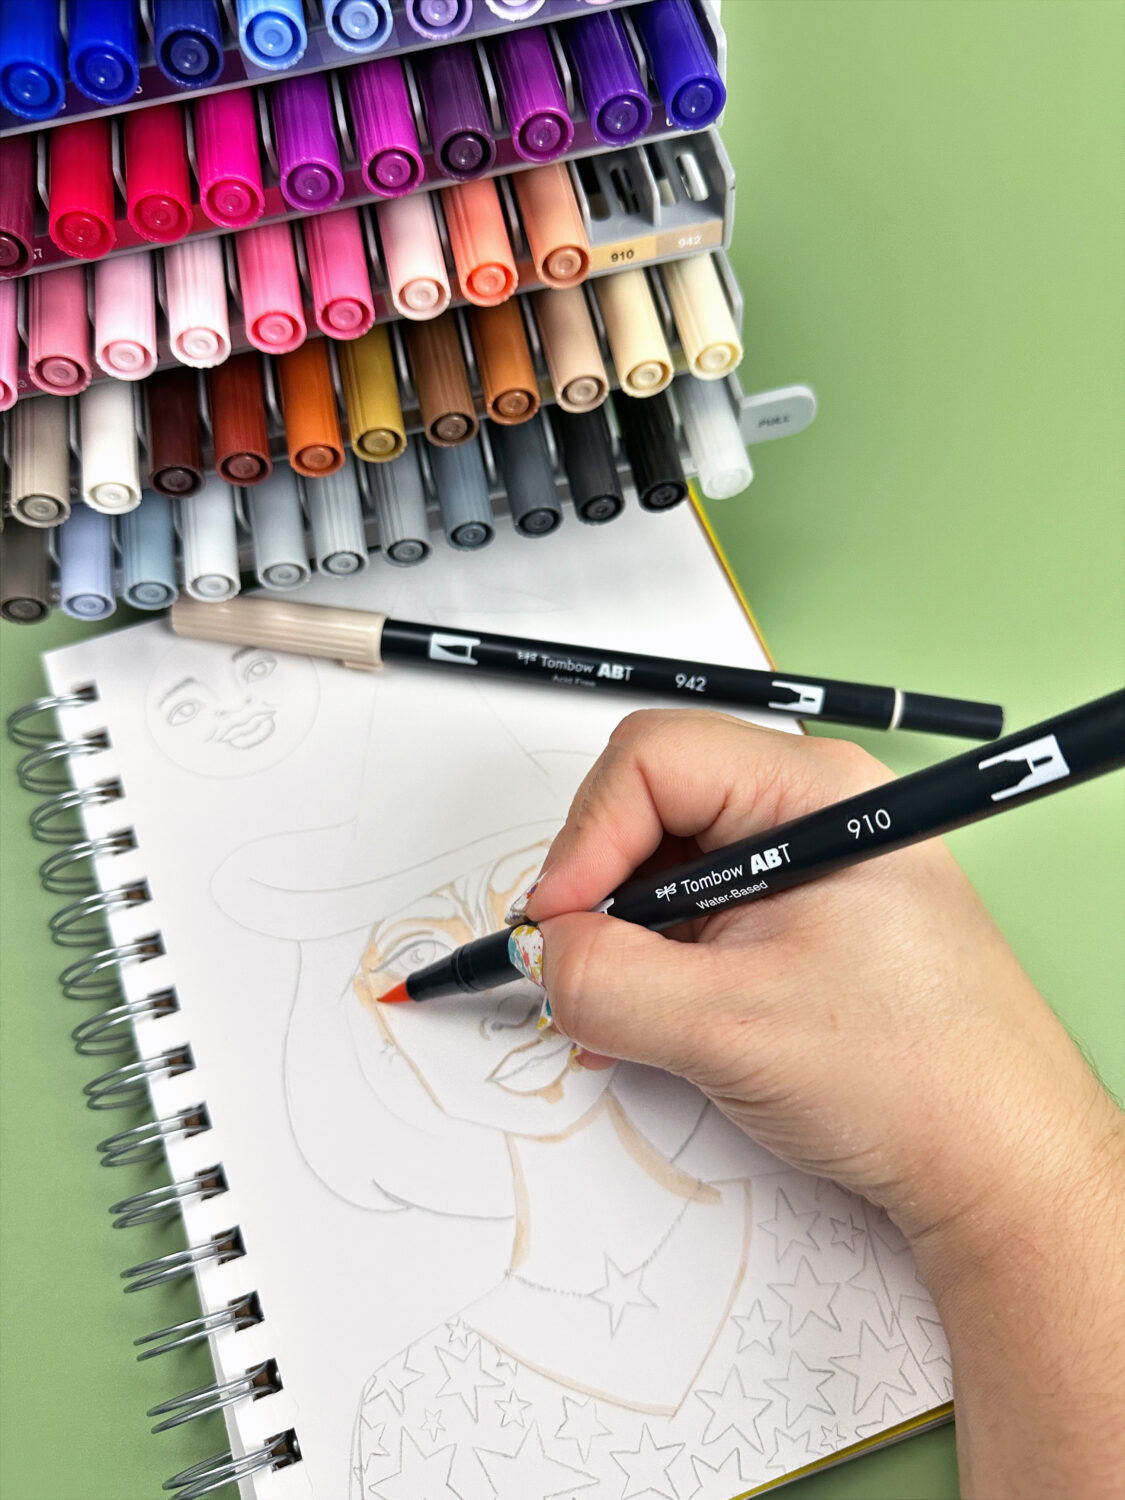
Step #2: Add color!
I used the Tombow Dual Brush Pens to color my image. For the shadows on the witch’s skin, I used the 942 and for the light I used 910.
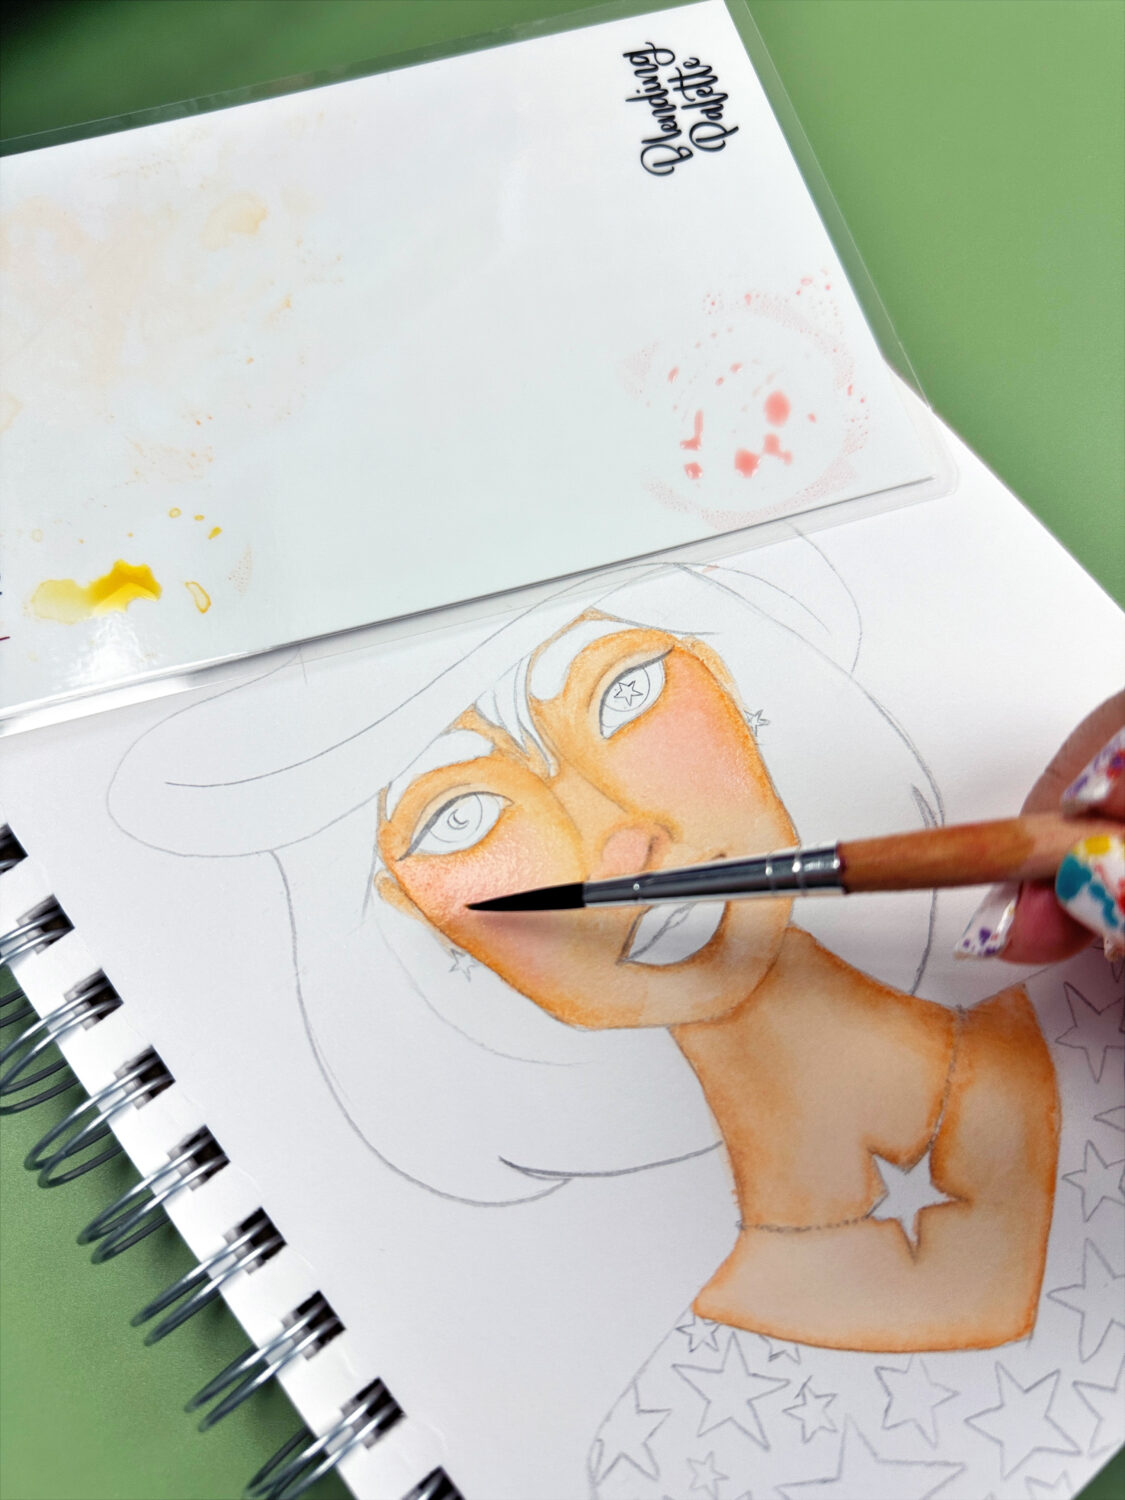
Step #3: Blend the colors!
Since Tombow Dual Brush Pens are water based, you can use watercolor with a watercolor brush to blend them! You can also blend them with the Tombow Colorless Blender. It depends on your mood.
To keep the color saturated, I scribbled with the color on a Tombow Blending Palette and I picked it with a watercolor brush. I can also add different colors like the 761-Carnation to create blush effect.
For the witch’s dress i used the N15-Black, it was the only element that I didn’t blend.
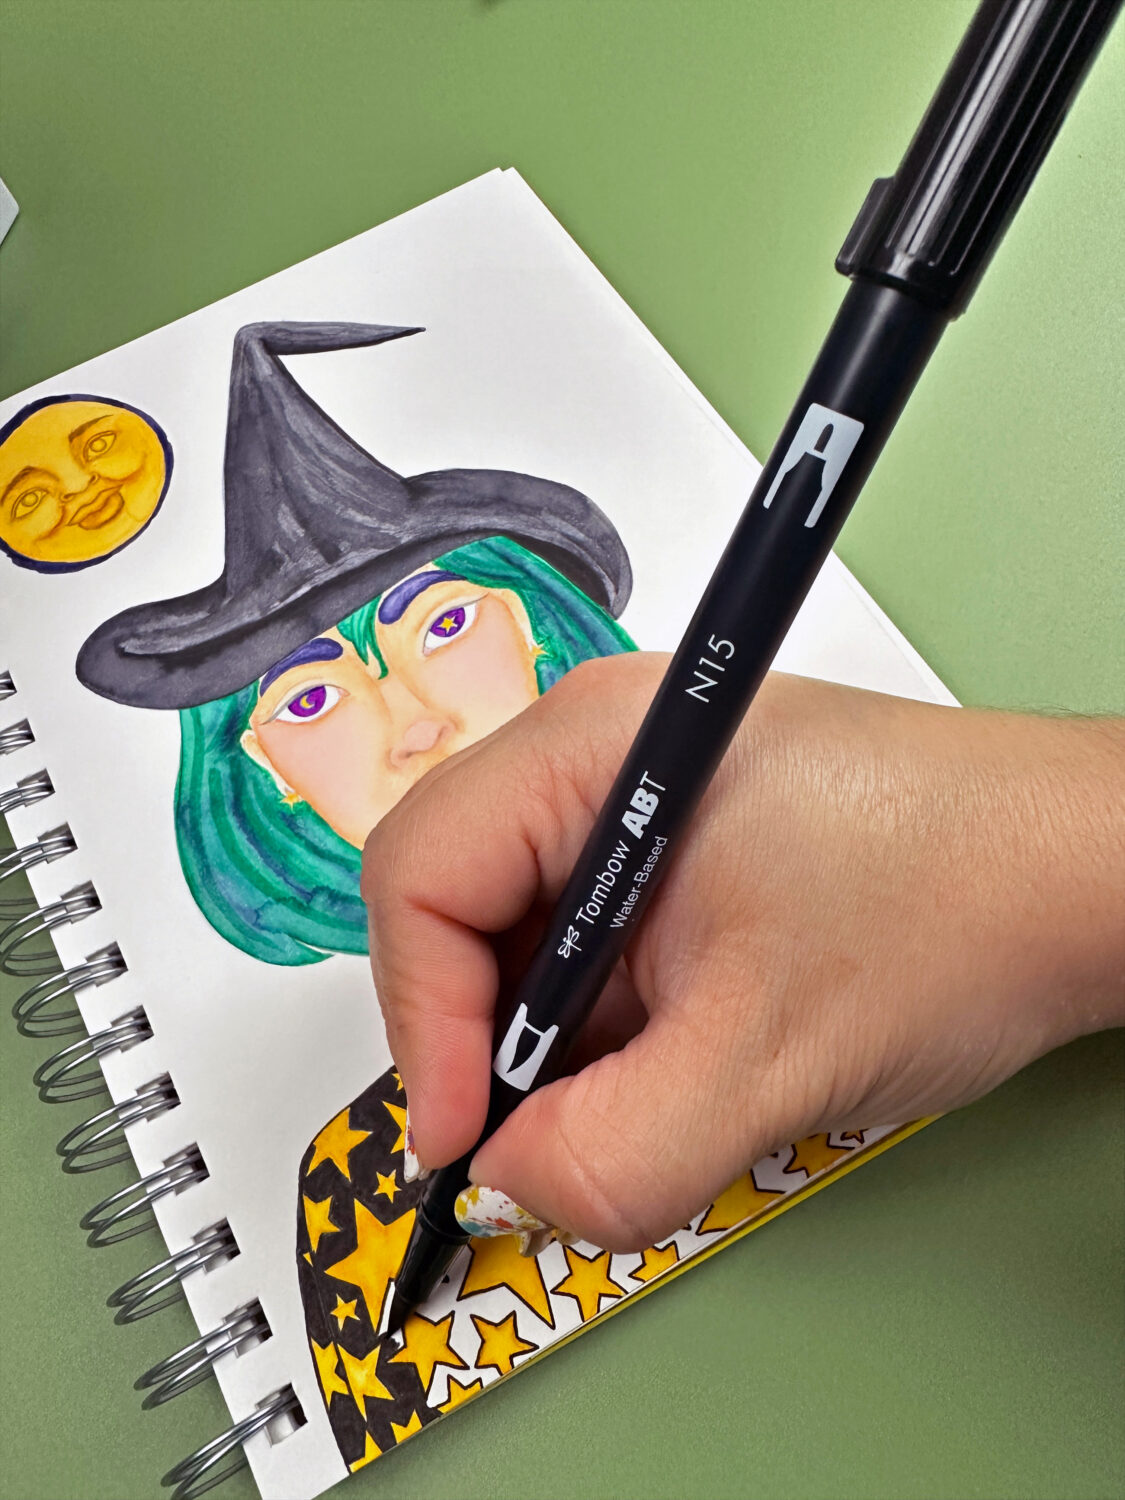
Step #4: Outline your illustration.
The Tombow MONO Drawing Pens are perfect for outlining. They come in a variety of sizes. For the etching on the moon I used 005 and for the rest I used size 02.
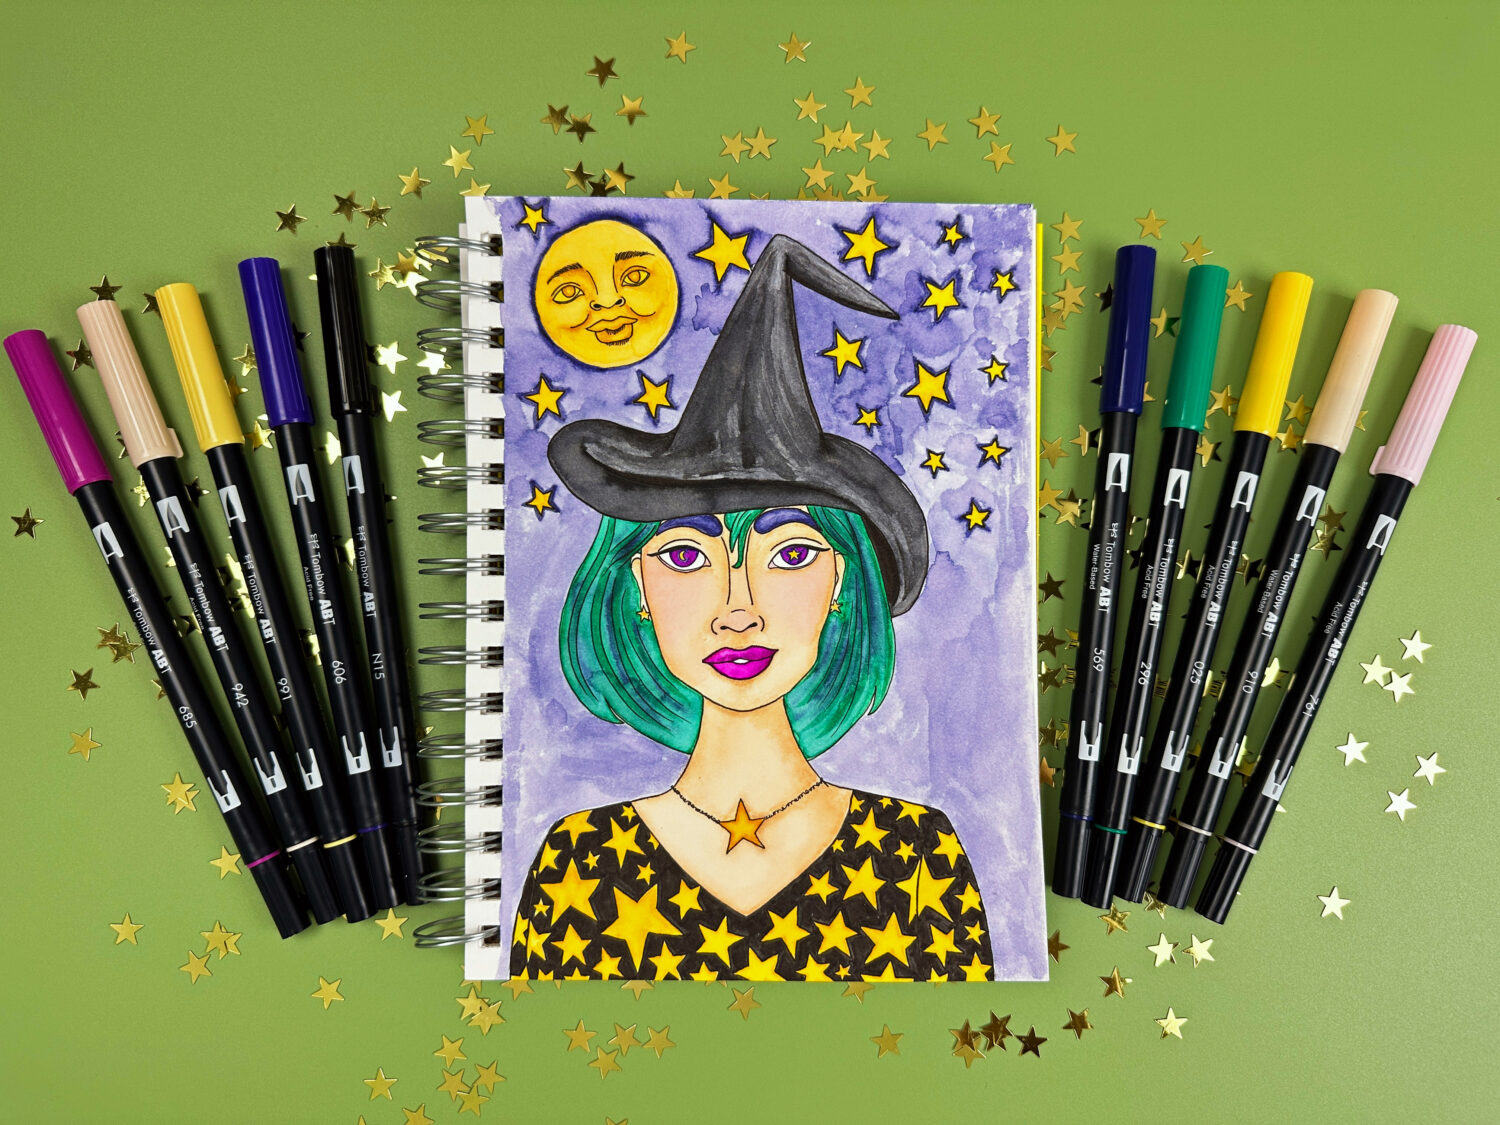
The stars provide a nice contrast compared to the rest of the cool colors in the witch illustration!
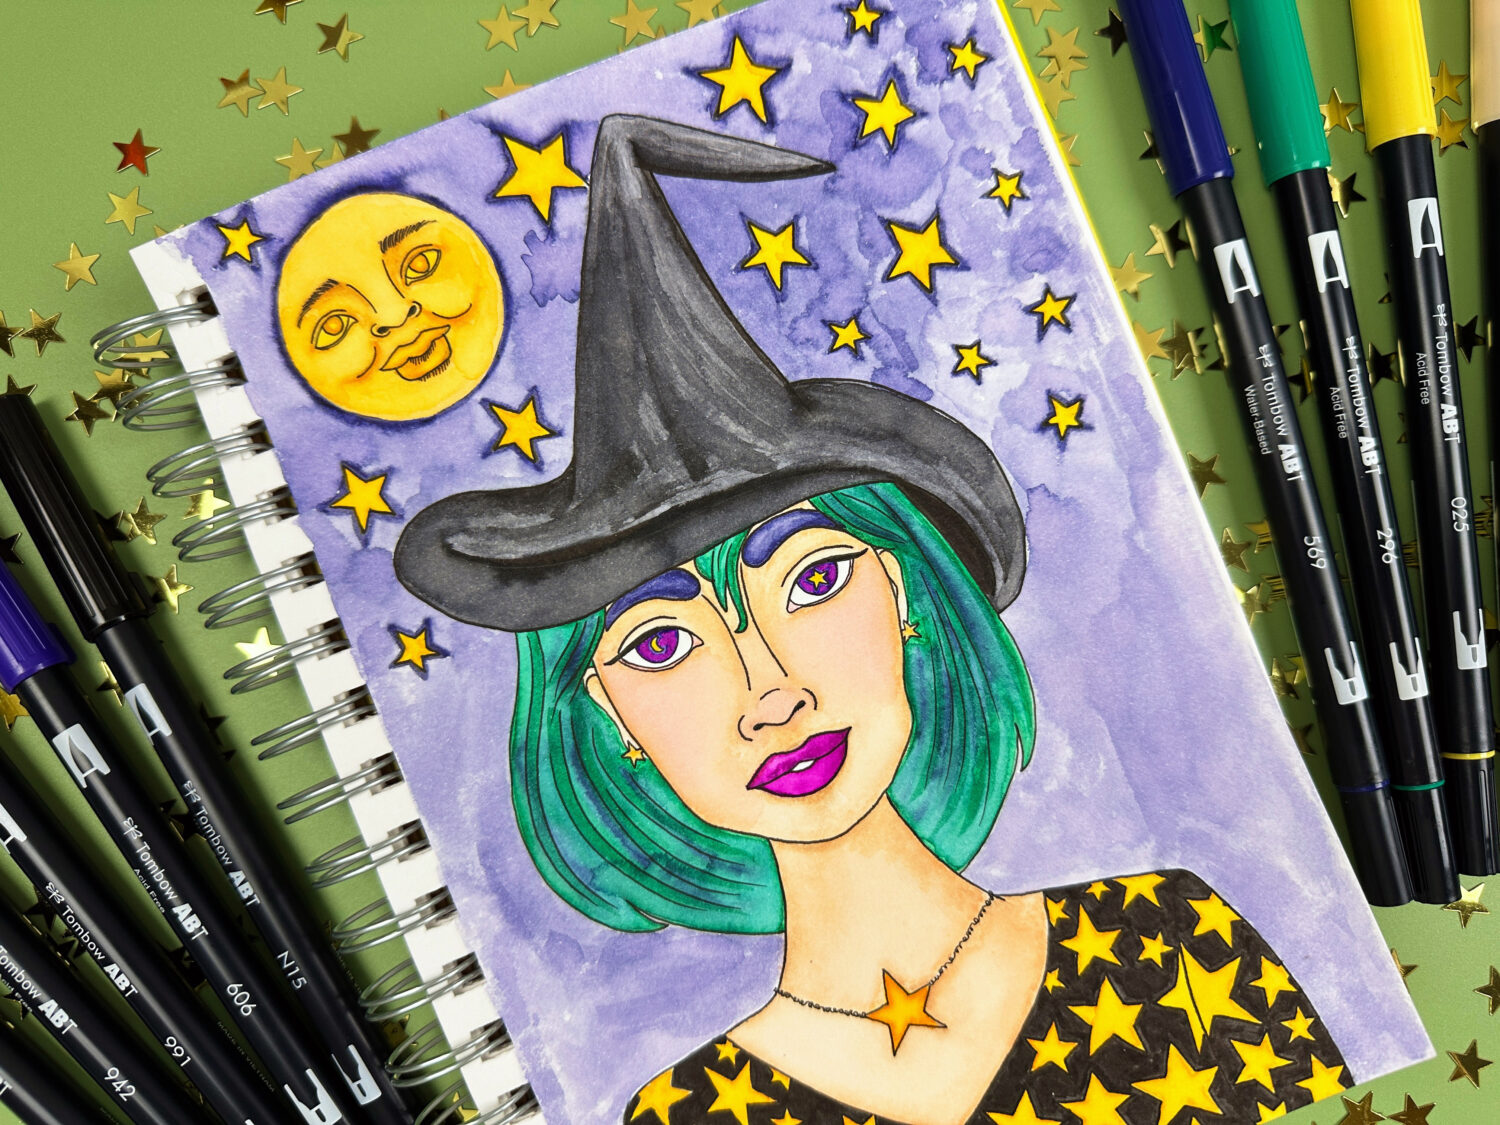
We hope you enjoyed this easy and spooky tutorial! If you give this idea a try, share it with us using the hashtag #tombowusa.