Hey Tombow friends, Katie here to show you how to make a DIY Hawaiian Island Map. I have an upcoming trip to Hawaii that I am so excited about, and it’s inspired me to create something special! From framing your map with torn washi tape to creating a dreamy ocean effect with watercolor and salt, this project is a creative way to celebrate the beauty of paradise. Let’s dive in and map it out together! 🌴✨
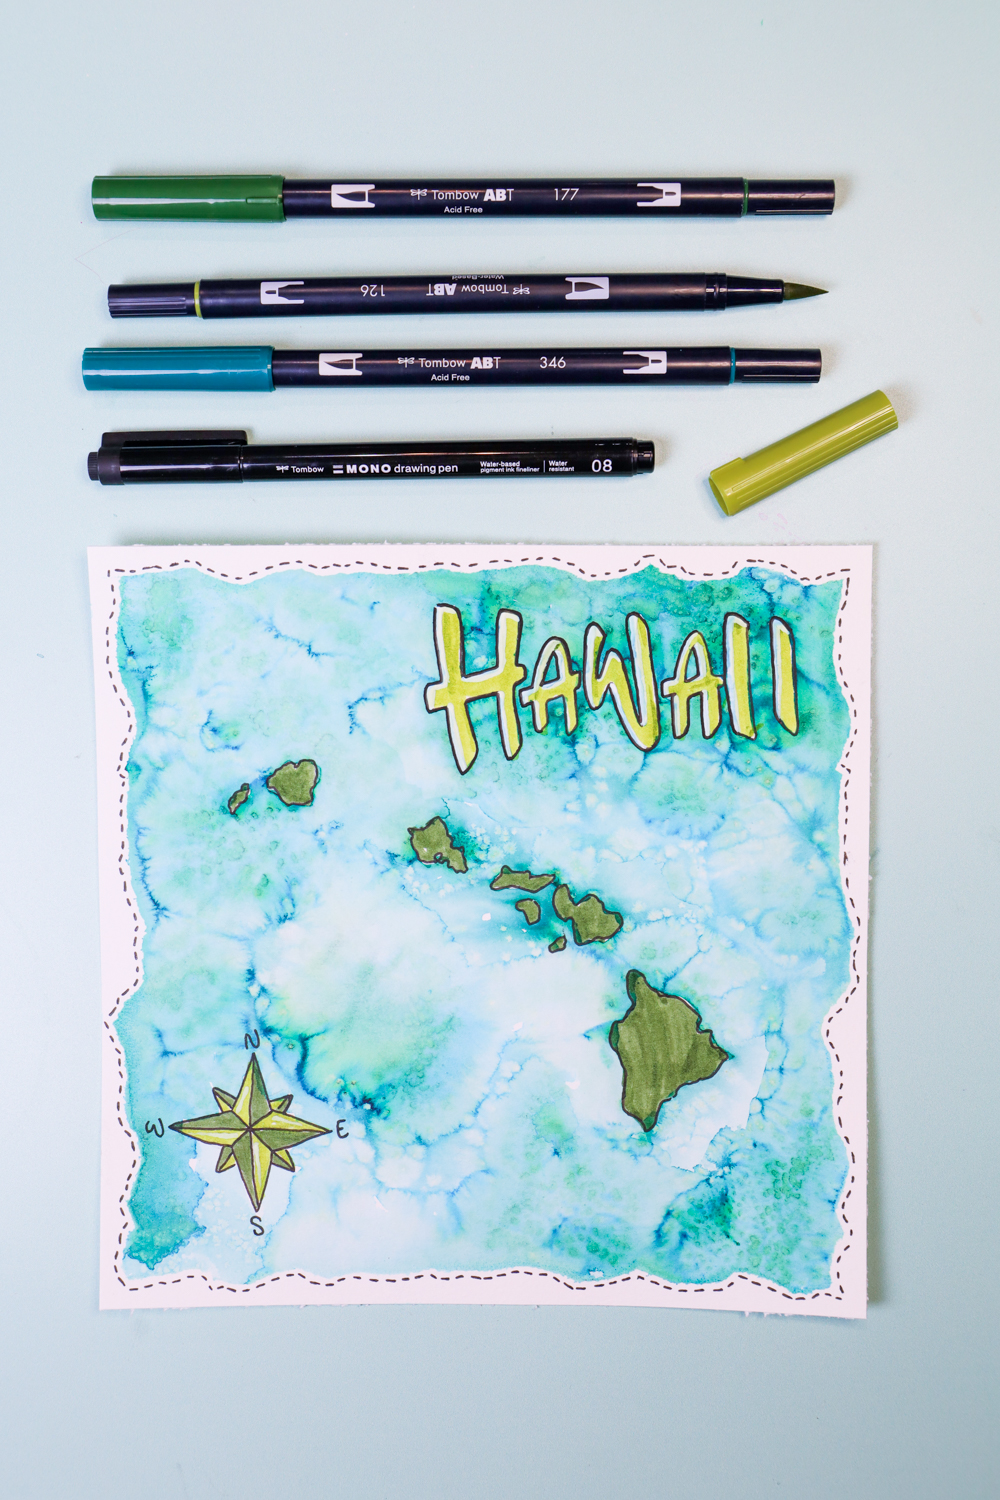
Supplies:
- Tombow Dual Brush Pens 10-Pack, Seventies
- Watercolor Paper
- Washi Tape
- Tombow MONO Drawing Pen, 08
- Paint Brush + Water
- Salt
Step one: Create a torn map edge.
Let’s start by creating the effect of a torn paper map edge to our paper!
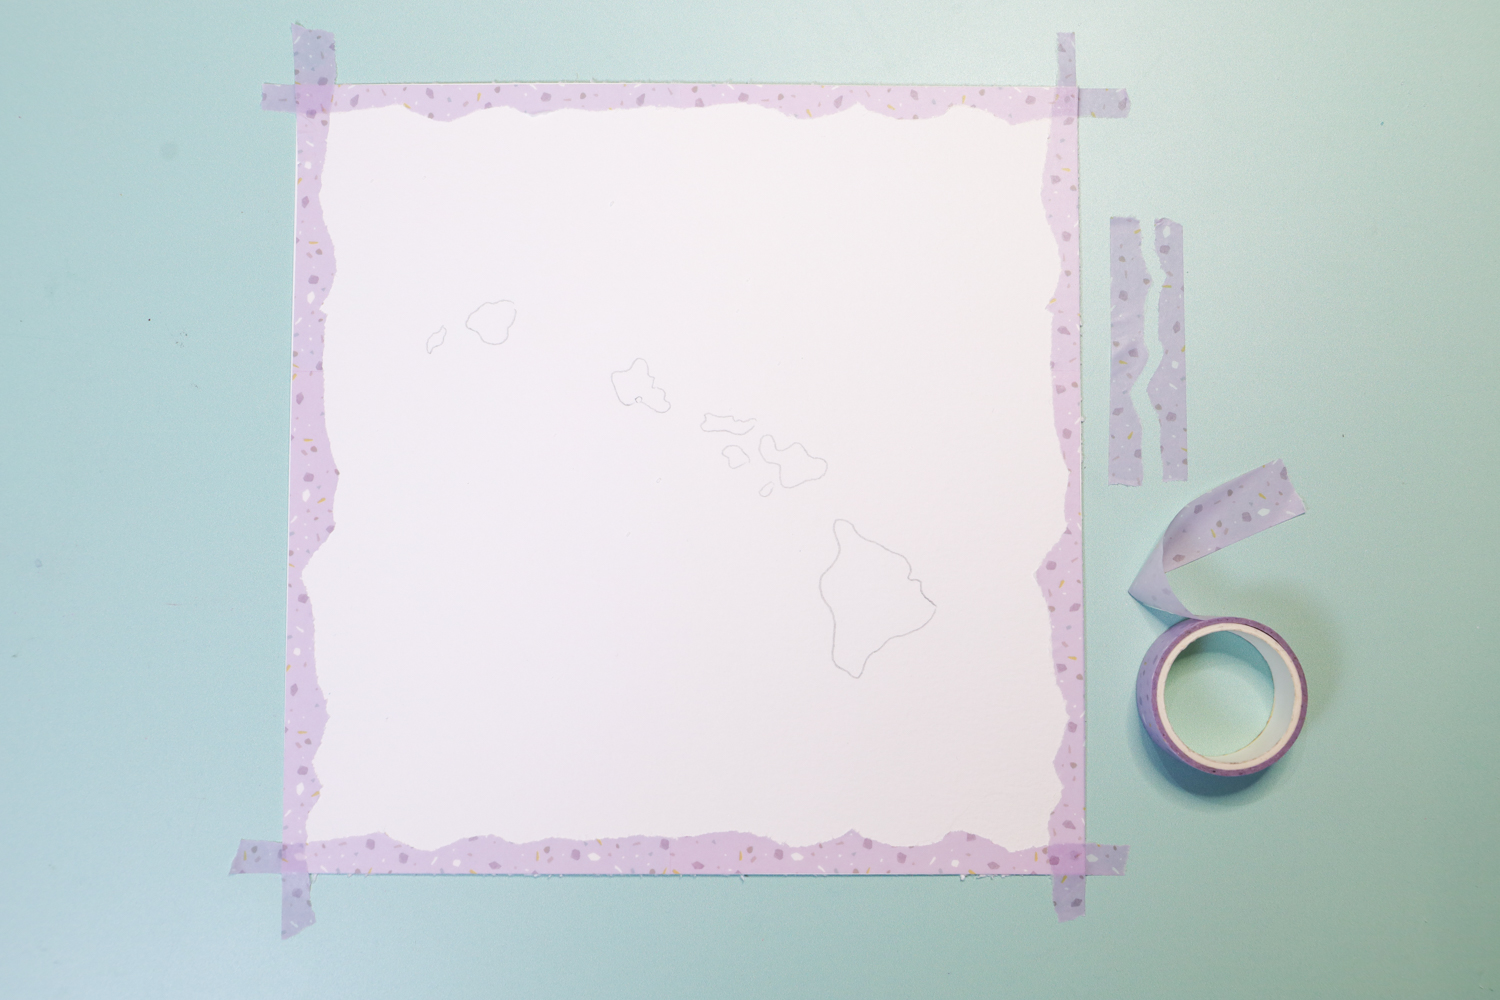
Tear washi tape in half lengthwise to create a rugged, map-like edge. Use the torn pieces to frame the edges of your watercolor paper, pressing them down firmly.
Step two:
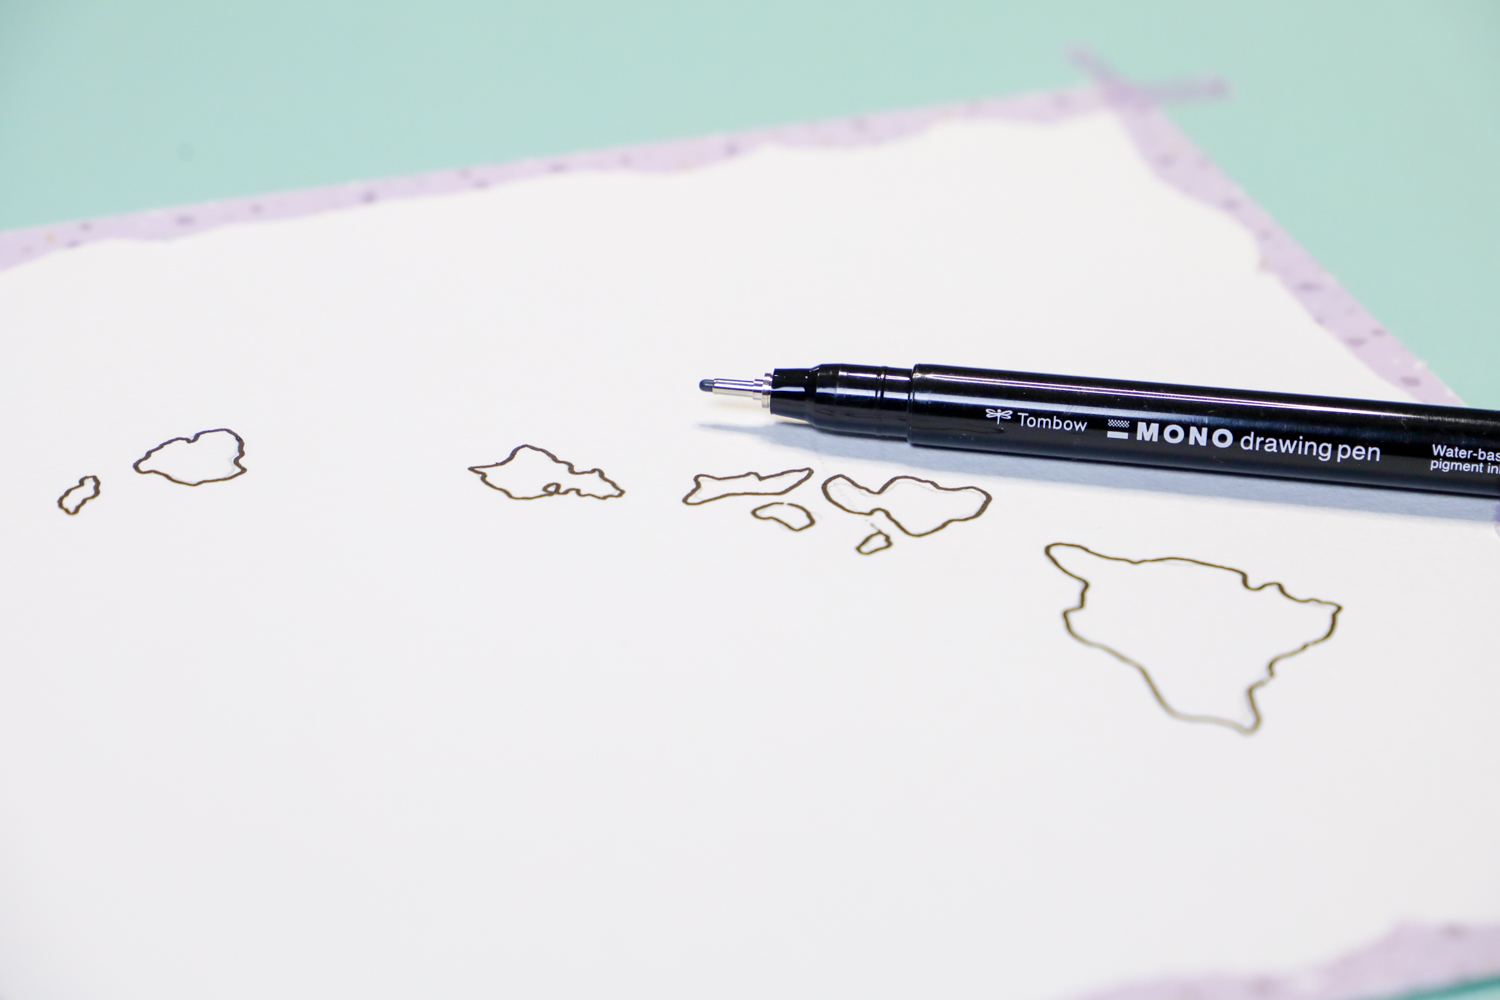
Next, Let’s add Hawaii’s islands to the map. Using a MONO Drawing Pencil, lightly sketch the main Hawaiian Islands onto your paper. Then, use a MONO Drawing Pen to outline all of the islands on your map. I’m using the 08 nib size, because I wanted nice bold lines around the islands.
Step three:
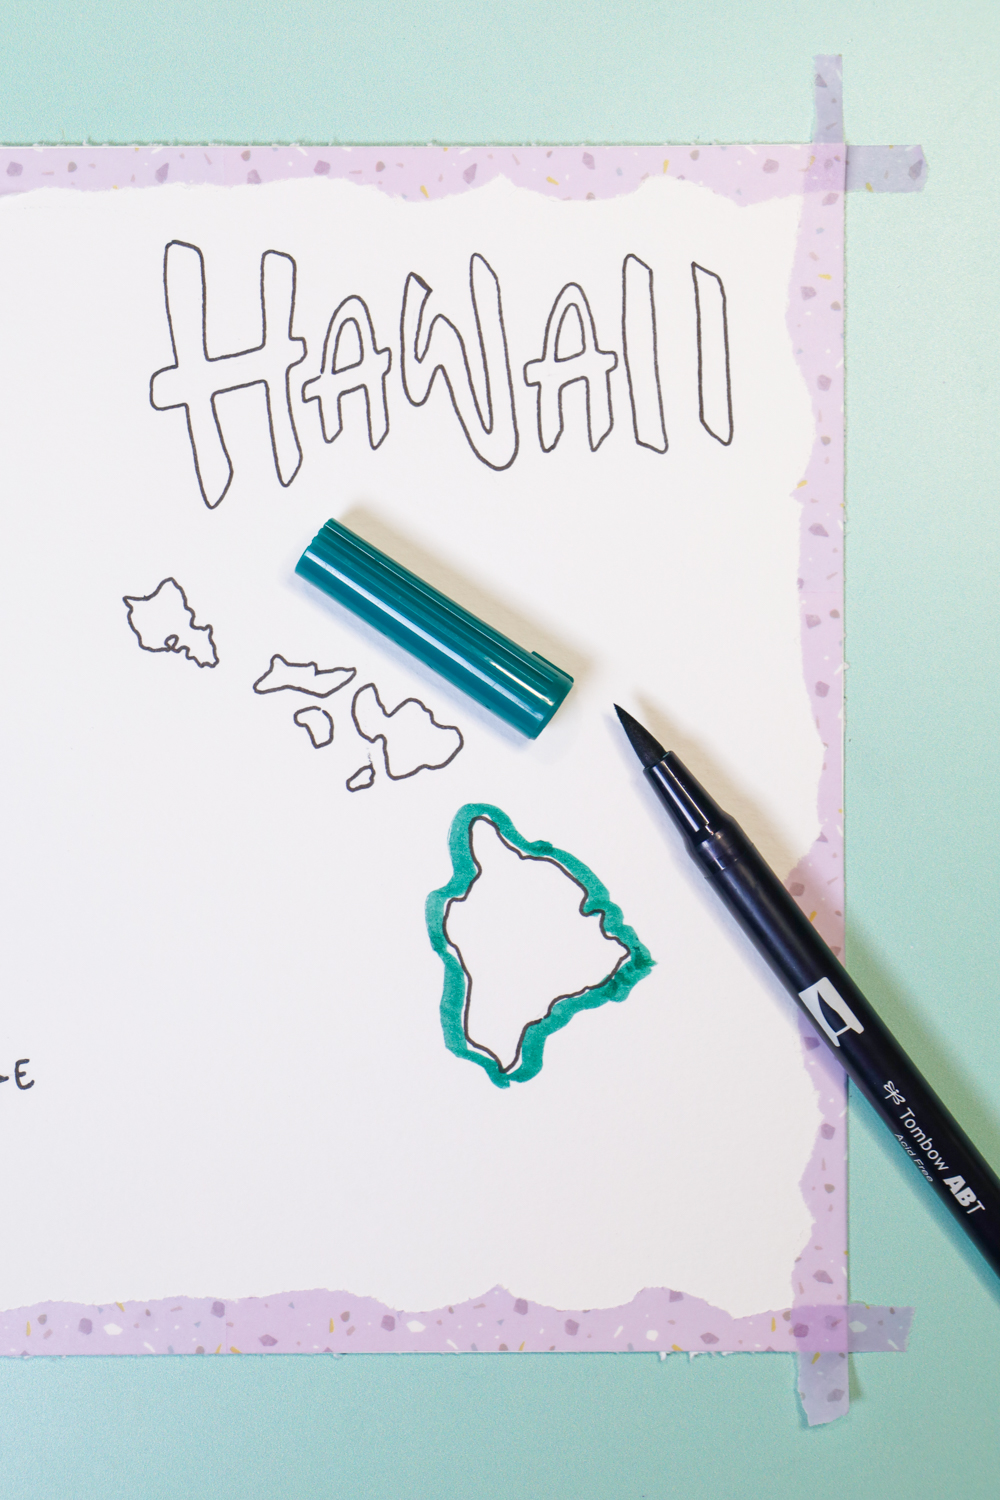
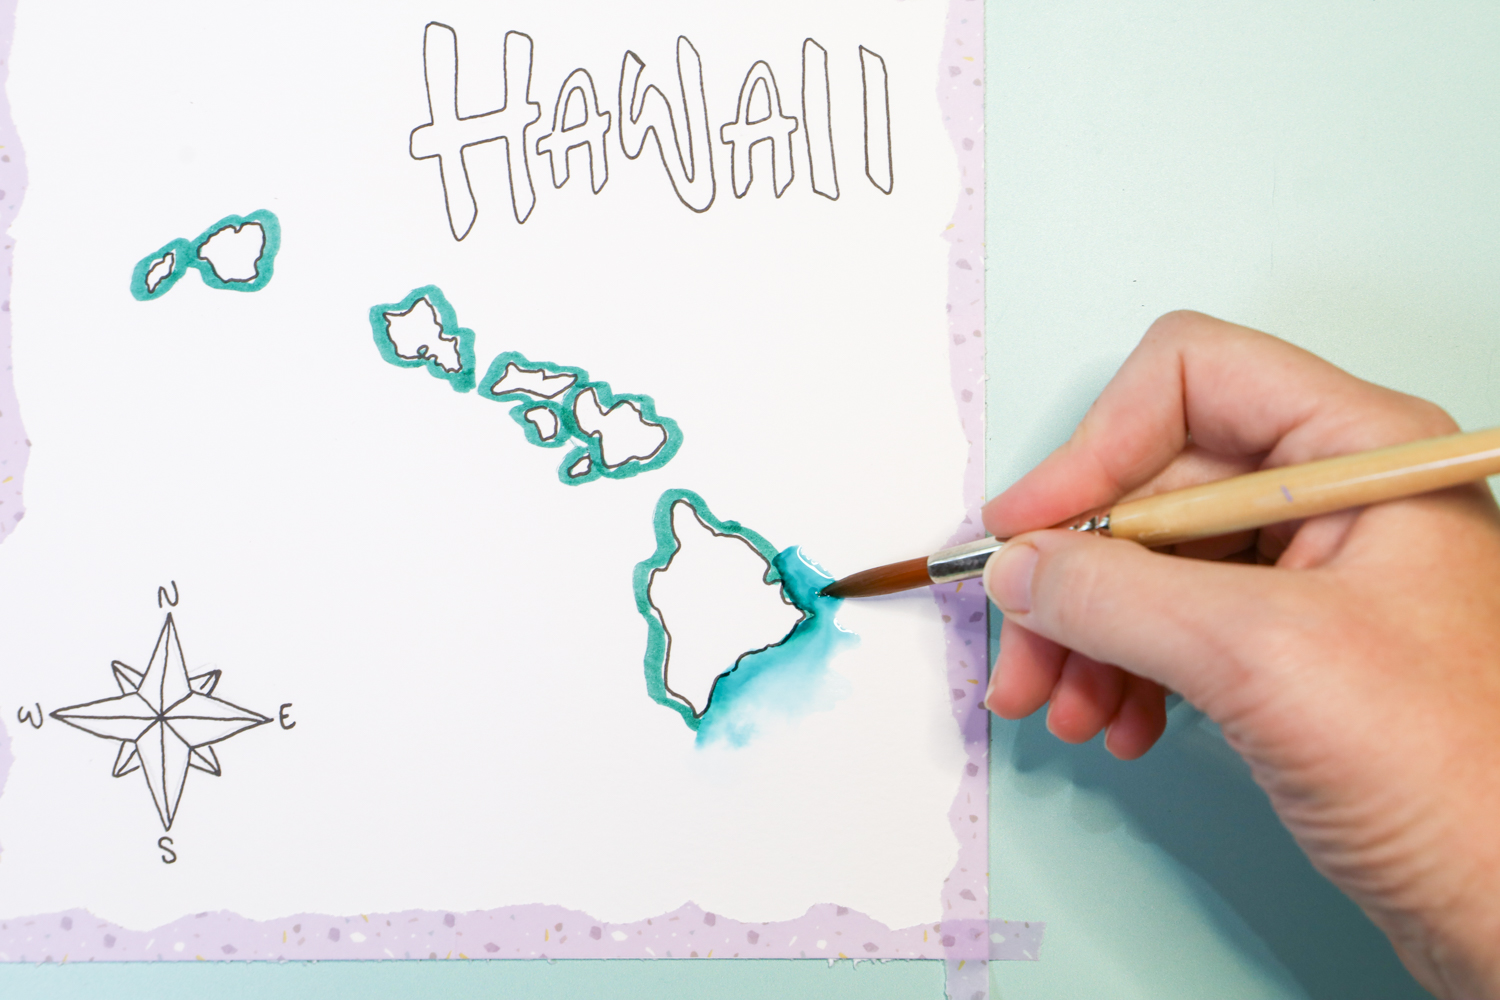
Use Dual Brush Pen 346-Sea Green from the Seventies palette to apply color to the ocean. I love the deep teal hue of this marker. I started by outlining around the islands and the word Hawaii, and then scribbled the color around to fill in the ocean.
Step four:
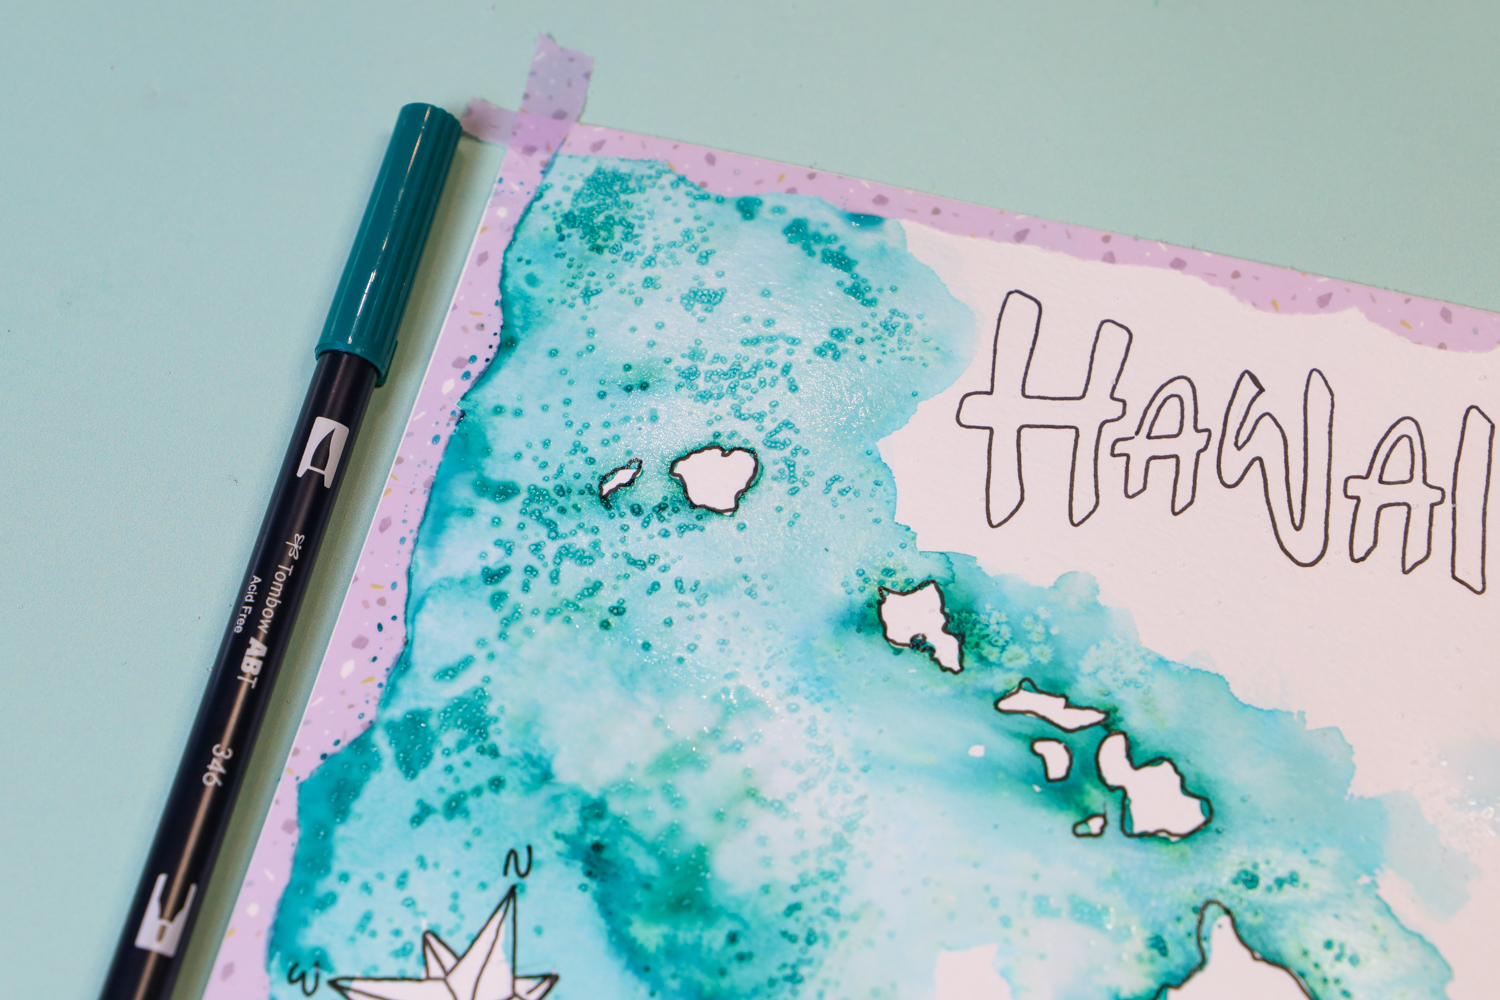
Use a wet paintbrush to apply water to the Dual Brush Pen ink and spread the ink around. This technique works best with 140lb watercolor paper, as it’s heavier weight and can hold up to the water compared to non-watercolor paper.
While the ink is STILL WET, sprinkle salt into the ink. You’ll get a variation of effects with the salt depending on how much ink/water you’ve used.
Step five:
Once the ocean is dry, lightly brush off the excess salt.
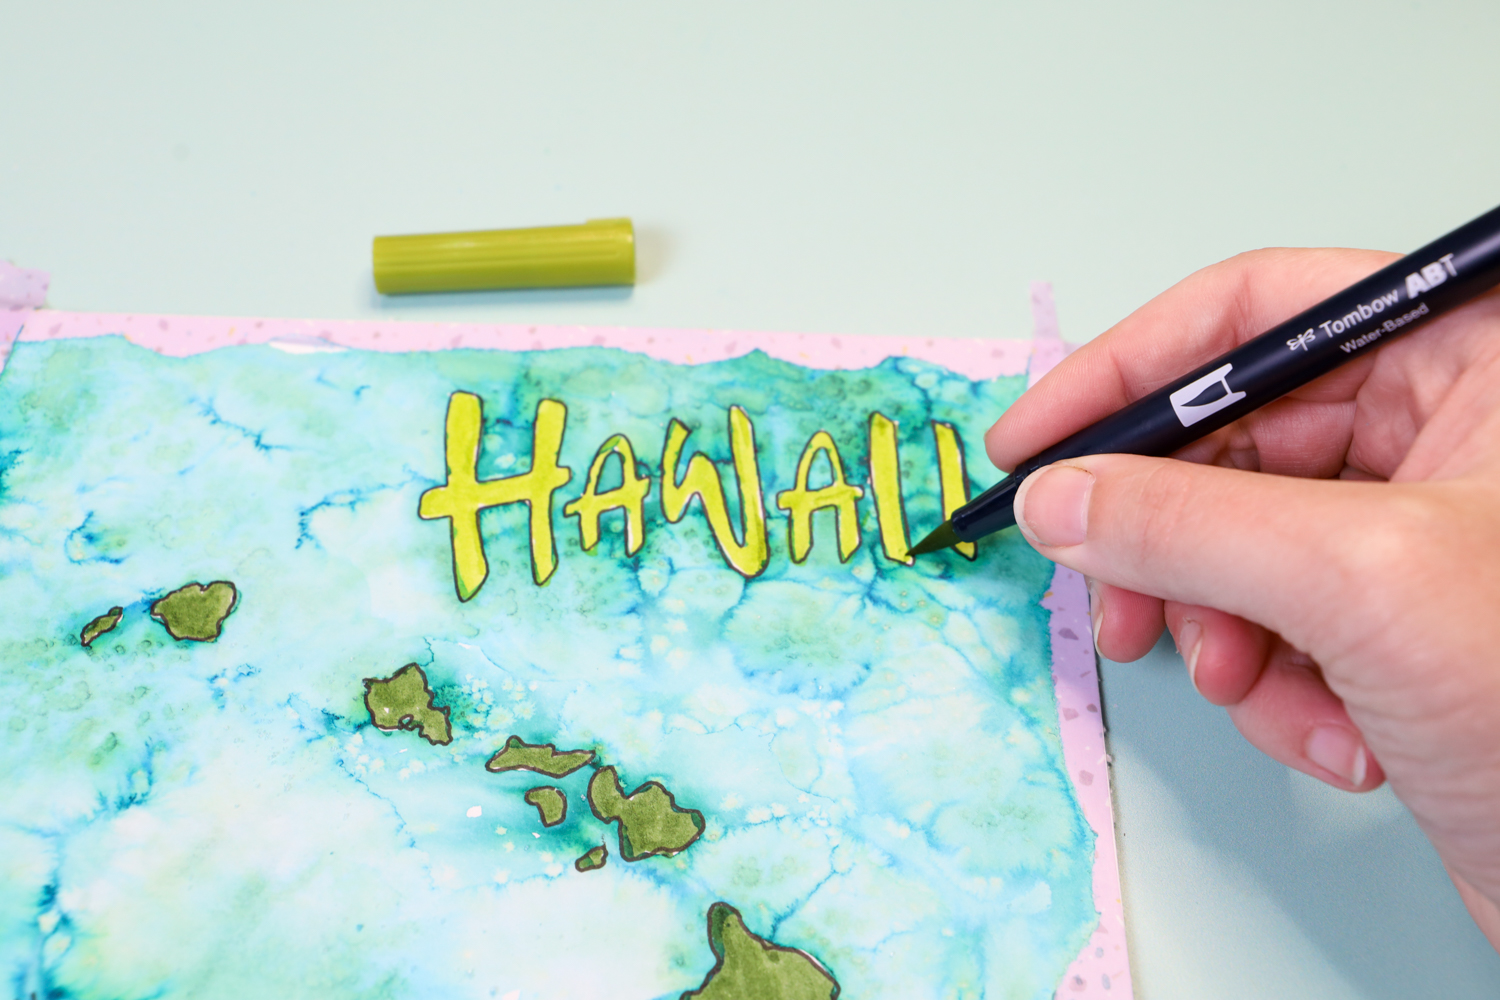
Color in the Hawaiian islands, and any other elements you’ve added to your map! I used Dual Brush Pens 126 to color in the word Hawaii & 177 to color in the islands.
Step six:
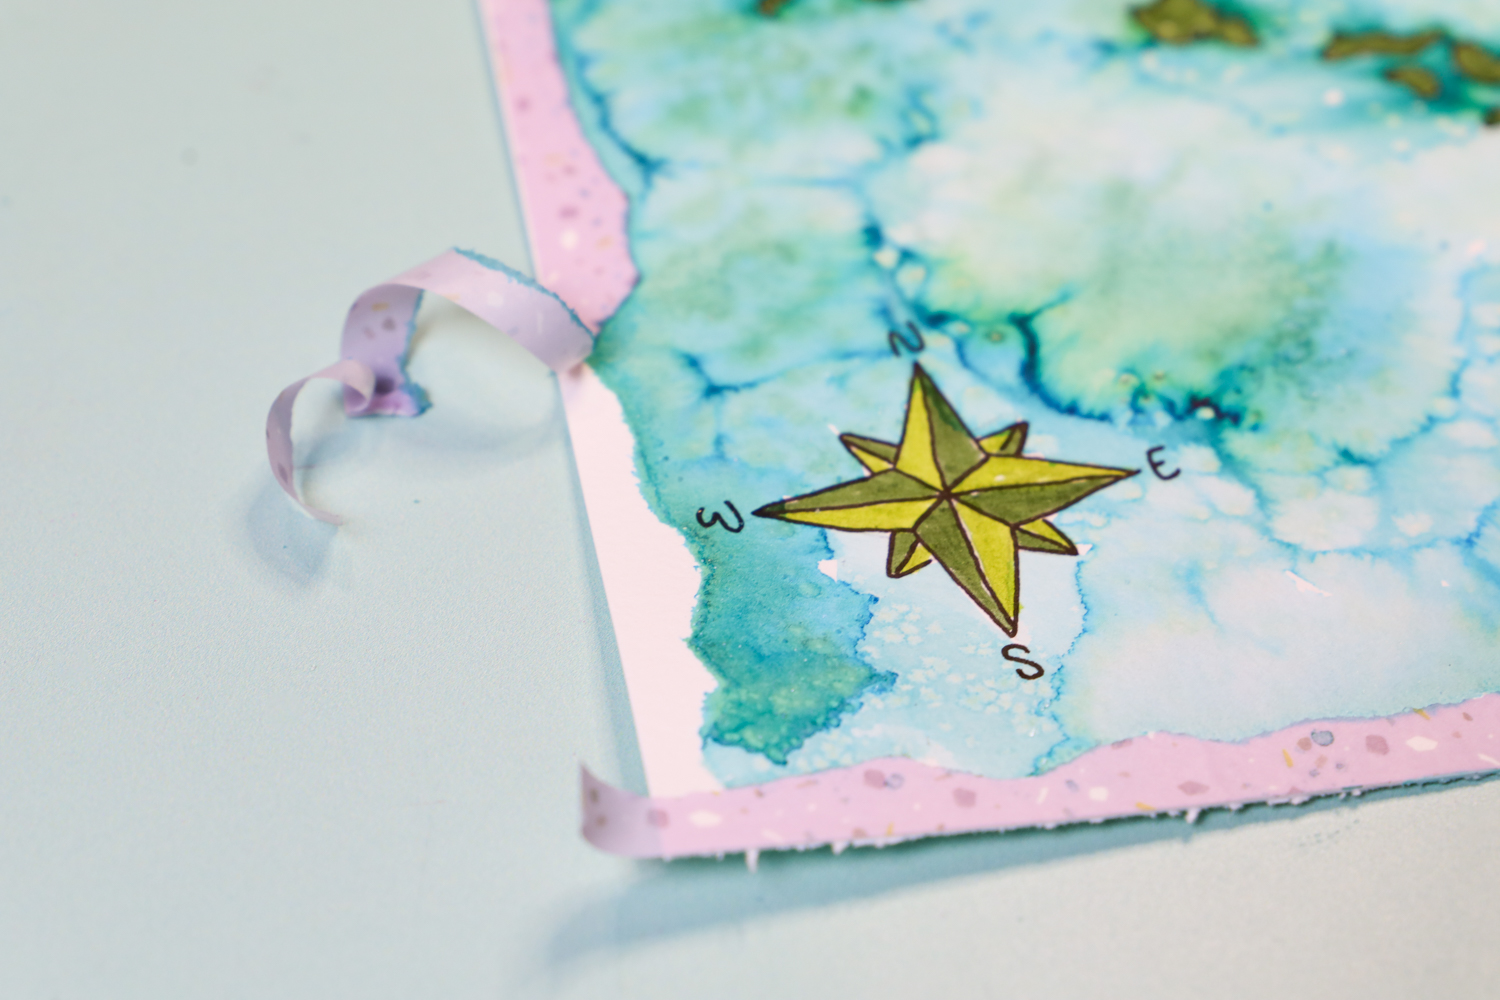
Once everything is dry, carefully peel off the washi tape to reveal the defined torn map edges. The torn design gives the piece a vintage map style that makes it look extra special!
Step seven:
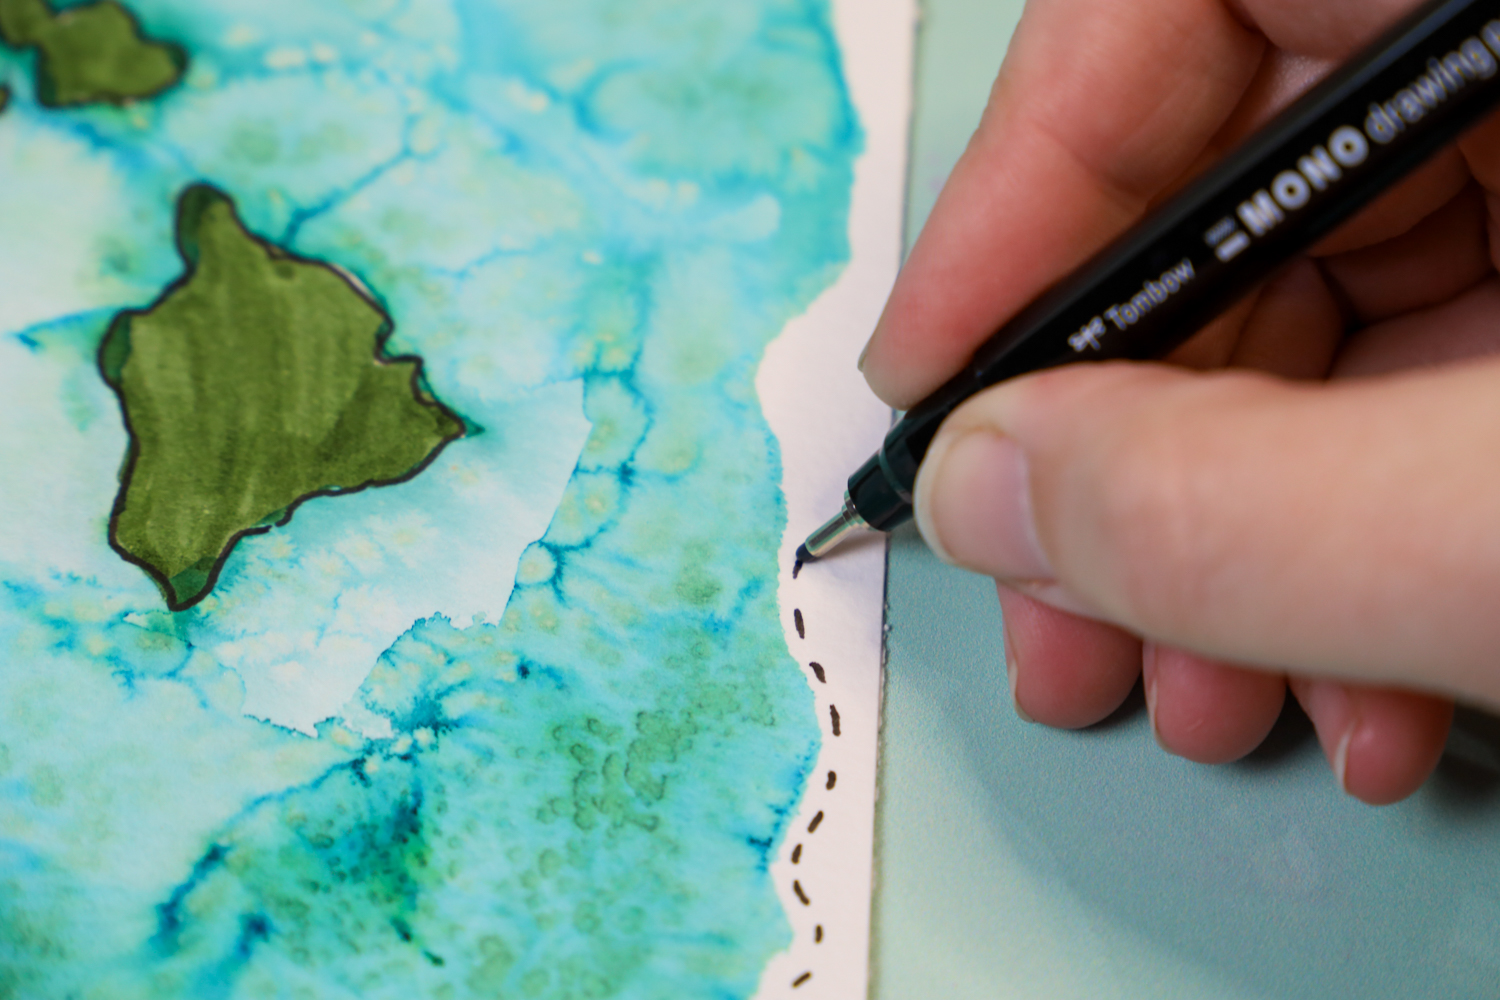
Use the 08 MONO Drawing Pen to add dashes around the outside edge or your map to add a detailed border.
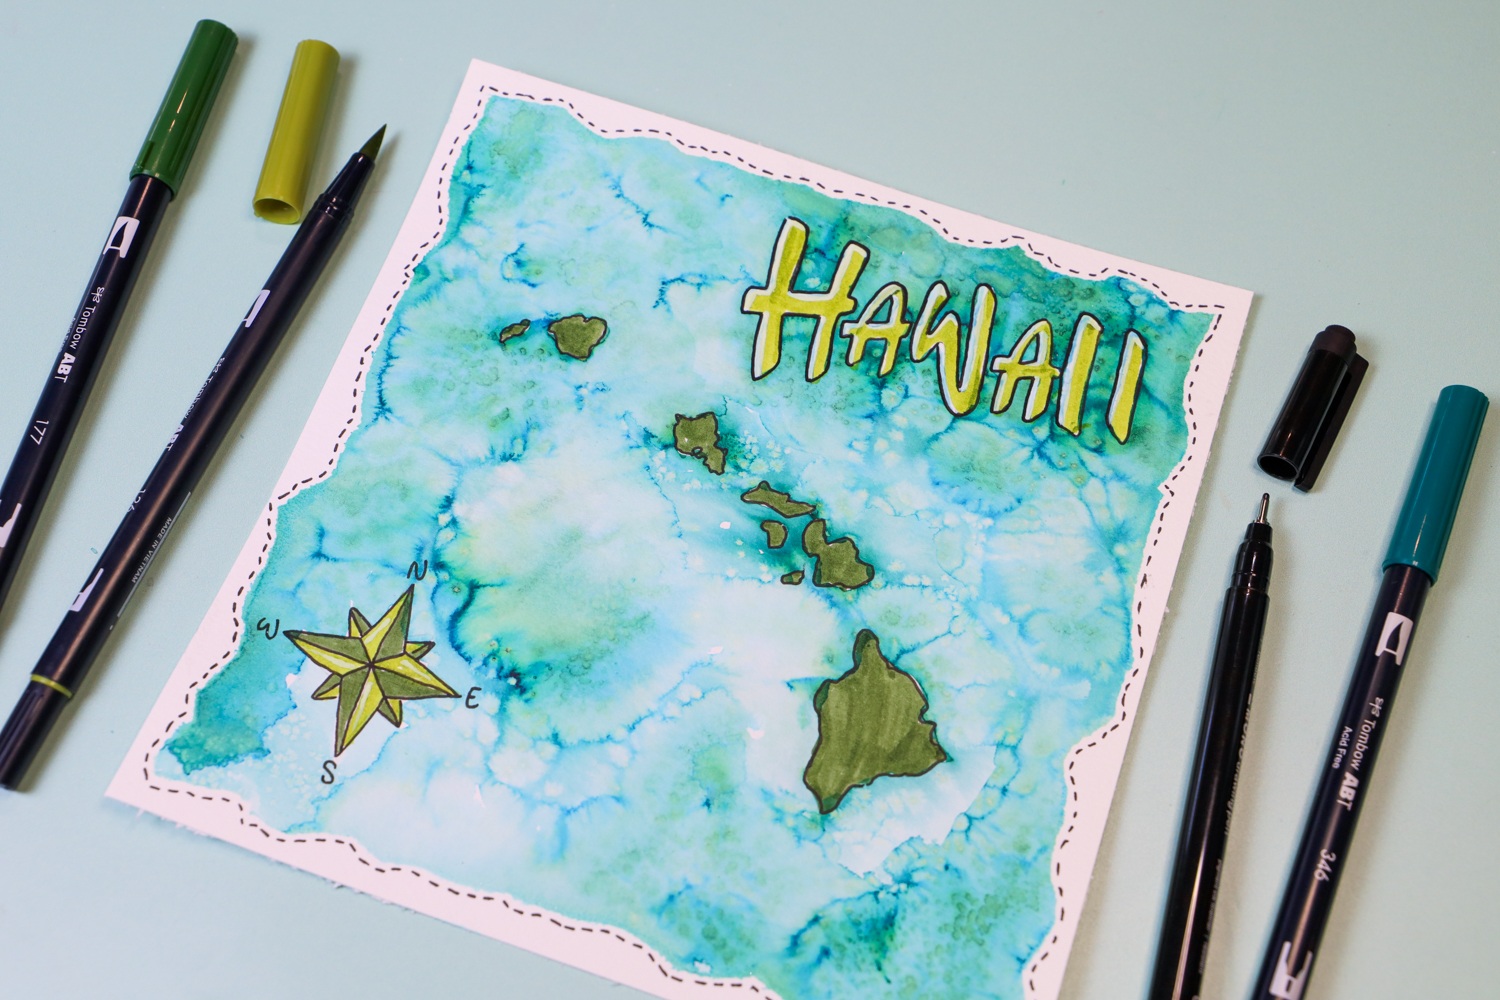
That’s it – Your Hawaiian island map is complete! Whether you’re celebrating an upcoming trip or reminiscing about past adventures, this project is a beautiful way to capture the magic of the islands. I’d love to see your creations—tag me @studio.katie and @tombowusa in your posts! And don’t forget to grab your favorite Tombow supplies to start mapping out your favorite islands.
Looking for another fun map project? Learn how to easily draw a map of the United States in your travel journal following this tutorial.