 do you have a tween? an aspiring creative mind? or a boy? someone you want to start scrapbooking but don’t want to overwhelm?
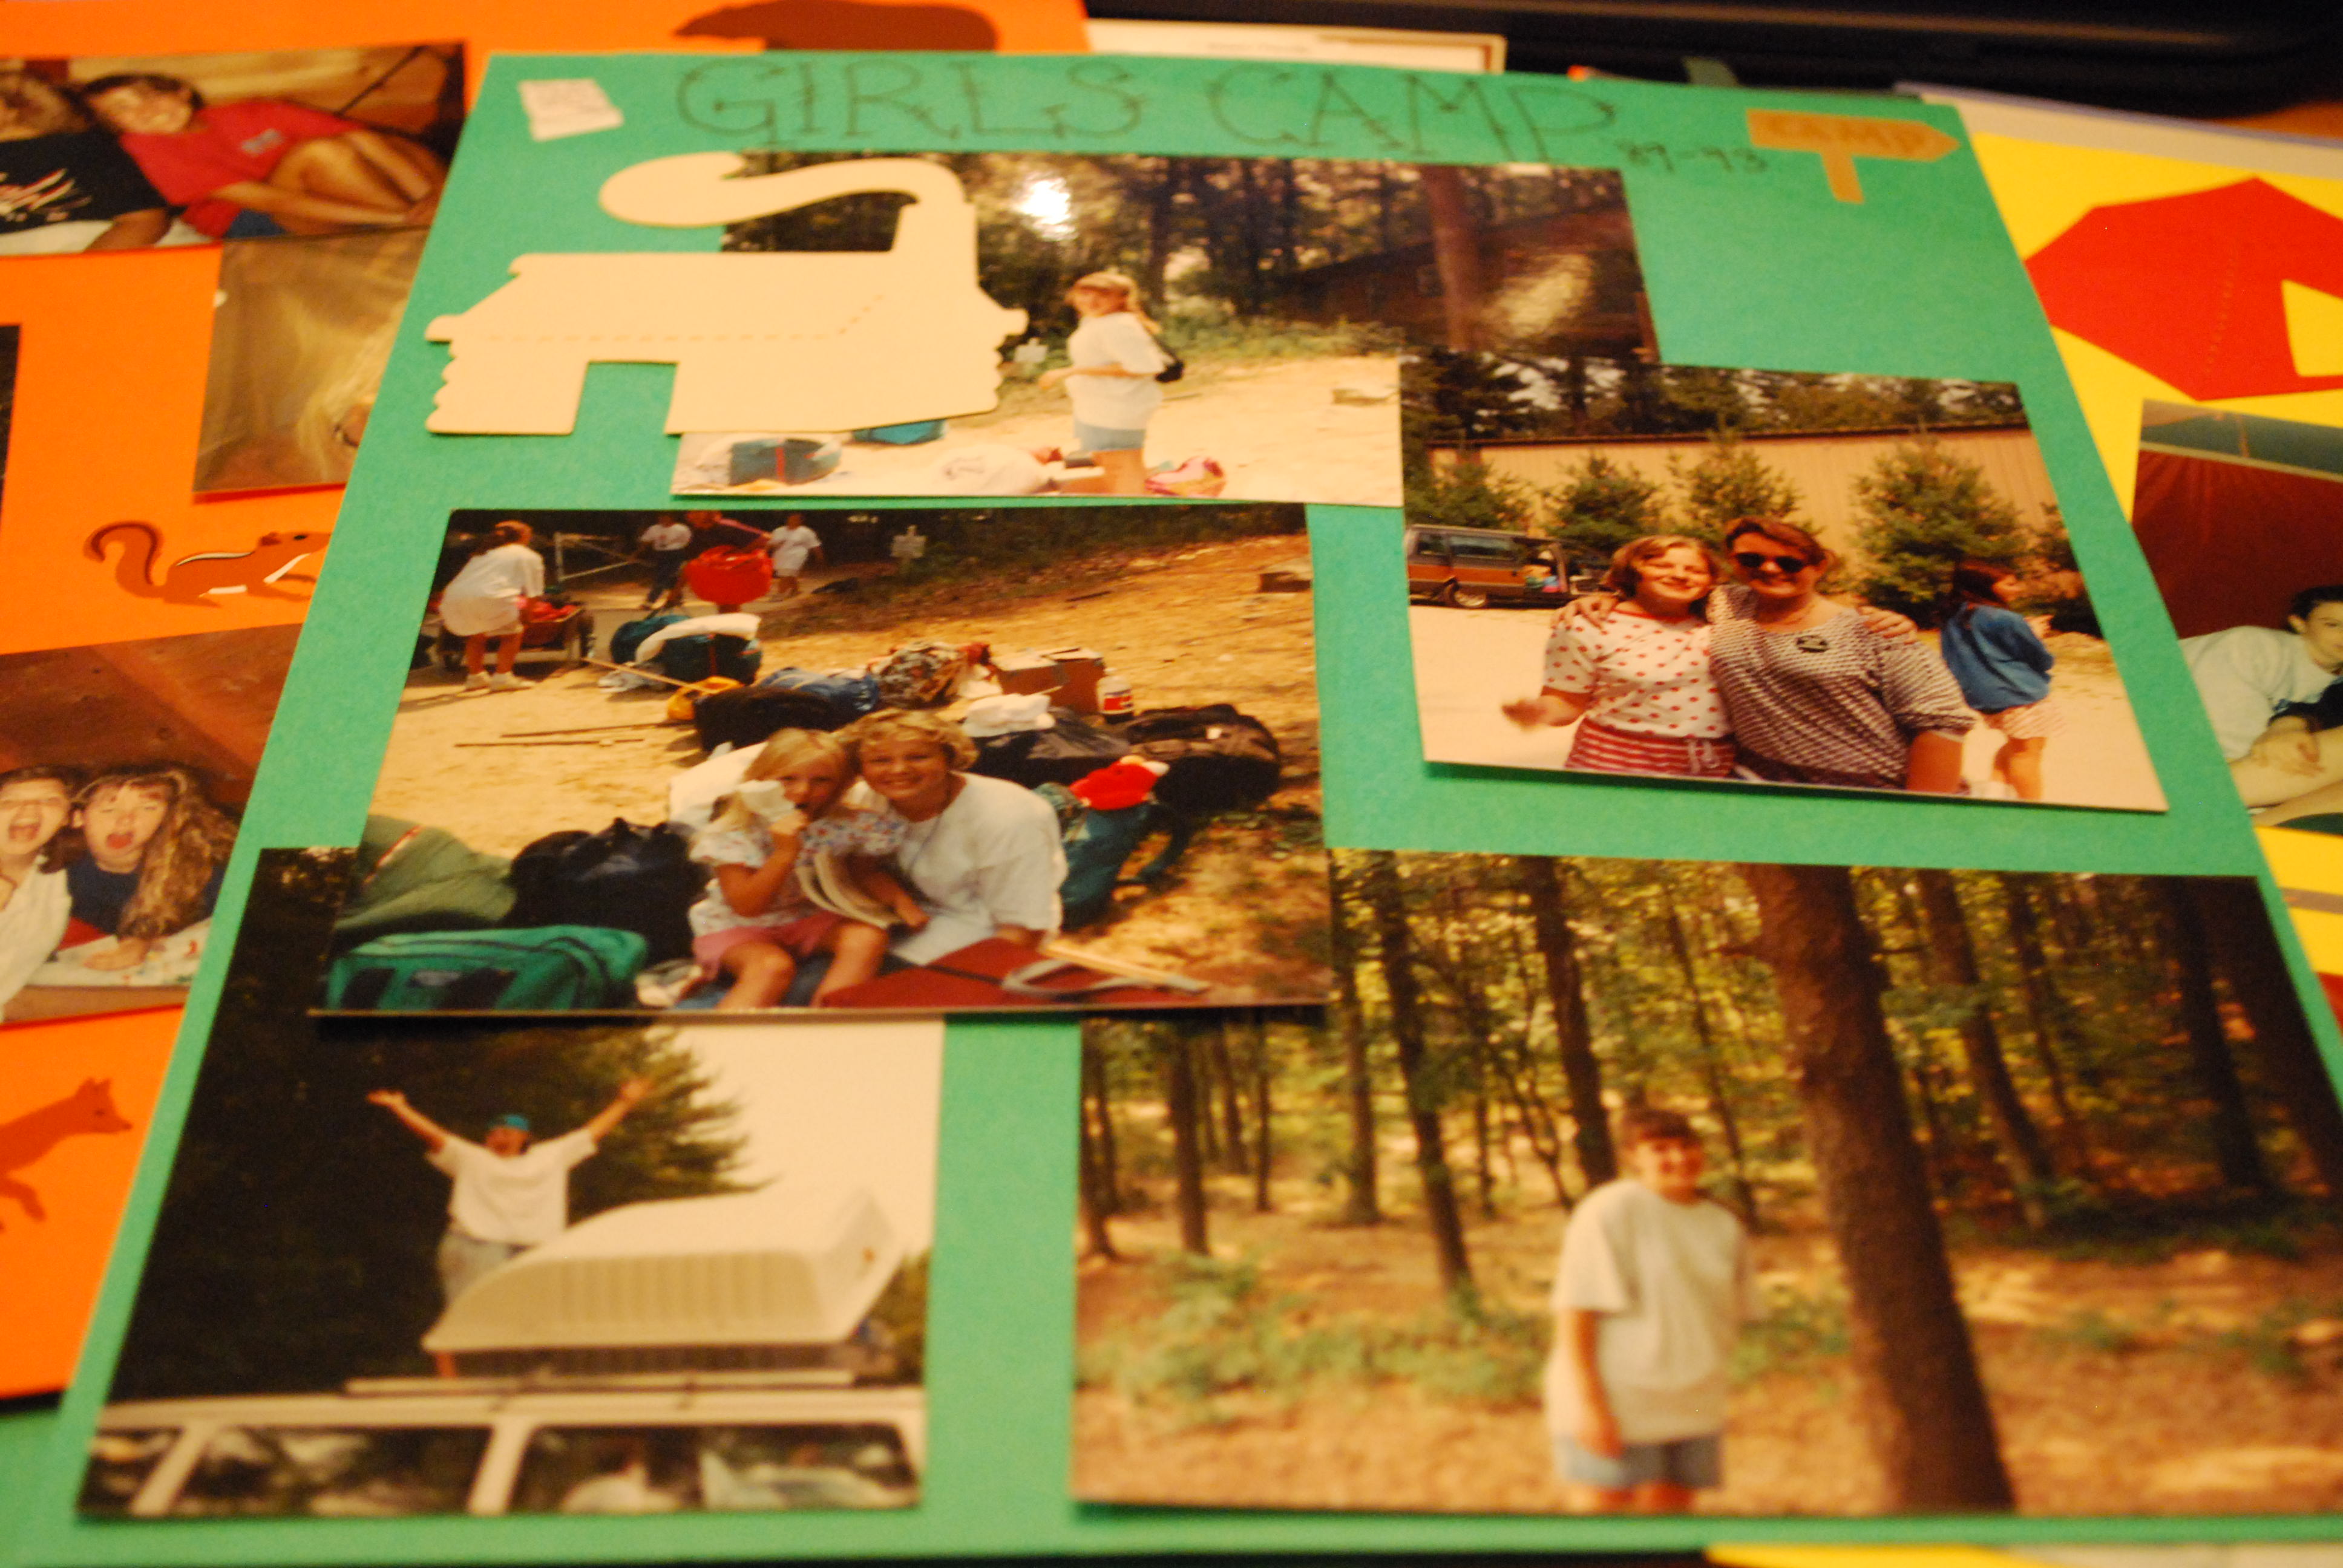
this kind of project is perfect to get them going. i teach the 12-13 year old girls at church and for one of their weekly activities they wanted to scrapbook the pictures from their girl’s camp experience. i empathized with this desire, as my first attempt at scrapbooking was with pictures from when i went to girl’s camp. (i share with you the pictures of my first scrapbook, hoping that the girls in the pictures won’t kill me!)
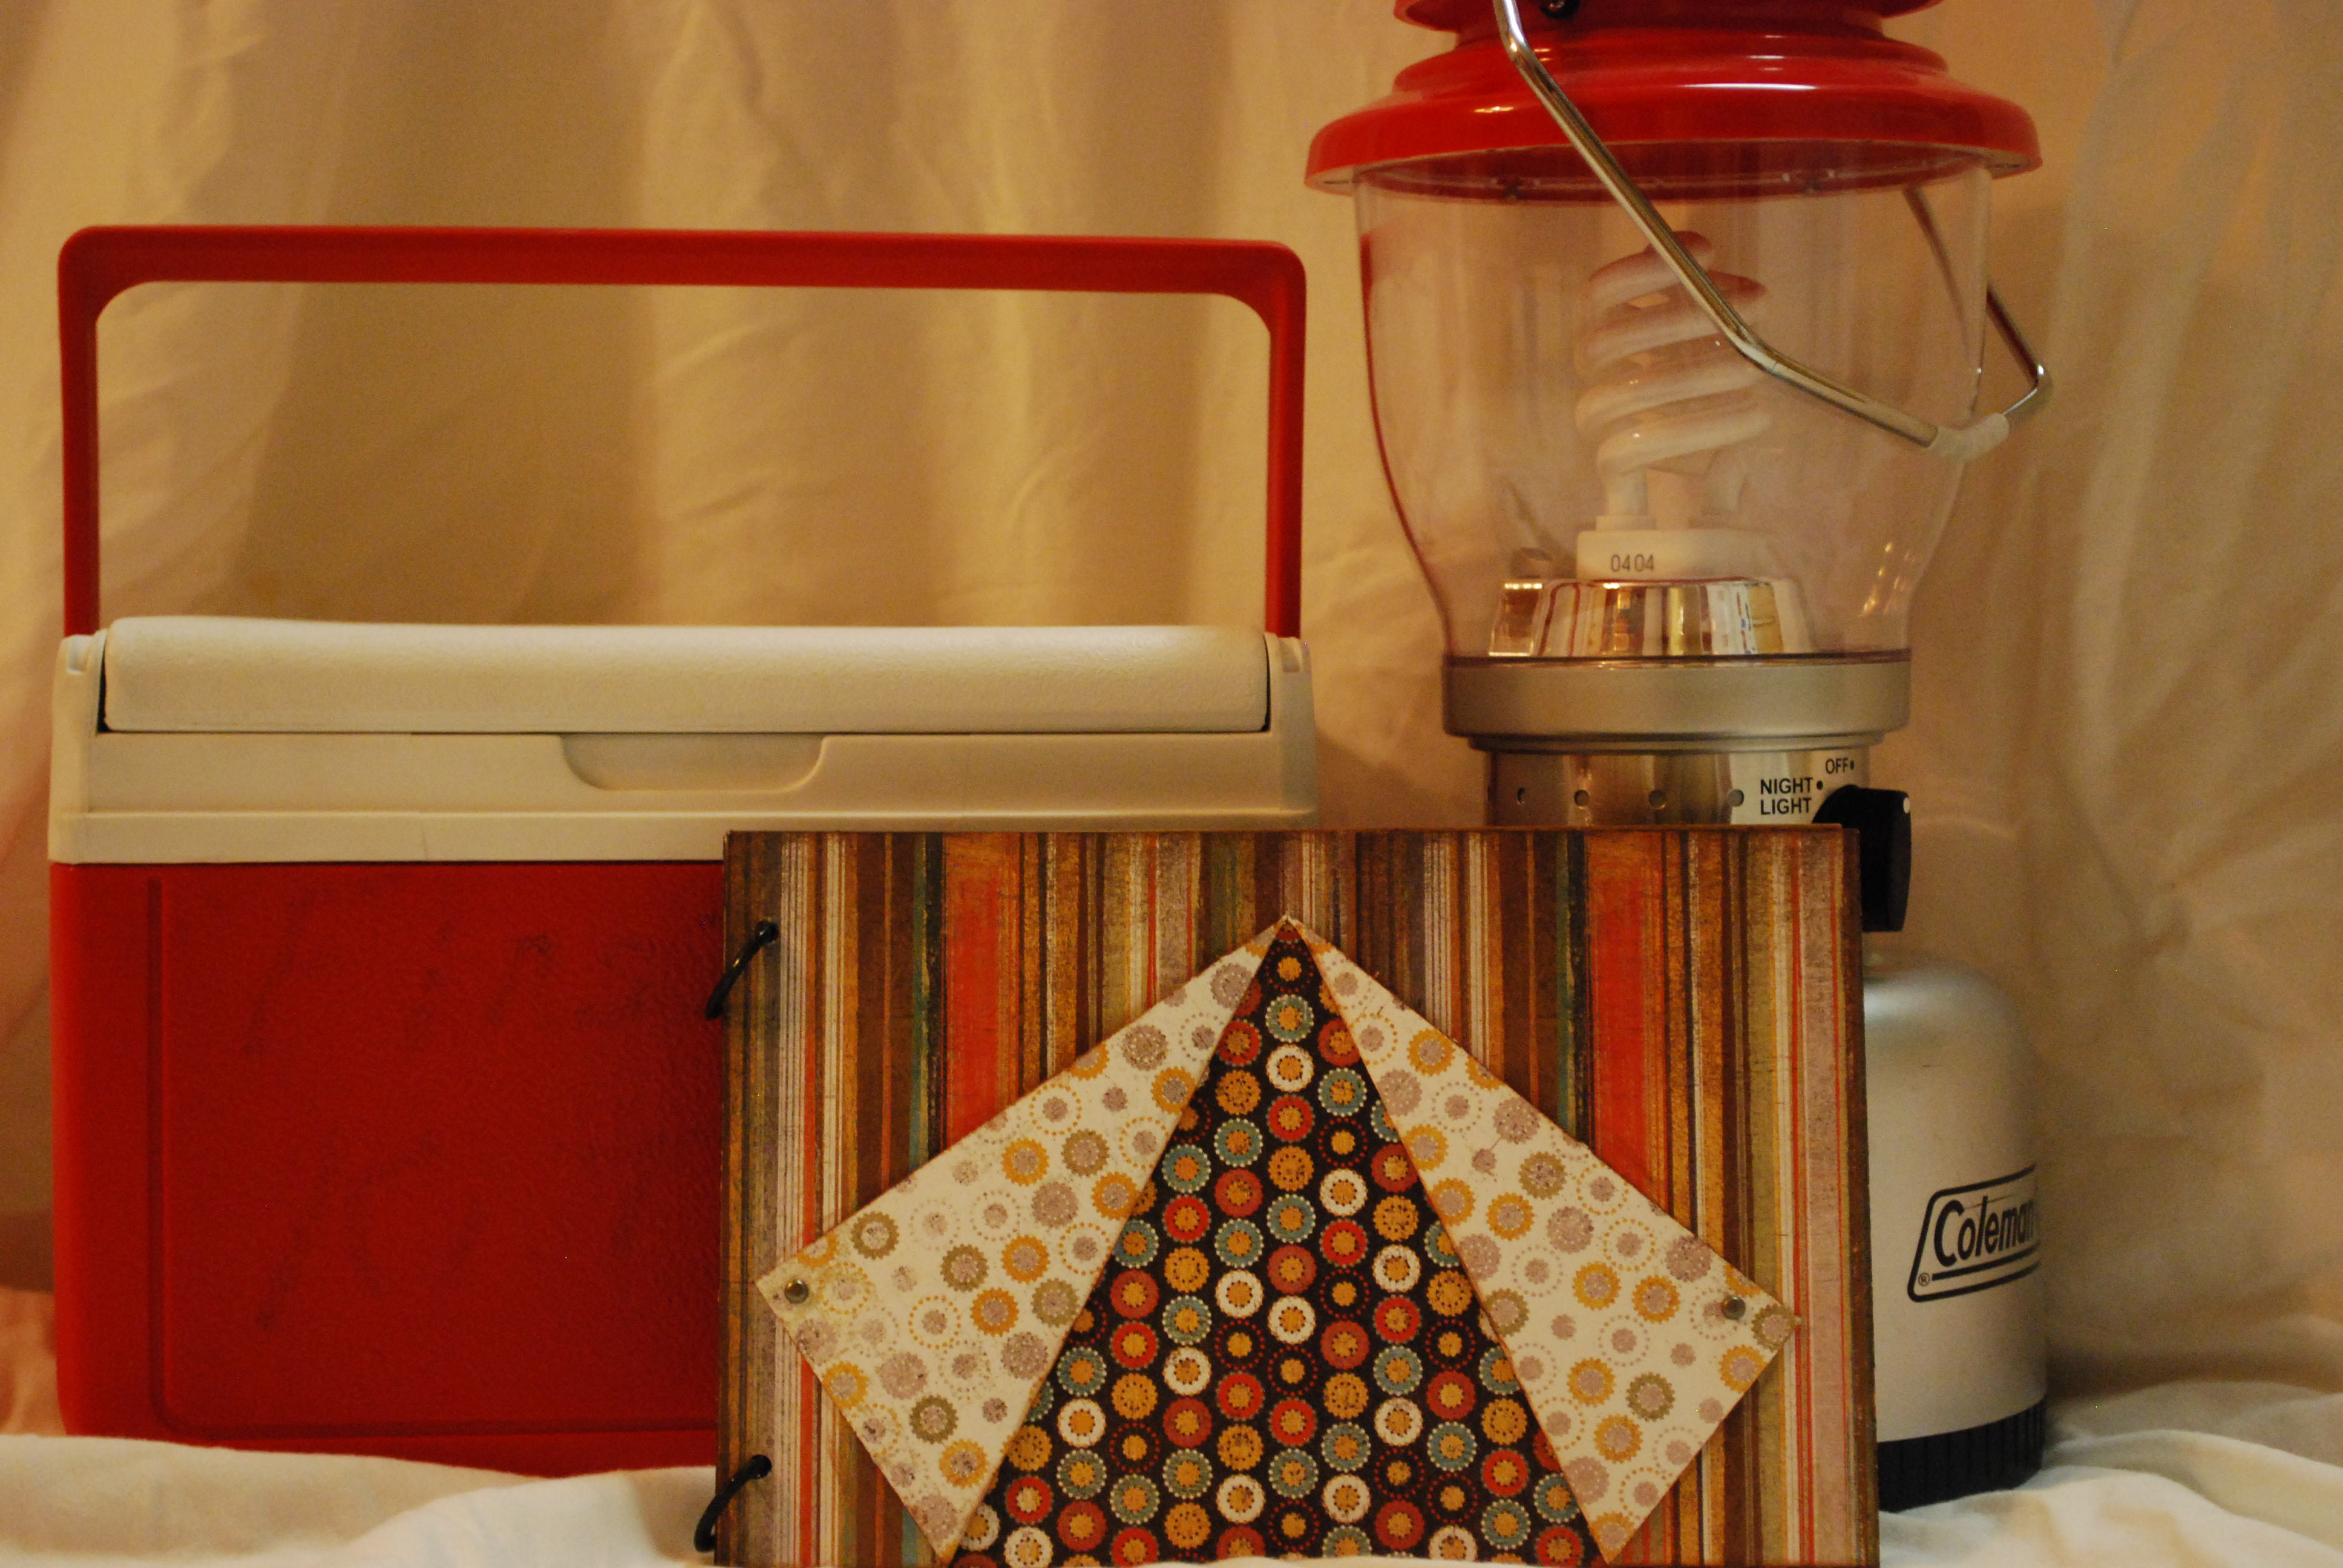
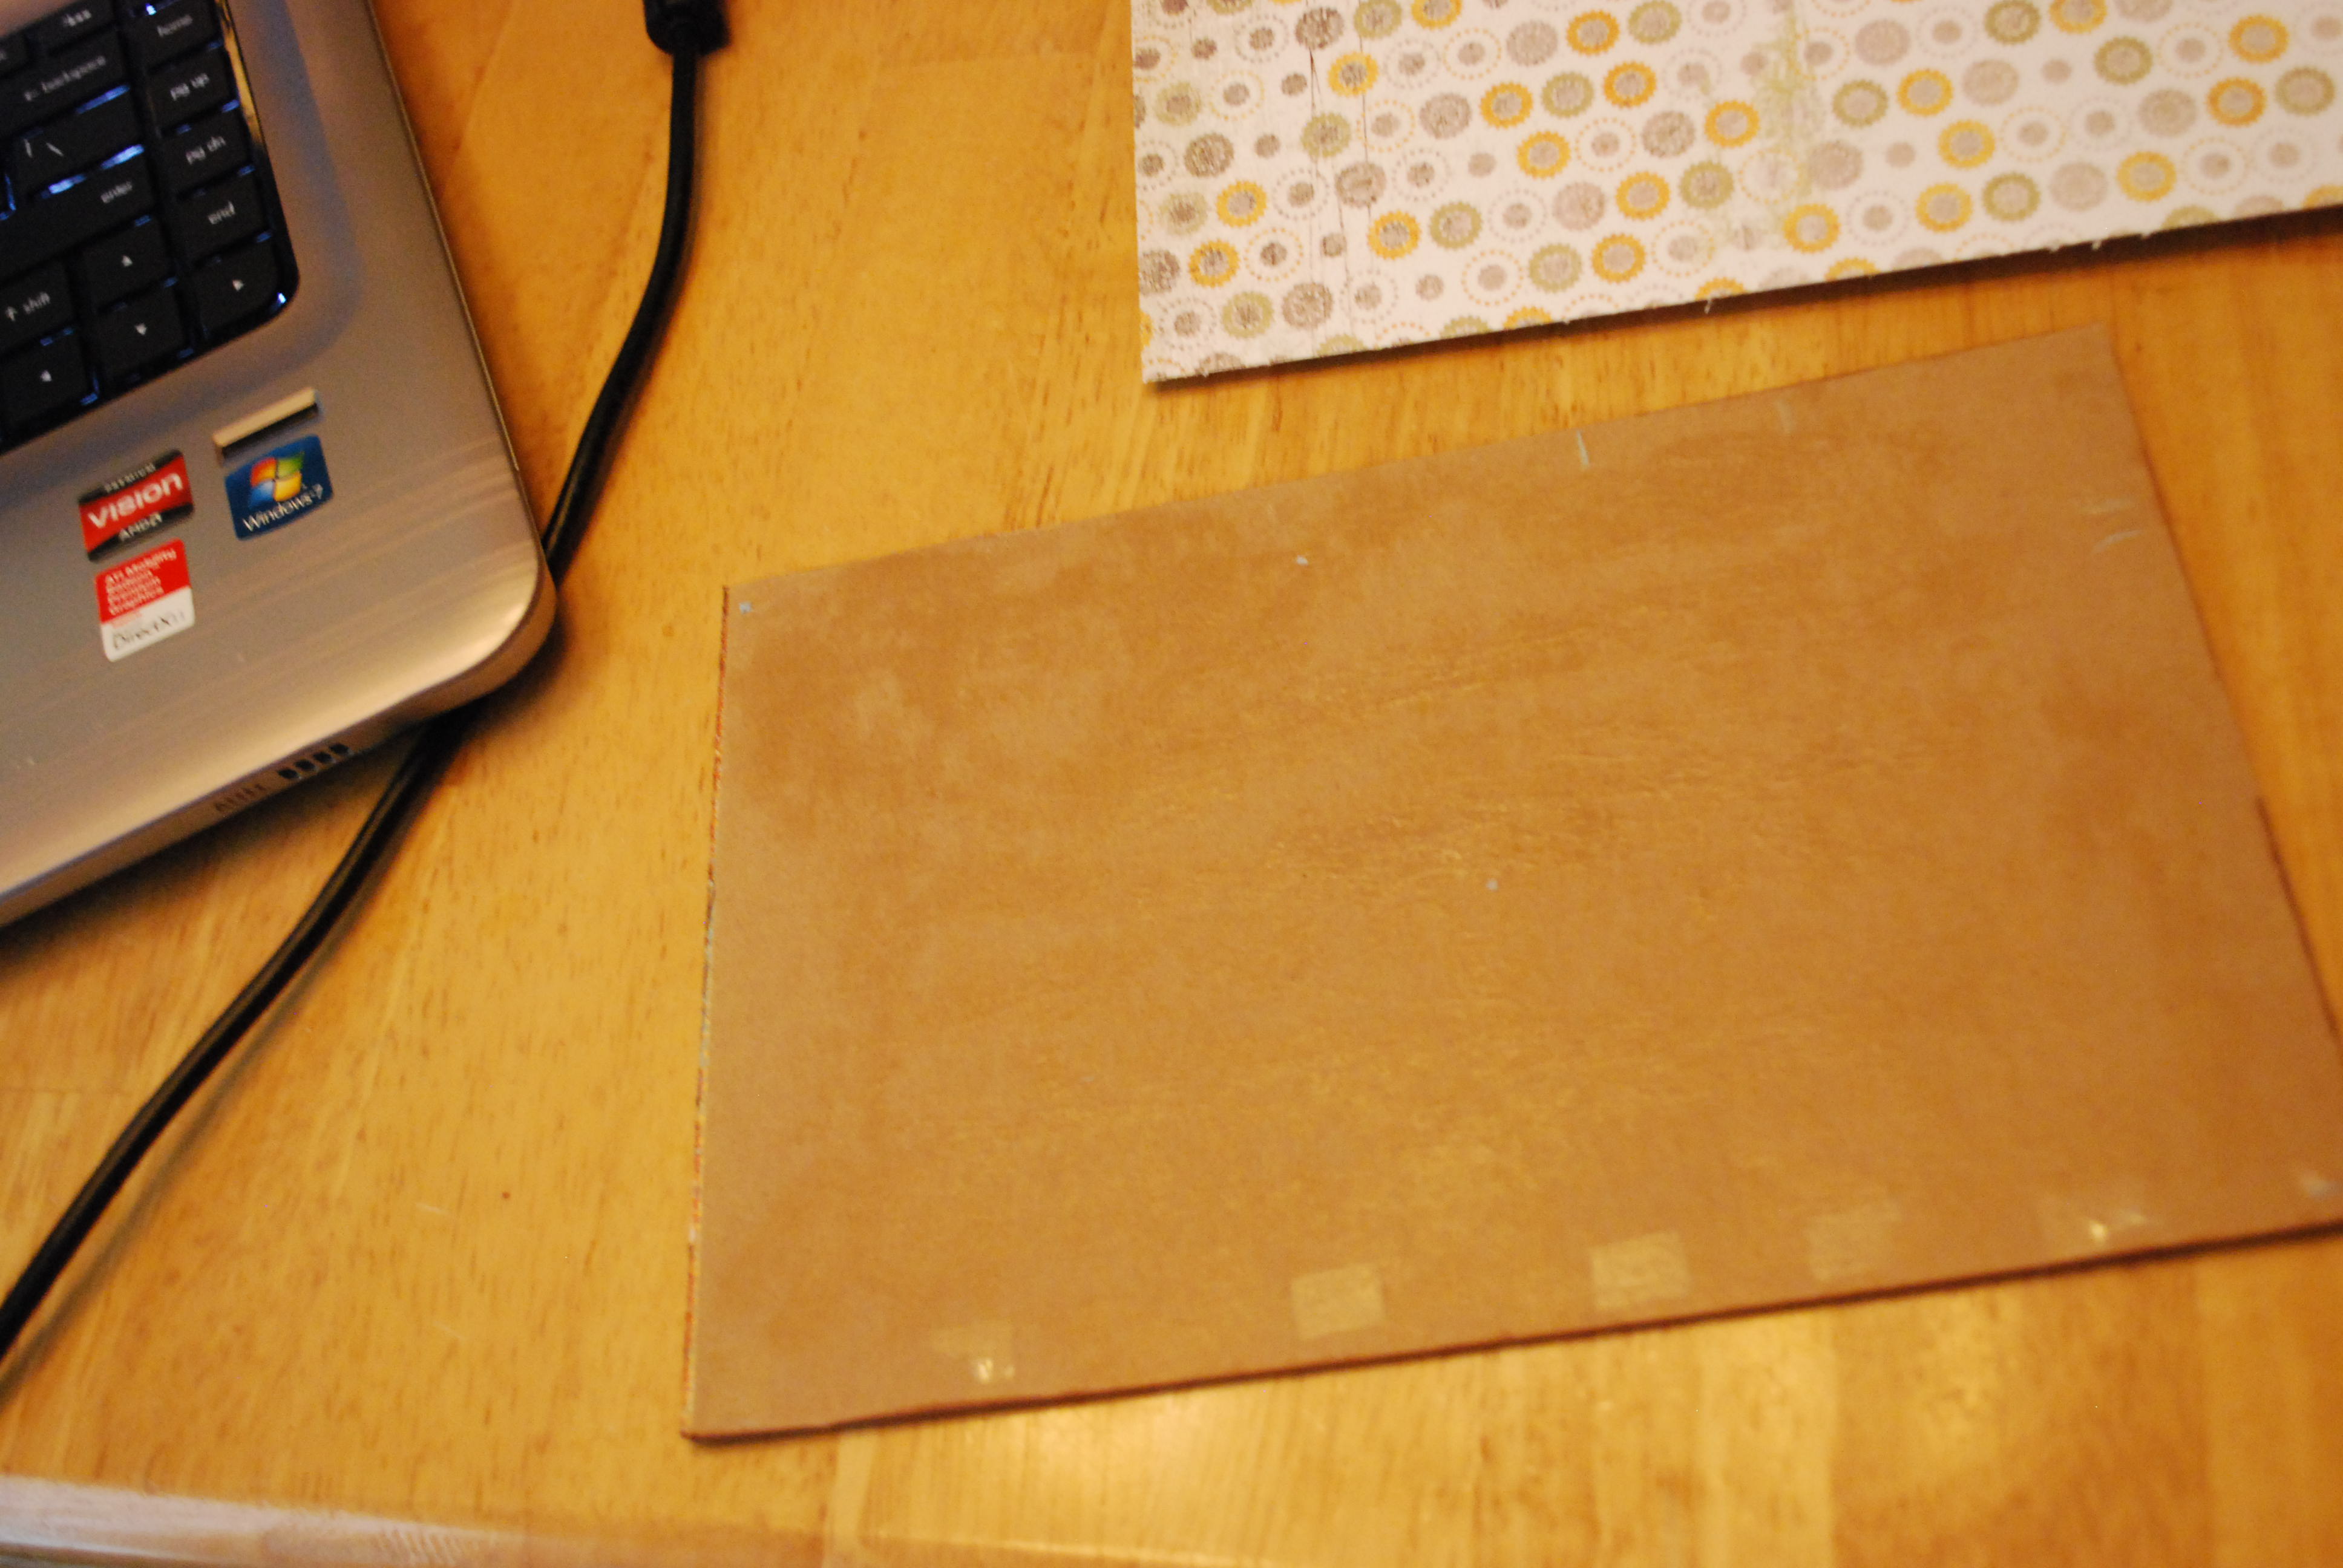
to create this project i used pattern paper from Basic Grey (it’s their pet line!), Tombow Glue Stick, Tombow Stamp Runner Permanent Adhesive and chipboard (remember my ice cream album? yup, same stash of chipboard laying around!) it was sized at 8 1/2 x 11, so i simply cut it in half. i got some white cardstock that was also 8 1/2 x 11 and cut that in half too. i used three pieces of pattern paper to cover the chipboard front and back cover, and to create the tent. using the remains of of the pattern paper i decorated the inside pages with stripes on the sides of the pages.
when it was done i used my crop-a-dile to punch hole and added rings to bind it together.
the best thing about this for these girls and any other young creative mind, was that there was very little instruction needed and then they could create all on their own.
i also provided camping themed stickers and a bucket full of Tombow Dual Brush Pens and they went to town!
at some point down the road i might pass on a few pointers about scrapbooking, but for now they have a great memory album keepsake of their crazy hot summer camping!

by the way…
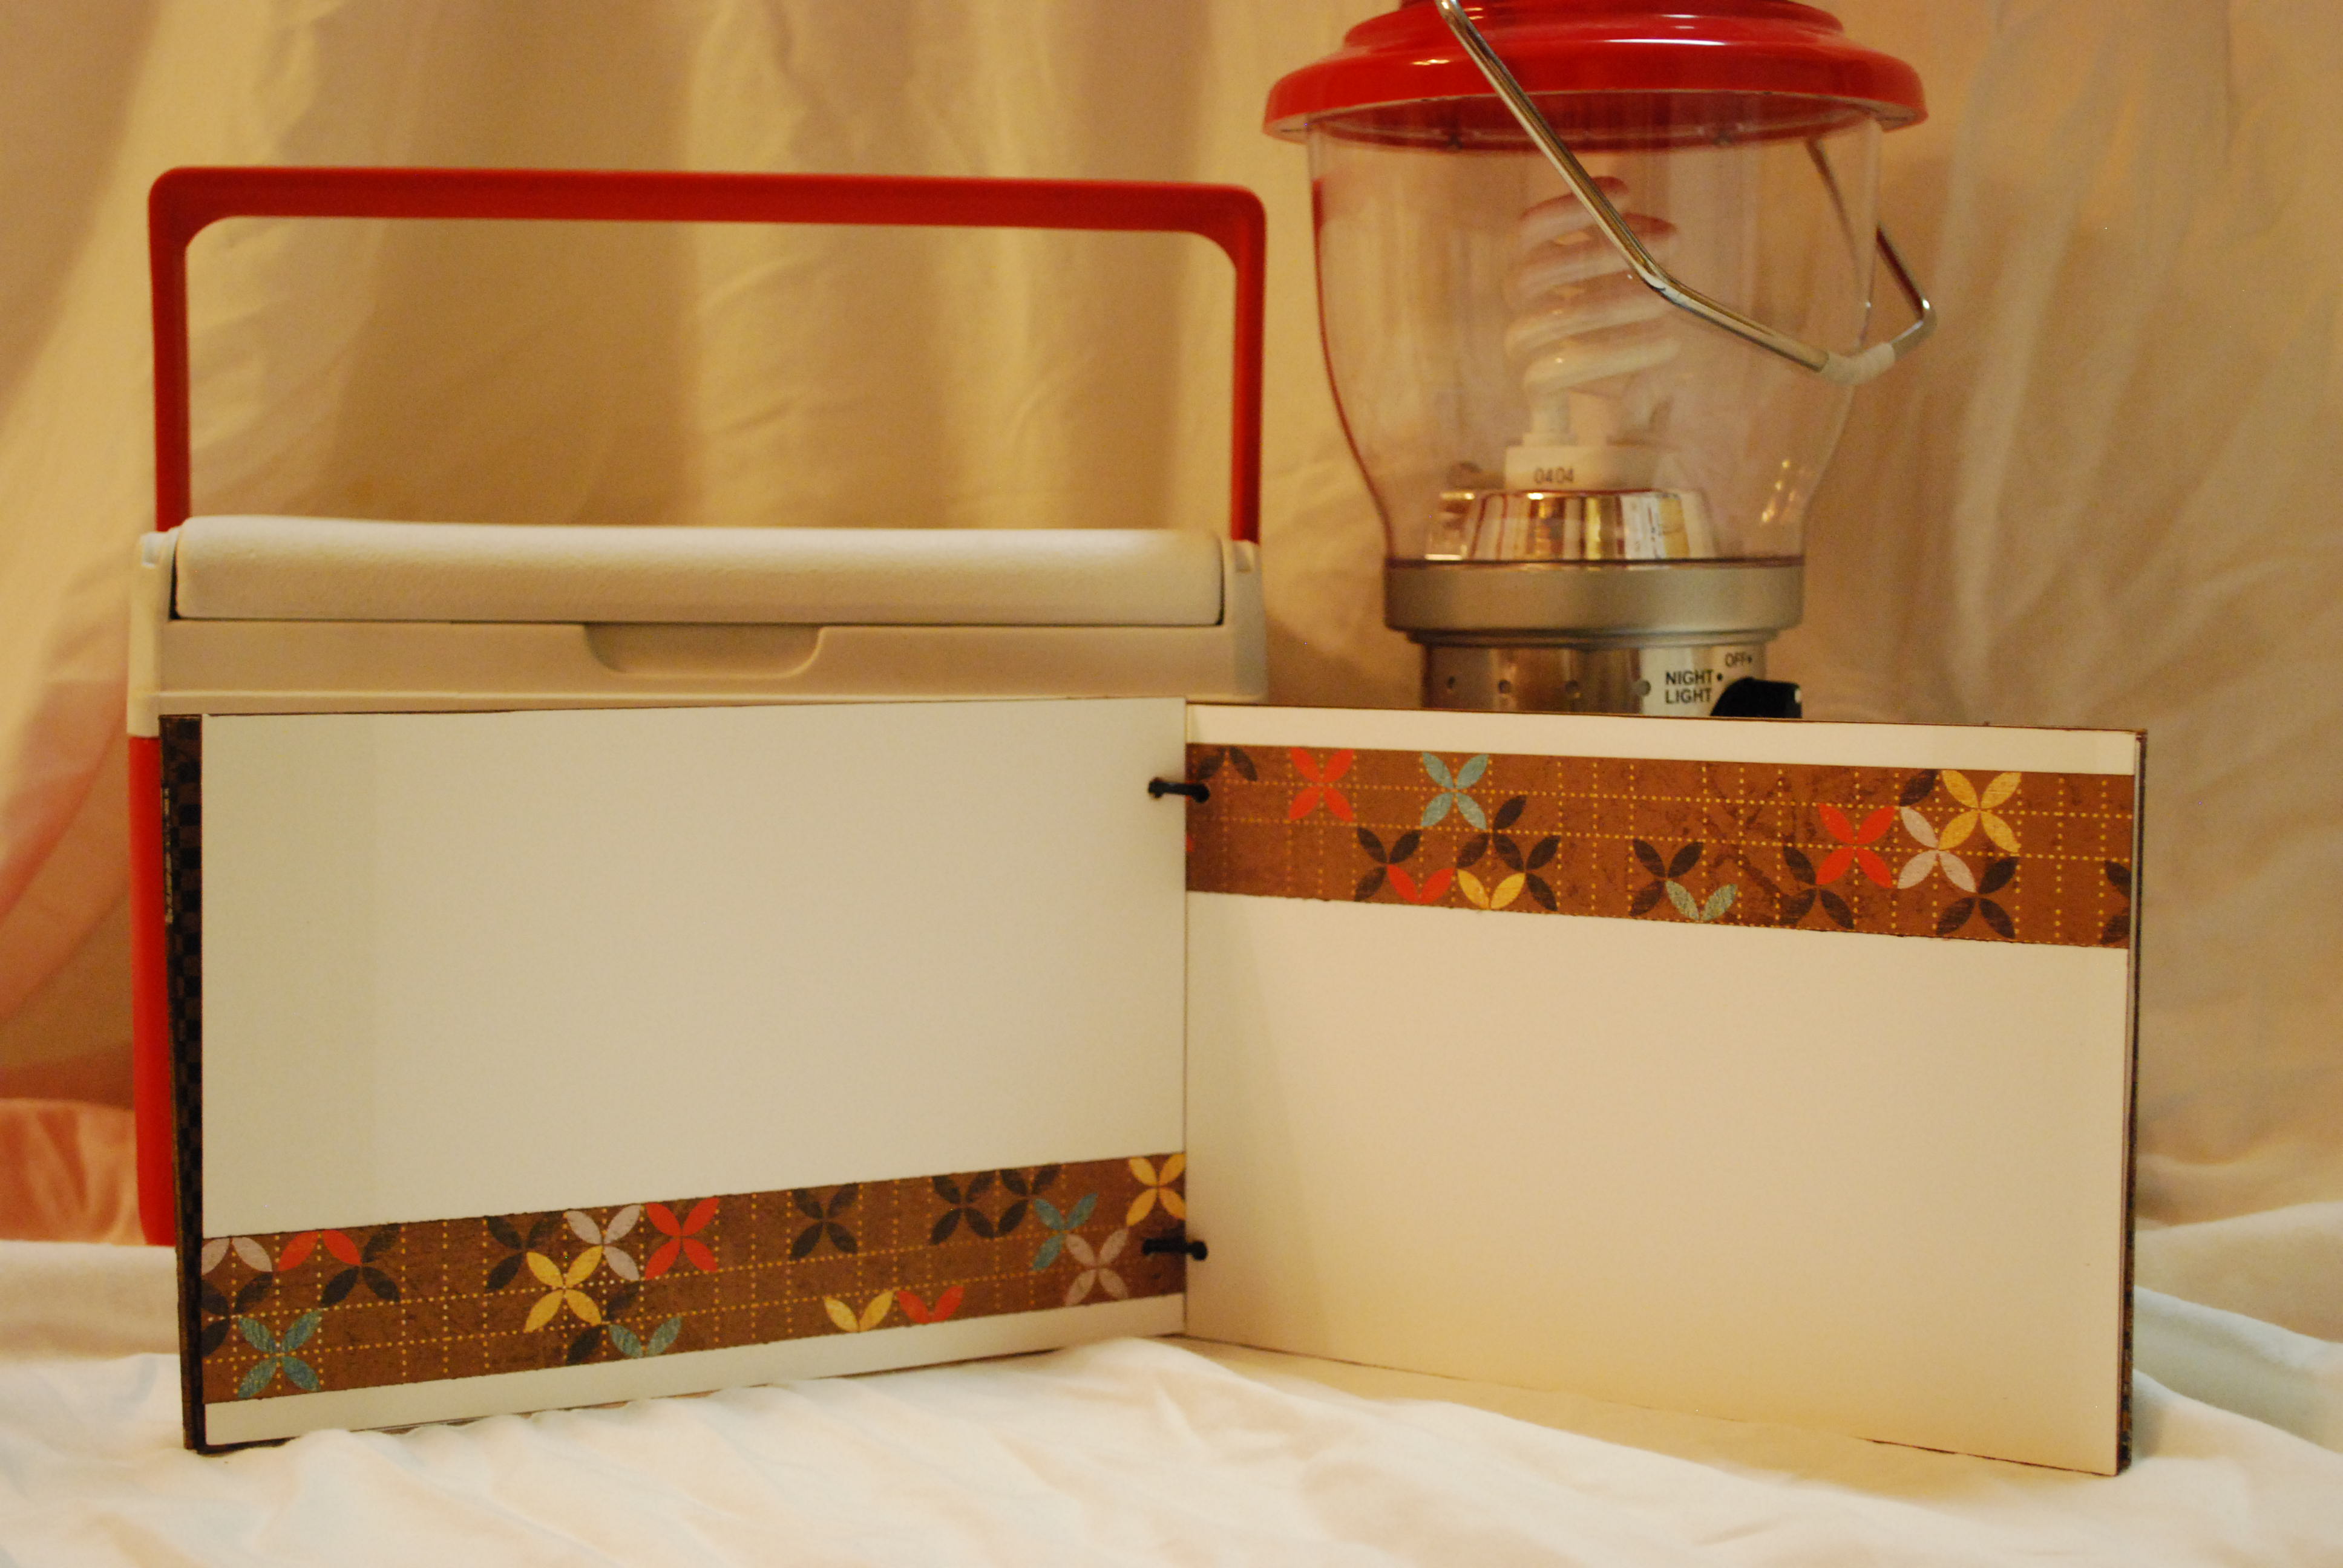
to put the tent on the front cover…
1. use the Tombow Glue Stick and Tombow Stamp Permanent Adhesive Runner to layer a piece of pattern paper over the chipboard. i had them use the glue stick combined with the Stamp Runner to get a full coverage, without being and “adhesive abuser” with the tape runners. with the Stamp Runner they were able to apply adhesive tot he corners and along the edge, and then go back over it with the Glue Stick.
2. cut a second piece the same size as the cover, cut a slit up the middle of the paper, stopping about an inch from the top.
3. then apply glue to the top and edges of the paper and layer over the first pattern paper piece on the front cover.
4. fold back the paper to create tent flaps and glue in place using the Stamp Runner again.
5. i inserted brads as well. this could be done before gluing to the front cover, or after by cutting the prongs off the brad, then using Tombow MONO Multi to set them.

enjoy your summer…and scrap a little!
If you enjoyed this post please follow us on ![]() http://www.facebook.com/tombowusa and
http://www.facebook.com/tombowusa and ![]() http://twitter.com/#!/tombowusa
http://twitter.com/#!/tombowusa