This week the Tombow USA Blog is in the mood for a challenge! So our amazing designer Beth Watson challenged us to create something with flowers! Our fabulous Guest Designer Erin Reed created this flower layout for the challenge! Check our her easy techniques to take your layouts to the next level!

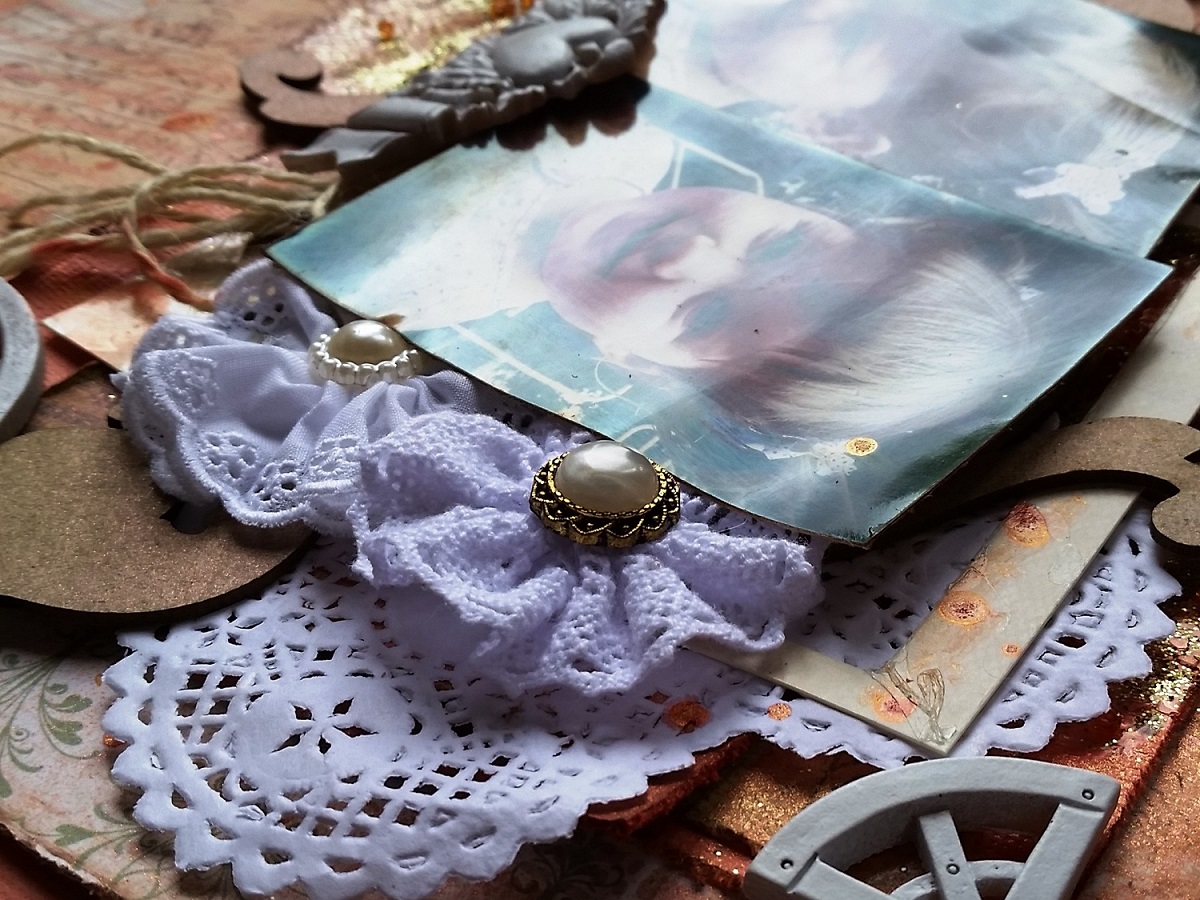
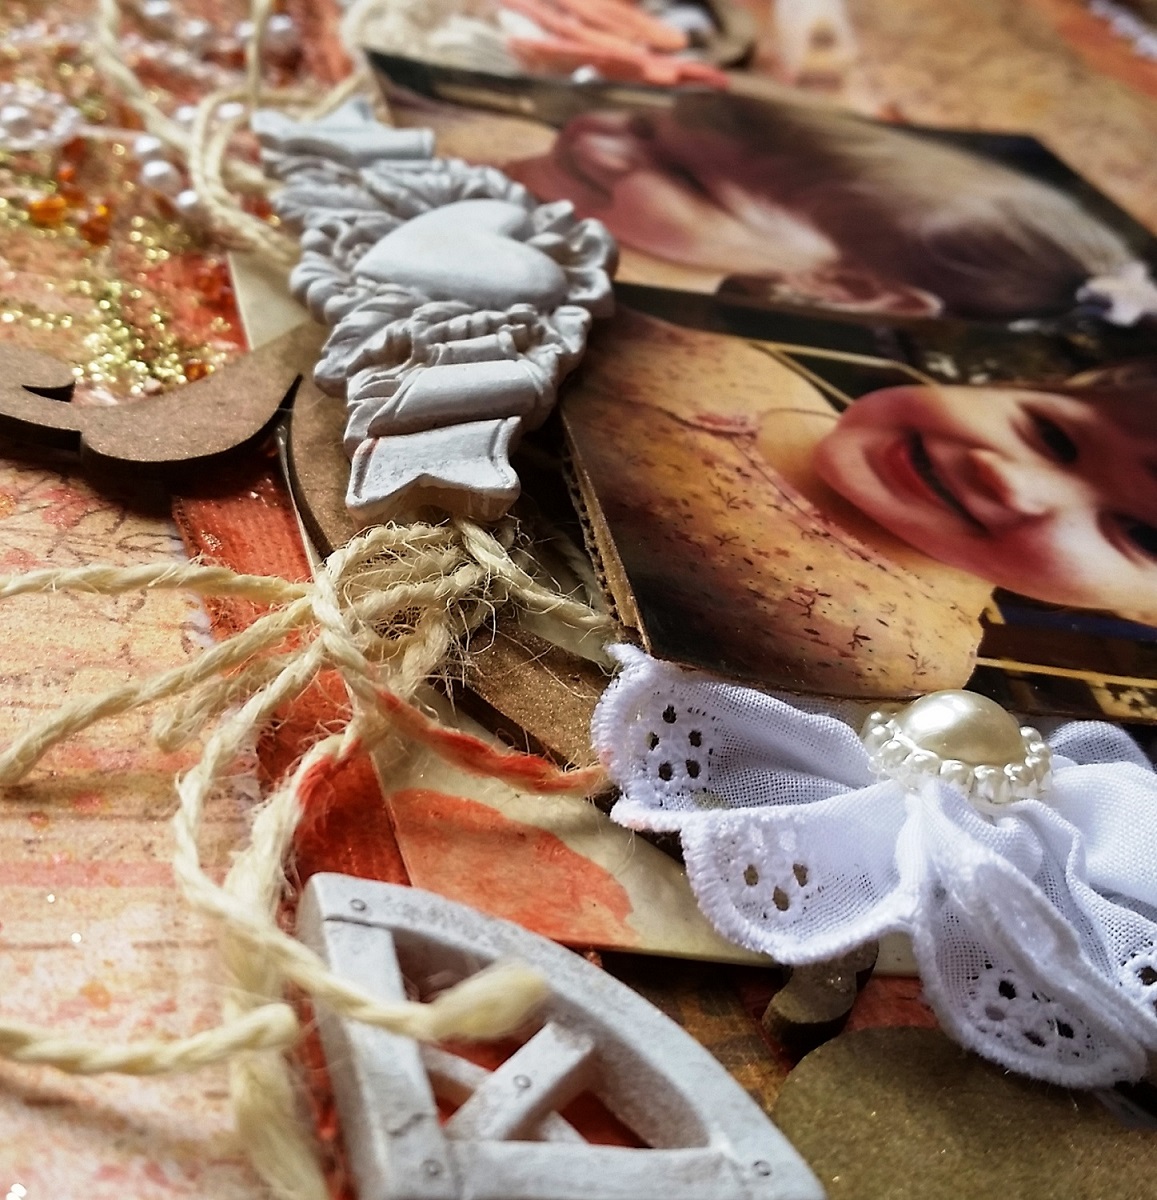
My little girl let me put cute pigtails in her hair for a birthday party and while we were at the party I took some pictures of her playing. These wonderful pictures came out of that impromptu photo shoot with my phone.
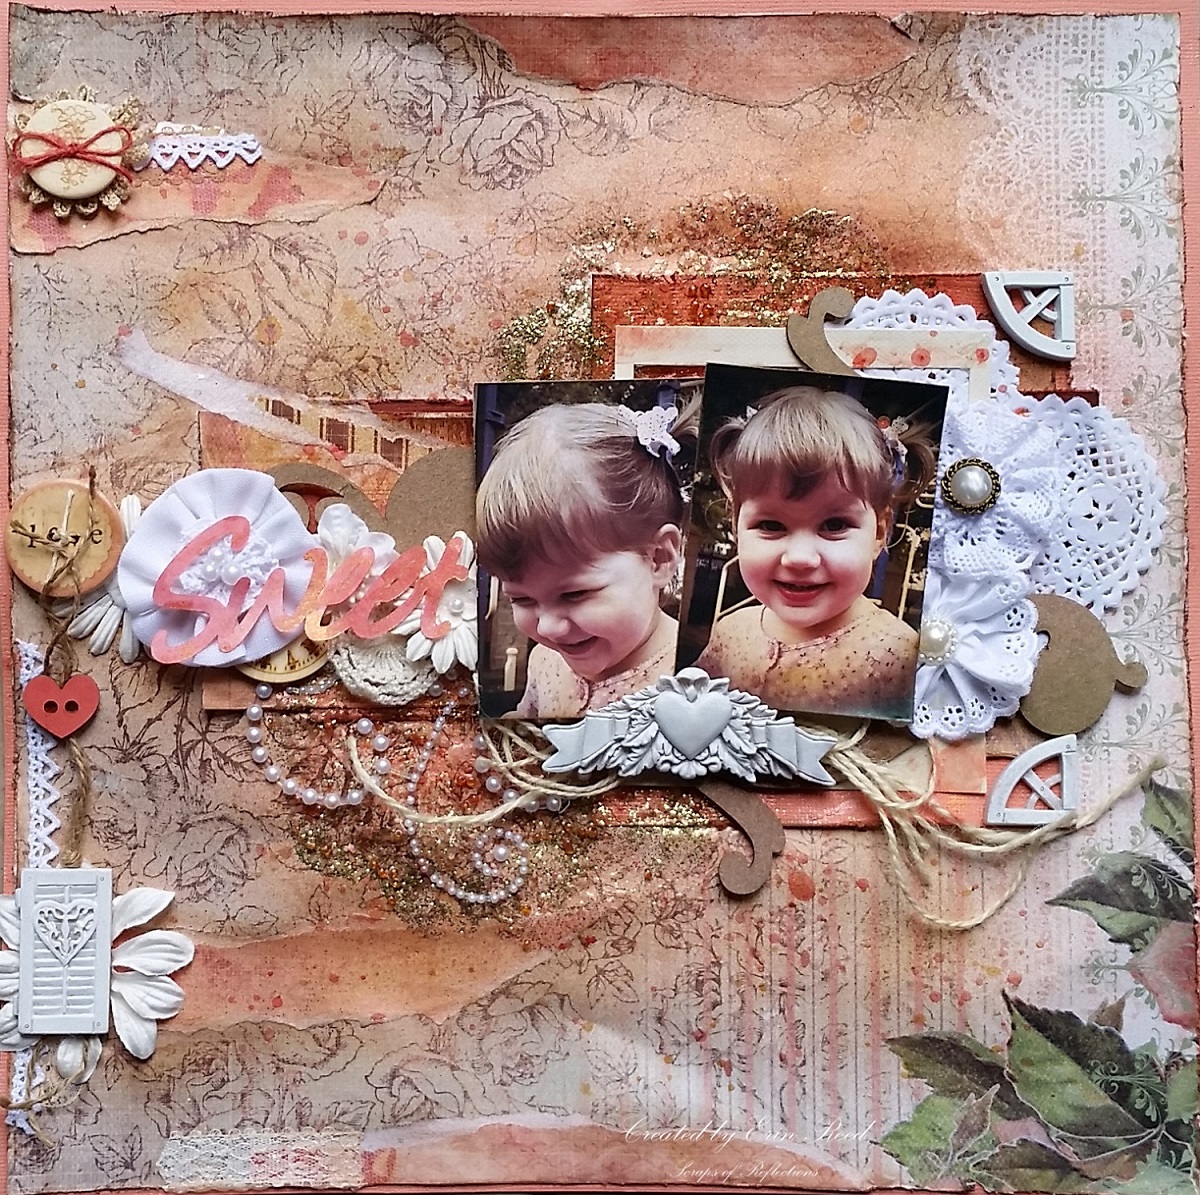
I really wanted to capture the sweetness and girlishness of my daughter with this layout. She is such a girly girl loving to wear her dresses, pretty shoes, and just being a girl!! I wanted to really try for the shabby chic look with torn section on the paper, so this is how I achieved this look.
Shabby Chic Torn Background Paper Tutorial
1) Tear out some paper of your choice, I choose papers that looked similar to my background paper, but different enough so they stand out. Make sure their are white edges to your torn section all around it.
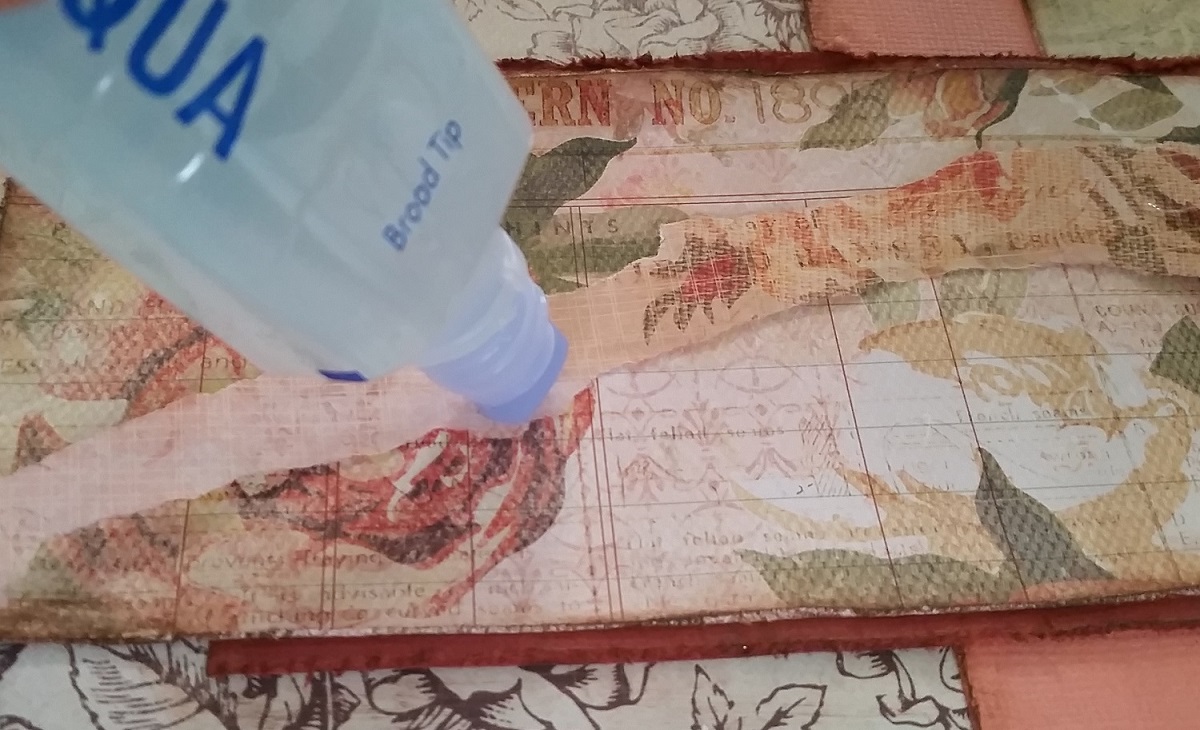
2) Apply a good liquid glue to the back of the torn paper. I used Tombow Aqua Mono Liquid Glue, it allowed me to lay the torn paper onto my background paper and adhere completely as if it is apart of the background and not just stuck on top of it.
3) Layout torn paper onto background paper and press and rub until it lays flat with no air bubbles. Let it dry completely.
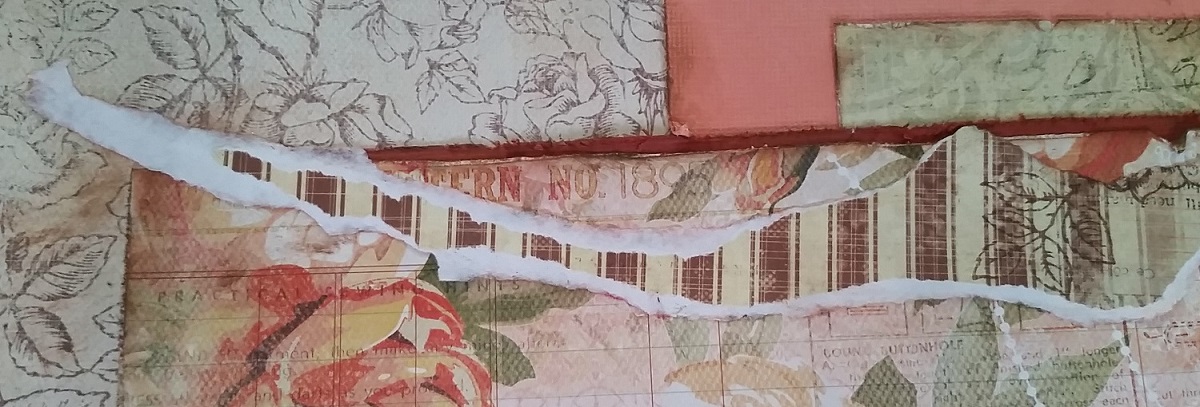
4) After the parts have all dried you can then apply a chalk ink (I used a light brown) and you can add more distressing to the background. For this layout I applied glitter and beads with the Tombow Mono Multi Liquid Glue.

5) The effect is that the paper is torn from the top revealing what is under, but really you just laid it on top!! 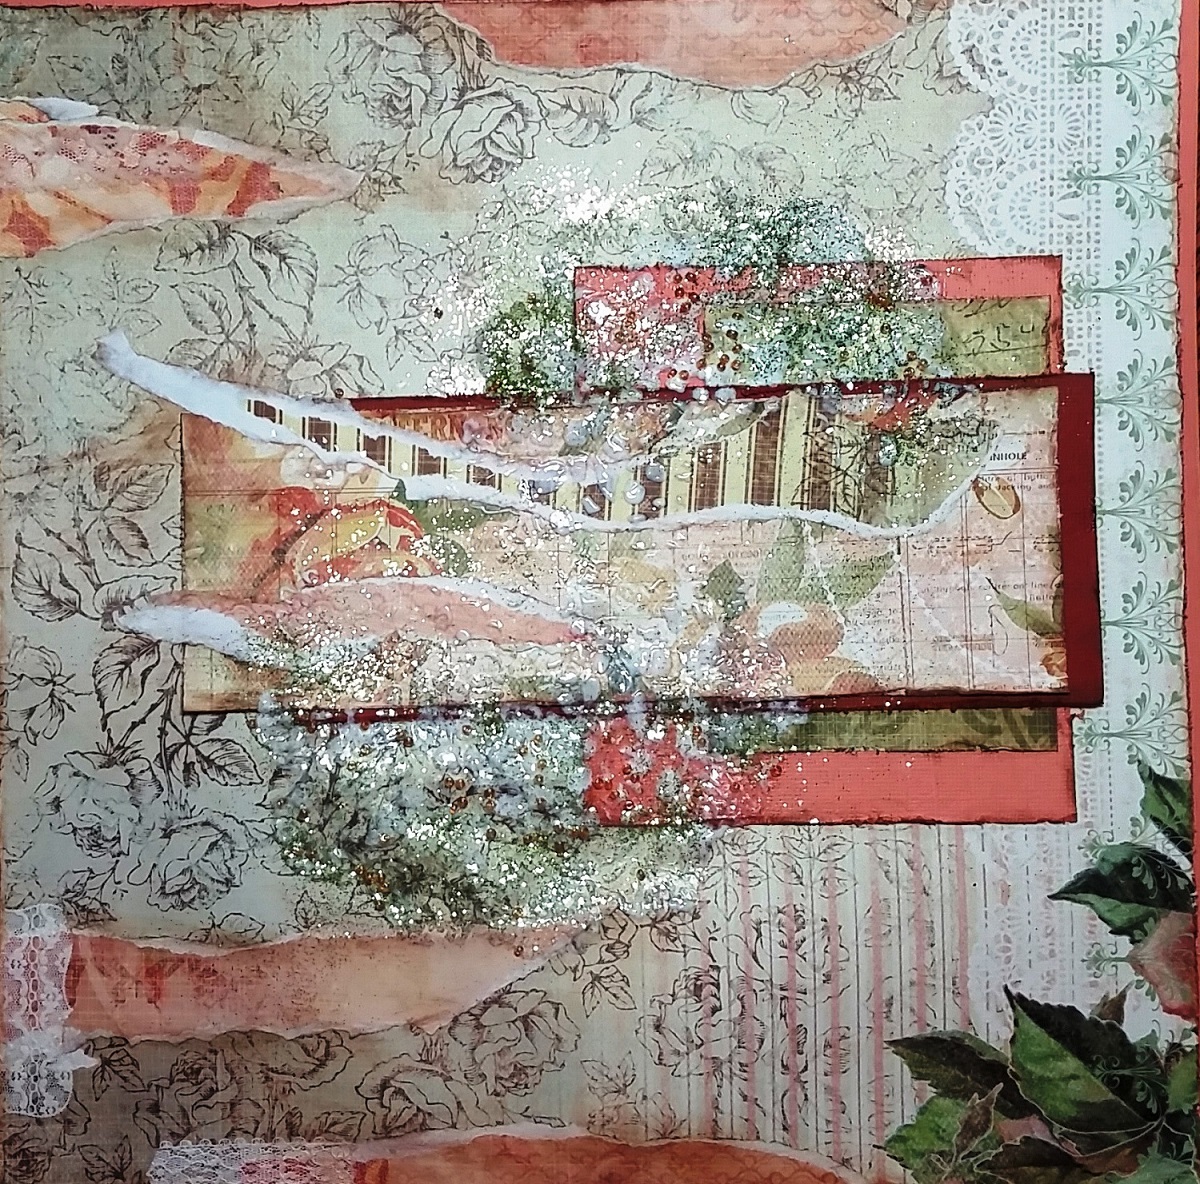
To glue all the layers pf papers together I used the wonderful Tombow Stamp Runner Dot Adhesive, to pop up some of the embellishments I used the Tombow Power Adhesive Tabs, and to hold all the larger embellishments in place I used the Tombow Multi Mono Liquid Glue.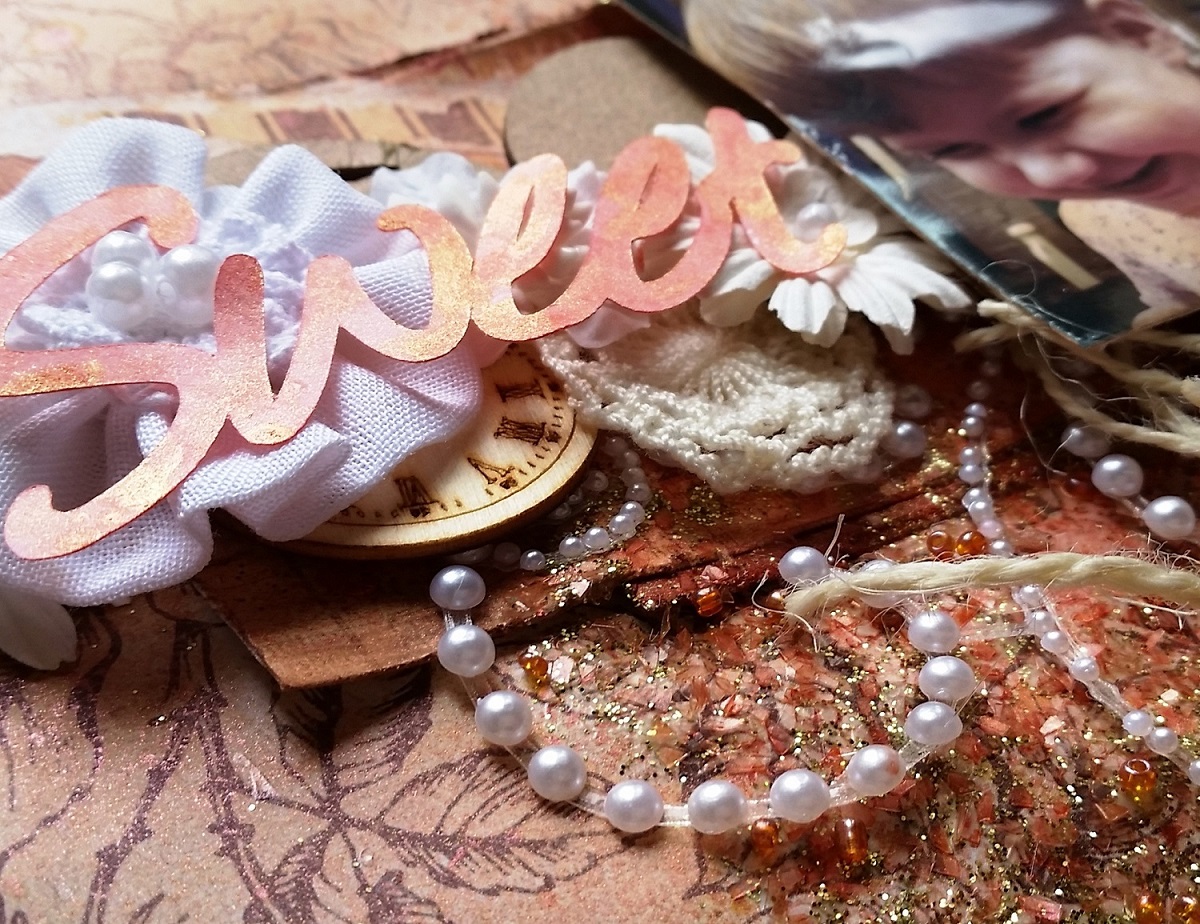
The Tombow challenge is to use flowers on a project. I had fun with this! I used the background paper that had flowers and then added even more flowers as embellishments to the layout. I just love flowers!!!
Thank you Erin, for joining us these weeks to share your amazing projects with us!
You have from Monday May 11th through Sunday May 24th at 11:55 pm EST to enter. The winner will be announced on Tuesday May 26th right here on the Tombow blog!