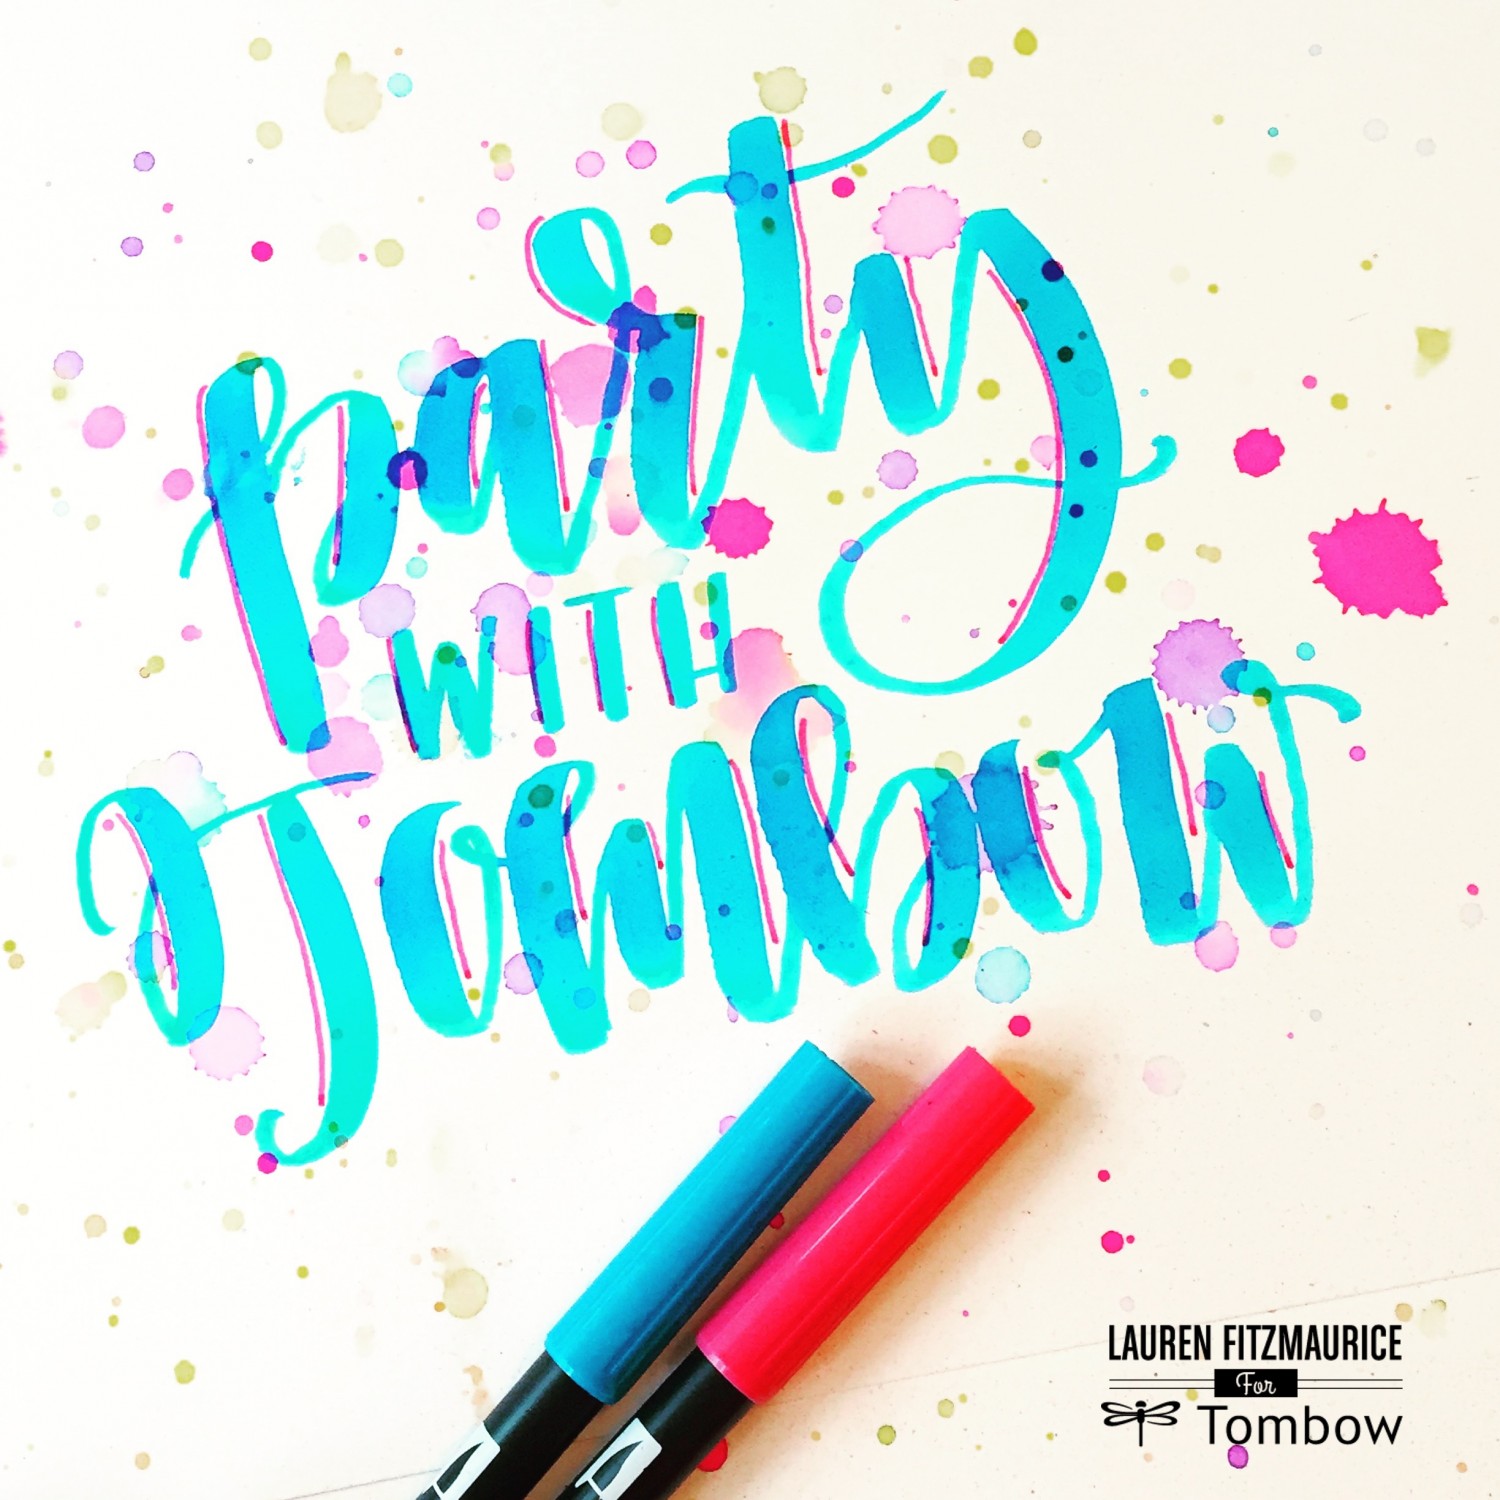
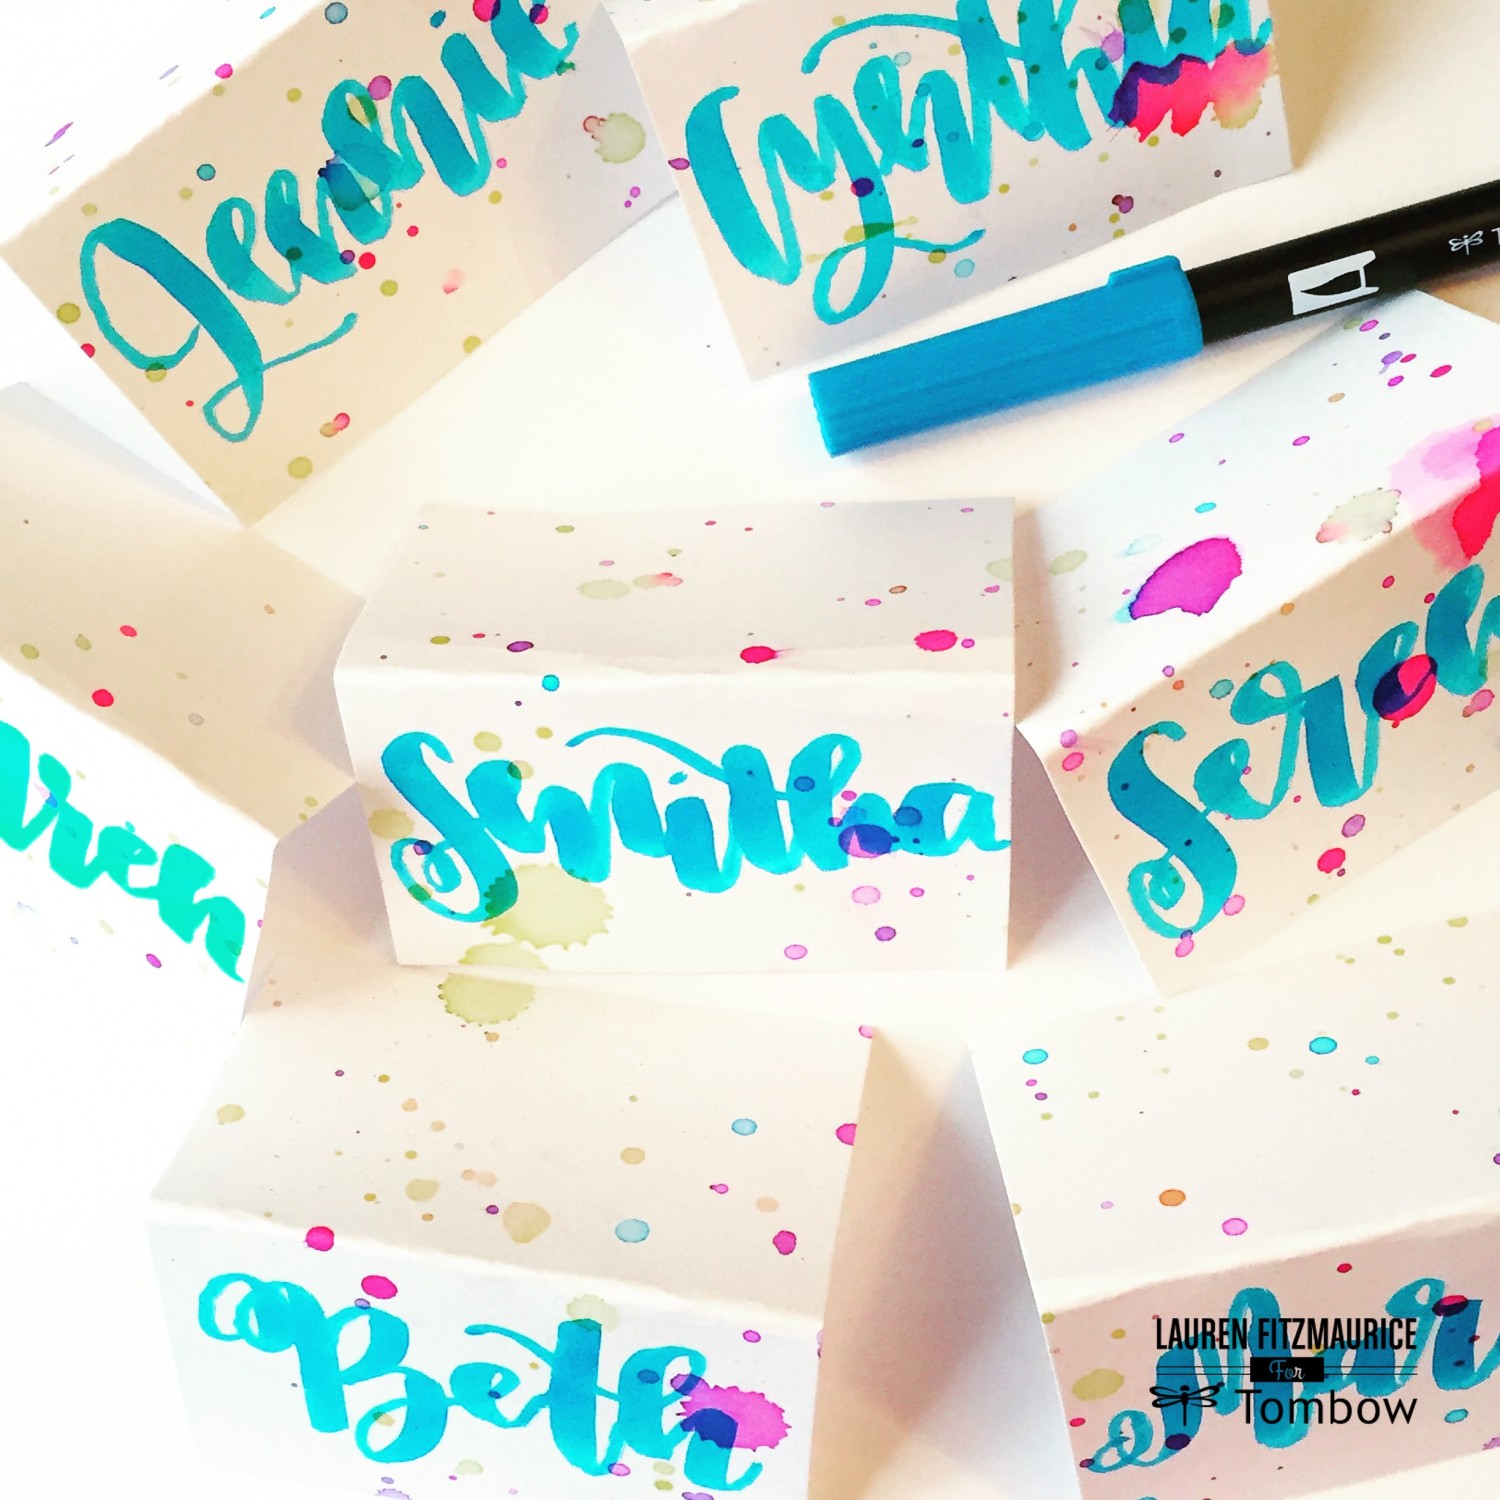
Hello Everyone! I am so excited to be writing my very first post on the Tombow USA Blog as a member of the 2016 Design Team! So lets get the colorful, lettering party started, shall we?! In this post, I will be taking you step by step into how to take some white paper and make bright party signage using some of my favorite Tombow products!
Color Splatter Party Sign
Materials You Will Need
Tombow Blending Kit (blending palette and blending mister)
Tombow Dual Brush Pens (10 Pack Bright Pack or desired colors)
White Mixed Media Paper
Directions:
- Take your white piece of paper and lay it flat on the table in front of you.
- Take a Dual Brush Pen and color a portion of your blending palette.
- Spray the color on the blending palette with the blending mister that also comes in the blending kit. Mist the color until there are visible water droplets of color (I did 2-3 sprays).
- Pick up the blending palette with one hand, hold it over your paper, and gently hit the back or edge of it with the other hand, causing the color to splatter droplets across the paper.
- Repeat steps 2-4 for each desired color. The more colors that you use, the brighter your signs will be! You can even try doing this with several colors at a time, to speed up the process.
- Let the drops stay on the paper and dry on their own for as long as possible. The longer that the drops are able to stay on the paper, the more vibrant the colors will be. If you are in a time crunch, wait at least 5 minutes once you have spattered all of your colors, then dab with a paper towel to get the big drops of moisture off.
- Letter whatever phrase you want the sign to say using your Dual Brush Pens. I did “Party with Tombow” because I think every party should be a Tombow Party! For tips on how to letter, check out the Tombow Lettering Guide. I chose to use the brush tip to letter my phrase, but the fine tip could also be used to make fun lettering too!
- Place the sign in a cute mat or frame to be a fabulous addition to your party decor.
LEFTY TIP: It’s super easy to smudge when you are a lefty! Always remember to sketch out a real size sketch of any project you are about to letter on a separate sheet of paper. Turn your paper to the right 45 degrees when you are using a dual brush pen as this will make it less likely for you to smudge items you have already written. You might even use a light table to trace over the sketch until you are comfortable free handing.
Color Splatter Place Cards
Materials you will need:
Tombow Blending Kit (blending palette and blending mister)
Tombow Dual Brush Pens (10 Pack Bright Pack or desired colors)
White Mixed Media Paper
A ruler
Scissors or a paper cutter
Directions
- Follow steps 1-6 of the Color Splatter Party Sign (above) and let dry.
- Use a ruler and a pencil to measure cards that are 3 inches by 4 inches (or the desired size).
- Cut them apart using scissors or a paper cutter.
- Fold each of the cards in half by matching up the ends of the short sides together.
- Unfold the cards and letter one side of each with the names of your guests or items, such as food or activities, that you would like labeled using a dual brush pen.
- Refold and place them wherever you would like to display during the party!
LEFTY TIP: I’ve always noticed that as a lefty, sometimes I run out of space as I can’t see what I’m writing sometimes and correctly gauge the space I have left. I think this happens to righties too! Always make sure you have a few extra place cards made in case you run out of room. I did while making this project, but thank goodness I had some backups.
Here is a video that shows a closer glimpse of the process of these two projects! I hope you enjoy it!
Happy Lettering!!! Remember to share what you create on social media and share with Tombow USA! For more tips and lettering inspiration, follow @tombowusa and @renmadecalligraphy on Instagram and my blog at renmadecalligraphy.com ! Are you left handed? Join other Tombow-Loving lefties by checking out and using the hashtag #TombowLikeALefty on Instagram.
Lauren


Super cute!
If you are ever in a rush you might try http://www.seatingcard.com. The results will not look as good as some handcrafted cards but its way faster and they can be combined with hand-made stuff. Just select a font, a template and enter your names and will generate a PDF of table cards, including cutmarks.
Pingback: Foil Stationary with Tombow Adhesives - Tombow USA Blog
Pingback: 10+ Hand Lettering Tutorials | Dawn Nicole Designs™
Pingback: 10+ Hand Lettering Tutorials | Dawn Nicole