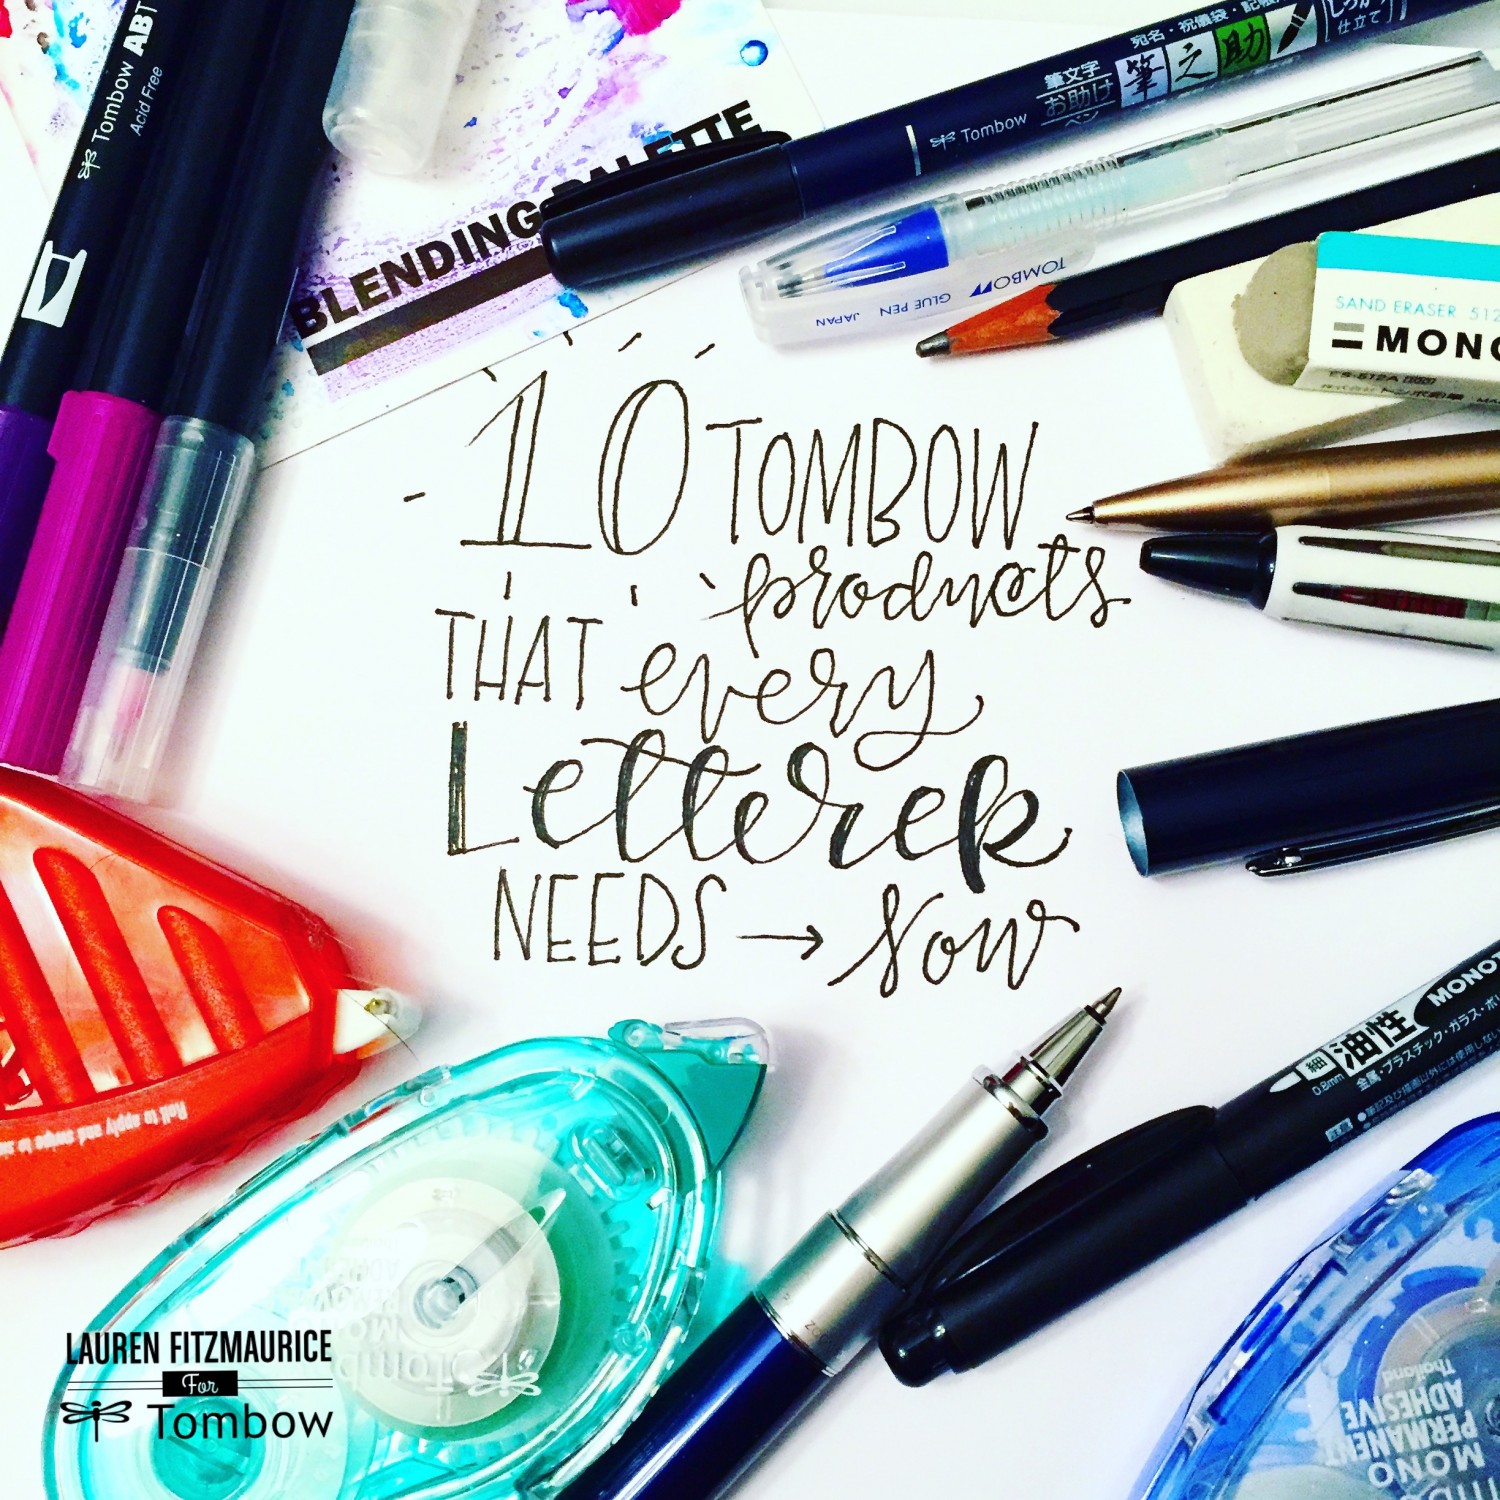
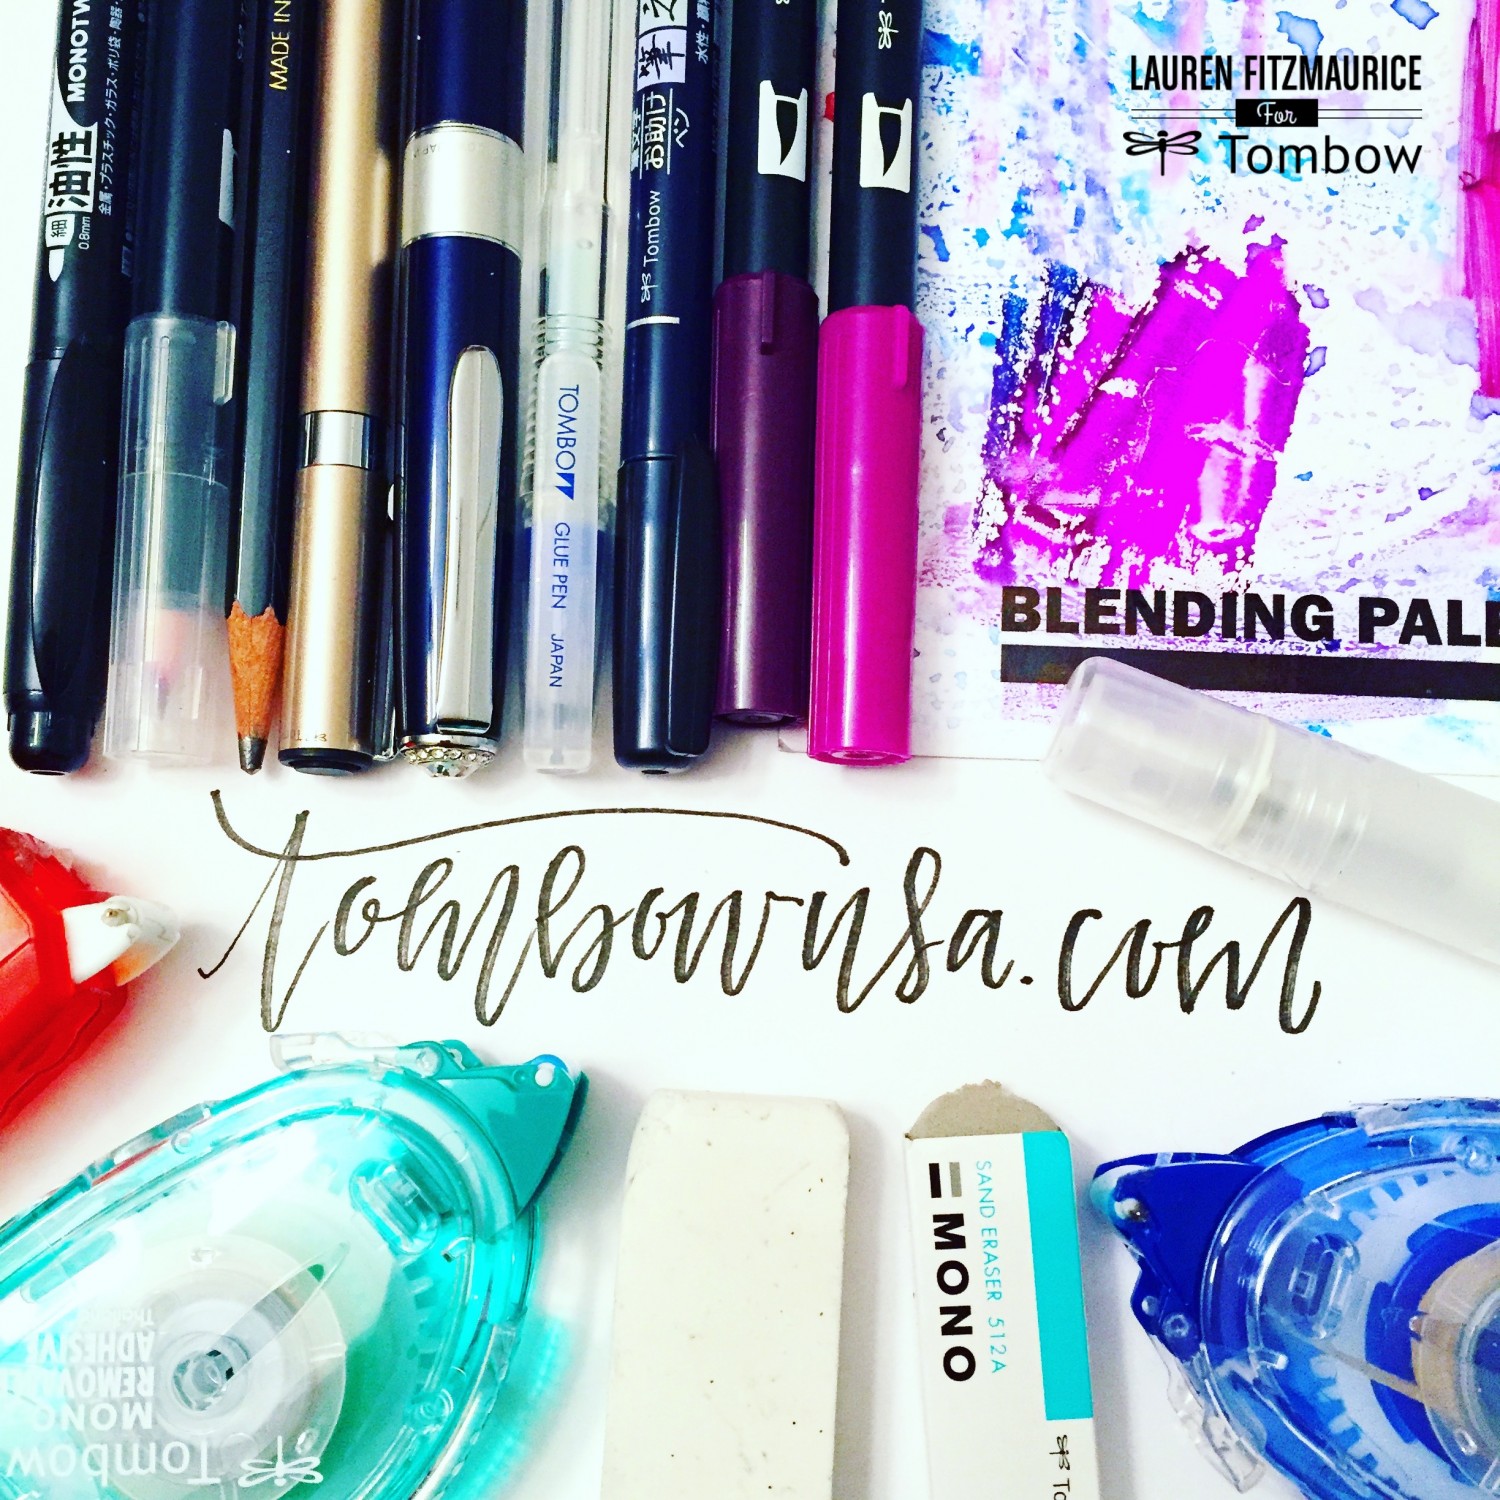
Hello, everyone! Lauren here! I’m so excited to share a little bit more about myself this week. As I have referenced in previous posts, I am a left-handed letterer and calligrapher from Kentucky. I have been lettering for almost one year. In the beginning, I was clueless about the process of creating a lettering project and the best products to use. Over the past year, I’ve slowly found what process and products work best for me to letter a quality piece. I have also fallen in LOVE with Tombow products! In this post, I’ll be giving you a sneak peek into my creative process, from sketch to masterpiece, while I create a fun hand lettered notecard and envelope. I’ll also be listing my most favorite Tombow products to use and sharing lettering tips and tricks along the way. So let’s start counting up my 10 products that EVERY letterer needs NOW!
Create the Perfect Sketch
1. Tombow MONO Drawing Pencils
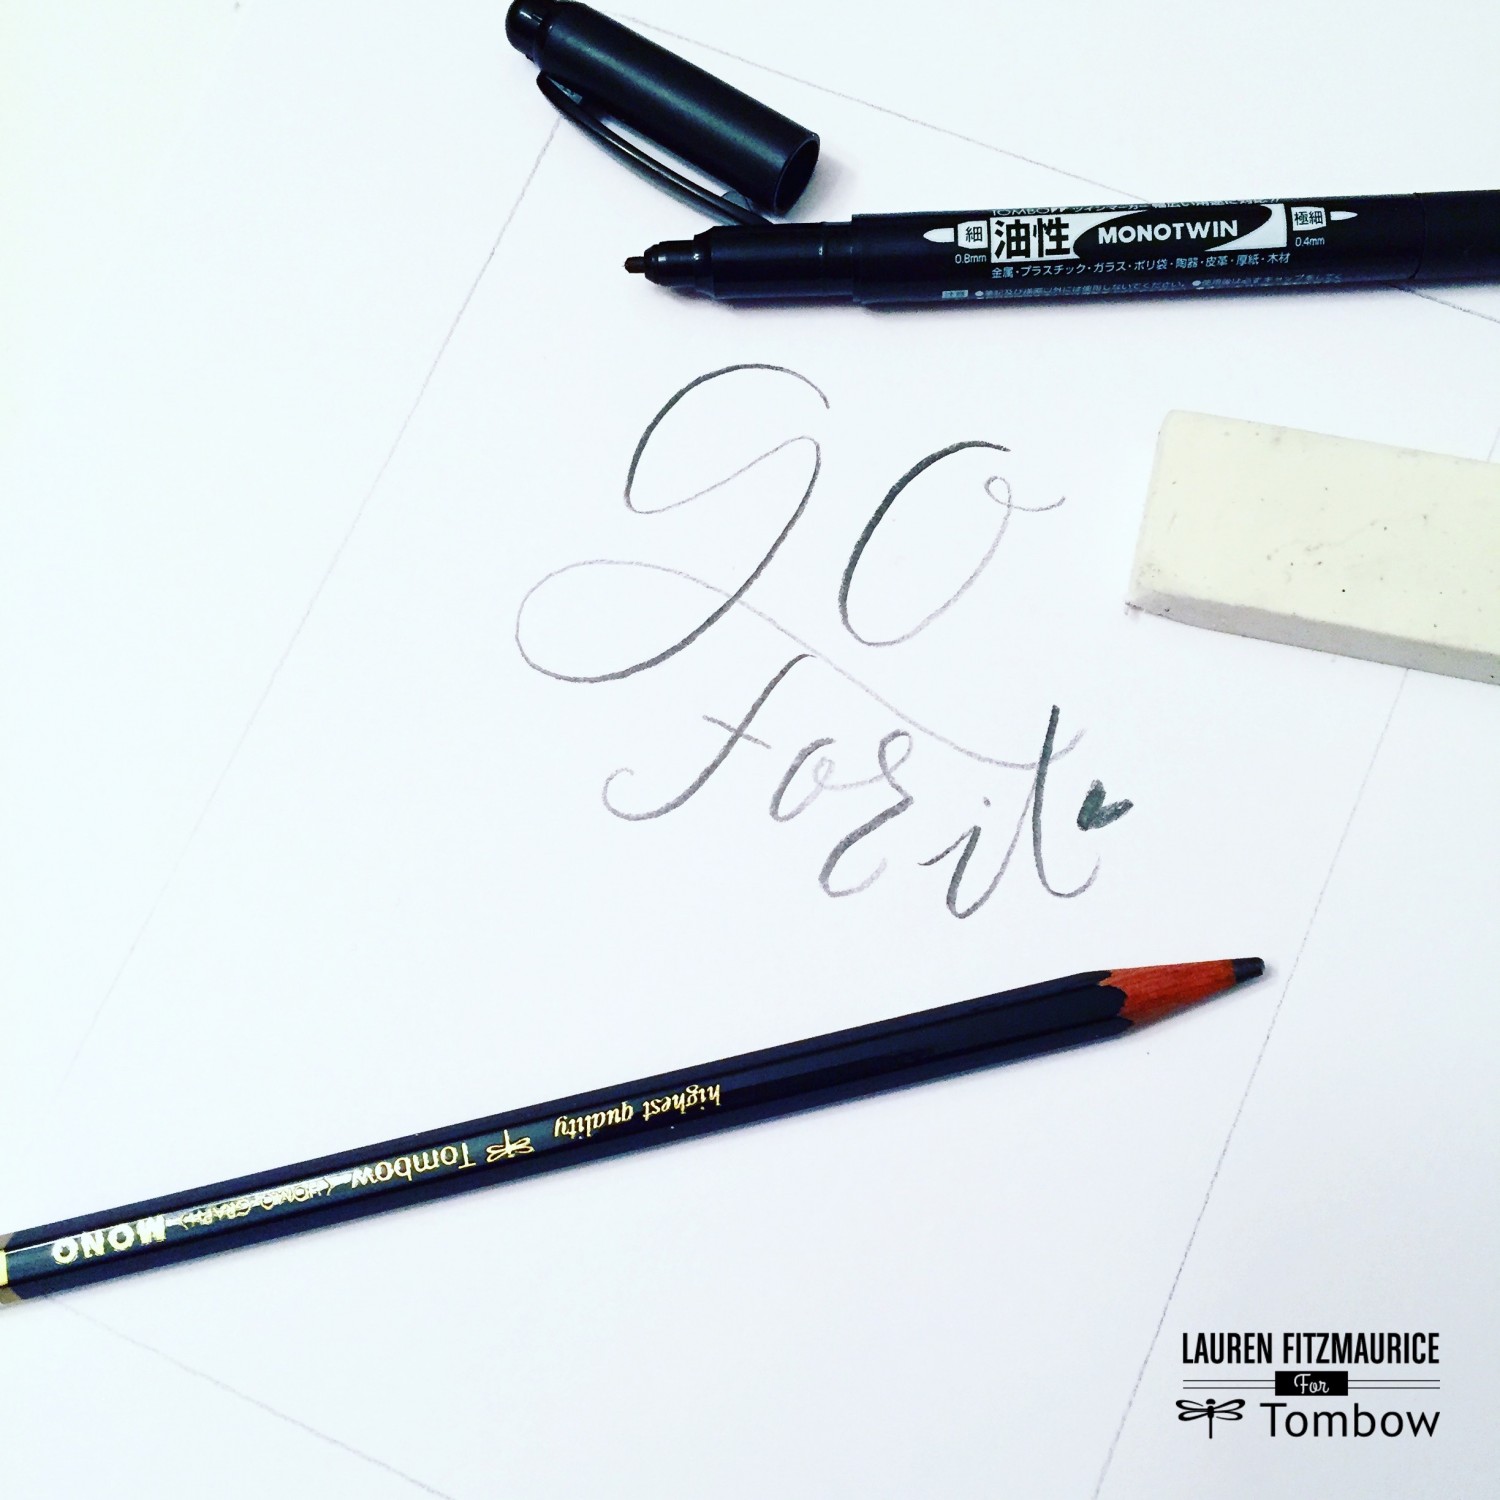
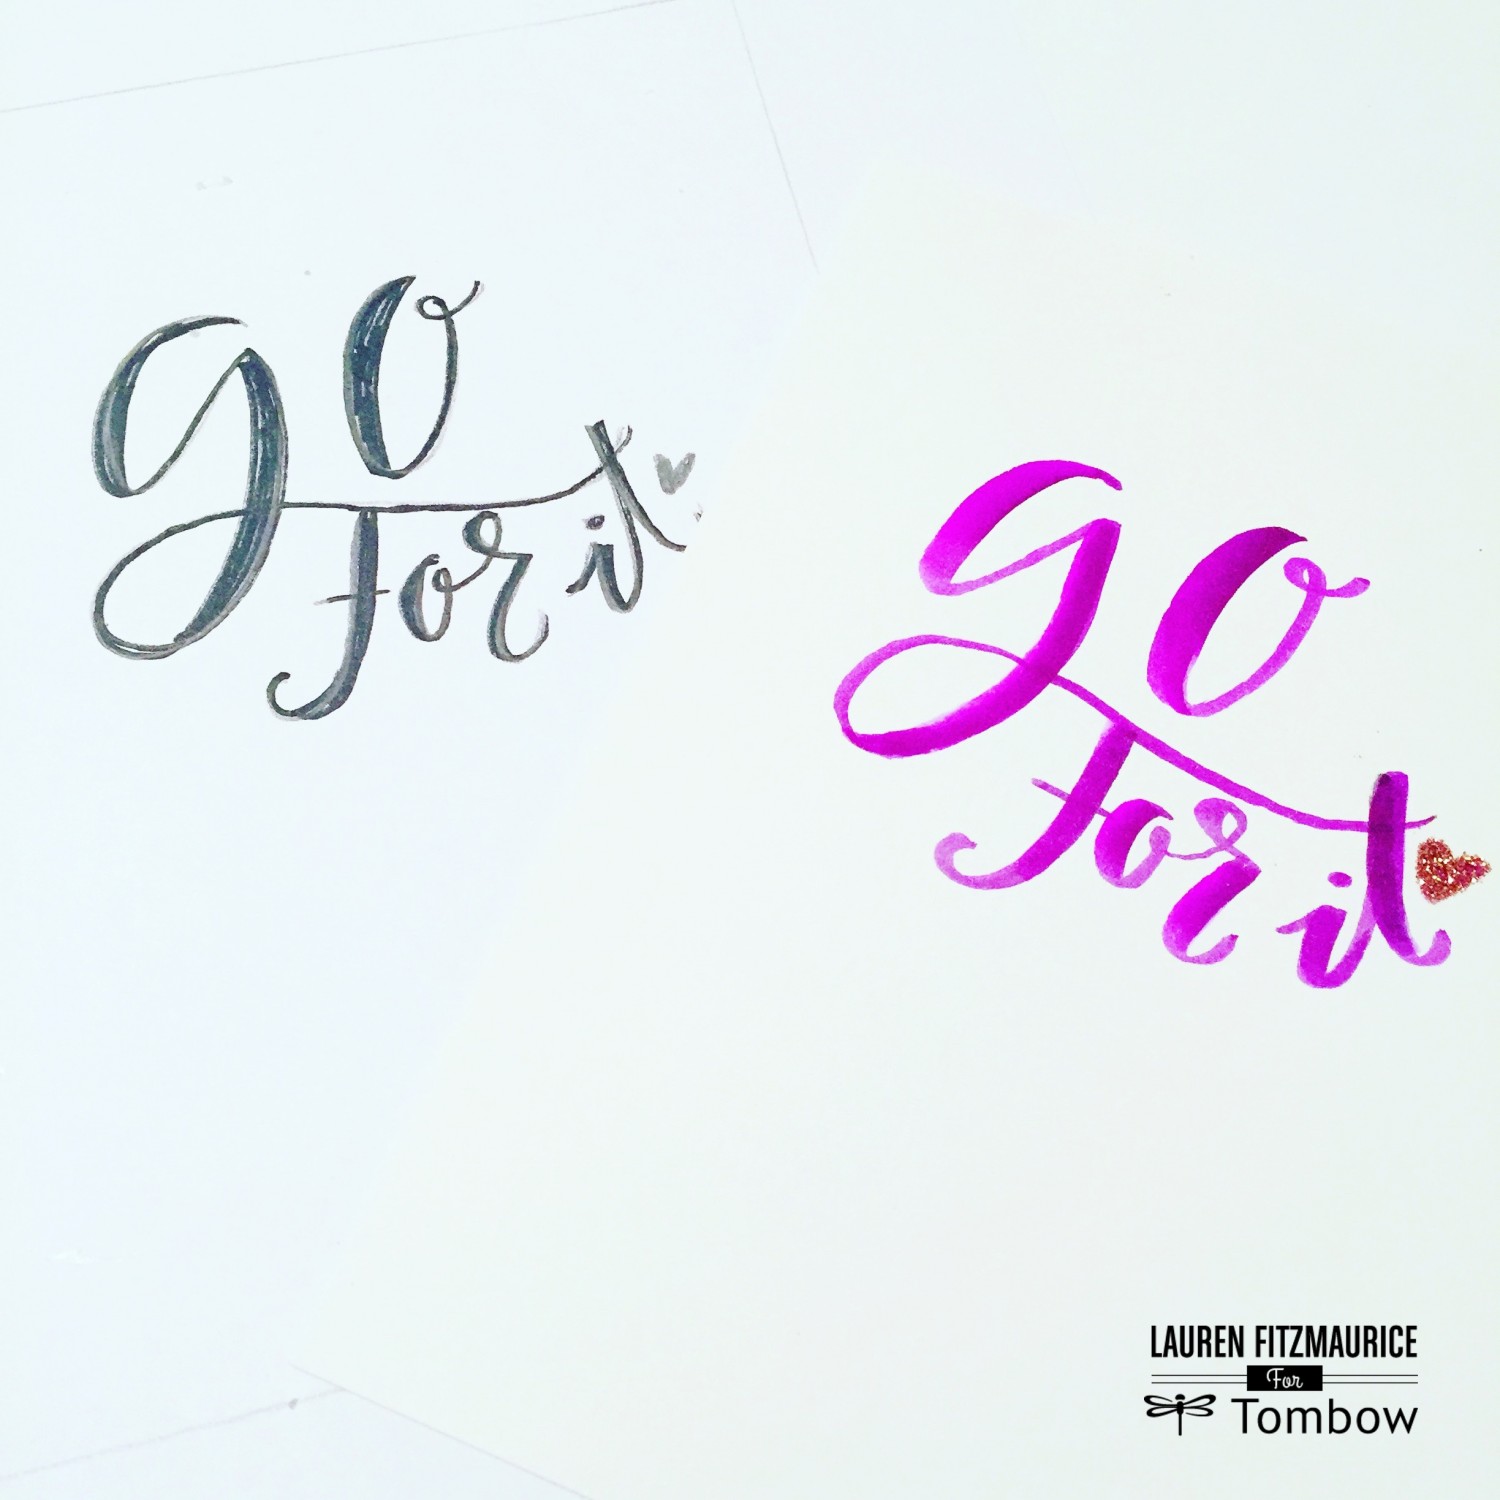
Before I start any important design or project, I love to sketch out my ideas. I use inexpensive white printer paper and a Tombow MONO Drawing Pencil. You can also use grid paper if you want to help make sure your letters are consistent and the piece is measured proportionately. To develop a concept or try to see how I want to set up my design, sometimes I draw a small series of thumbnail sketches that look like little boxes with different little sketches inside. When I decide on a design, I use my ruler and MONO Drawing Pencil to trace the measurement of whatever piece I am creating onto a clean piece of paper. Depending on what kind of piece it is, sometimes I will draw in measurement guidelines and lines to make sure that I write straight and centered, but my favorite pieces are those that I do free handed, like this one. I write my fun phrase in the middle. The MONO Drawing Pencil is amazing and perfect for sketching. The lead is very thick, has not yet broken on me, and is easy to erase if needed. Up until I found these pencils, it seemed like I was going through a package of pencils every week, but these hold up great and last much longer, making them the perfect addition to any letterer’s tool box!
2. Tombow MONO NP Eraser
The Tombow MONO NP Eraser is the perfect companion whenever creating sketches for future hand lettered masterpieces. This clean, white eraser smoothly and easily removes any unwanted pencil marks or mistakes, so it’s much easier to ensure that the design is ready to be transformed into a final piece.
3. Tombow MONO Twin Permanent Marker
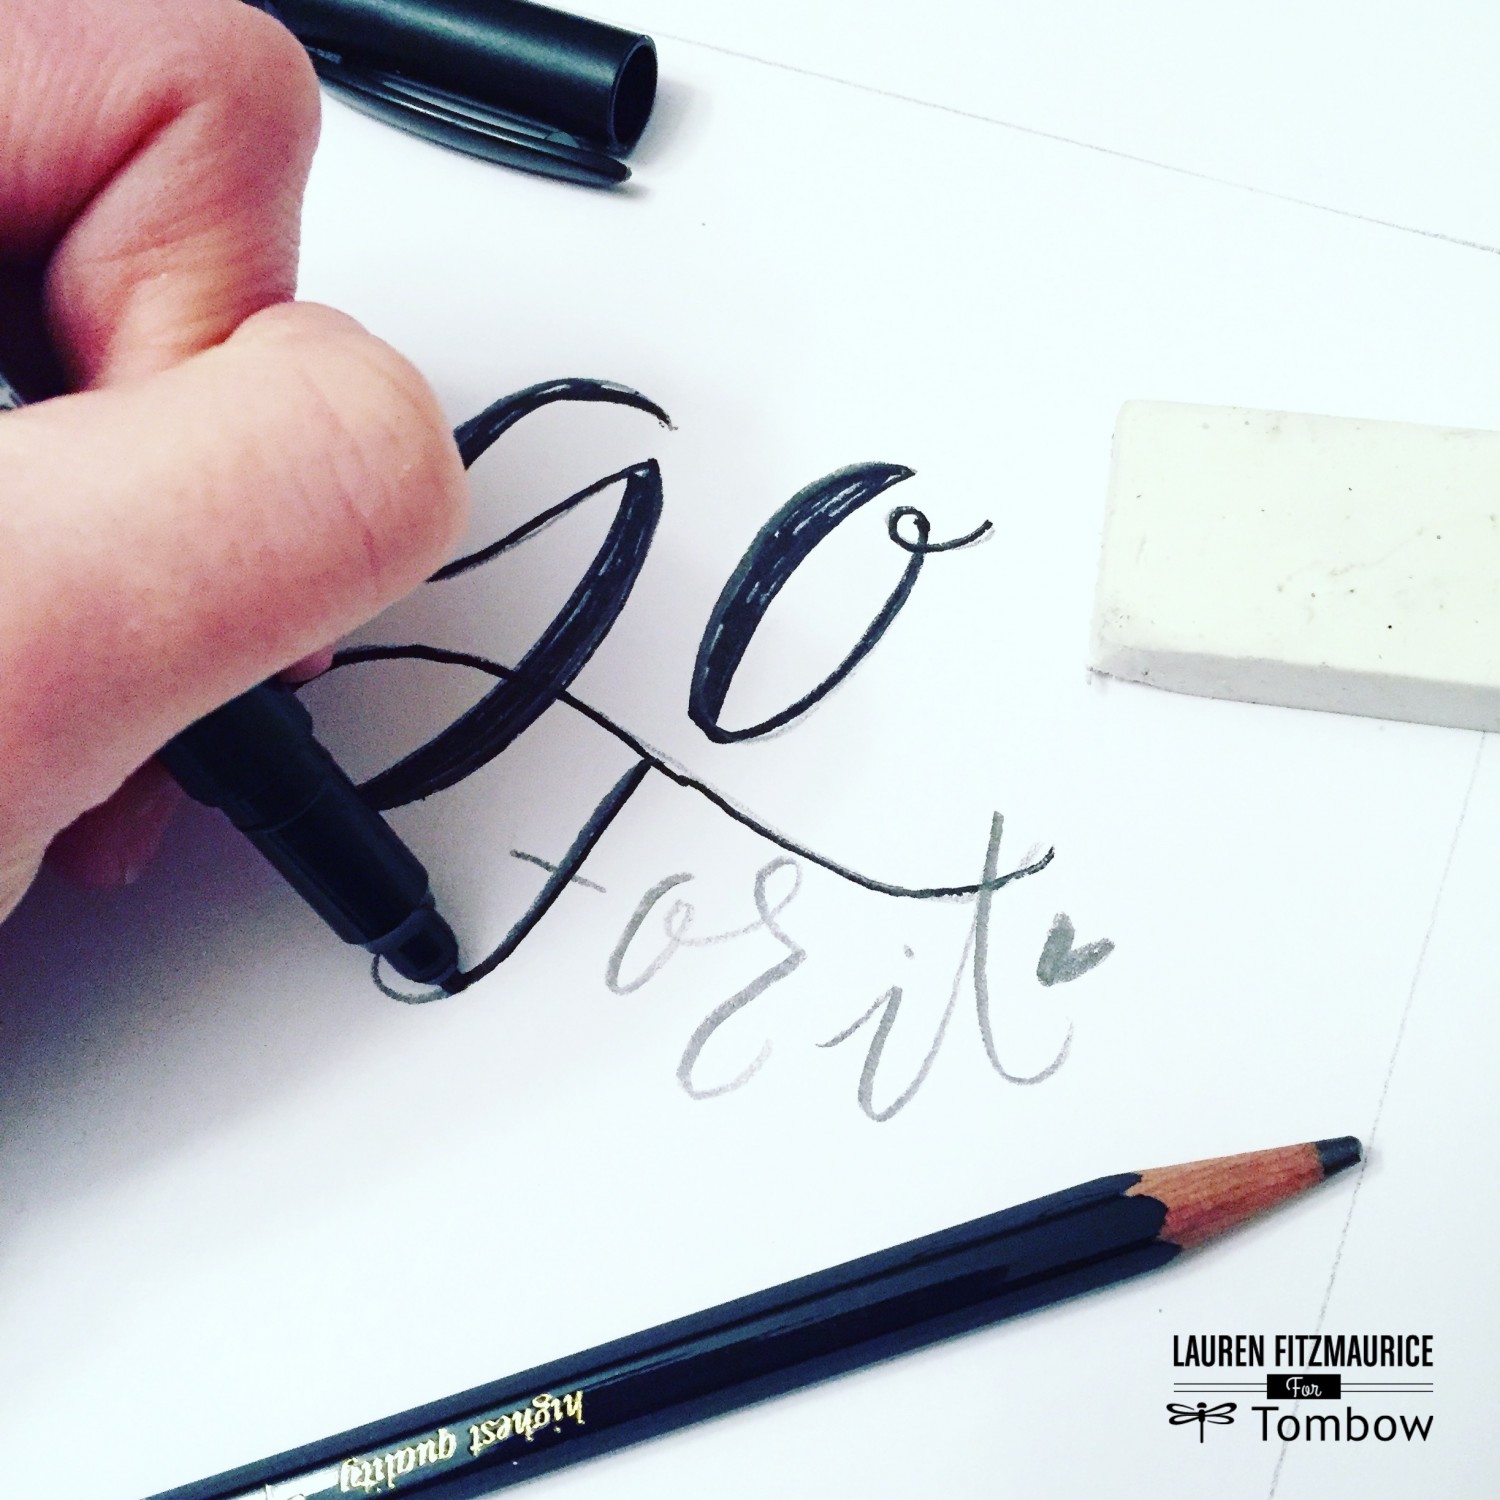
The Tombow MONO Twin Permanent Marker is one of my very favorite lettering tools! The dual tips, one fine and one bold, make the pen extremely versatile. It writes on many surfaces, including washi tape. My favorite use for the MONO Twin Permanent Marker is to trace over pencil on sketches to add shape to my letters and thickness to my downstrokes. This helps me to envision the style and size of the letters, while also making it very easy to trace over, ensuring an immaculate final copy.
-

Trace over the sketch with the MONO Twin Permanent Marker to visualize more of what the final piece will look like.
Transform Your Sketch to an Original Hand Lettered Piece
4. Tombow MONO Removable Adhesive
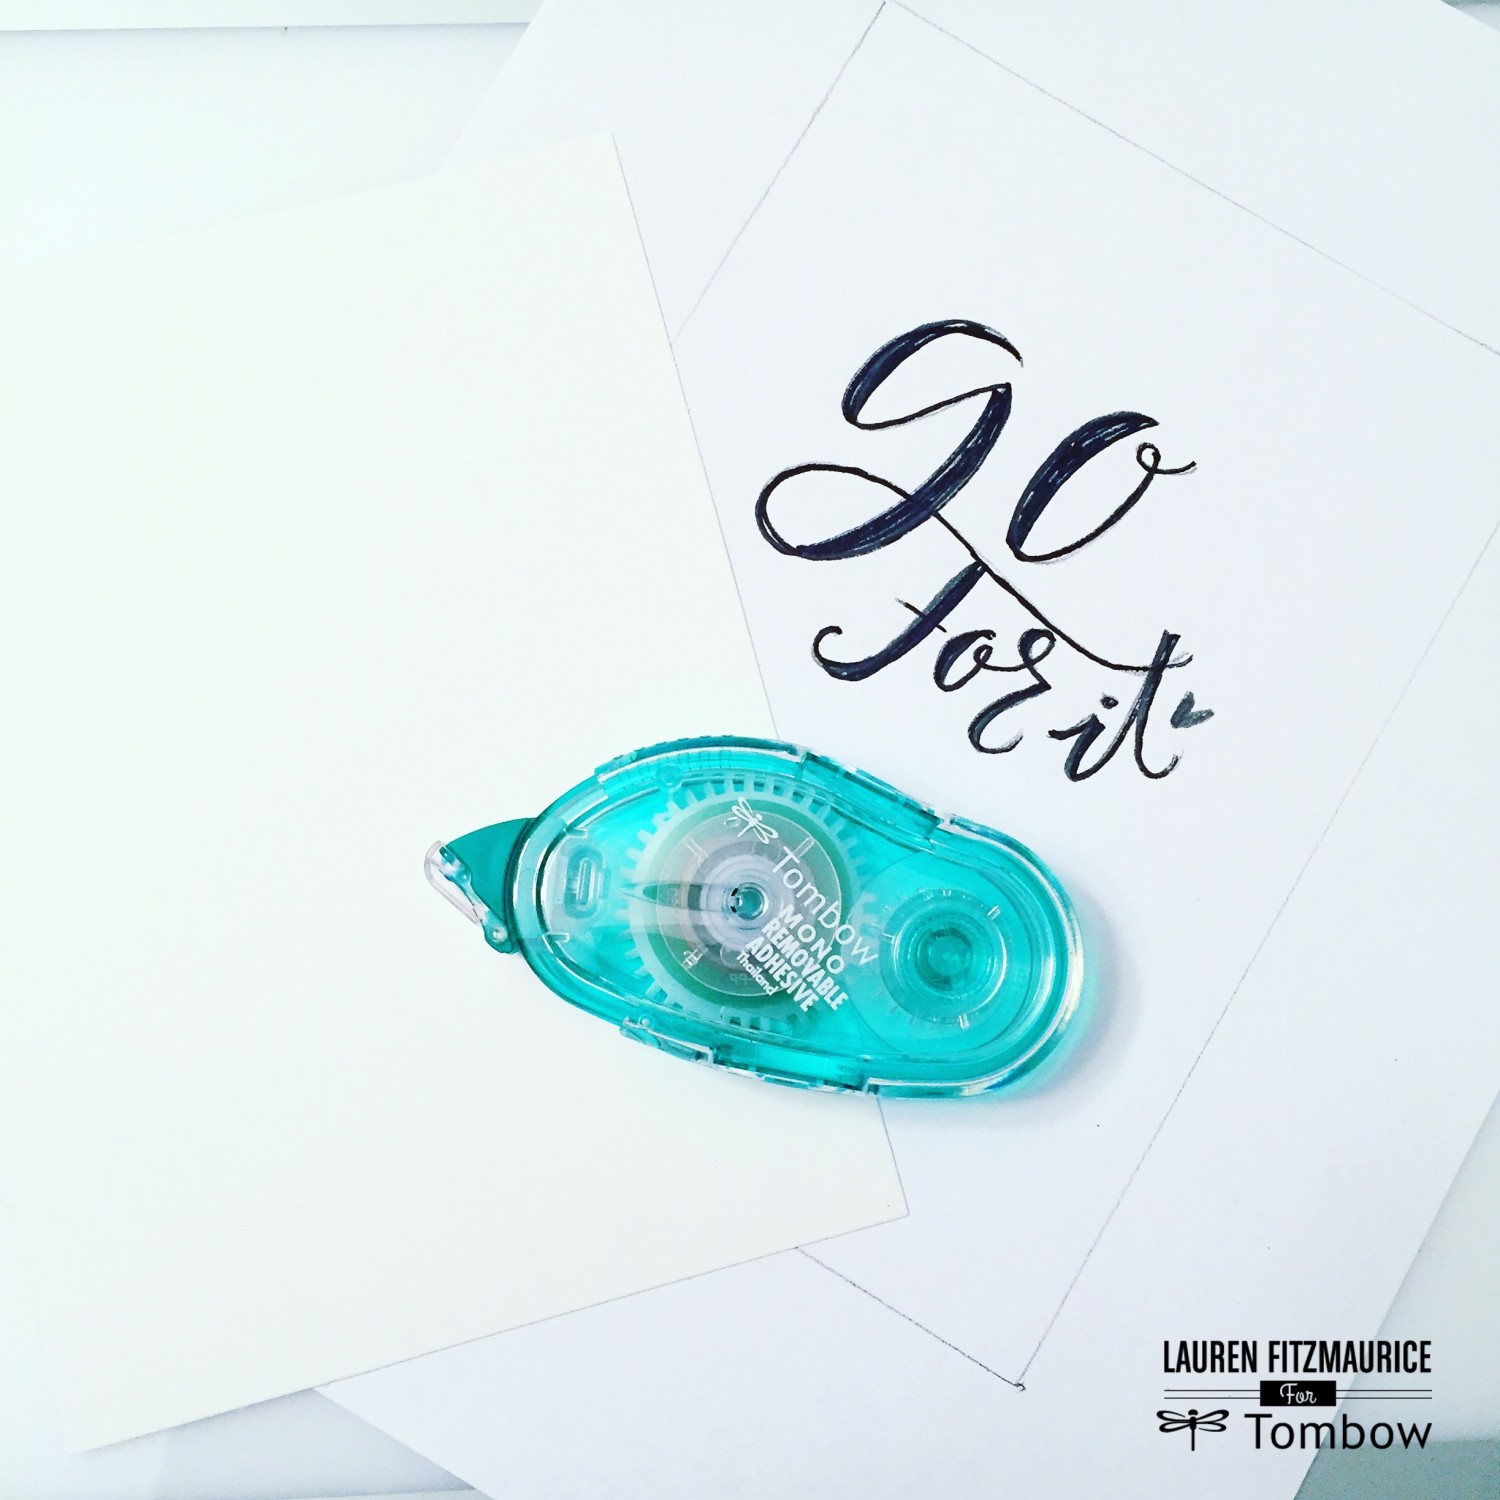
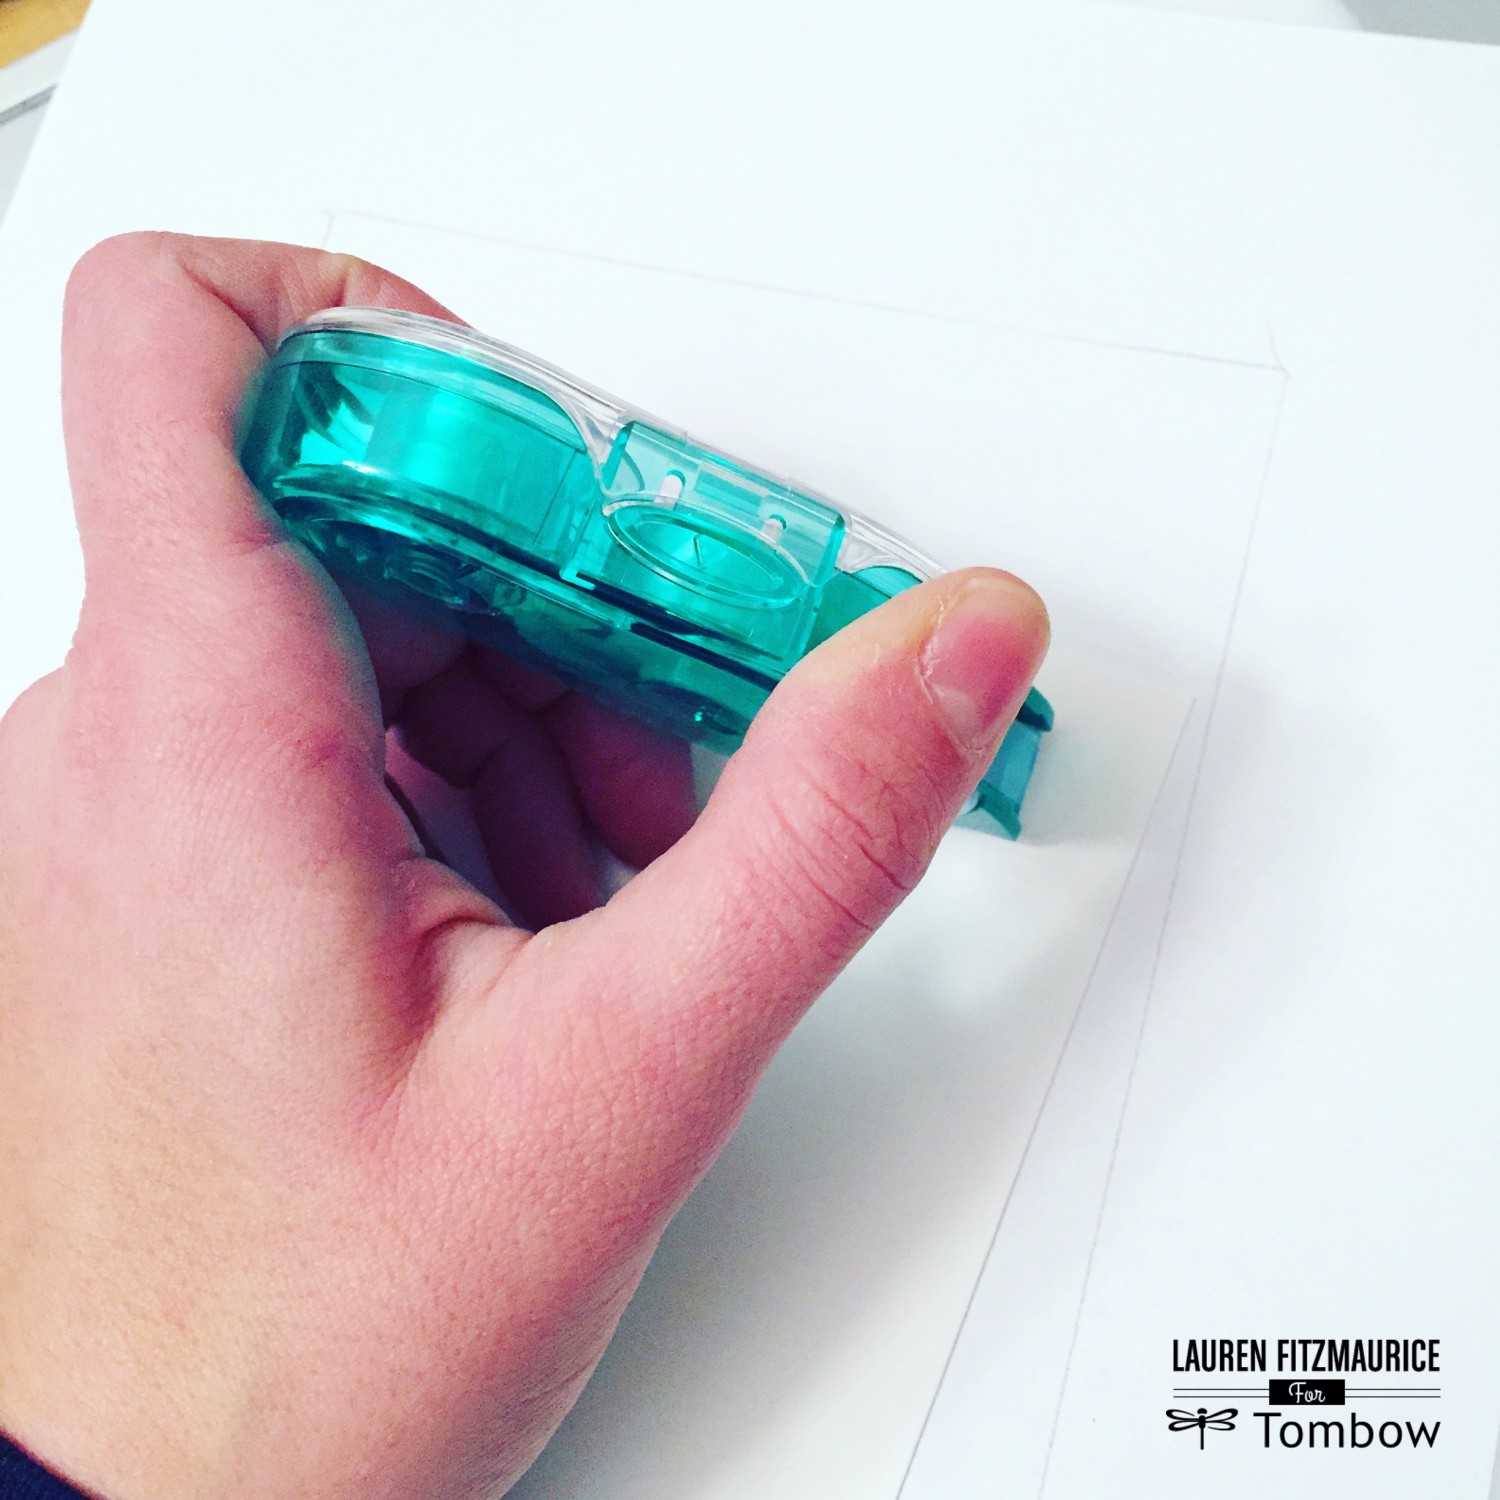
When I’m ready to create my final piece, I use nice, thick mixed media paper, which I already precut to the desired size. For this project I chose to create a 5 by 7 inch note card. Tombow MONO Removable Adhesive is a great tool for letterers because it rolls onto the paper smoothly and is removable by gently rubbing it with your hand. It is perfect to place your final piece on top of your sketch so that it can be easily traceable on a light table. When working on lettering large pieces, this adhesive is great to make the corners of the piece stay on the table so that the piece is easy to write on. This removable adhesive is the perfect substitute for an extra set of hands when a letterer is working solo, ensuring that all pages stay in place for the duration of the project. It is a must have for any creative!
-

Roll the Tombow MONO Removable Adhesive along the edges and corners before sticking the final paper onto the sketch.
5. Tombow Brush Pens
Of course, any letterer MUST have access to Tombow brush pens at all times, but it is important to know the best pens to use for different kinds of lettering and projects.
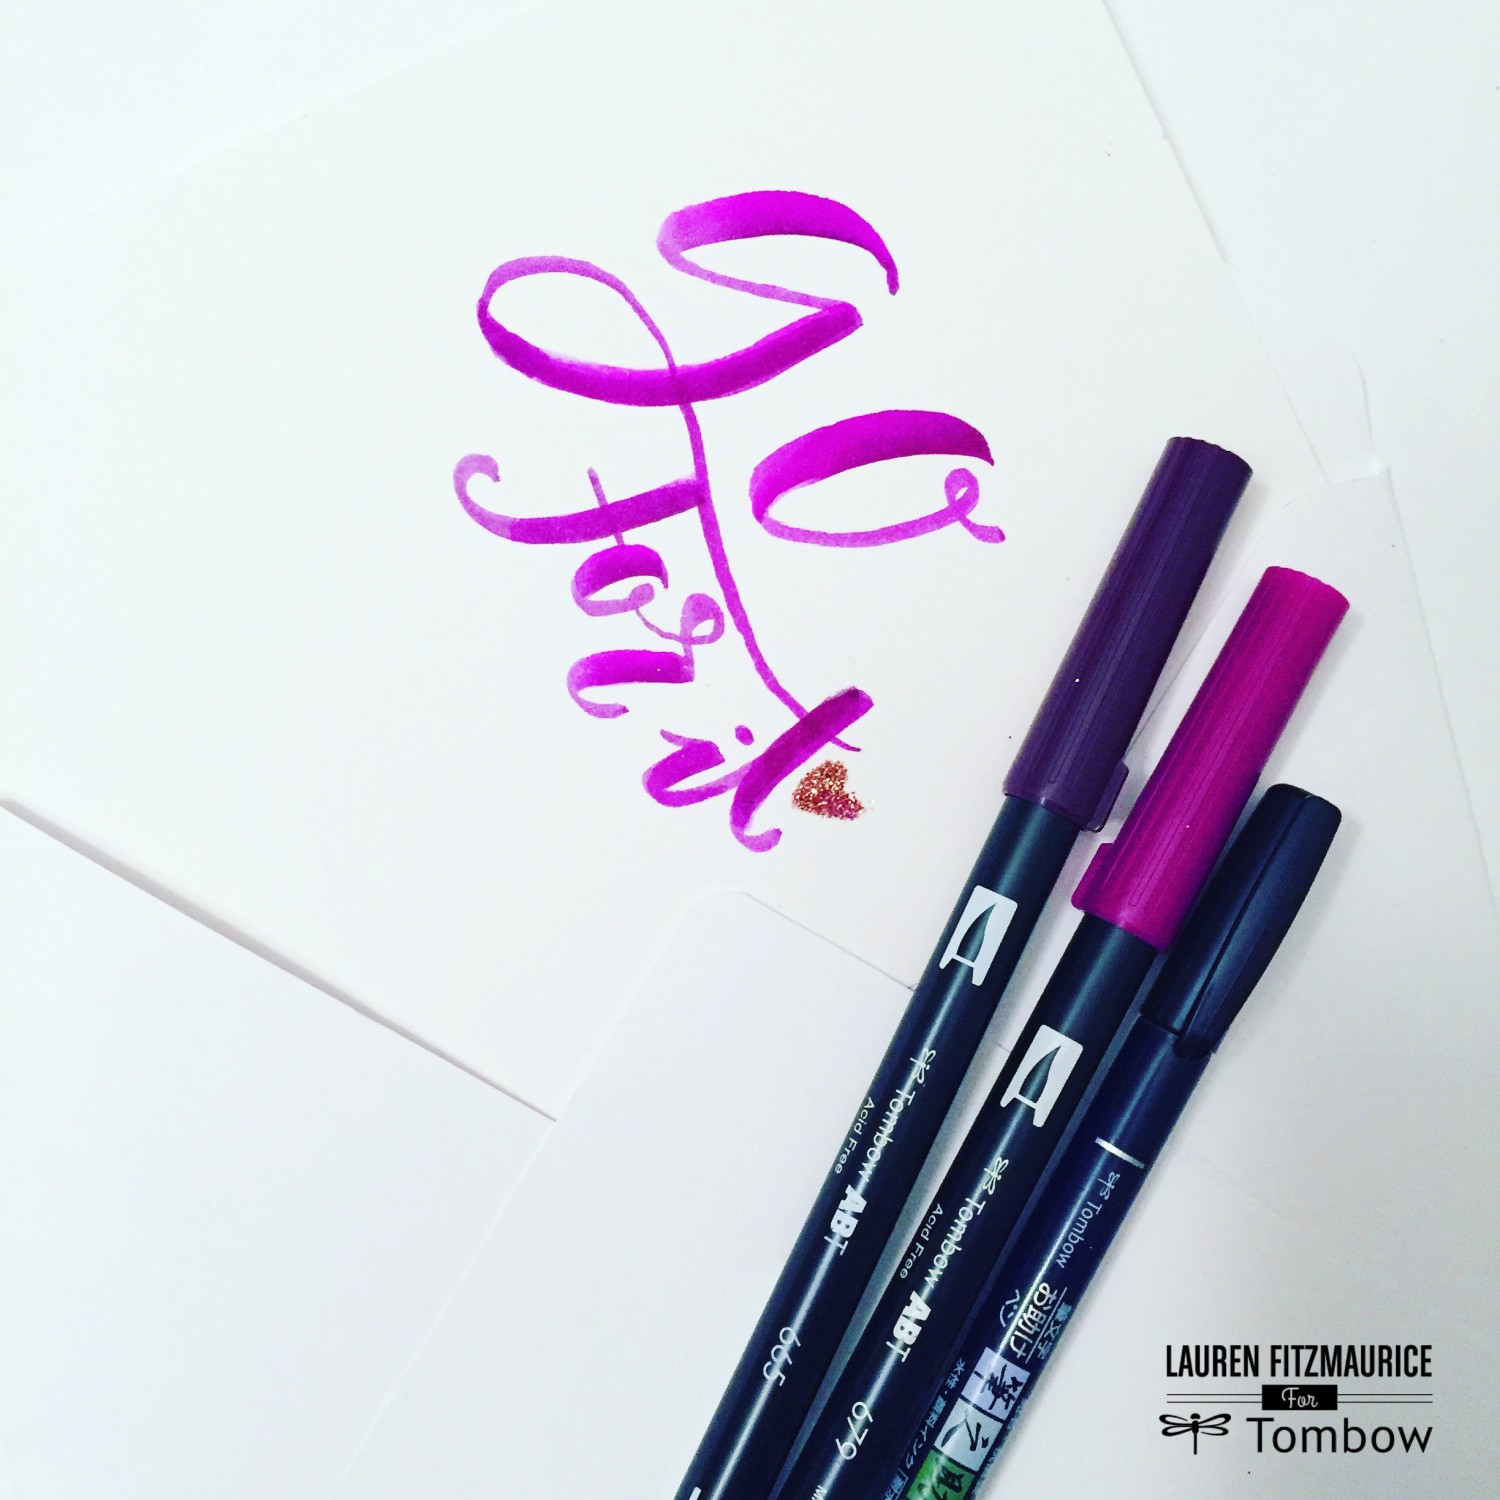
Dual Brush Pens are amazingly versatile, water-based pens that come in over 90 different colors and have two tips, a brush tip and a fine tip. These pens are blendable and each 10-pack comes with a blender pen to help create the perfect gradient and shade for your letters, which can really make your work pop. The fine tip is great for smaller letters, like an address or writing a note or long quote. It can be used to create faux calligraphy, but I also enjoy the mono line look that the fine tip creates. The brush tip of the Dual Brush Pen, however, is great for bigger calligraphy style letters with thick downstrokes and thin upstrokes. The grip and pressure of the pen control the calligraphy effects that it can create. The bigger letters that are created by the brush tip are perfect for hand lettered signs and quotes.
The Tombow Fudenosuke Soft Tip (black body) and Fudenosuke Hard Tip Brush Pens (blue body) are perfect to create smaller letters in a calligraphy style, with thick downstrokes and thin upstrokes. I love to use these pens to address envelopes and letter quotes. They are really very versatile pens and come in the color black, only. The soft or hard tip is really a personal preference, and I enjoy using both pens.
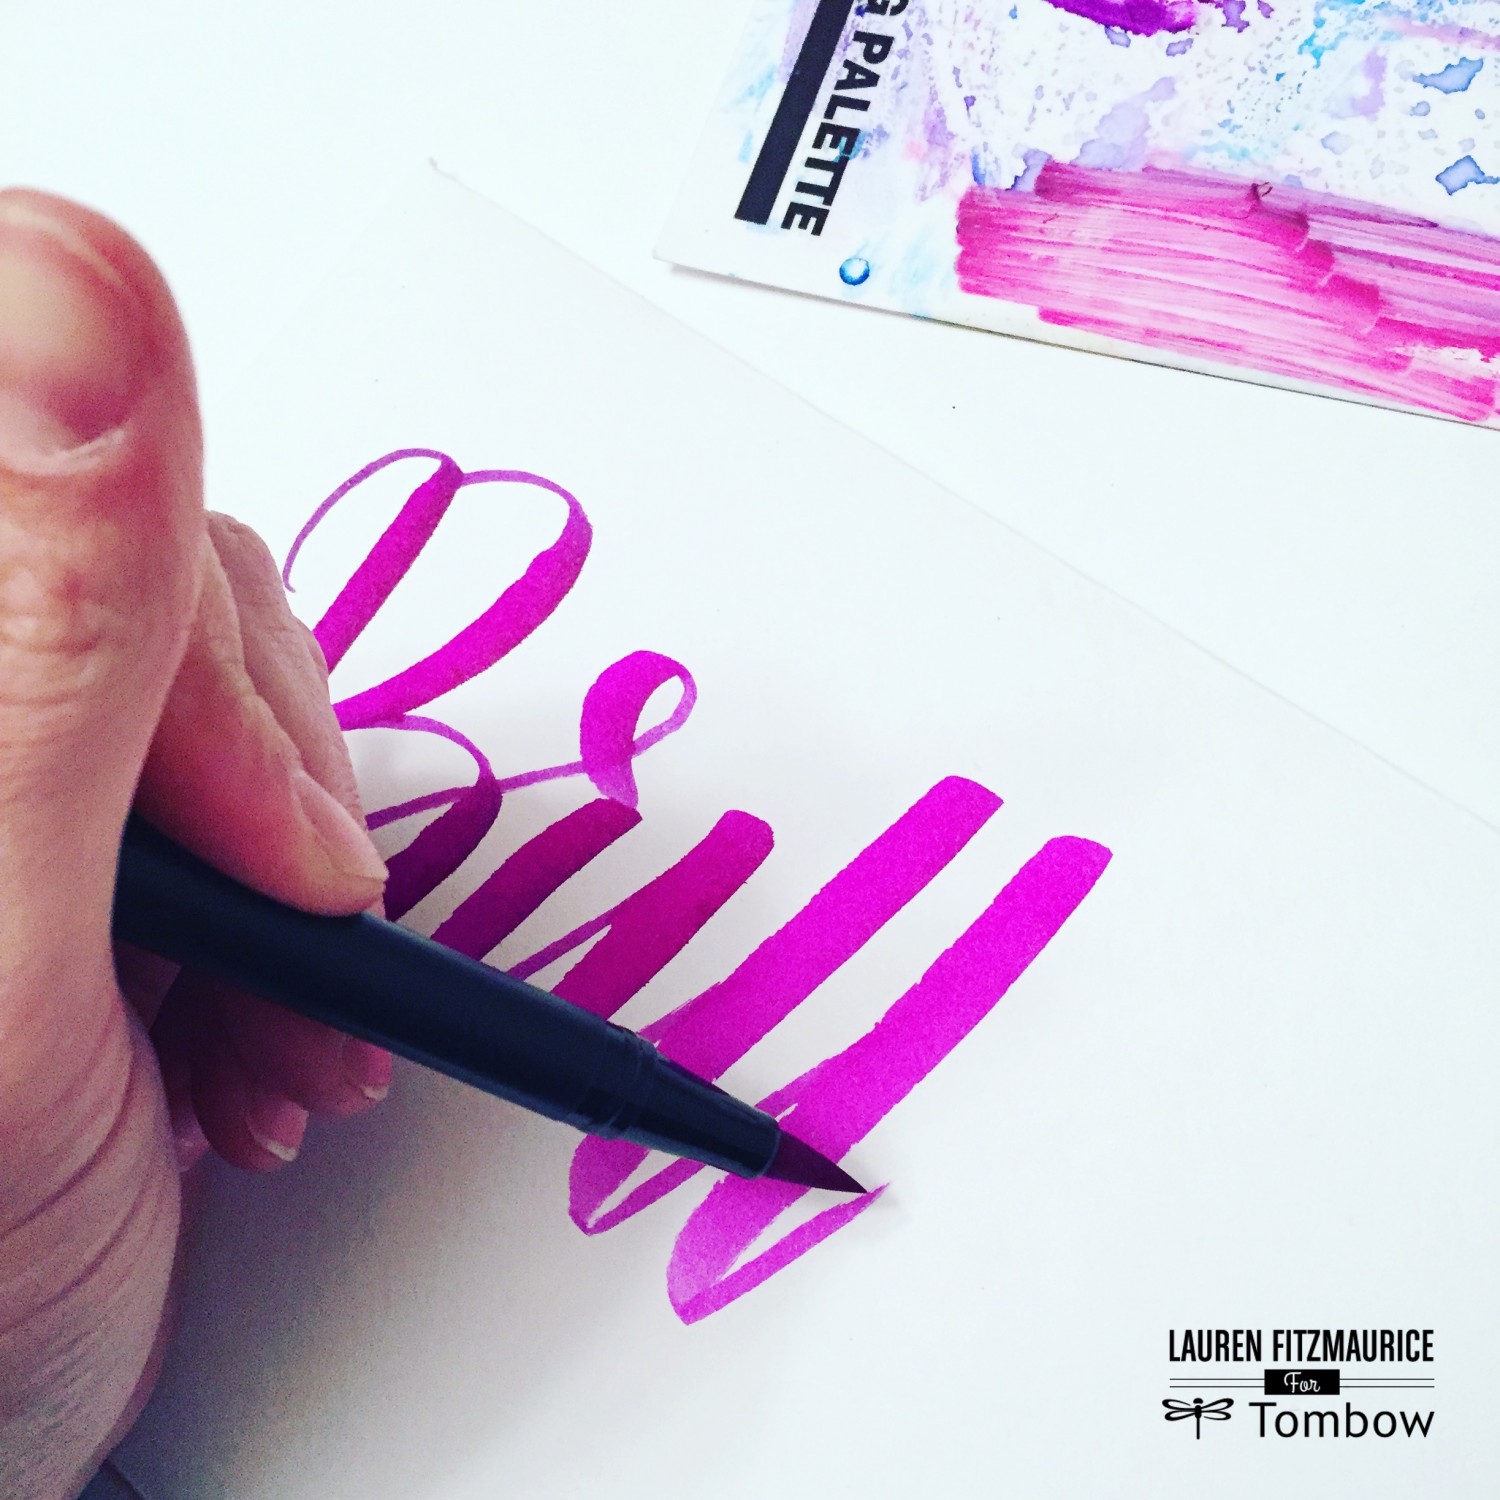
For this project, I let my sketch dictate what pens I was going to use. I wanted the thick look of the letters and chose to have a pop of color by blending two purple Dual Brush Pens.
-

For this hand lettered quote, I chose to create a colorful phrase with thick downstrokes and thin upstrokes, which was perfect for the use of Dual Brush Pens.
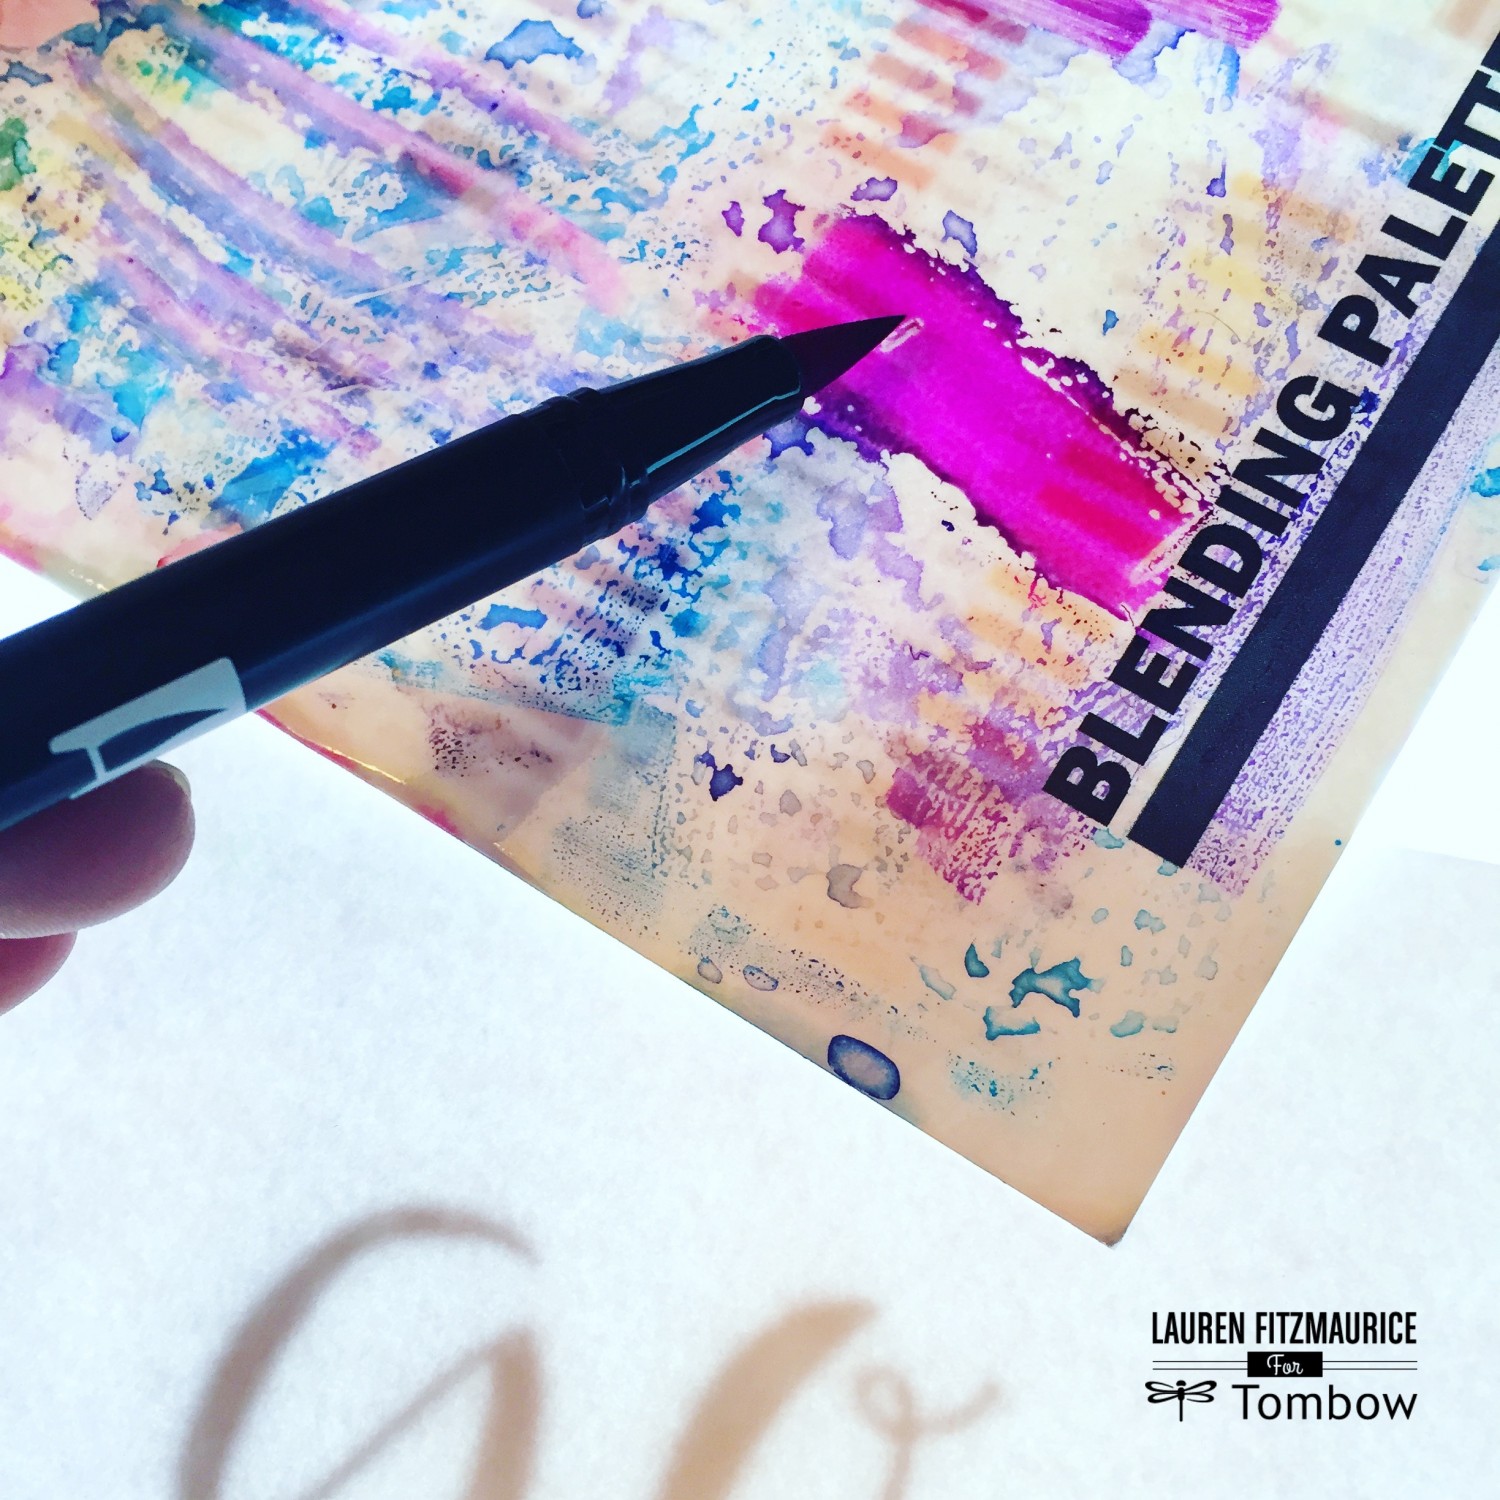
6. Tombow Blending Palette
The Tombow product that I use the most, other than the pens, is the Blending Palette! I love to mix colors from my Dual Brush Pens to create a unique effect with my lettering. Letterers can also use the colors from their Dual Brush Pens for watercolor lettering by coloring the palette with the desired Dual Brush Pen colors and picking them up with a wet watercolor brush. My Blending Palette stays covered in many different colors all of the time. The back of the palette is also great because it shows all of the colors and their number, so it’s easier to see what colors you need and what colors would blend well together.
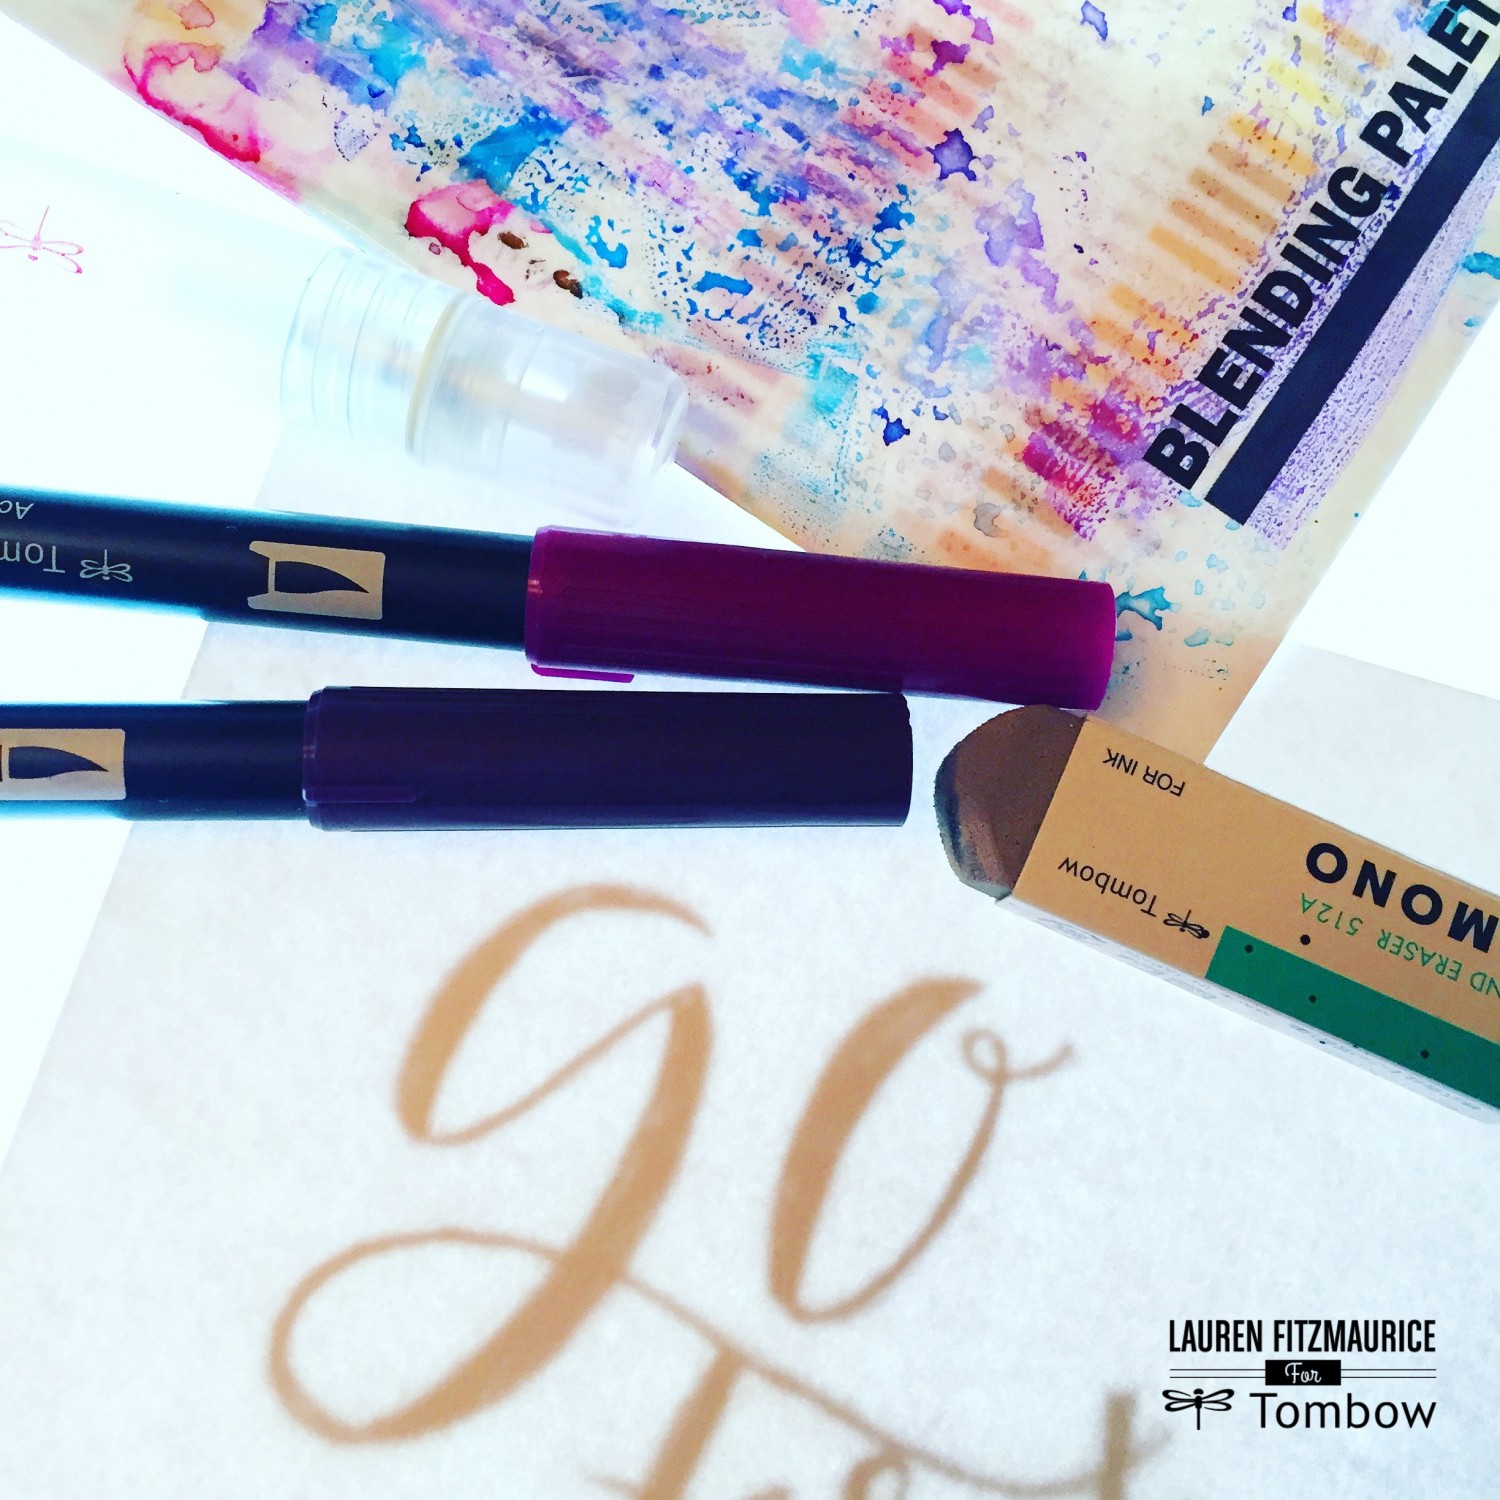
To letter my quote, I chose to blend a bright purple with a darker purple hue. I dipped the brighter purple Dual Brush Pen into the dark purple on the Blending Palette and picked up the color. Then I wrote over my sketch and it made beautiful and bright calligraphy.
-

TIP: Always color the darker color onto the palette and dip the lighter color Dual Brush Pen to blend colors correctly.
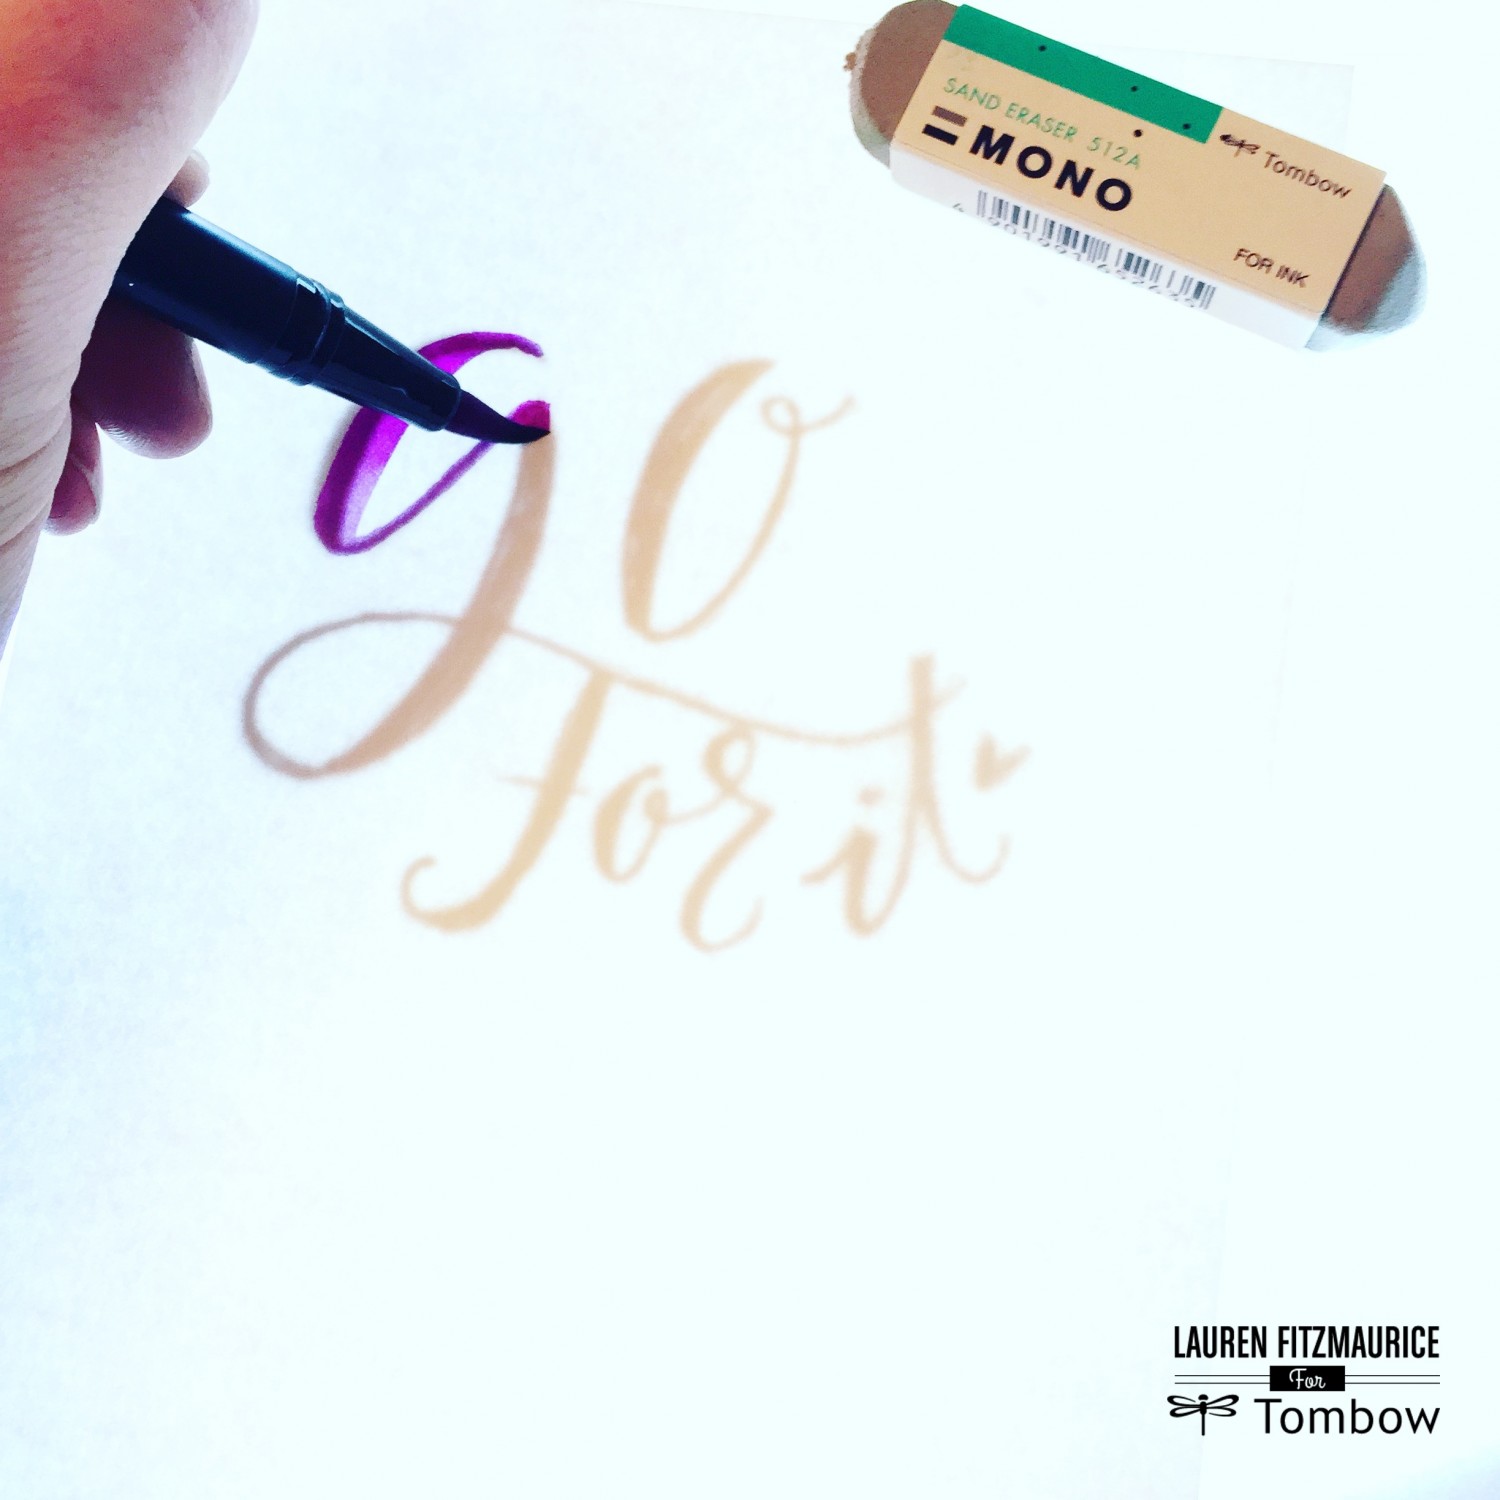
7. Tombow MONO Sand Eraser
The Tombow MONO Sand Eraser is the perfect addition to a letterer’s tool kit. The eraser contains sand, which gives it the ability to erase ink. The Sand Eraser is a great tool with the correct paper. Thick, high quality, white paper has the best results with the Sand Eraser, as it can rip thinner papers. It is best to test it out before using it on an important project to see if it will work. As a calligrapher, this eraser is also PERFECT for erasing gouache from envelopes. In this project, I used the sand eraser to clean up the edges of my lettering. It always gives me a peace of mind to know I have this little piece of magic right by my side when working on custom projects. The Sand Eraser is the perfect “hero” that every letterer needs to have on hand.
-

LEFTY TIP: To prevent smudges, always turn your paper 45 degrees from the edge of the table to the right. This will prevent your hand from going over wet ink from your pens as you write. Also, keep a MONO Sand Eraser handy, because they are the perfect solution to lefty smudges.
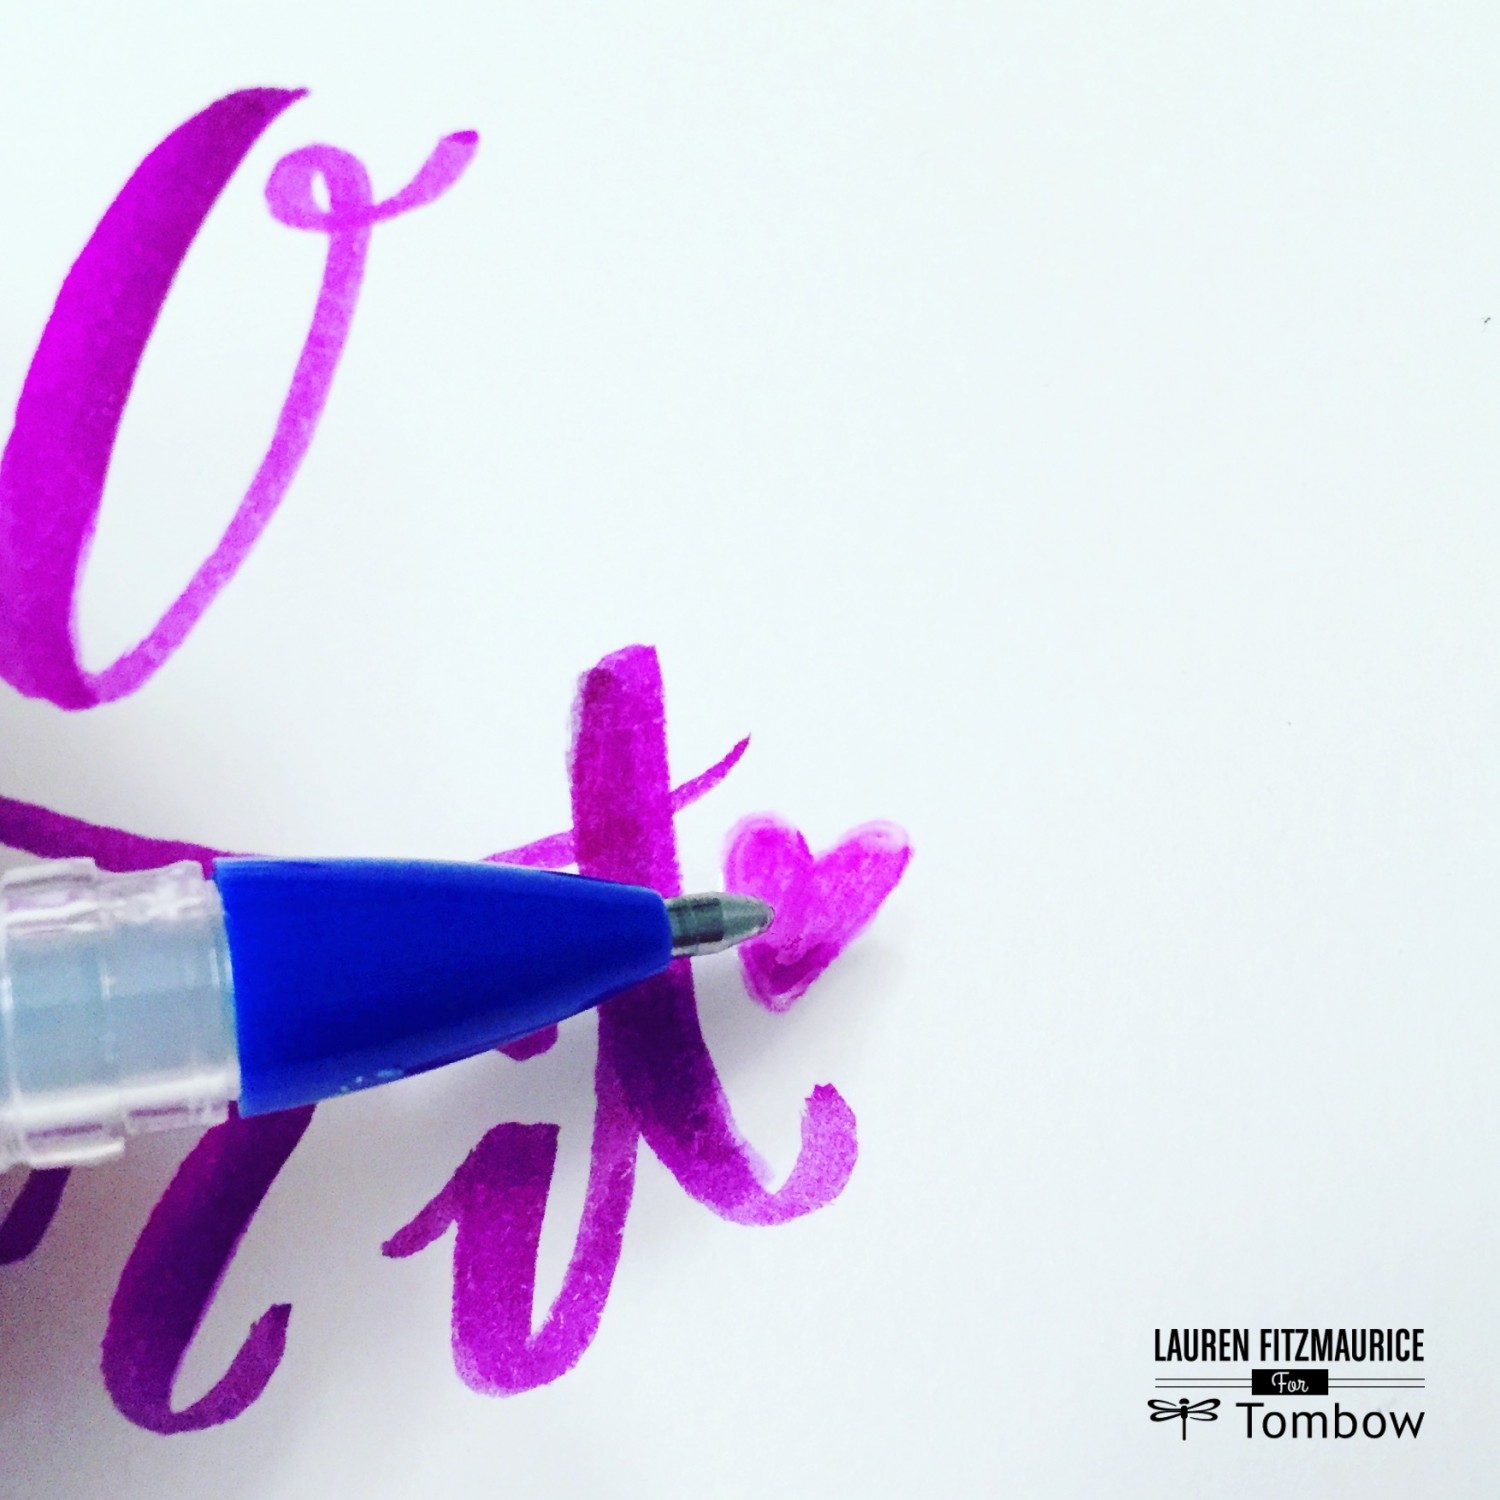
8. Tombow MONO Glue Pen
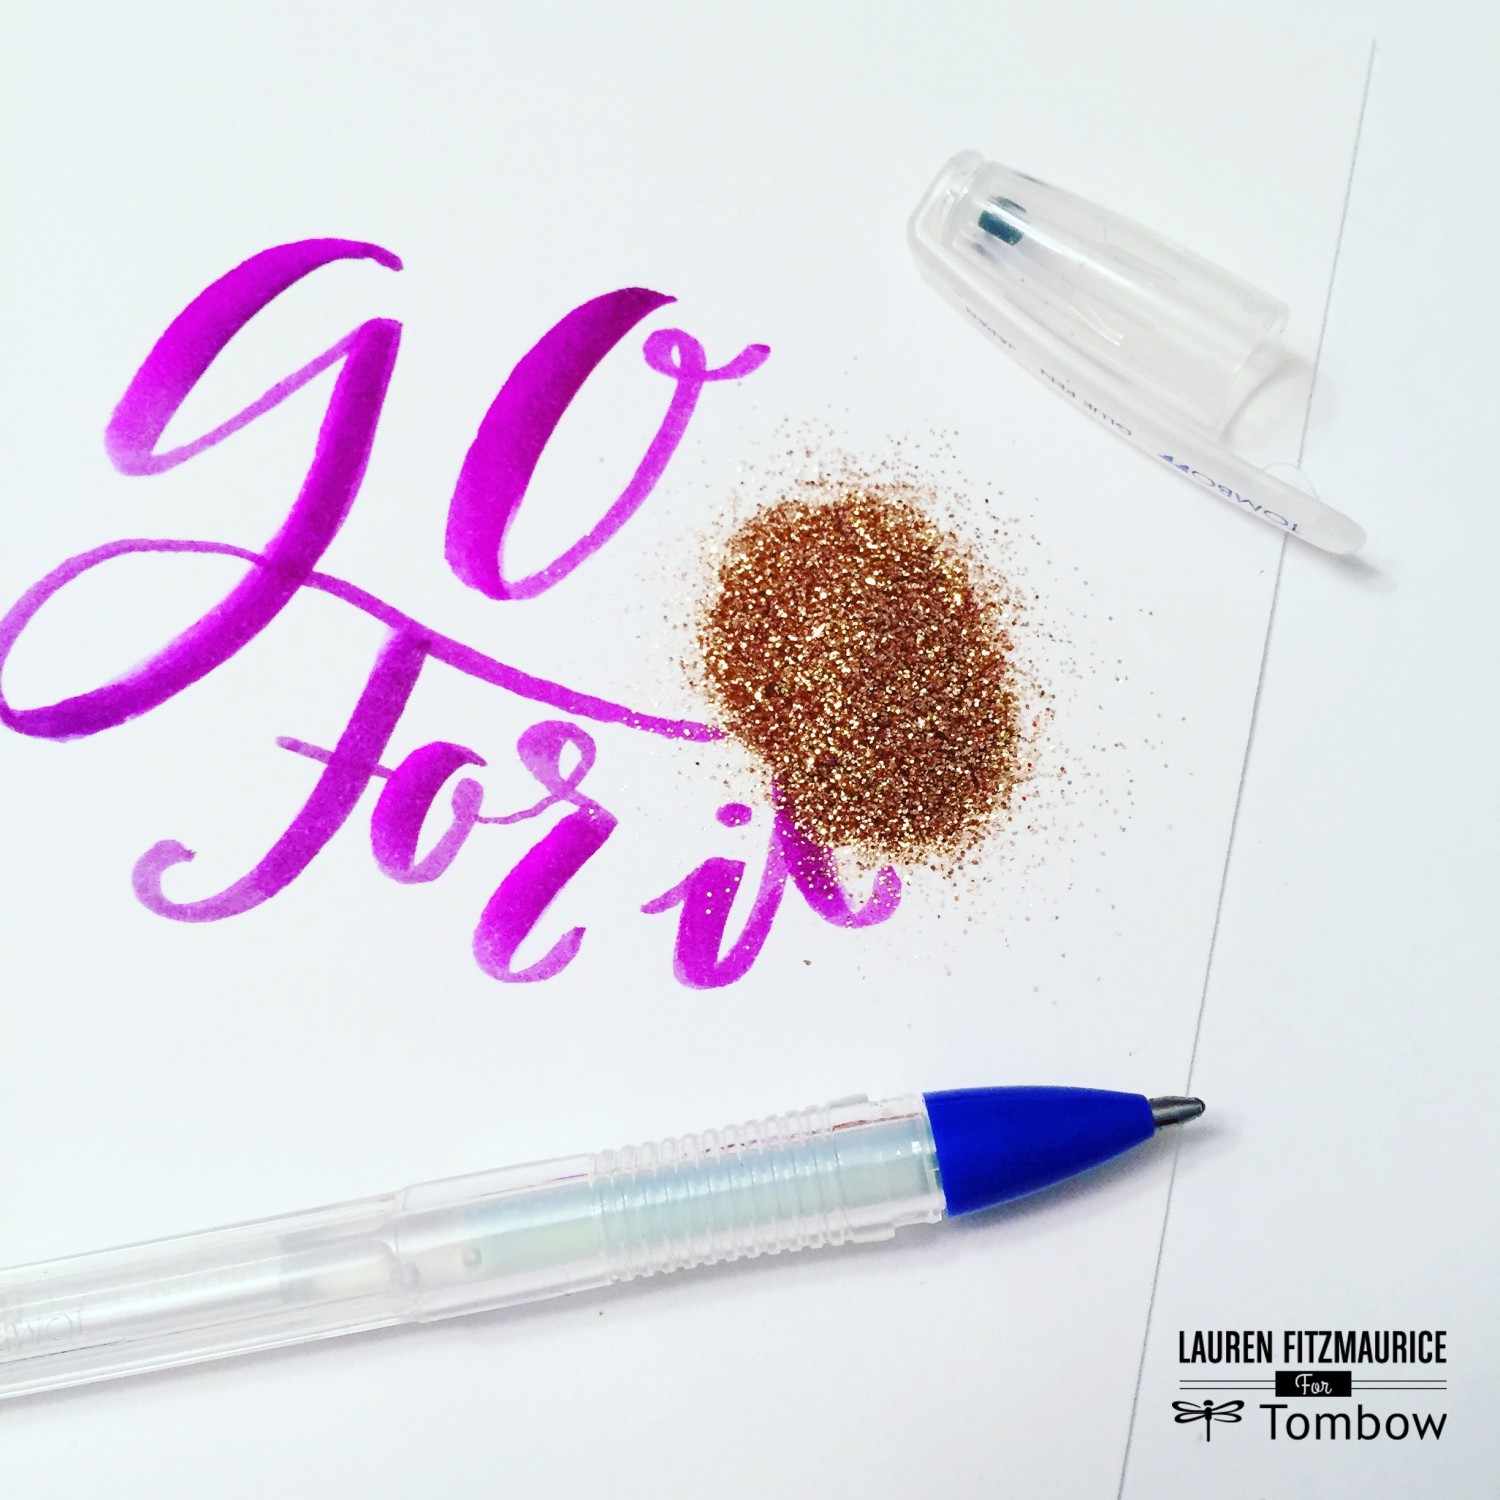
A fun addition to any lettering stash is the Tombow MONO Glue Pen. This ballpoint pen has glue inside instead of ink. I love to use the MONO Glue Pen to add glitter to my lettering. In this project I applied fine gold glitter to the heart, to add texture and sparkle to the piece.
-

Carefully apply the glue to the desired spot and look at an angle to make sure that the glue is being placed in the correct location on the piece.
-

Sprinkle glitter over the glue and let it set for a few seconds. Then knock the glitter off by tapping the edges of the piece on a piece of scrap paper, which will catch the excess glitter.

- It is amazing to see how you can create such a colorful piece from a simple sketch! This piece is ready to be used as a notecard and framed by its recipient.
9. Tombow Fine Pens
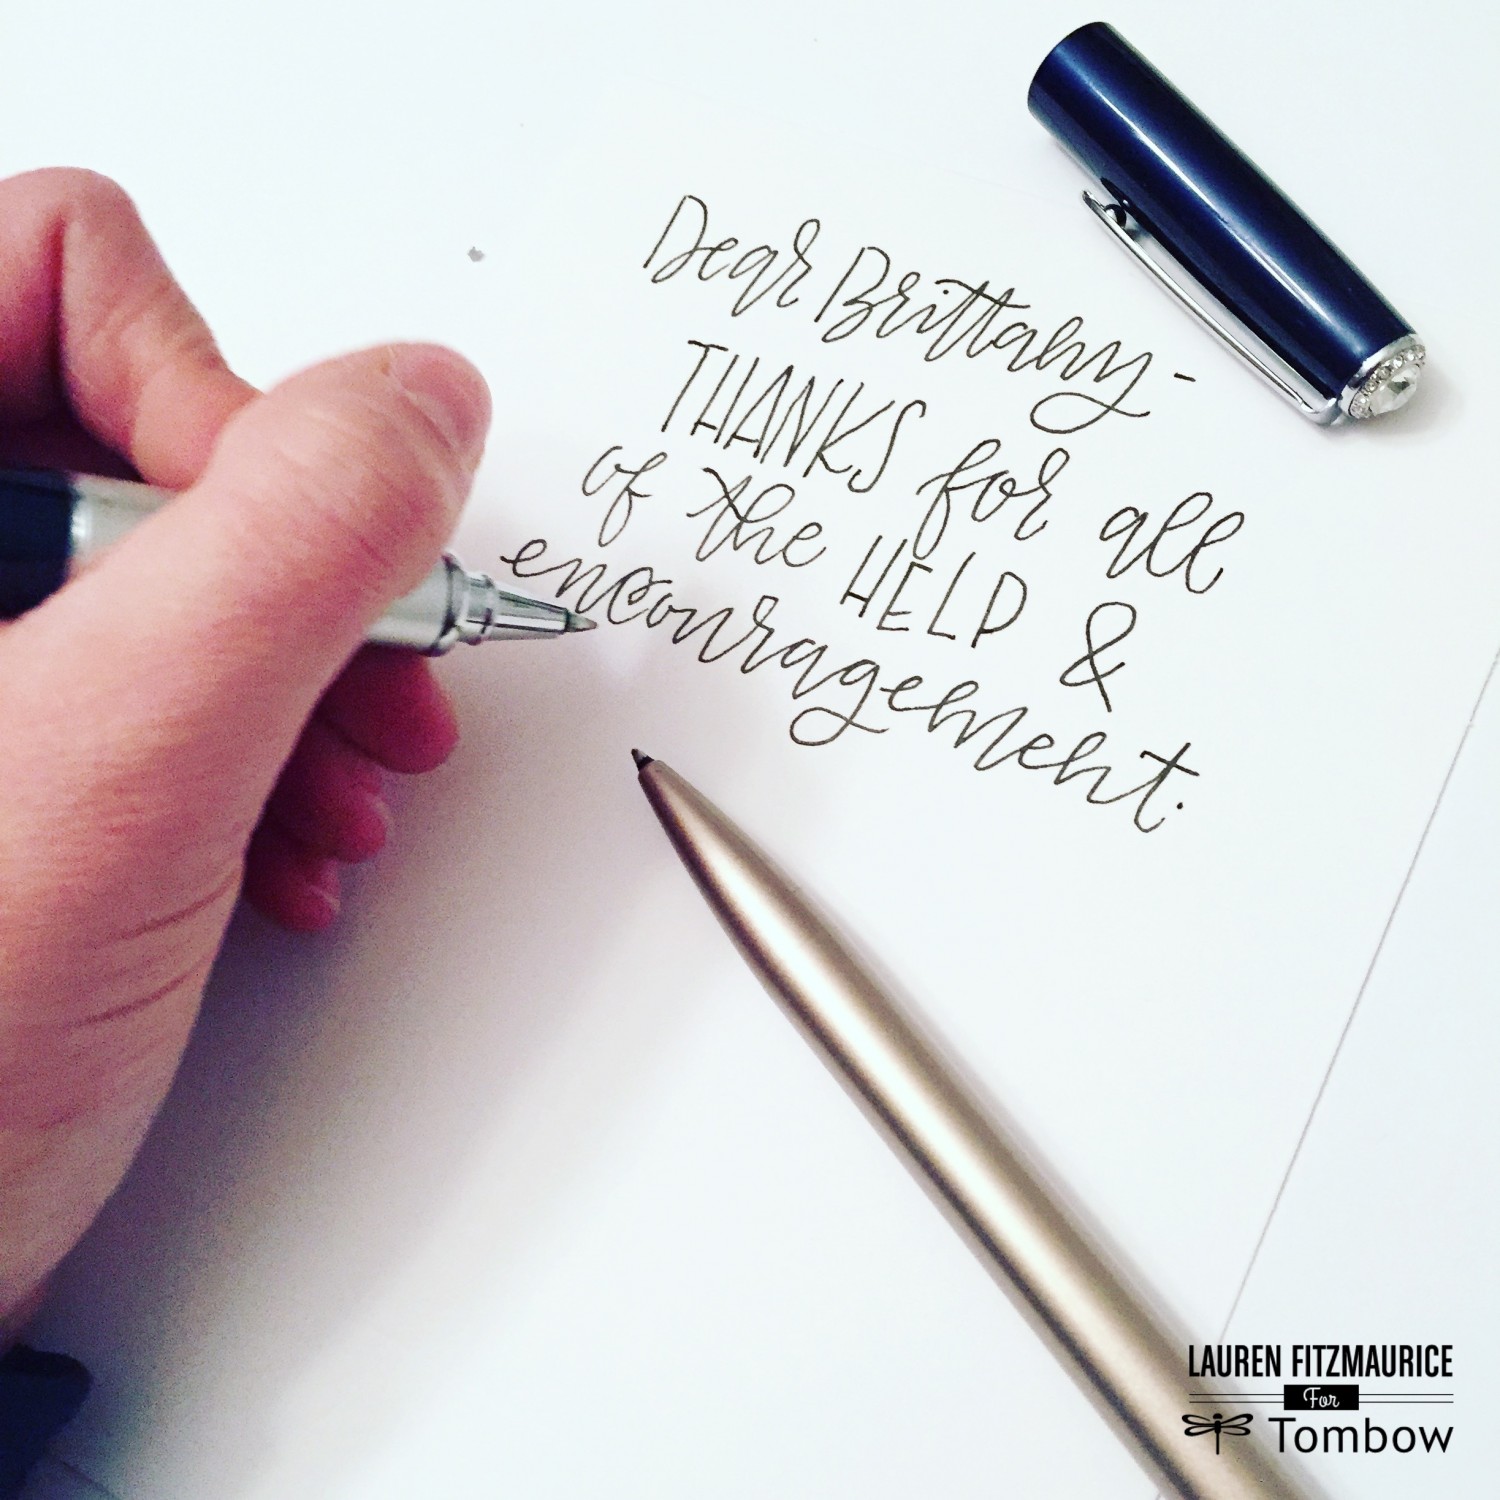
Tombow carries AMAZING fine pens! Calligraphers and hand letterers need a fun collection of non-calligraphy pens! They are great for writing notes to friends or customers and keeping track of orders and events in your planner. I have quickly become a fan of the Tombow Zoom Pens. My favorite is the Tombow Zoom 505SW, which is a rollerball pen that comes in a variety of beautiful colors (navy is pictured) on the outside and writes in a beautiful, juicy black ink and features a cap sprinkled with Swarovski crystals. A more budget friendly option for a fine pen is the Zoom L105 Ballpoint Pen. I love both of these pens! In this project I used the Zoom 505SW to write an encouraging note on the back of the notecard.
Letter An Envelope With Style
I like to mix the use of lettering and pens. I started by lettering the first name onto the envelope with a Tombow Dual Brush Pen, which I blended with a darker color.
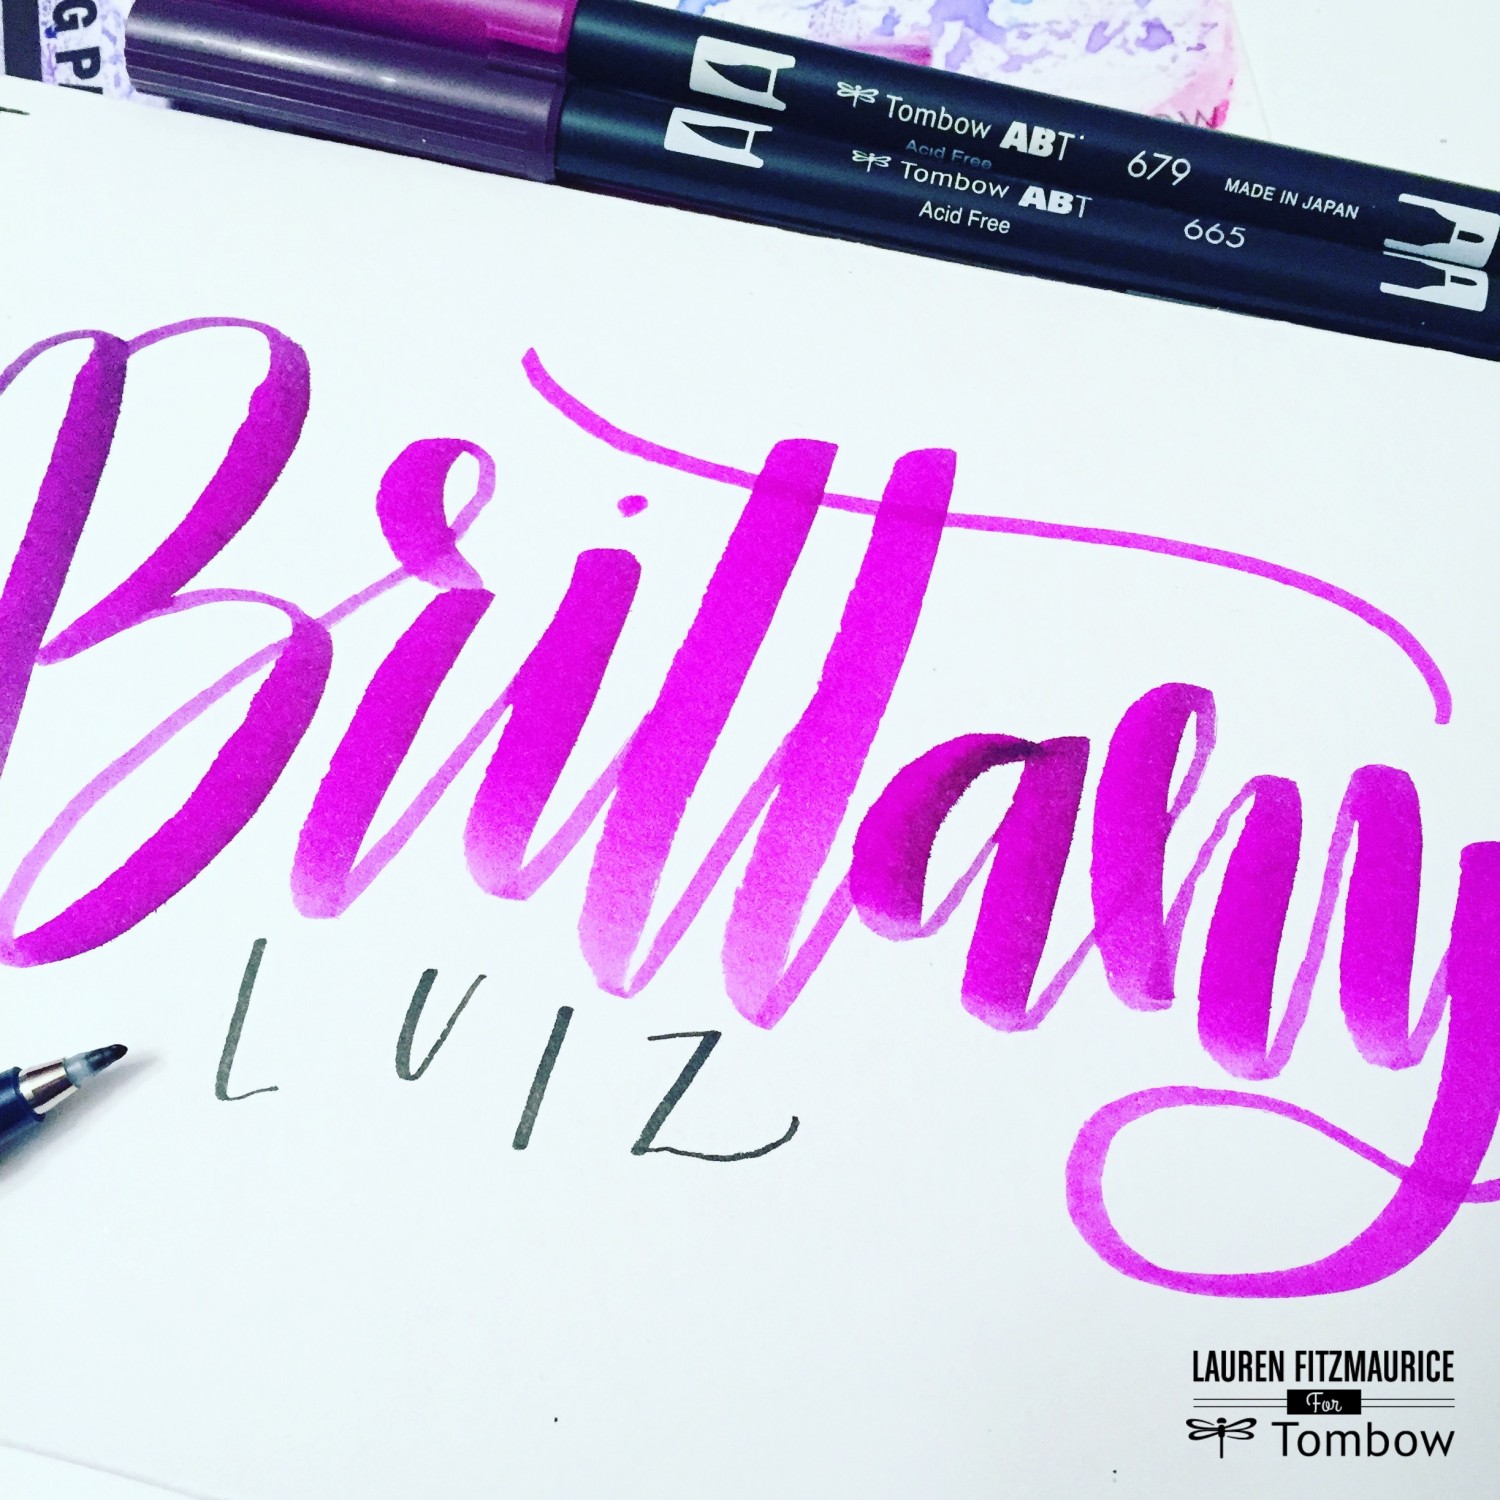
I love to mix the lettering styles by using different kinds of brush pens. Here, I added the last name with the Fudenosuke Hard Tip Brush Pen.
10. Tombow Permanent Adhesives
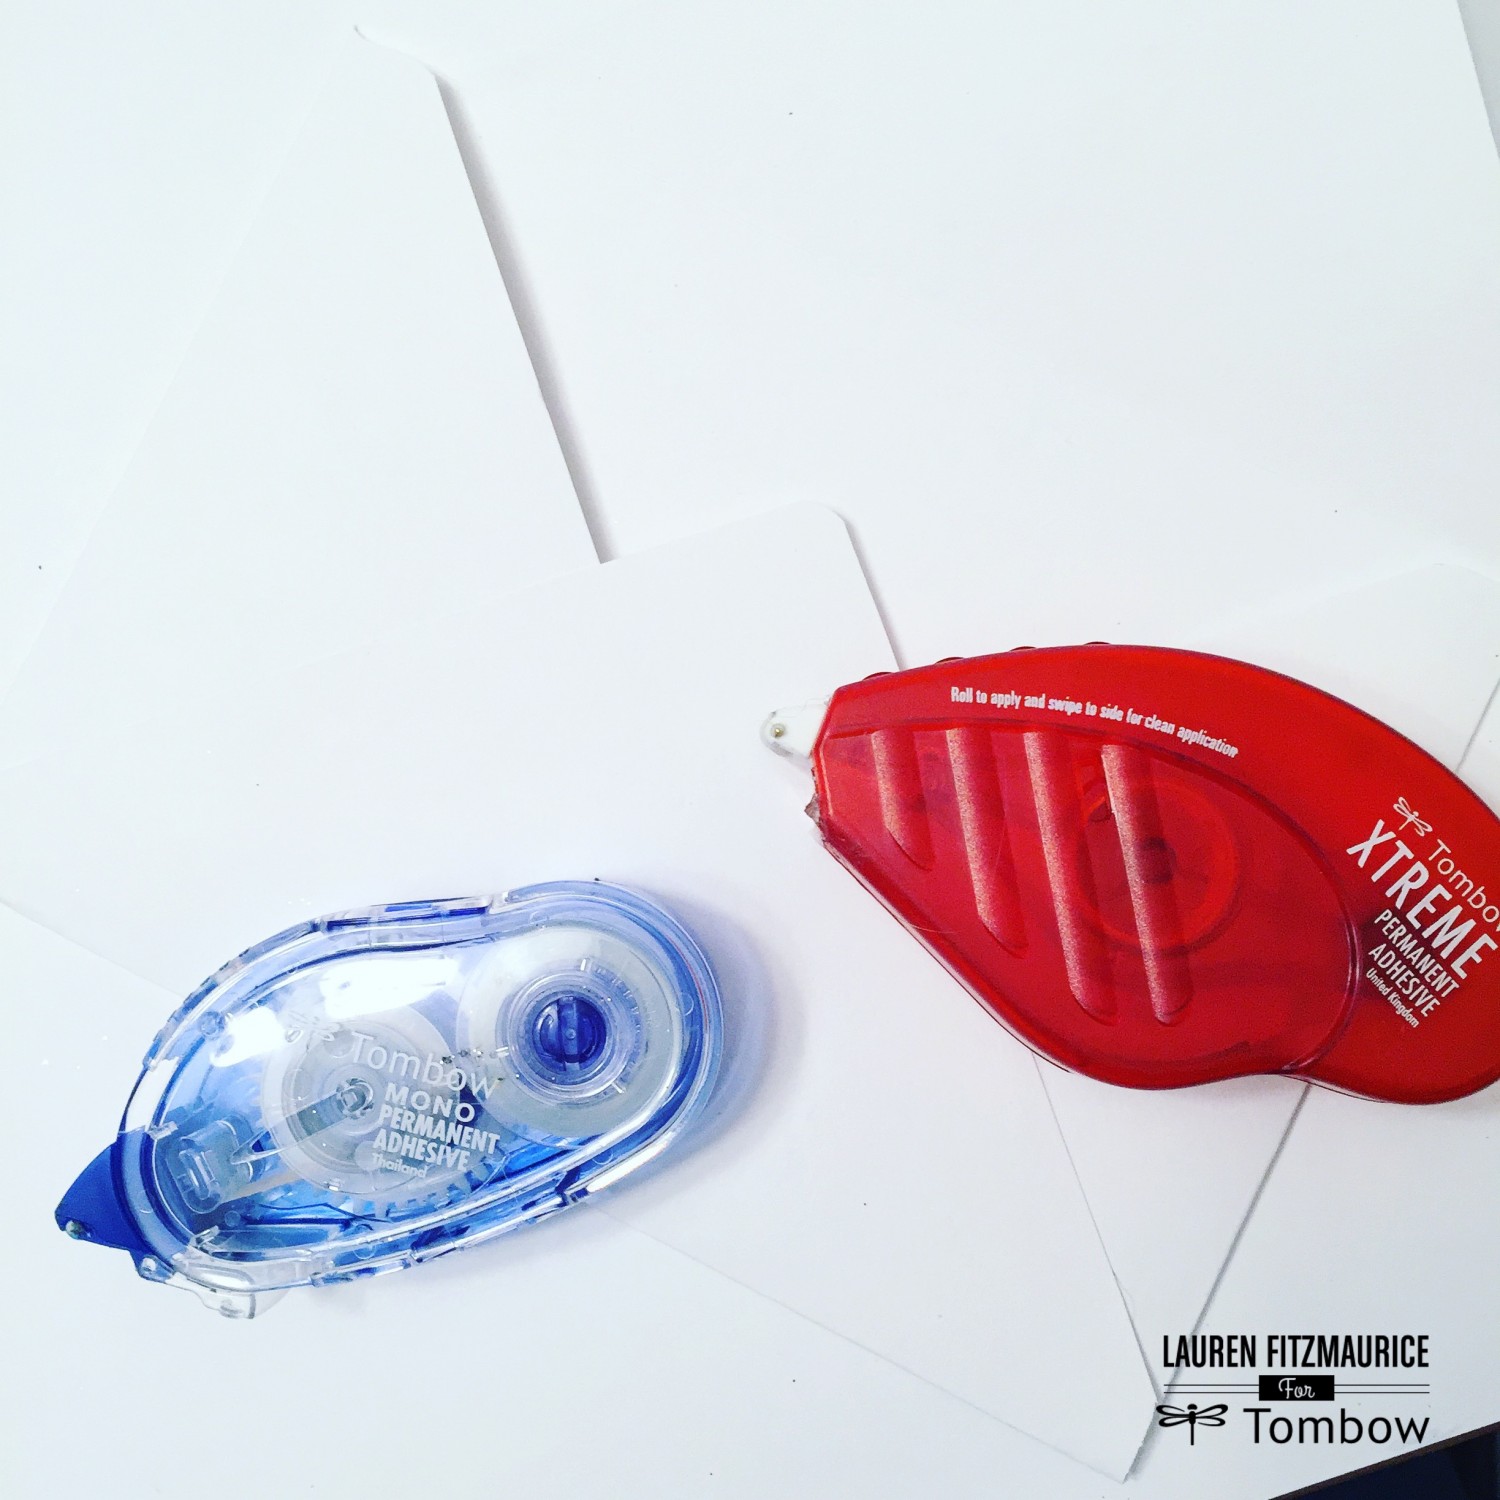
Tombow Permanent Adhesives are a great tool for letters to create projects. I love to use these adhesives to attach my pieces to mat boards, make my own envelopes and even seal packages before I stick them in the mail. Tombow MONO Permanent Adhesive is a great adhesive and Tombow Xtreme Adhesive are both great options to create projects with your lettering. In this project, I used the Tombow Xtreme Adhesive to make and seal the envelope. When using this adhesive, make sure to swipe the applicator at a 90-degree angle when you’re finished to ensure the adhesive breaks off cleanly.
Thanks so much for reading this post and learning more about a letterer’s must haves for their lettering stash! All items can be ordered from TombowUSA.com. For more tips and tricks and lots of examples of these tools in action, check out my blog at renmadecalligraphy.com and my Instagram at @renmadecalligraphy. HAPPY LETTERING! Also for more lefty calligraphy action with Tombow products, check out #Tombowlikealefty .
Awesome post Lauren! The new design team rocks!
Love all of these tips and product info. I’m really new to hand lettering and calligraphy so this was really great for me to read! Thanks!
Beautiful script and great information! 😉
Thanks everyone!!!! IT’s so fun being a part of the Design Team and sharing my two favorite things… Lettering and Tombow!!!!????
Wonderful overview!!!
Pingback: Valentine DIY: Glittery, Geometric Heart Valentine | By Lauren Fitzmaurice - Tombow USA Blog
Pingback: How To Make An Easy Reading Log Mini Album - Tombow USA Blog