Get organized create DIY art caddy. During this time of the year, I’m pondering around my craft room trying to figure out how to make my life easier by organizing. What I’m going to keep, throw away and how I’m going to rearrange.
It’s hard for me to work when things around me are disorganized. I hate looking for things when I’m about to do a craft project. I’m not the “one of a kind kinda crafter”; I knit, crochet, paint, etc. When you’re doing so many types of crafts things can get a little “out of hand”. When my craft room is messy, it can be a jungle (and in my mind). So I’m always looking for ways to make my life better.
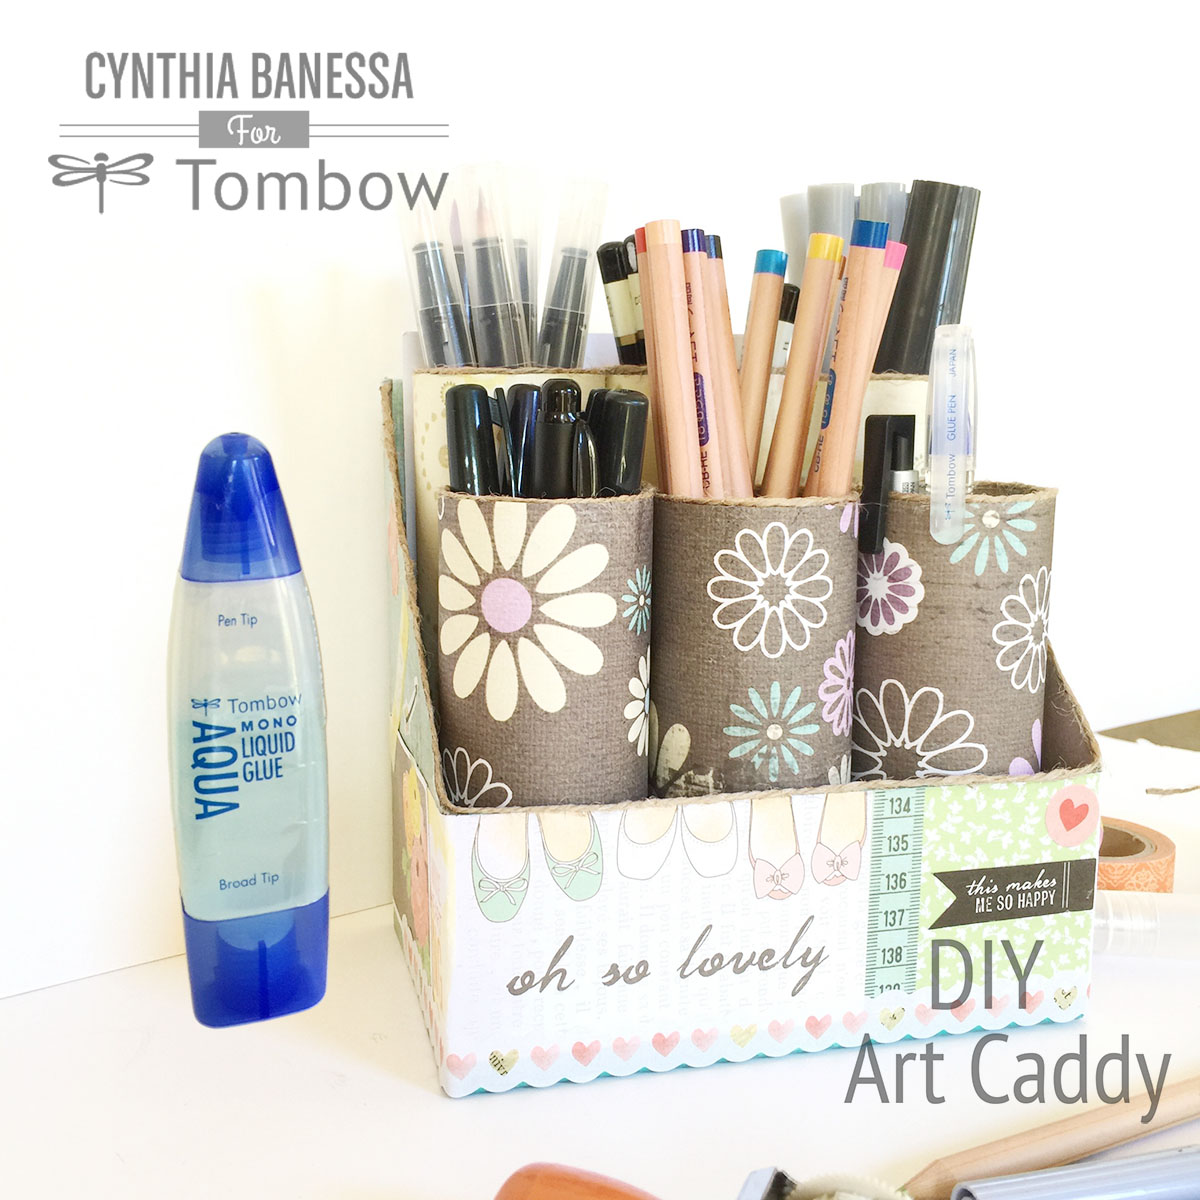
I want to share with you how to create this DIY art caddy. It’s useful and inexpensive to make. You can use items that you may already have around the house to create it.
Supplies for: Get organized DIY Art Caddy:
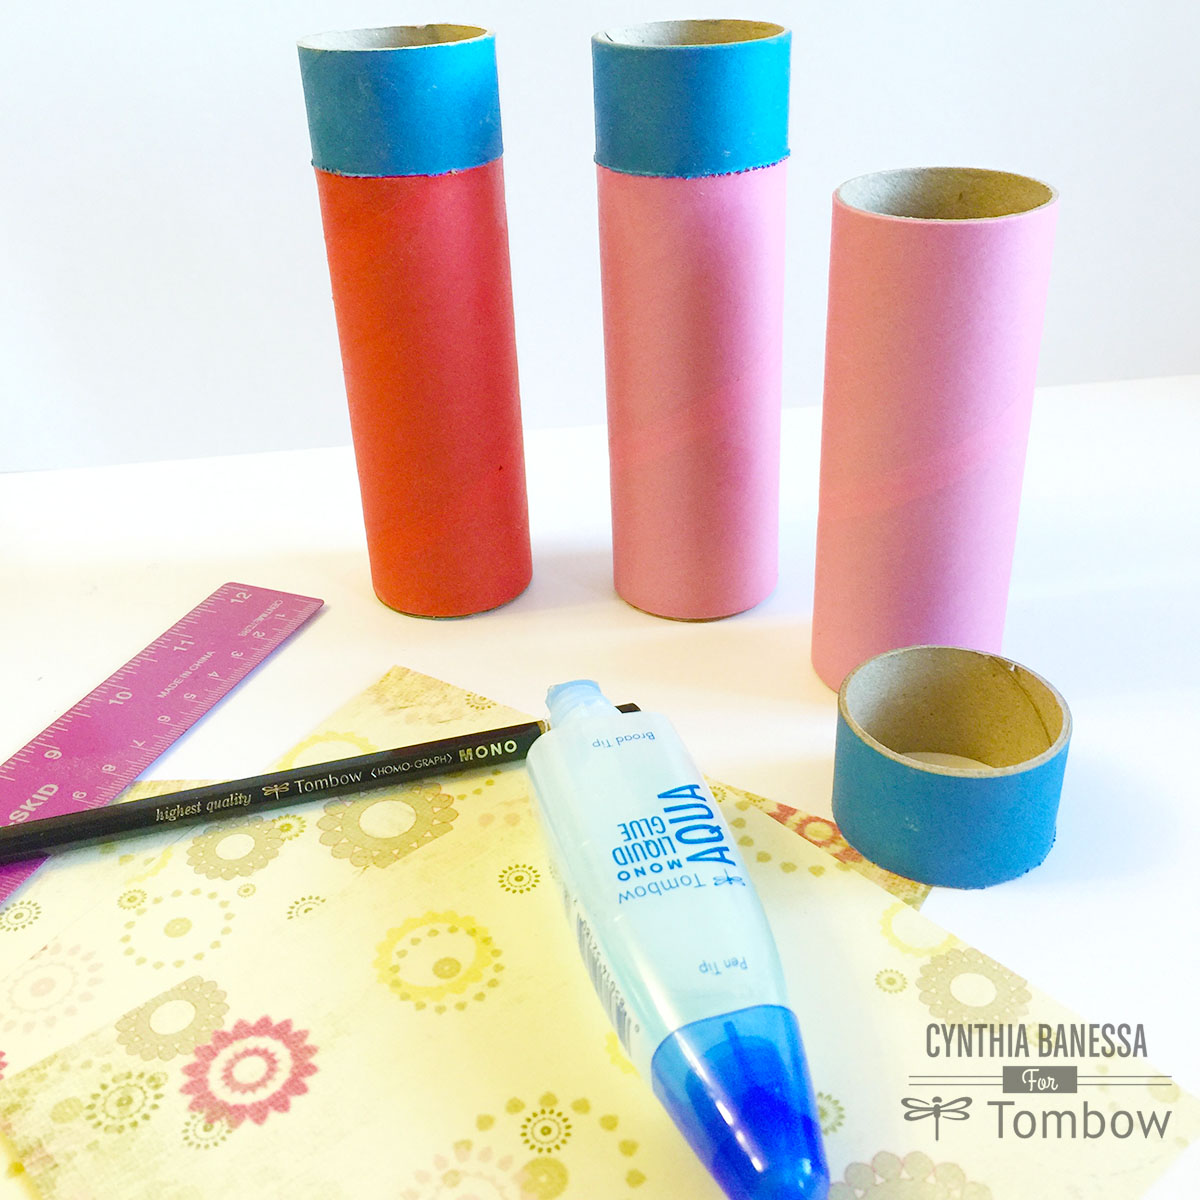
Cardboard tubes
(You can use toilet paper tubes instead of the ones you buy; I decided to purchase my cardboard tubes because they are thicker and sturdier.)
Craft paper
Twine
Stickers
Keurig cardboard container
Tombow MONO Aqua Liquid Glue
Scissors
Ruler
Instructions for DIY Art Caddy:
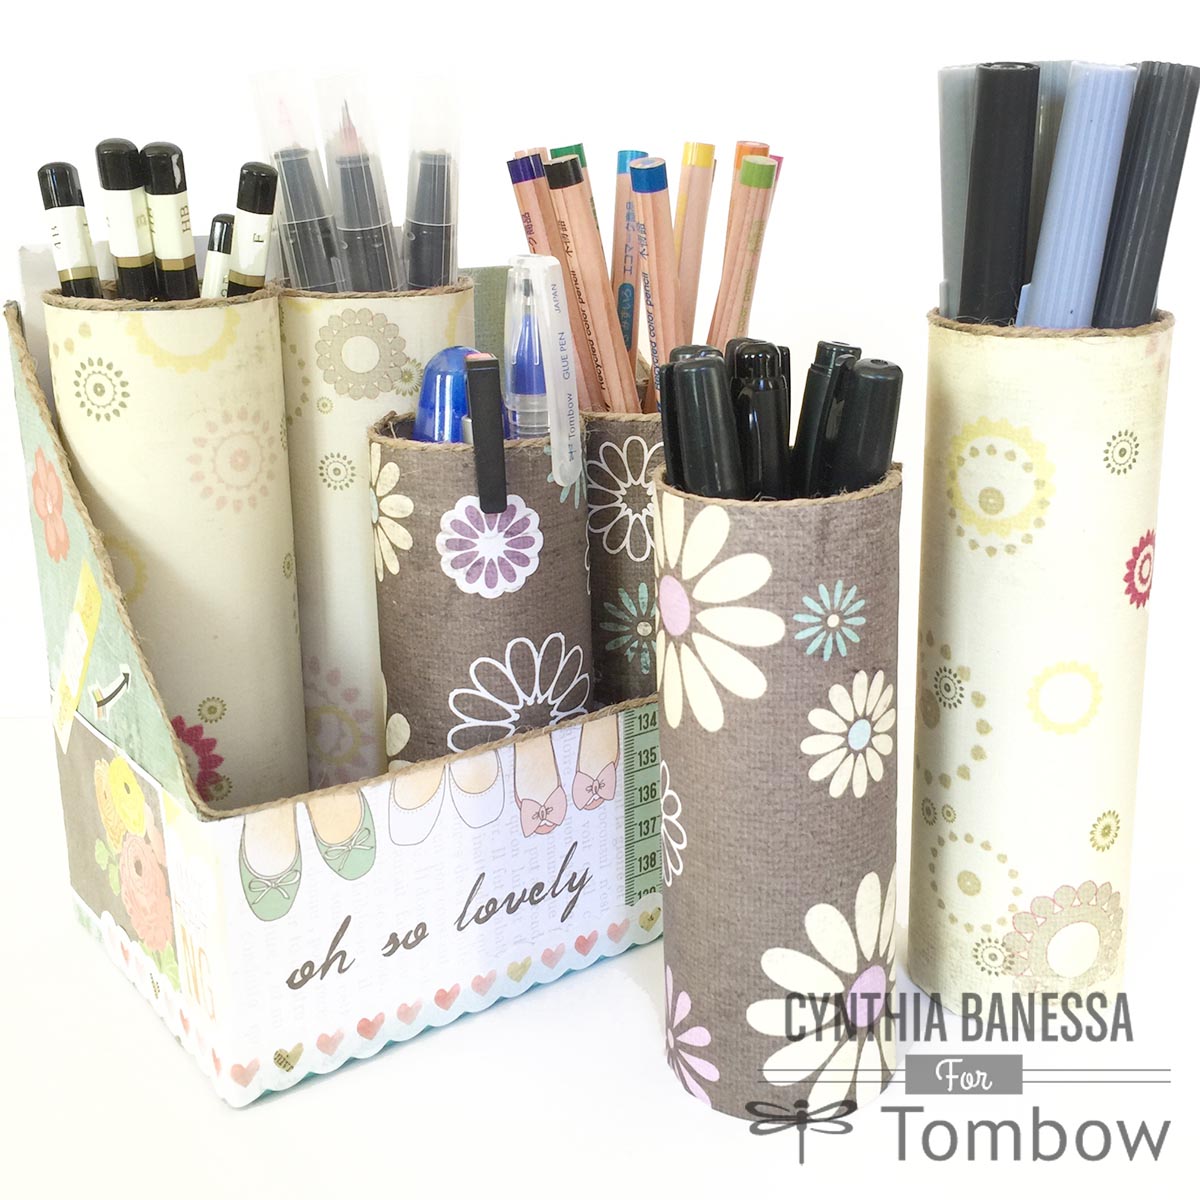
The cardboard container used for this project holds six cardboard tubes perfectly. I wanted the containers in the back taller, so I cut one of the tubes in 1-inch cuts to add to the three tubes in the back to give height. I glued the 1-inch cut pieces to each tube with Tombow MONO Aqua Liquid Glue.
Make circles from cardboard and glue them to the bottom of each tube. Next wrapped each tube with some of your favorite craft paper, using Tombow MONO Aqua Liquid Glue. I love using this glue when working with paper crafts because it has a broad and pen tip. The pen tip is perfect for the small spaces and edges.

After covering all the tubes, add twine at the top of the tube to soften the edges. This is where the Tombow MONO Aqua Liquid Glue pen tip comes in handy.
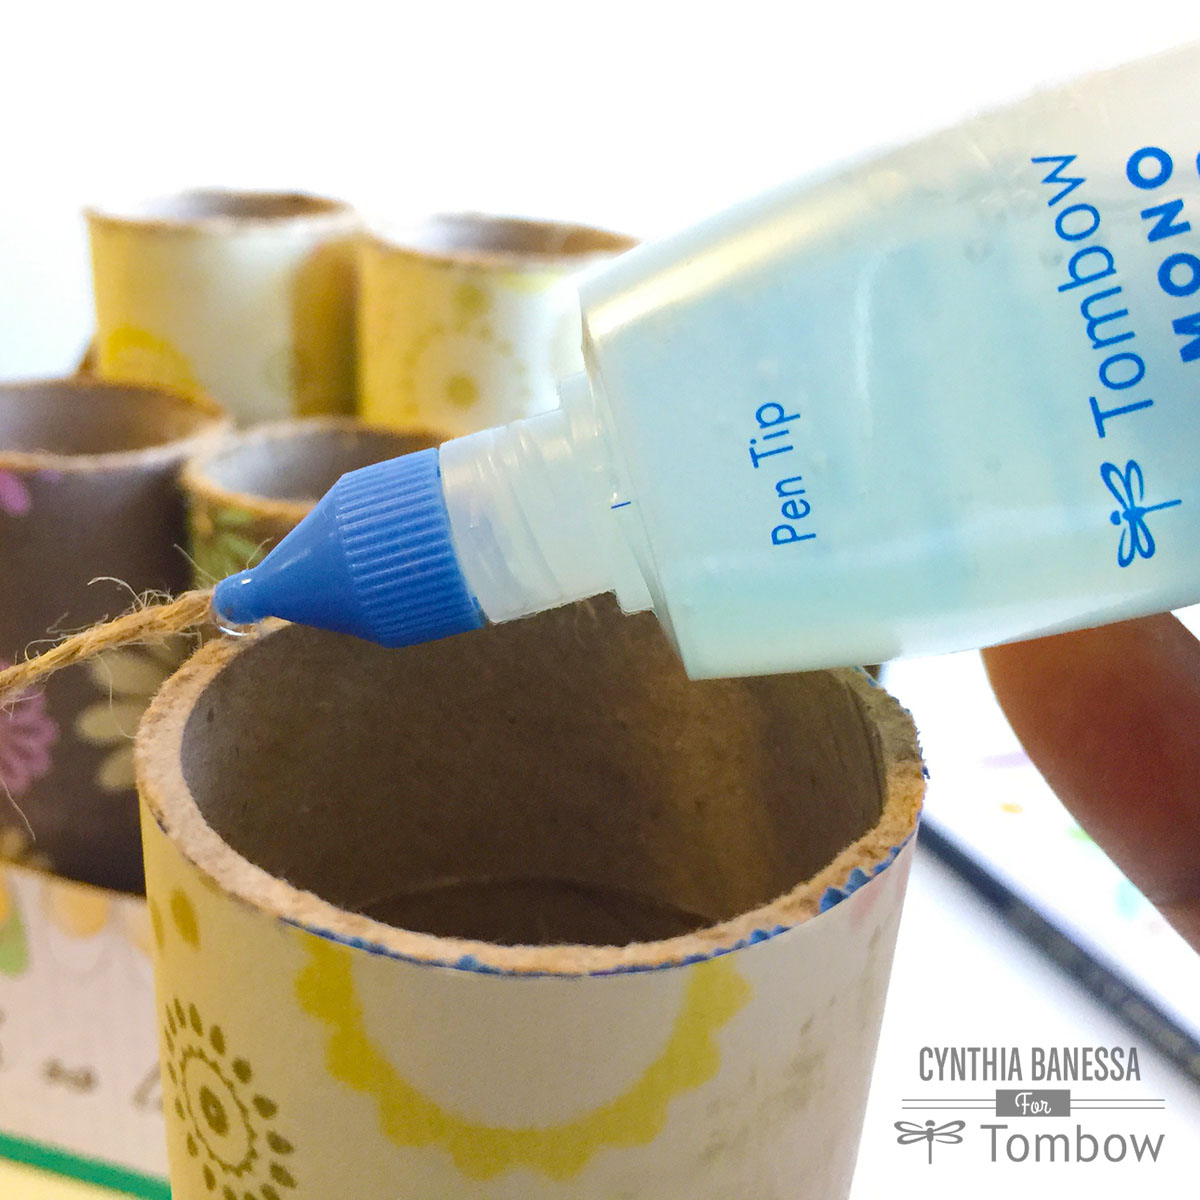
I love the twine on top of each tube, so after decorating the box with craft paper, I added twine along the edge of the caddy, giving it a complete look.
Make sure you decorate the back of your caddy too!

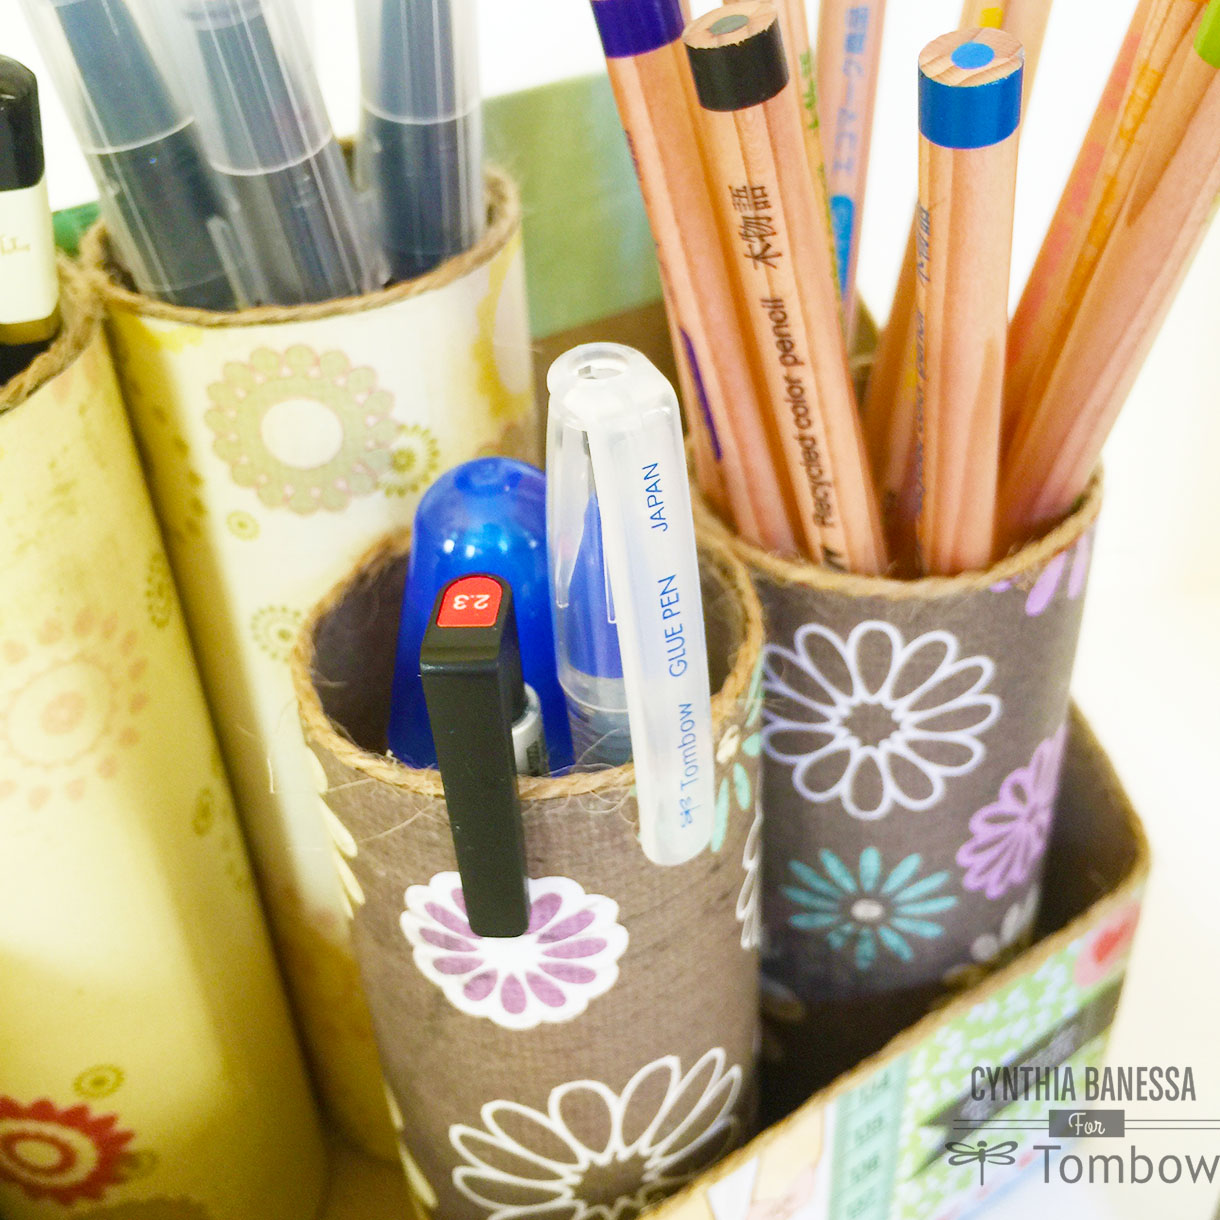
The art caddy is large enough to be on your craft table and small enough for your office desk. It will also help to keep your pens, markers and pencils organized. Make it your own by adding your favorite stickers. Be creative.
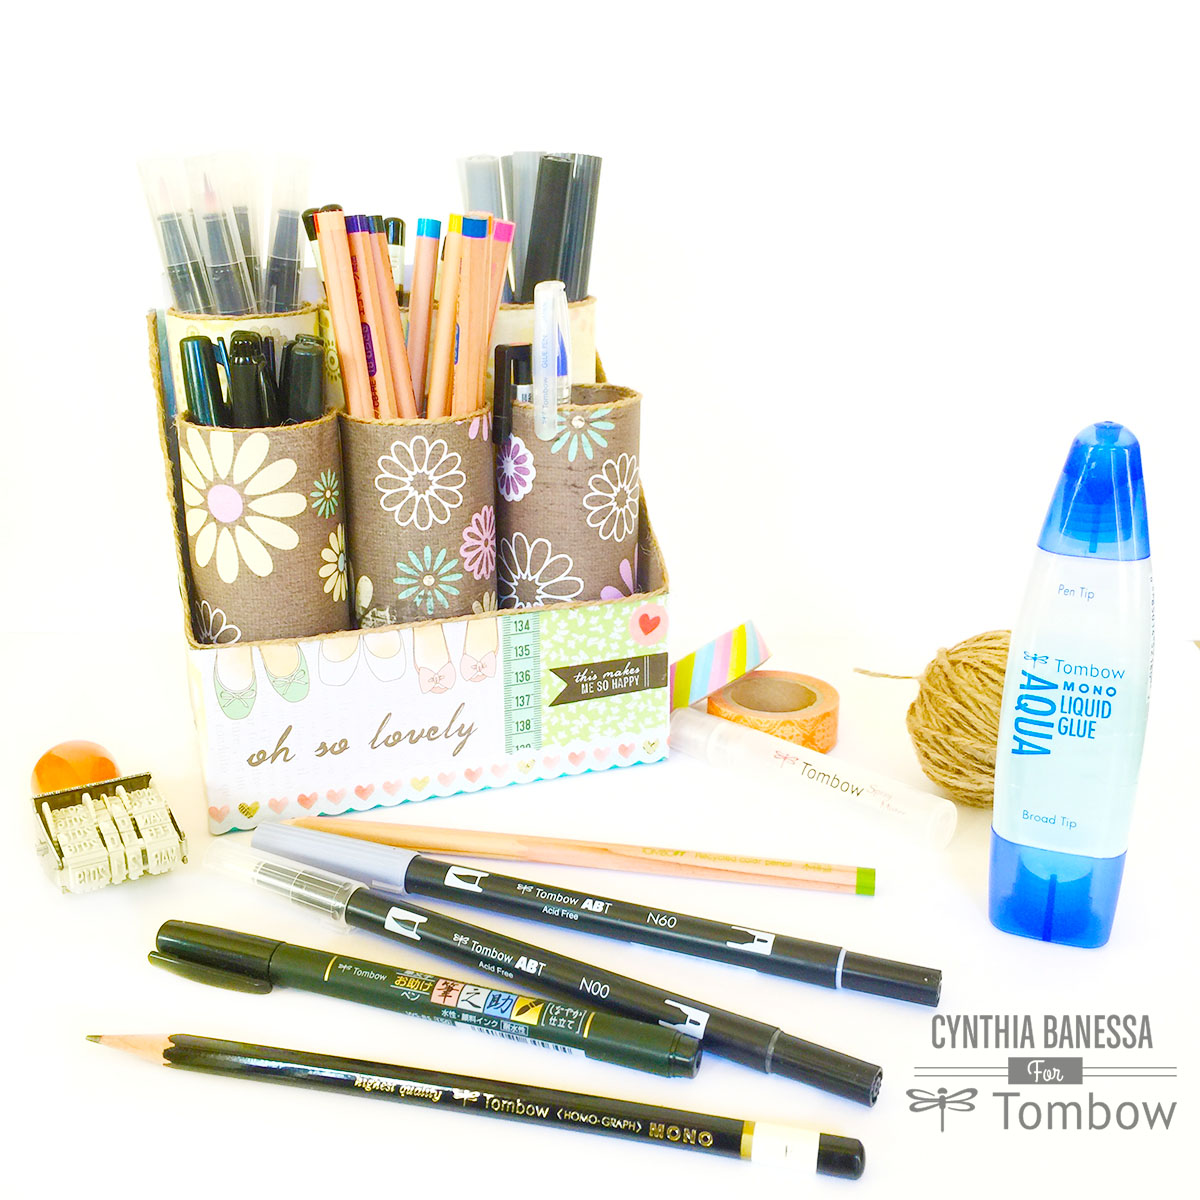
Tombow Recycled Color PencilsAs you can see I used my Tombow supplies in my new art caddy. I housed my Tombow Dual Brush Pens (the gray scale), Tombow Blender Pens, Fudenosuke Brush Pens, Recycled Color Pencils and my Tombow Mono Drawing Pencils. If you are in need of art and office supplies go to Tombow USA.
I had so much fun creating this art caddy. I would love to share my other creations with you, go to CynthiaBanessa.com
Thanks!
awesome craft, and very useful.
Thank You, Nutan!